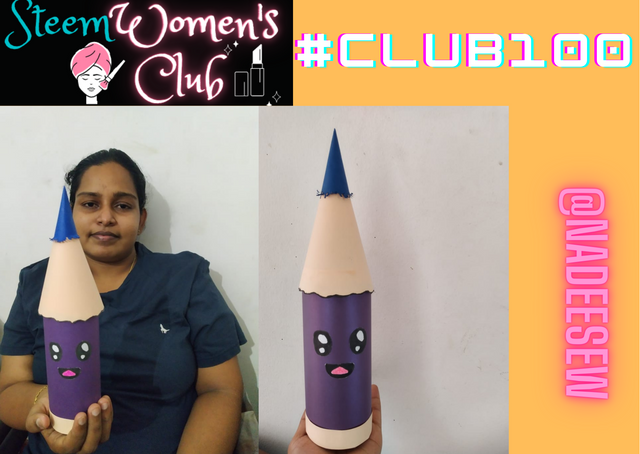
#club100- A pencil shaped Pencil holder craftwork by @nadeesew
Hello ladies,
Today I came up with another new handicraft. I made a pencil holder to a pencil shape. I would like to share this with you all too. I would like to thank @jyoti-thelight for her craft ideas. I was inspired by her crafts. I made this yesterday night but I didn't have time to write the post and share it with you. So, Let us see how I made this.
Craft- Pencil shaped Pencil holder
Time consumed- 1 hour
Materials Used

Papers
scissors
Glue
Pencil
Eraser
Colour pen
Hard board
Method
Step 01:
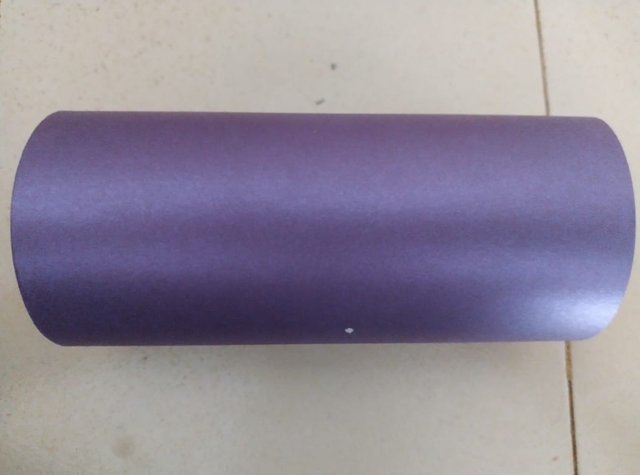
First I took the hard board and pasted it to get a cylinder shape. I took a colour hard board and anyone can take any colour and also any type of paper. You can see the below Image.
Step 02:
.jpeg)
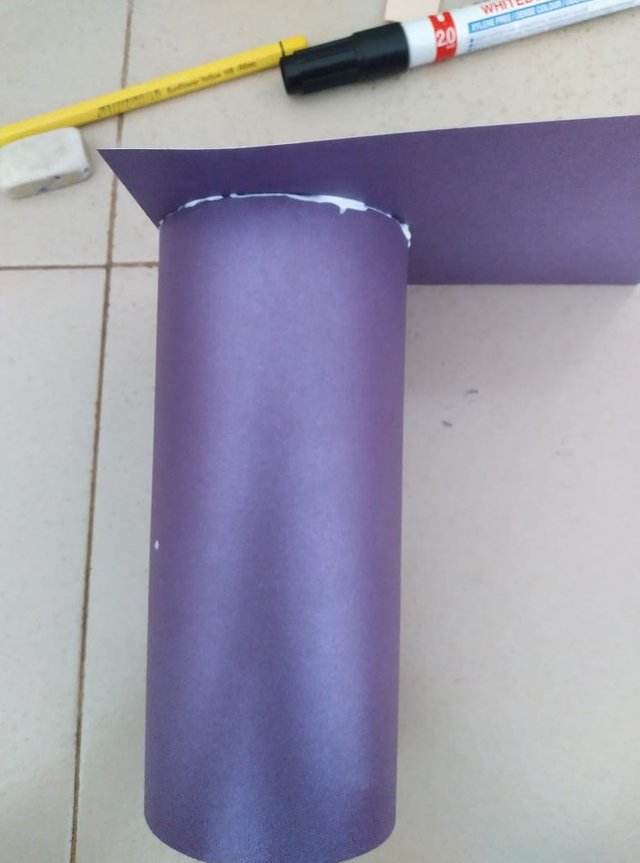
Then I applied a hard board glue and to one edge and pasted it on another hardboard and let it dry. You can apply a normal glue if you are using normal papers but I used chemifix as it is a hard paper. I also stapled the cylinder to make sure the cylinder won't detach. This will make a hard bottom for the holder.
Step 03:
Till the cylinder gets dried, I started doing the other work. First I did the Drawings and coloured them as I need to nicely decorate the craft.
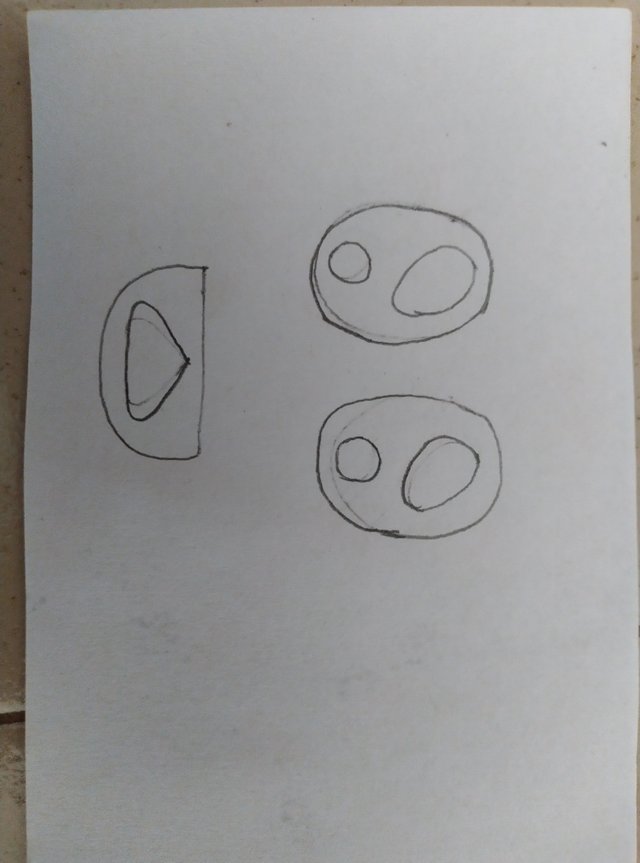
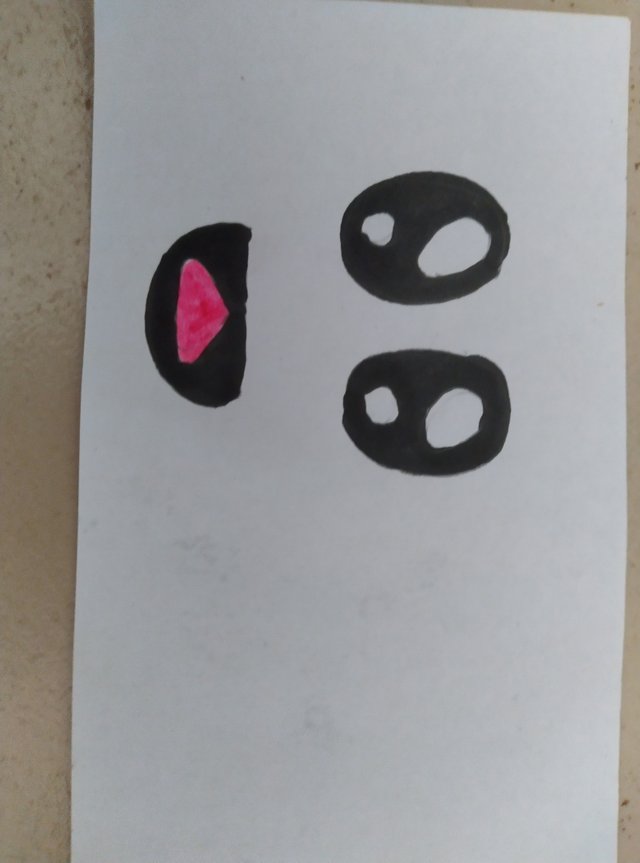
I drew two cartoon type eyes and a mouth. Then I coloured it using colour marker pens. Finally I cut them and put aside. There are cartoon eye and mouth stickers. If someone cannot draw and colour she can buy a sticker card and use instead of drawing.
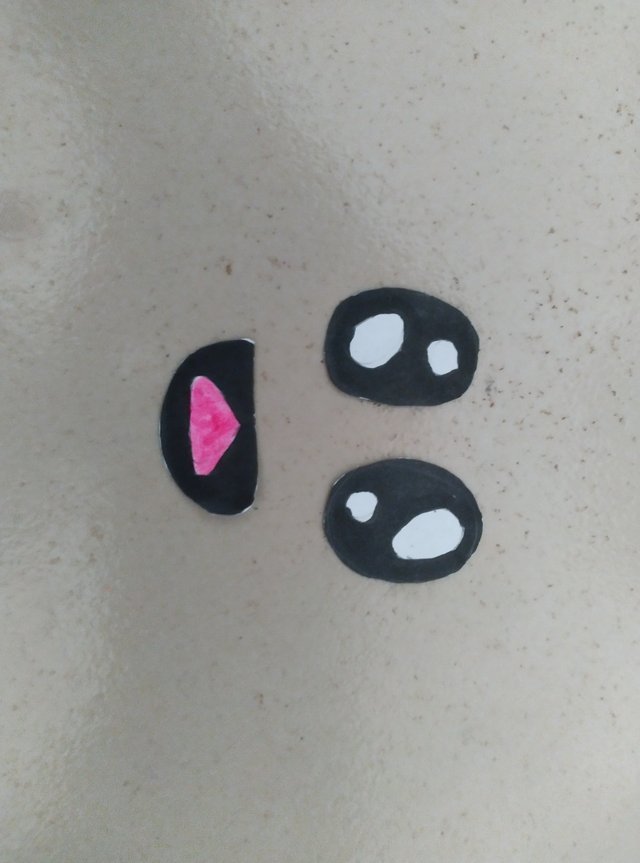
I have attached the image of my drawing if someone needs a little guidance in drawing these tiny things.
Step 04:
Then I got the earlier fixed cylinder part and I cut the bottom part and make it nice and fine.
After cutting the excess bottom part then I applied some more glue and made it dry. To make sure the bottom is hard enough to hold the stationary, I put some stationary and checked. So it worked well as you can see.
This image shows that clearly.
Step 05:
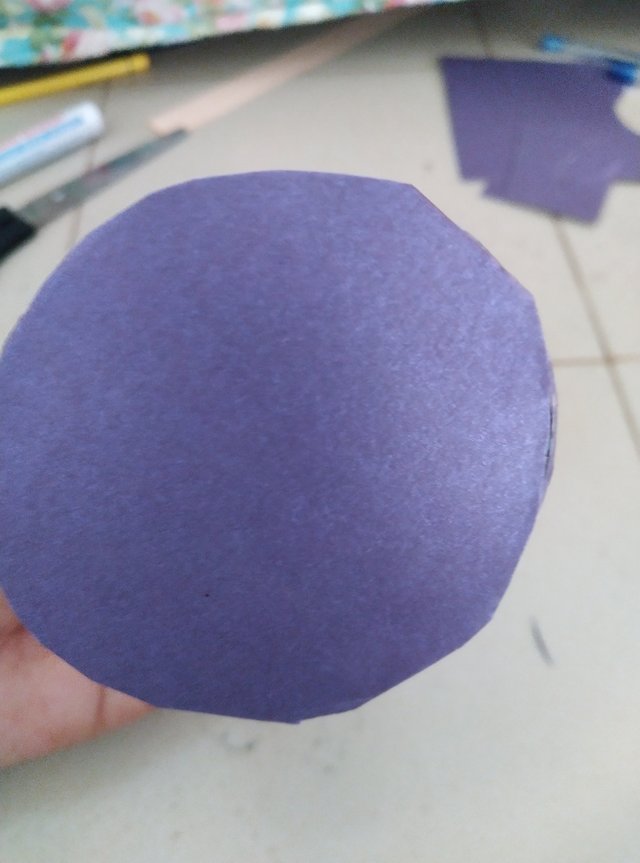
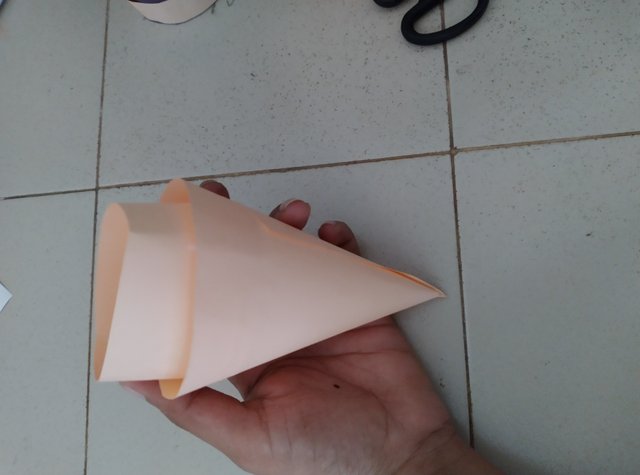
Then I wanted to do the rest of the pencil holder. So I started doing the top part of the pencil holder. For that I needed another different colour A4 paper.
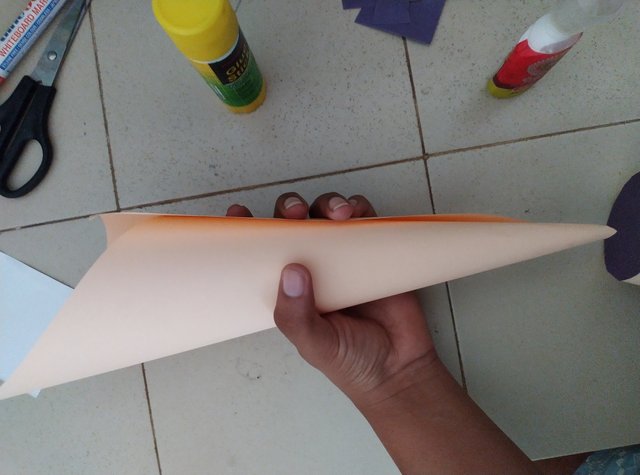
Here, I took the paper and rolled it just like a cone. Then I checked the size with the cylinder and cut it and pasted the edges with normal glue.
See the image attached.
Step 06:
Then it is the time to make a fixer for the lid. So I took a paper and got the measurement of the cylinder and made a circle with it. Then I pasted the paper circle inside the cone lid and made a fixer for it. So the lid will nicely fix to the cylinder.
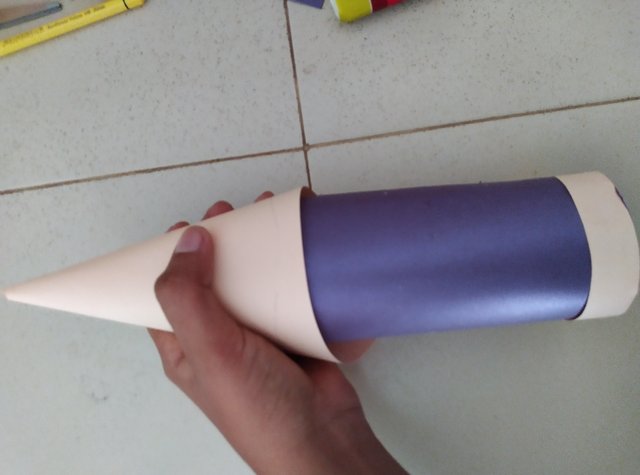
Step 07:
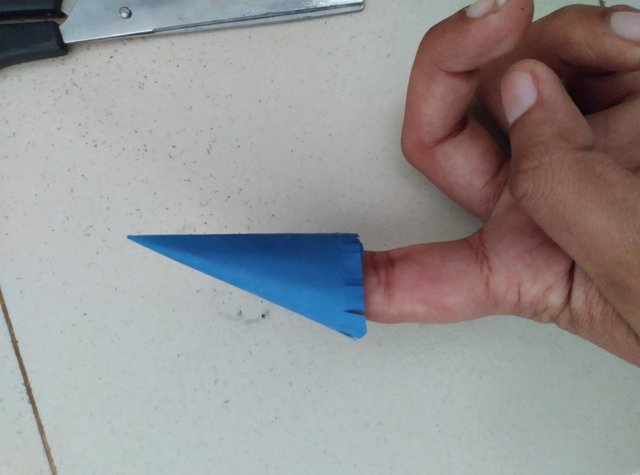
Next I made a simple decoration for the tip of the lid. I wanted to have a fancy look in the pencil holder so to demonstrate the nib of the pencil I used a tiny cone and pasted it on the cone lid.
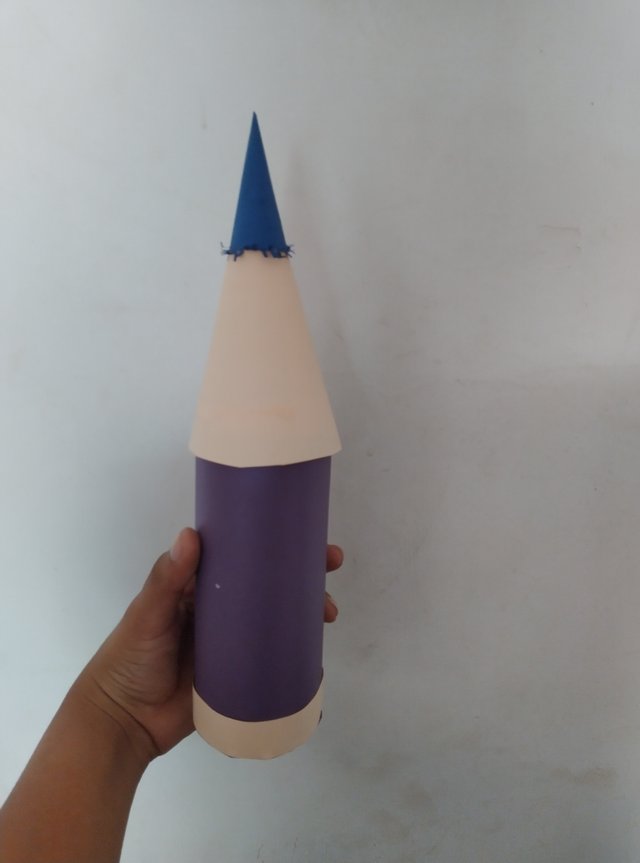
Then I also pasted a paper strip to the bottom border so that it looks more neat and completed. This image shows you the completed pencil holder.
Step 08:
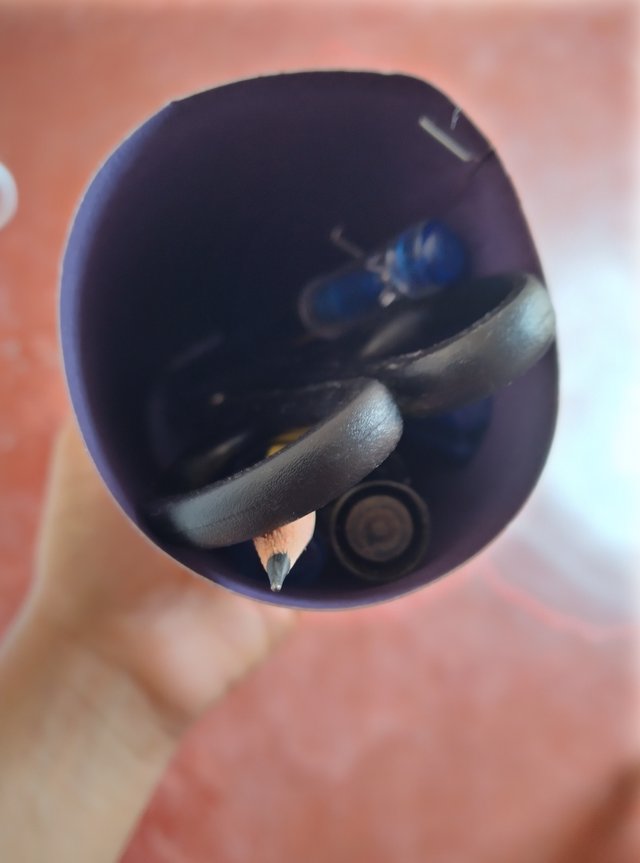
Noe it is the time for final touch to decorate it. I pasted the eyes and mouth which cut earlier and now the handicraft is fully completed.
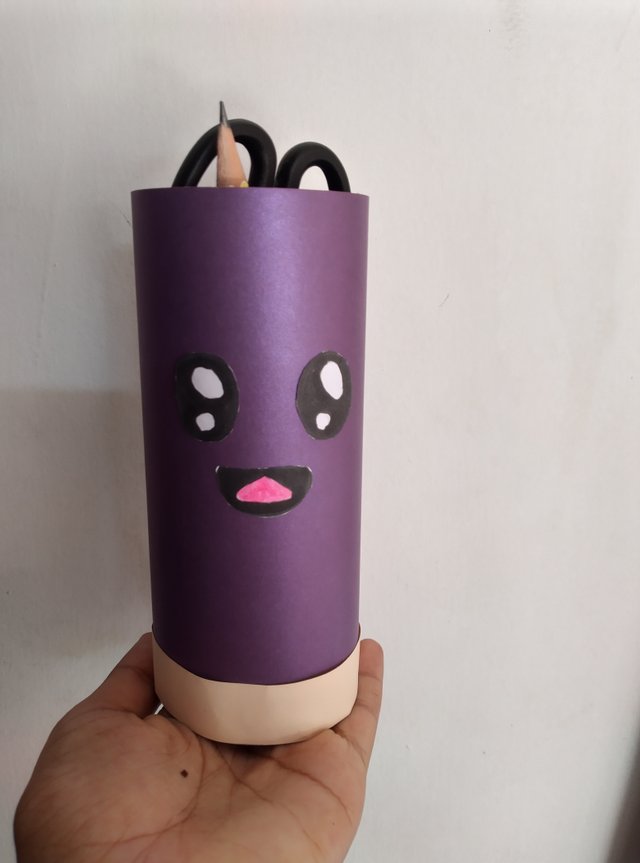
I added some pens and pencils which I use frequently into this pencil holder and closed the lid. This actually looks amazing.
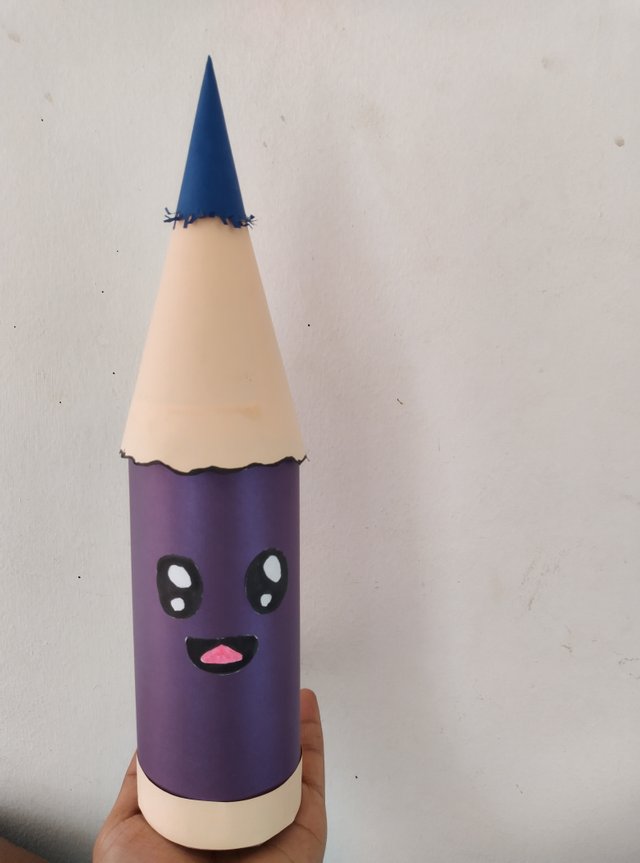
I suggest all of you to try this at home and you can give this to your kids and share with your friends as presents. You can teach the kids to make this too. You can also add more details and different ideas and make this. Thank you for reading my post. Have a good day.
Thank you very much for the appreciations, you have done a very nice craft
Thank you friend.
Congratulations!
This post has been upvoted through @steemcurator04, selected by @jyoti-thelight . Please continue to make quality posts and get upvotes from our team of "Art Curators".