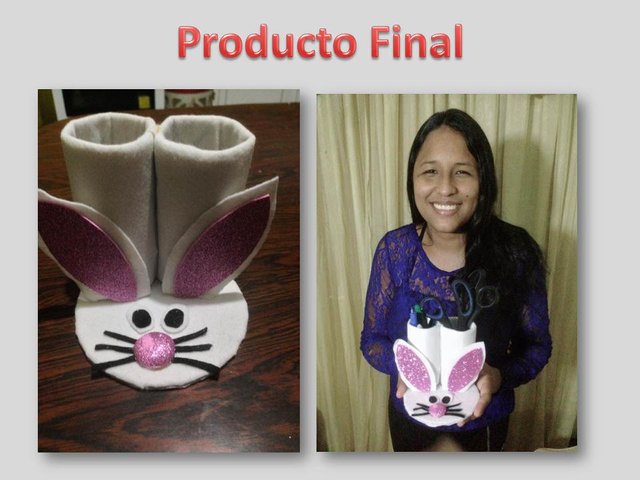
Como hacer un portalapiz de conejita con materiales de provecho by @laurajose02
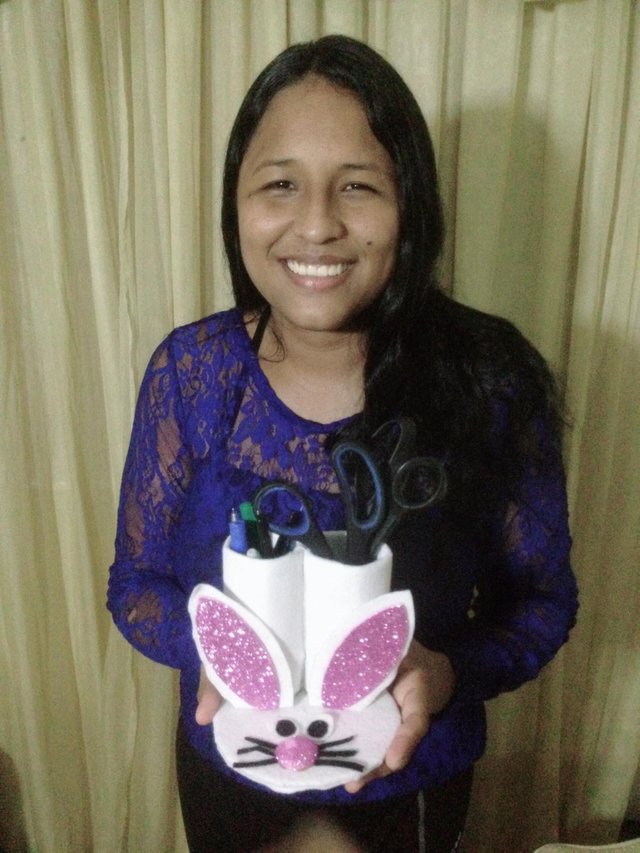
Hola amigas Hermosas de Steem Women club, hoy me encuentro super feliz de ya formar parte de la plataforma y de esta hermosa comunidad que está dedicada especialmente a las mujeres, también me alegra ver muchas personas compartiendo su ideas, es lindo poder compartir tantos conocimientos. En el dia de hoy les traigo un proyecto muy lindo que hice con mucho amor y entusiasmo para ustedes. Trata de como hacer un portalápiz con materiales de provecho que puedes conseguir en tu hogar.
Hello Beautiful friends of Steem Women club, today I am super happy to be part of the platform and this beautiful community that is dedicated especially to women, I am also happy to see many people sharing your ideas, it is nice to be able to share so much knowledge. Today I bring you a very nice project that I did with a lot of love and enthusiasm for you. Try how to make a pencil holder with useful materials that you can get at home.
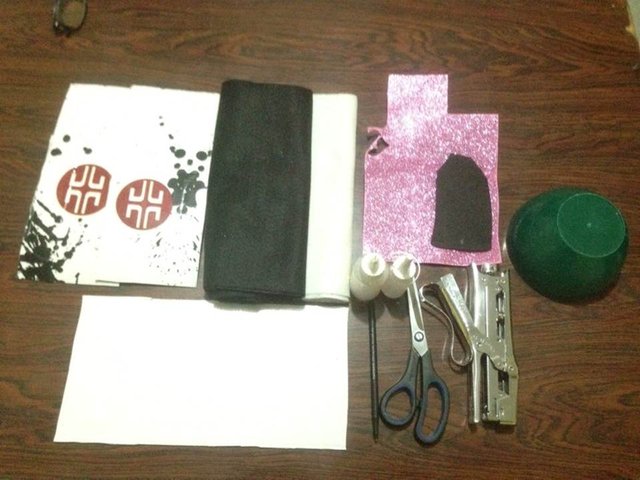
Materiales y Herramientas
- Cartón
- fieltro
- silicon
- Foami
- tijera
- Engrapadora
- taza para el molde
- lápiz
- Regla
- Papel
Materials and Tools
- Paperboard
- felt
- silicon
- Foami
- scissor
- Stapler
- cup for the mold
- pencil
- Rule
- Paper
Procedimiento / Process
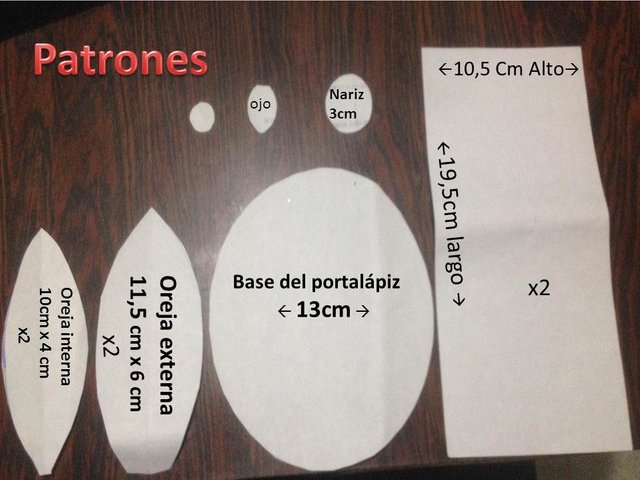
Paso 1
Marcar y recortar los patrones
Mark and cut out the patterns
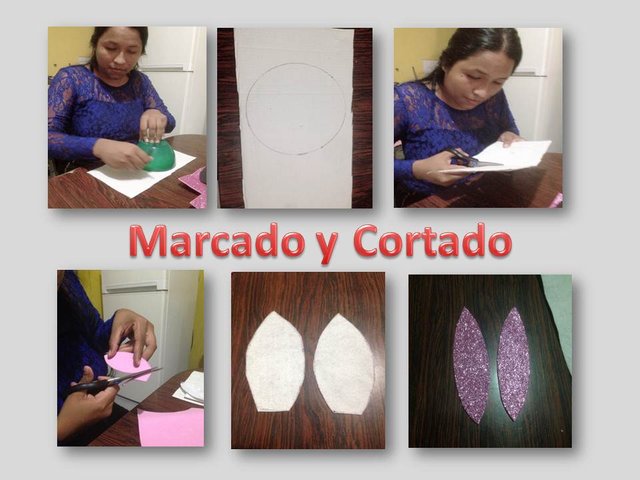
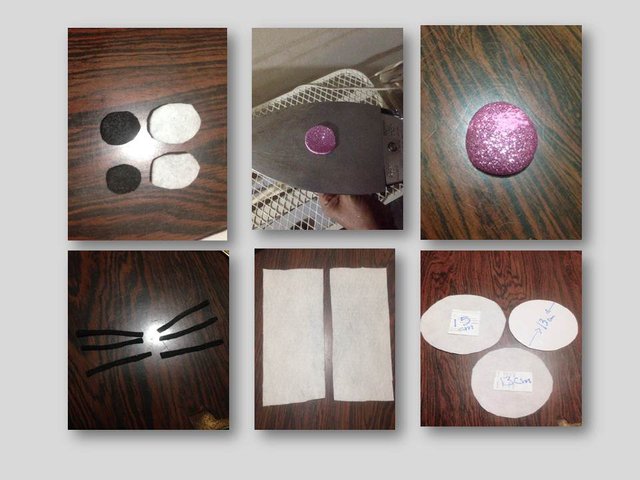
Paso 2
marcamos los patrones al material con que se va a trabajar y lo cortamos.
We mark the patterns to the material with which it is going to work and we cut it.
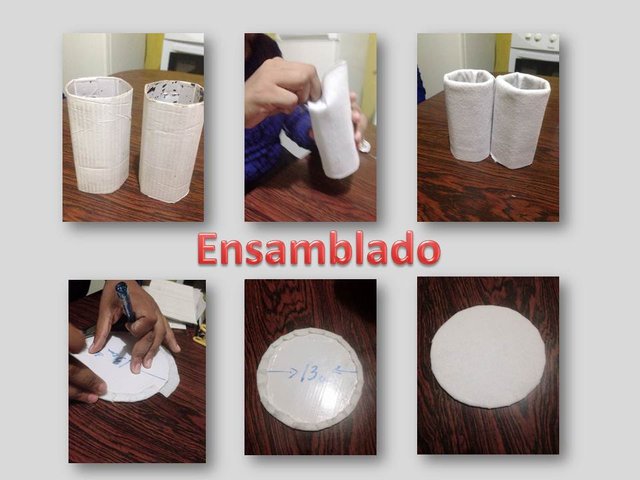
Paso 3
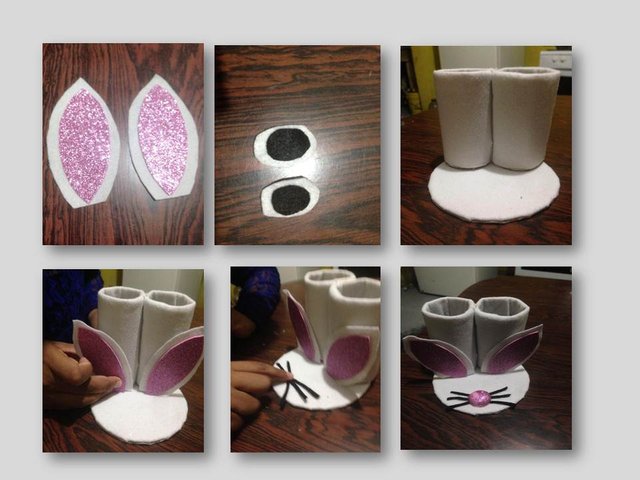
Empezamos a ensamblar los tubos con con el cartón, engrapamos o pegamos, luego procedemos a forrarlo con el fieltro. Luego cortamos dos circunferencia en material de fieltro con diferentes medidas, una de 13 Cm y la otra de 15 Cm. Tomamos la pieza de 15 cm y forramos la circunferencia de cartón, hacemos corte en el excedente de 1 Cm y llevamos hacia el centro para pegarlo, y luego montamos la pieza de 13 cm sobre la base para sellarlo. Luego se pegan los dos tubitos en las terminaciones y se ensamblan a la base, después procedemos a pegar las orejitas, luego los bigotes, la nariz y por último los ojitos, y de esta manera culminamos el proyecto que es mucho utilidad para colocar los lápices, tijeras , marcadores entre otros.
We begin to assemble the tubes with the cardboard, we staple or glue, then we proceed to cover it with the felt. Then we cut two circumference in felt material with different measures, one of 13 Cm and the other of 15 Cm. We take the 15 cm piece and line the cardboard circumference, we cut in the excess of 1 Cm and we take it towards the center to glue it, and then we mount the 13 cm piece on the base to seal it. Then the two tubes are glued on the ends and assembled to the base, then we proceed to glue the ears, then the whiskers, the nose and finally the eyes, and in this way we finish the project that is very useful to place the pencils , scissors, markers among others.
Nota:
Para hacer la nariz de la conejita se uso un diámetro de 3 cm en foami, y se colocó en la plancha caliente para abombar un poco.
To make the bunny's nose, a 3 cm diameter was used in foami, and it was placed on the hot plate to make it bulge a little.
