Arduino Lesson 01- Blinking LEDs
Hi Guys,
I wrote an article 12 days ago about Arduino, I think you all have read that. I thought today convey some facts who loves Arduino coding, so that this will be an extend to that article. I'm planning to make a lesson series about the Arduino and it will be useful for you. I'm planning to submit at least one lesson per week, because I also busy with my studies but I can't ignore steemit platform.
Get ready👍👍
First you should have some simple components, I will mention them one by one. This is our first lesson so I'll tell you how to code two blinking LED s with Arduino. So that you need the following components to complete this simple project.
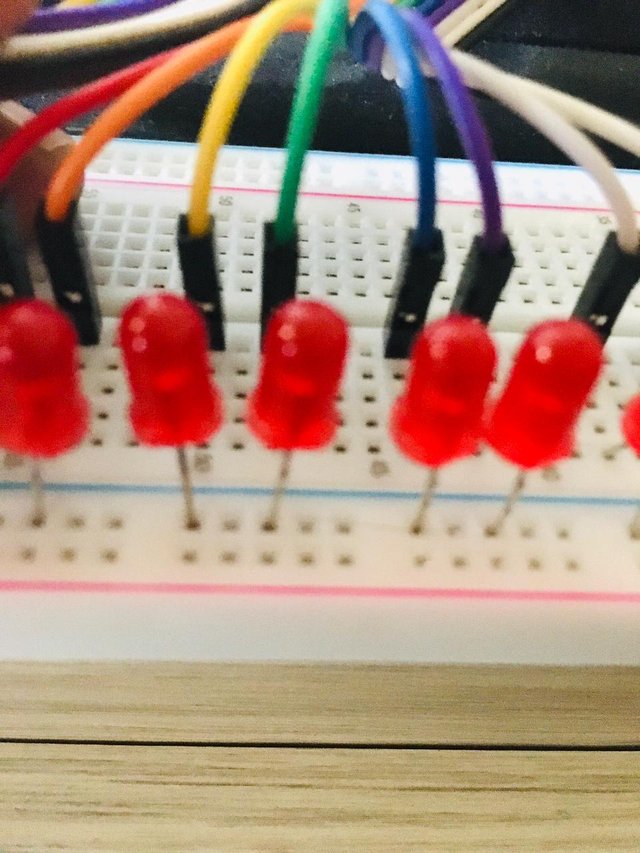
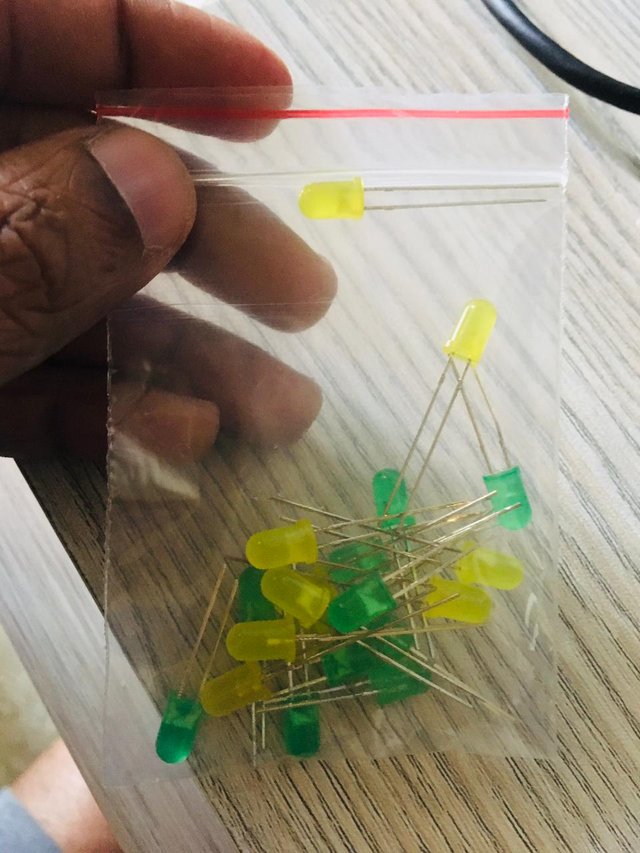
- Two LED s
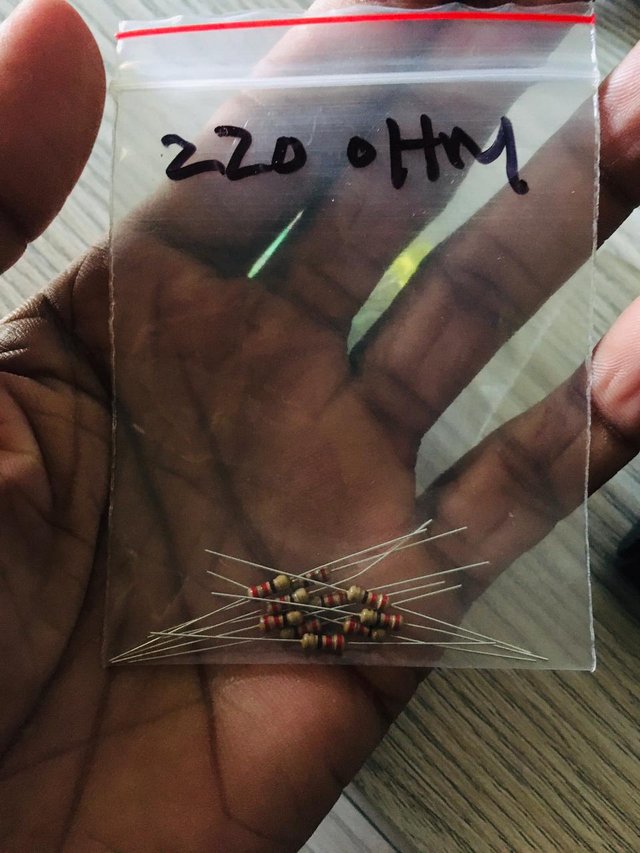
- 220 ohms resistor
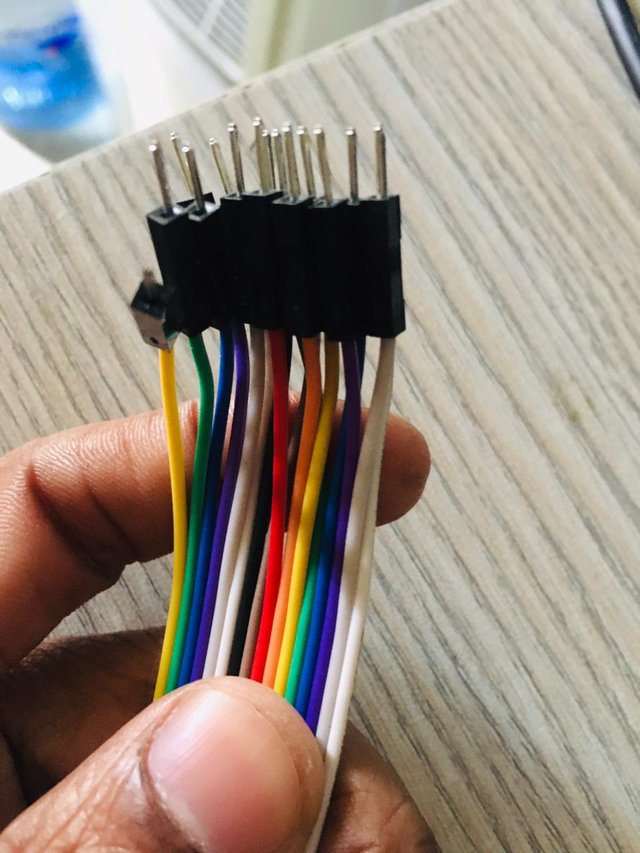
- Jumper wires( male to male)
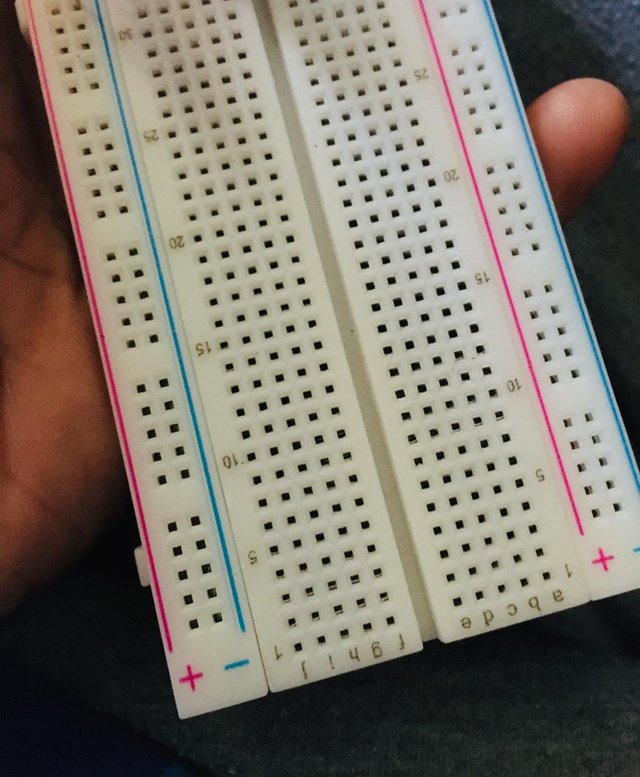
- Breadboard
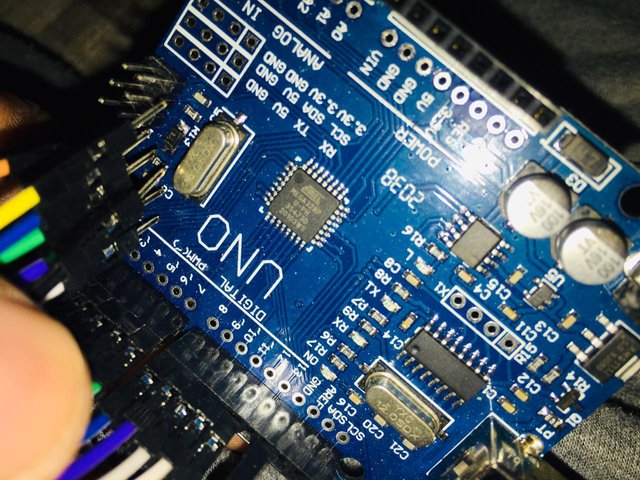
- Arduino Uno board
Time to assemble😍😍
Take the breadboard and connect correctly two LED s considering the anode and cathode sides properly. After connecting LED s then you can connect breadboard connections and Uno board connections to the digital portion of the uno circuit. You can start it from no 2 pin and up to 13 pin. Those lines will be positive output lines to each LED.
Next step is connecting the ground pin(GND), this line is common but we use our 220 ohms resistor to control the current through the circuit.
One minute coding !! so easy😎😎
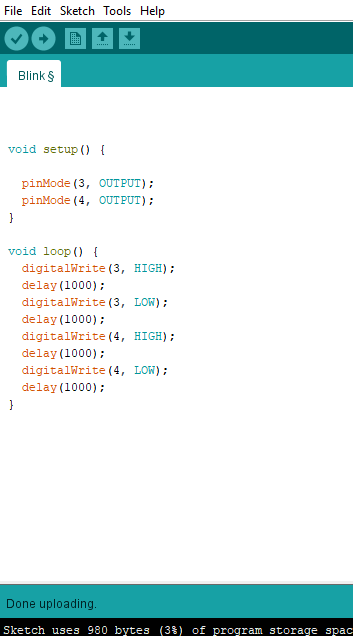
For this project we only need four codes, if you know these four codes you can do it, This is the simplest coding and I will explain "for loop " coding in my future articles. The problem of these coding is it is very lengthy when we are using many LED s.
I'm going to explain simply these four codes...
Void setup- it means setting up the thing you have to do in the program
Void loop- it means this is the place which contains set of instructions to do step by step.
Pinmode - here we have to select the pins whether it is input or output
Digitalwrite- this is the command we are giving to light the LED.

After done coding correctly as per the image I have given then click ✔ to verify the coding, if you done correctly then you can upload it to the Arduino board through USB connection.
All the steps already completed then enjoy your coding....
Good Post .
Keep posting and stay with our community .
Thank you