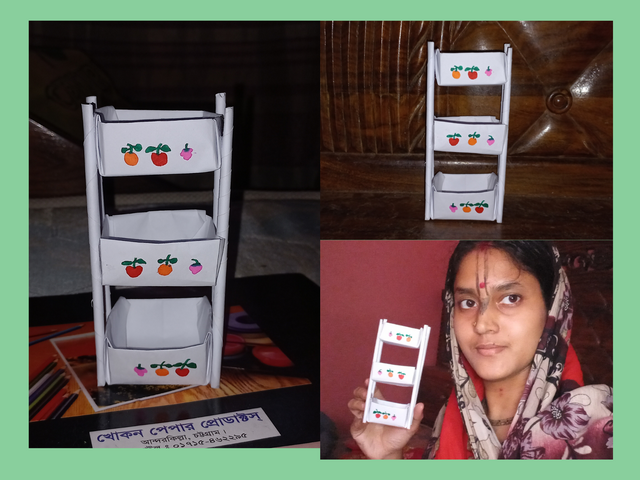
Let's do some creativity- WEEK 9 (A nice rack with papers)"
Greetings friends!!
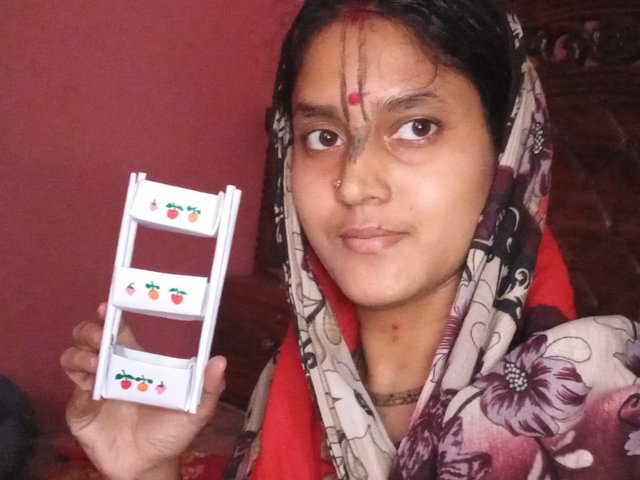
This is @urmilanath650 from @bangladesh
How are you going on friends?? Hope all of you are doing very well in your life. I am well by the mercy of Almighty Krishna. Today I am here to take part in the creativity contest organized by dear @jyoti-thelight. I am going to share a beautiful paper craft with you now. I have made a nice rack using papers and eagerly wish to present this nice work to you. So let's see the required tools and procedure to make this cute mini rack....
- White paper
- Pen vial
- Red color pen
- Green color pen
- Orange color pen
- Pink color pen
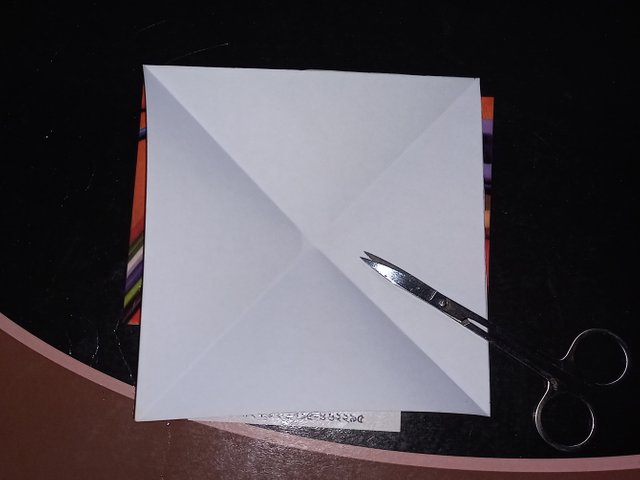
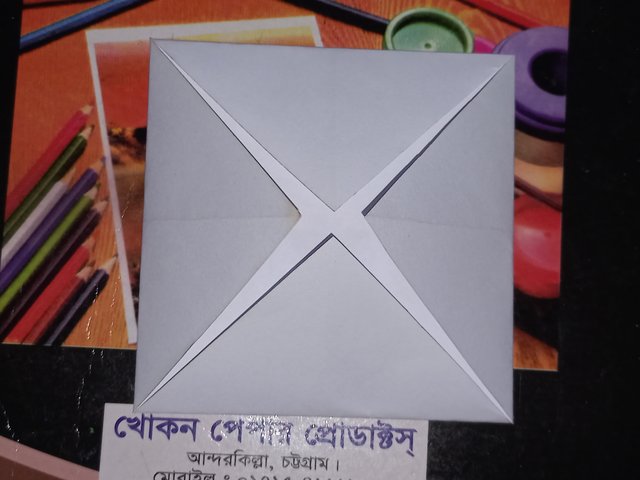
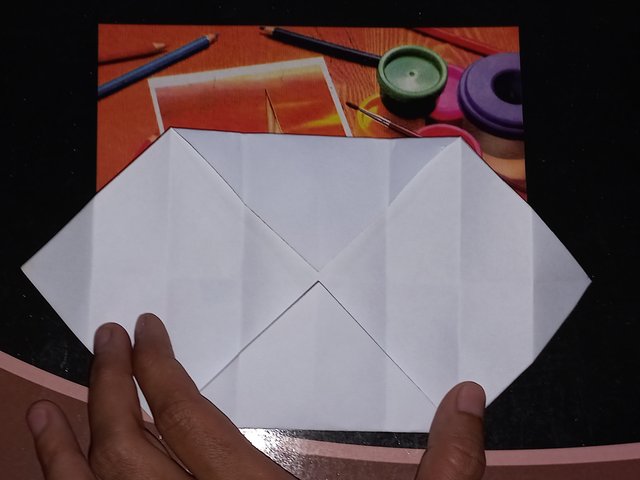
Cut a 14*14 cm square shape from a white color paper. Fold this square diagonally from both sides. Then fold all the four corners of this square upto the center.
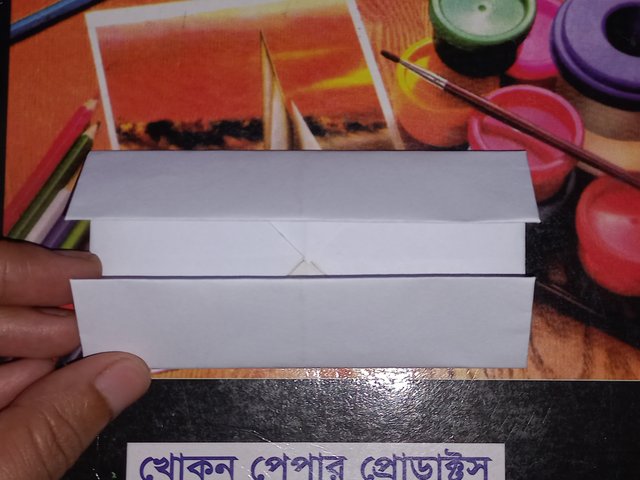
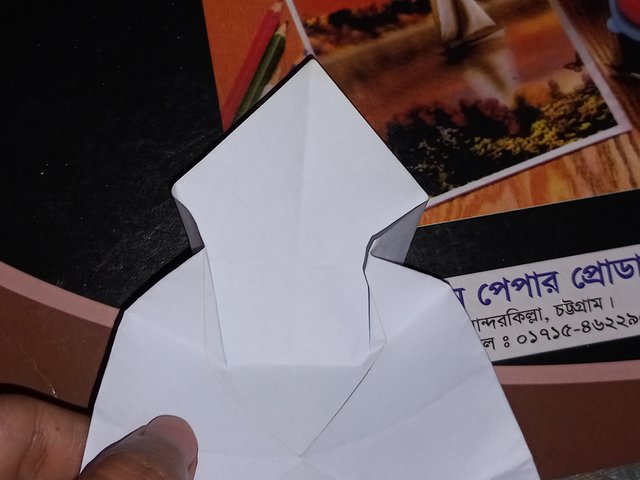
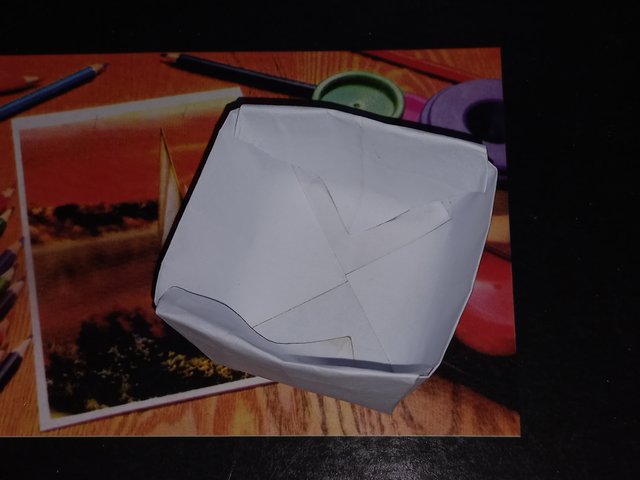
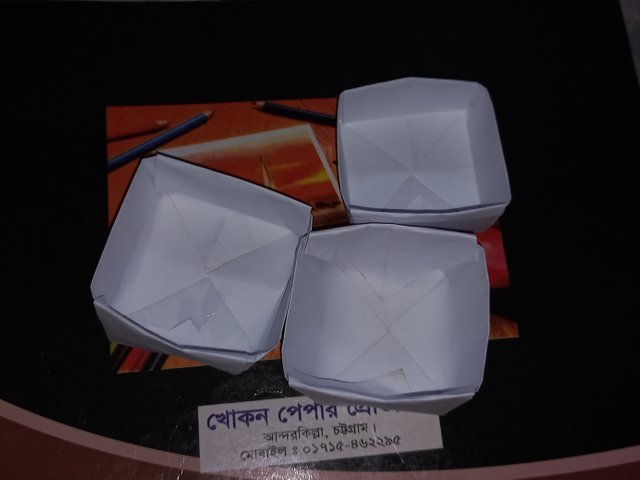
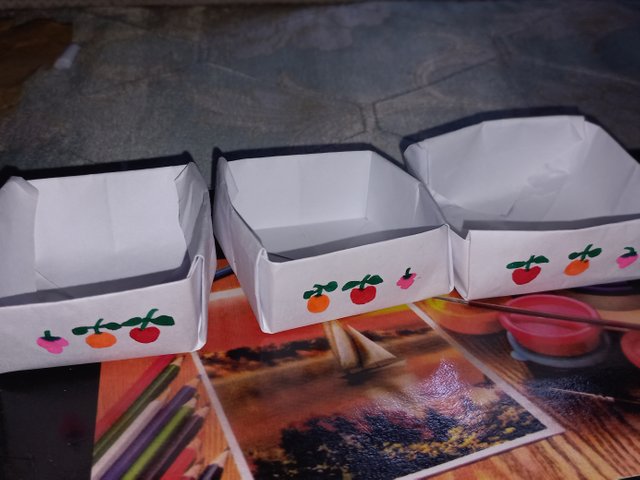
Fold two opposite parts of the paper upto the center and open the folds then. Fold all the four corners towards inside and fold the two upper triangular shapes inside. Use glue to fix the folds. Thus make three same size baskets.
Draw different fruit pictures like orange, apple, strawberry using red, orange, pink and green color pens on the front side of the baskets.
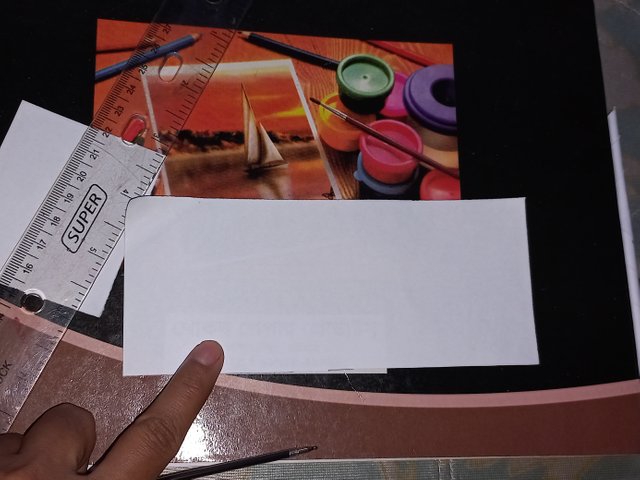
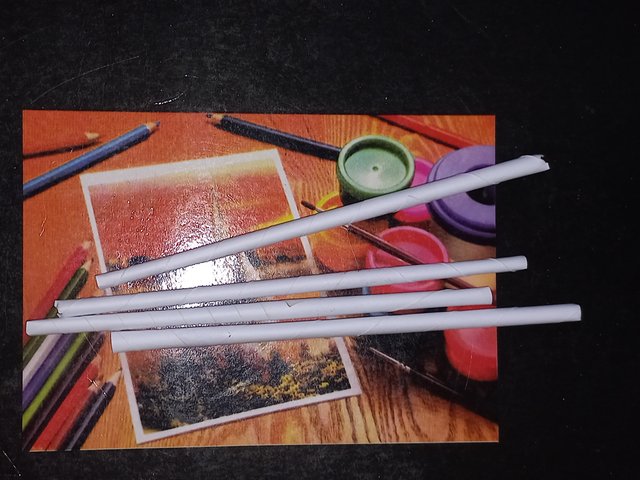
Now cut a large rectangular shape from a white color paper and roll the paper around a pen vial to make a cylindrical structure. Attach its end with glue. Make such four cylinder in this way.
Attach the lower sides of the four cylinders at the four sides of one basket using glue. Holding the sticks at upright position, wait until the glue is dried by air. After drying the glue, attach another basket at the middle position of the four sticks. At last attach the third stick at the top position of the sticks. Let the glue dry.
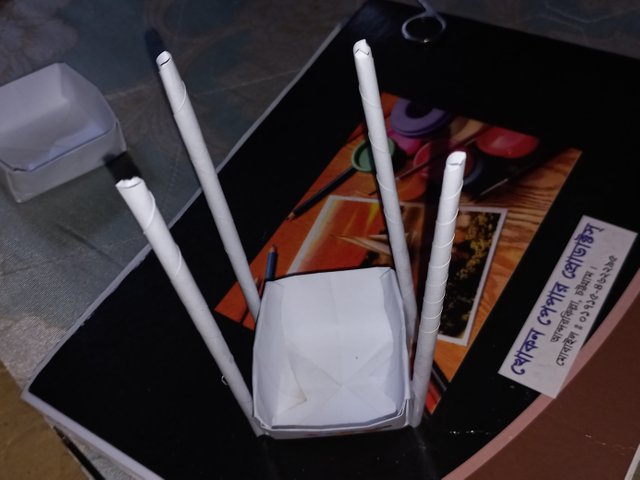
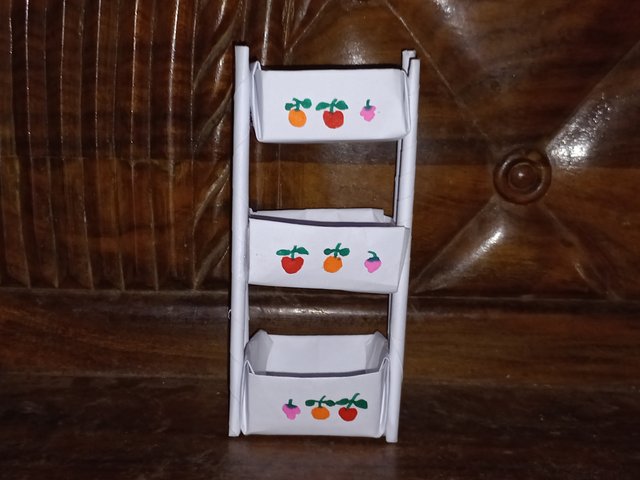
My little and beautiful paper rack preparation is finished here. I have explained all the processes in the above five steps. Hope you all understand and enjoy this beautiful craft so much. Ending here for today...
x share https://x.com/urmilanath55/status/1914969110544294327
Your art skills are mind-blowing @urmilanath650.