The twelve steps to create quality bread.
Hello Steemers! On this occasion I bring to the entire Steemit community a publication where we will develop the twelve (12) steps of bread. We understand that our mission as bakers is to extract all the flavor of wheat, in this way we will follow the axiom of the baker that the best loaves are the ones that are obtained step by step.
What at one time was a pile of unflavored flour, which on the palate felt like sawdust, is transformed in a miraculous way into a series of flavors and textures that comfort the palate and the soul. How does it happen?
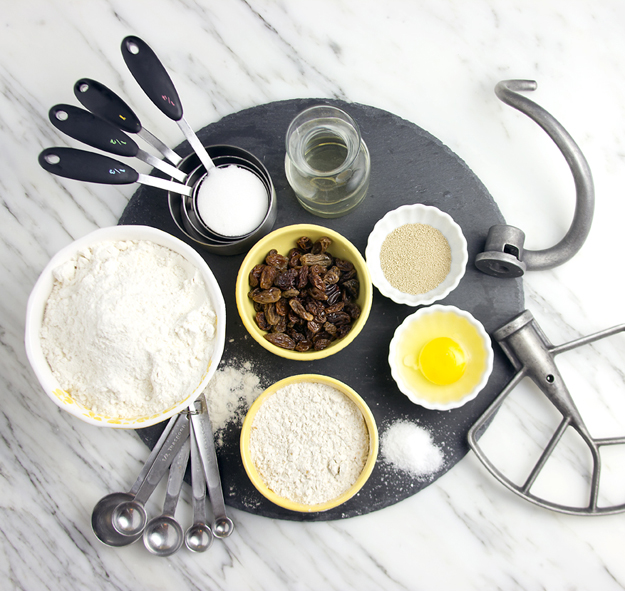
Step 1: Mise En Place
We begin our exploration of this process of transformation with the mise en place, the mise en place is a principle of fundamental organization in all culinary creation, it means that "everything is in its place". It is the first transformation journey that will turn flour into bread.
Keys to perform the Mise En Place.
Calculate and weigh the ingredients before starting to prepare the dough.
Read the instructions from beginning to end and visualize how you intend to develop each phase of the formula.
The mise en place is based on the mental organization as much as on the measure of ingredients, try to have the minimum possible distractions, since you could make mistakes or forget some ingredient.

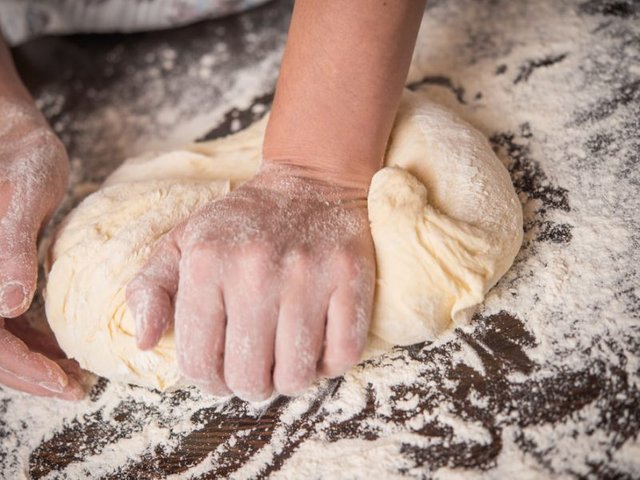
Step 2: Kneading.
The kneading has three objectives:
Distribute the ingredients: it is when the ingredients are added to the bowl or bowl of work, avoiding to place together the yeast and salt. When adding some preferred mixture it is better to add it by parts to achieve a homogeneous mixture.
Develop gluten: As I explained in a previous post, gluten is the main protein in wheat which gives structure and flavor to bread. It is composed of two amino acids, gliadin and glutenin, these are associated with each other when hydrated, hydrate form a complex protein gluten.
Start the fermentation: It is a process caused by the hydration to the yeast, it can be with water, milk or juice.
The way to achieve these three objectives of kneading depends to a large extent on the raw ingredients that make up the dough that is being created. We are going to analyze the two types of masses, direct masses and indirect masses.
The direct doughs are mixed with ingredients that have not previously been subjected to any other mixture or fermentation. Breads made with this method tend to focus on the flavor of the ingredients, which in the flavor developed by fermentation these mixtures usually carry enough yeast to produce the necessary growth in a minimum amount of time.
The indirect masses are made in two or more phases, using preferential (poolish, biga, natural sourdough) This method is effective when a prolonged fermentation is needed to develop the flavor and texture.
Mixed in machine and kneading by hand.
Regardless if you use direct mass or indirect masses, you must meet the three objectives of the kneading.
The idea of knead by hand has a romantic nuance, a spiritual and meditative component. Seen from a practical end, both methods serve to achieve the goal.
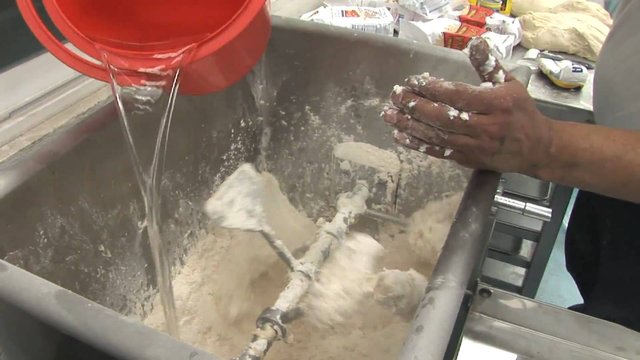
Mixed in machine, this mixing is used if you must knead 4Kg or more of dough, using kitchen aids or industrial mixers.
Step 3: Primary Fermentation
The initial or primary fermentation is the most important phase in the creation of bread, it is in this phase where the mass goes from being a pile of clay to become a living organism.
What many bakers do not understand is that with good wheat you can get bad bread. The magic of the bakery consists of manipulation and fermentation. What has been lost ... is this method. - Lionel Poilâne
Whatever the necessary specifications of each dough, it is always about finding the balance between time, temperature and ingredients. Essentially the sugars. Sugar is the essential ingredient for fermentation because it is transformed into alcohol and carbon dioxide by the action of the yeast process. If a bread does not have sugar in its formula it is not a problem, because remember that the flour has enzymes of sugars in its interior and will produce the same effect in smaller capacity.

Source
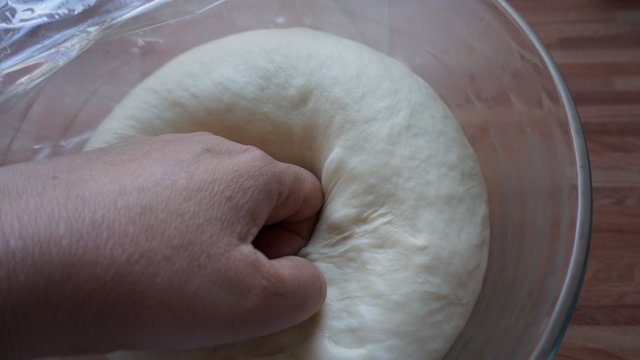
Step 4: Degassing.
This is a degassing process of the dough after its first fermentation, in this process there are four important reasons:
This removes part of the carbon dioxide trapped in the structure created by the gluten, since the excess carbon dioxide would end up drowning the yeast and killing it.
Allows gluten to relax.
The external temperature of the dough is normally colder than the interior temperature when degassing the whole mass remains at the same temperature.
By eliminating the excess gas, nutrients are redistributed and the yeast feeding cycle begins.
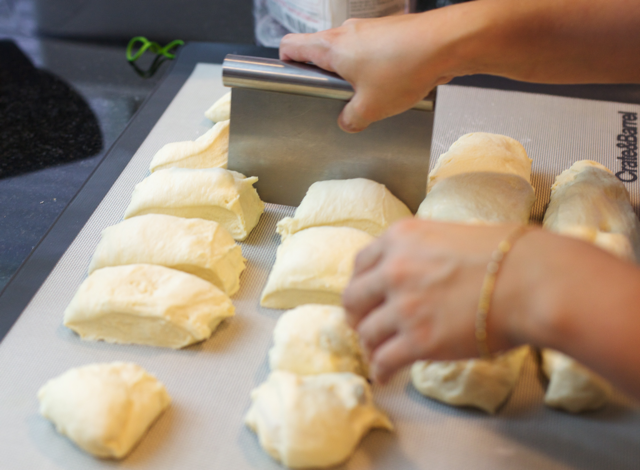
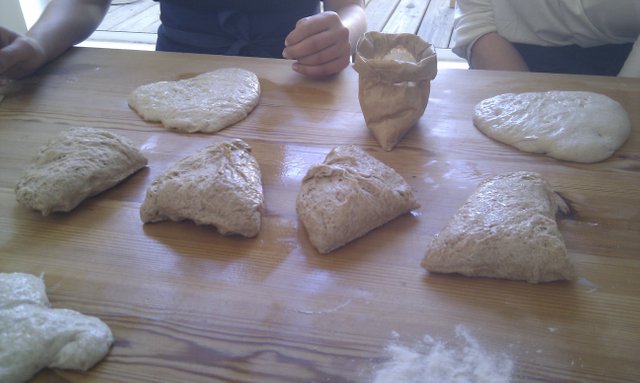
Step 5: Division.
First the dough must be cut and weighed, after that we proceed to give it the shape we want. We must bear in mind that in this step it is extremely important that they cut the dough cleanly, they should never stretch or tear it. For each cut they make, weak points are created that affect the final result if two pieces have to be combined to achieve the weight.
Source
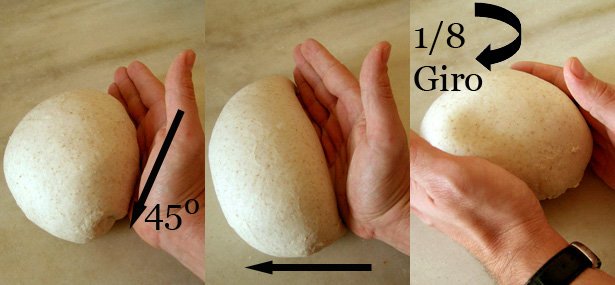
Step 6: shape it.
After dividing it, a preliminary form is given to the dough, creating a boule or a batard depending on the type of bread they are making. This is the boleado, to give a preliminary form to be able to stretch the gluten and create a superficial tension in the skin of the dough and that thus it conserves a milder form for its final fermentation.
Boule
Source
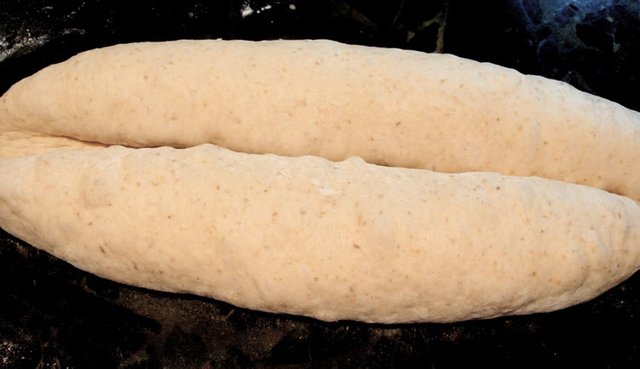
Batard
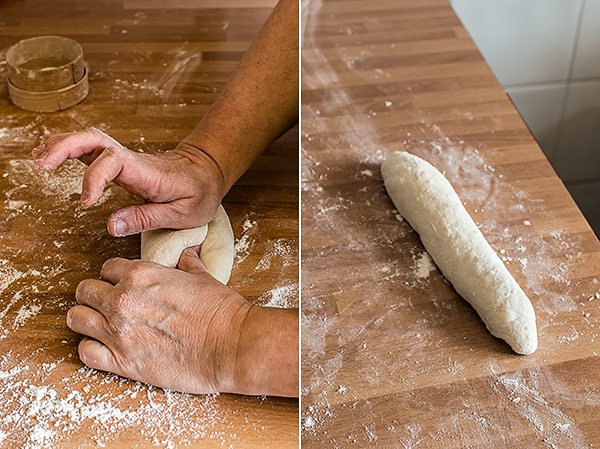
Source
Step 7: Rest.
Depending on the type of bread that is being made, the dough can be given its final shape almost immediately. Or you may have to rest 30 minutes or more for the gluten to relax and give it its final shape. The fact that a mass needs this phase will depend on three characteristics, they are dependent on the gluten in the dough.
Ductility, is the ability of the mass to stretch and maintain the shape.
Elasticity, is the tendency to return to its original shape like a rubber band.
Tolerance, is the resistance of the dough in the kneading without breaking.
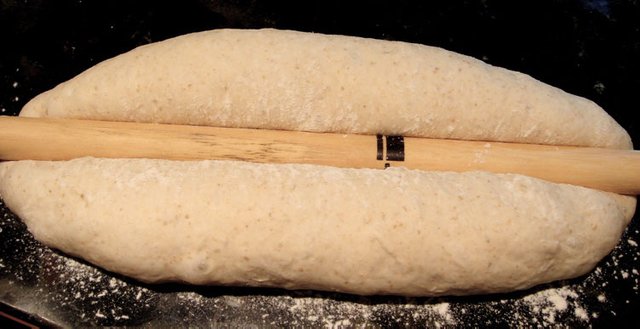
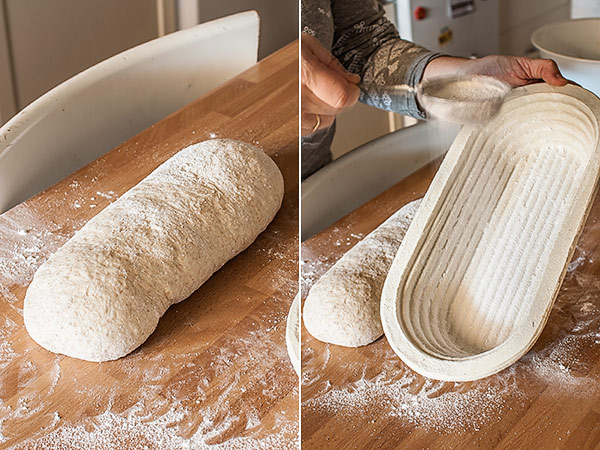
Step 8: Molded.
In this phase we take the dough once it has been rested and we mold it according to the type of bread that is, there are many types of molding such as Fougasse, Fendu, Bars, Baguettes, Batards, Tabatiere.

Source
Source
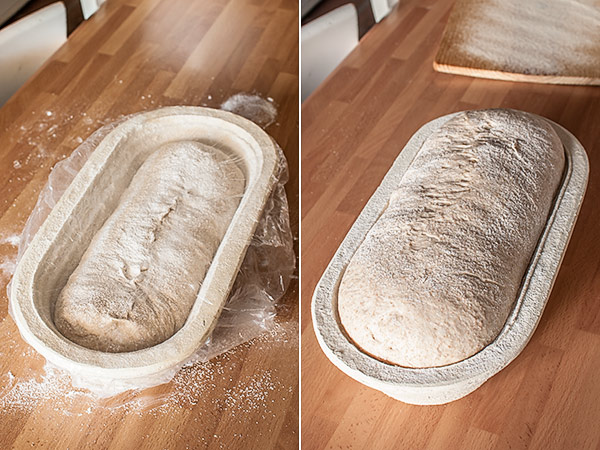
Step 9: Final fermentation.
From step 5, the final fermentation cycle begins in this process the dough has increased its size, its flavor has increased. The most important part of this phase is to make the dough the right size for baking, normally 80% -90% of the final size is desired and it ends up growing inside the oven.

Source
Step 10: Baked.
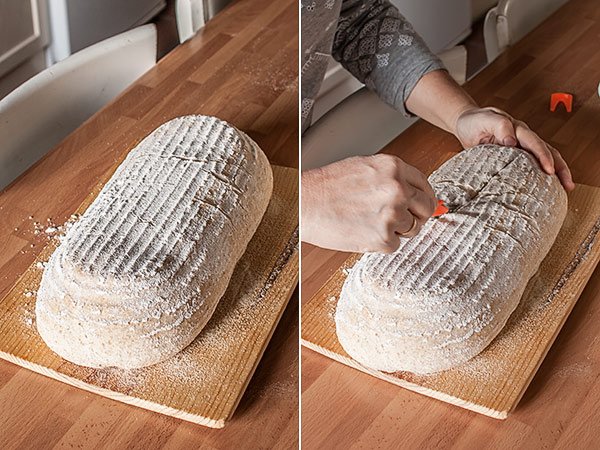
In this phase we have to grind or mark the bread, the preparation and load the oven. The important part of the process is in the oven where three reactions of great importance occur:
The gelatinization of the starches.
The caramelization of sugars.
The toast of proteins.
The branded or marked bread is made so that the mass releases the gases and grows without deforming.
Source
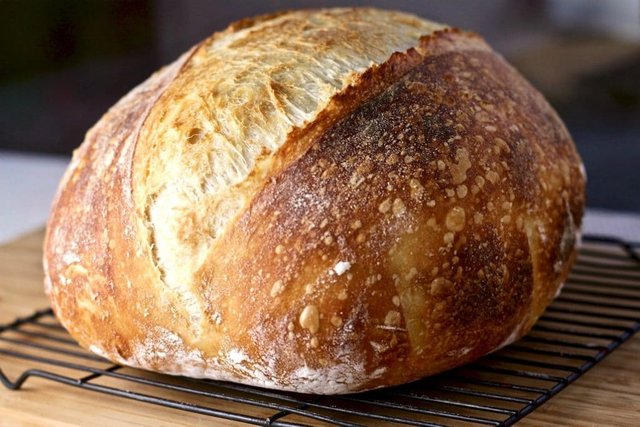
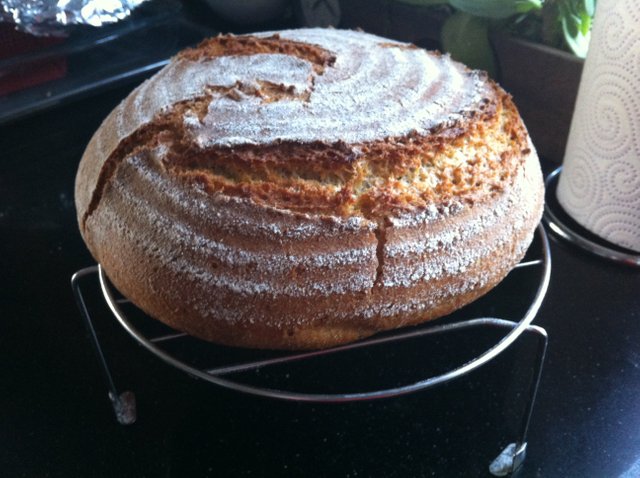
How to know when the bread is ready.
- Firm bread and hard crust, until the center of the bread reaches 95° or 100° C for rustic breads.
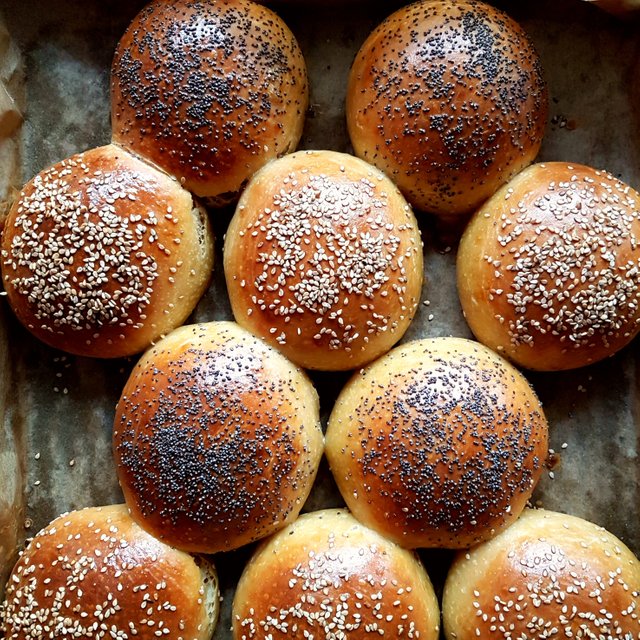
- Soft rolls should reach 80° or 85° C. Remove them from the oven if you give a small blow below and sounds hollow.
Step 11: Cooled.
People think that when the bread comes out of the oven the work is finished, but it is not so the bread comes out with an internal temperature of 85 ° -95 ° C depending on the type of bread, while in these temperatures it will continue producing vapors and will continue to gelatinize starch inside, if we cut the bread at this time will lose all moisture and we will not have the true taste of bread.
We must always beat the temptation to eat a slice of freshly baked bread spread with margarine, but if we want to know the true taste of the bread we should expect them to cool to room temperature for about 2 hours.
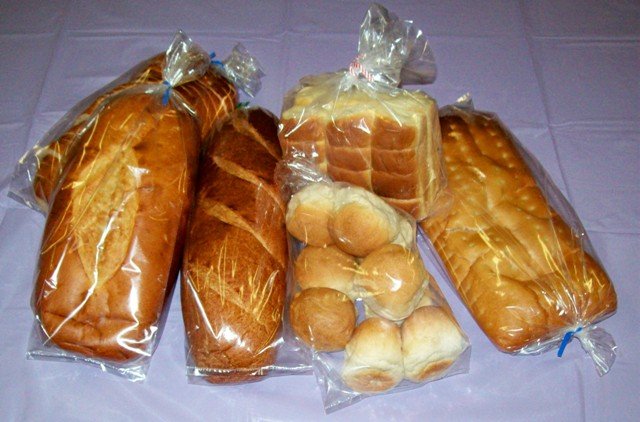
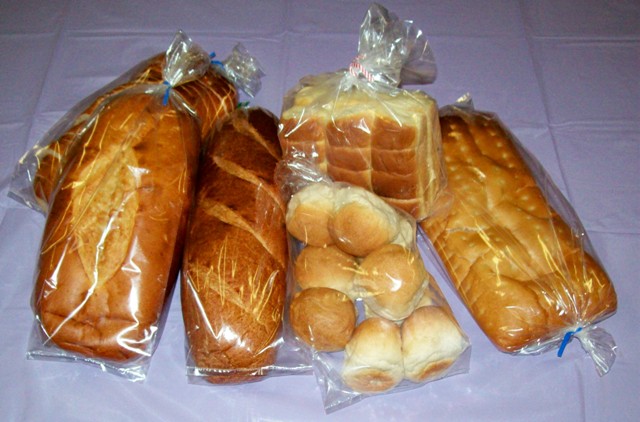
Step 12: Storage.
Storage Tips:
The non-fat and hard-crust bread stays crispy if wrapped in paper, this can give you a day or two to live. If they wish to keep them for longer, take them to the freezer, when they want to eat, take them out of the freezer and place them in the oven previously heated at 180 ° - 200 ° C for approximately 15 minutes.
Soft and enriched bread should always be stored in tightly closed plastic bags. It should be stored in a place away from sunlight because with the plastic bag it can perspire the bread creating fungi, it can also be frozen
When they are going to heat a bread that was in the freezer they should remove it 1 hour before, preheat the oven and place it in the tray and cover it with a damp cloth with hot water.

Source
Precautions in storage.
The bread should never be stored in the refrigerator, it loses moisture and transpires, which creates fungi.
Do not store hard-crust bread in plastic bags.
Never store freshly baked bread in plastic bags.
Thank you for reading and make sure to join our Discord Server and follow @steemkitchen for more curated recipes and fun contests.

Wooooiw nice food
Yes, if you like it can upvote and resteem!
yes i will
This is very nice post...it's help to us...welldone
Im glad do you like it!
You got a 44.44% upvote from @voteme courtesy of @albertocotua! For next round, send minimum 0.01 SBD to bid for upvote.
Do you know, you can also earn daily passive income simply by delegating your Steem Power to voteme by clicking following links: 10SP, 25SP, 50SP, 100SP, 250SP, 500SP, 1000SP, 5000SP.
this post resteemed and upvoted by group of @mrbean1
Thank you for using my service!!@albertocotua
click here to read more about me
Like
Thanks! if you like it can upvote and resteem!
Thank you for this post, man.
It's like an 'all you need to know' post.
I will start making one right now. LOL
It's a wonderful post! All the information I need to know in one article.
That is a very nive becoming to you boss!! Thanks for all support.
Great post. My wife likes to make bread and this will give her some good tips. To help with the smartmarket vote amounts they have a calculator here https://smartsteem.com/buy you can apply to be whitelisted to access higher votes.
Thanks Richard! And if your wife has a question, you can check me here
This is an impressive post, I think even I can try to bake some bread. Thanks for your support and I hope the community can apreciate the knowlege you are sharing here.
Thank you for the comment, this is it and any questions you have about the steps here will be to assist you.
Your Post Has Been Featured on @Resteemable!
Feature any Steemit post using resteemit.com!
How It Works:
1. Take Any Steemit URL
2. Erase
https://3. Type
reGet Featured Instantly & Featured Posts are voted every 2.4hrs
Join the Curation Team Here | Vote Resteemable for Witness