EOS & Scatter - Part 1

A simple tutorial on using Scatter to interact with the EOS ecosystem
There's a ton of excitement at the moment for the upcoming EOS mainnet launch. One easy way to start thinking about dApp concepts is to start using the tooling that is being actively worked on.
Welcome Scatter 🎉. What is Scatter? Well from the site:
Scatter is a way to sign transactions and provide private data without exposing keys and unnecessary information while interacting with web applications communicating with the EOS Blockchain.
Awesome. Let's start interacting with EOS using Scatter.
Step 1: go to https://scatter-eos.com and download the extension.
Step 2: You'll need to create an account and create an identity. Easiest way is to click on "Play Around" or just go directly to http://www.demos.scatter-eos.com/#/
Alright done and done. For this first part, we will keep things very simple. I demo'd a simple dApp at our EOS meetup group. Here's what we do:
- If no Scatter / EOS connection... we show nothing
- If we do find that we have Scatter... we will have the extension prompt for access to an identity.
- If we "Approve" access to that identity, we unlock all the EOS goodies.
- If we "Decline" then we handle that scenario and let the person know they were "oh so close".
So with that said, here's what we'll be building in this tutorial:
https://ajose01.github.io/EOS_meetup_demo

And the repo: https://github.com/ajose01/EOS_meetup_demo
Let's start! For this example I'm going to be using Webpack to handle JS organization.
We will start with a blank index.html that links to our webpack bundled index.js file. Starting with the index.js file, let's just emulate the sample from the Scatter Github repo
document.addEventListener('scatterLoaded', scatterExtension => {
    // Scatter will now be available from the window scope.
    // At this stage the connection to Scatter from the application is
    // already encrypted.
    const scatter = window.scatter;

    // It is good practice to take this off the window once you have
    // a reference to it.
    window.scatter = null;

    // If you want to require a specific version of Scatter
    scatter.requireVersion(3.0);

    //...
})
You'll notice that the event listener is checking for a ‘scatterLoaded' event, which the extension will trigger if it's active. If not, none of this code will be executed.
Also as a best practice, you'll be nuking the window.scatter reference. However, while learning I skipped this part and commented out that line.
// window.scatter = null
This allows us to play with the scatter object in the console.
Go ahead and test out window.scatter in your chrome console. You should have that object readily available if all things loaded up correctly. You should see an object like this:
> window.scatter
e.default {identity: {...}, eos: ƒ}eos: (t,e,r={})=> {...}identity: {account: {...}, hash: "01e99f682b125abfd1259824627e060bf9a59d9d0f11275e9c66f333198faaf5", publicKey: "EOS66D8fwBxHo5SmfMkPp4Dwp99gJ5JkdKfm94X2VyFjdCZSLGYGi", name: "RandomRabbit945"}__proto__: Object
Now onto requesting an identity from the Scatter extension (you know... the one you setup in Step 2 above. From https://github.com/EOSEssentials/Scatter#requesting-an-identity we gather we'll do the following:
// You can require certain fields
scatter.getIdentity(['account']).then(identity => {
    //...
}).catch(error => {
    //...
});
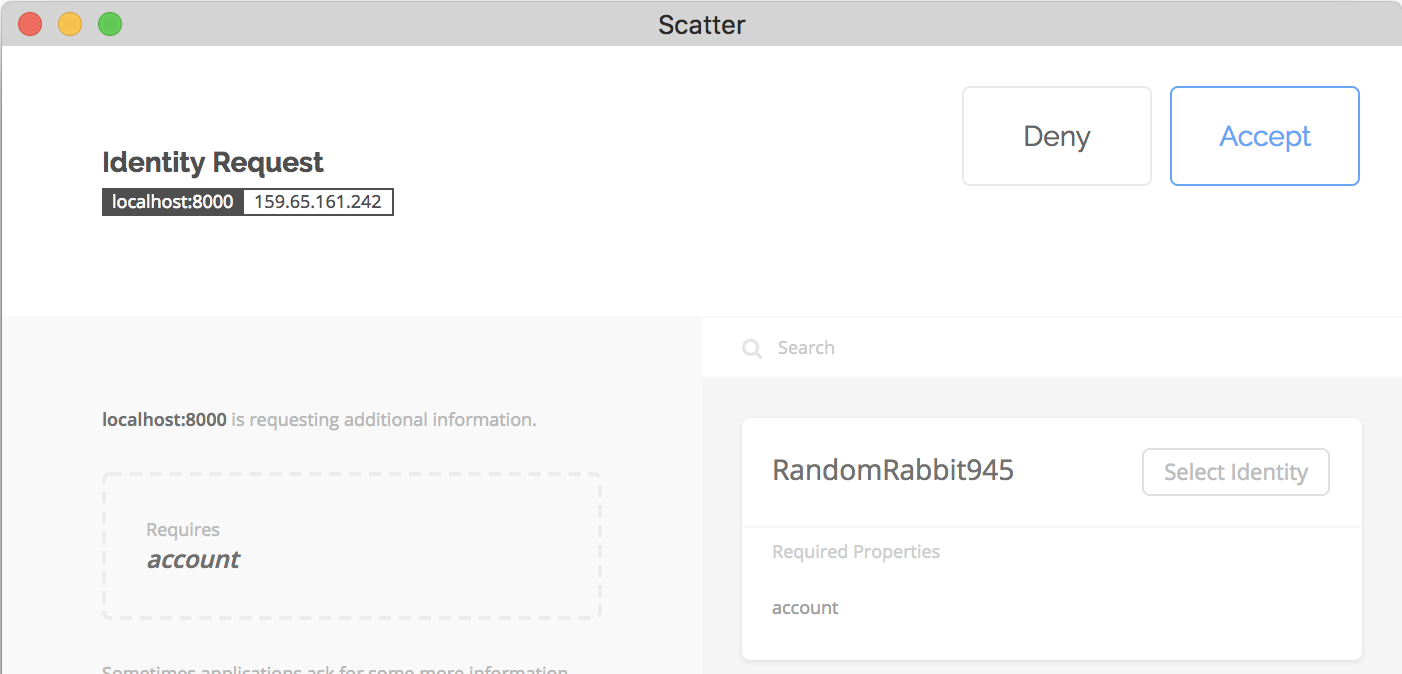
The function above will trigger a confirmation pop up from Scatter where you select an identity and "Accept" its use.
So let's start giving our main JS file some structure. Mine is named simply index.js
document.addEventListener('scatterLoaded', scatterExtension => {
  const scatter = window.scatter

  let getIdentity = () => {
    scatter.getIdentity(['account']).then(identity => {
      console.log(identity, "identitySuccess")
    }).catch(error => {
      console.log(error, "identityCrisis")
    })
  }
})
By wrapping the scatter.getIdentity function we can trigger it on a specific event vs. having it autoload. We are also assigning the identity to a variable so that we can access it later. However, this is mainly for our demo purposes. After you've run the scatter.getIdentity function once, you can access this again via scatter.identity object.
At this point we can already trigger an identity request and have the Scatter extension pop up asks us for approval. Let's trigger that right now:
document.addEventListener('scatterLoaded', scatterExtension => {
  const scatter = window.scatter

  let getIdentity = () => {
    scatter.getIdentity(['account']).then(identity => {
      console.log(identity, "identitySuccess")
    }).catch(error => {
      console.log(error, "identityCrisis")
    })
  }

  // Let's trigger it here
  getIdentity()
})
Go ahead and refresh your page. You'll notice that the Scatter extension comes up correctly... but there are no identities to be found! However, if you go back to the Step 2 demos from scatter, your identities are there. What's up with that?
Here's the trick. Scatter by default is trying to connect to an EOS node on localhost. However, even if we had a node running we would still need to connect to the node where our accounts were created.
If you'd like to go ahead and create an account on your local node and import that key into Scatter, you are more than welcome to do so. However for purposes of this tutorial, we are going to cheat one tiny bit.
Open up the Scatter extension, and select the Identities tab. You'll notice that under accounts it has an IP address followed by the port 8888. This is the node that was used for Scatter's demo apps 💰. We are going to go ahead and borrow that node, and plug our dApp to grab identities from there as well.

There is a scatter default version to set this, but as of this writing it wasn't fully functioning on the Chrome extension itself. However, we can pass in EosJS options into scatter, including a Localnet configuration. We will also use eosjs in later tutorials to interact with the blockchain, so let's just go ahead and set that up now.
Use yarn or npm to add eosjs as a dependency:
yarn add eosjs \\ OR
npm install eosjs
If you're using webpack add the following to the beginning of your index.js file.
import Eos from 'eosjs'
Now let's add in the following lines to configure which node to use:
document.addEventListener('scatterLoaded', scatterExtension => {
  const scatter = window.scatter

  const network = { host:"159.65.161.242", port:8888 } // The node where our identites were created
  const eosOptions = {}

  const eos = scatter.eos( Eos.Localnet, network, eosOptions )
...
})
Now when we refresh our page, when scatter pops up we'll notice that we can now see our previously created identity. #winning.
Now let's add something to our index.html. When we first load our page, we want to be in full secret mode. This will be our default setting:
<h1 id="Title">SHHH NONE EOS SECRETS HERE</h1>
<video id="vid" autoplay loop>
   <source src="https://media.giphy.com/media/NdKVEei95yvIY/giphy.mp4" type="video/mp4">
</video>
<script src="./dist/bundle.js"></script>
And let's make it easy to grab these in index.js:
...
import Eos from 'eosjs'
// let's make it easy to grab some dom elements
const title = document.getElementById("Title")
const vid = document.getElementById("vid")
...
Ok, time to start handling some different scenarios with the help of our template here. Our default is being handled already, if we don't have Scatter then we display the original HTML.
Now let's change our title / vid if Scatter is detected. We'll add the following to index.js
...
const scatter = window.scatter
// If the scatterLoaded event is detected, we change the messaging as follows
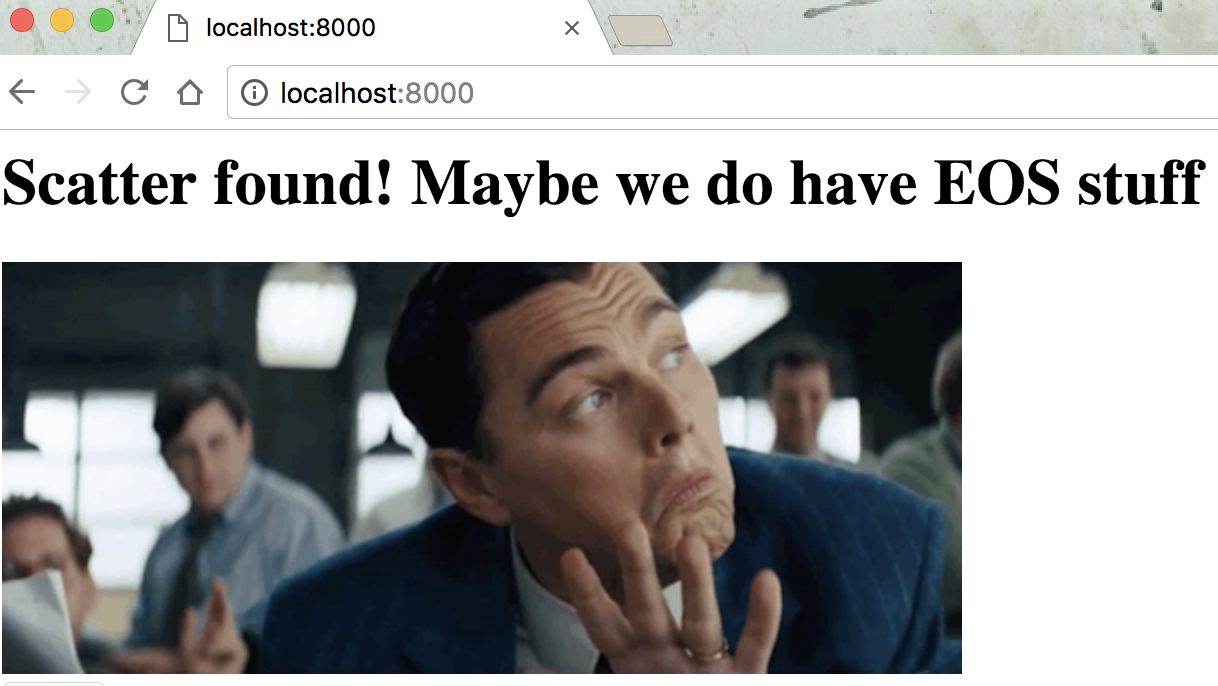
title.innerHTML = "Scatter found! Maybe we do have EOS stuff"
vid.src = "https://media.giphy.com/media/DfdbTJZx6Yjra/giphy.mp4"
Alright... we've got some action going on when scatter is detected.
So far we've been triggering getIdentity() on load to test that Scatter has been working. Let's delete that line now. We will only be triggering getIdentity() on a user request. Let's keep things simple and add a button, and an event listener to do this.
We'll add a hidden button now to our index.html file as follows:
<h1 id="Title">SHHH NONE EOS SECRETS HERE</h1>
<video id="vid" autoplay loop>
   <source src="https://media.giphy.com/media/NdKVEei95yvIY/giphy.mp4" type="video/mp4">
</video>
</br>
<button hidden type="button" id="secretButton">Unlock</button>
<script src="./dist/bundle.js"></script>
In index.js we will also assign the DOM element to a variable:
let vid = ...
let button = document.getElementById("secretButton")
We'll unhide the button once we detect scatter, and add an event listener to detect a click.
...
  vid.src = "https://media.giphy.com/media/DfdbTJZx6Yjra/giphy.mp4"
  button.removeAttribute("hidden")
  button.addEventListener("click", function(){
    getIdentity()
  })
Cool. Now we can trigger getting a Scatter identity on a button press, but only when Scatter is detected.
Let's finish things off by handling the result of requesting an identity. "Deny" or "Accept"
First "Deny":
We are going to go back to our getIdentity function and add some lines in there.
let getIdentity = () => {
  scatter.getIdentity(['account']).then(identity => {
    // ...
    // ...
  }).catch(error => {
    // User "Deny" action
    console.log(error, "identityCrisis!")
    title.innerHTML = "Oh so close... maybe next time"
    vid.src = "https://media.giphy.com/media/2sfHfGhM3zKUzZ5xzh/giphy.mp4"
    button.setAttribute("hidden", "")
  })
}
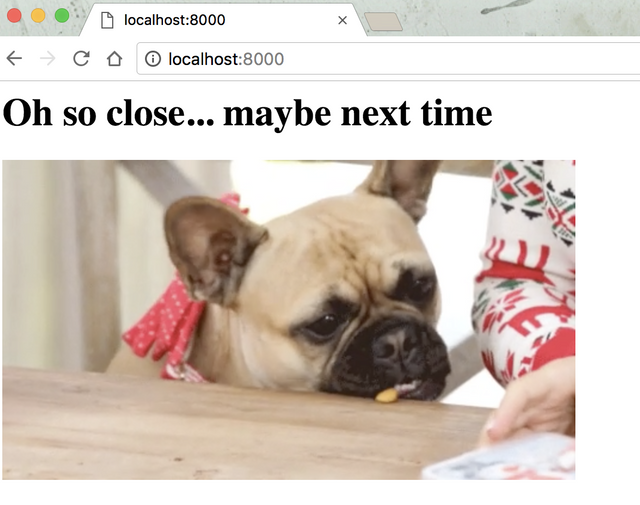
Sweet. Got that part working. Now for the final "Accept" action.
Before we add elements, let's see what comes back on a successful request. We are assigning the identity to the window at the moment. So let's go ahead and "Accept" and then see what we get back from the console.
> window.identity
{account: {...}, hash: "01e99f682b125abfd1259824627e060bf9a59d9d0f11275e9c66f333198faaf5", publicKey: "EOS66D8fwBxHo5SmfMkPp4Dwp99gJ5JkdKfm94X2VyFjdCZSLGYGi", name: "RandomRabbit945"}
Notice the public key there. That's for the selected identity. The name is also the scatter identity name, not your EOS account name.
If you look at the account object though, you'll find other goodies:
> window.identity.account
{publicKey: "EOS6mnCd6dpb2zncDbMadN4G9GUNgYkyYK2FdqDp8DPNPpg3Th1J9", name: "aihgh", authority: "owner"}authority: "owner"name: "aihgh"publicKey: "EOS6mnCd6dpb2zncDbMadN4G9GUNgYkyYK2FdqDp8DPNPpg3Th1J9"__proto__: Object
Here we do have the public key for the EOS owner account, and the EOS account name, in this case "aihgh".
So let's finish this off now that we have this information. Back to the getIdentity function, this time on a success...
let getIdentity = () => {
  scatter.getIdentity(['account']).then(identity => {
    // User "Accept" action
    console.log(identity, "identityFound")
    // do not assign to window in actual projects... only for learning.
    window.identity = identity
    title.innerHTML = "Welcome to all the EOS goodies " + identity.name
    vid.src = "https://media.giphy.com/media/lxcz7ntpCKJfq/giphy.mp4"
    button.setAttribute("hidden", "")
  }).catch(error => {
    // ...
    // ...
  })
}
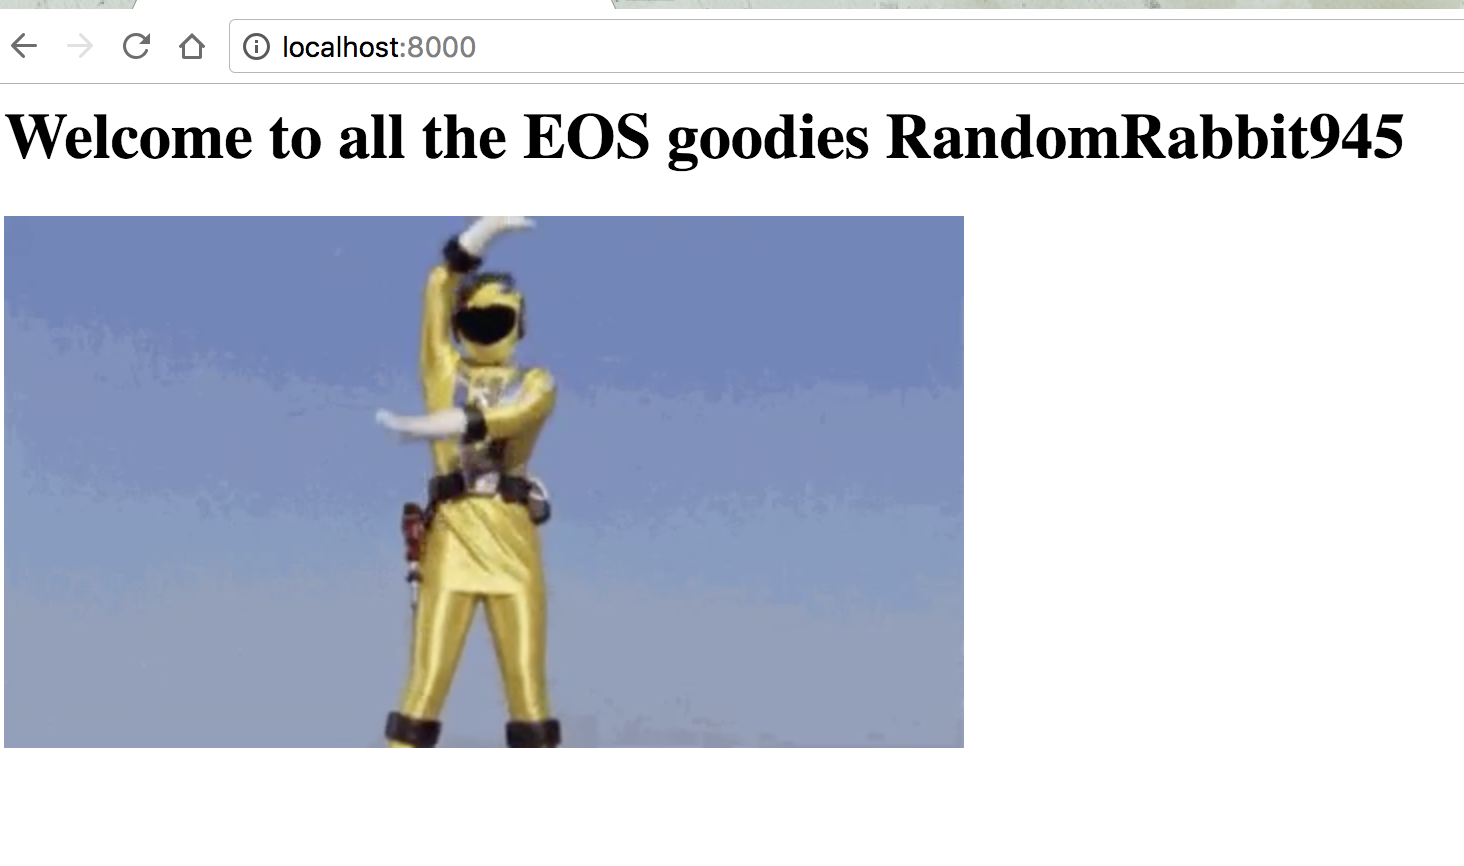
Awesome. Now we have a way to handle a successful identity request! You will also notice that once a request is approved... the scatter window doesn't need to prompt you for approval again. The approval is stored by the extension, so you can jump right into your content.
If you want to remove an approval from the extension itself, go ahead and go to extension button, and choose "Permissions". You'll see an option to delete that. Go ahead and remove it and test the flow again. We will get prompted once again to "Accept" the identity request.
That's it for part 1 of this. With very little code we are able to start interacting with the EOS ecosystem! Hope you found this helpful in beginning your EOS adventures.
Link to demo: https://ajose01.github.io/EOS_meetup_demo
Link to github: https://github.com/ajose01/EOS_meetup_demo
Crypto DM 🤫 - 0x2794d1321035F0ef2fAAd52e21CAd2EF82362835
Congratulations @ajose01! You have completed some achievement on Steemit and have been rewarded with new badge(s) :
Click on any badge to view your own Board of Honor on SteemitBoard.
For more information about SteemitBoard, click here
If you no longer want to receive notifications, reply to this comment with the word
STOPCoool, are you going to make next parts here? Is there any additional tools/wraps/frameworks (js <3) ready or at least under development?
Waiting for next parts
Yes I am... Been busy getting some dApps ready for launch, but there's lessons learned that I'll include in the next post. :)
Hello ajose01,
After scatter.getIndentity, does it returns the imported public key from the created identity in scatter or something else ?
"Step 2: You'll need to create an account and create an identity. Easiest way is to click on "Play Around""
in Scatter? there's no such button or link there. I've created an account on EOS via zeos and I can create an identity in Scatter but how do I bind the two together?