Underwater Macro Photography 101 Part 3 - Lighting
In my first two posts we looked at the basics of underwater macro photography and the equipment that can be used to create your macro images. In this post i’m going over some basic strategies for macro as well as some composition points when creating your image. When it comes to any photography be creative, rules are meant to be broken.
Lighting your subject for underwater water imaging comes from two sources, your main one are your strobes and the secondary one is a modelling or focus light.
Let me remind you of some basic elements that come into play with any underwater photography:
If you are in very shallow water and there is very bright sunshine and clear visibility, your images will lack the vibrant colours within your subjects. An internal strobe can produce ugly backscatter. Using a flash helps increase shutter speed and depth of field.
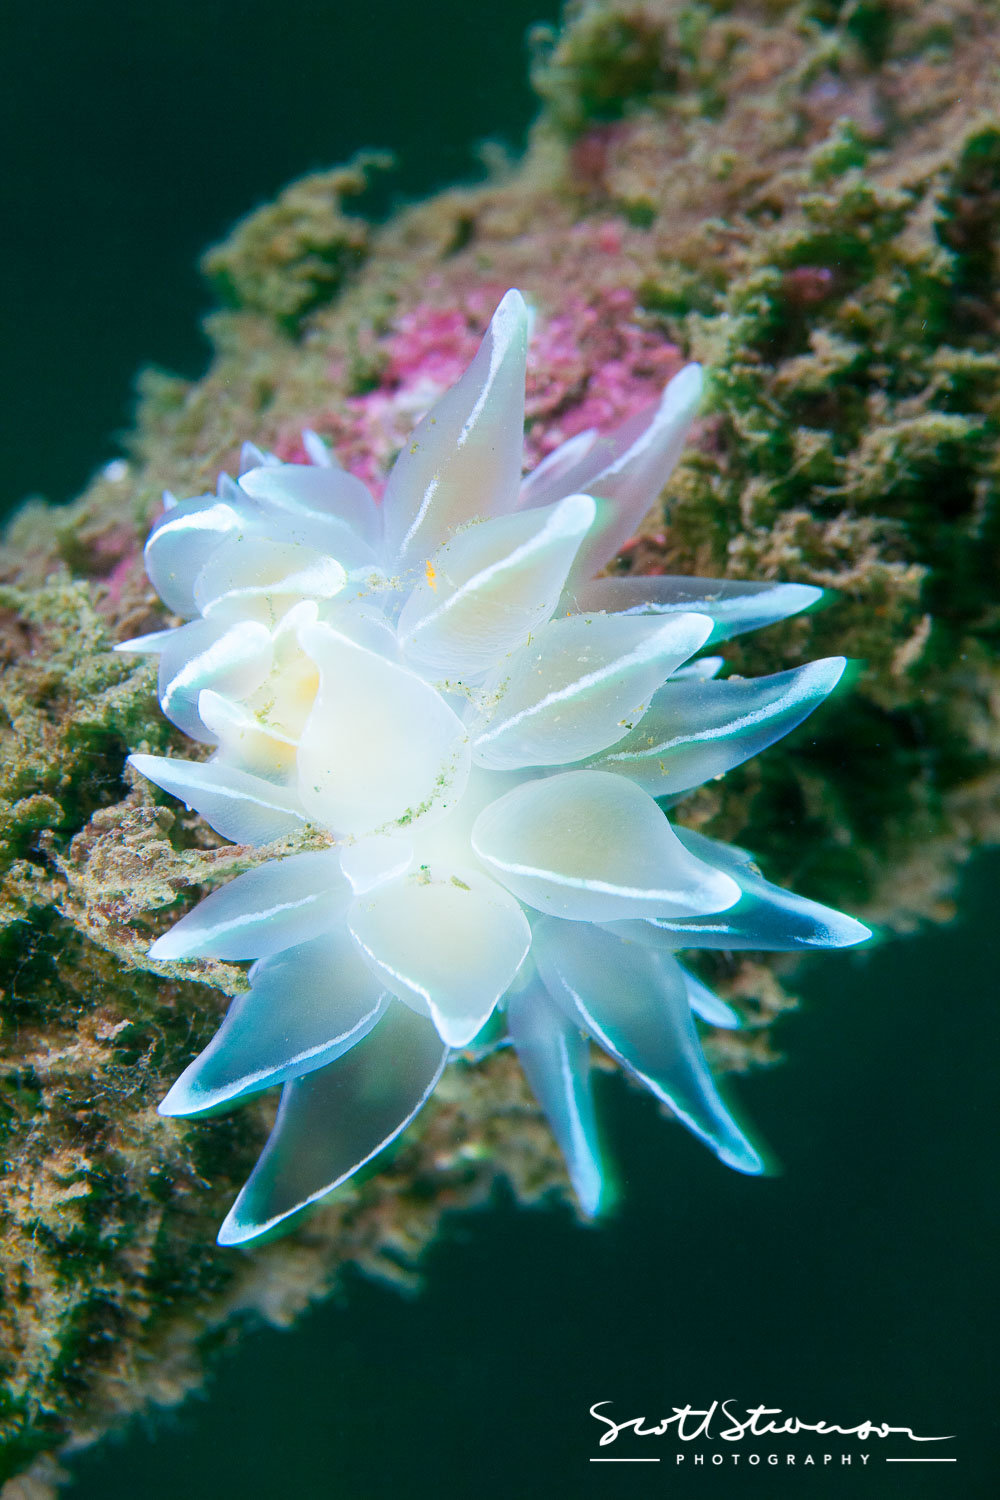
No added light, just shot at the surface using natural light.
So if I need light, how many strobes should I use?
There can be several factors that determine how you choose the number of strobes. The types of strobes available are abundant. But the most important thing is to have at least one dedicated strobe that can be positioned many ways. The more powerful the strobe with a multitude of power options generally are the best, however get what will work for you and the images you want to create.
Single strobe users can produce quality images and the best way to become used to your strobe, its strength and the direction of the light, is to start by placing the strobe directly above your lens and front-light the subject Another option is to side light your subject. Lighting from the side can add texture to an image. Option number three is to top light, top lighting is an effective way to mimic the sun. The one drawback to each of these methods is that it can add harsh shadows to the subject distracting from the main focus of the image.
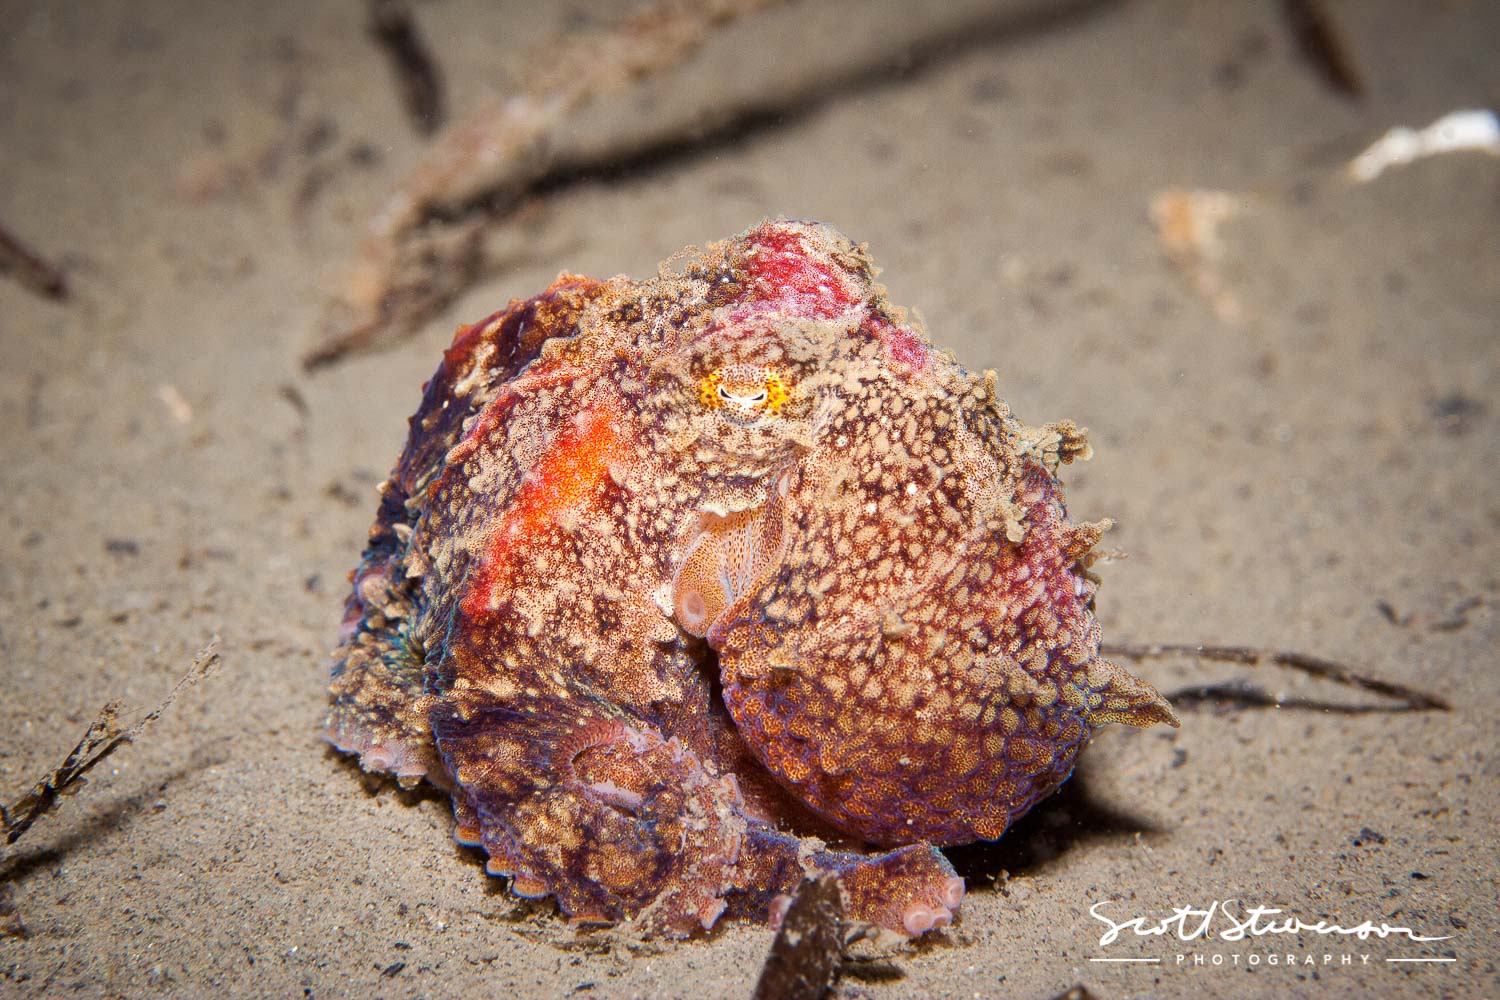 Single strobe from the top down, you can see the dark shadows around the octopus.
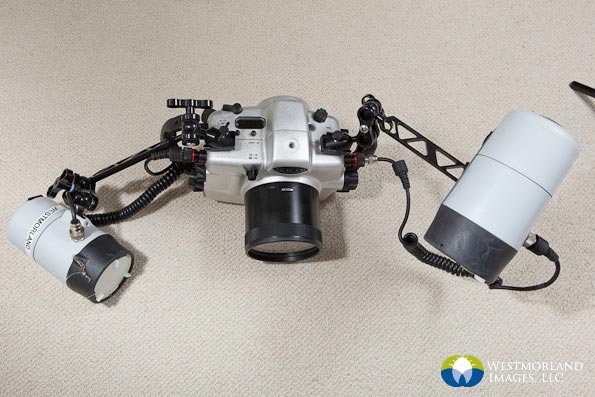
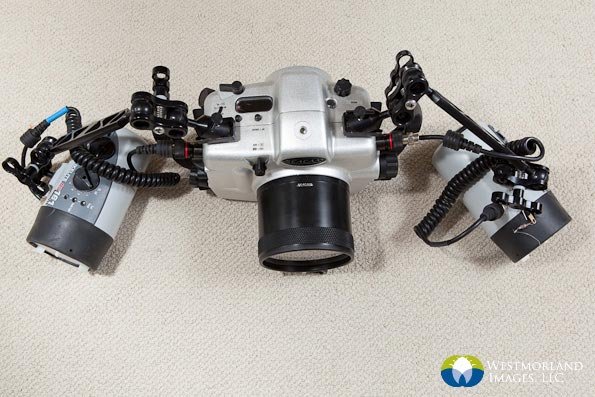
Adding a second strobe really give you the ability to enhance and be creative with your images. From the very beginning I used two strobes, did this because I was given some good advice when I was purchasing my first set up and it's one of the reasons I’m writing about this subject today. Using the duel set up provides you with much more control and increased power, this allows you to use the entire range of your manual settings on your camera and that way you can produce images that you want.
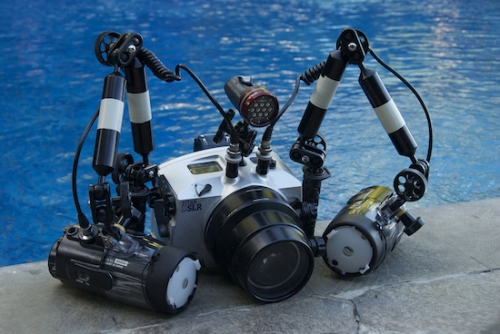
Positioning, where you place your strobes can dramatically impact the look and feel of your images. Typically similar to driving a car you can use the “ten and two” method. This is an excellent starting point but this “standard” doesn’t need to be followed every time. Understanding the water conditions and subject will impact your decision on how to place your strobes. Strobes are meant to move so move them. As you would review every image, review your strobe position as well as when you shoot.
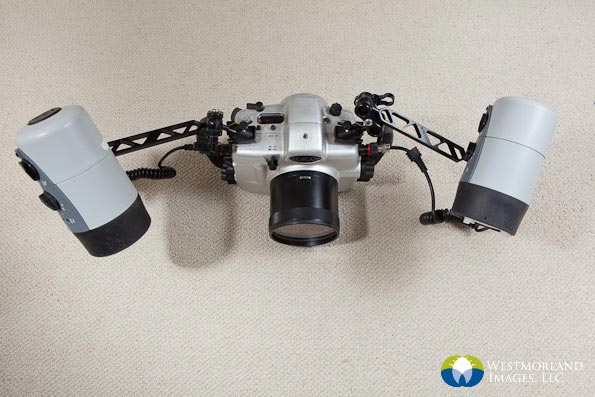
Strobes positioned at "ten and two"
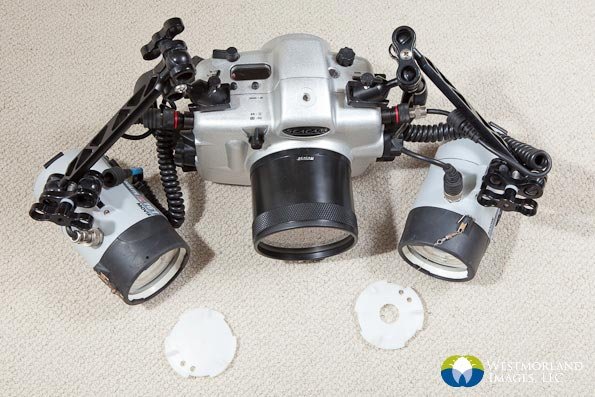
An addition tool for manipulating your light is using diffusers on your strobes. Diffusing the light allows for a softer, more even light to “wash” across your subject. Something I learned a number of years ago was to tether my diffusers to the strobe so that way I have them readily available if the situation arises.
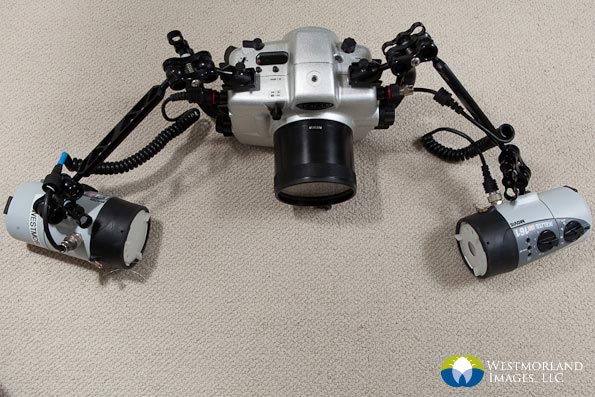
Below are some examples from the web that show different duel strobe positioning options:
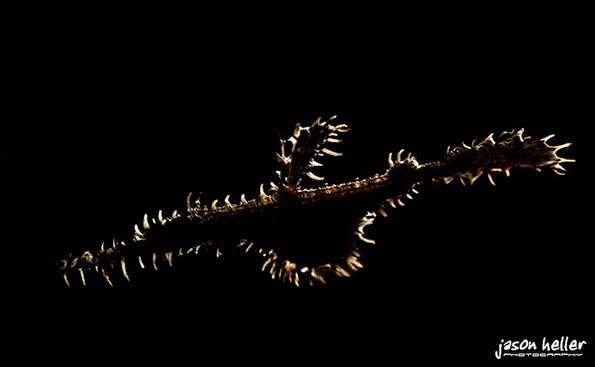
One last lighting technique that creates a dramatic and unique effect of glowing edges around a silhouetted subject is backlighting. This type of lighting will require a well positioned dive buddy with a good light or you removing one of your strobes and placing it behind the subject. This is super creative and can require a ton of practice to get the image you want. This is something I have yet to master but here is an amazing example by a fellow photographer Jason Heller.
Outside the use of strobes I use a modelling or focus light. These little lights can really help your camera focus on a subject in dimly lit, pour visibility or night dives. There many option out there for these handy little lights and can be an indispensable tool for any photographer.
Images courtesy of Backscatter
No matter what kind of camera you have adding light to your subject will only enhance your images and give you more outlets for creativity.
All right time to light it up!
If you have any questions please let me know, I will do my very best to answer anything you have.
Macro Photography Basics: https://steemit.com/education/@scottdphoto/underwater-macro-photography-101-part-1
Macro Photography Equipment:
https://steemit.com/education/@scottdphoto/underwater-macro-photography-101-part-2-equipment
Thanks for reading
Scott
For more stories and images - http://www.scottstevensonphotography.ca/
That last photo is very good.
Very educational, lovley photo's, thanks for sharing
I am loving and wondering with your photos . .
Followed and upvoted . .
I wish you to do the same .
Thanks in advance . .
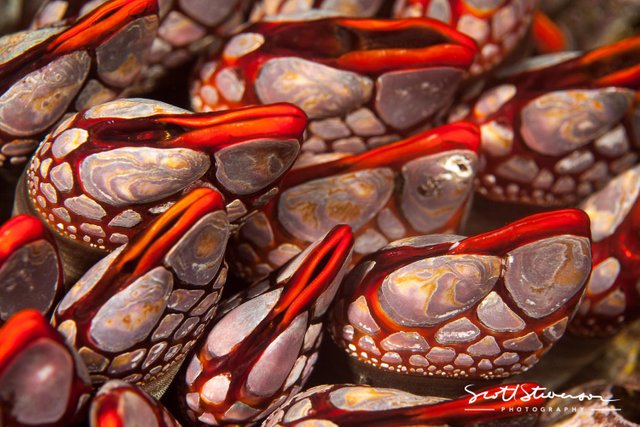
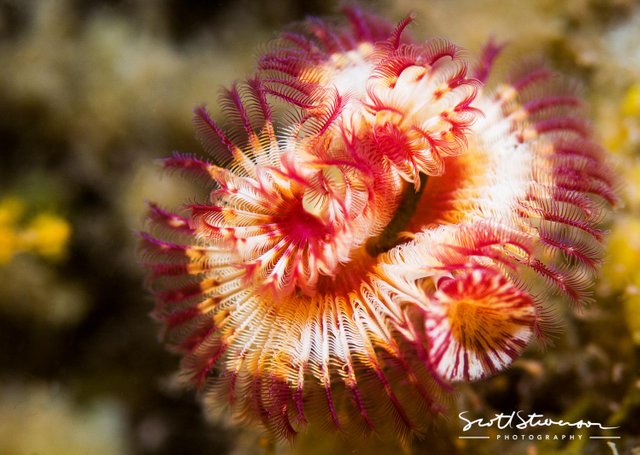
That pic of the red barnacles is gorgeous. Great job.
These pics are Amazing. I had to to Resteem. It was well deserved! Keep it up and thanks for sharing!!
Beautiful post's @scottdphoto
Grate photography
Very lovely pic
Very nic posts.
And here's the awesome lighting post I was waiting for! Thanks for sharing how you get the light to look like it does in your dope underwater shots :)
Beautiful and amazing