Garden upgrade - DIY Planter flowerbed
I wrote "DIY" wrong in as the first tag. Luckily you can't edit that. Hopefully I'll get a lot of attention and comments stating "Hey you wrote that wrong"
Even though I'm an engineer, I'm not a craftsman. However I've been increasingly interested in doing things by myself and as my wife was kind enough to buy me a drill hammer/rotary hammer as a birthday present, I've been able to do things my previous drill wasn't able to do.
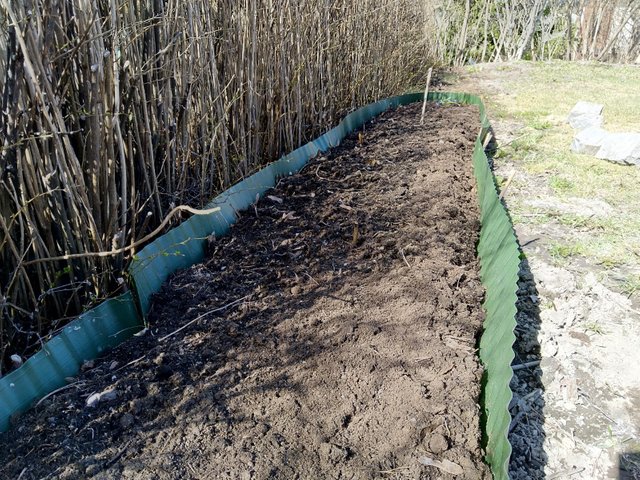
The first and most important project was to replace this plastic monstrosity:
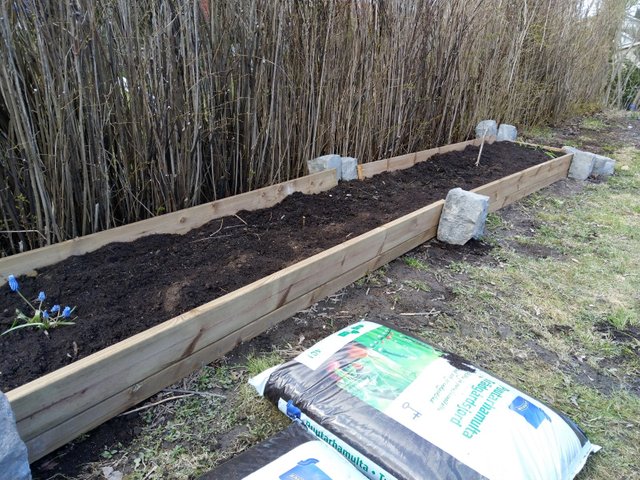
With this:
We had some extra stones in the yard which were leftovers from a project the previous owners had done. They weren't geometrically perfect, but straight enough to be used in the project. I thought it's easy and fun to attach the boards to the stones, but to get them perfectly aligned I made a small tool to help me.
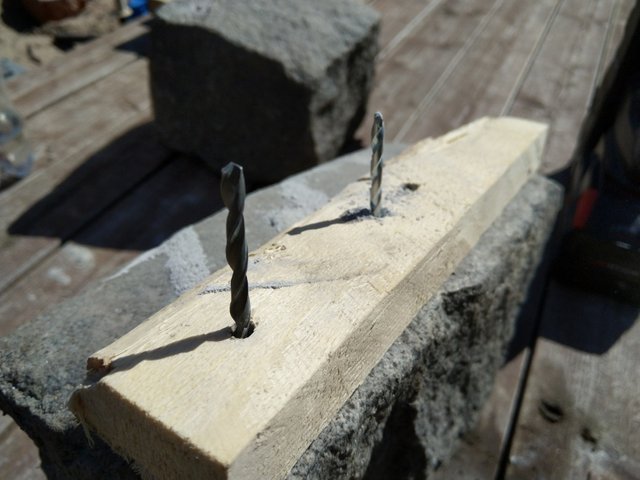
A piece of board with holes in it. This made sure the holes in the boards and stones will go right.

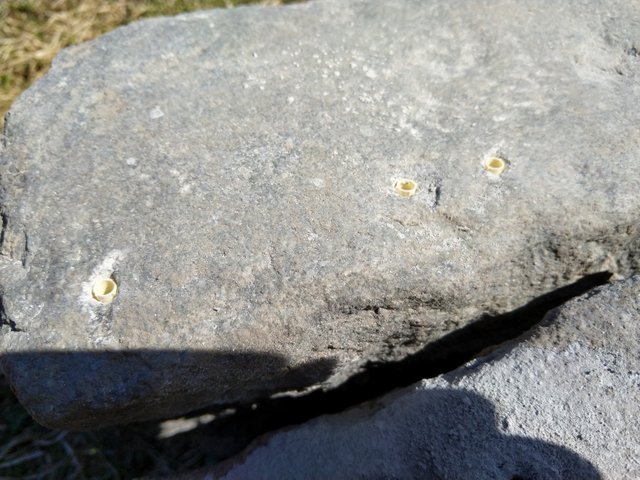
This doesn't look too straight, but I think it was OK. Not sure if it's just the photo or if I did actually this poorly.
(The rotary hammer weights approximately 5 kg, it wasn't easy to hold with one hand when I took the photo with my other hand)
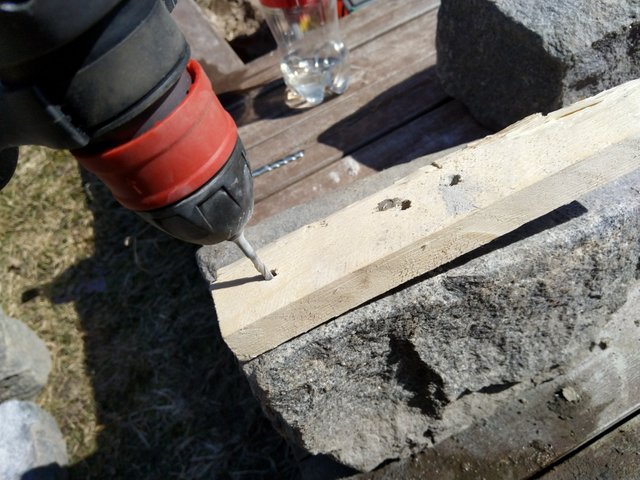
Because the piece of wood could possibly move around when I'm drilling the other holes, I just inserted another drill bit in the hole to keep it in place. This allowed me to keep the distance correct without the fear of anything moving around too much.
For the third hole, I had two drill bits in the holes. In addition to getting the distances correct, this ensured that the holes will be made in a straight line. This is very VERY important as you'll be screwed otherwise.
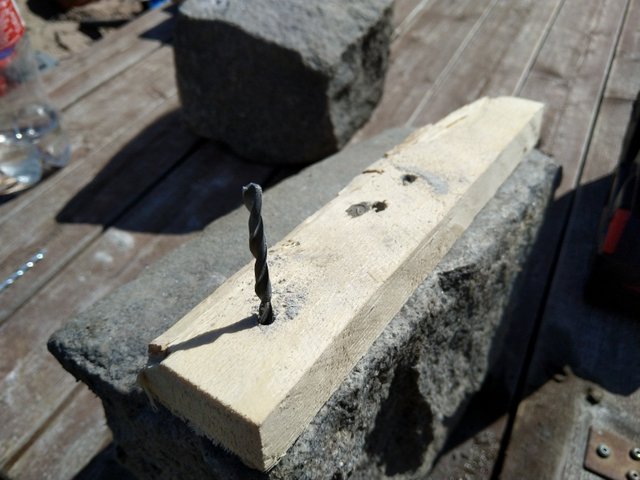
When all the holes were ready, I inserted correct size nylon plugs in the holes. When the planks are screwed to the rocks, they will be attached inthe nylon plugs. When the screw enters the plug, it will expand and firmly lodge in the rock. The screws should be always a bit narrower than the plugs used so the screw will not shred the entire plug into pieces.
Using the same piece of wood, drilling holes to the planks should be no difficult task. I was using approx. 125mm wide plank and 1½ planks per side, so the bottom piece was split in two. This was because some of the rocks were too low to fit two full sized planks.
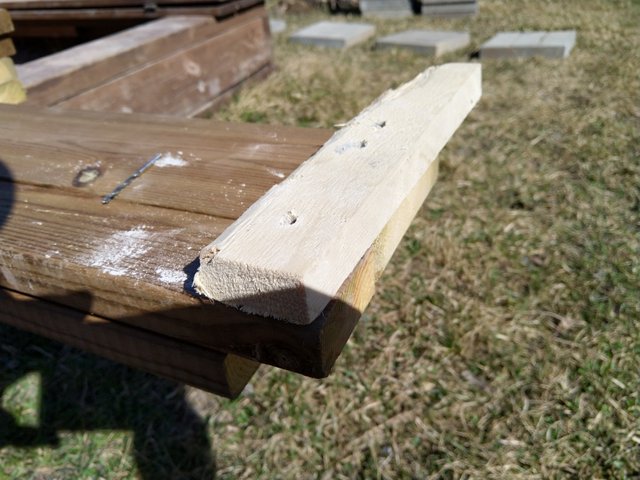
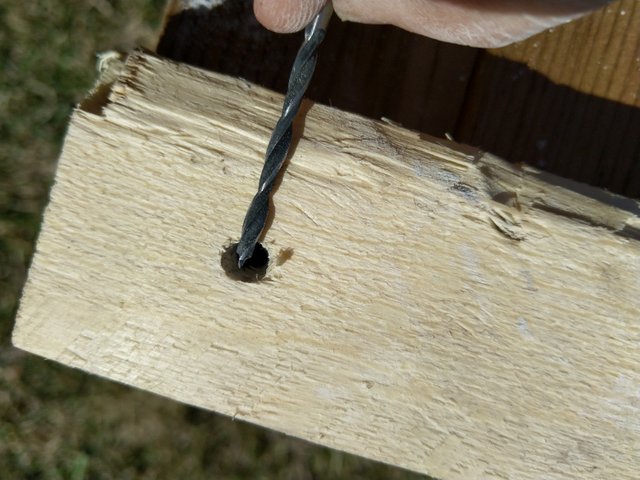
When pre-drilling holes in the planks, use a narrower drill bits! Remember, as we're using smaller screws than the original holes are, there's no point of making a too large hole for the screw.
The first piece which was ready. Attached to a stone in both ends. As crazy as it is, the short ones are almost as heavy as the longer ones are - this is because the stones are the heavy part in these. I would recommend carrying these by holding onto rocks. Even though the screws can carry the weight of the rocks, no need to test the quality of wood and nylon.
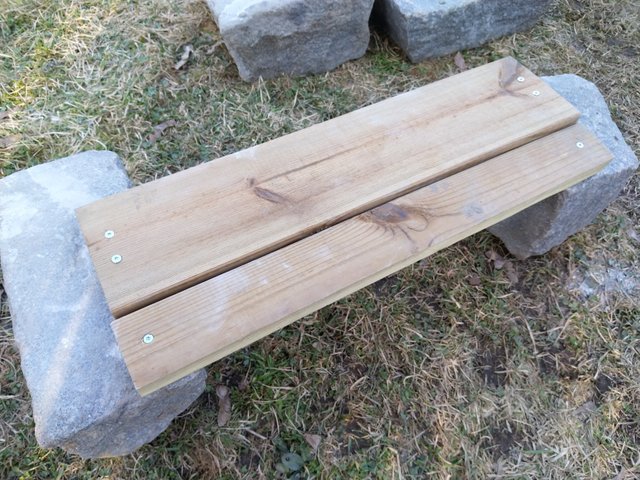
And the finished product below. Again.
If I had done something differently, I might have continue the boards for the entire length behind the stones. Now you can see the gap where the plank ends behind every stone. Luckily nobody needs to worry about this as soon as this is filled with flowers, but this is a minor detail. It also would have allowed me to add more screws to make this much sturdier.