Autumn Girl
Hi everyone!
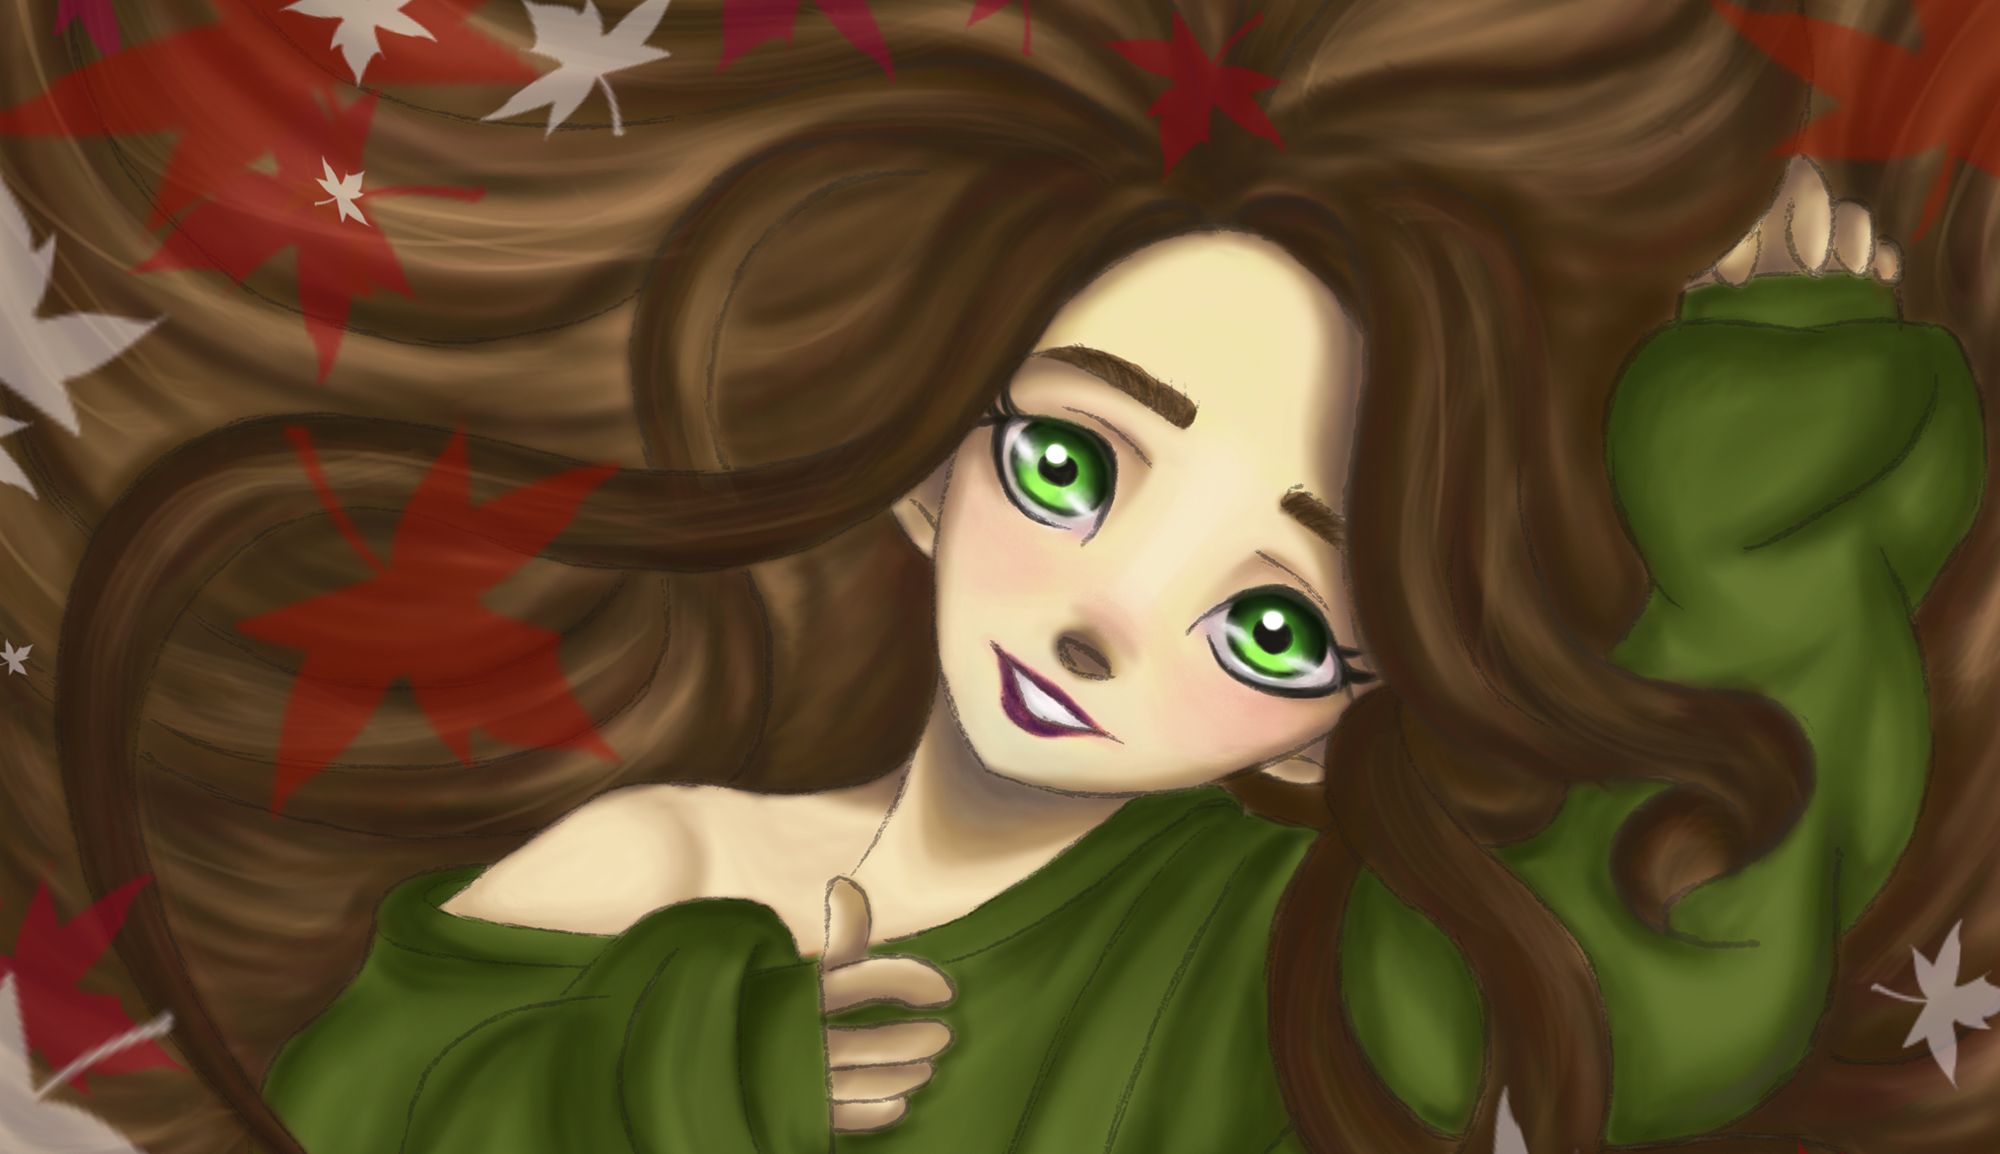
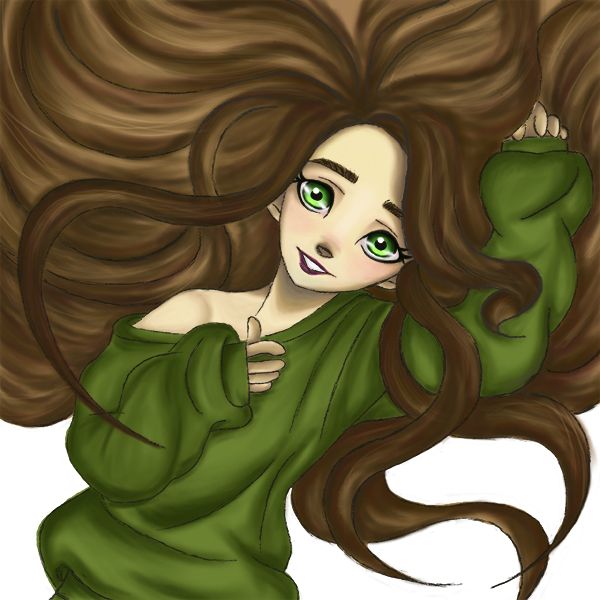
With autumn letting nature turn her colours to red, orange, yellow and all the colours in between - I was inspired to draw "Autumn Girl".
Autumn is one of my favorite seasons - colourwise. Especially when the sun shines through the colourful leafs of the trees and you need to shield your eyes, in order to enjoy the sight. I love taking strolls through the forest, listening to the rustling trees, taking deep breaths of fresh air and just enjoy nature.
How about you? I am curious, ... what do you enjoy most during autumn?

Autumn inspired me to choose the colours, which I used in this painting. I wanted to convey a warm cozy feeling, which I personally associate with this season. Furthermore, I used a digital artwork of my favourite artist's - Rebecca Ninig - as a reference. (You can check her out on Instagram under @ni_nig, if you don't already know her. ;)
In case you are wondering, ... how I did the painting.
I have prepared a walktrough, where I show you - step by step - my drawing process.
So - just keep on reading. ;)

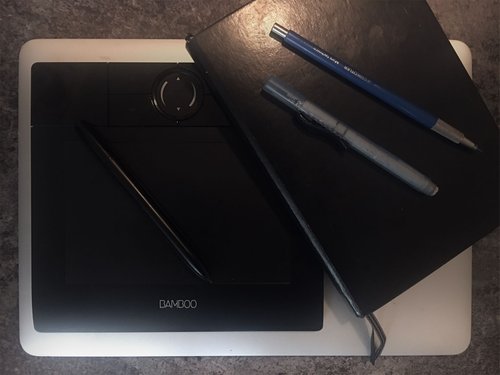
I would like to start with showing you my materials and setup, which I usually use in order to create my art.
For sketching it is just a clutch pencil in size 2 mm, a clic eraser and a sketchbook. For the linework and colouring I currently use Photoshop CC with a Wacom Bamboo tablet and pen.
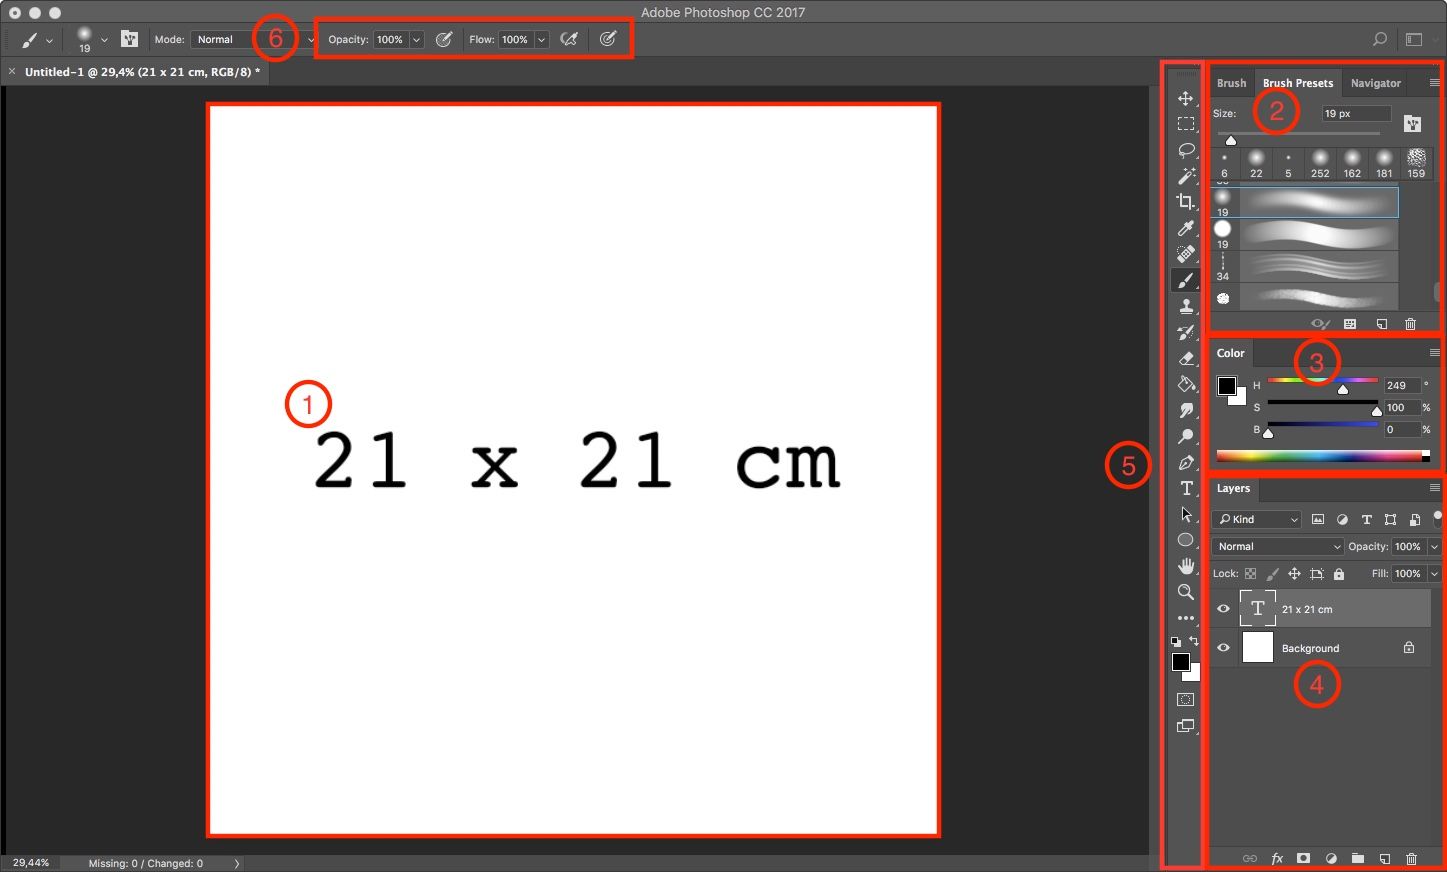
This is my usual setup in Photoshop. (1) Currently I enjoy my drawings on a canvas with the size 21x21cm. On the right side I have all my frequently used tools, e.g. (2) brushes, (3) colours and (4) layers. I also like to keep the (5) standard tool bar on the right side. As it feels more natural to me to have everything on one side of the table and not to have to go all over the place just to get the things I need. My favourite features, which I just currently discovered are (6) here, e.g. airbrush.

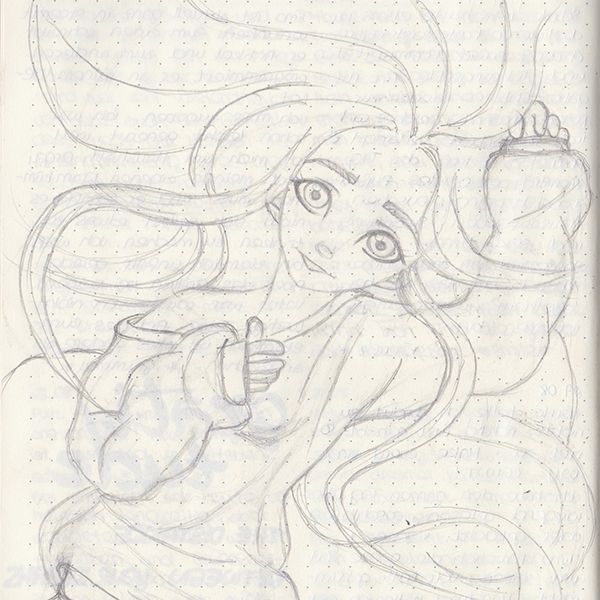
As always - I start with a rough sketch on paper with a clutch pencil.
I feel more comfortable to see everything on a piece of paper ... dimension- and conceptwise.

I still try to figure out, what kind of linework suit me best.
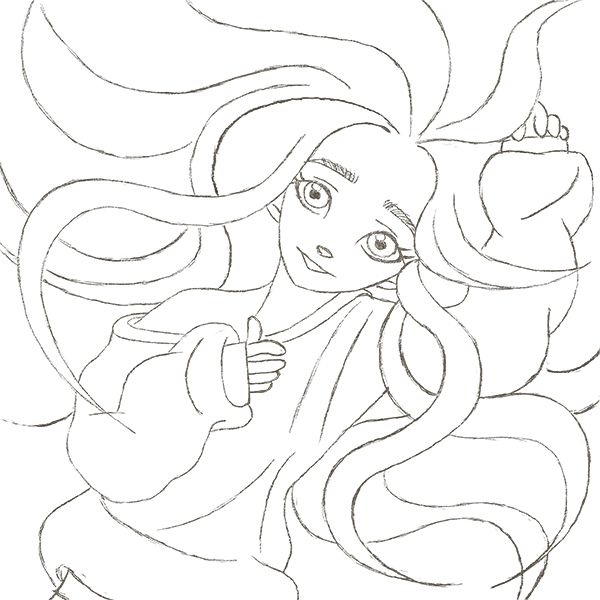
Here I used a charcoal-based-brush, which texture is very alike to pencil. I personally love this brush, but it does leave a overall sketchy linework.
Depending on the painting I sometimes reduce the opacity of the linework layer - as a finishing touch - in order to let the linework fade into the painting.

Then I put the linework layer to "multiply".
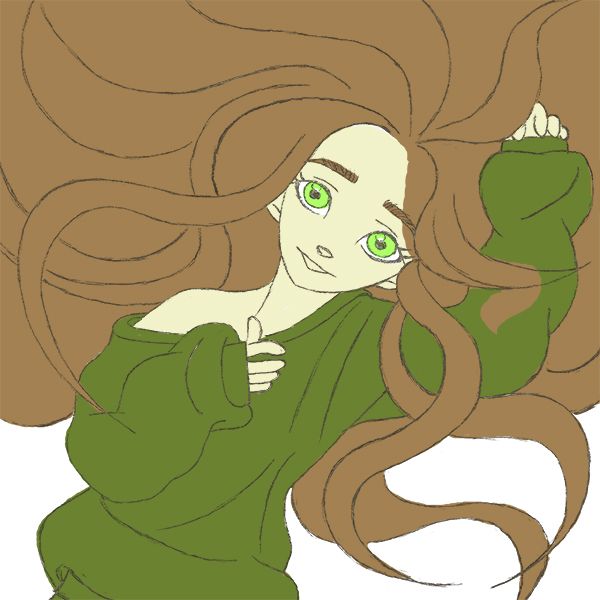
This time - in a layer below, I block in the base colours.
Although I think that it is crucial to create depths with different values, I - personally - find it very difficult to stay away from all the colours for the sake of this technique.

While experimenting and learning - how to use Photoshop, I discovered three things.
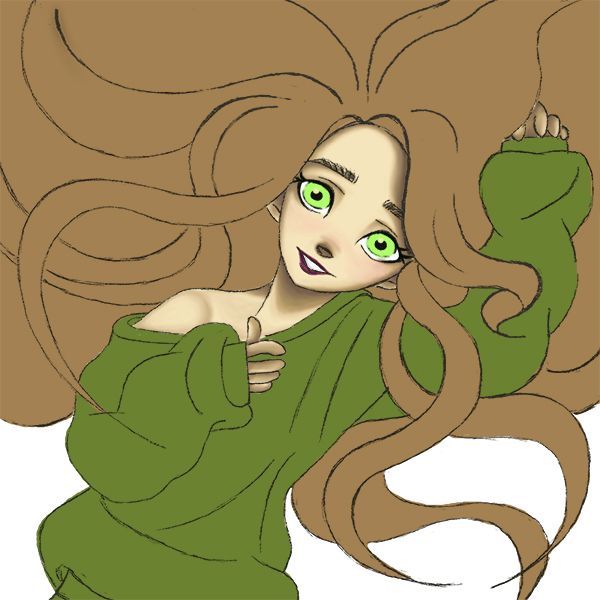
For painting skin I prefer using a very soft brush, which is included in the standard brushset of Photoshop. Then I like to add the "airbrush" feature and I am good to go.
For the finishing touches - I found the filter "gaussian blur" very helpful.

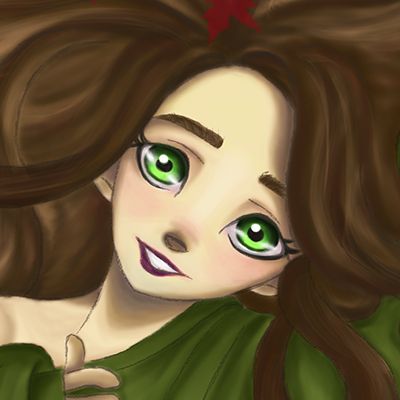
For the eyes I used different shades of greens.
I usually choose colours manually from the colour panel and go with those, which kind of "feel right" to me.
I also like to experiment by sliding the bars back and forth. ;)

Drawing hair is still a mystery to me.
This time I tried to figure out the different sections of hair and shaded with a large soft brush first. Then I continued with a smaller soft brush and added more defined shadows with a darker colour. After that I added some highlights with a textured-painting-brush.
As for the finishing touches - I drew some thin hair strands to add some texture to the hair.

I kept her outfit very simple and only used an olive-greenish colour.
As I really like the off-the-shoulder tops ... regardless if shirt, crop, dress and what not ...
I gave her a bigsize off-the-shoulder sweater to wear.

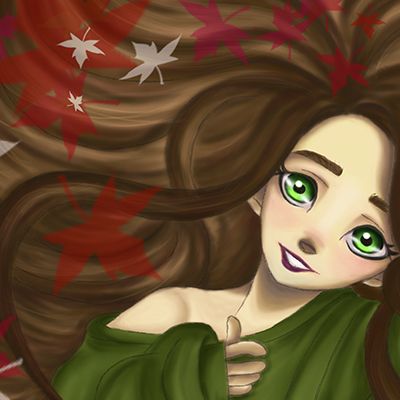
At this point I just splashed some oranges and greens on the background with a very large soft brush. I also experimented a bit with the different blending options.
Then I sprinkled some maple leafs on the overall painting - in different sizes and colours. For that I used a maple-leaf-brush, which is actually included in the brush set of Photoshop.
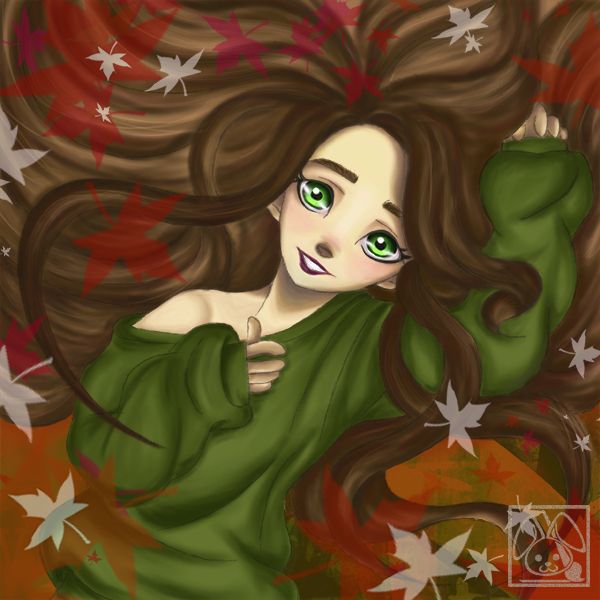
And voilá - I am done. :)

In the following GIF - you can see the different steps more properly.
If you enjoy my art journey, please share and upvote. I also would love to connect with you, so don't forget to leave a comment. :)
Thank you so much for reading - and I wish you a great start into next week!
-ArtBunny-

I like very much
Thank you! ☺️
img credz: pixabay.com
Nice, you got a 5.0% @minnowbooster upgoat, thanks to @therealwolf
Want a boost? Minnowbooster's got your back!
The @OriginalWorks bot has determined this post by @artbunny to be original material and upvoted it!
To call @OriginalWorks, simply reply to any post with @originalworks or !originalworks in your message!
For more information, Click Here!
Special thanks to @reggaemuffin for being a supporter! Vote him as a witness to help make Steemit a better place!
Congratulations @artbunny , we r much excited to know about it, wonderful job you have done.
Thank you so much, @art-is! :)
Great post and I wish steemit had a sticky or pin option because this is one of those special posts. ??
Thank you, @naturecenter! :)
You are right - there are some functions that I miss on steemit, as well.