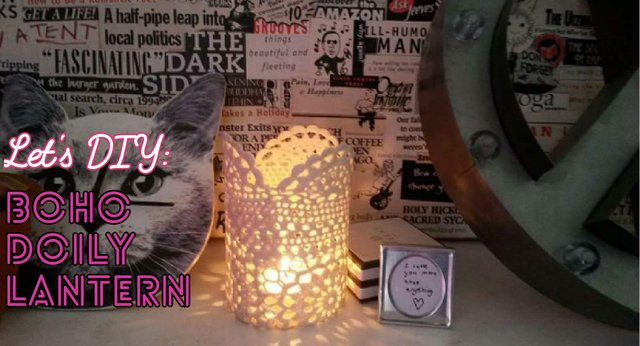
Let's DIY: Bohemian Doily Lantern(super easy, super quick)
I already have a a few "Let's.." series, so I decided to add another, because DIYs are another one of my favourite things to do.
Too kick this thing off, I bring you, the doily lantern. It is so quick to make, and uses things you probably have lying around anyway; so I thought it would be great to make for you guys.
Let's begin!
What You'll Need:
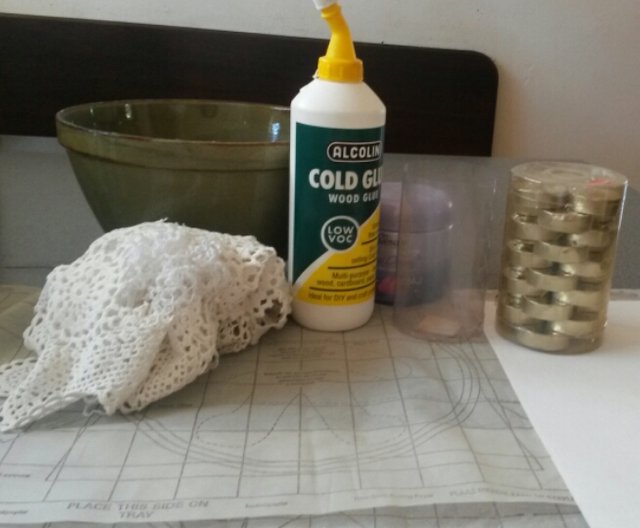
- Some old doilies
- A pair of scissors
- A piece of cardboard
- A plastic cylindrical container( I used an old tea-light candle container because I have a bunch lying around.. Yogi's and candles, am I right? -but you can use anything really. Something made of a softer plastic is best, it makes it easier to get the doily off)
- A bowl
- A tea-light candle
- A lubricant of some sorts, I used an old body lotion I don't use anymore, and that worked fine.
For the glue mixture:
Cold glue/craft glue(About two table spoons)
Equal parts flour and water(About a table spoon)
Oh, and a cat. They love crafts.
The Process:
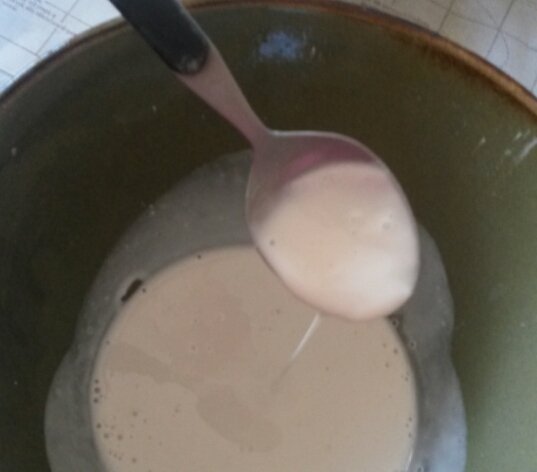
The glue:
it's really easy actually, just add all the ingredients to the bowl; and mix. It should be a crepe-batter-like consistency. Add a little water if it's too thick, and more flour if it's too runny. I didn't show the process because I already had some from a previous project, but it's easy enough.
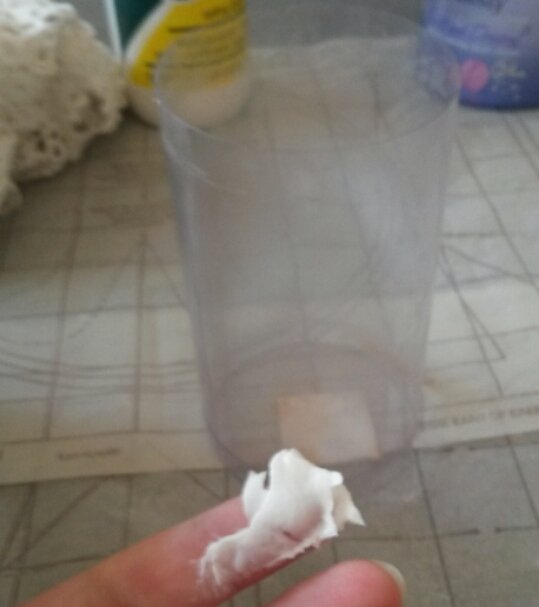
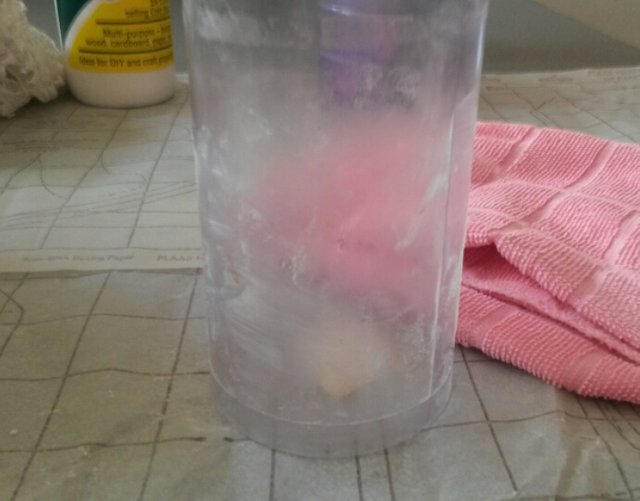
First things first, take some of the lubricant you decide to use, and put it all over the container. This will prevent sticking.
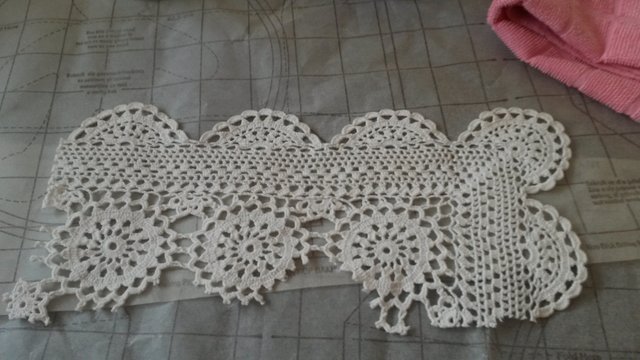
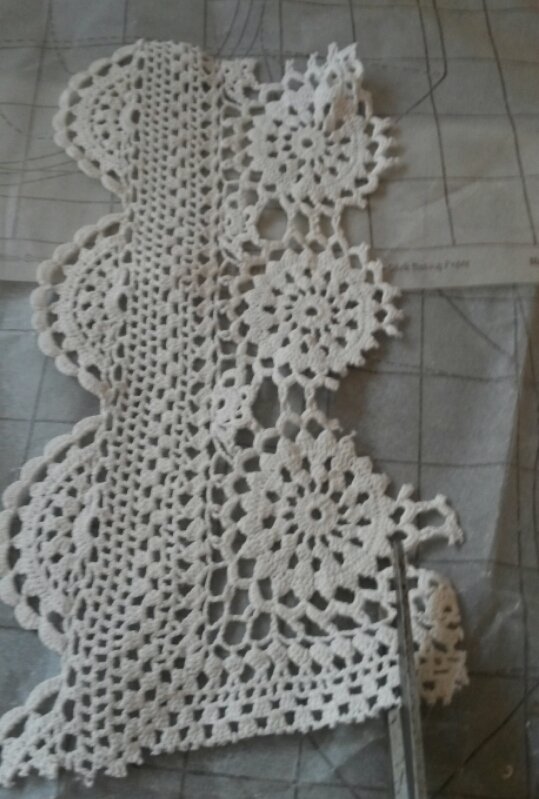
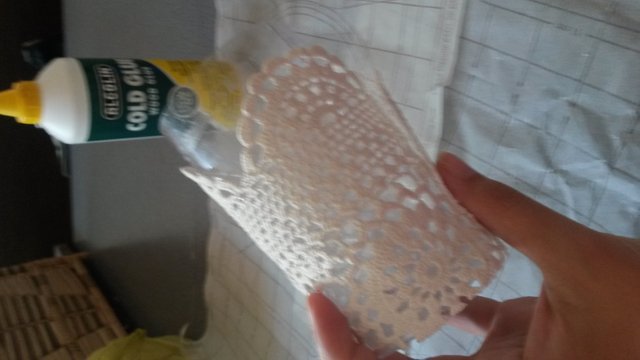
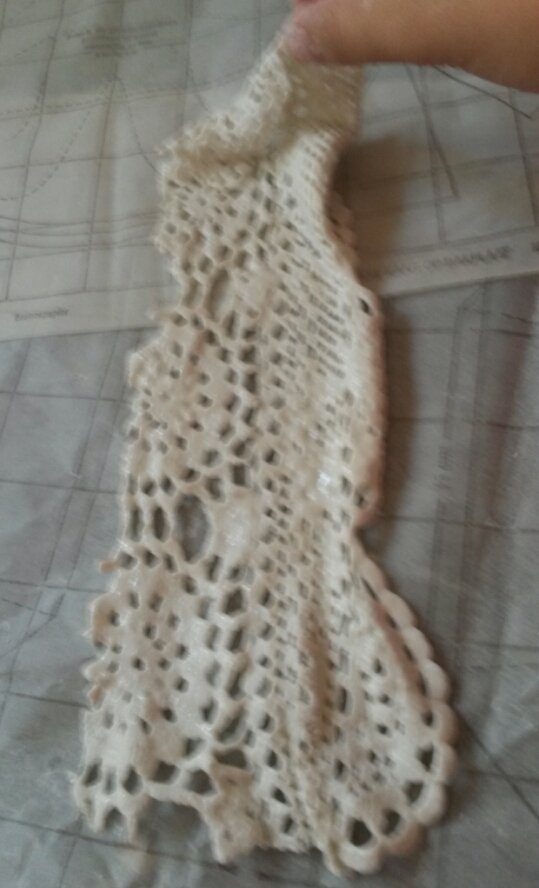
- Next, pick a doily you'd like to use. Square or rectangular ones work best, but you can make a round one work too. Just be creative.
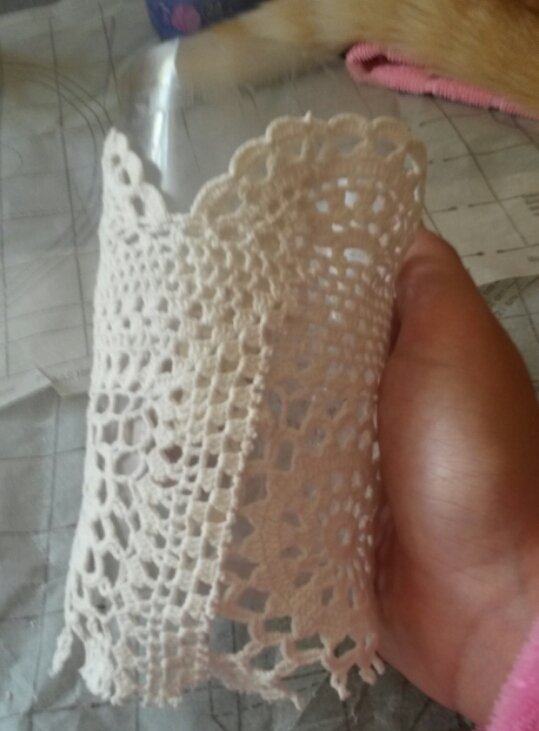
- Lay your doily out, and see what part you'd like to use(I'm using one from a previous project). Line it up with the container, see round about what you're gonna use, and trim the doily down to a more manageable size.

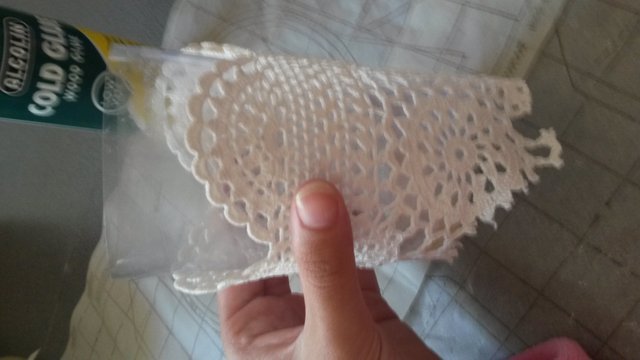
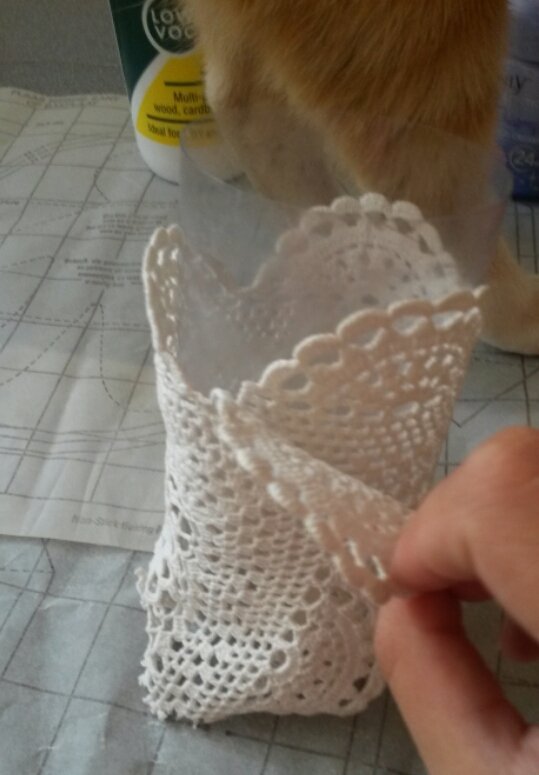
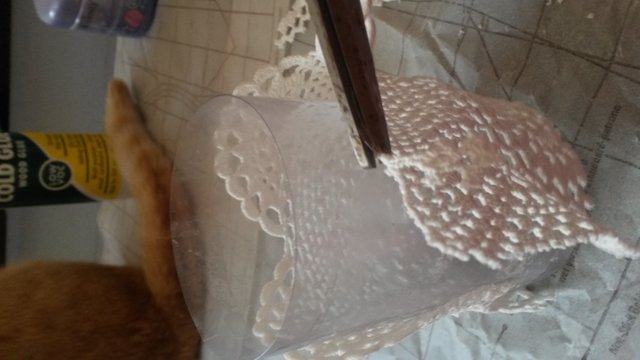
- Line it up with the container again, and now trim the side so it just slightly overlaps the other side. This will ensure it stays together. Try to align it so that the seam isn't too visible.
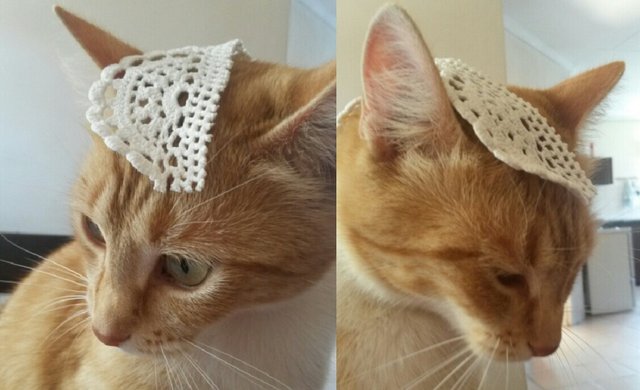
Offcuts make great cat hats.
Trim the bottom, leaving a little bit of an overlay,to go at the bottom. This will make it easier to put the carboard bottom in.
Check the overall look, and trim stray pieces until you are happy with the way it looks and lines up.
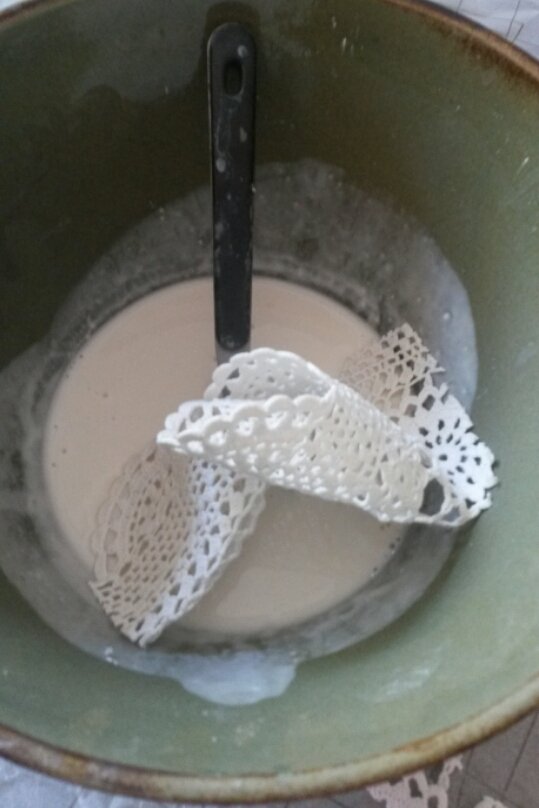
Throw the doily into the bowl, and stir it around until it's completely soaked.
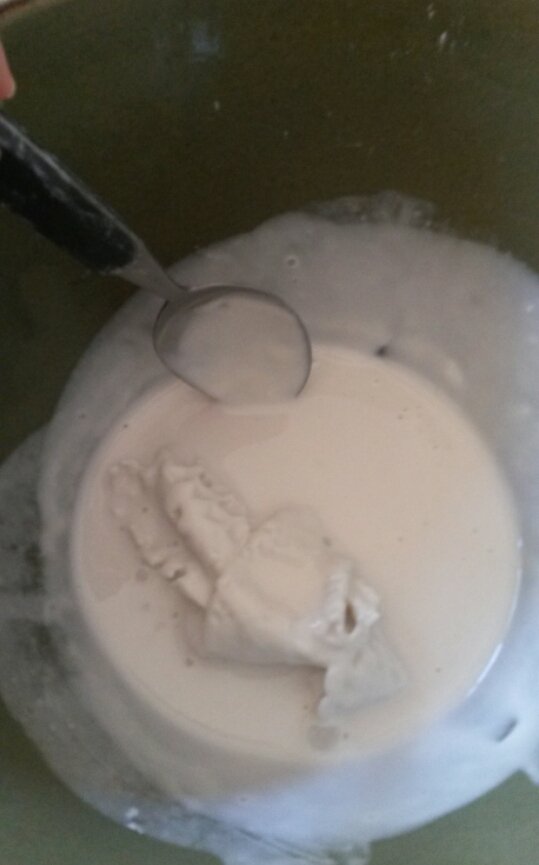
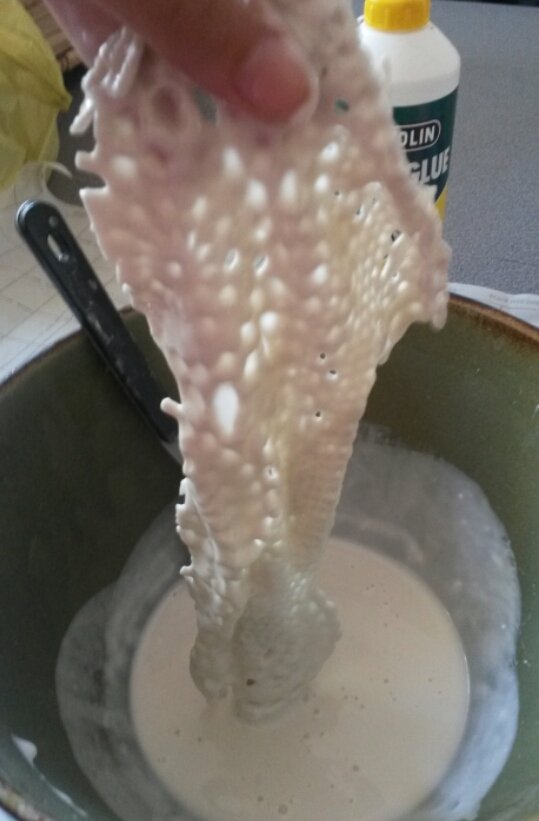
Pull the doily out and remove the excess liquid. This part is messy.
The doily should not have too much liquid on it, a good way to tell is by looking at the holes. Most of them should have no liquid inside. I couldn't really take a clear picture, my hands were full of goop, but you can see what I mean.
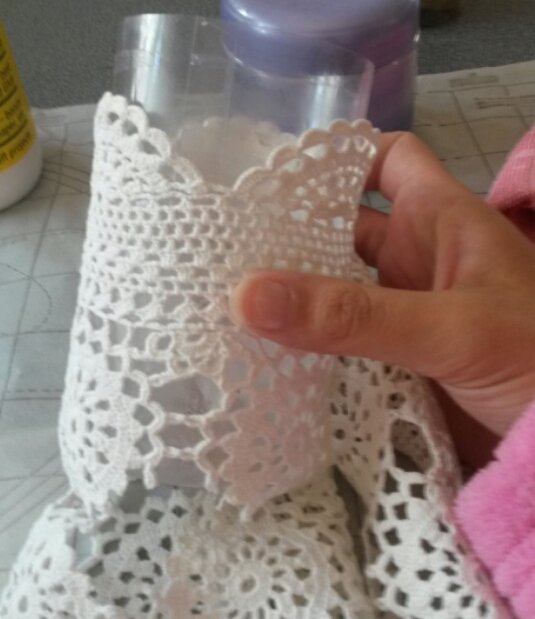
Wrap the doily around the the container, it will be more stretchy, but avoid pulling it too tight, because that will make it difficult to remove.
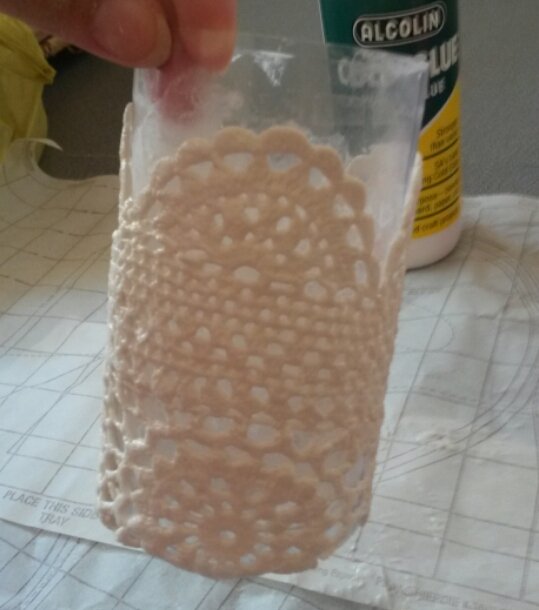
Take some more of the mixture and add an extra layer where the two ends overlap, for stability.
- Make sure the end flaps are folded over the bottom of the container.
- Now set him down in a sunny spot to dry, and leave him over night.
The Next Morning:
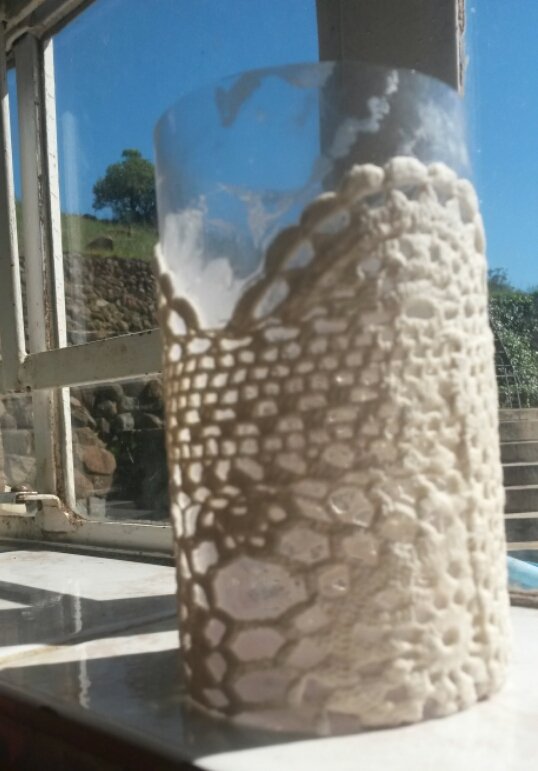
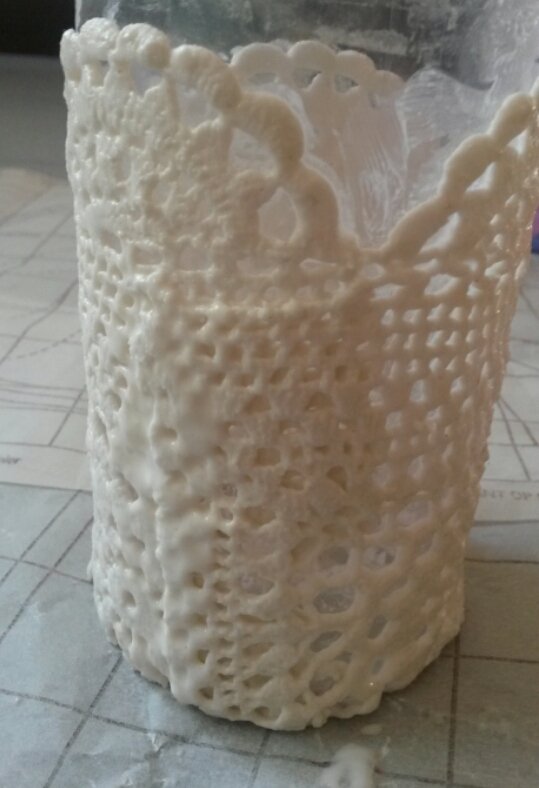
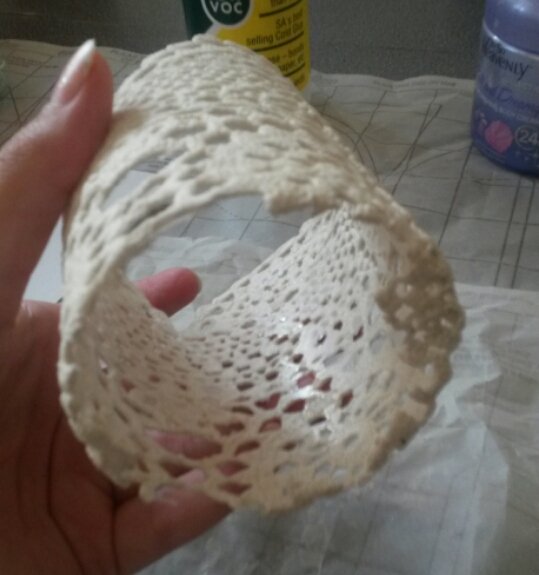
Your guy should be looking good!
To check if it's dry, try tapping it. There should be a hollow sound. It should also be completely matte.
You'll be able to feel if there are any wet spots.
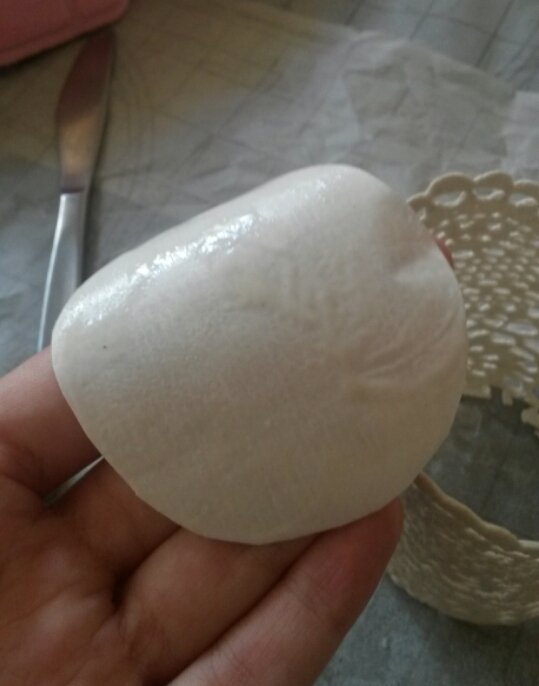
If there are, let it dry a little longer.When it is completely dry, gently start to separate it from the container with a flat object, like a ruler or blunt knife. Go all the way around.
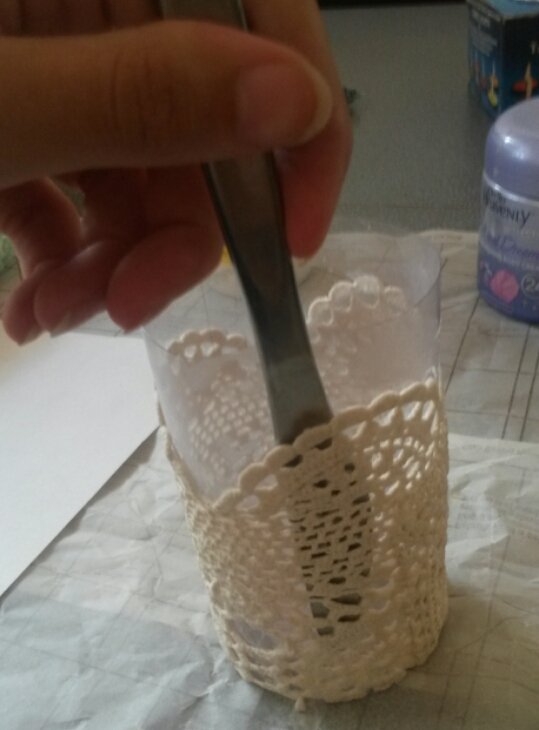
Once loosened, it should easily slide off.
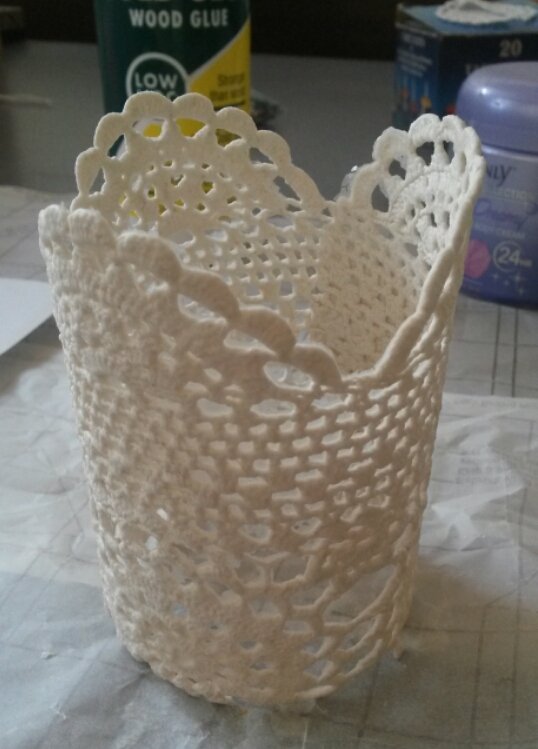
You're almost done!
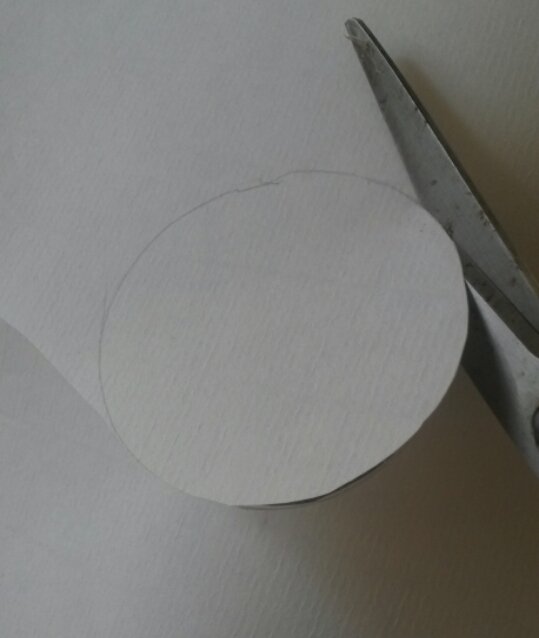
Now to do the bottom.
Take the container and place it on your piece of cardboard. Draw a circle around it, and then cut a little bit above the line to make the circle bigger. I cut in the line and it was a bit too small.

- Add glue or some of the left over paste to the carboard, then place it inside the lantern. This will make it stick to the bottom bits of the doily.
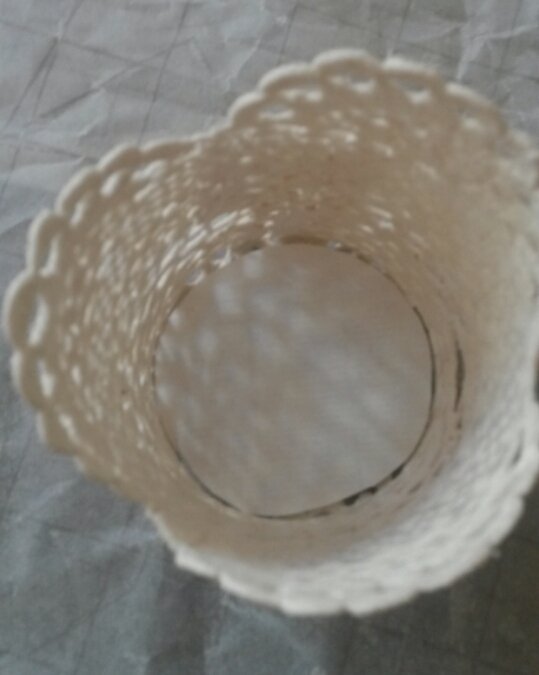
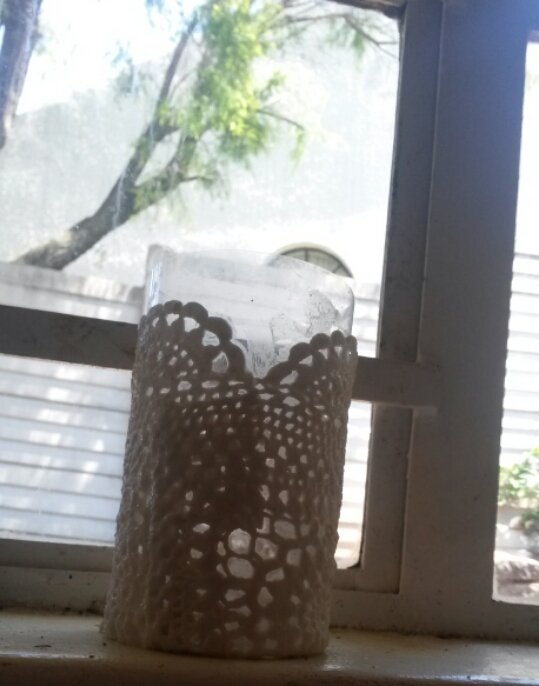
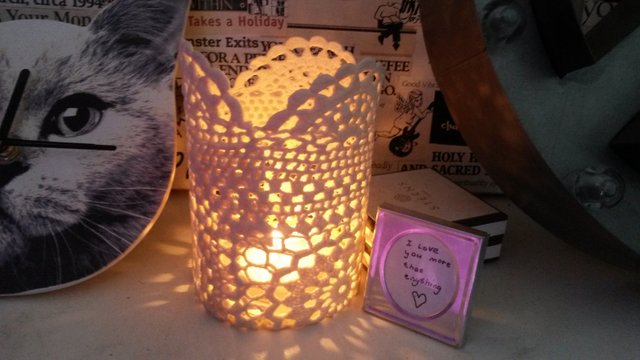
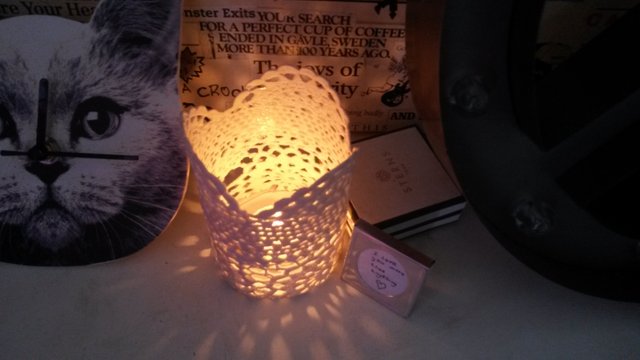
And there you have it! Place your tea-light candle inside; and you have a beautiful little lantern!
It is so open to interpretation, and you can make your lantern look however you like. 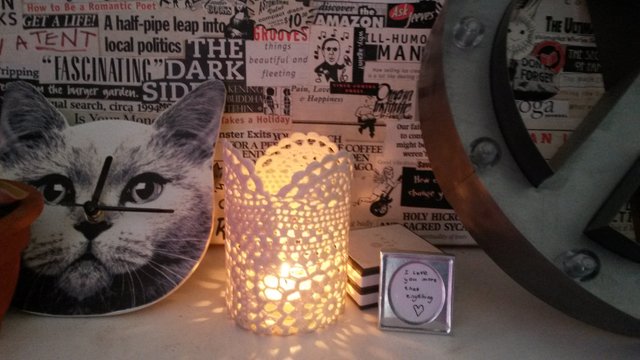
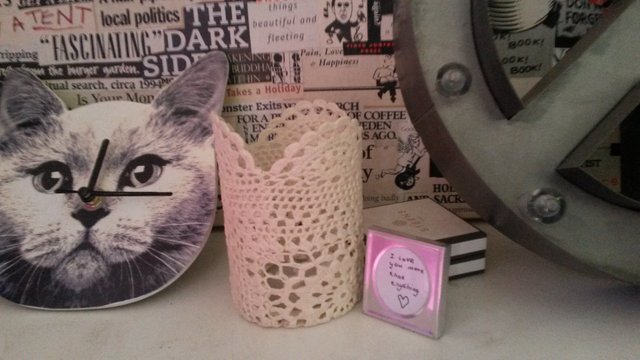
It even looks really pretty without the candle. You could use it as a pencil holder,and make up brush holder, the possibilities are endless.
I hope you liked this DIY, and if you try it out let me know! I love to hear your feedback. 
Have an awesome day guys!
Follow me for more @yogidream.scapes
Namaste
Well done... A woman of many talents :))
Thank you so much! Always kind :D