Storage Shed Project (1 of 2)
I've been busy lately building a large storage shed for my property. There are several ramshackle sheds already here that are in various states of disrepair, so I've found the need to get something that's a little less of an eyesore to put my stuff in. I looked up the permitting requirements for my county and found that as long as I keep the floor space under 120 sq. ft., I don't require a permit, so I decided to build a shed that's just under that number.
Since much of my back yard is a hill side, I had to terrace a section big enough to hold the shed, and build a retaining wall to hold the contents from being washed out during the brief but torrential rainfalls we get here in Southern California. Here are some pics of the progress made during that stage.
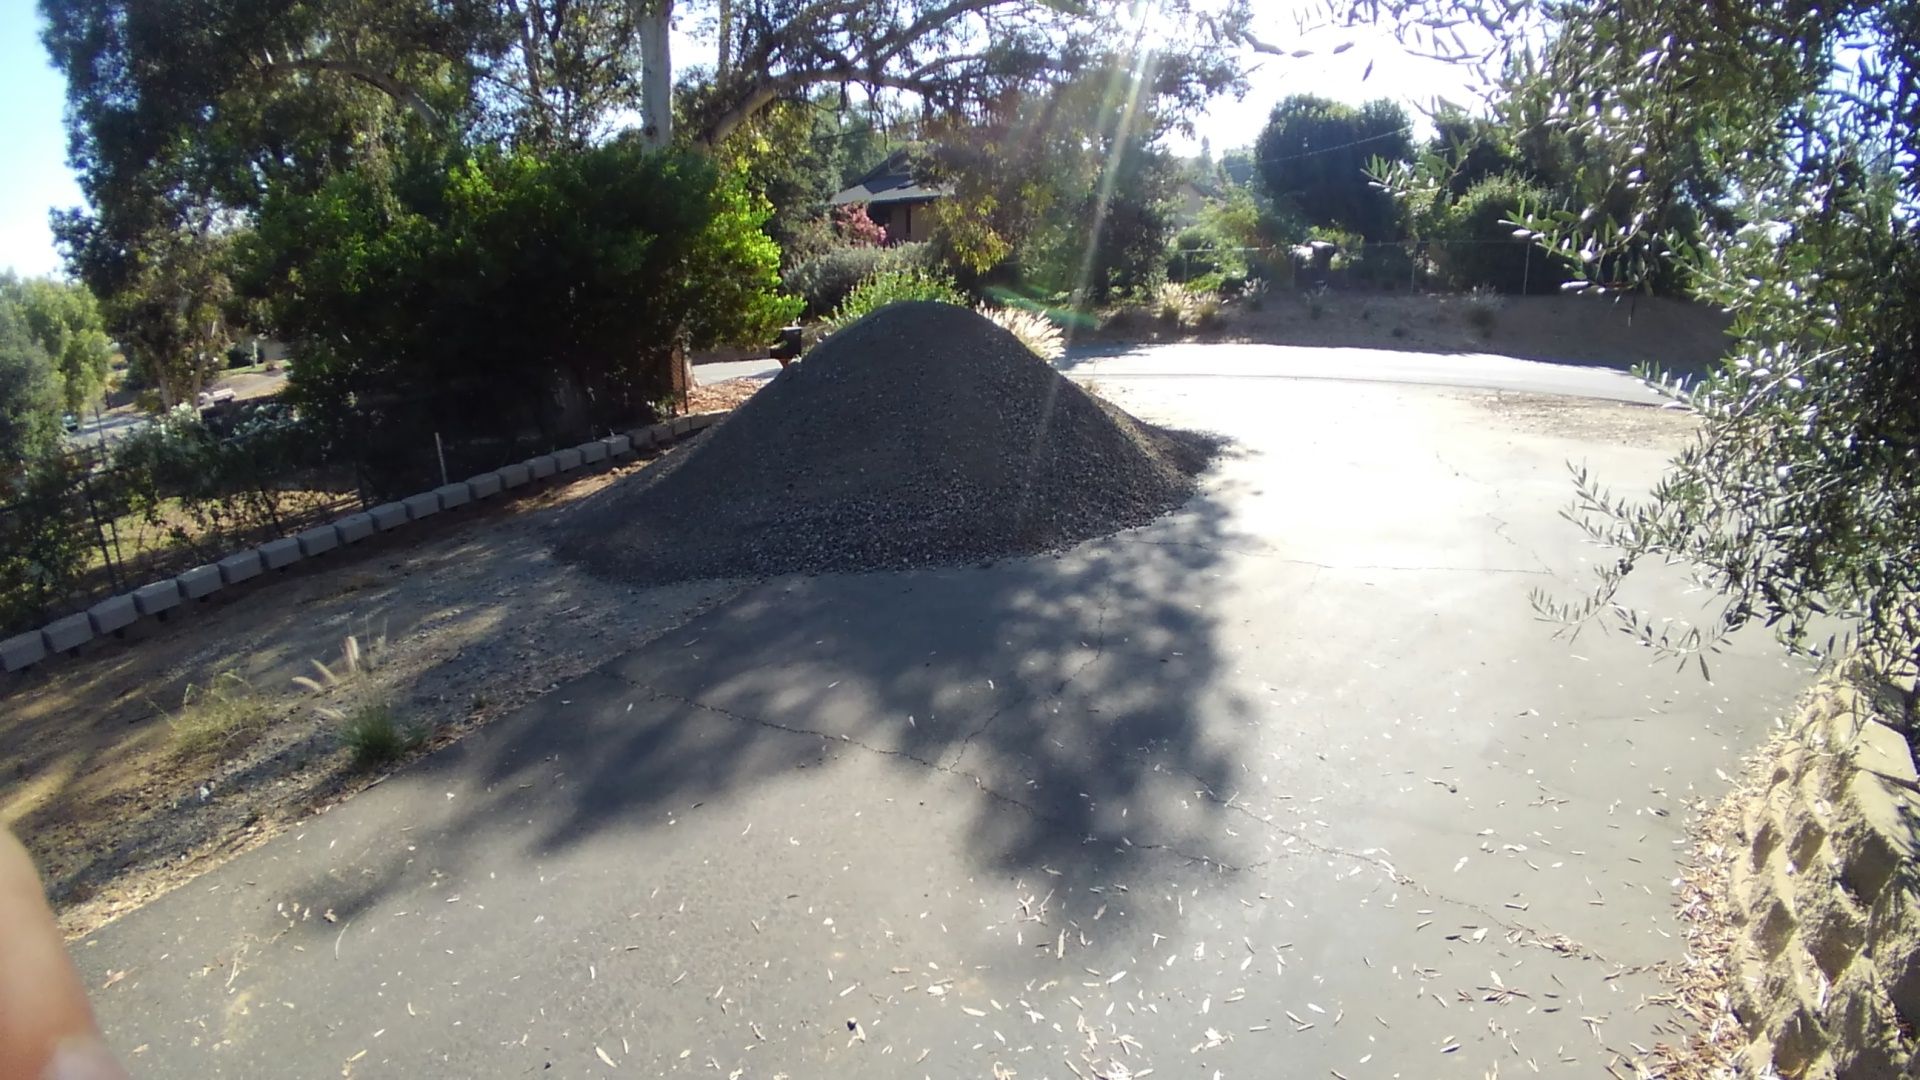
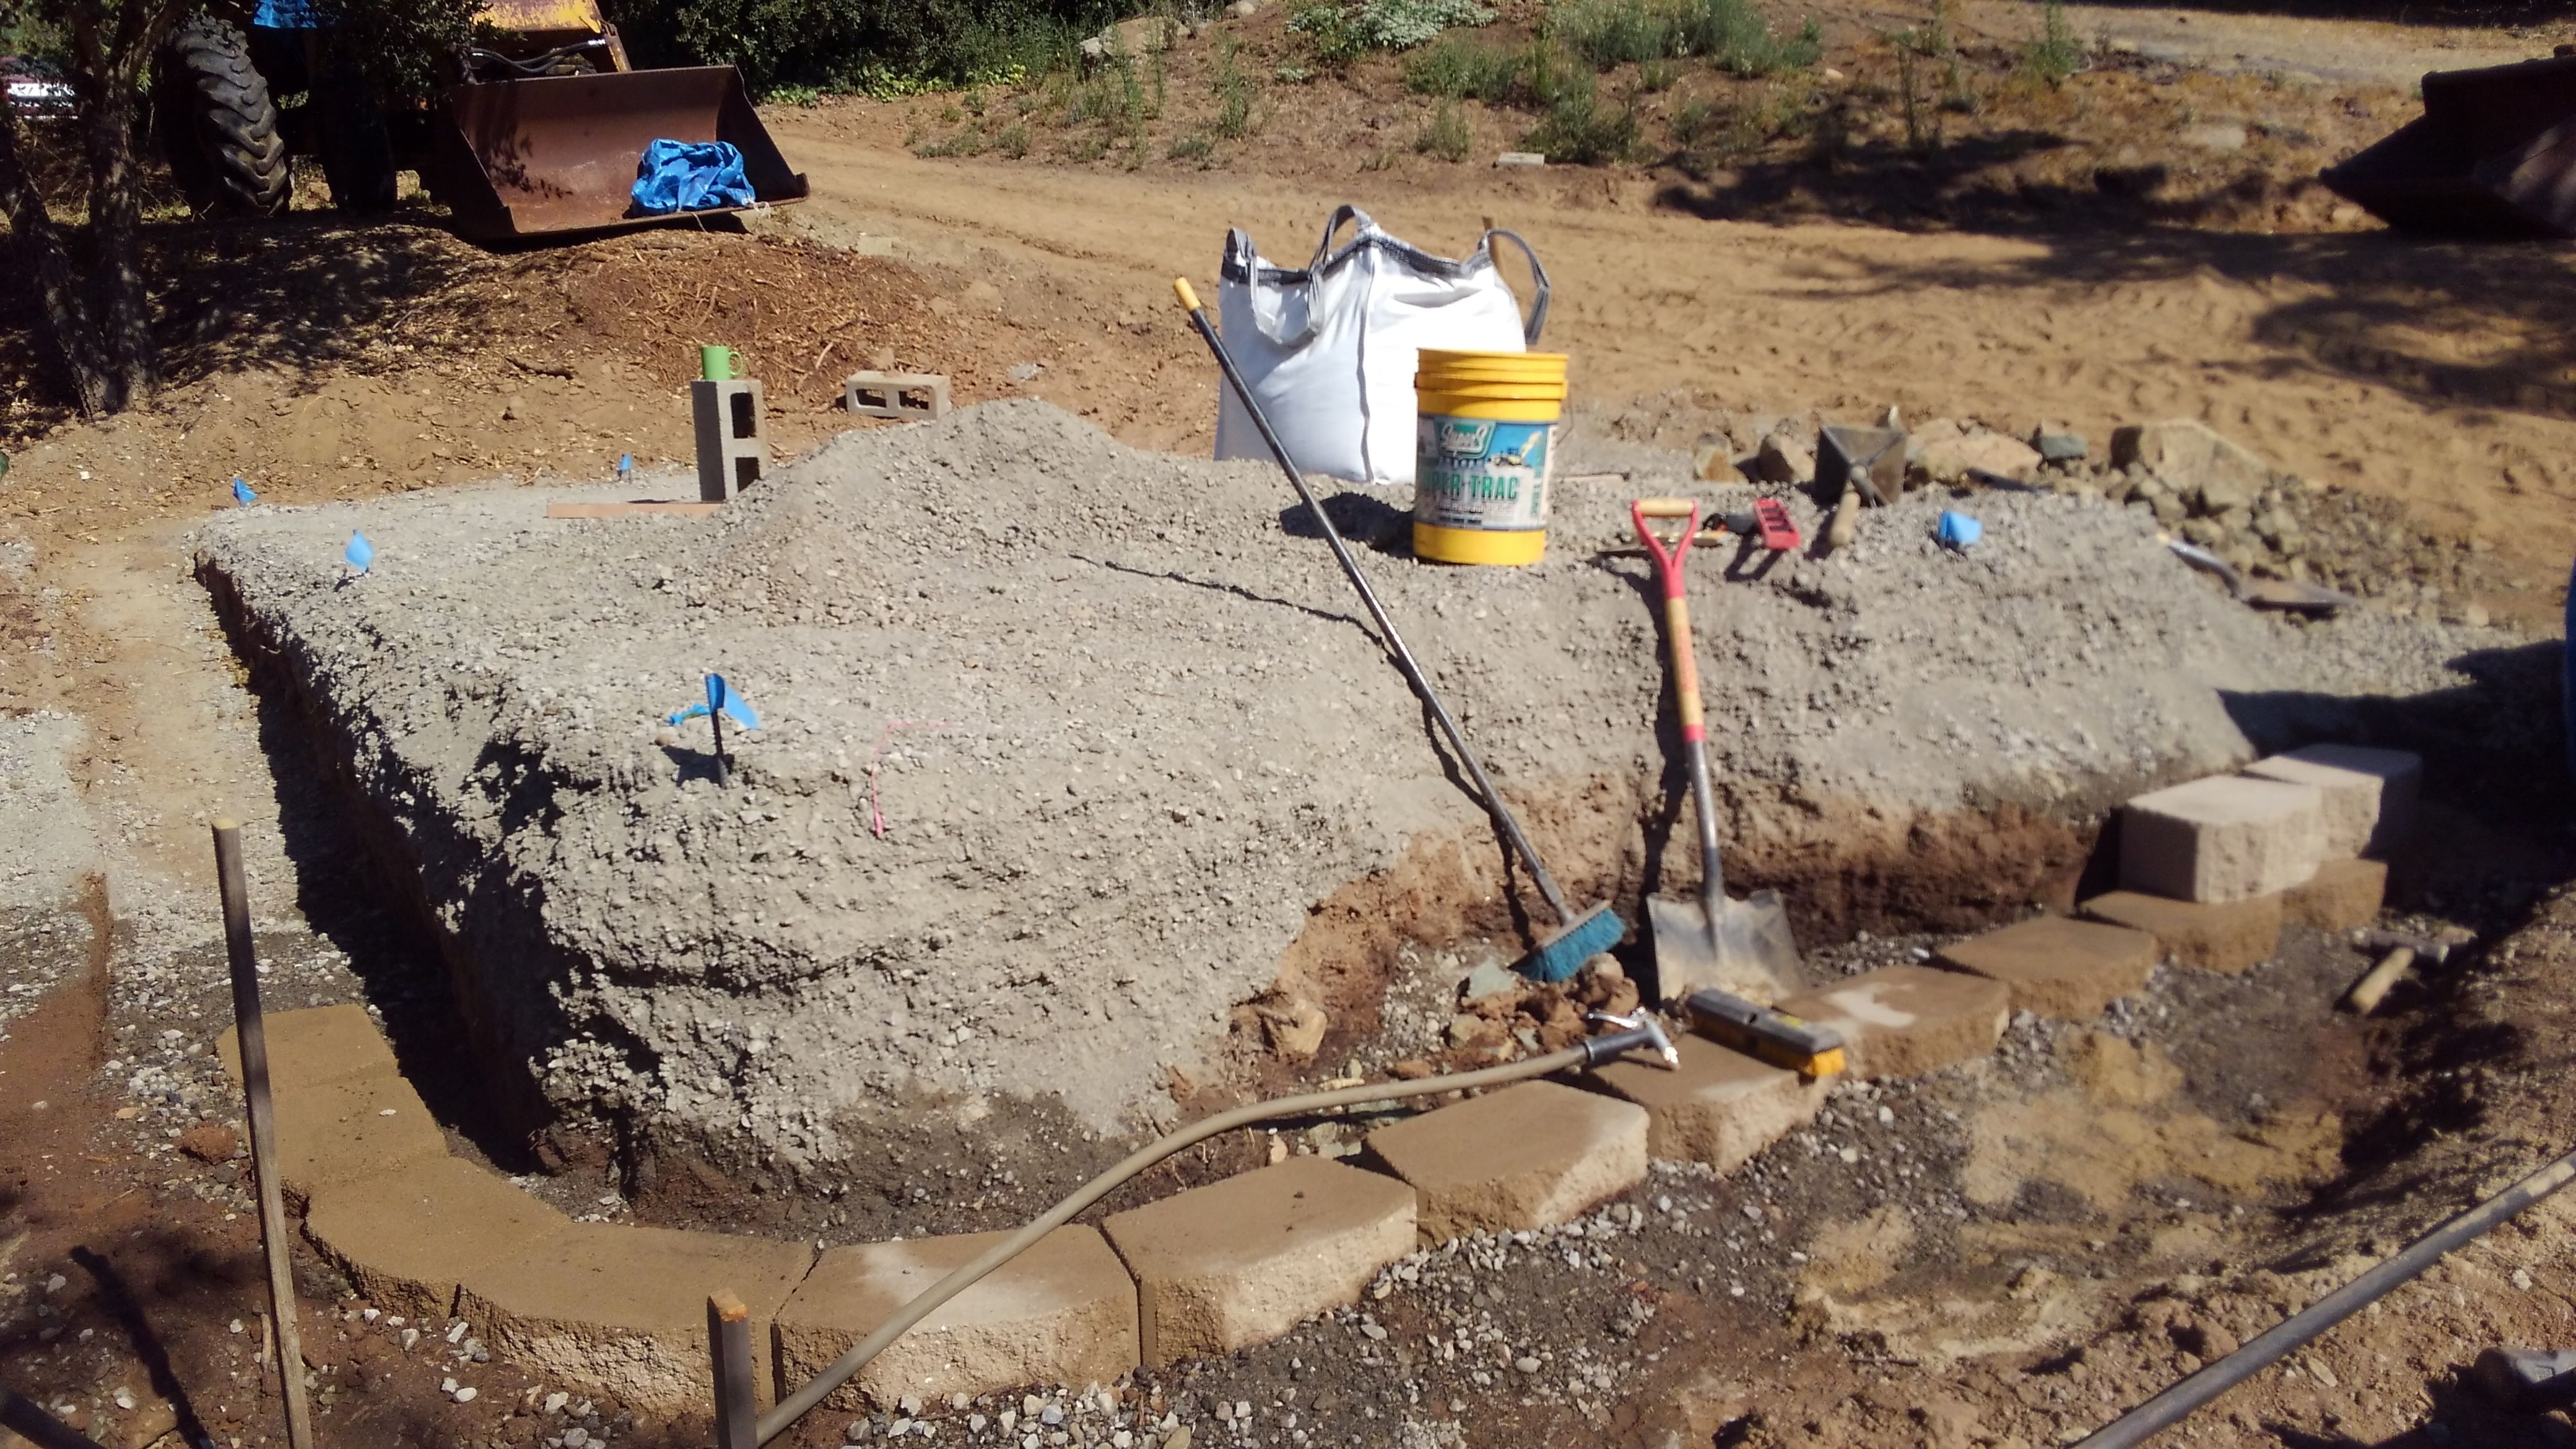
Pictured above is about 15 tons of Class II Road Base. This is mostly recycled concrete mixed with gravel, but there are natural versions of this that consist of decomposed granite mixed with gravel. Most of it went into the area in the background of this pic to complete the front part of my auxiliary driveway (for access to the back yard where the new shed was going), but some was used as fill to terrace the hill side for my project. I mixed this with a bunch of larger stone pieces and broken concrete to make up the fill.
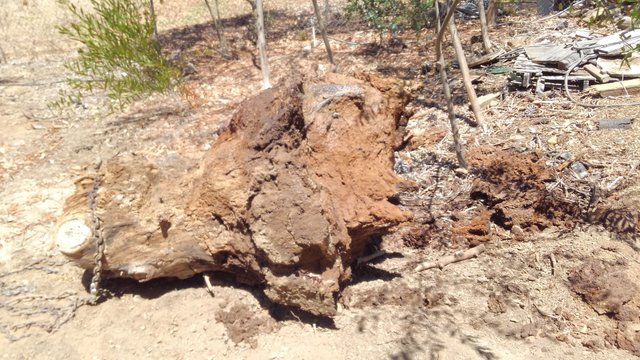
This is the stump from an old dead tree that I felled when I first took possession of the property. At first I tried to terrace the area with just fill, but my neighbor who owns his own construction business advised me to build a retaining wall to prevent washing out the foundation. I figured his decades of experience count for something, so I took his advice. The stump was in the way, so it had to come out. It took about a day of digging by hand, followed by cutting of roots with a sawzall and axe, then more digging, and more cutting, when finally I was able to pull it out with my tractor.
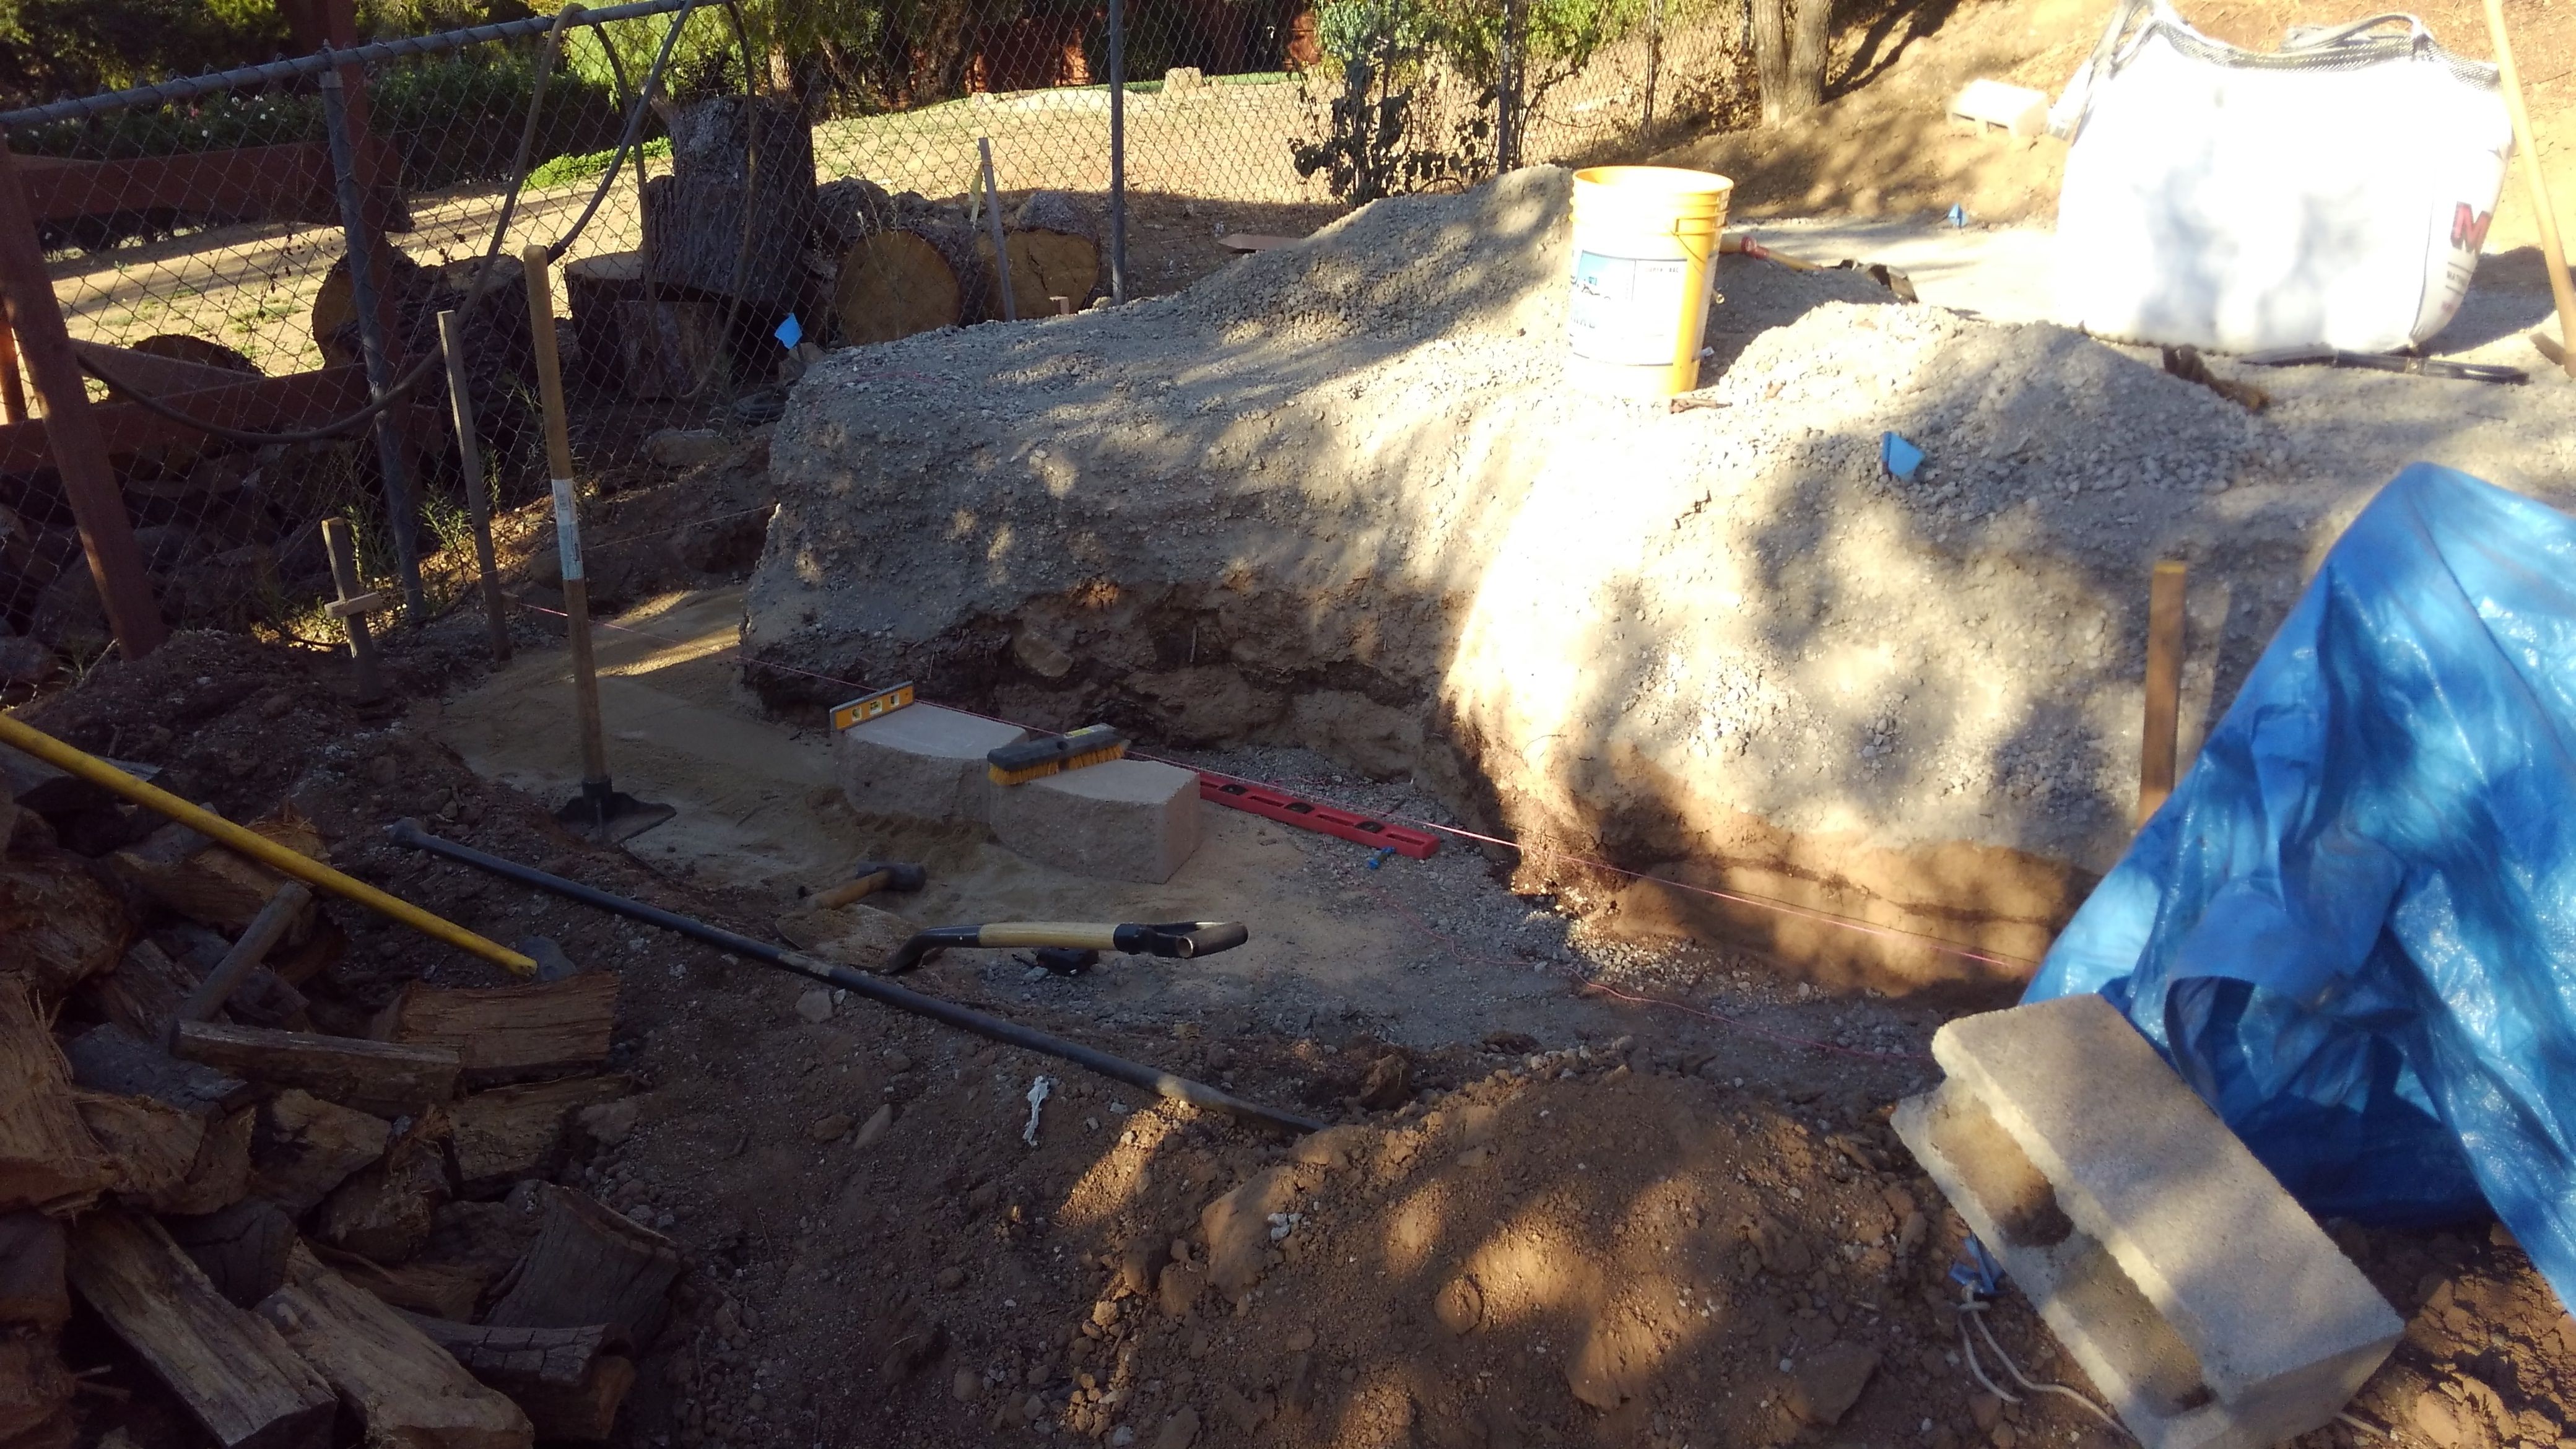
This is the start of the retaining wall using keystone blocks. You can see the hollowed out area where the stump was. To the right under the tarp is the vibrator plate I used to tamp down the fill when I was putting it in, ensuring that it won't settle further after my building is on top of it. To the left is the hand tamp used to do the base for the retaining wall. First I laid down some base gravel mix, then sand on top of that for the final leveling. You'll notice the little yellow level on top of the base-level block I'm placing here. It's important to make sure that the foundation of the retaining wall is level left to right, and either level from front to back, or tilted slightly back. After this first course of blocks, the rest of the blocks just stack on top with no mortar, locking into place with a key (thus keystone) for each successive course. Pressure from the back fill keeps everything firmly in place.
The first course is complete. Each successive row of blocks is simply stacked on top of this, making it very important to get the foundation right. Back fill is in, along with front fill for this row. These sit completely below grade. The blocks are six inches high, so the foundation is simply a row of blocks that start six inches below grade, which are back filled and front filled. This is partially done here to ensure that when the next course goes on, the blocks don't move around, but that the back fill doesn't interfere with laying the second course. The rest of the front fill is done when the retaining wall is complete. The rest of the back fill gets done in layers as each course of blocks is laid.
This is the start of the second course of blocks. As you can see on the lower left of the photo, as the grade rises, the retaining wall will go further into the background. Extending the wall in this way is done simply in the same way that the foundation is laid, which is why the wall should be started from the lowest point first. This makes it much easier to build. The last block is extended beyond the last foundation block, and the material under the overhang of that last block is tamped down to create its own foundation. This extends until the blocks on that course start to protrude above grade, then it stops. Each successive course of blocks is extended in the same way.
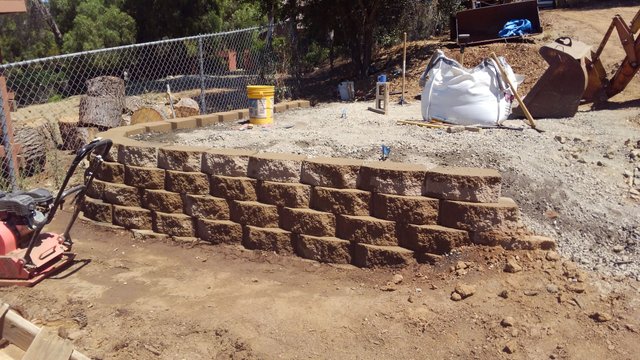
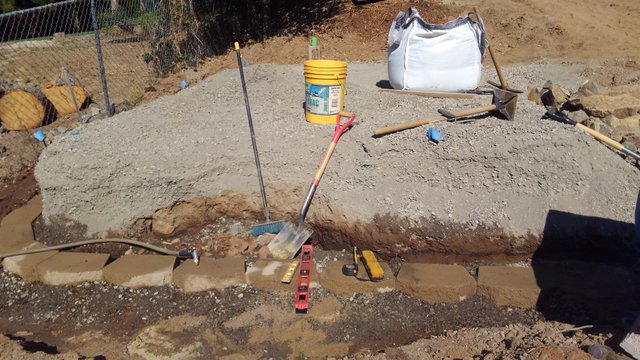
Above is the mostly completed retaining wall and base for the foundation. The front fill and back fill are tamped down with the orange vibrator plate on the lower left. Notice how the first course of blocks on the bottom of the retaining wall are almost completely buried at this point. This is done to keep the whole wall locked into place.
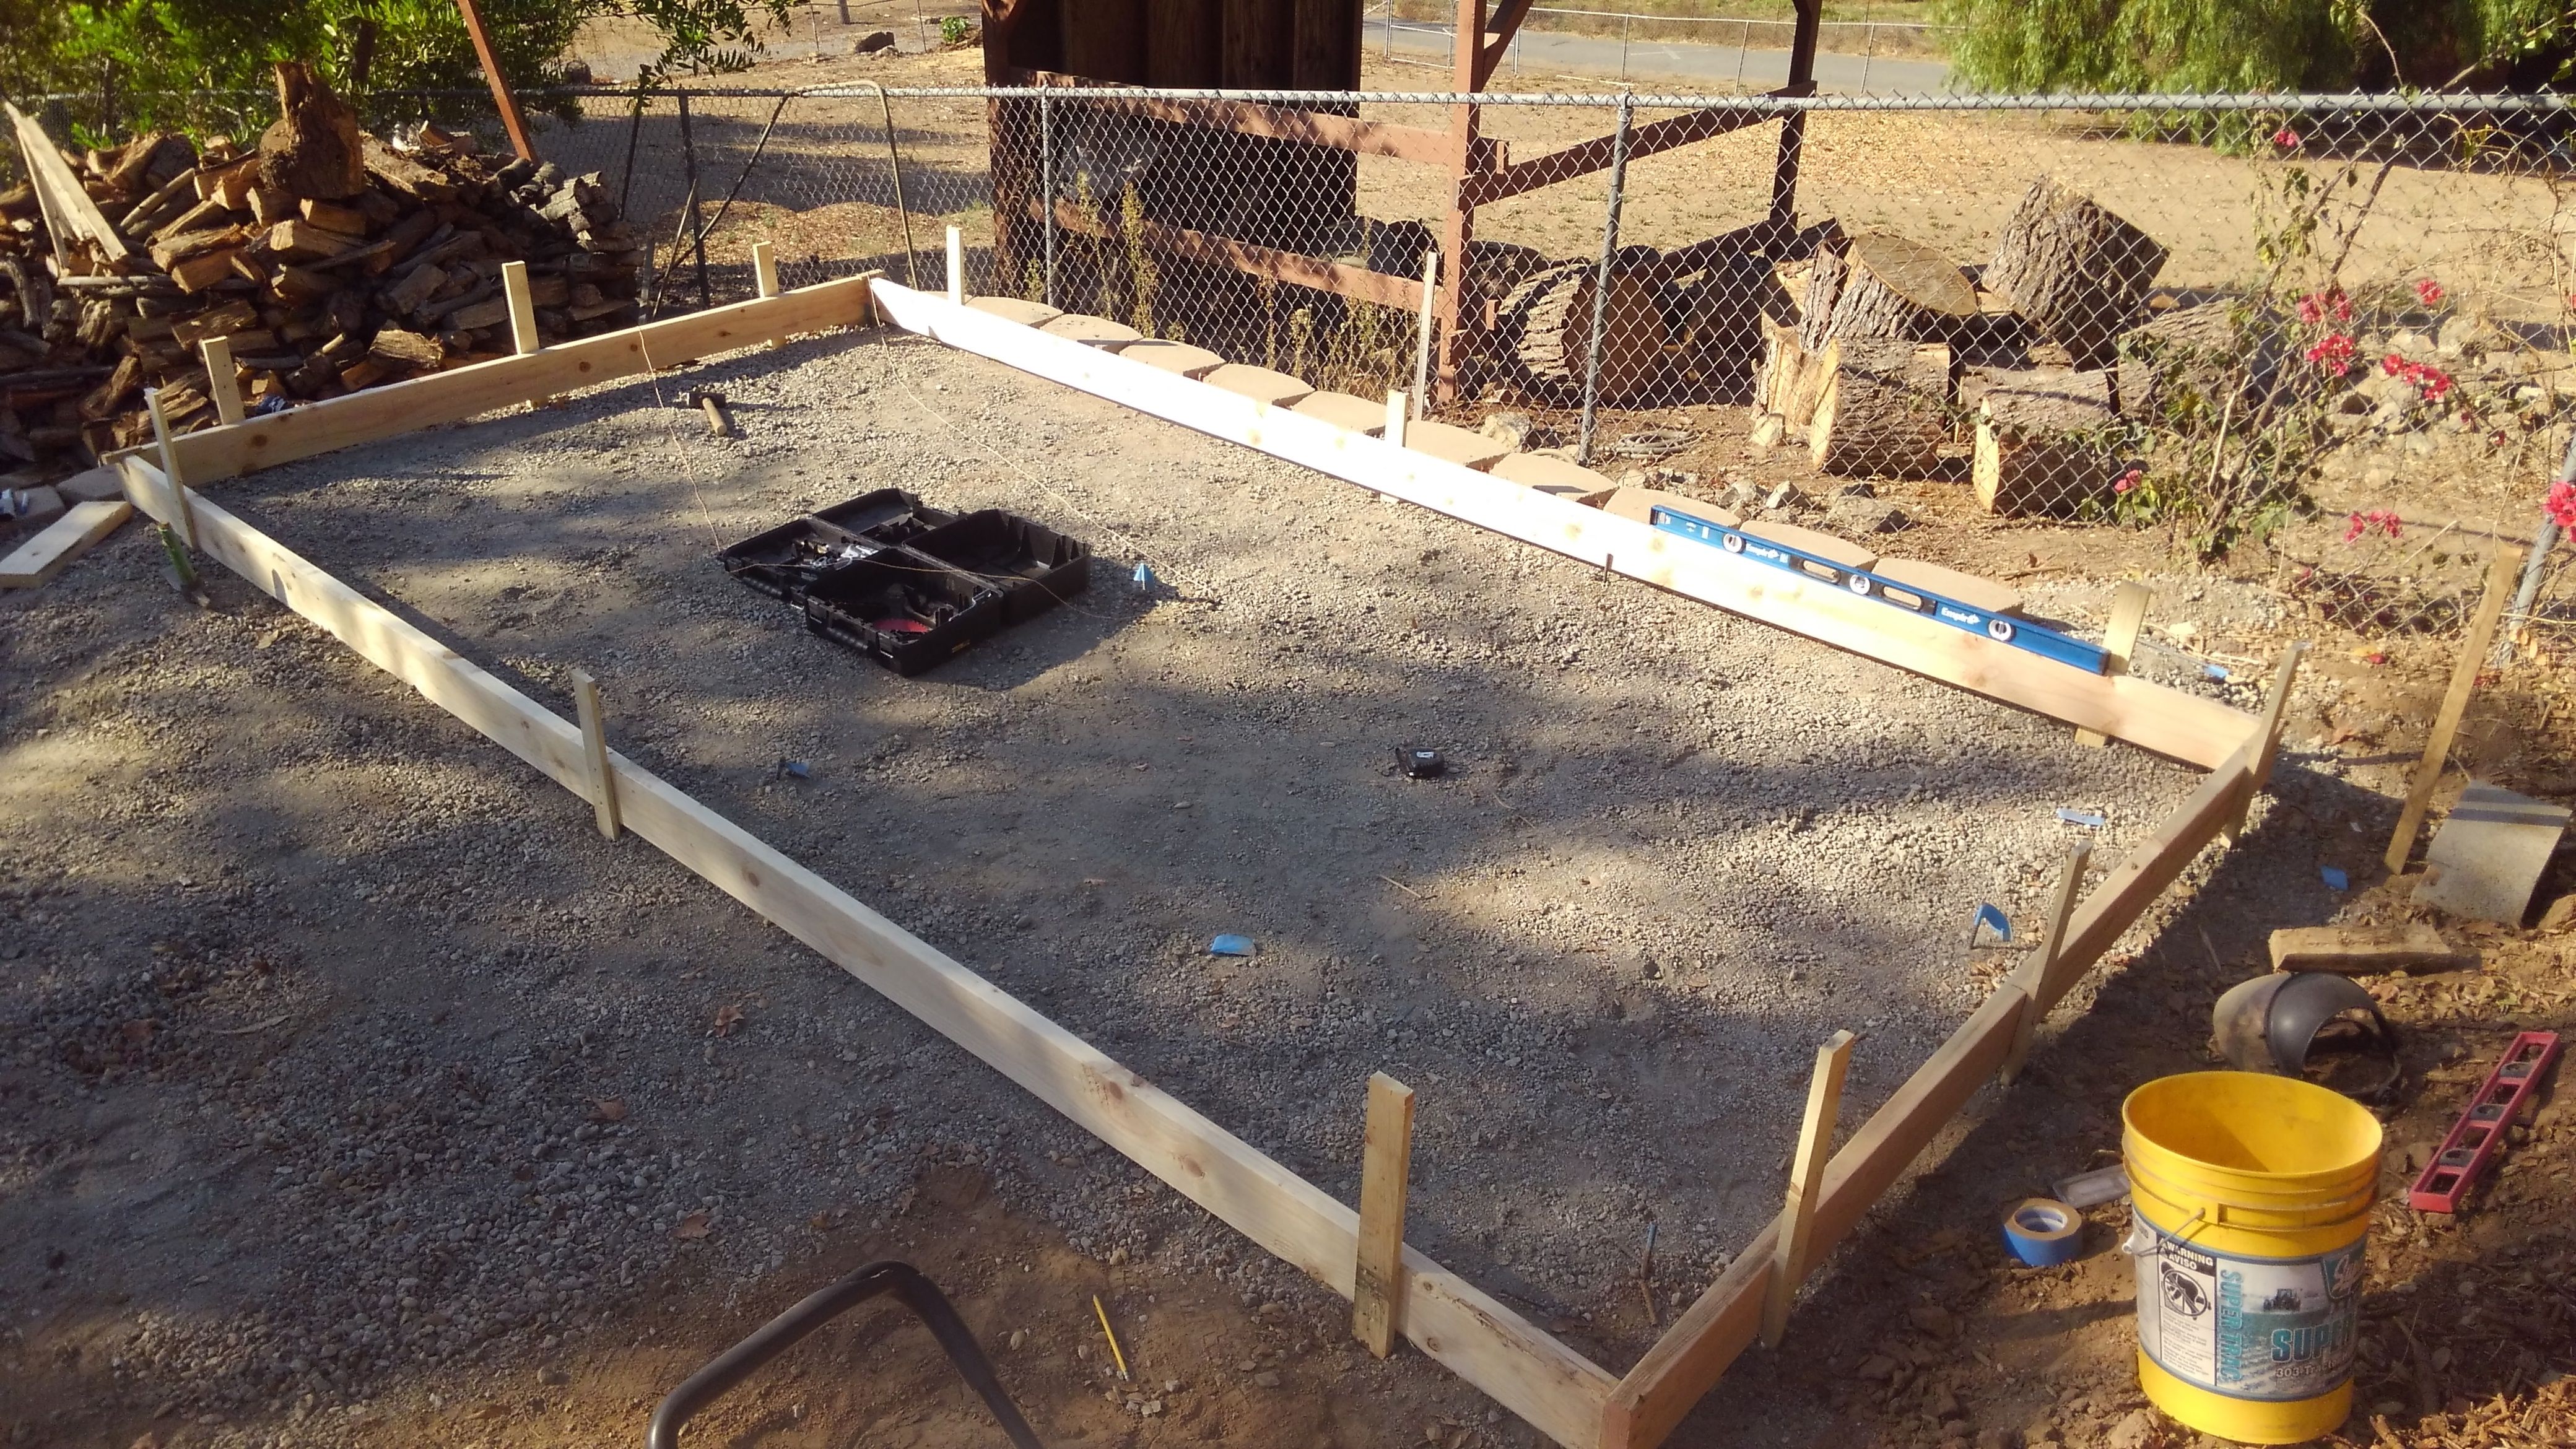
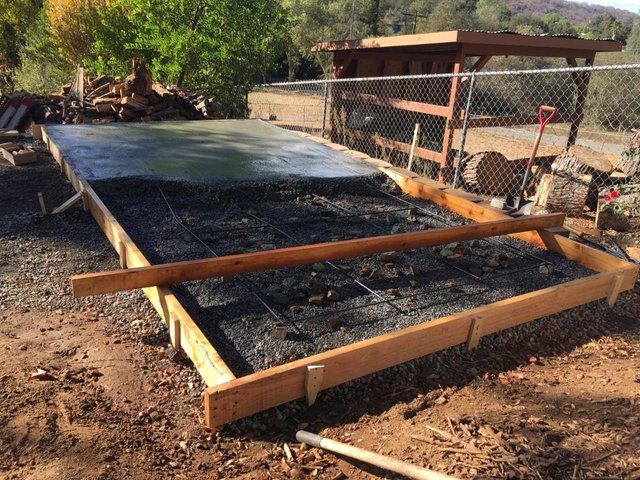
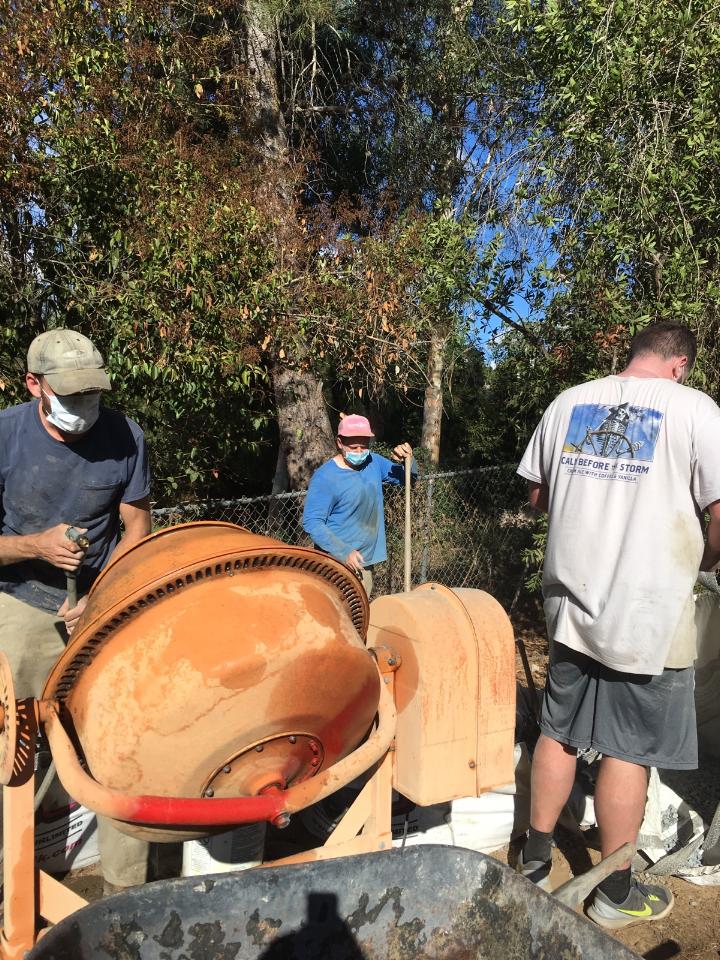
Here are the beginnings of the concrete forms. More leveling and tamping was done to get to this point, then fill was brought in to bring up the entire area to the bottom of the forms. More stakes and bracing were also added to make sure the forms didn't move during concrete pouring. Finally, we laid a criss-cross of rebar two feet on center to reinforce the concrete. I thought I had taken some photos of the concrete right after we poured it and during the pour, but I can't seem to find those. It was a very long and arduous experience because we mixed all of our own concrete, so it's unsurprising that I forgot to take pictures. Next in this series is actually building the shed, where you'll see the completed slab with the shed being built on top. Stay tuned for that.
Edit: Found a couple pics taken by one of my helpers at the concrete job. See below. Part 2 can be found here.
what interesting photos you have thrown off, are engaged in the construction of sites. thank you very much for the information friend