Building a Photography Light Box
I have in the past sold things via online platforms and I've had a need for a background that will give me professional-looking results in my photography. Now I don't mean professional in that I'll compete with a pro product photographer. I mean professional in that you don't see my dirty shop or office in the background of the photos. Instead you see a nice clean white paper and nothing else.
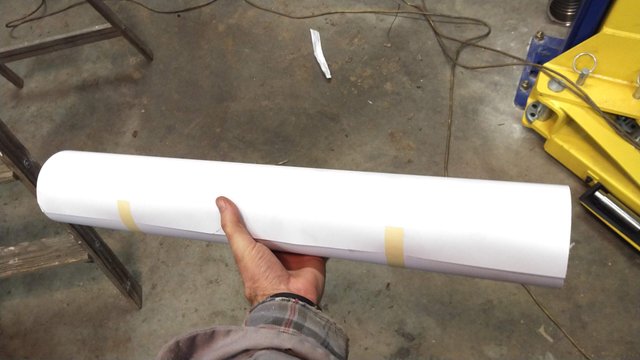
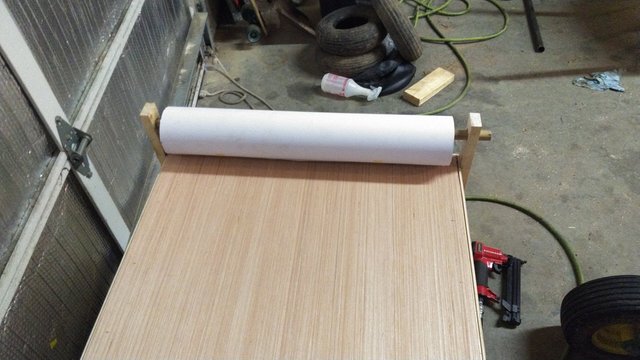
My idea for the build started out with this roll of paper. I know that the items I sell, being used and all, tend to have a bit of dust or dirt on them. Any kind of permanent surface for a background would have to be constantly cleaned, so fabric is no good, and hard surfaces that are easy to clean don't look very nice for a background. Having paper on a roll as my background allows the whole thing to be replaced for every photo if need be. Just roll out some more and cut off the excess. I've had this rolling around the shop since I had the idea a few years ago.
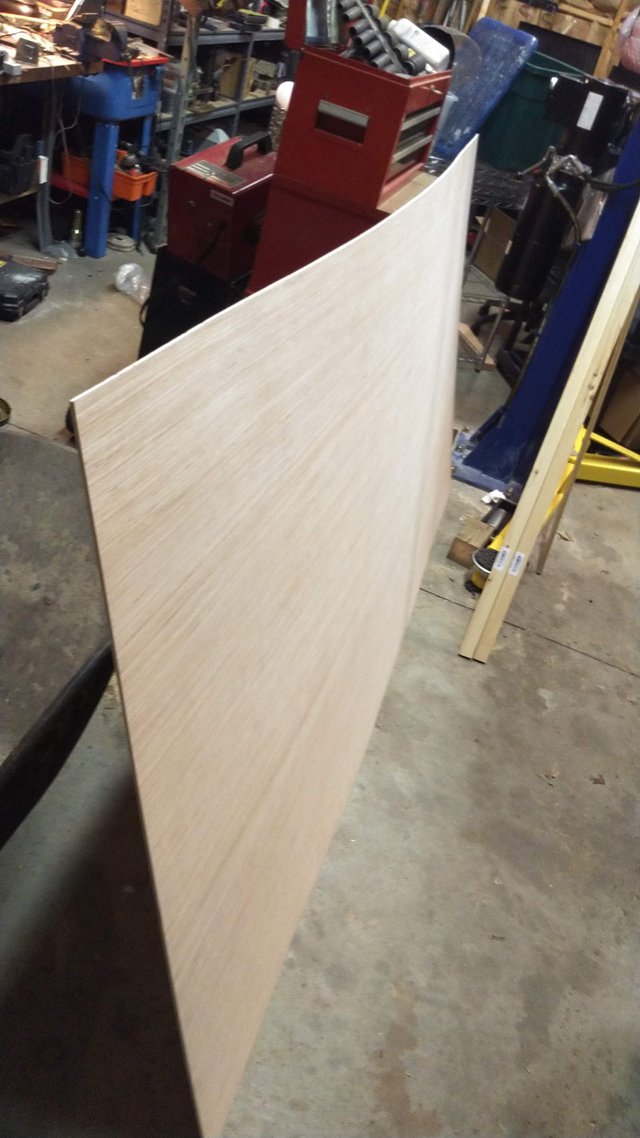
Now I've seen people build these things out of cardboard with good results, but I wanted something a bit more durable. And cardboard certainly wouldn't support the heavy roll of paper idea either. The whole thing would collapse. I've used this thin 1/4" plywood to build things out of in the past and I've been very happy with the results. It's light, it's strong, it's durable, and it looks pretty nice if you throw a coat of lacquer on it. In the interest of lightness, that little 1x2 lumber works great as the backbone.
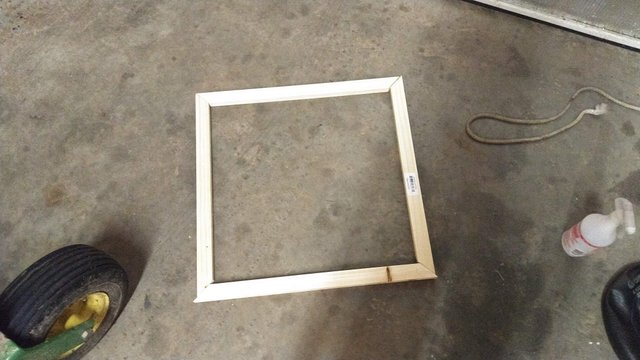
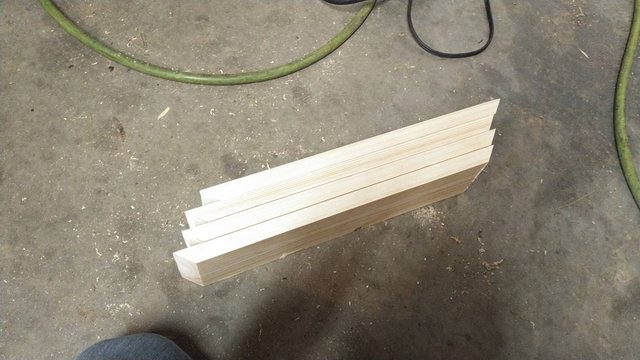
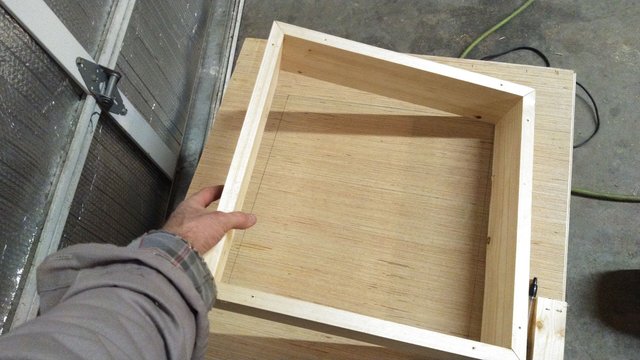
The miter chop saw was used to cut these pieces with the 45o angle. They were then nailed together with the brad nailer and staples, essentially making a picture frame. A pair of these were made for the top and bottom at 2 ft. x 2 ft.
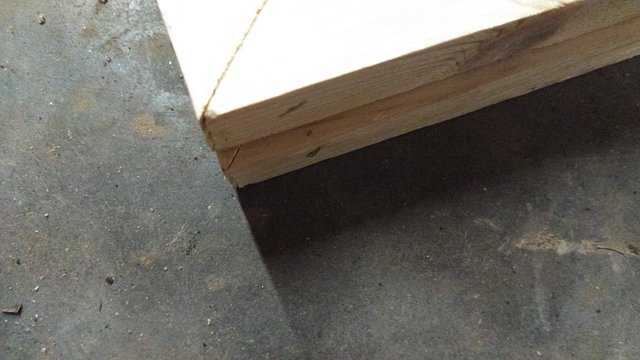
The top frame was cut a bit shorter on one dimension to allow a slot for the paper to feed through. Here you can see the quarter inch of difference.

I forgot to take pictures of the uprights, but basically I just cut 4 lengths of the 1x2 boards and tied each of these frames together top and bottom. I also cut out 2ft x 2ft squares from the thin plywood and nailed those on as well. During the nailing I sent one of the staples through my left thumb and taking pictures slipped my mind for some reason.
After it was all nailed together I needed to make a pair of uprights for the roll of paper. This was just a pair of 12 inch lengths of the 1x2 with a 7/8" hole cut in the top end to hold the 3/4" dowel.
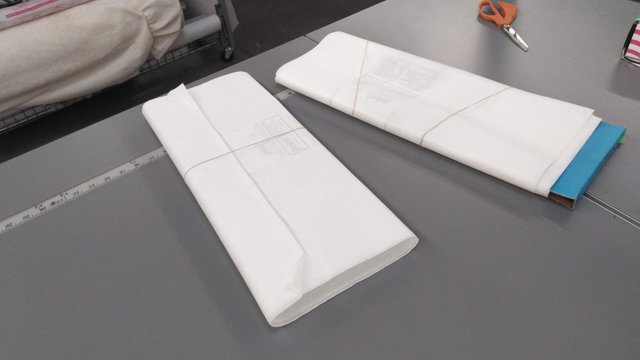
This is a fabric I found out about via a YouTube video on how to make one of the cardboard version. It's called transfer fabric, and it works great for diffusing light. It costs $1.97 per yard at Walmart. It was evident why Walmart is steadily losing market share these days. The poor check out lady had a bunch of ancient barcode scanners, none of which worked to scan the barcode. There was no way to key it in manually. She confessed that her managers gave her a hard time when she asked for replacements that would work better. They even told her she could buy her own, which I found ridiculous considering how much those people get paid. Five customers walked away without purchasing anything because of how long it took to make this transaction. I wonder how much money they lose per year because their point of sale devices don't work properly? I'm cheap and I had time, so I stood around until she found another product that was the same price and just scanned that one in instead (the print on the barcode was a smidge better).
At first I was planning to use the 1x2 to build a fixture frame for the lights, but I ran out of material and it wasn't a great idea anyway. It would have been a very complex part and would have only saved me maybe 2 lbs weight from what I came up with, if that. I bought some of this 1x4 material from Lowes while I was out getting that fabric. The ends were miter cut the tall way, again at 45o, at 18 inches long.
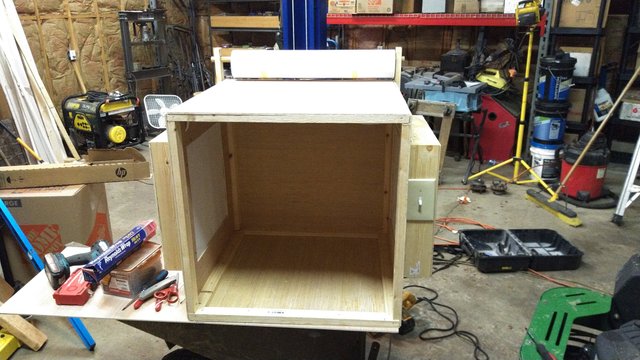
Once these were nailed together into a pair of frames, I used them as a pattern to cut the holes into the sides of the box.
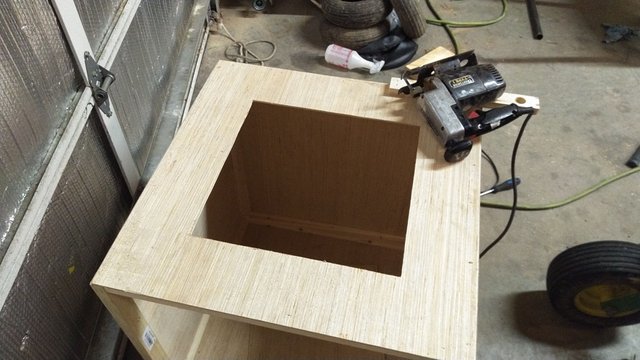
This old Craftsman jig saw works great for these kinds of cuts. My father-in-law gave me this years ago and it sure comes in handy on occasion.
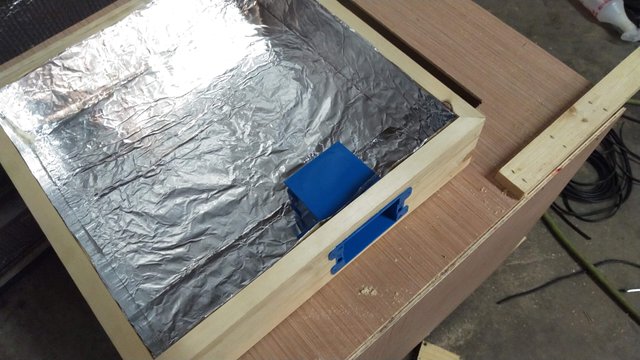
This was a trick I learned building a sign for my cousin's store. I took ordinary aluminum foil and glued it to the inside of the resulting box so that the surfaces would reflect all of the available light through the diffuser. The backing used was just another piece of plywood screwed to the back of the frame. I used screws here instead of the brad staples on everything so that the fixtures can be serviced with new bulbs and/or diffuser material. The transfer fabric tears pretty easy, so I anticipate that it will need to be replaced at some point. Notice that I used a regular switch box for old-construction household use. The little wing screw clamps worked great to hold the box into the hole that was cut into the board.
NOTE: If you use incandescent or halogen bulbs to make something like this, DO NOT use this transfer fabric. I was informed by the knowledgeable clerk at the checkout that it could easily catch fire being such a thin material. I used LED bulbs here, so it won't get hot enough. I seriously doubt that my wiring would pass any sort of safety inspection, since I hacked up some cheap white extension cords to make this, so I'm leaving that part out. I don't want to encourage anyone to do something that might put them at risk. I'm self-taught with electrical, so my expertise is limited. If you're like me, I'm sure you can figure it out, but do not attempt unless you're absolutely sure of what you're doing.
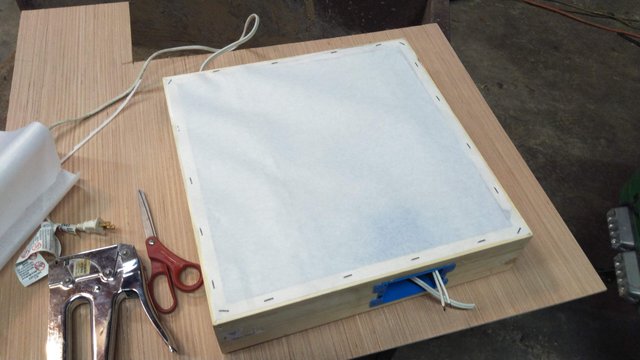
Anyway, here's the transfer paper diffuser stapled into place with an ordinary staple gun and the excess cut off with some scissors. Once everything was on the boxes, they were screwed to the sides and the wiring was finished and tuck up with staples to keep them from flopping around.
The final result! It turned out pretty good I think. It was a little awkward to carry it up to the house and squeeze it through the doorways, but just as I had hoped, it's plenty light to be moved wherever I need it.
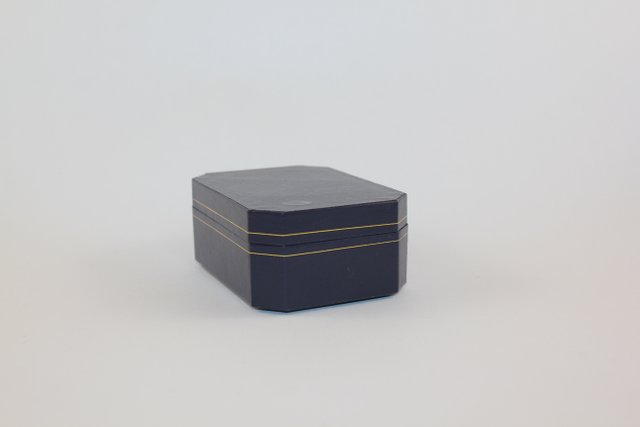
Here's an unedited example photo using my Canon T2i on full auto. I showed some of these photos to my friend who has some formal schooling in photography and he said I need to calibrate the white balance on my camera, but I think this is good enough for my purposes. Compared to the dirty shop bench or my cluttered desk in the background, this looks light years better. It's a good clean look that emphasizes the product only (in this case an empty jewelry box, but you get the point). Anyway, that's it for this one. Until next time, Steem On!
Twitter proof of sharing - https://twitter.com/RandR10/status/1227704465375055872
Hi randr10,
Visit curiesteem.com or join the Curie Discord community to learn more.
A creative, ingenious, economical and efficient solution to take good pictures of your products. That speaks two things about you: the first is that you have passion for what you do and the second is that you like to invent and build. I loved this post. Cheers @randr10
Thank you!
Congratulations @randr10! You have completed the following achievement on the Steem blockchain and have been rewarded with new badge(s) :
You can view your badges on your Steem Board and compare to others on the Steem Ranking
If you no longer want to receive notifications, reply to this comment with the word
STOPDo not miss the last post from @steemitboard:
Vote for @Steemitboard as a witness to get one more award and increased upvotes!
a great job and a lot of passion to make your photos beautiful !! surely to sell the aesthetic aspect is fundamental;)) congratulations on your curie vote
Thank you once again for the kind words. Half the fun for me is building something, so that's part of the passion. Another part is getting the desired results. This design works perfectly. The only thing I might change is to make it a bit wider. Finally, I love getting what I consider to be something premium while spending very little. I think this project fits all three quite well.