Cleaning up the commuter - a bit of bicycle repair required
Hey guys,
I am a cycle commuter. This means that I'm on the bike in all weathers as I make my way to the local train station. Come rain or shine, I'm on it (although I do make exceptions for ice - a recent fall on black ice has really put me off cycling when the temperature drops below zero)
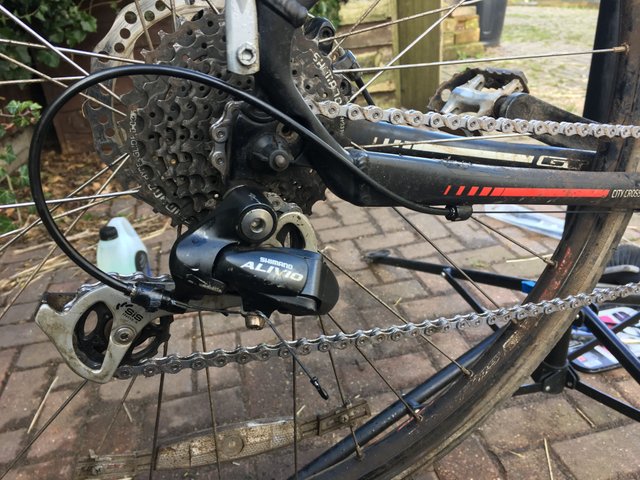
The road where I live a pretty grim. I'm in farming country so there's usually all manner of mud and dirt on the roads. Couple that with the salt that gets spread on the road during cold weather and you have the perfect combination of a rust causing, mud caking mess. The best way to show you what this ends up like is with this image.
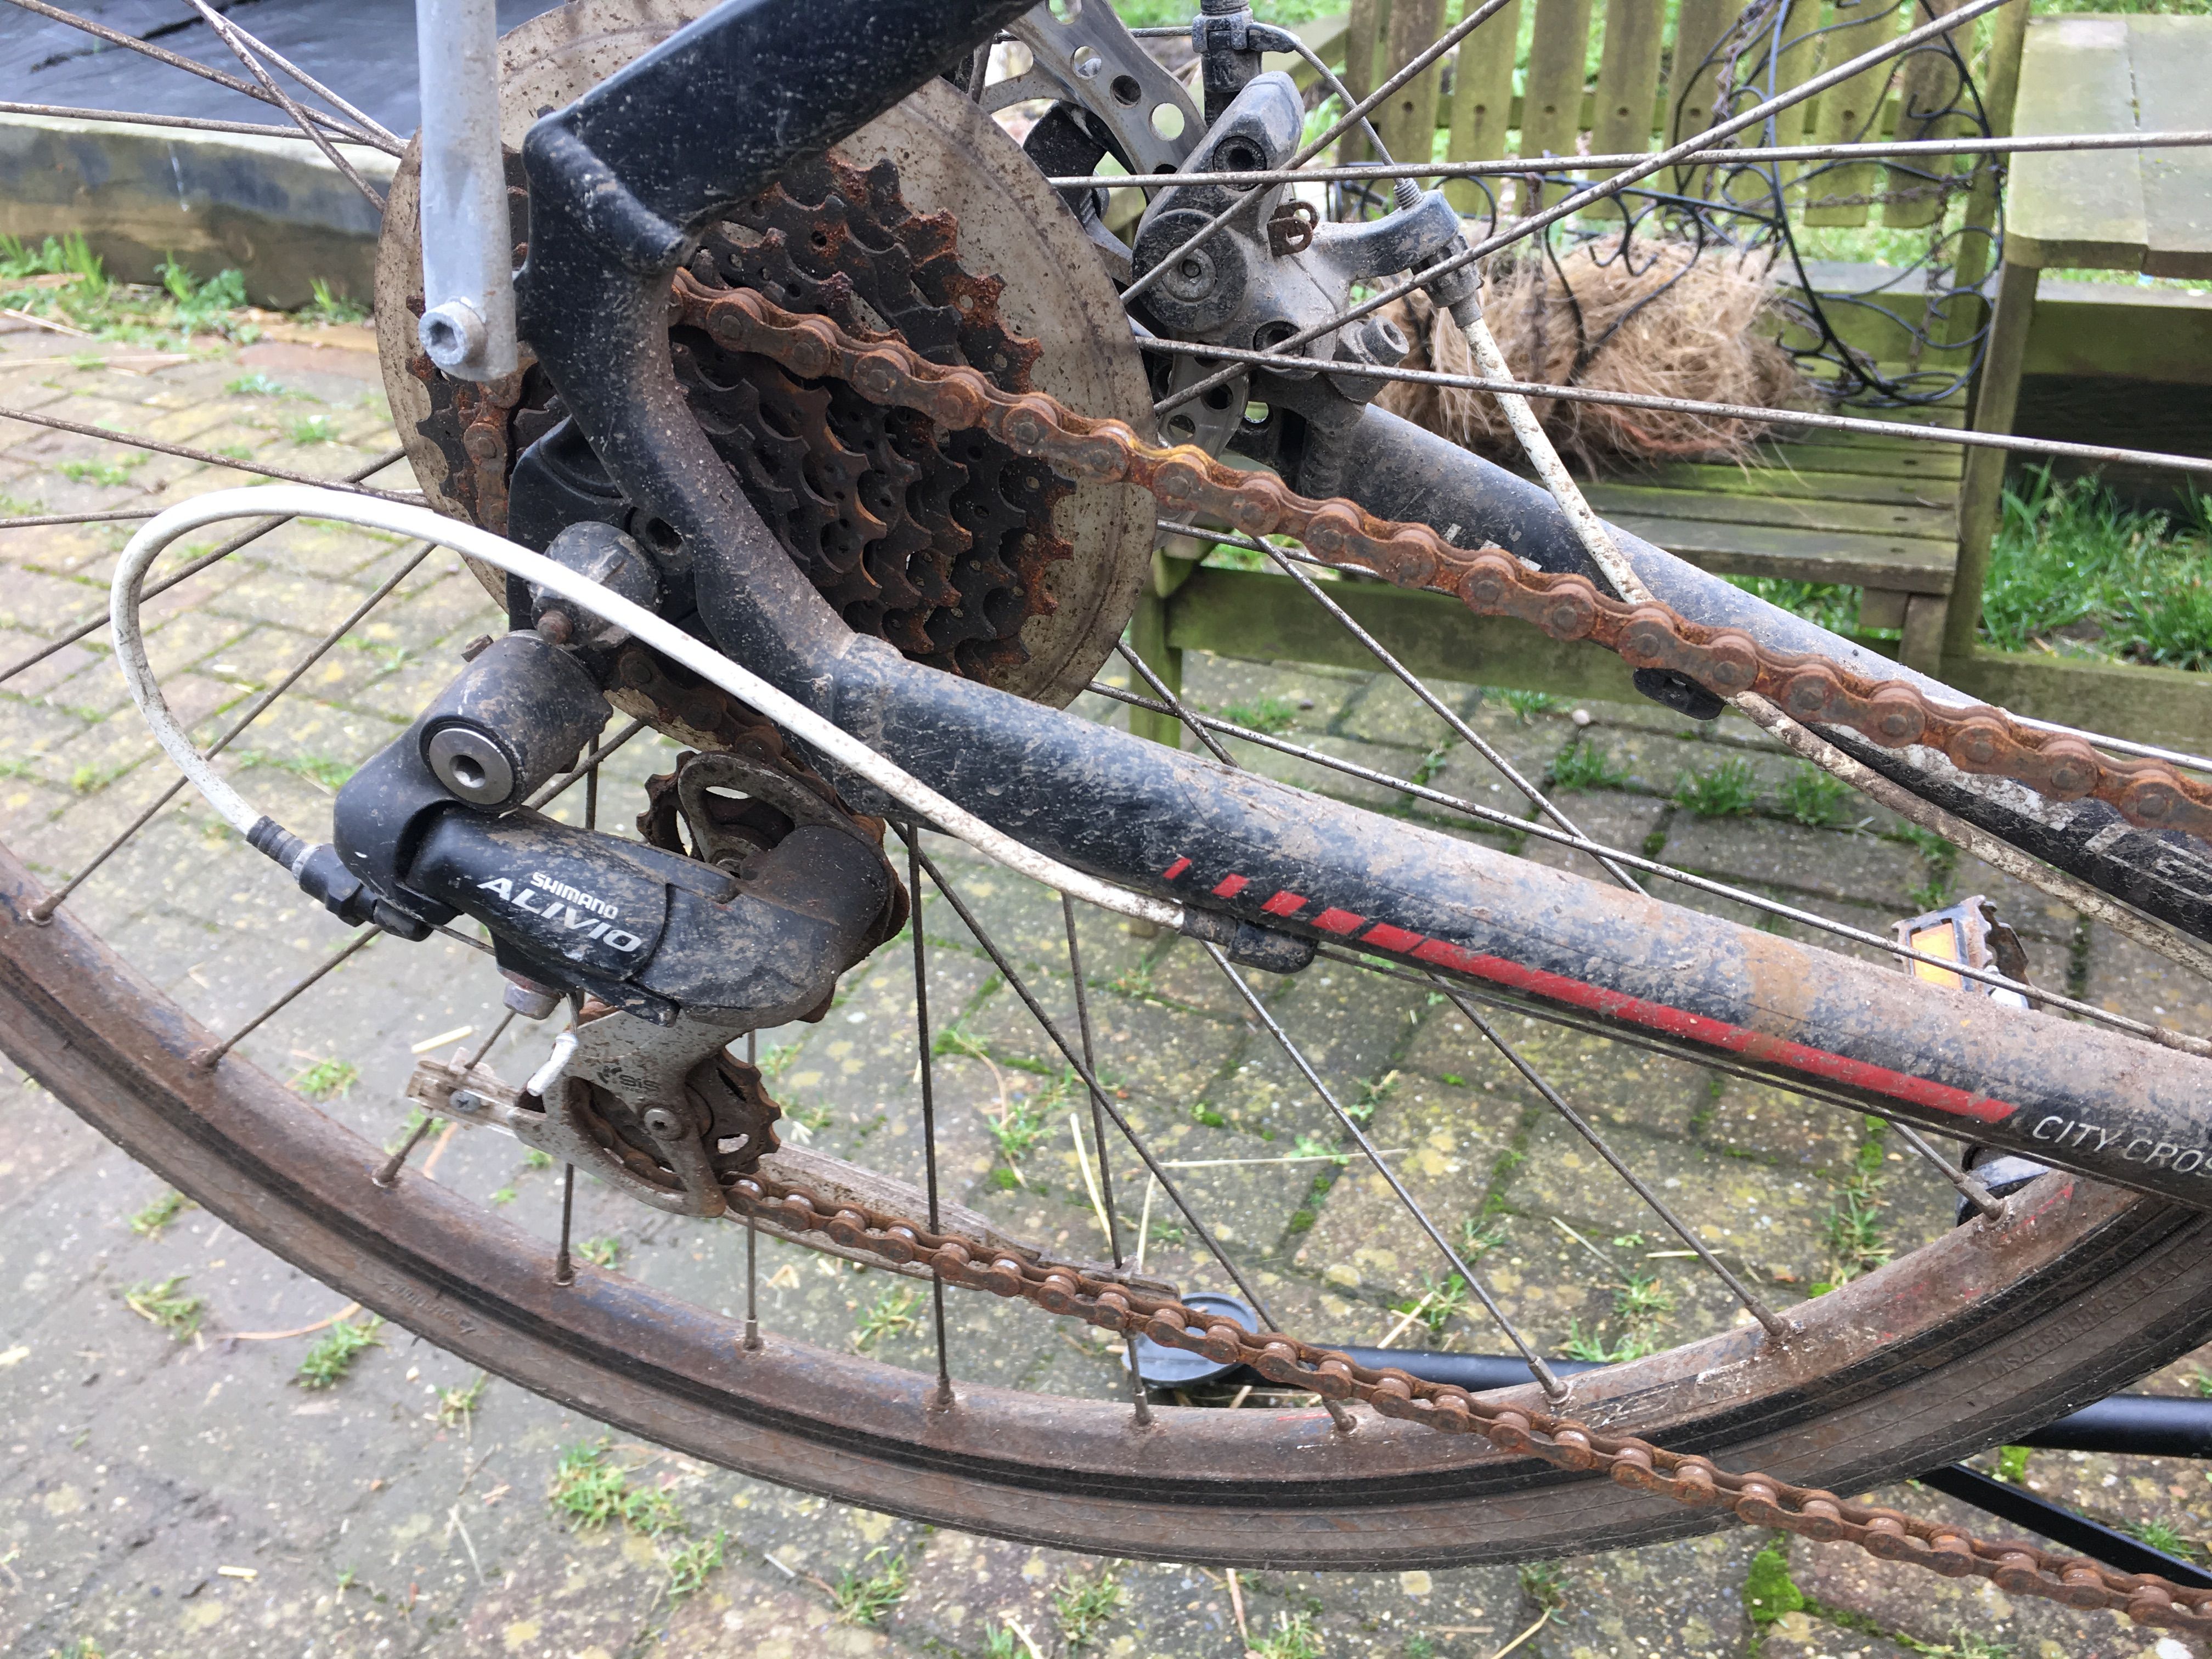
It's not only what you can see, it's also what you cannot see. Muck and grime make their way into the gear and brake cables and once that gets between the inner cables and outer sheaths you have a recipe for disaster. I'm not joking when I say that I clicked the gear lever on Monday and the bike didn't change gear till Wednesday.
I was basically riding a 24-speed commuter bike as a fixie. So it was time get this sorted. I've been planning on doing this for a few weeks, but bad weather on the weekends and lack of time have prevented me doing so. However, this weekend was pretty good, so I decided to give it a go. I'm going to give a brief overview of what I did and some pointers so that maybe you can give this a go yourself.
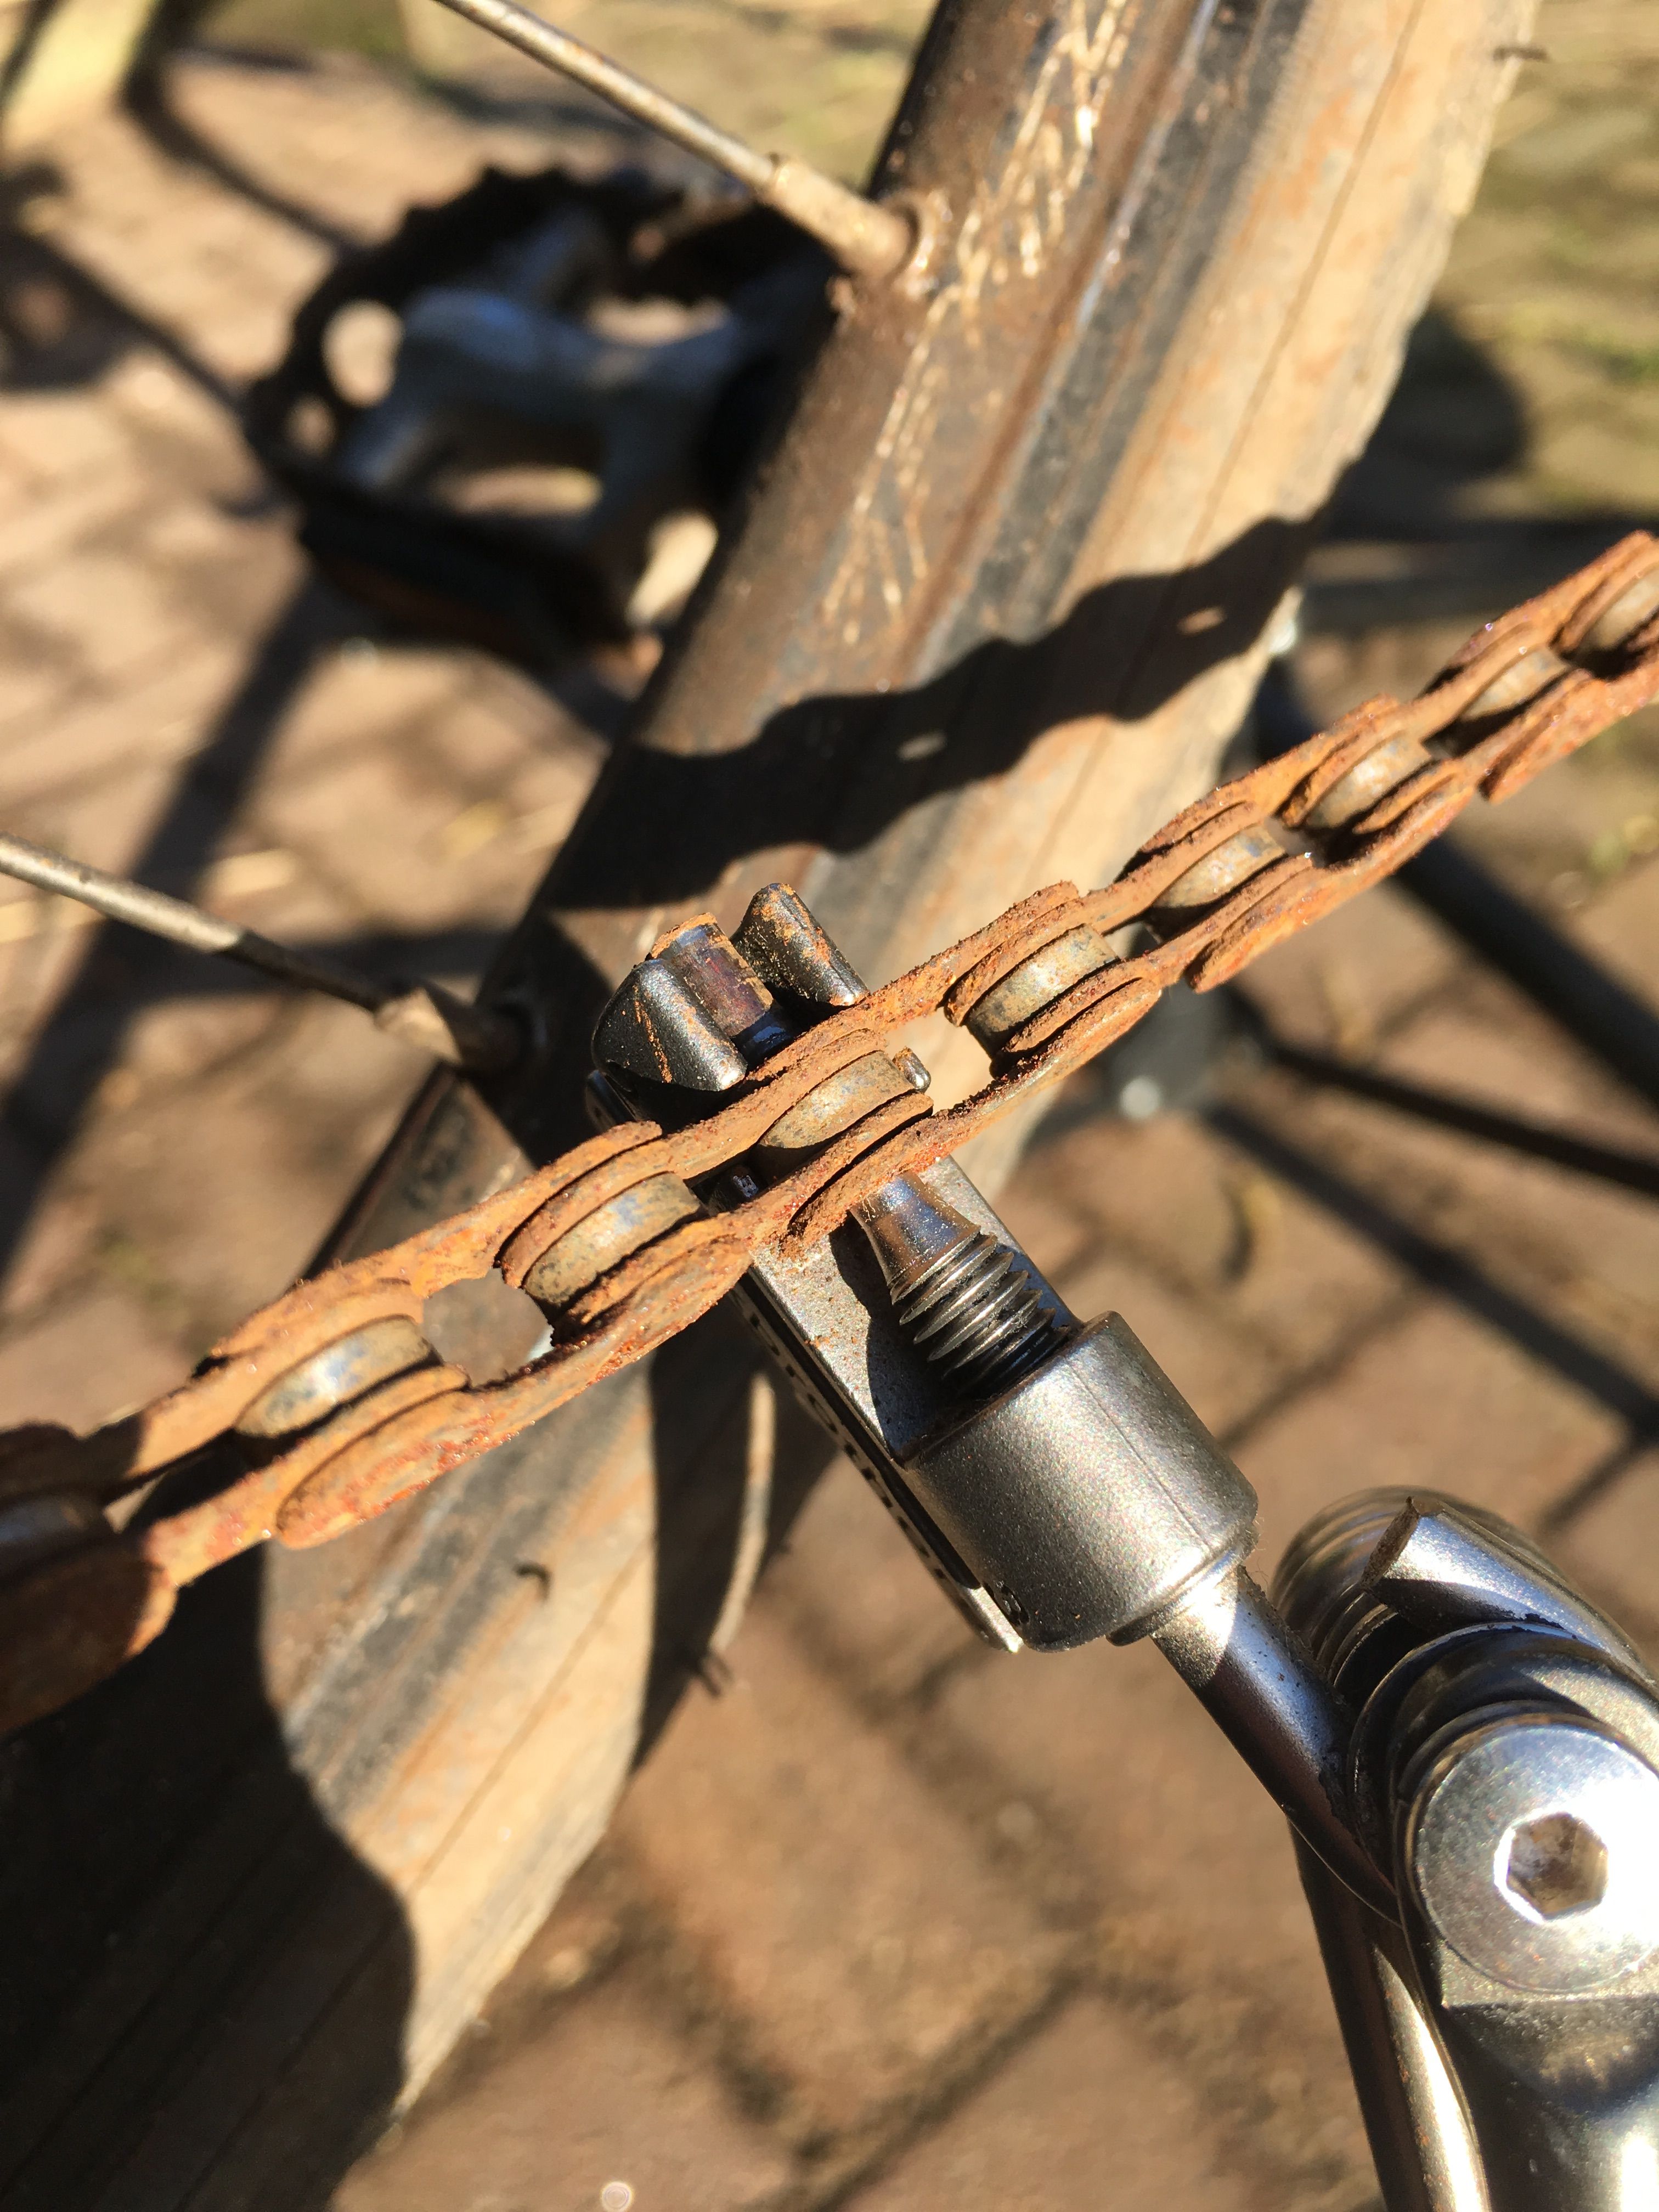
The first job was to get that old rusty chain off. For this, you need a chain link removal tool. Basically, its a tool that you screw into the pins on the chain and it pushes them out as per this image on the right. Once the pin is out, the chain separates. Don't throw the chain away just yet though, you are going to need it later on. I did consider trying to clean the chain up. A good soak in a degreaser solution and something like WD40 often gets the chains looking as good as new, but this one was so rusty that I was worried that it wasn't just external oxidisation. The last thing you want is a link to go due to a badly rusted pin. For that reason, I decided to replace the whole chain. It's only a £10 part so not the end of the world.
The rear cassette (that's the technical term for that set of cogs on the back) also needed cleaning. To do this, I just spray it with a high strength degreaser. As there are no moving parts on the actual cassette (just the freewheel that it spins on), it's perfectly safe to give this a liberal coating without worrying about it washing away any lubricant. After a good soak, a scrub with a stiff brush and some hot soapy water should leave it, well, not as shitty looking
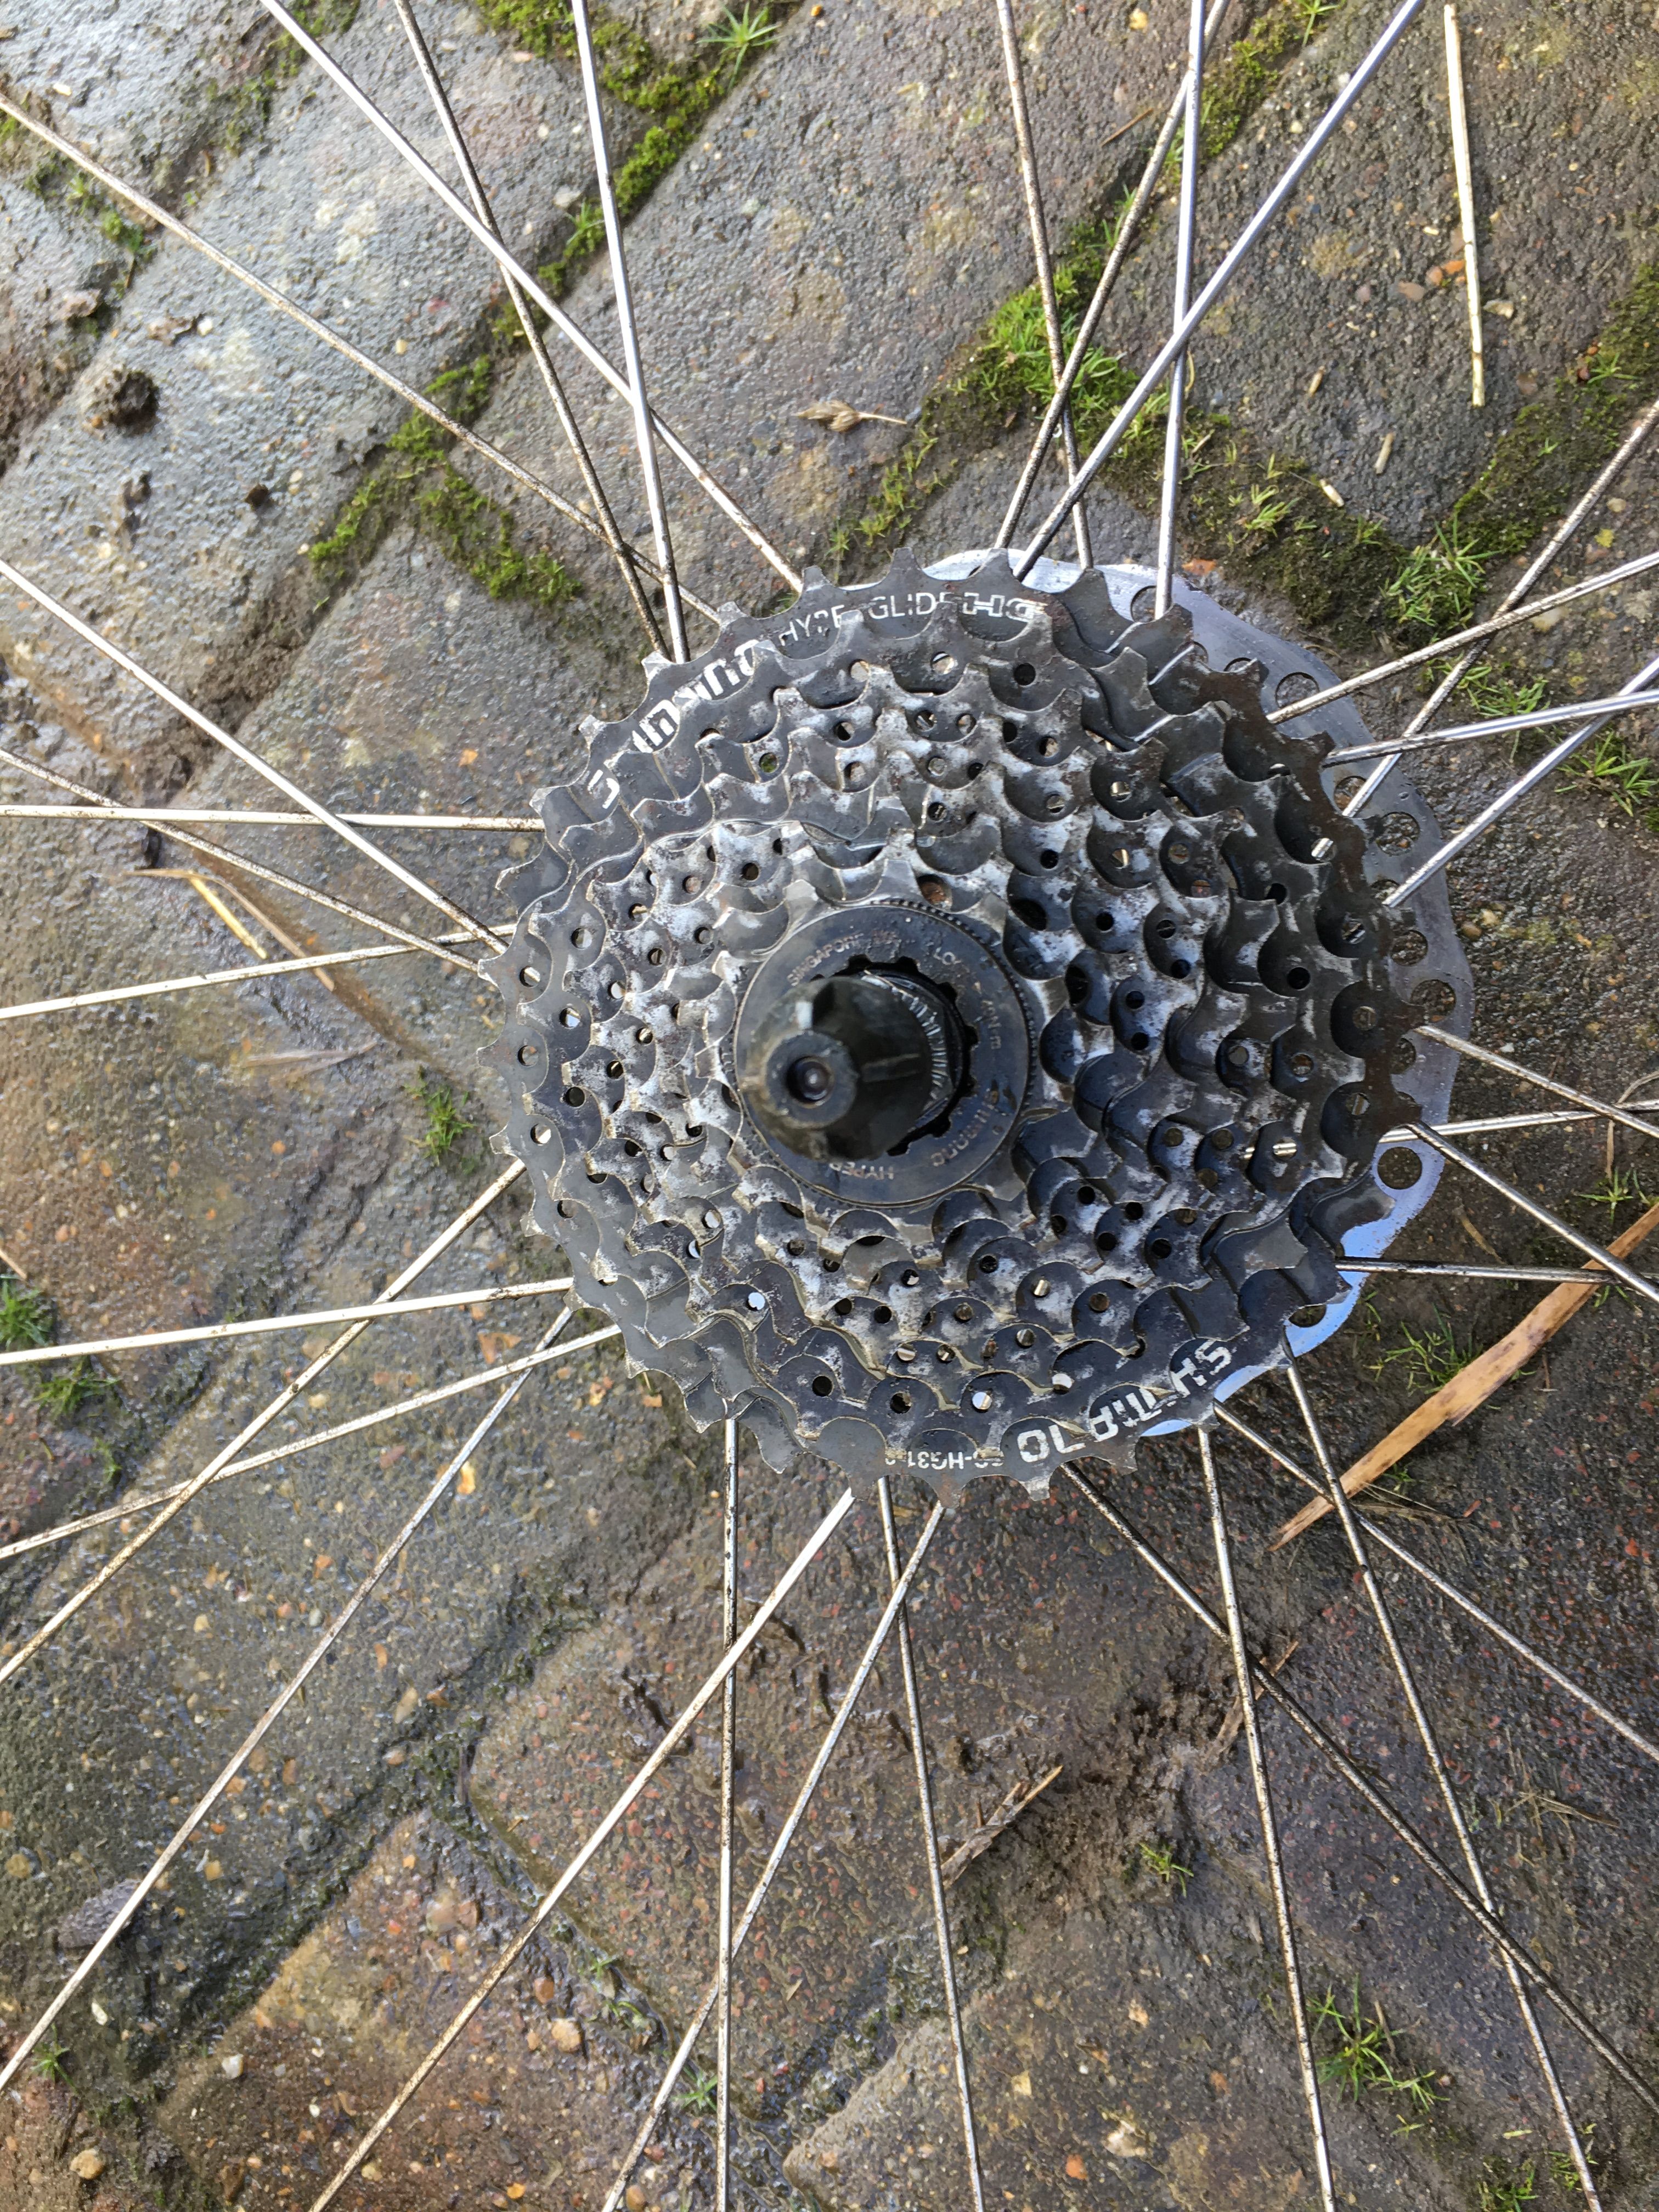
There' still a little bit of tarnishing on here but there's not a lot you can do about that. It looks a hell of a lot better than it did previously. I also removed the idiot disc (that horrible plastic disk that supposedly stops the chain going into the spokes). If you have your rear derailleur set up correctly then you don't need it.
Now onto replacing the cables. One thing to be aware of is that brake cables are a different thickness to gear cables, brake cables being thicker. Don't mix em up!. Cables consist of an inner metal wire which is the part that is tensioned to either move the gear mechanisms or affect the brakes, and an outer "sheath" that is there basically to enforce a static distance between the levers and the brakes/gear mech. The cable outers will also need to be fitted with ferrules at the end. These are little plastic covers which just protect the end of the cables.
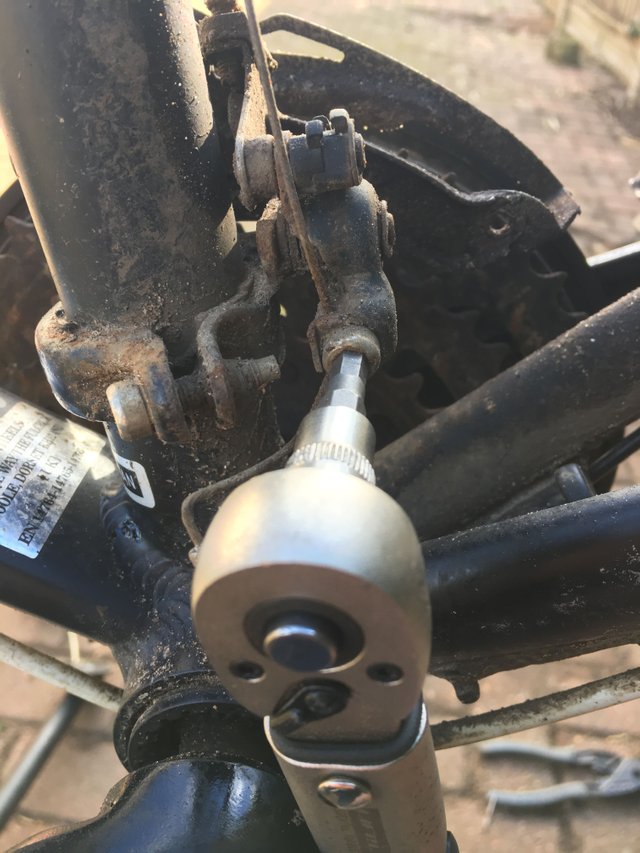
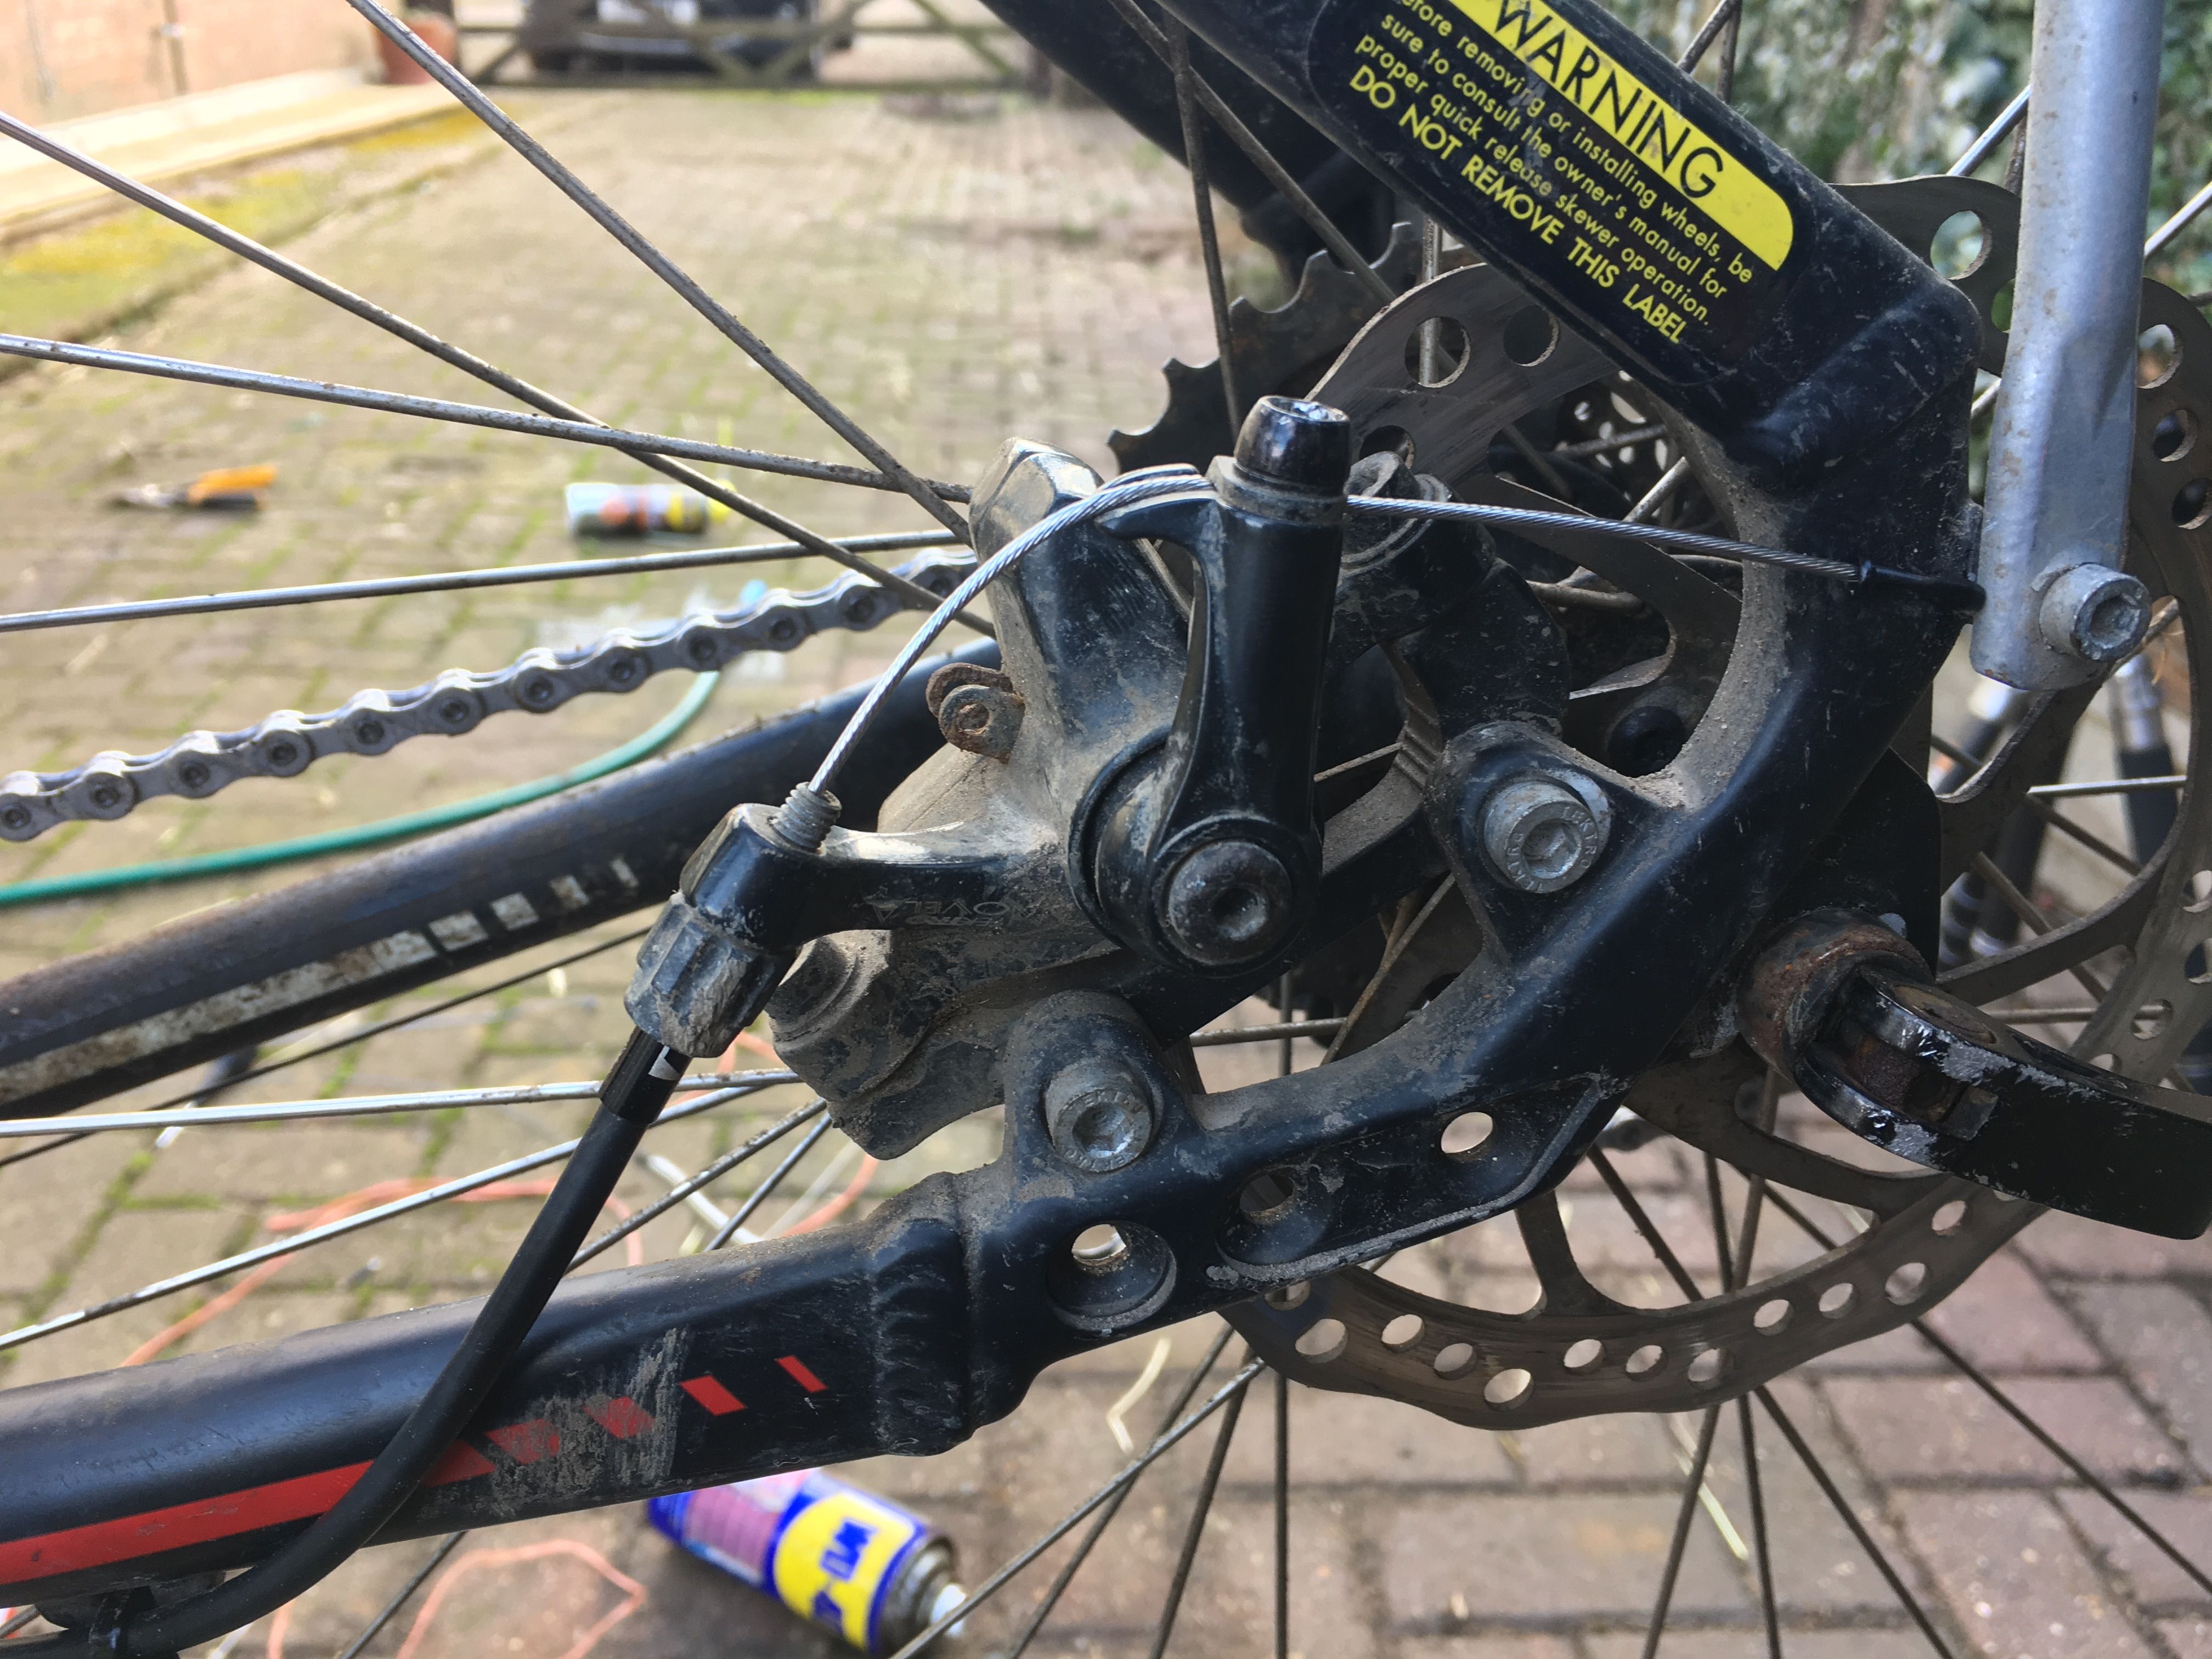
Removing cables is pretty easy. Just undo the clamps holding them in place as shown in this image to the left. Normally its just a hex key/allen wrench type arrangement. I use a torque wrench which basically allows you to tighten bolts up to a specific level of resistance. You don't need anything fancy like that though. You might have to cut the end off the cable to get it back through certain parts of the frame. I'd do it anyway, it makes it easier to handle.
Notice the tool that I use to cut cables. Make sure you get the right one. Cutting outer cables with a normal wire cutter is a no-no as it deforms the structure and makes the inner cable stick.
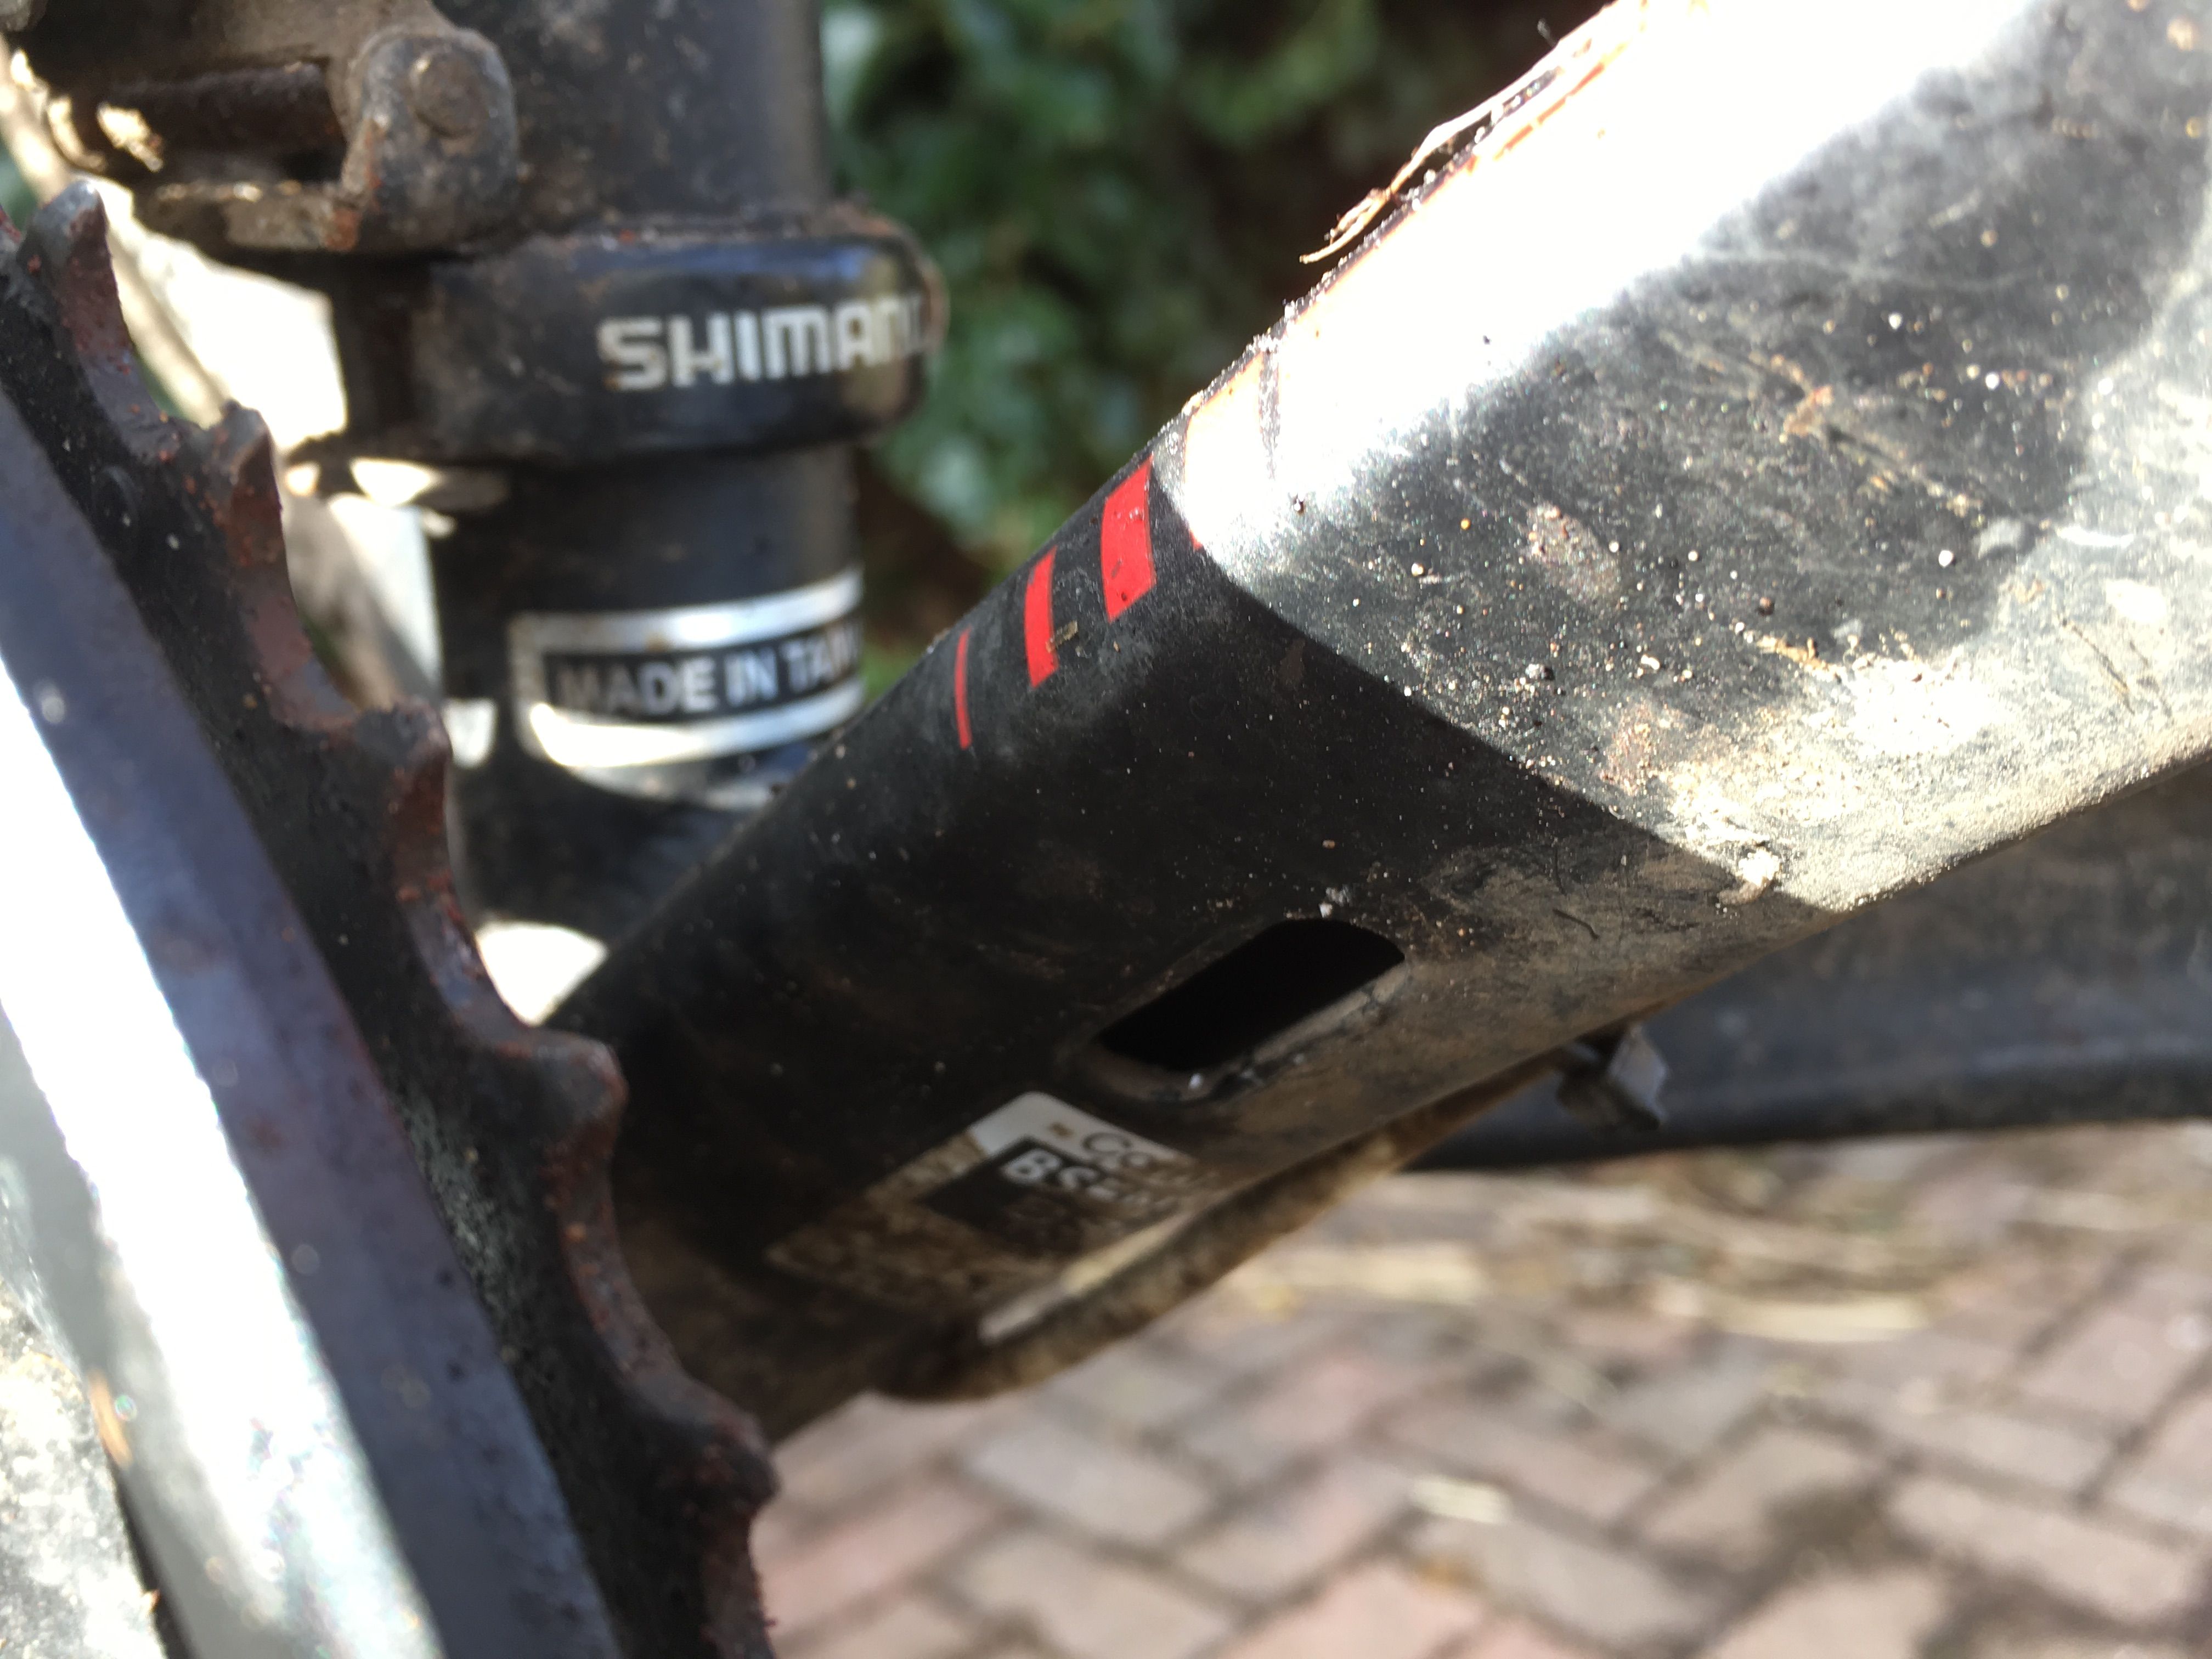
I always do one cable at a time, it makes it easier to keep track of what you are doing. Try to keep the new cable outers the same length as the old ones. When re-threading the outers keep in mind any internal routing. You might want to tie some string or thread to the outer as you pull it through as not all internal routing is guided. My frame has large grommets that pop out which makes internal routing easier.
So you have removed the cables and are now looking to re-thread them. The hardest bit is going to probably be getting the cables back into the brake levers or gear shifters. Brake levers are usually quite easy but some gear shifters are confusing. I hadn't done these shifters before. I took the top off but could not get the cable threaded around the ratchet system. 30 minutes it took before I realised there is a small plastic screw covering a hole into which you thread the cable. Felt like such a dunce.
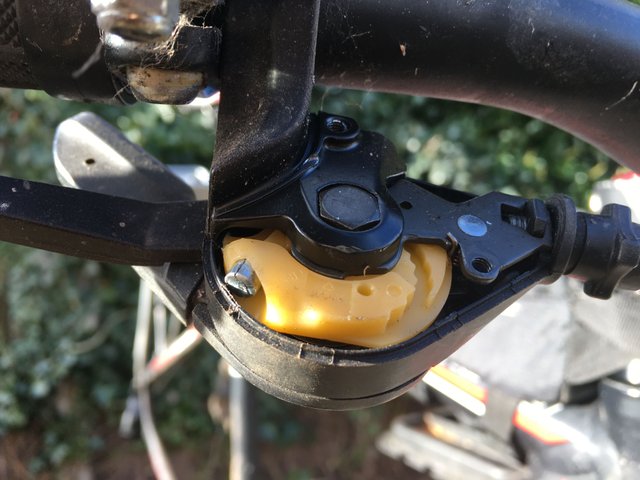
Of course, all shifters are different, so the best thing to do is to check online before you waste half an hour trying to work it out yourself like I did.
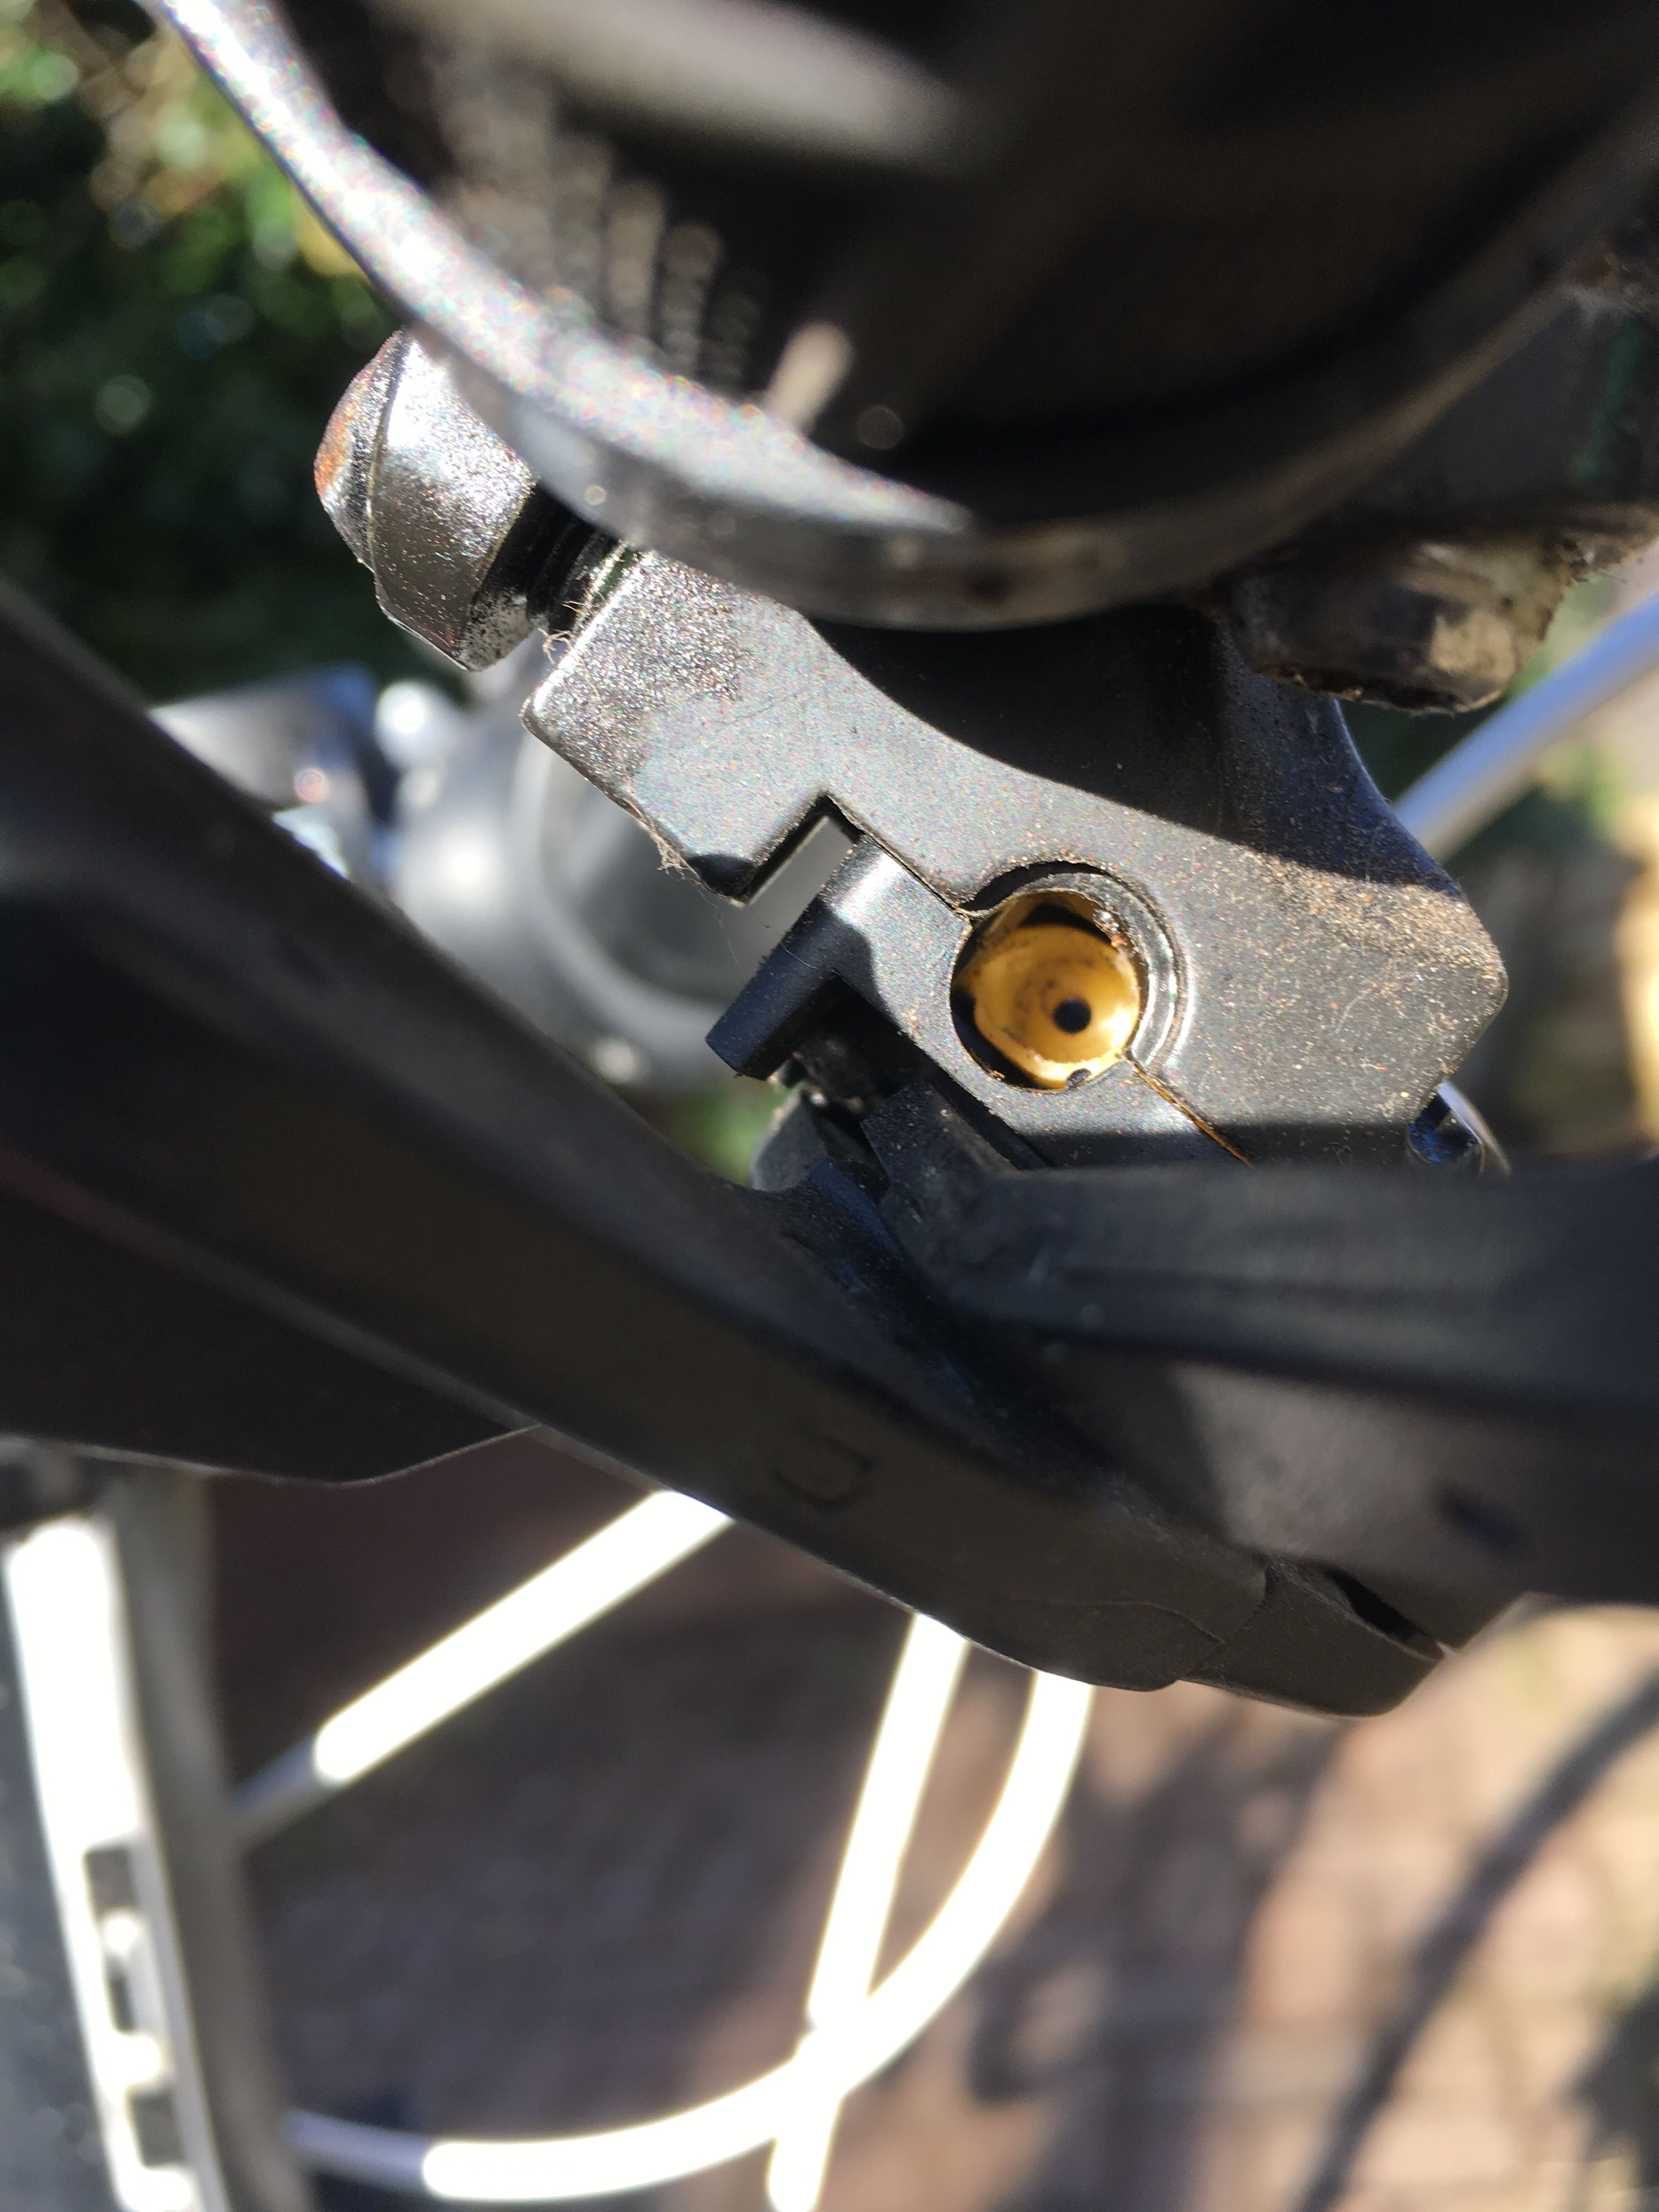
Brake cables are a bit easier. In my case, I just had to pop the metal end out of this recess and then the cable pulled through
Once you have your cables replaced (notice that mine are no-longer horrible white and are a nice black, the same as the frame), you are good to do the final set up.
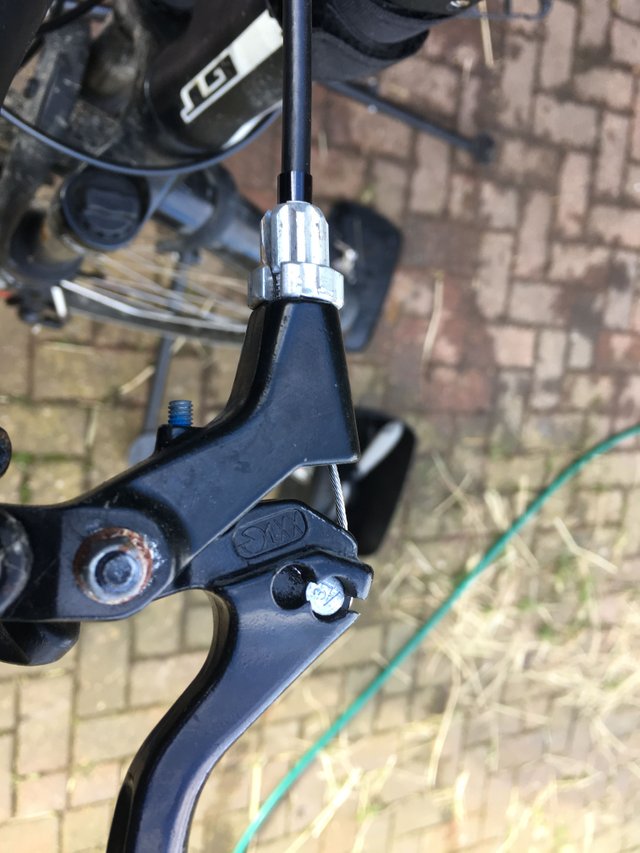
On pretty much every bike you have something called barrel adjusters. These are small "barrels" that you can screw to adjust the tension in the cable. In this image, you can see the adjuster where the cable goes into the brake (the point at which the outer cable ends and you just see bare inner cable). Unscrewing this adjuster away from the brake mechanism will introduce more tension into the cable, pulling the brake pads together. You can adjust these until you get to a point where the brakes aren't rubbing but pulling on the brake levers does the job you want it to do. If you cant get enough tension, you will have to unscrews the cable clamp and try pulling it tighter with some pliers or something. You do similar to adjust the gears, although rear gear setups can be harder... as I'll describe below
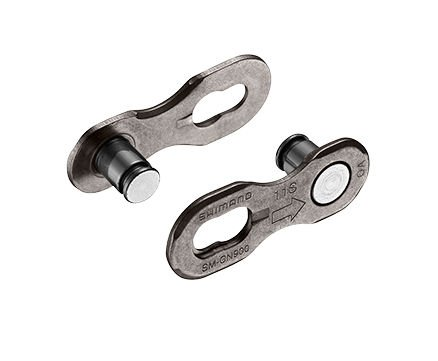
Firstly, you need to get your chain back on. The chain I bought has "quick links" which means you get a special link that you use to join the chain back together. I don't have a picture of mine, but there is one for reference below.
Get your old chain (you didn't throw it away right?) and then measure it up against the new chain. You'll probably need to take a link or two out to get it to the right size, which will be one link shorter than the original chain, so as to accommodate the quick link. It's pretty easy to get the chain together; thread it around the gears and derailleur, put the quick link in and apply pressure to the pedals. The quick link should snap into position.
Setting up your rear gears so that one click of the gear change lever equates to one gear up or down can sometimes be quite a challenge, especially on cheaper groupsets like this one. However, there is a foolproof way to set this up.
Firstly change gear so the cable is as loose as possible and then screw your rear derailleur barrel adjuster (where the cable outer ends) right in to relieve all the tension. There shouldn't be any slack in the cable at this point. If there is, unscrew the cable clamp and pull it a bit tighter with your hand or a pair of pliers. Now change up a gear using the shifter. The rear derailleur shouldn't do anything as the cable will be too slack. Now, while turning the pedal slowly, unscrew the barrel adjuster to apply extra tension to the cable. At the moment that the gear changes up, add another quarter turn of the adjuster and you should be correctly indexed. Test this by moving up and down through the gears. If things aren't quite right then you can try fine-tuning the adjuster. If things are way out, it could be due to how the derailleur is aligned; that's a whole different issue that I'm not going to go into here.
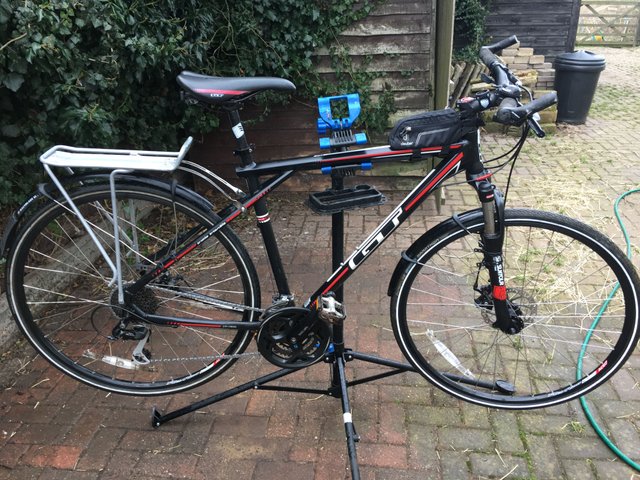
So there you are, you should be all up and running again. I guess the only thing left is to give your trusty steed a good clean and admire her in all her beauty
Thanks for reading
Mark
well done.great work done!!!
At last it's done... Congo.
you have a good bike, I like it, you also repaired it in general is wonderful, you need to keep track of your things so that they do not break and rust, thank you for the post I liked your post a lot of useful information on bicycle repair,
Good as new!
That was a lot of work. I would have just taken it to the bike shop.
I think when it comes back from the bike shop I wouldn't be happy with it :)
Wow from start to finish, how long did this whole process take? Or the better question might be...would you do this again?
It took a few hours. It took longer to post about it than to do it!!
LOL This my friend, always seems to be the case.
How did I miss this!? A bike post on Steemit and I missed it! Great to see you giving this some tlc, that rusty chain is heartbreaking! Mind you, it's a commuter, it's the UK and it's winter! Pretty unavoidable! Safe travels dude!