Build Your Own Dining Room Rebel Table | The $80 DIY-ning Room Table
.png)
Got 80$ bucks? Then you can have a custom dining room table.
Why do we call it a Rebel Table you ask? - Good Question! Because dining sets are expensive with a capital EXPENSIVE! That's why! Why not laugh in the face of modern consumerism and build your own? That's what I did -Here's how!
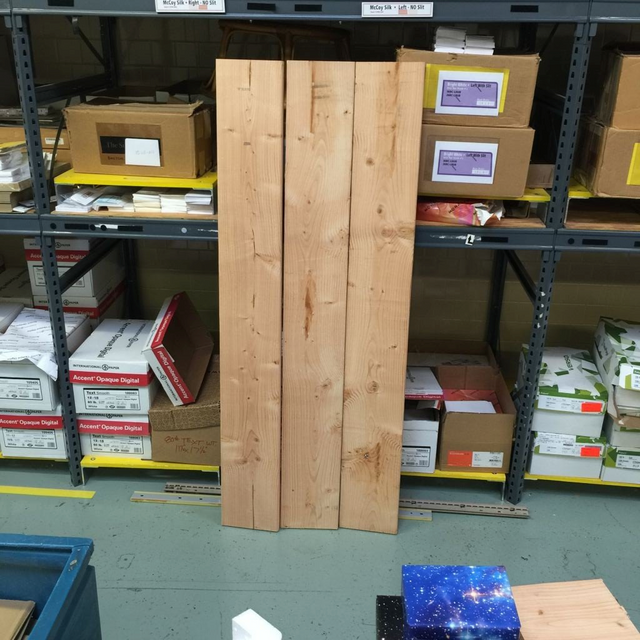
Wood tables are made of wood right? The wood I used was 2" x 10" x 20ft Douglas Fir framing lumber. IT'S WHAT HO-- USES ARE MADE OF. Sturdiness.. CHECK! Since I knew the length I wanted I purchased one long board and had them cut it to size right there at Home Depot. Thanks HOME DEPOT! (sponsorships welcomed) ;)
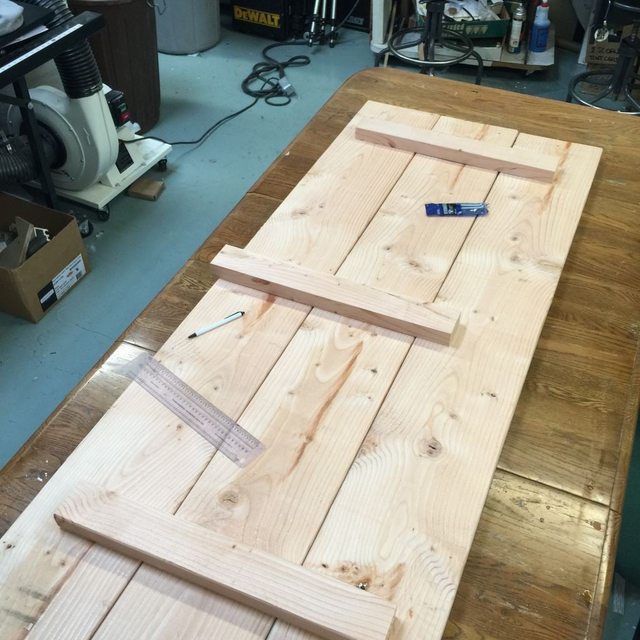
Any extra wood can be saved and cut to serve as reinforcements. Flip your boards with the best sides downward and DRILL BABY DRILL!
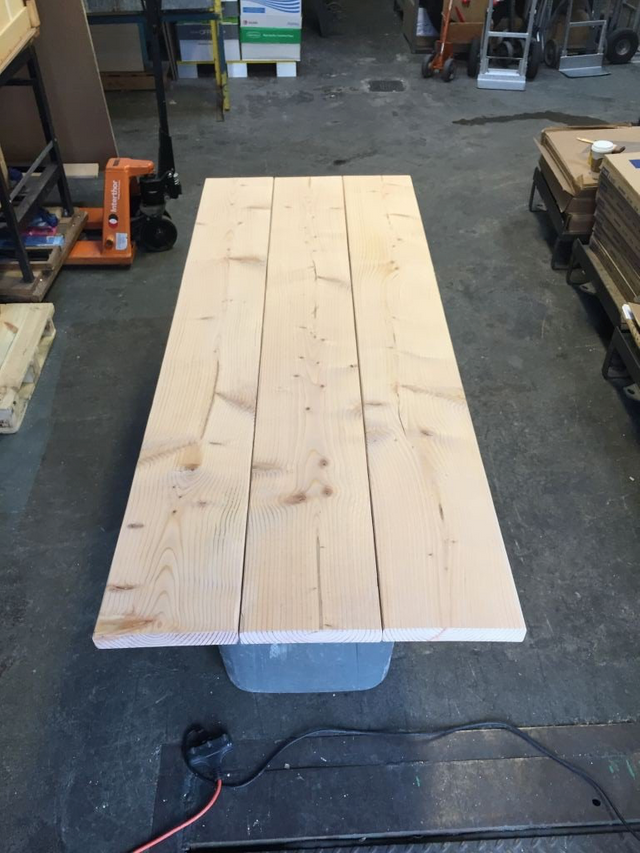
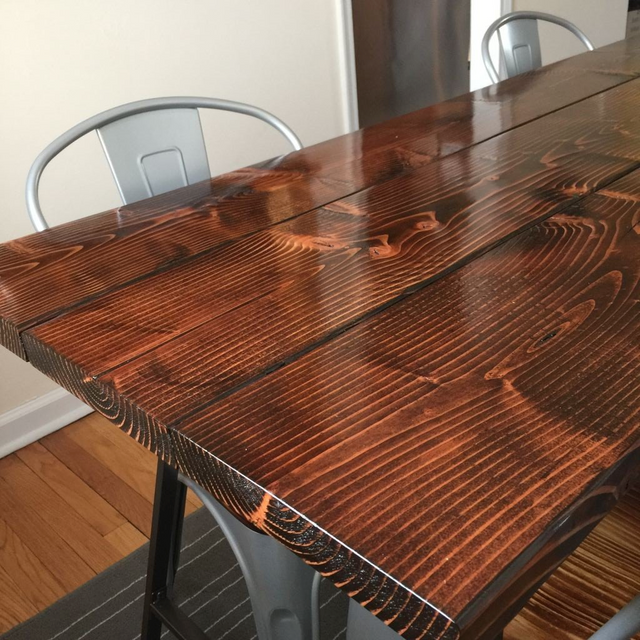
Since framing lumber isn't meant to be too cosmetically pretty, you'll want to give your table top a nice sanding to remove any markings and imperfections. After all "splintery" is not an adjective used to describe a successful dining room table
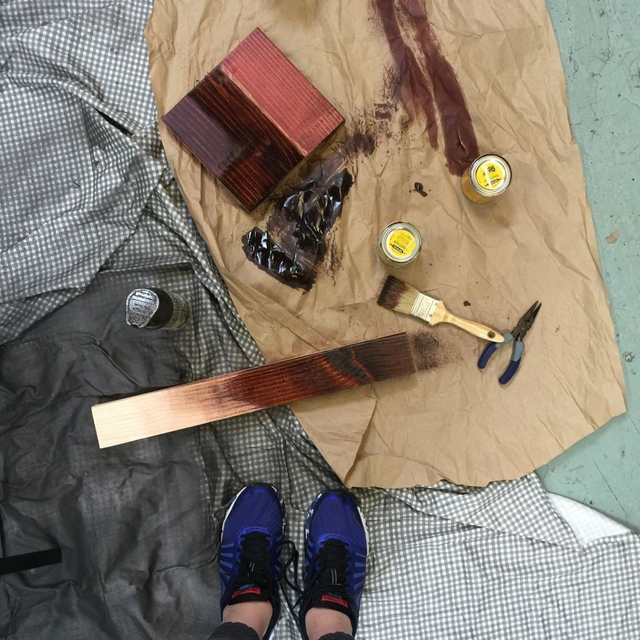
It's a good idea to test any stains you want to use on any scraps of your wood that you have left, every stain looks different on every type of wood. Also unlike paint which sits on top and can be sanded off.. stain soaks into the grain, so you only get one shot at this part!
When you're happy, stain stain away! I didn't want to go any darker than this color so one coat was all I needed. While you wait for your stain to dry.. you can deal with the LEGGSSSSS!
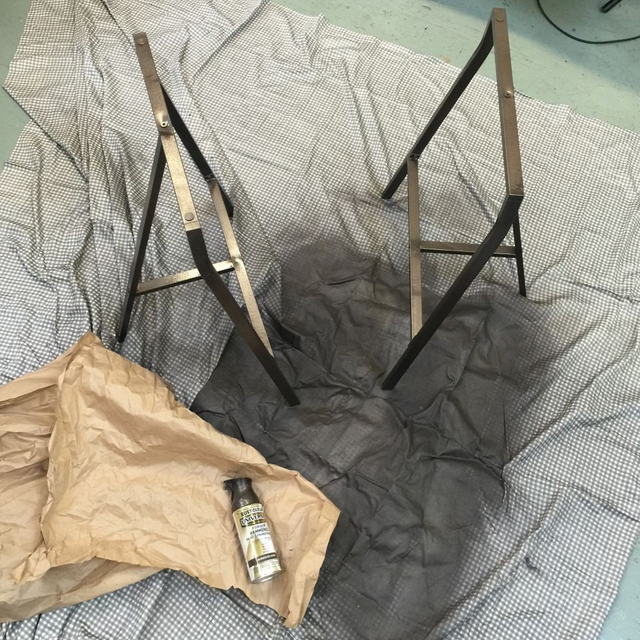
These bad boys are LERBERG trestle legs from IKEA. They're $10 bucks each. Nuff said. I decided to spray paint them because I have the intense compulsion to over complicate things. But if you don't want to, IKEA sells them in a matte black and glossy white.
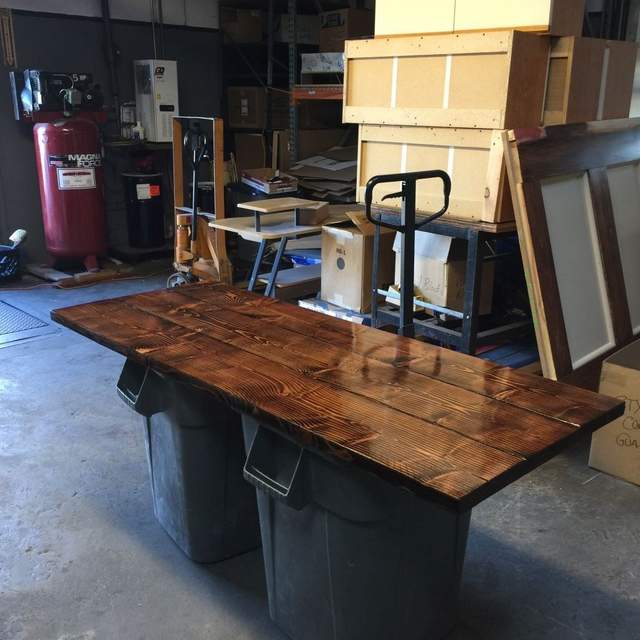
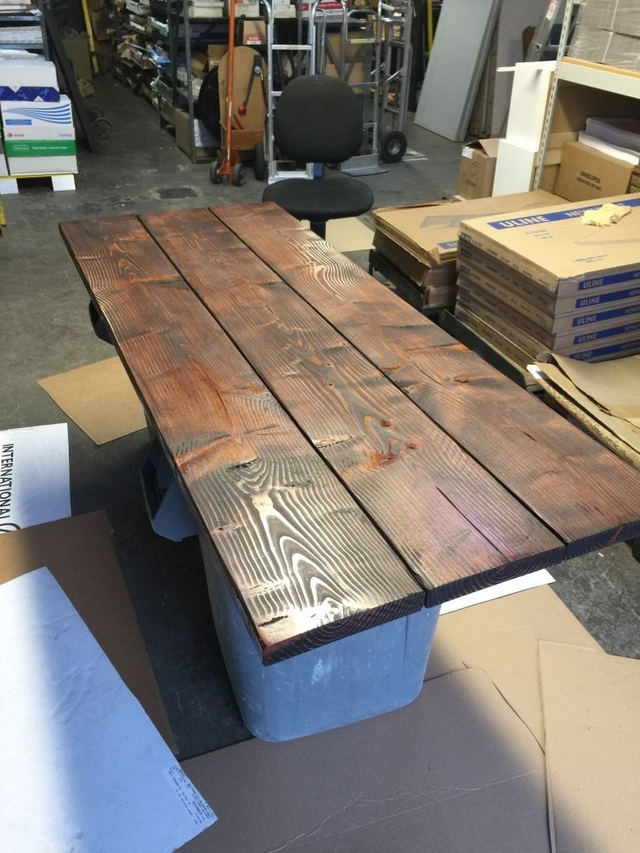
Then along came Poly. Polyurethane of course. You'll want to seal your beautiful stain AND protect it from any scratches, or spills. I used 3 coats of a high gloss poly for this particular finish.
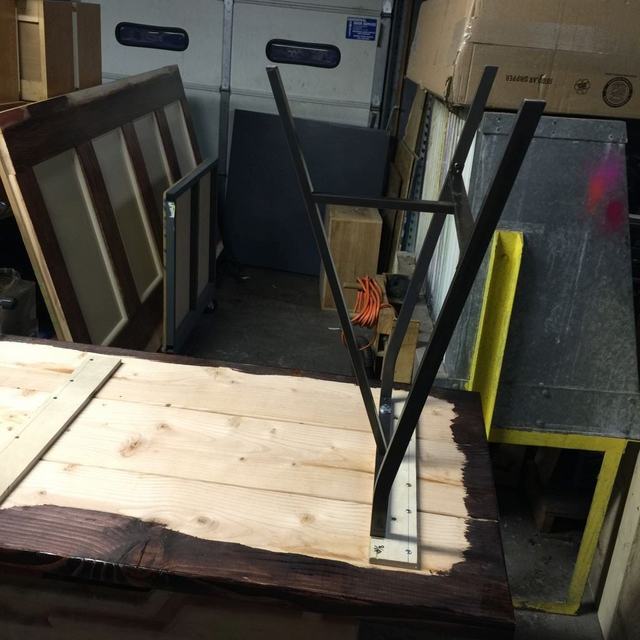
Next drill holes and bolt your trestle legs to the reinforcements. BOOM. TABLE

...well, flip it over first.
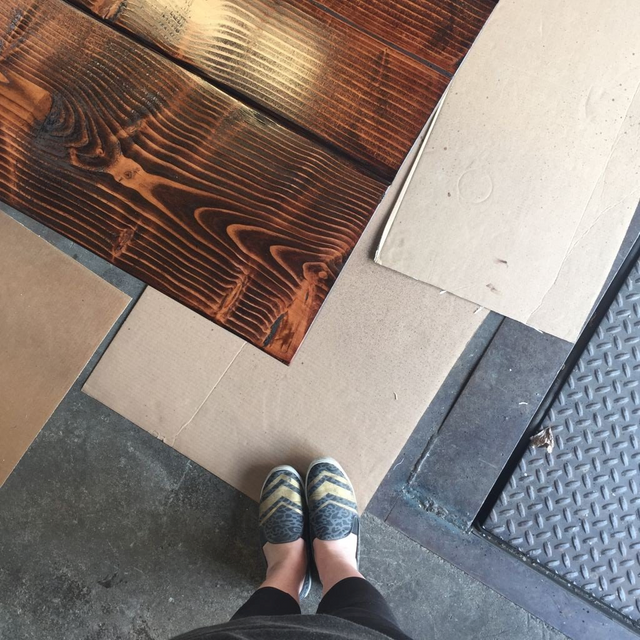
Then take a moment to admire the natural wood grain..... Wait for it....
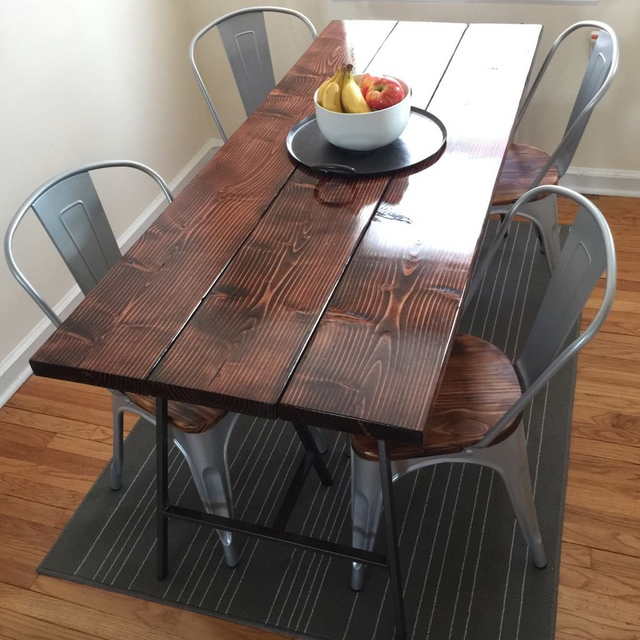
YAAAAY!!!!
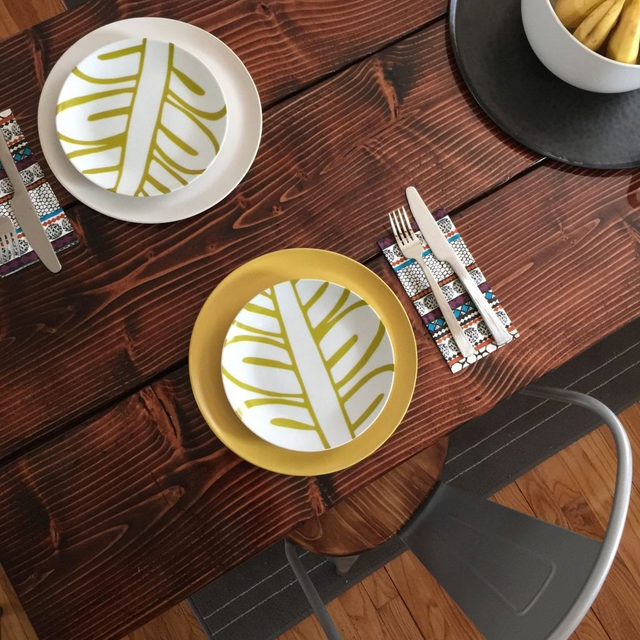
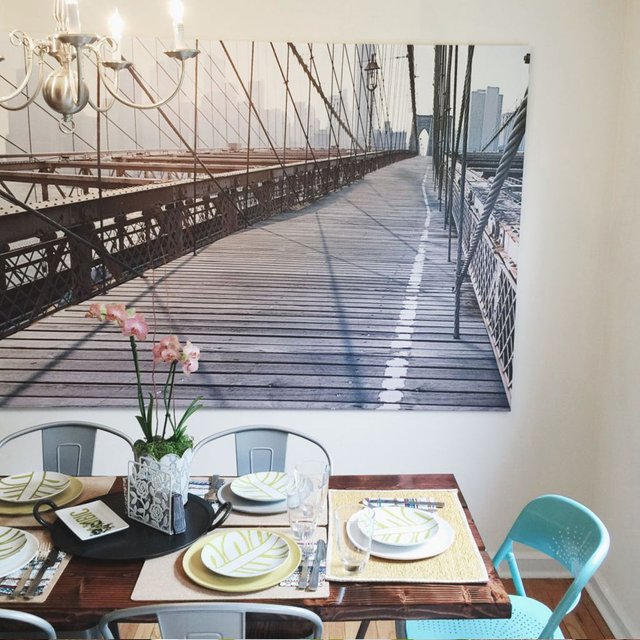
Eat your heart out expensive table stores of the universe! Muahahaha!
Thanks again for stopping by!-If you have any questions or would like to try this project for yourself, let me know in the comments below!
Until next time! <3


 |  |  |  |
|---|
Upvoted.
thank you!
Awesome job!
I wonder if perhaps there's a thinner cut that might be used for a bit cheaper...
there certainly is any kind, I was looking for that really industrial look at the time, but a lighter version totally could have been done fore sure :)
UPDATE: Hi @eatthingsmkstuff this post has been featured in Exponential! C² Featured Posts, a daily publication of the @c-cubed blog. Check it out :)
https://steemit.com/curation/@c-cubed/20181002t225900882z
This post was shared in the Curation Collective Discord community for curators, and upvoted and resteemed by the @c-squared community account after manual review.
wow that's awesome- thanks guys!