DIY Project N°2 in the series: Make your own cork pin board (Step by step gallery)
It's unbelievable hoy much DIY projects and craftings are part of my life. I am officially an artsy old lady... all I need now are grey hairs (patiently waiting tbh).
But the truth is I really love making things fo other people. As a partially-emotional-retracted- critter I show my appreciation making gifts or stuff made by myself.
Latelly I got to see that my chum cousing started to tape some pics and drawing rigth on the walls of his room, so I decided I'd make him a cork (like literally bottle corks) board for him to pin his memoirs. And also because I'm a cool fam.
So, this is how I did it and I'm about to show you.

Ok, this is what you'll need:
1- A cardboard box
2- Scissors
3- Cutter blade (sorry, I don't really know how this is called in english)
4- School white glue
5- Silicone
4- A sh*t load of bottle corks
5- Paint
6- A big brush
7- Two vessels with water
8- Newspapper sheets
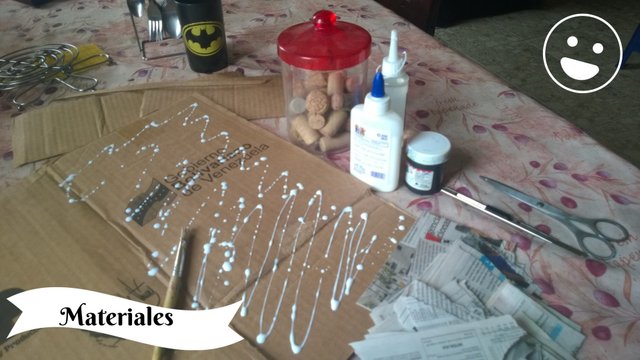
Mind the fact that I spelled the supplies needed in spanish in the last graphic here... Also mind my messy dinner table and Batman cup. That's why I got y'all a smiley face in the corner.
STEP 1: First of all take the cardboard box and cut the shape of your pin board, could be anything you like: a circle, a hearth, a square. I cut a rectangle about 100cm x 80 cm.
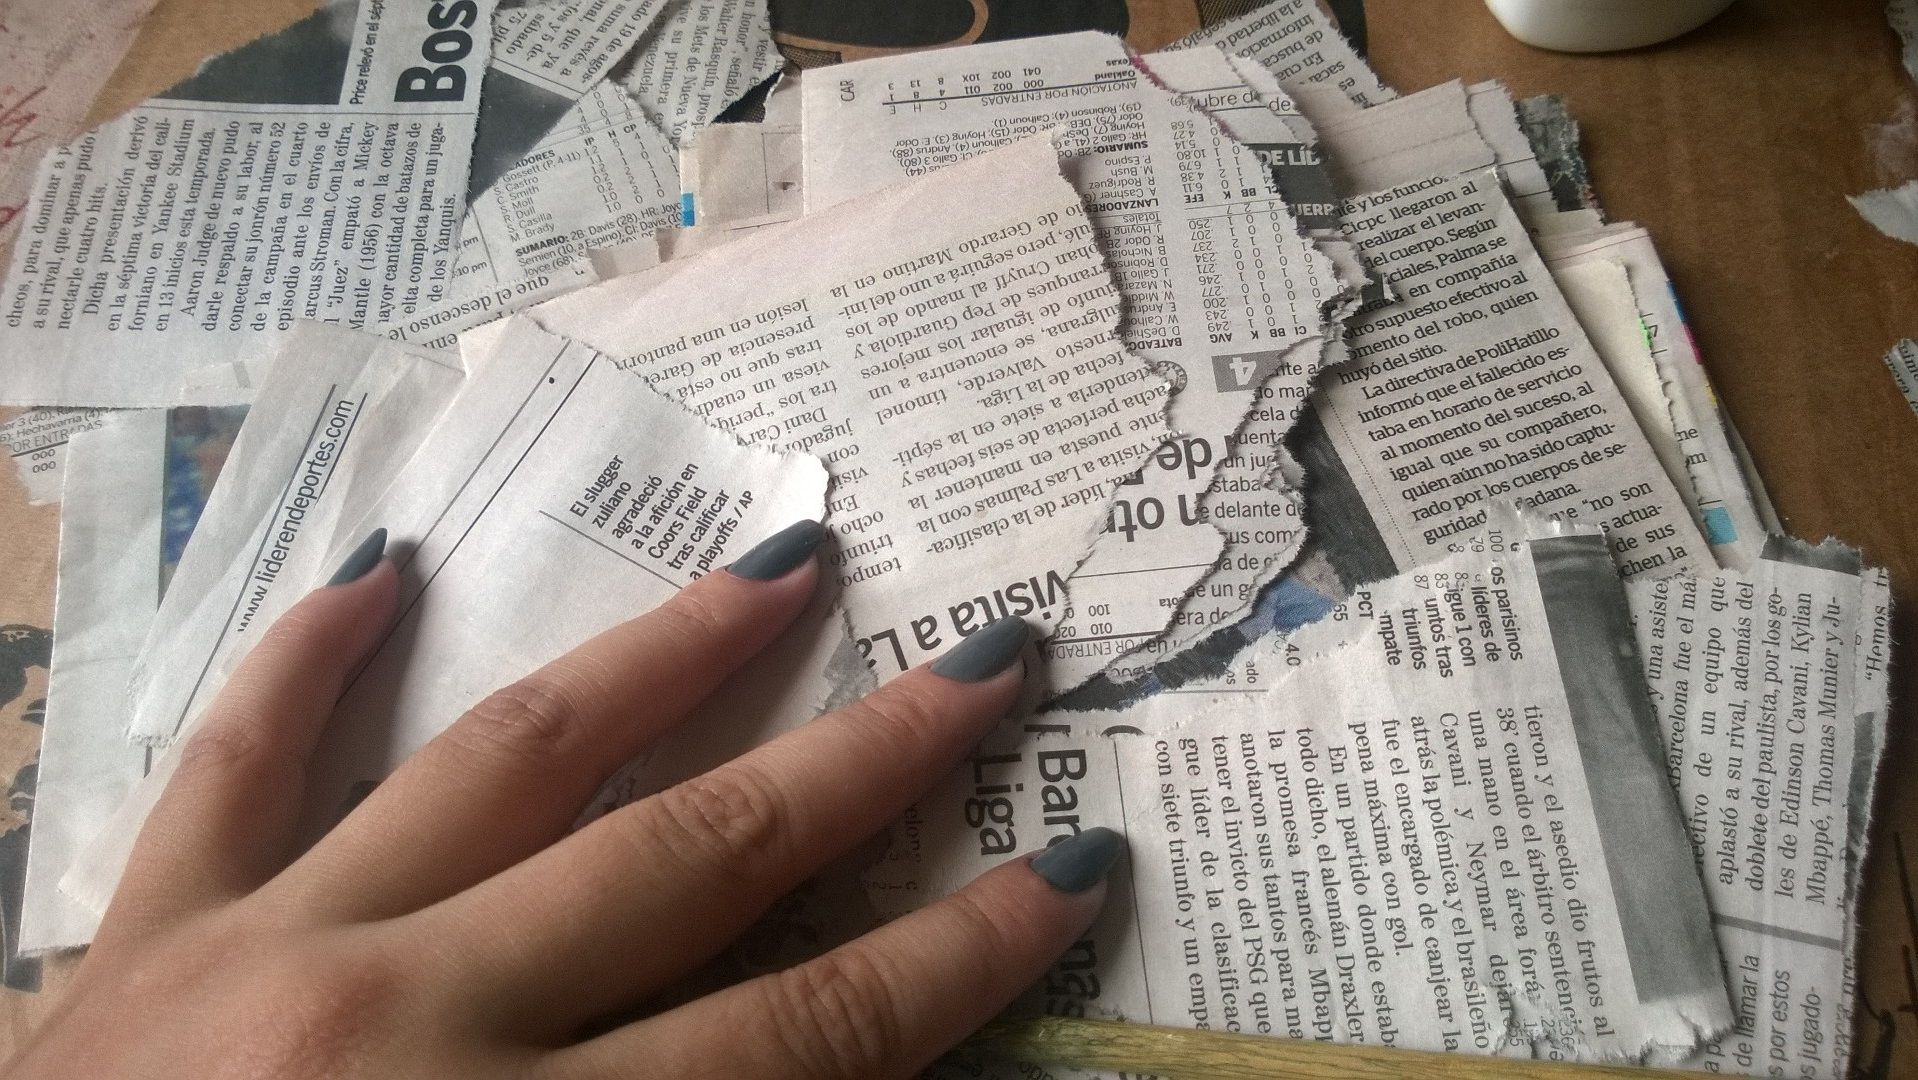
STEP 2: Then we're gonna tear the news pappers sheets into smaller pieces. Afterwards we'll mix the white school glue with water in the same proportions.
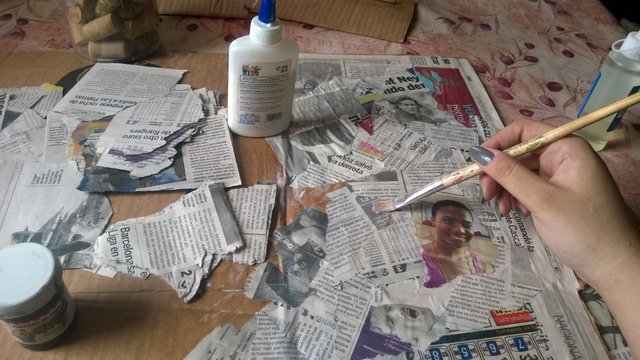
I started with 1/2 cup of each and mixed them well in a bowl to make a paste.
Start with small areas putting a layer of the glue mix with the brush, then overlay newspapper pieces and finish with another layer of paste.
This is how we're gonna harden the cardboard to get a nice solid base. This is a good time to tell you: don't buy anything, seriously, work with what you already have, let's make this a recycling project for real.
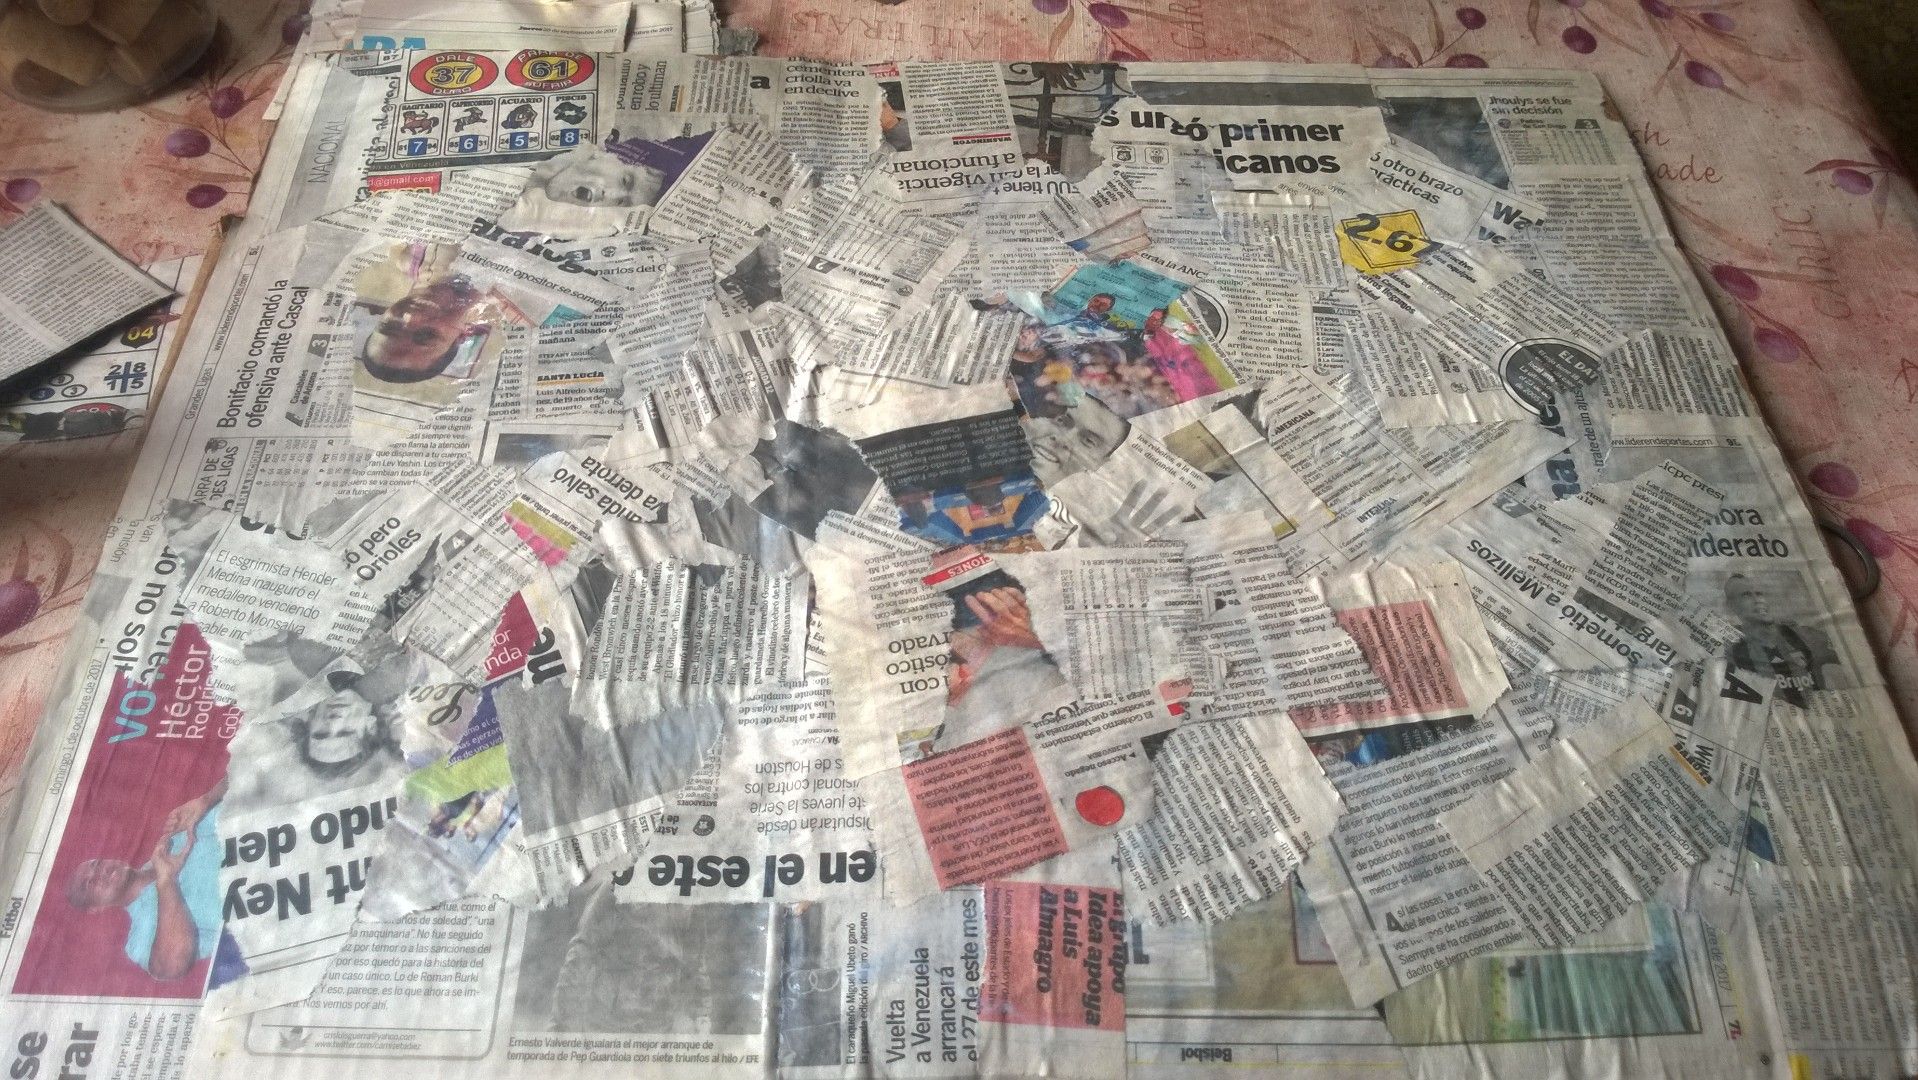
Moving on... You're doing this in both sides of the board, make sure the first side you worked on is totally dry before proceding with the next one (or it'll stick to the work table). You can help to speed the process up with a hair drier (tho I don't really think you'll need it, but some poeple are impacient idk).
STEP 3: While you wait on the papier-mache to dry completely, let's get it on with the corks.
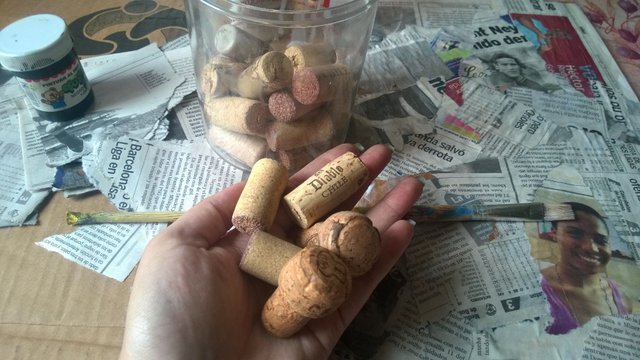
Now, I've been collecting corks since forever, I knew I was gonna use them one day ha-HA! But If you don't have enough, collect them from your friends, neighbors, family members... someone, somewhere is hoarding corks. Believe me.
How many you'll need? Well, the amount of corks you'll need depends on two things: First on how big or small you want your board to be. I used about 60 to 100 regular bottle corks (silly me for not accurately counting). And secondly, on how thin you're gonna slice them.
I'll explain. No need to have your psychopath abilities enhanced.
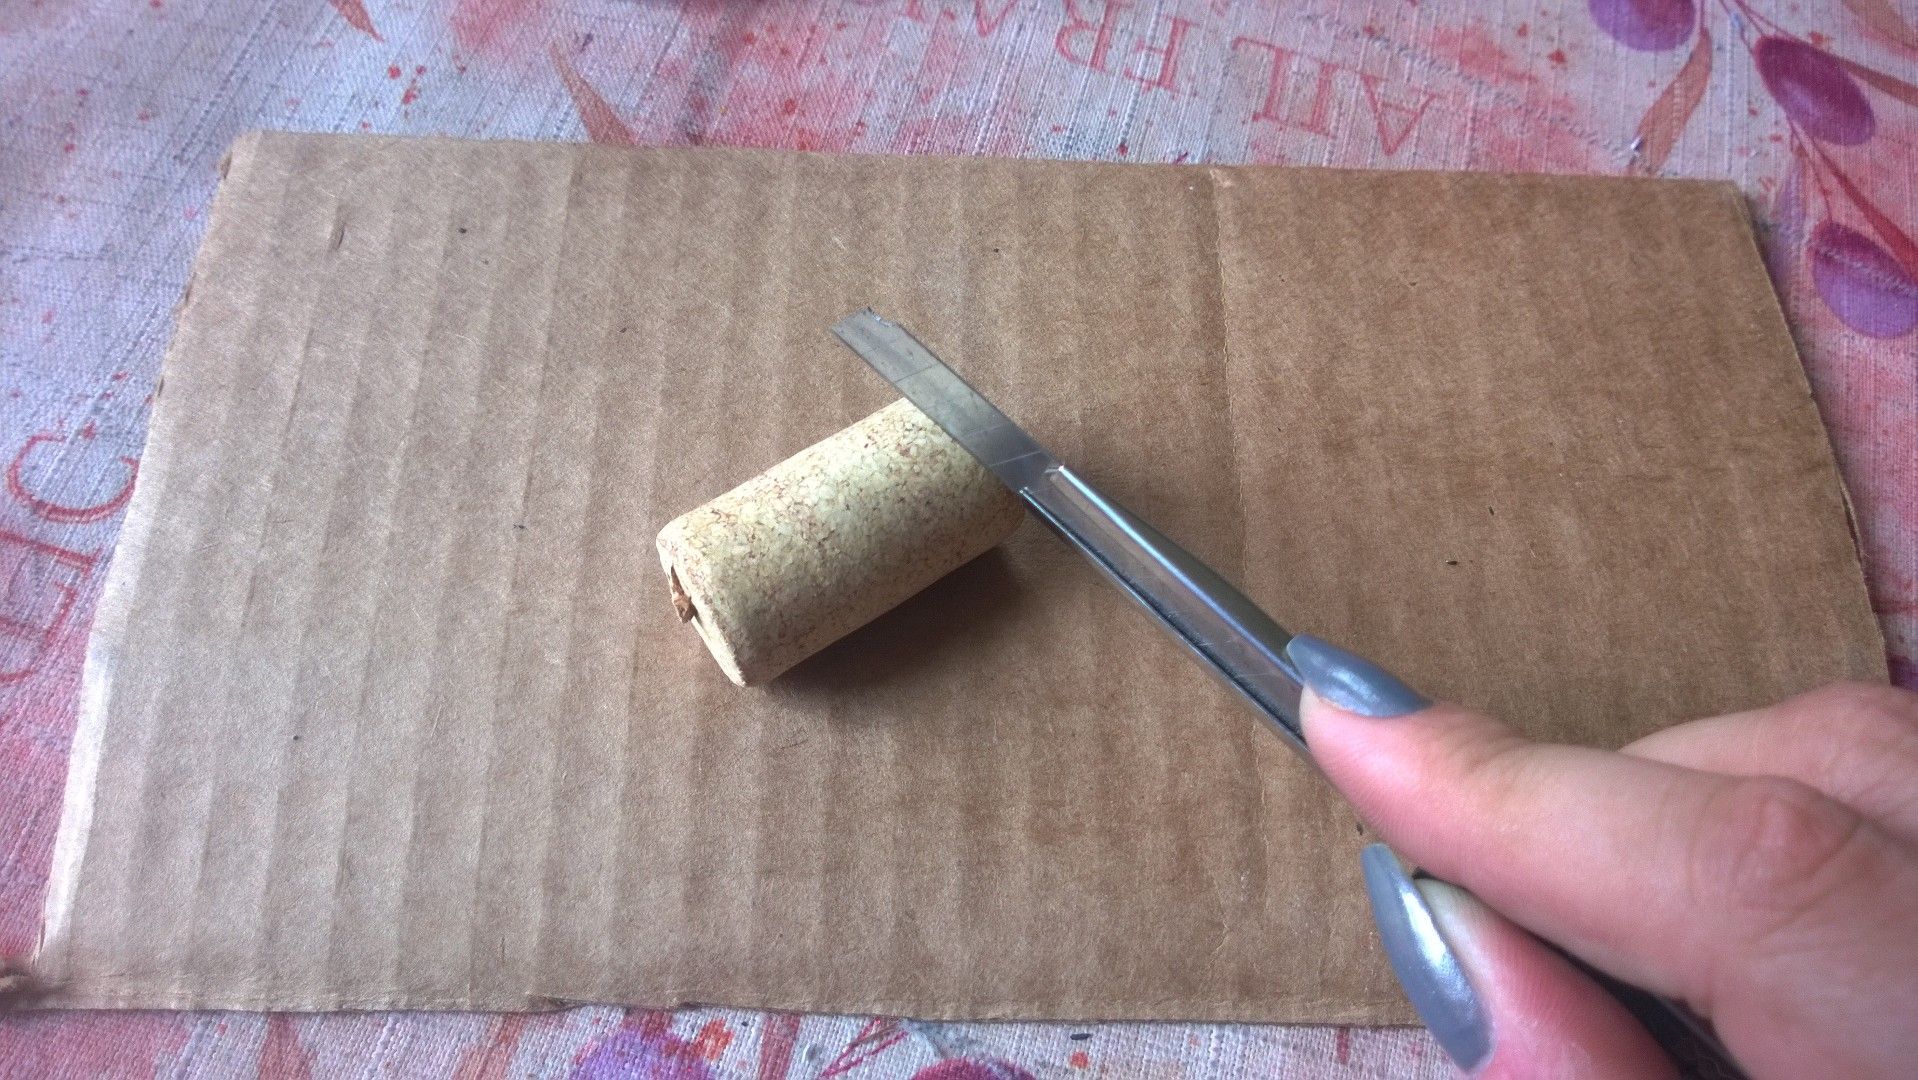
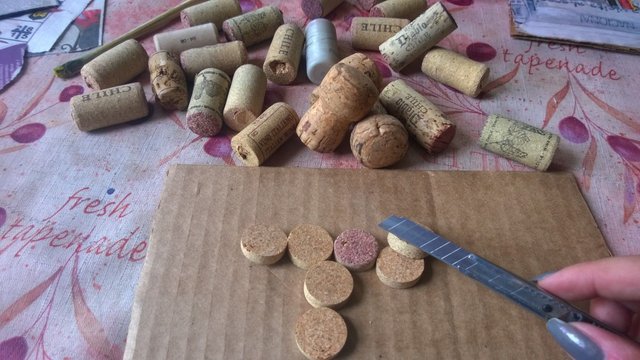
This is the tricky (everlasting) part of the proyect, we're gonna take one cork at the time to slice them into "coins". If you cut them thick, you'll need more corks; but if you chop them slice, you'll need less to cover the surface of the boars base BUT consider you're gonna have to be carefull when you pin your notes on the board oce it's done.
I recomed to slice them about 3 mm thick, could be more... but more than 1cm it's ridiculous.
Very carefully, take a cork and start to slice it into coins with the cutter blade. USEFUL TIP: As I reach the edge of the cork I held it in place with a pair of tweezers; you can use pincers also if you apreciate having fingertips.
The good part is that you're gonna take a long time doing this, so you'll allow the base to dry well. I took SEVERAL breaks, specially because my hands started to cramp, but I did all the project in one afternoon... if you're worried about the time.
This is definitely not a "quick" project... but looking back, I did made a hell of a big board. So maybe you can start doing a small one for begginers.
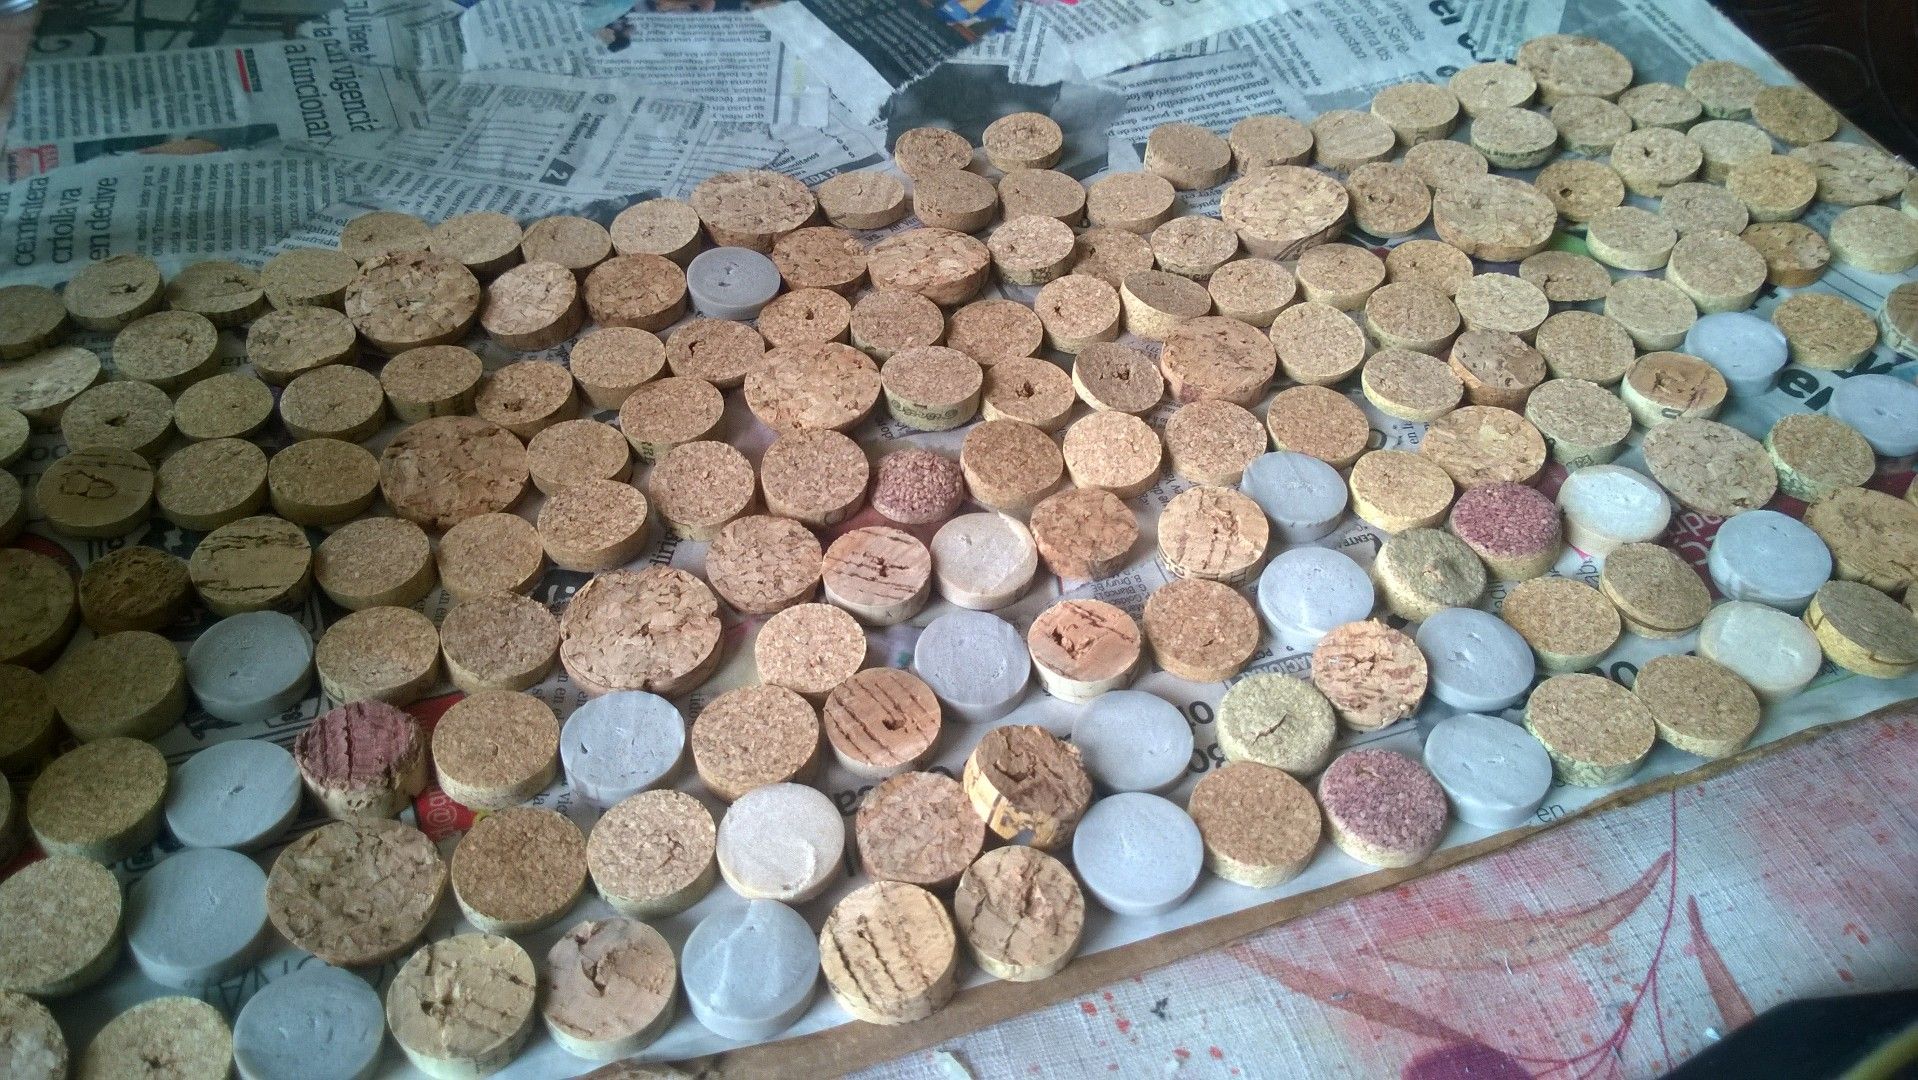
Whe you got all the board base cover, you can stop slicing (Yasssss!)
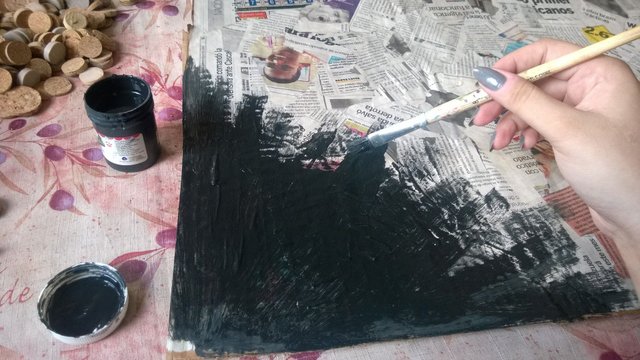
STEP 4: Coat paint the base, both sides. I used black acrilic paint, but any kind of paint you have it's gonna be ok. It doesn't really have to be perfect, because the cork coins will cover most of it.
You can even leave the newspapper base just as it is if you like it so. I think it really looks cool and more DIY without the paint; maybe you could use colofur magazine pages or any other lefover papper you like to recycle .
Let dry well because the next step won't work with a damp surfice.
STEP 5: We're almost done! Using the cool silicone, glue the cork coins on the base, I really ddin't use a pattern but I sticked the coins halfway out in the borders as a framework.
You can really use hot silicone too, but knowing how clumsy I am I didin't feel like burning my fingers that very day... or any day whatsoever! SO I rather using cool silicone instead. Always.
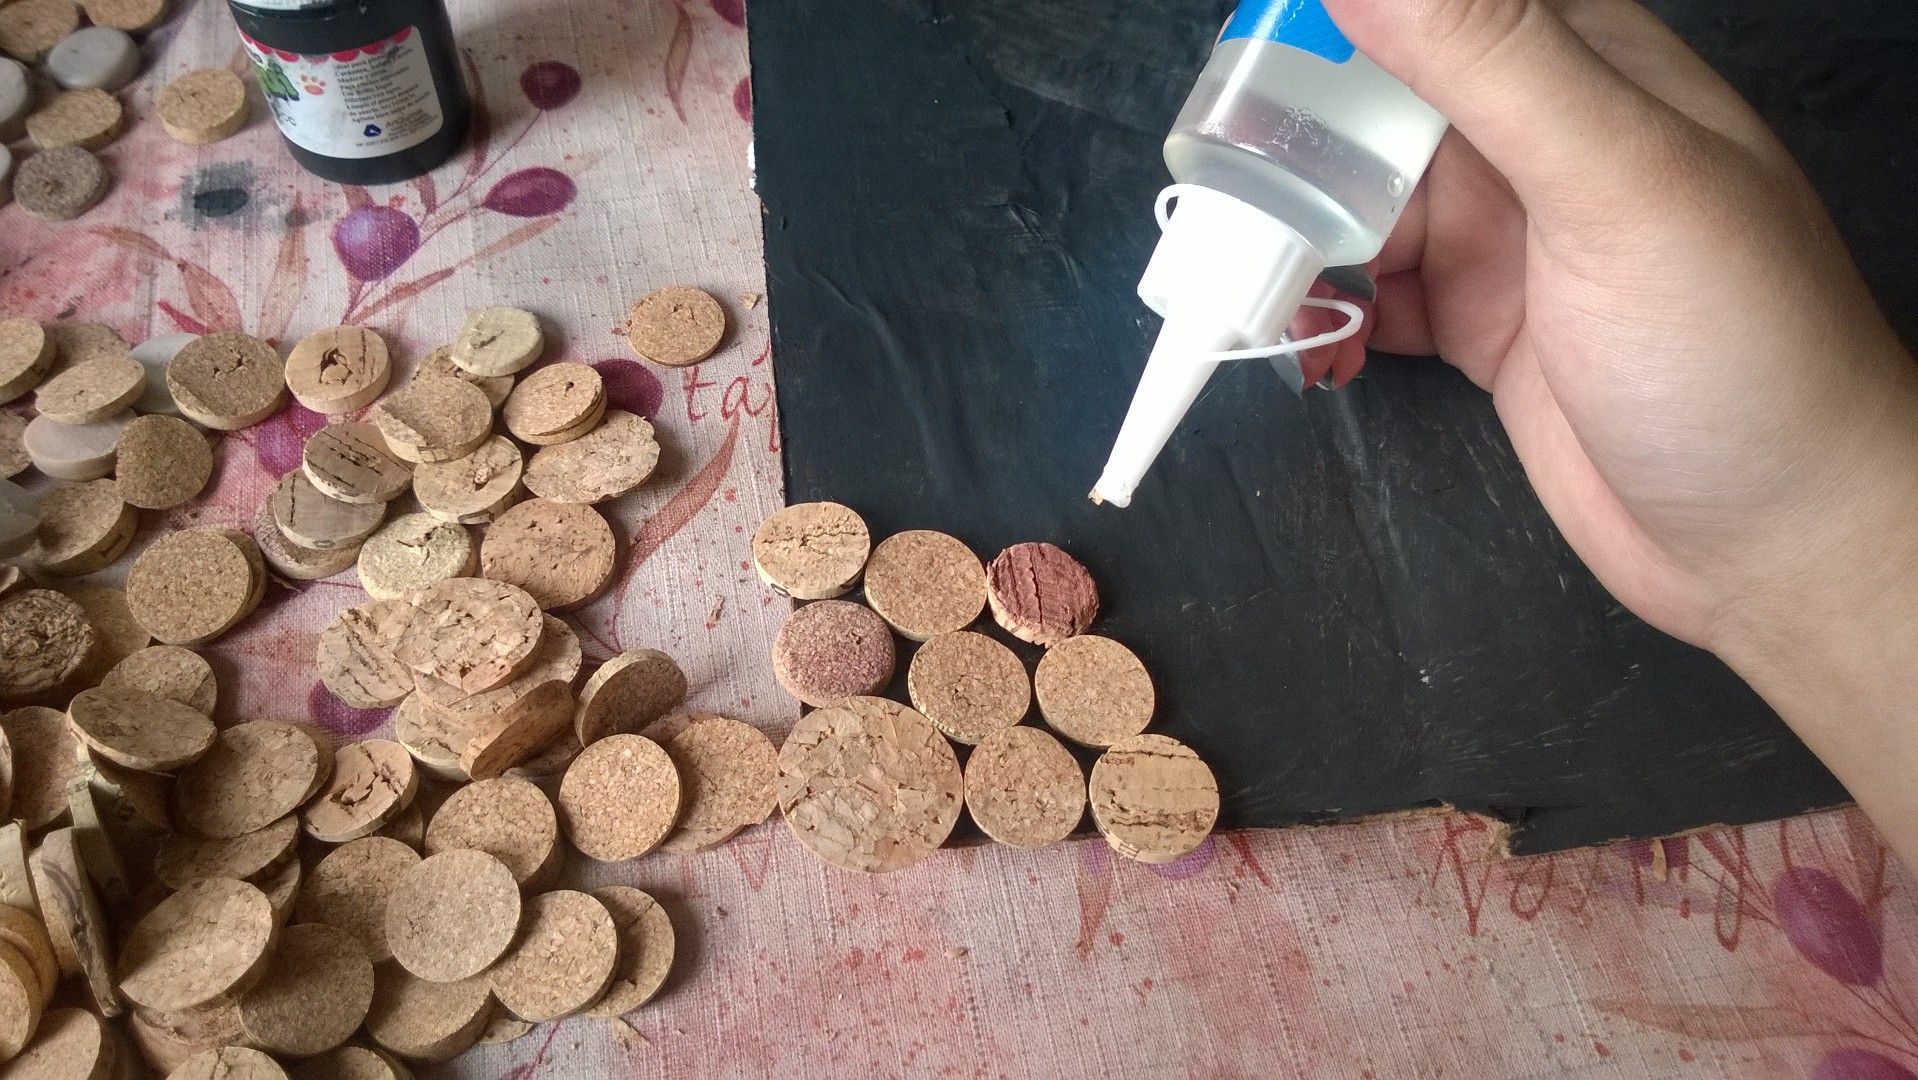
Keep covering all the base through until you have place all the coins altogether. I had all kinds and sizes of corks, some of them were natural fiber made and others were even of plastic. I used them all.
If you want, you can stick a hook in the back to hang it, but my cousing just settle it over his budoir leaned on the wall.
Put some pins and you're all done!
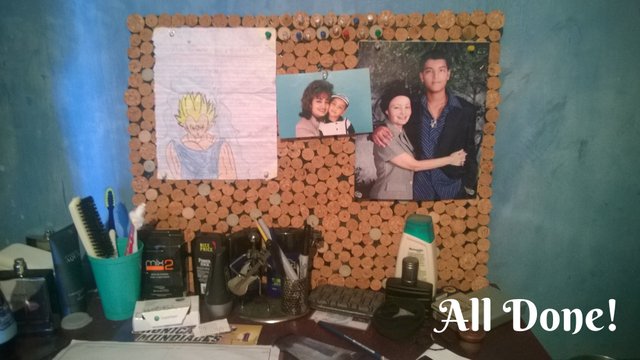
Isn't it cool or what?
How do you liked it? Care to give it a try?
Excelente amiga, saludos!! post original.
¡Gracias!
Creatividad activa amiga. Que buen organizador para archivar fotografía y pendientes.
Saludos
Muylindo y facil de hacer upvote!
Buena iniciativa! Felicidades
andrurebolledo tienes mi voto <3
Tienes mi voto, pasate por mi blog @dfaf25
Muy interesante esa propuesta. Le pido a DIOS que te de las canas y que puedas disfrutar tu tiempo de vida. Felicitaciones. aliriera
¡Wow! Gracias.
mucha creatividad! wow!
excelente
Me encanta la idea! está super genial.