How to make Paper Roses Backdrop|Do it yourself(DIY)- step by step tutorial with me😊
Hello steemit community!
I would like to share with you all some DIY ideas to design your room or design something in an event or party. I promise you that this is very easy to do and you'll have fun while making it. So, let's start!

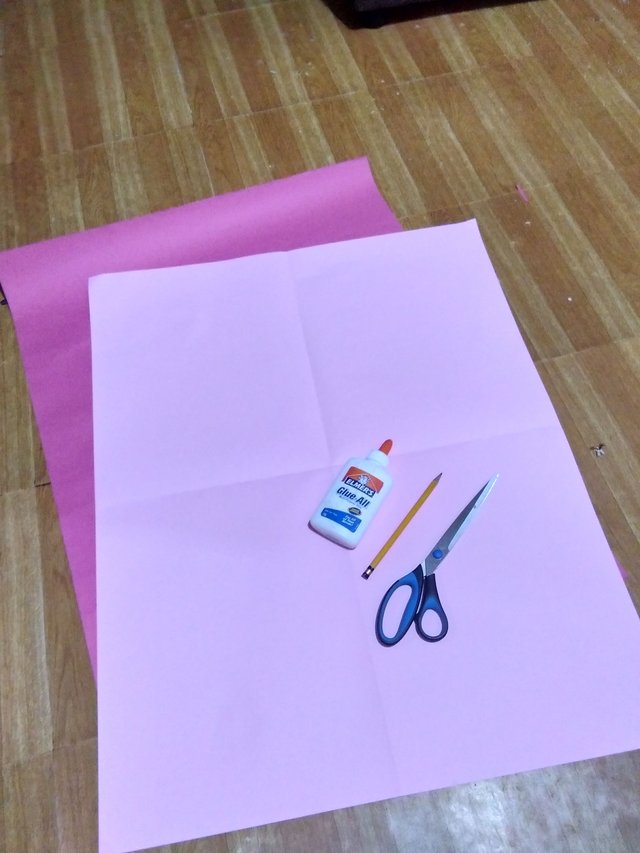
MATERIALS AND TOOLS NEEDED:
•CARTOLINA OR COLORED PAPER (Any color of your choice)
•GLUE
•SCISSORS
•PENCIL
LET'S BEGIN THE CRAFTING! 😊
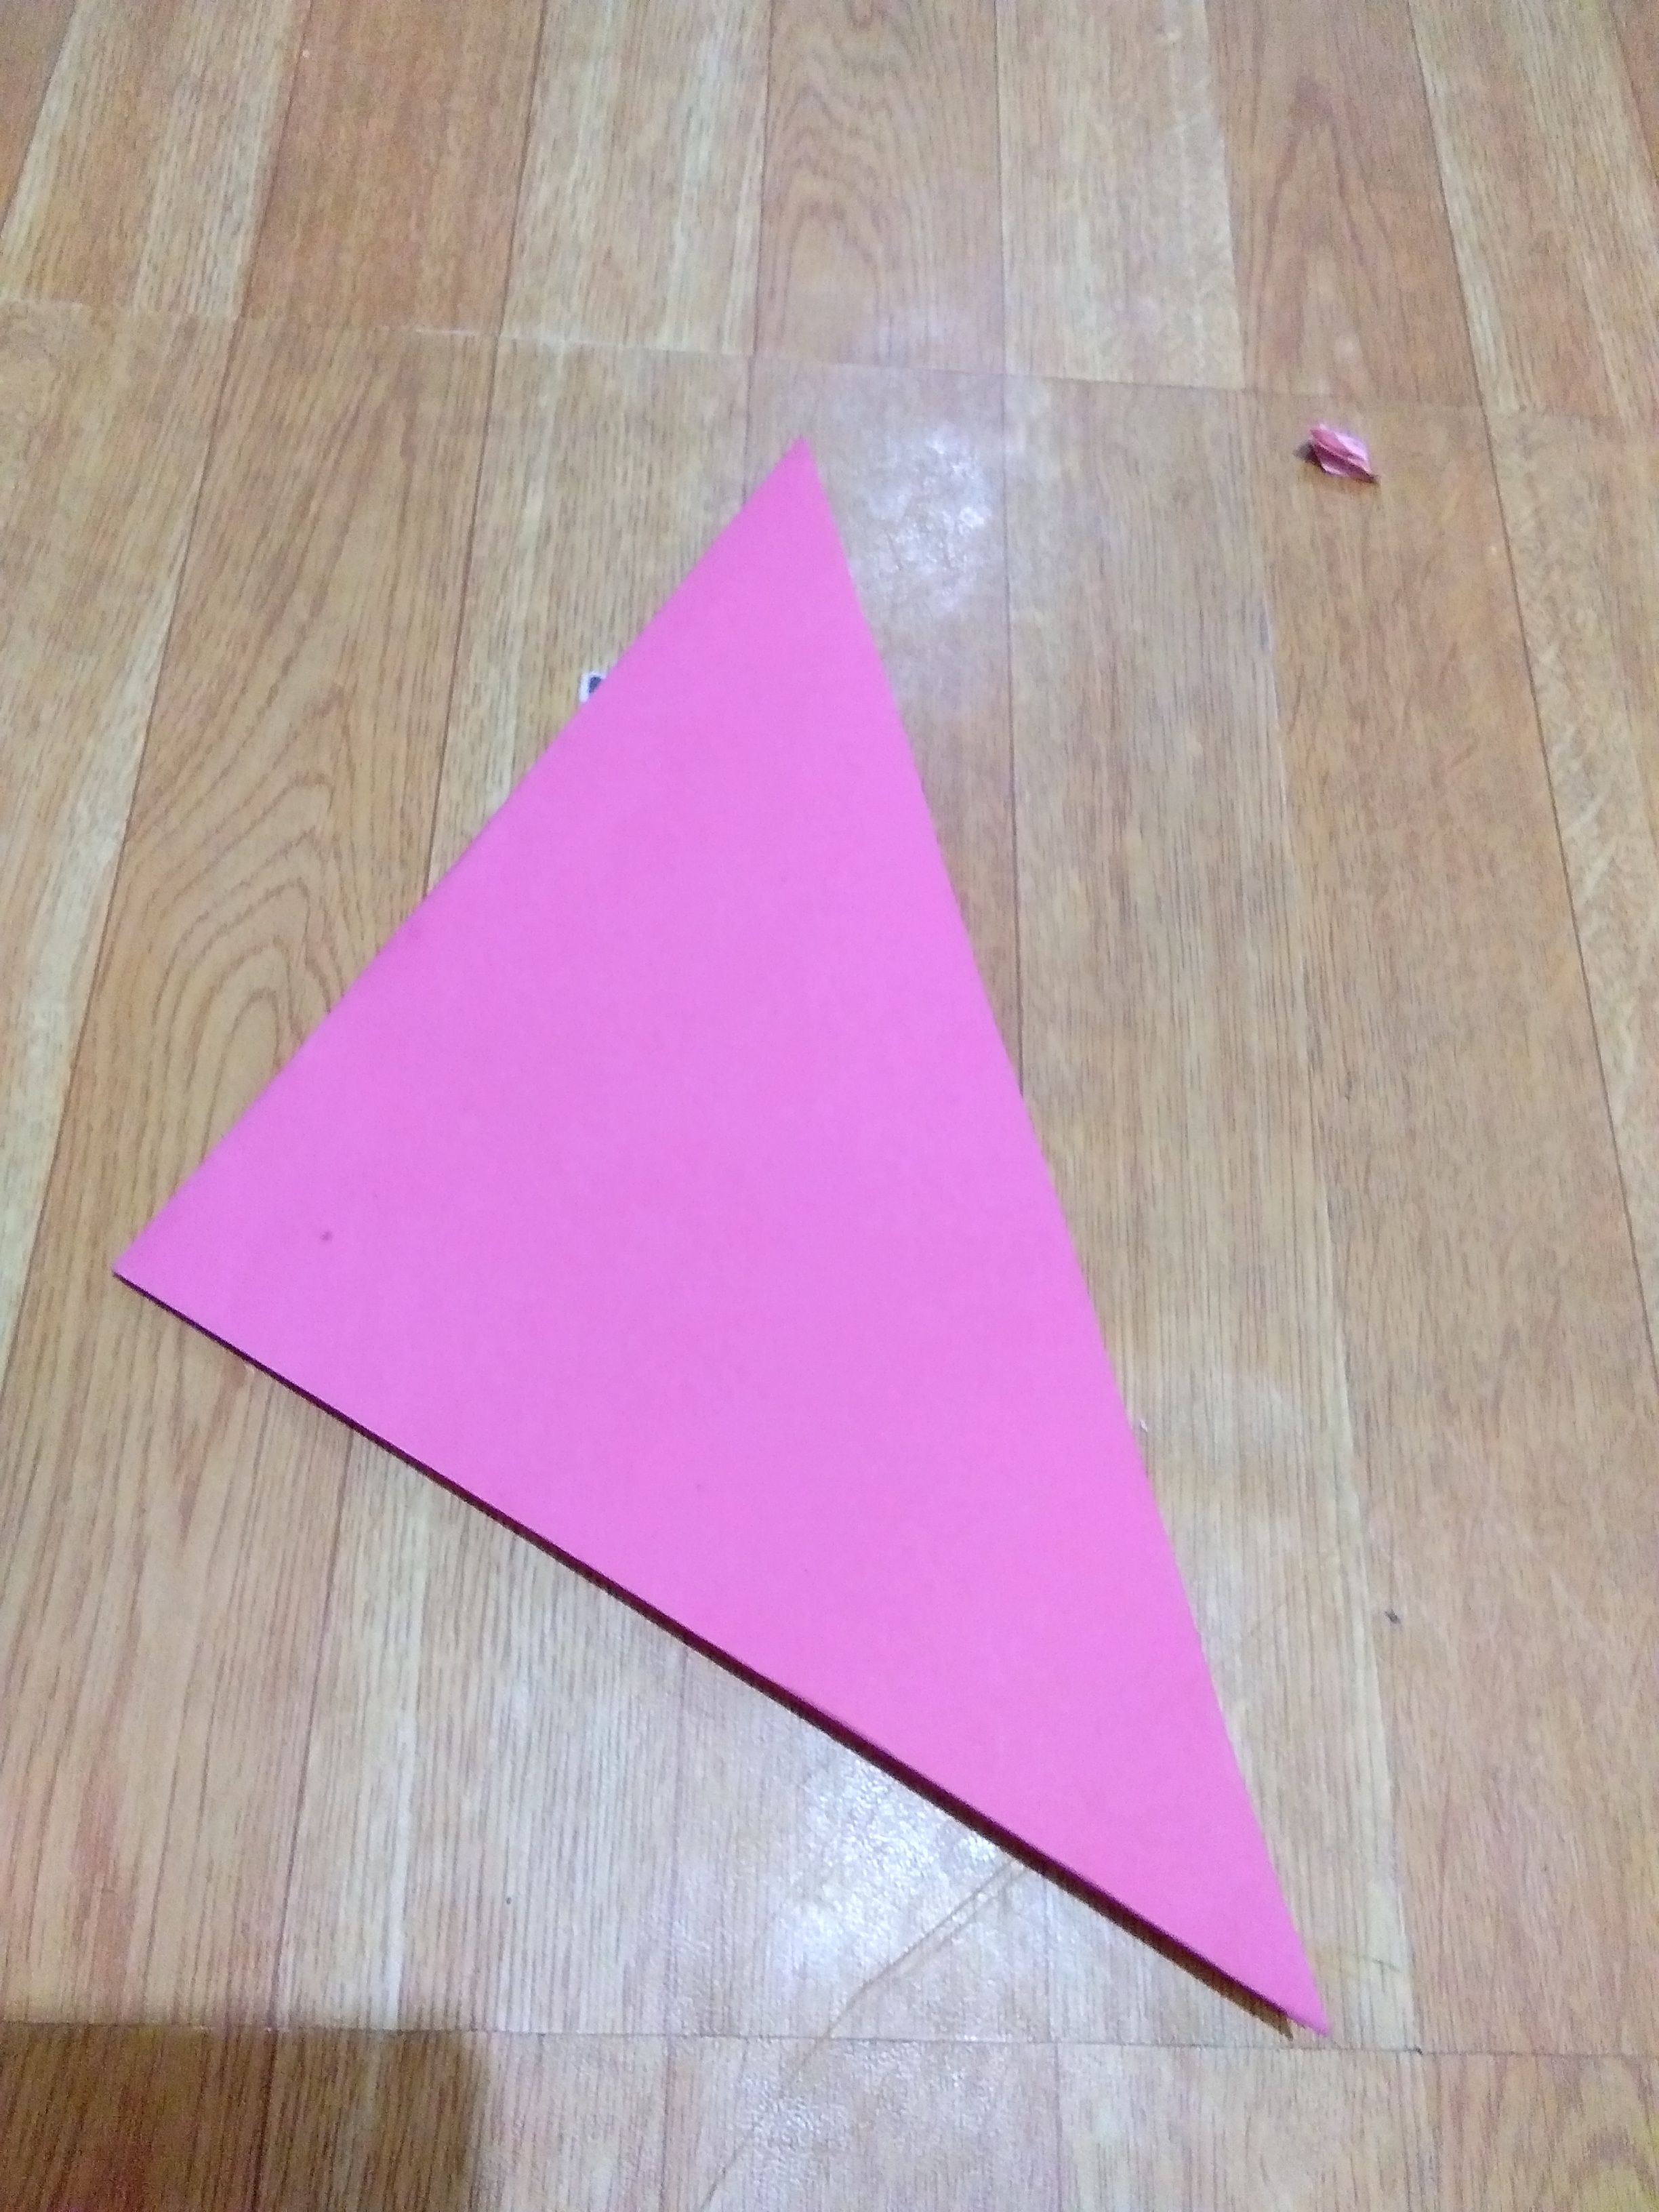
FIRST STEP
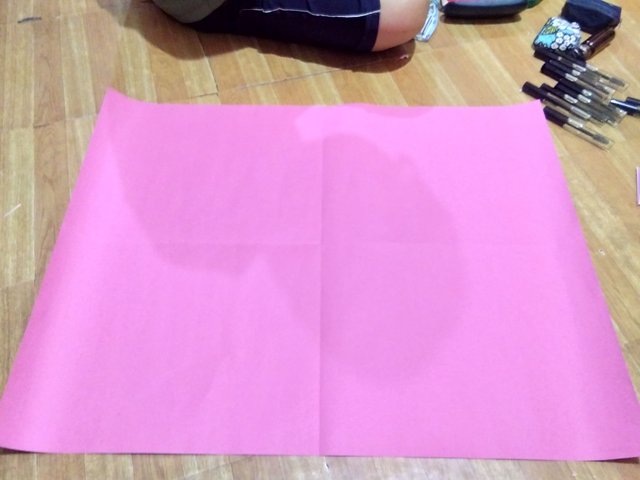
Fold the cartolina or colored paper into half then fold it again into half to have a 1/4 size of the cartolina or colored paper.
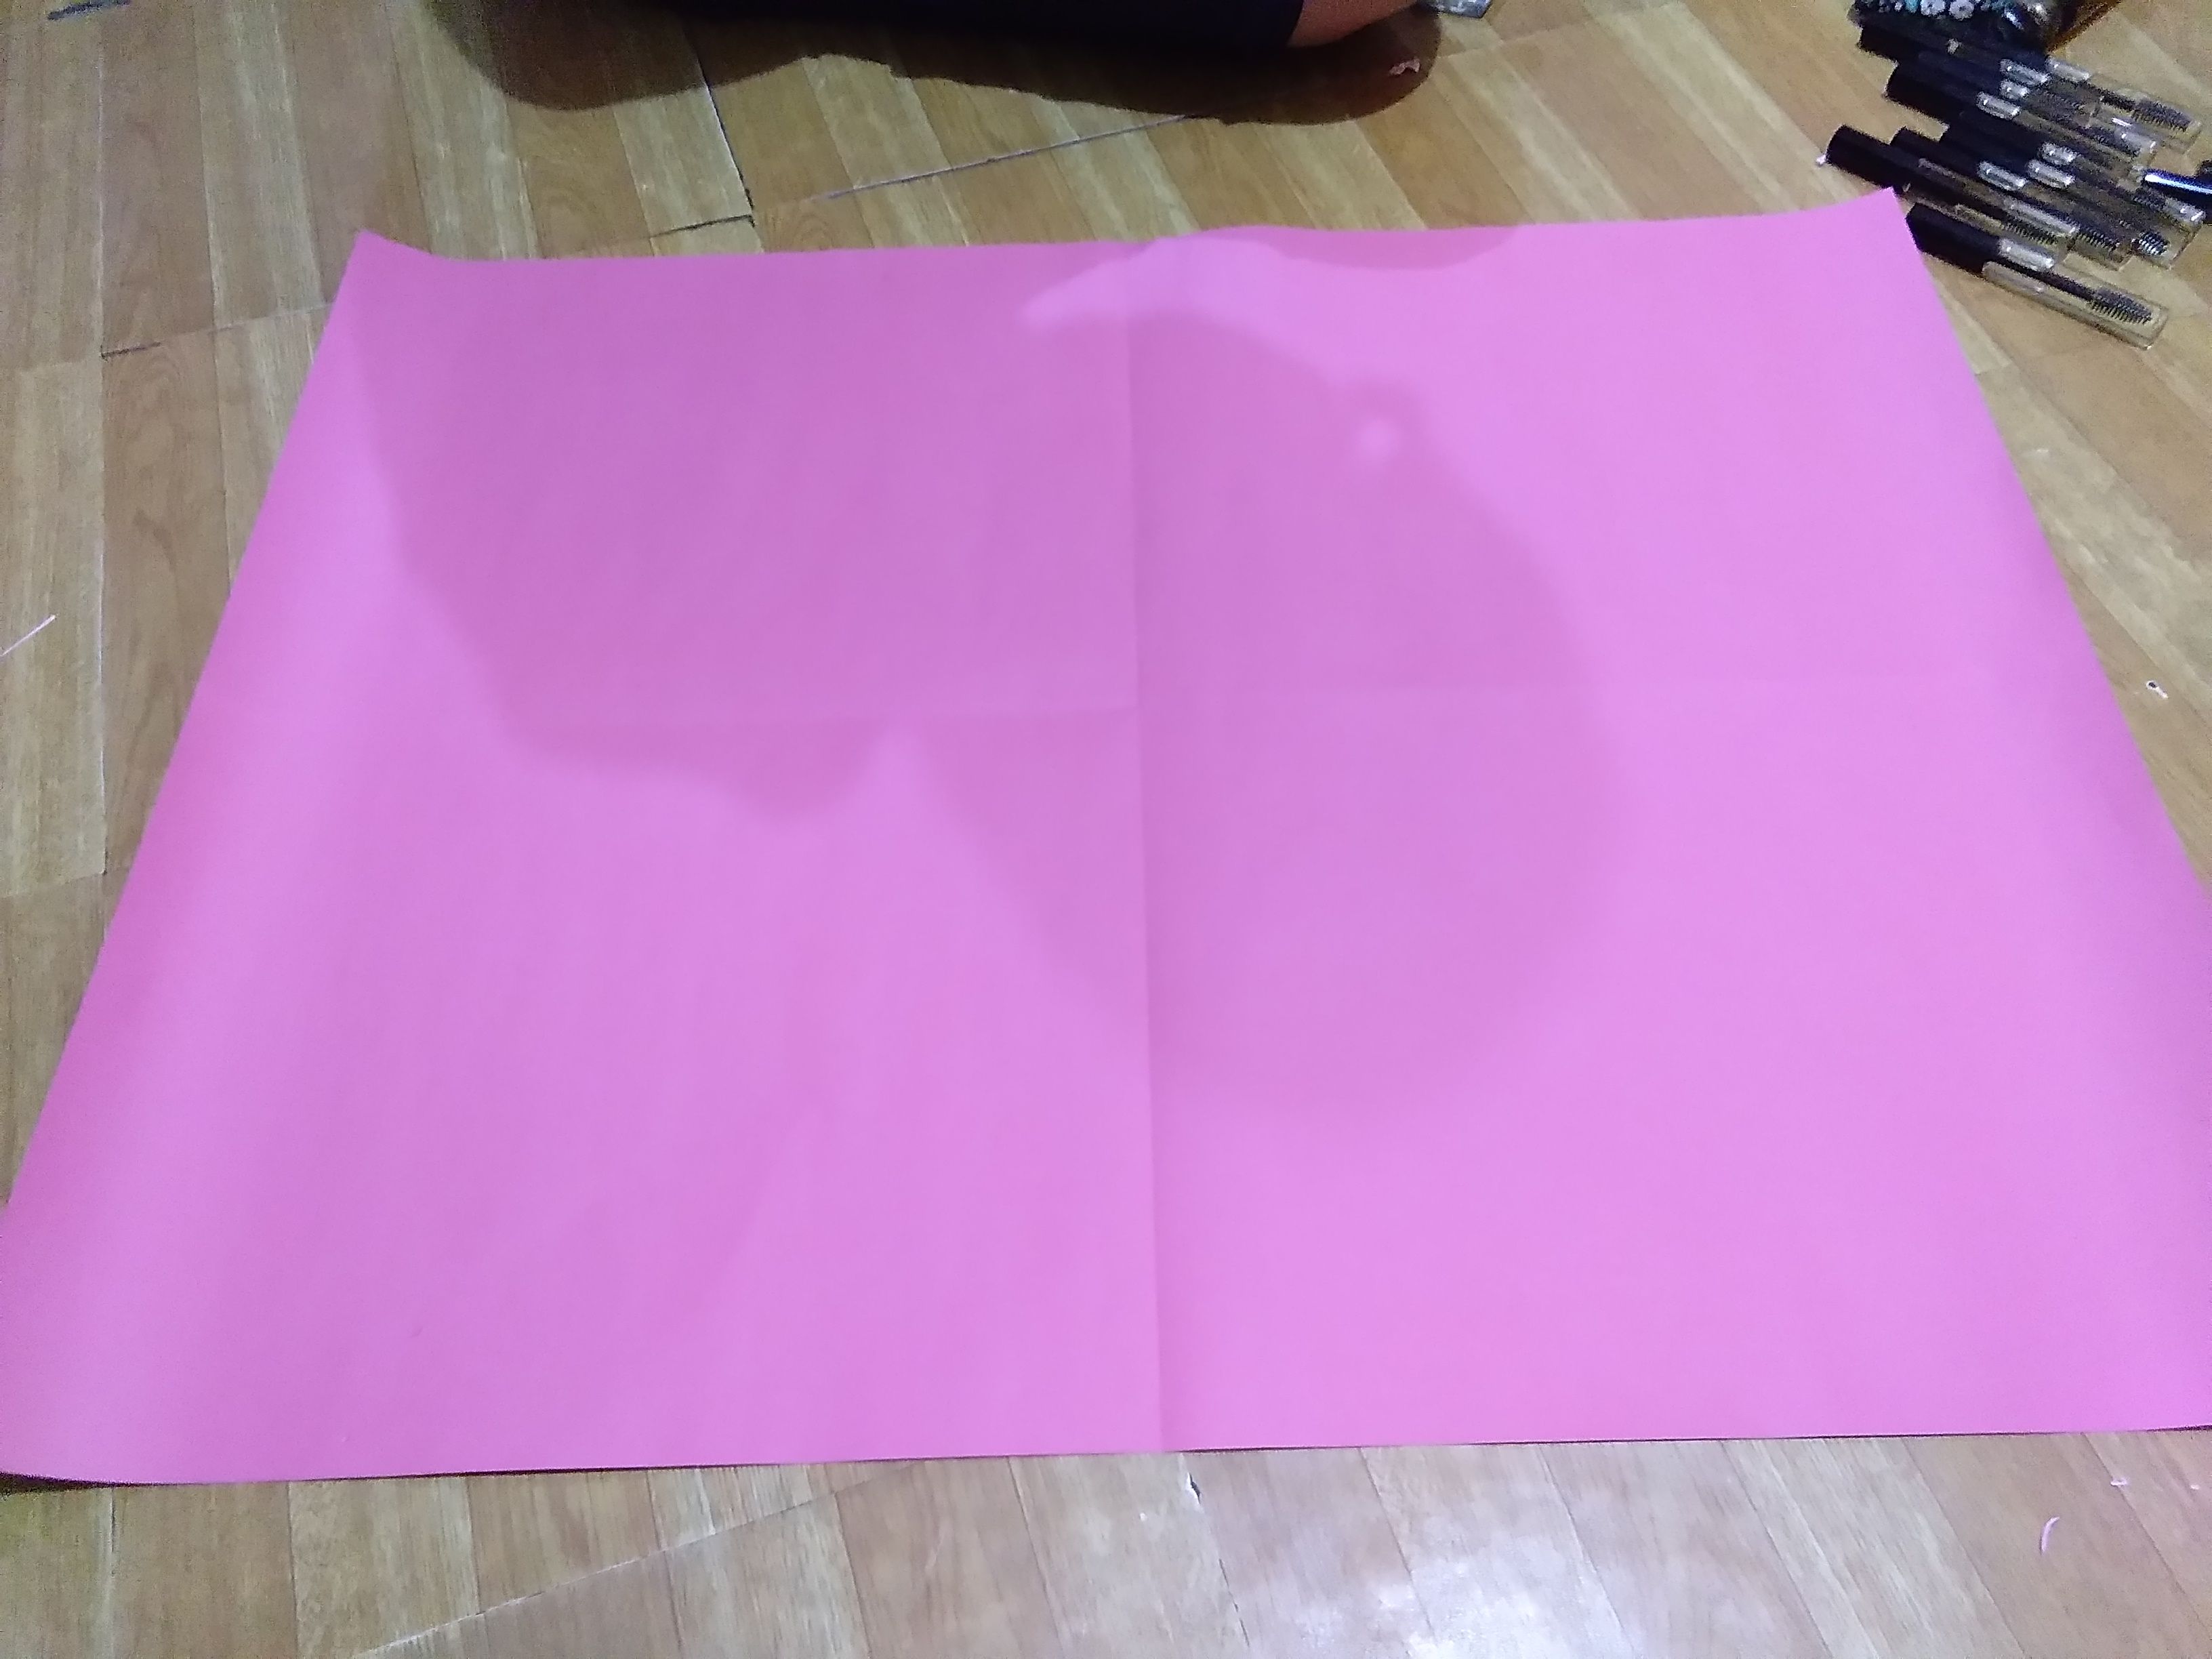
After folding, thisnis hownit looks like.
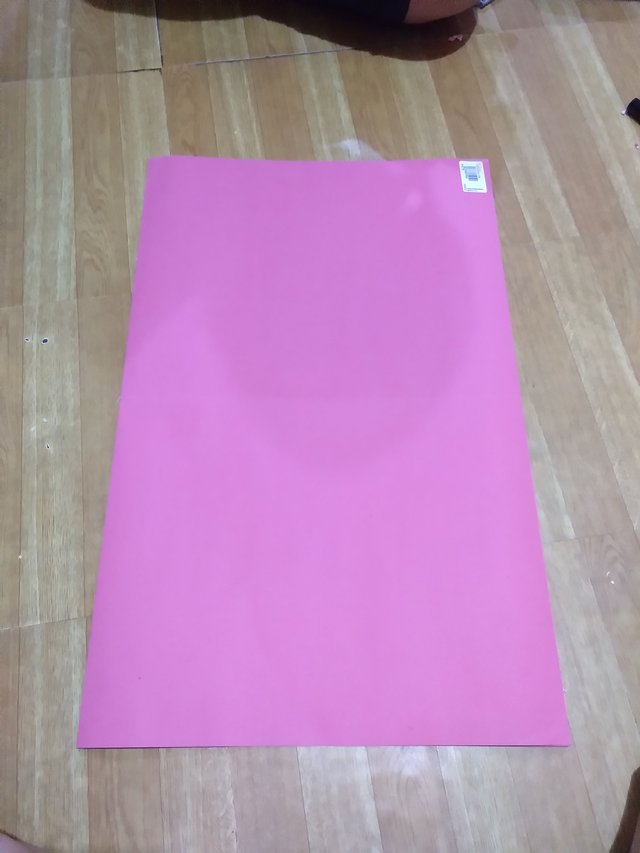
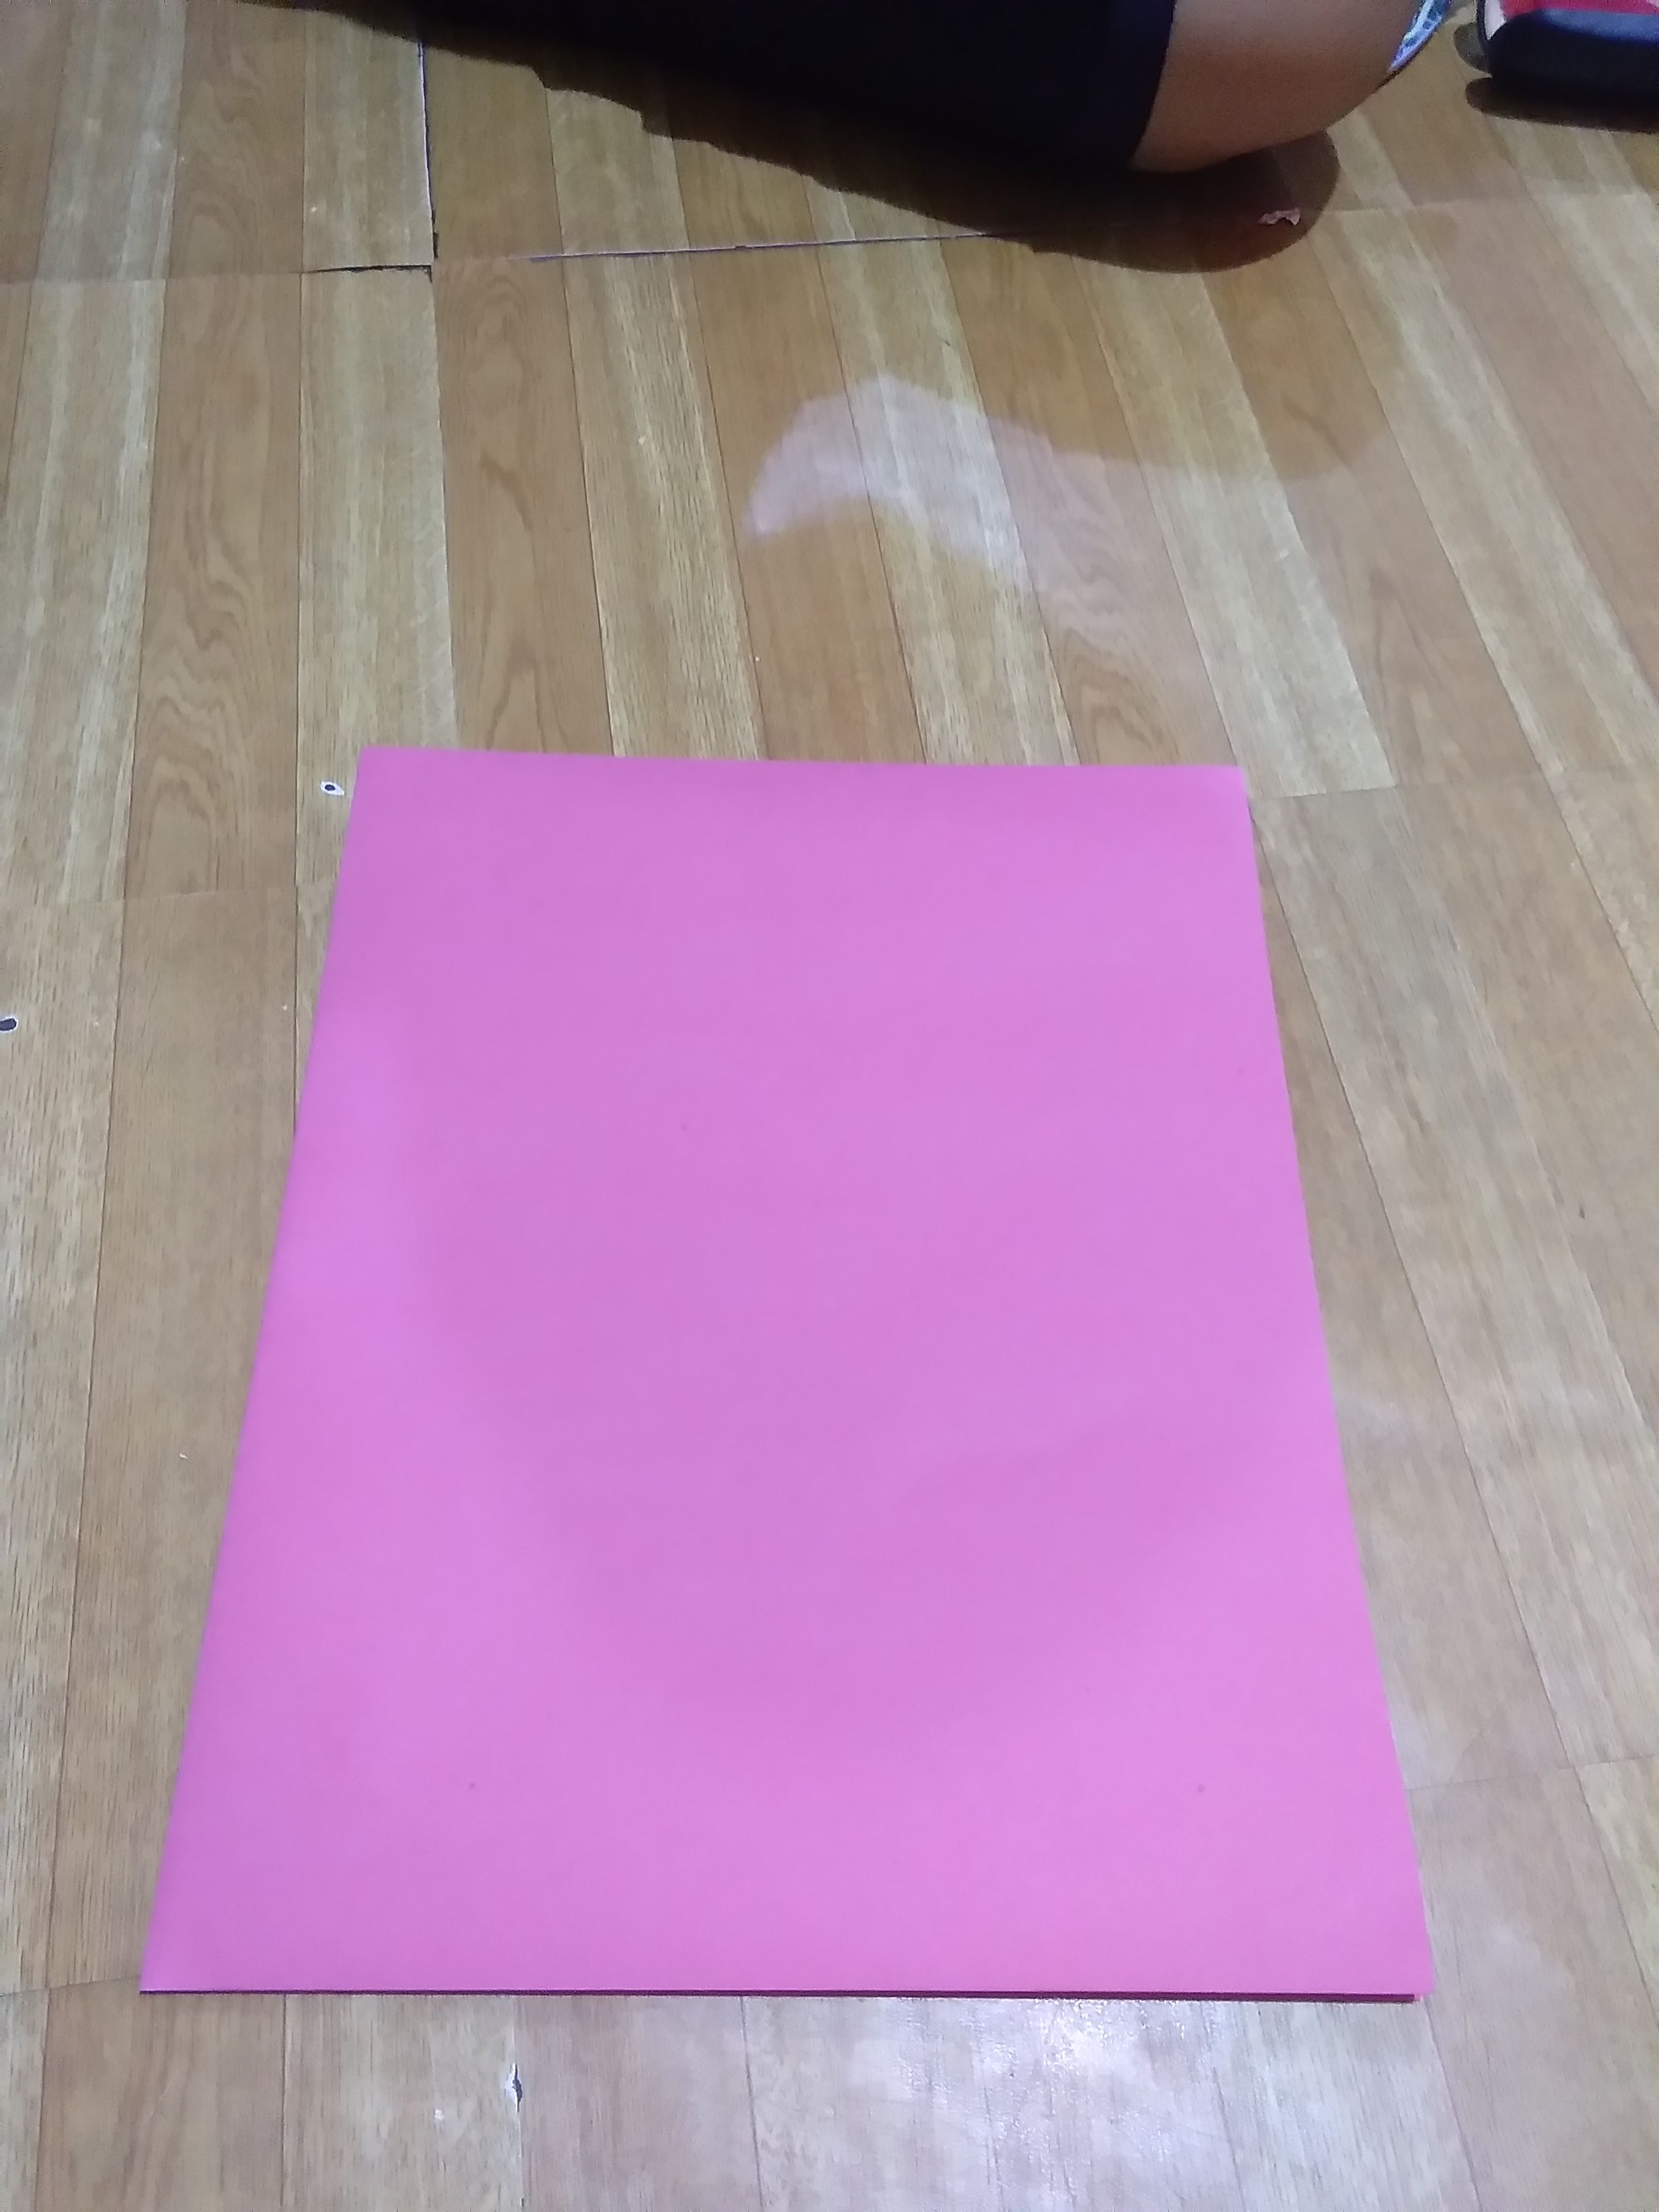
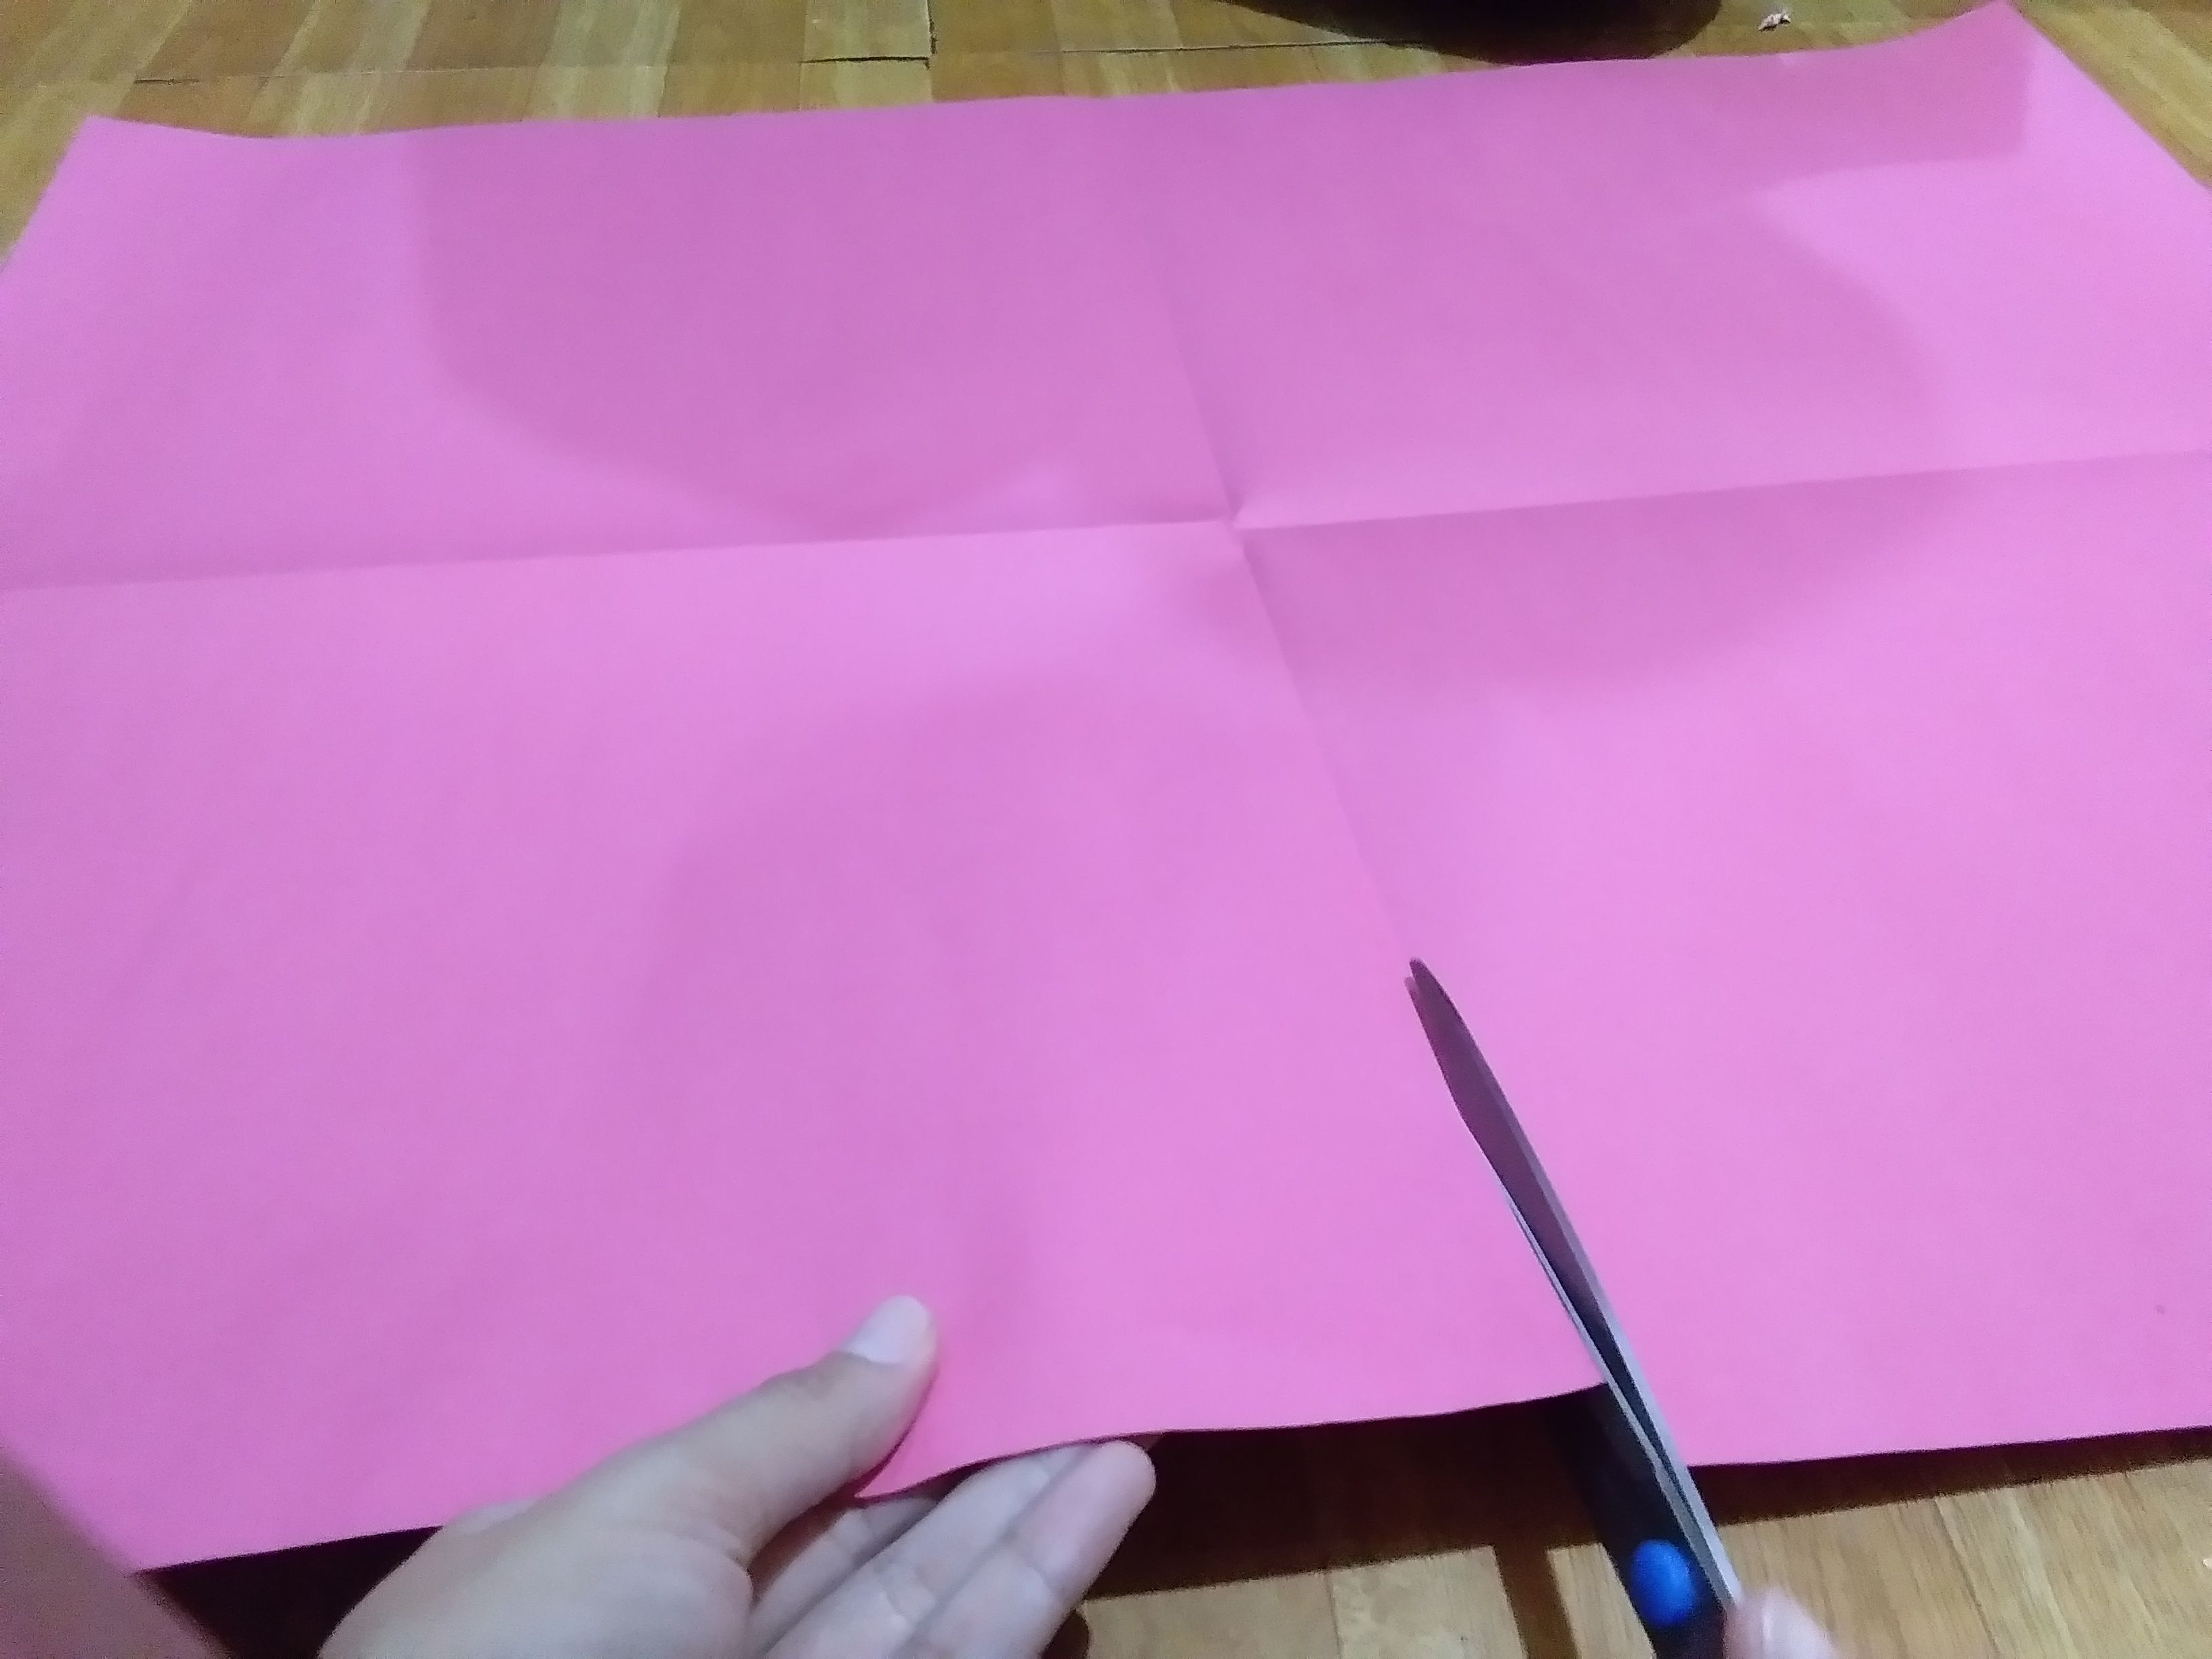
SECOND STEP: CUTTING
So, the 2nd step is cutting. We cut the cartolina or colored paper by 1/4 using a scissor or perhaps cutter. Let's cut through the line that we just folded a while a ago.

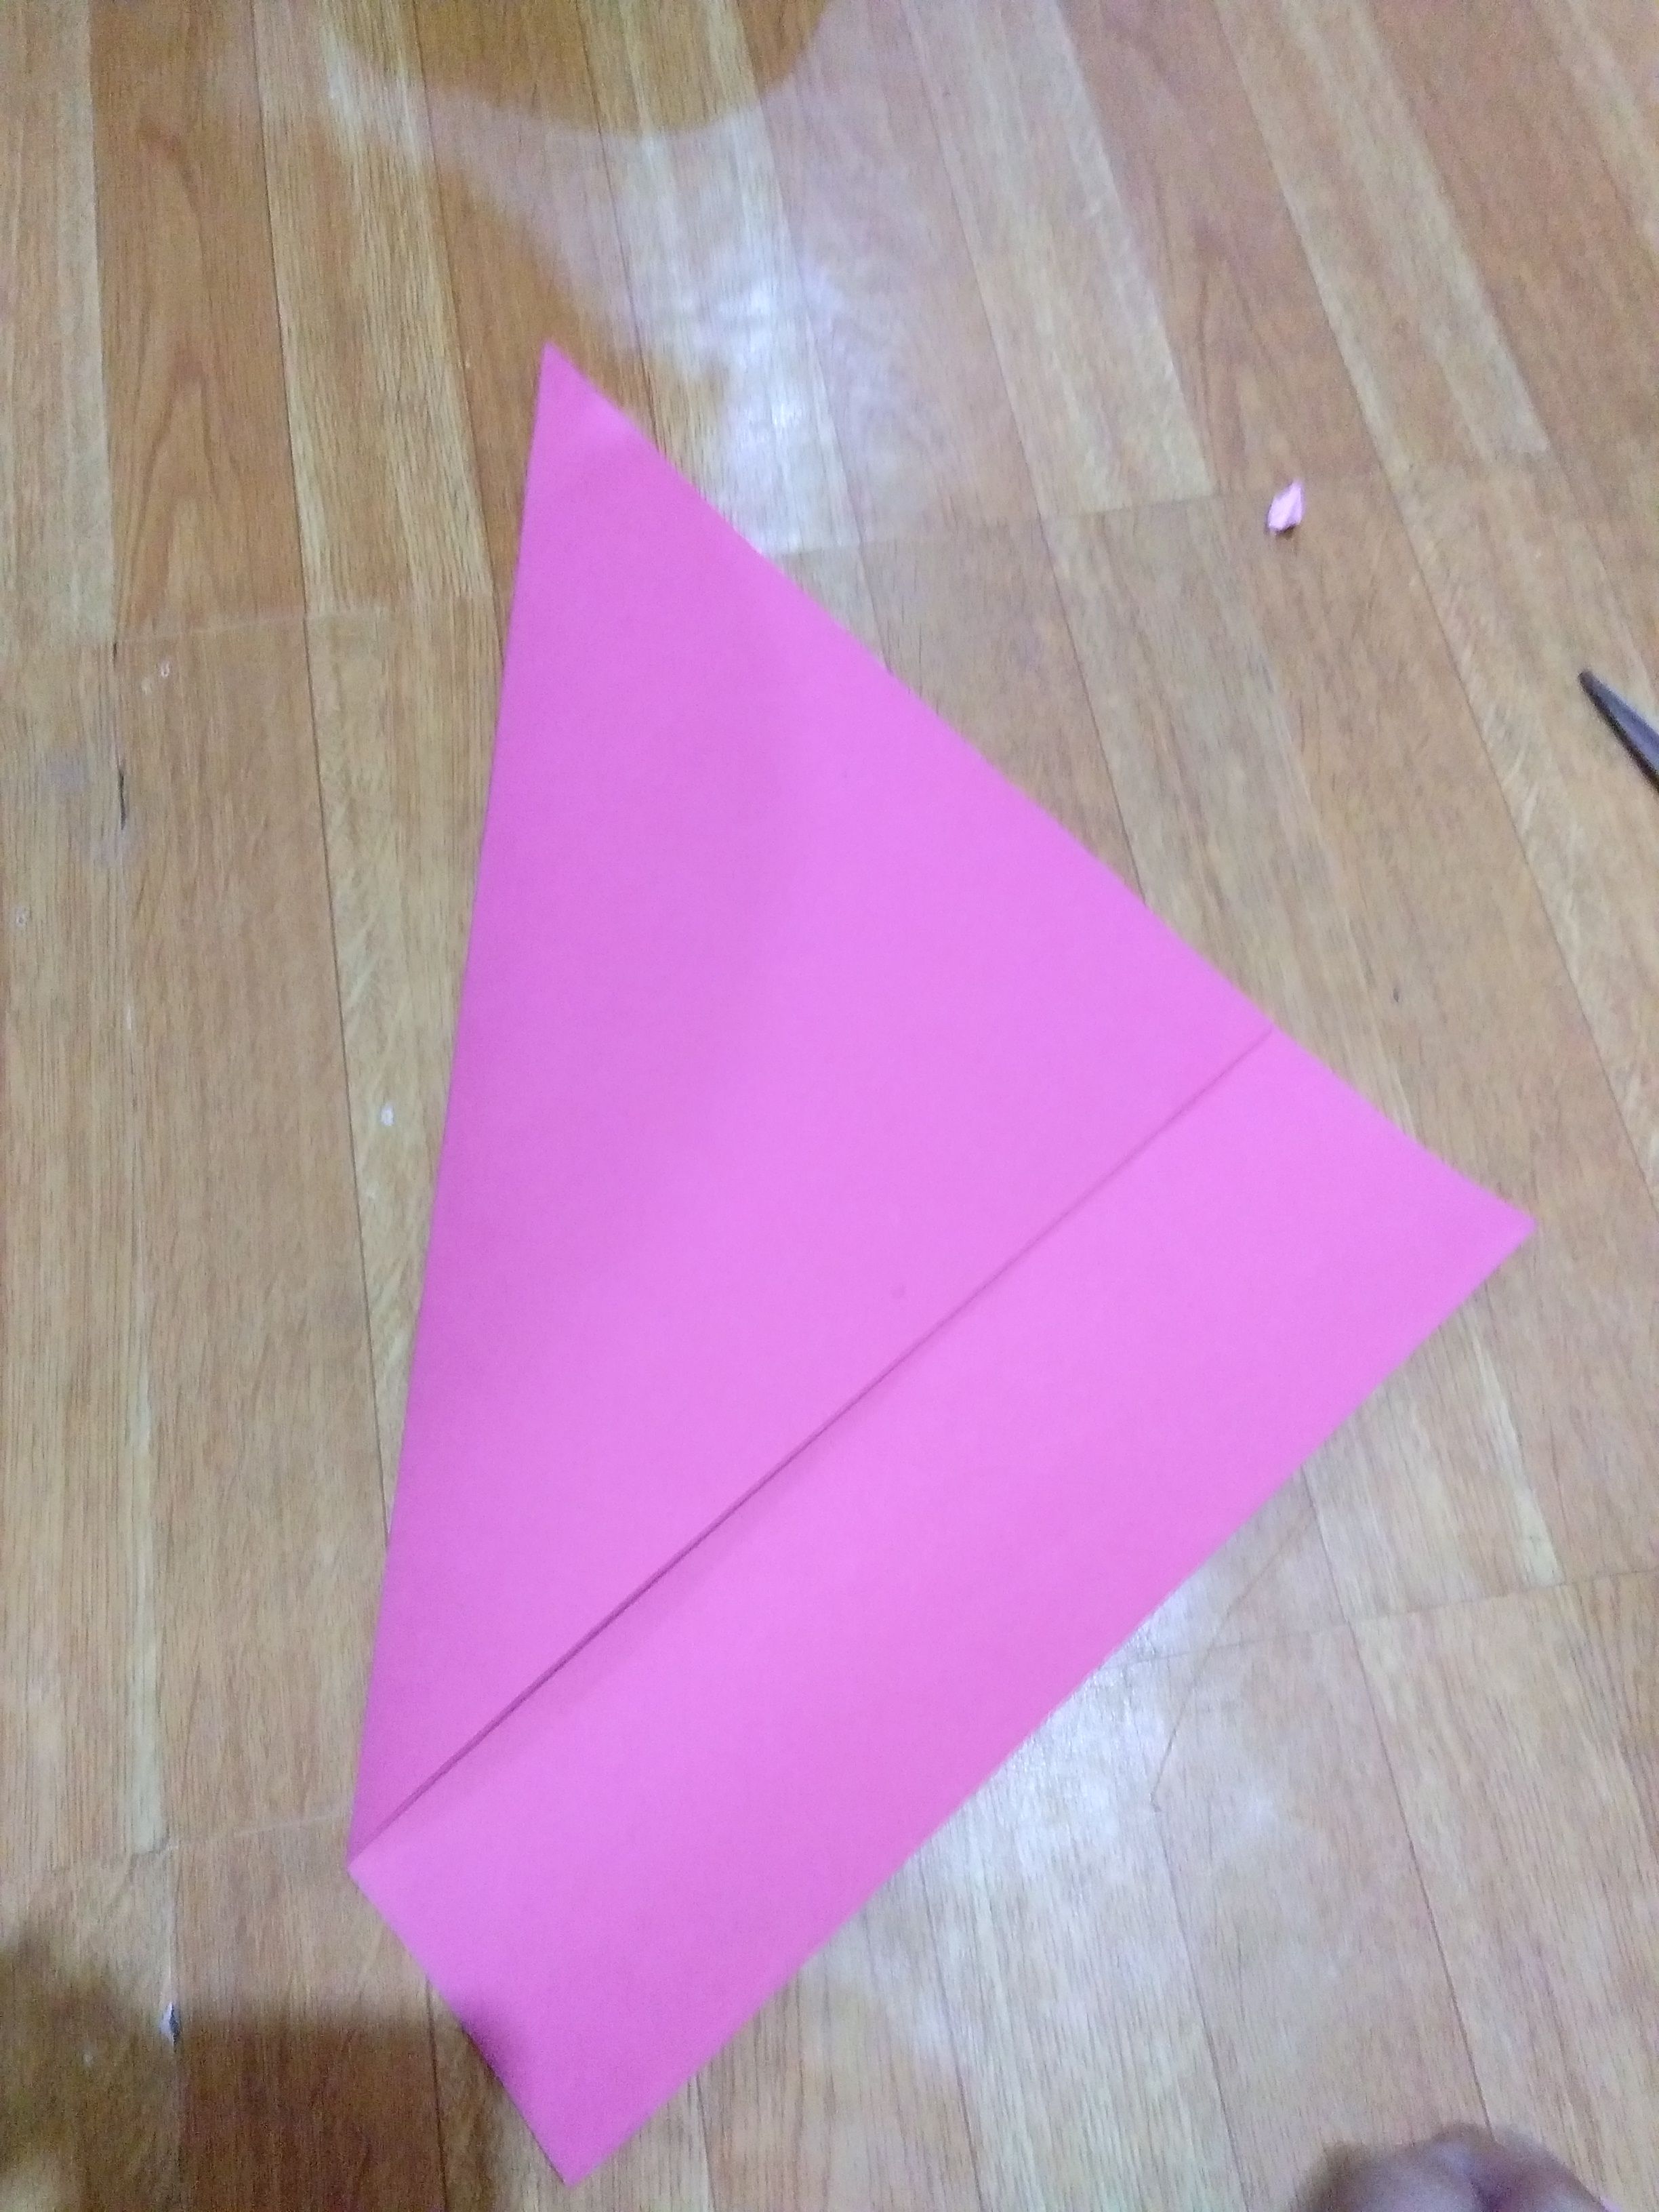
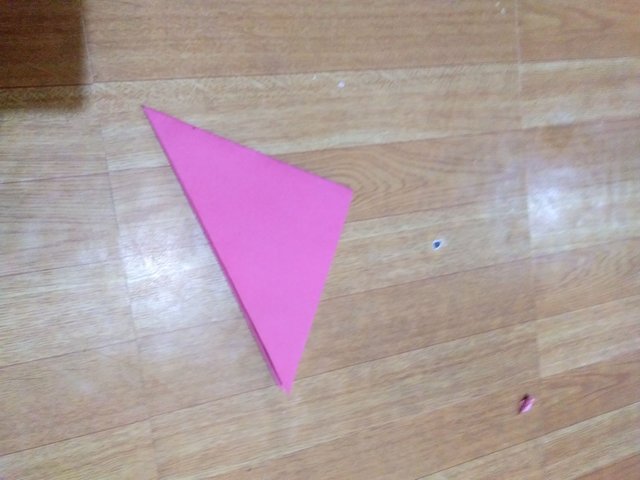
THIRD STEP: FOLDING AND CUTTING AGAIN
After we cut it into a 1/4 size, let's fold it again triangularly then cut the excess paper to form a triangle.
Uvp/151629535104455836803.jpg)
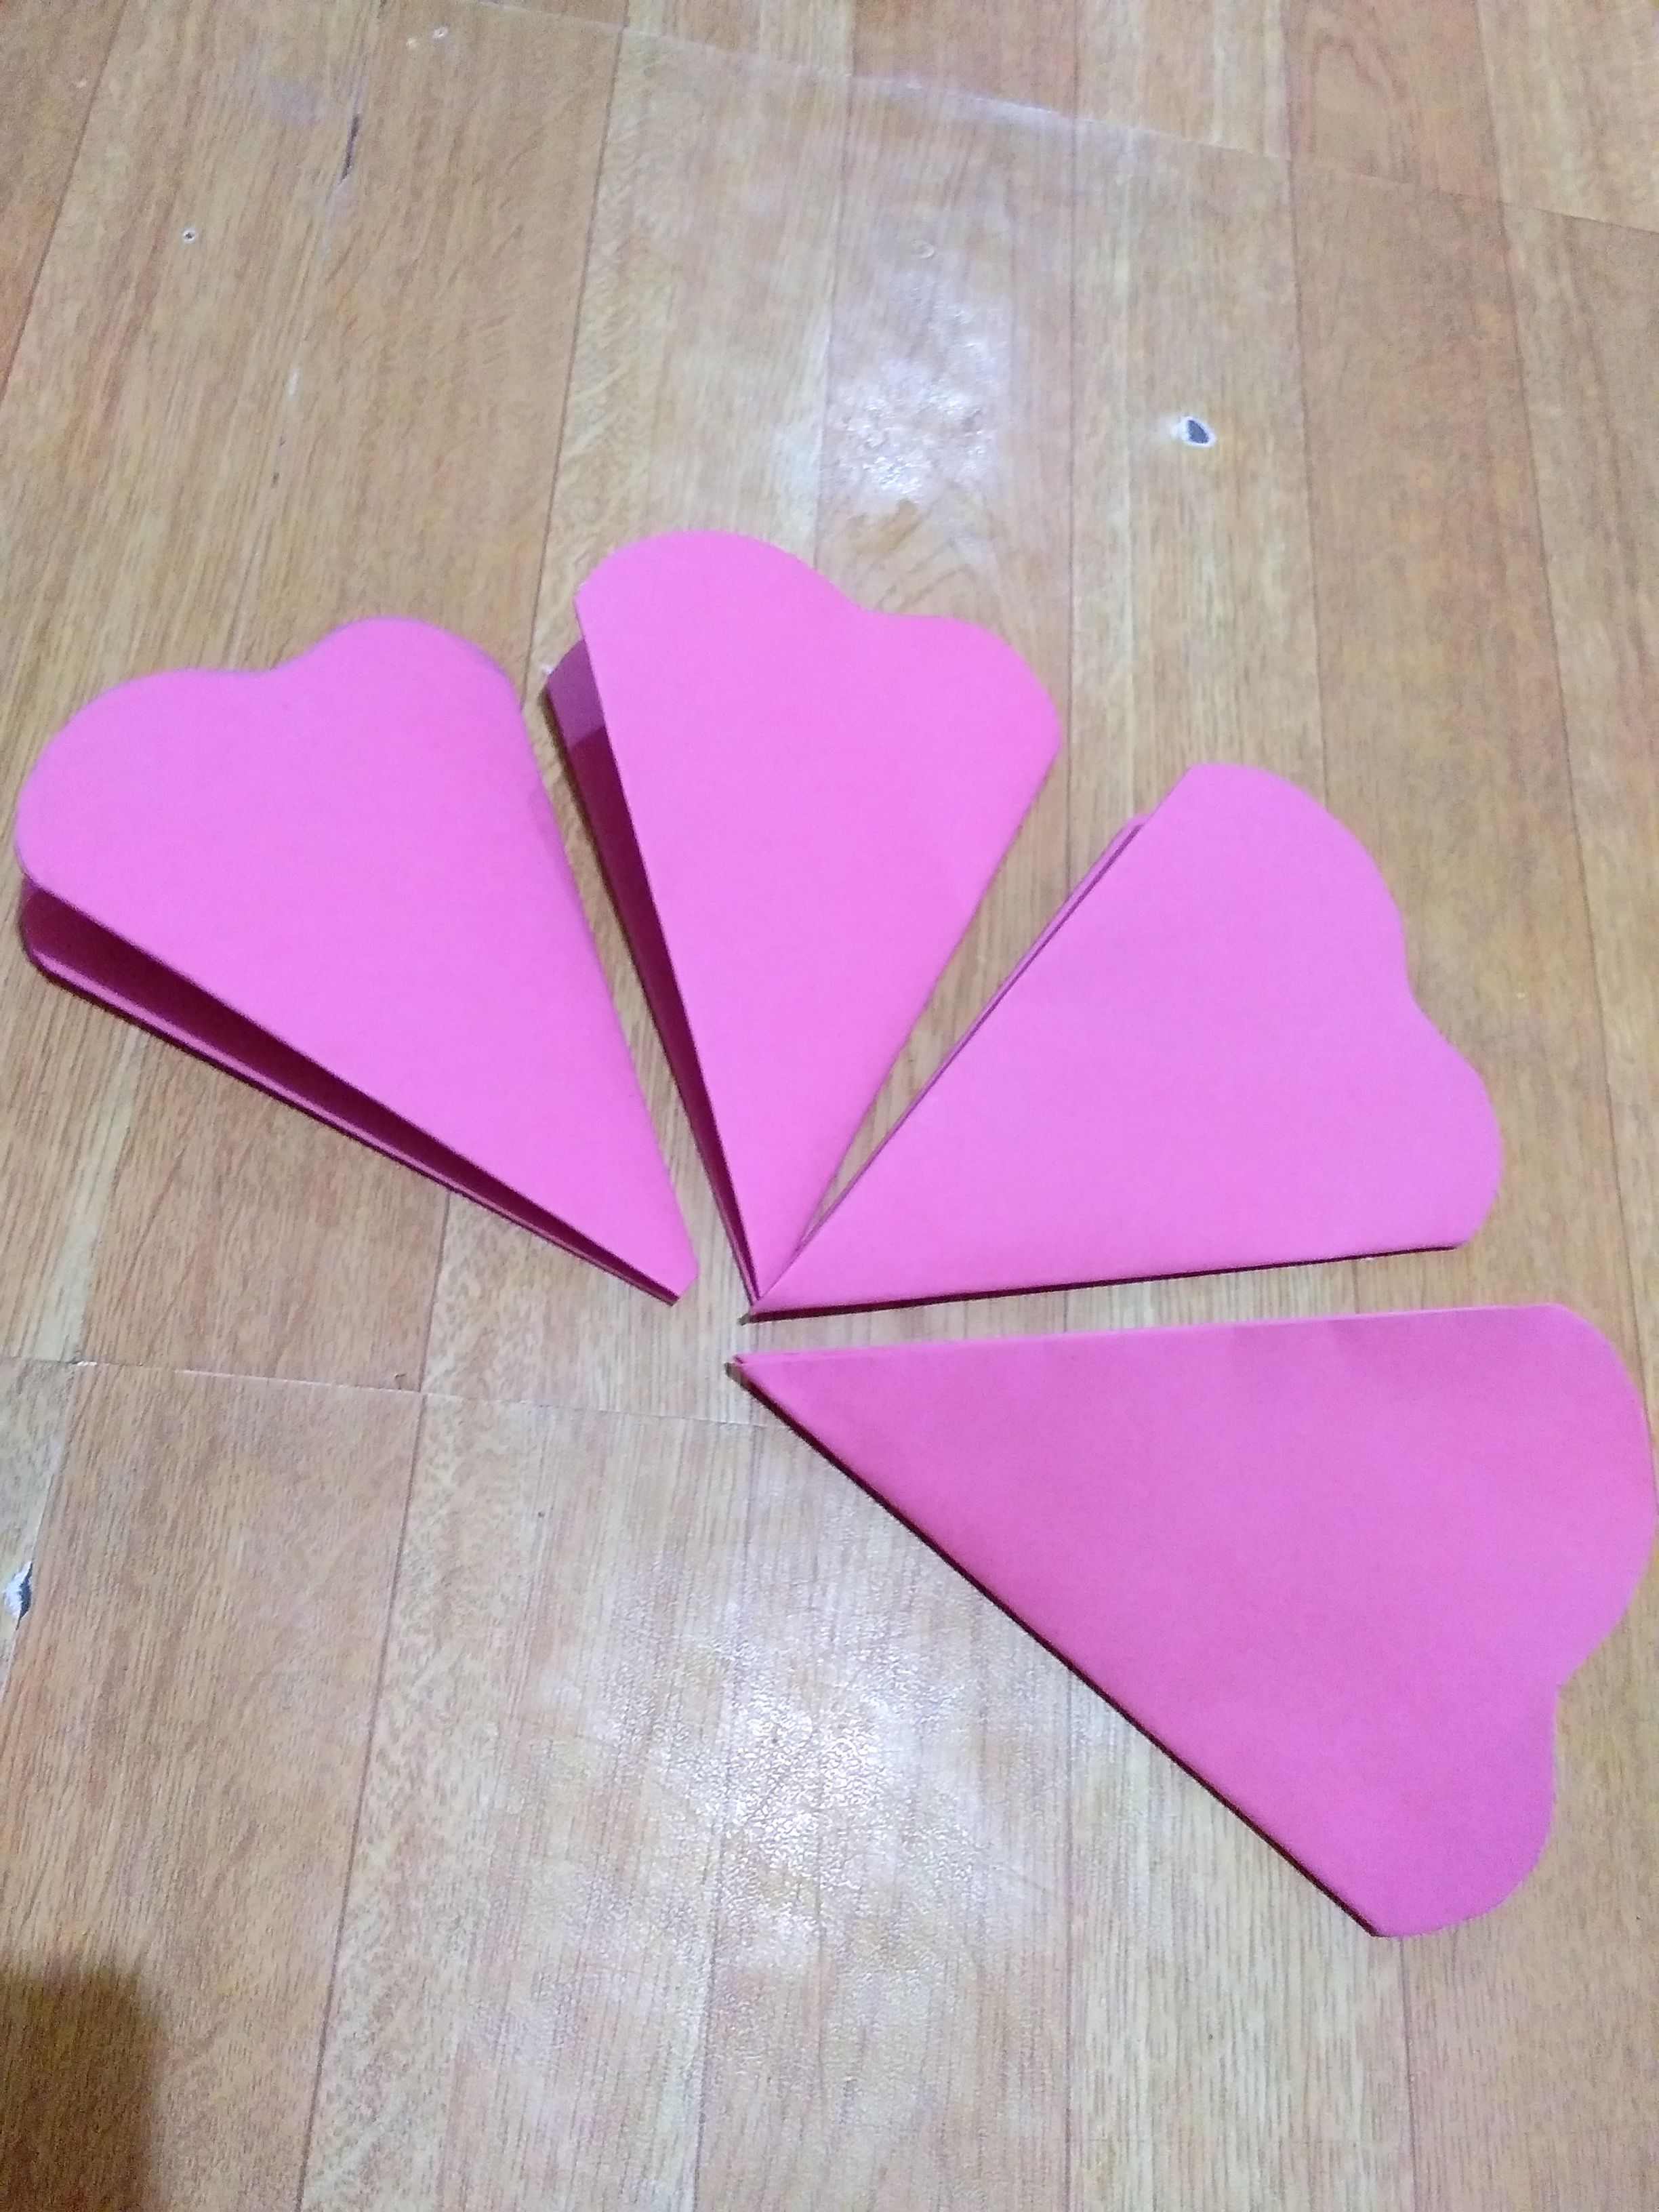
FOURTH STEP: FOLDING (Are you guys tired of folding? Well, don't be, because a few more steps until we're done. HANG IN THERE BUDDY!)
So, the next step is folding. After we are done with STEP 3, we, then again fold it in half, two times.
First fold

2nd fold
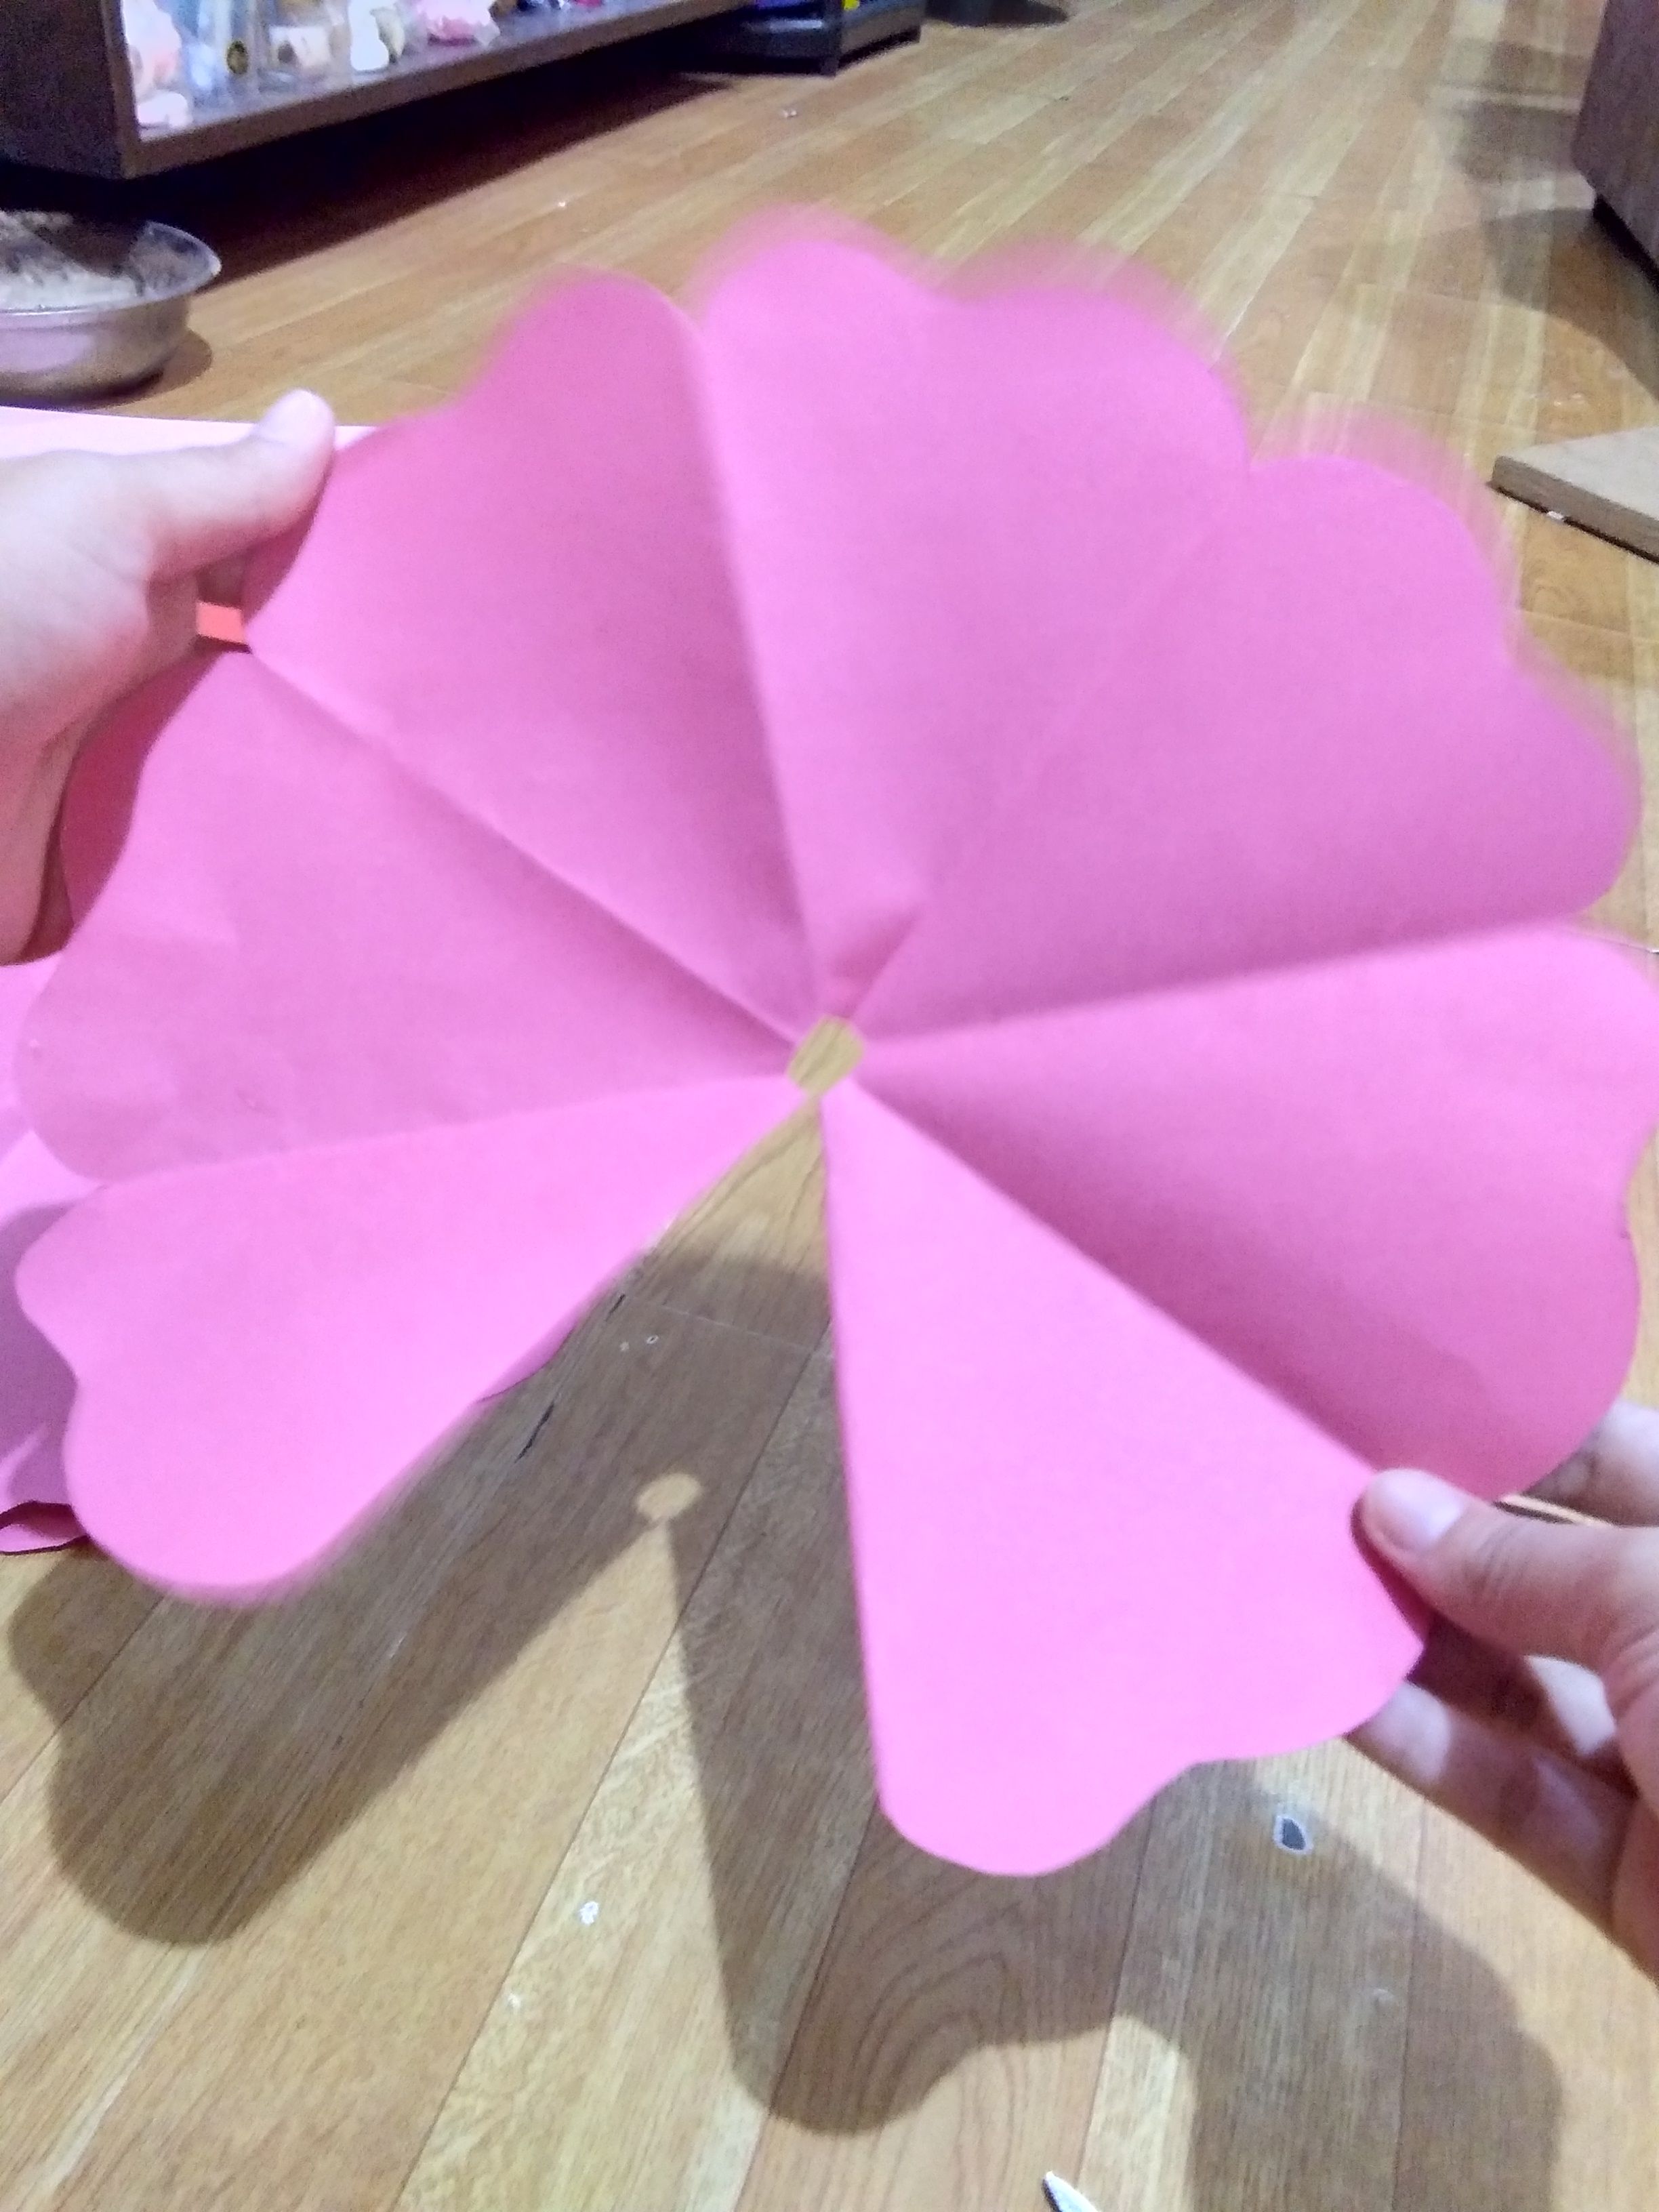
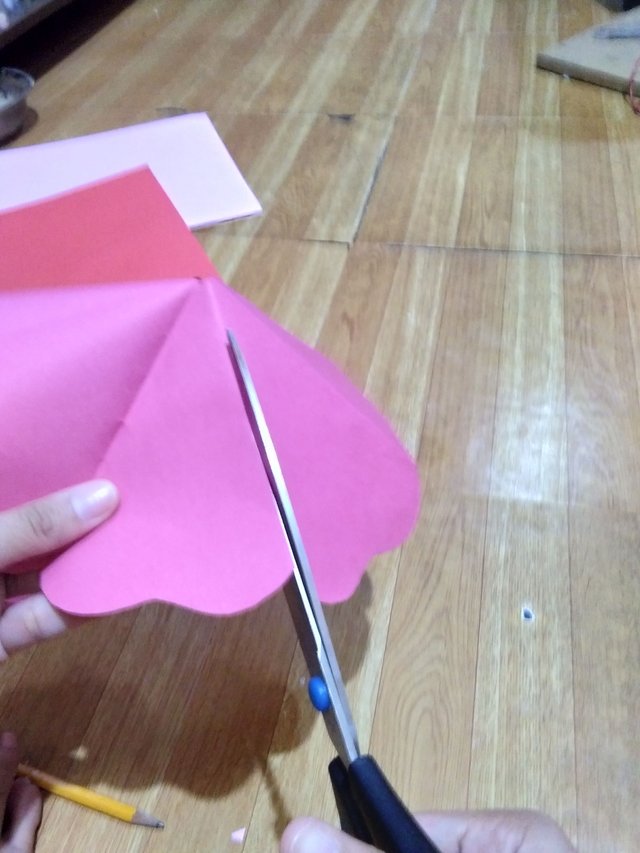
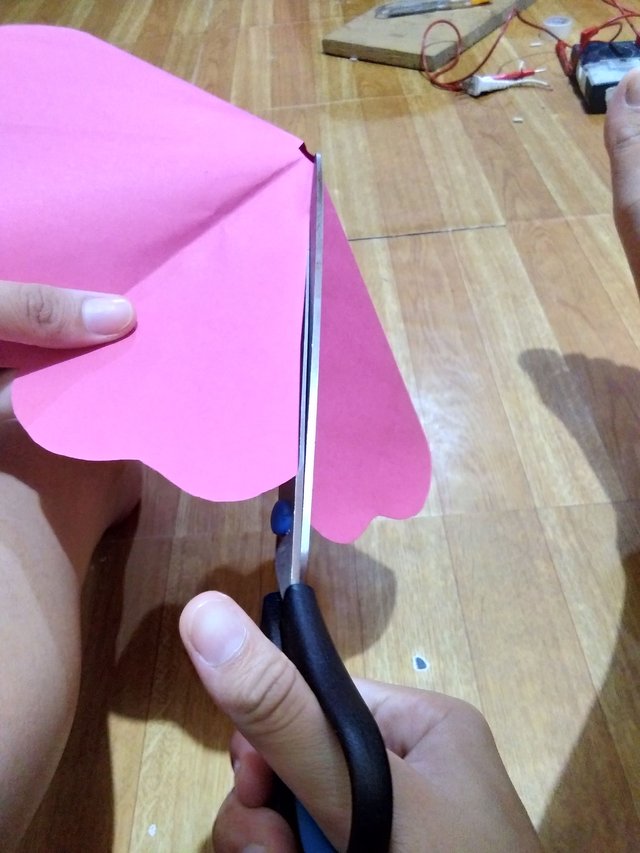
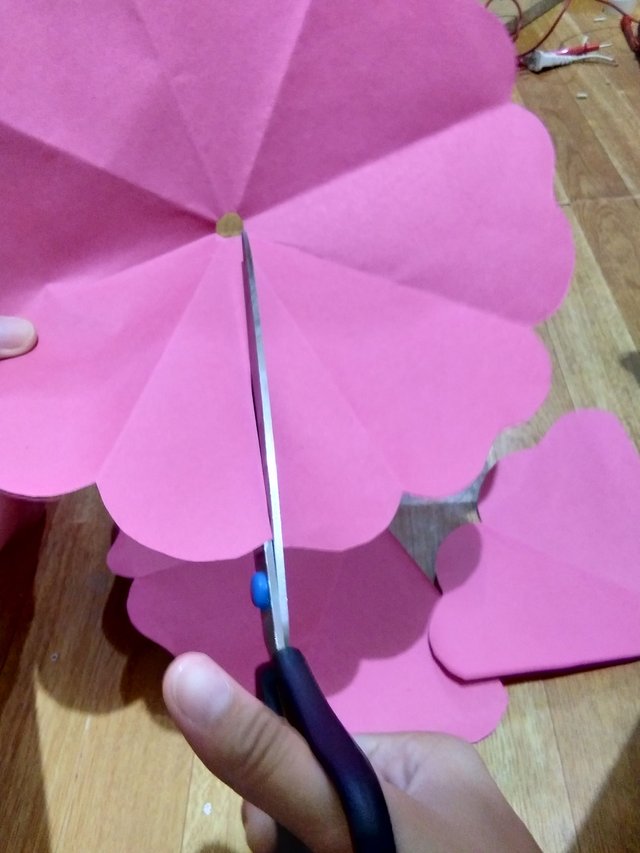
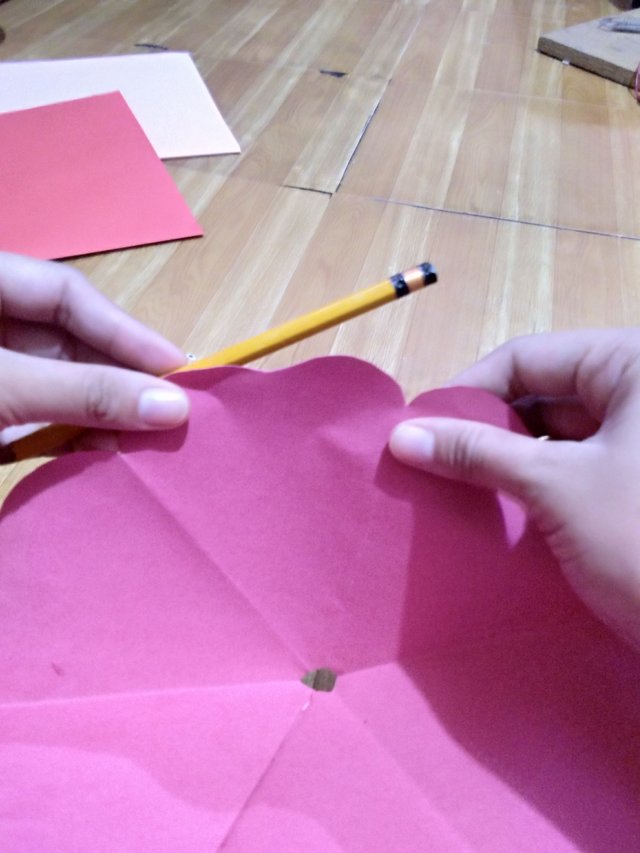
FIFTH STEP: DRAWING THE PETAL
For this step, we will draw the pattern for our petals. Draw the pattern to where the fold is.
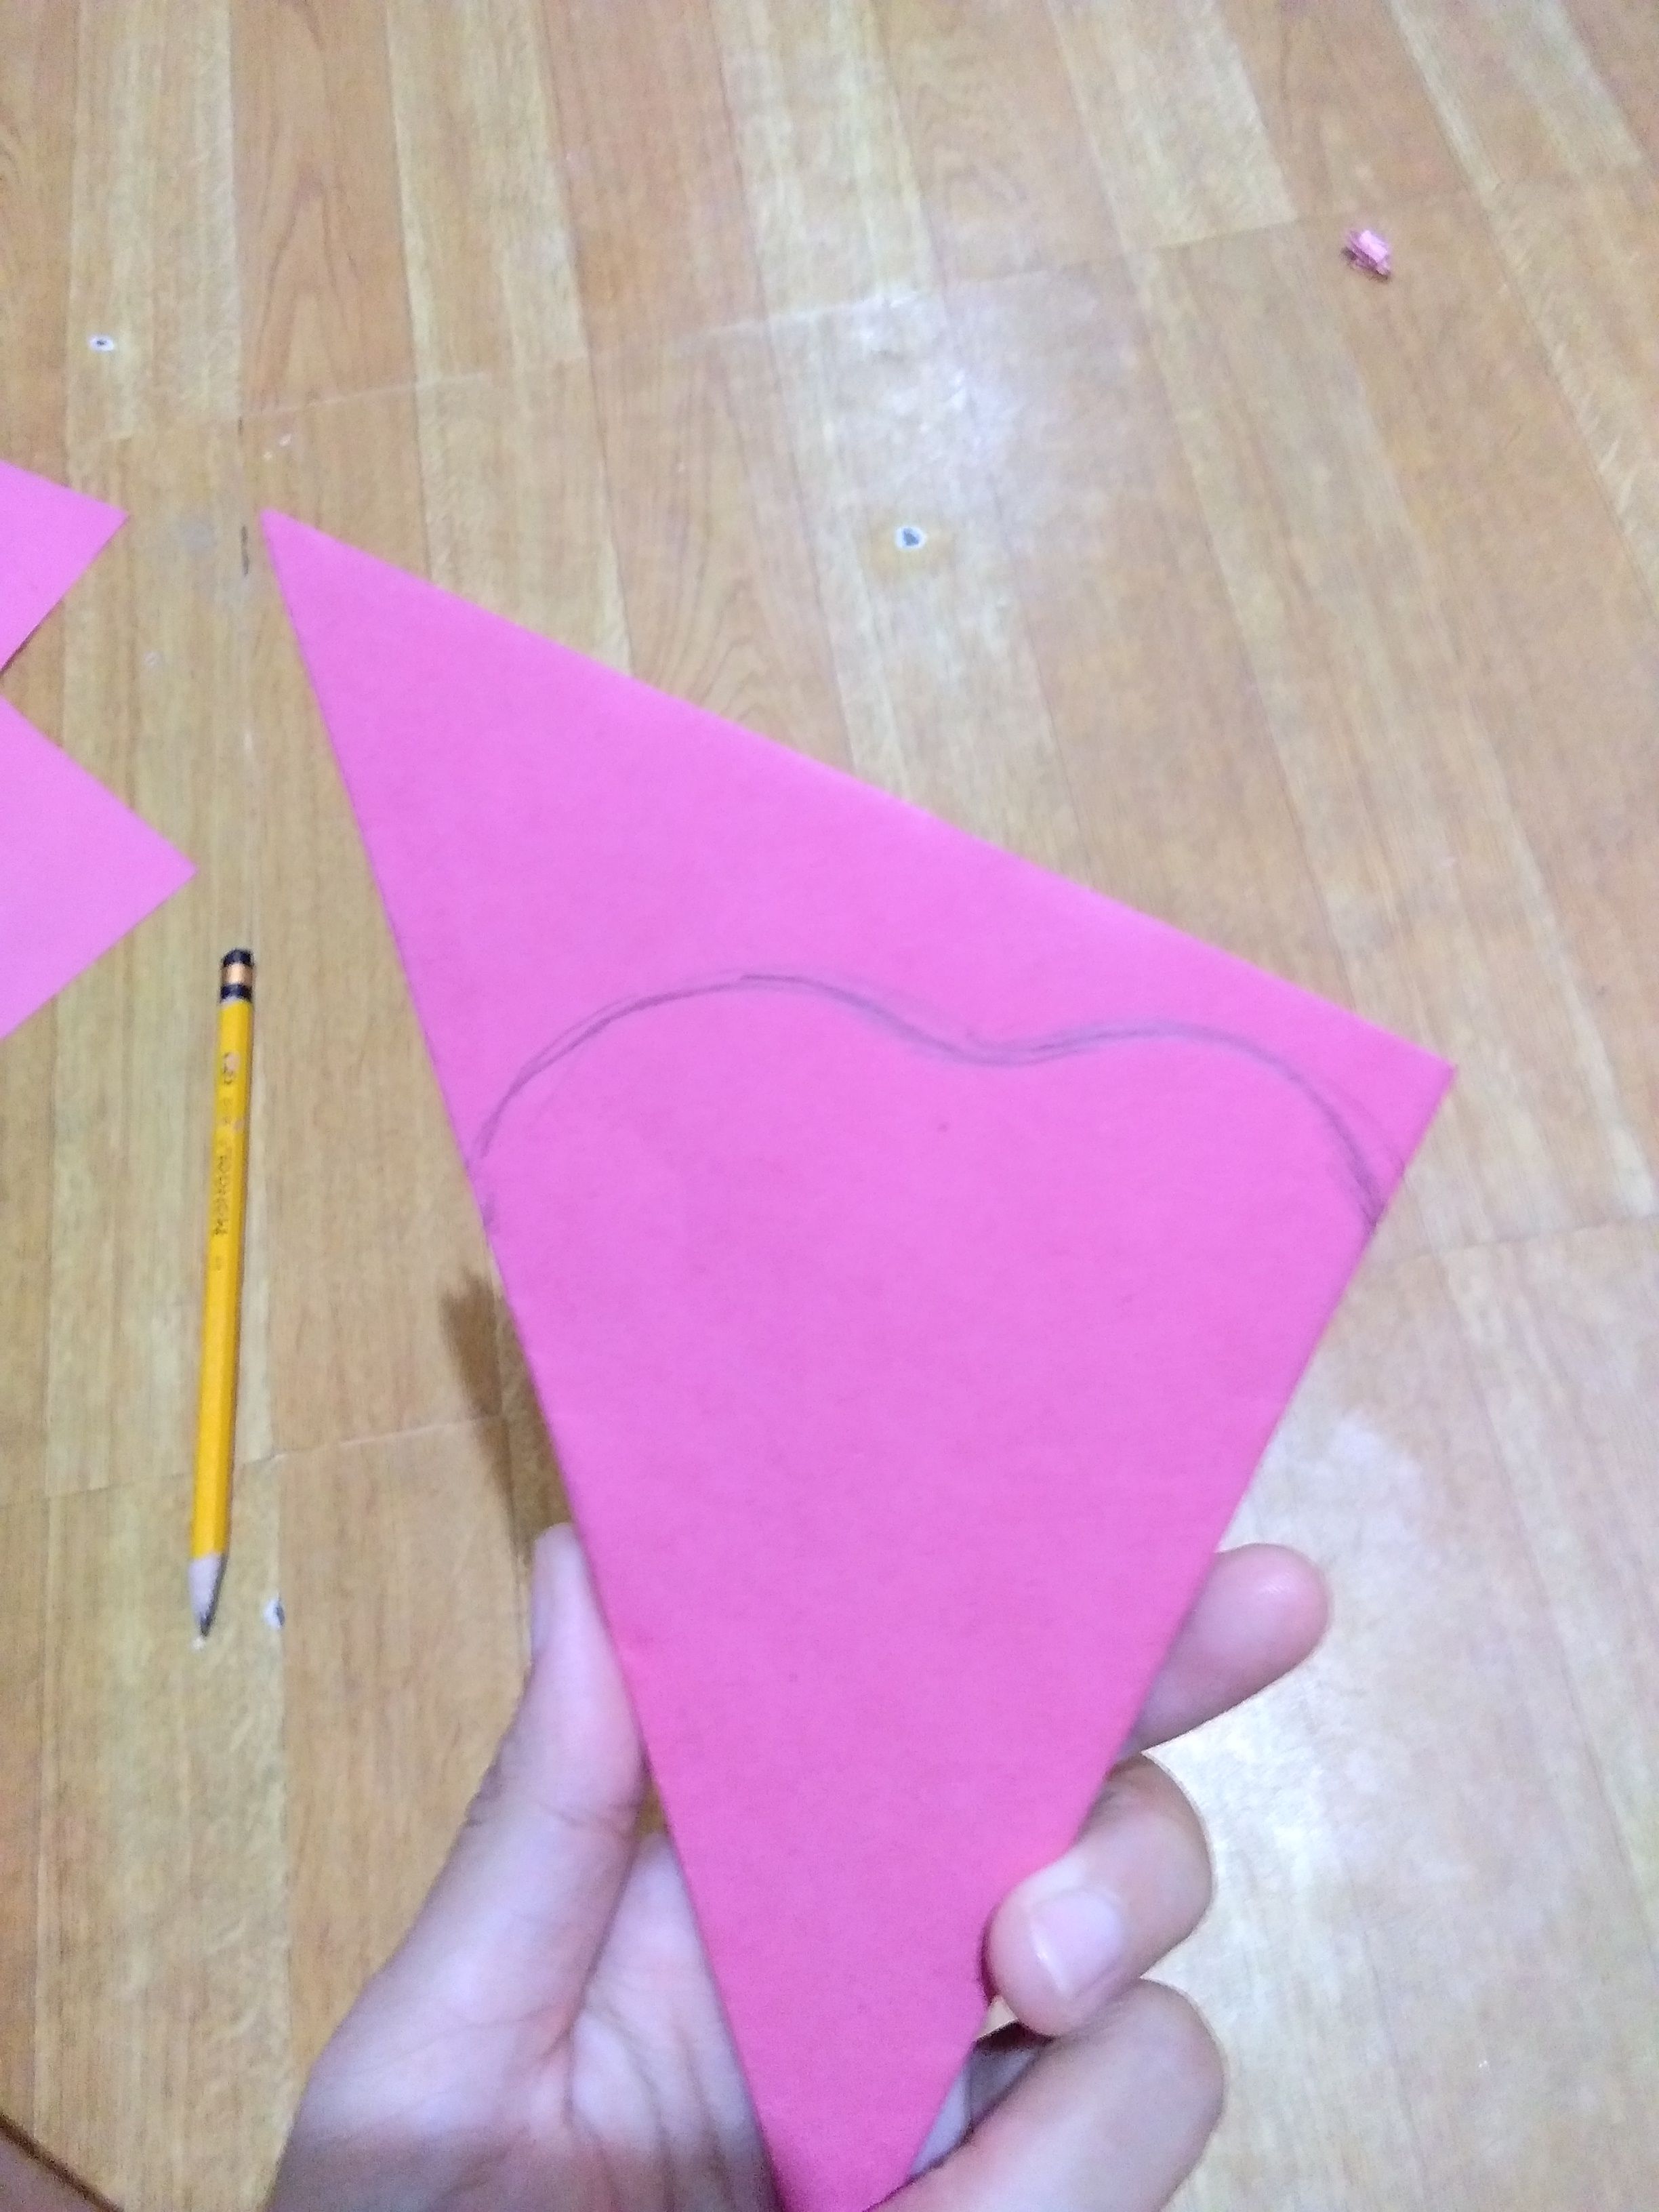
Then cut it using scissors. Repeat step 1 to 5 for the other 3 1/4 sheets we cut before.
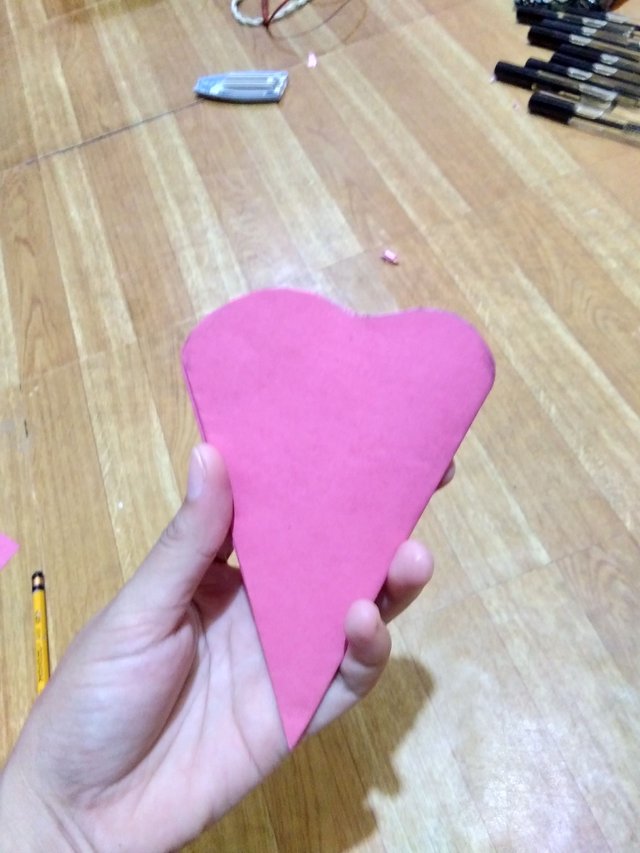
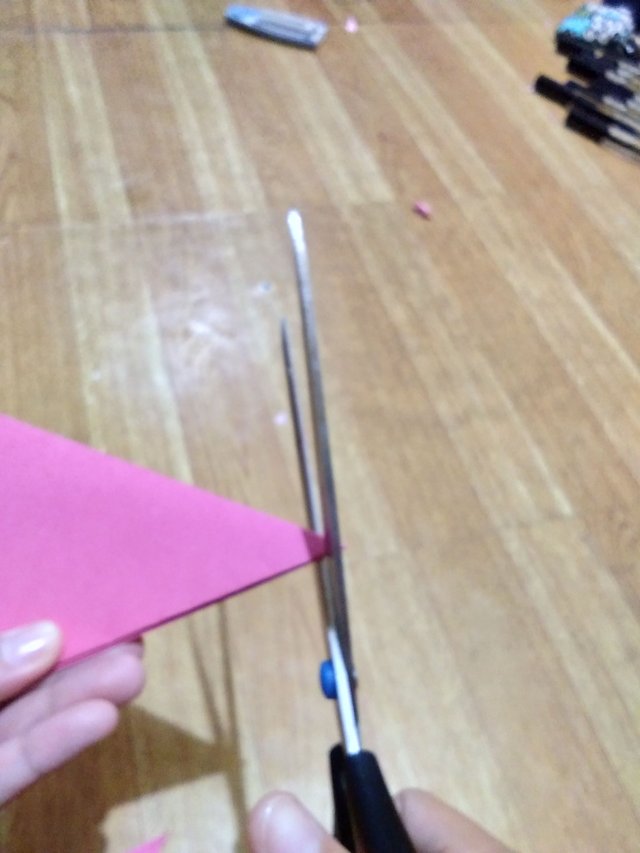
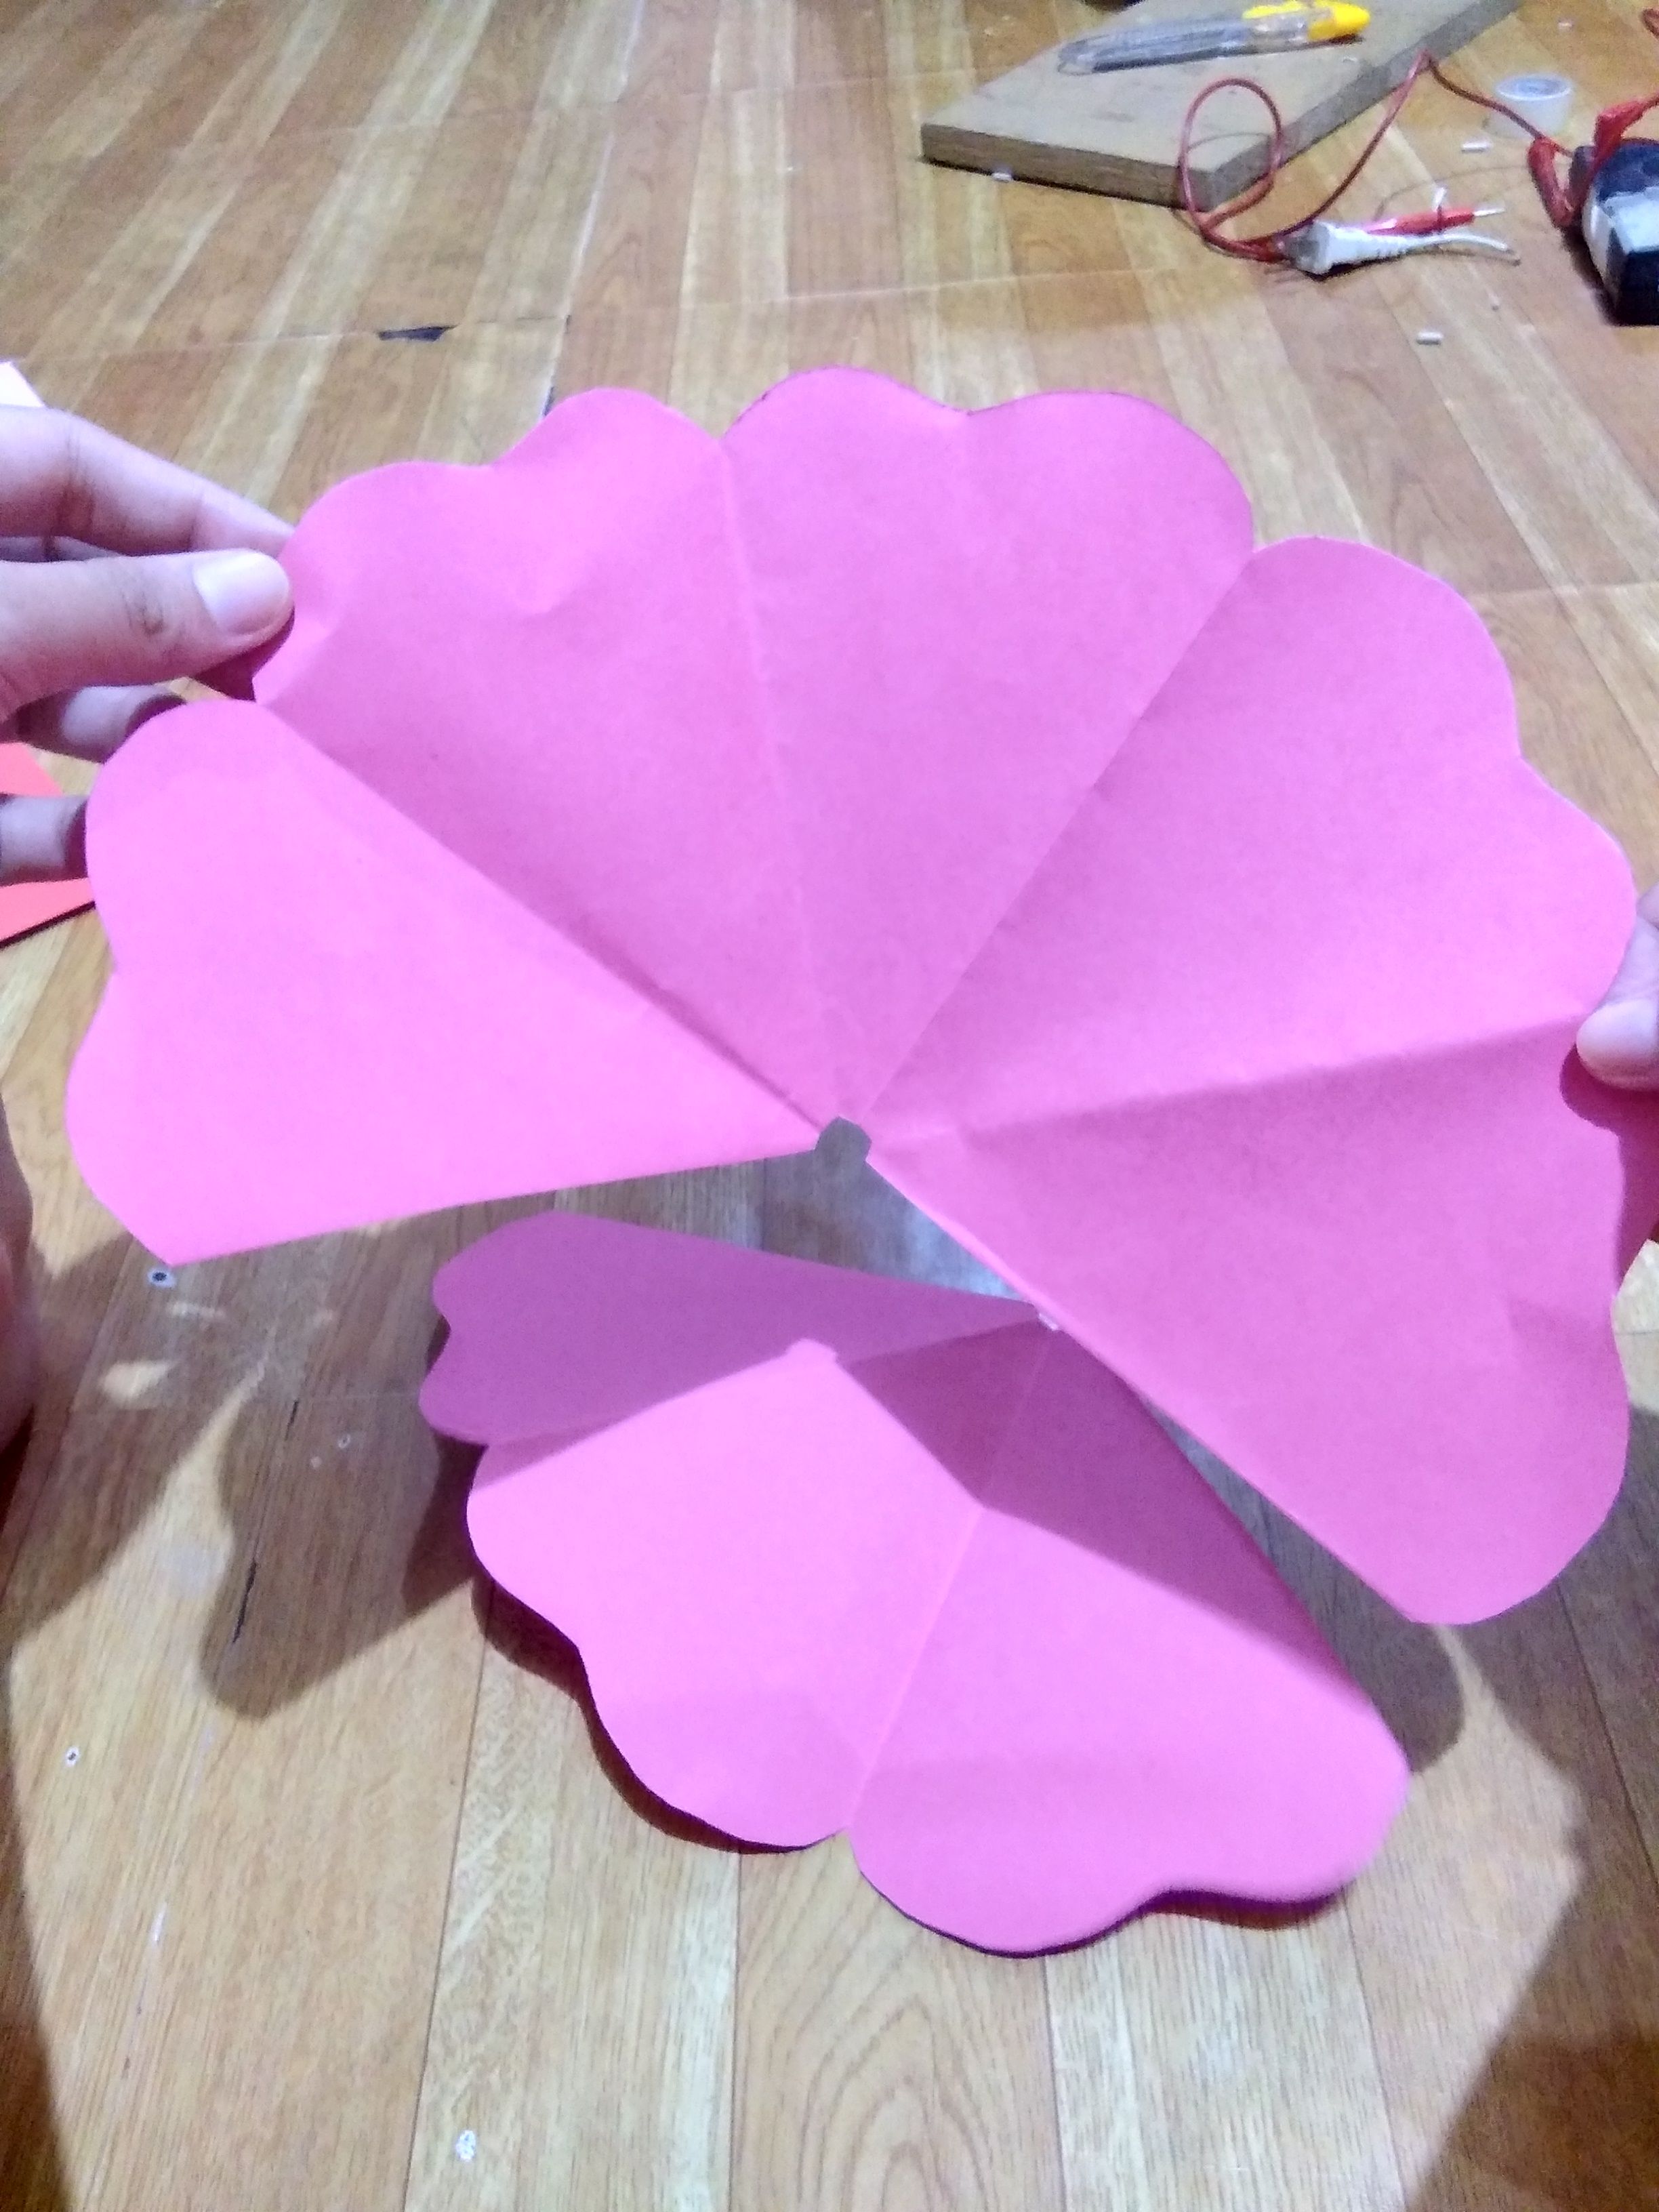
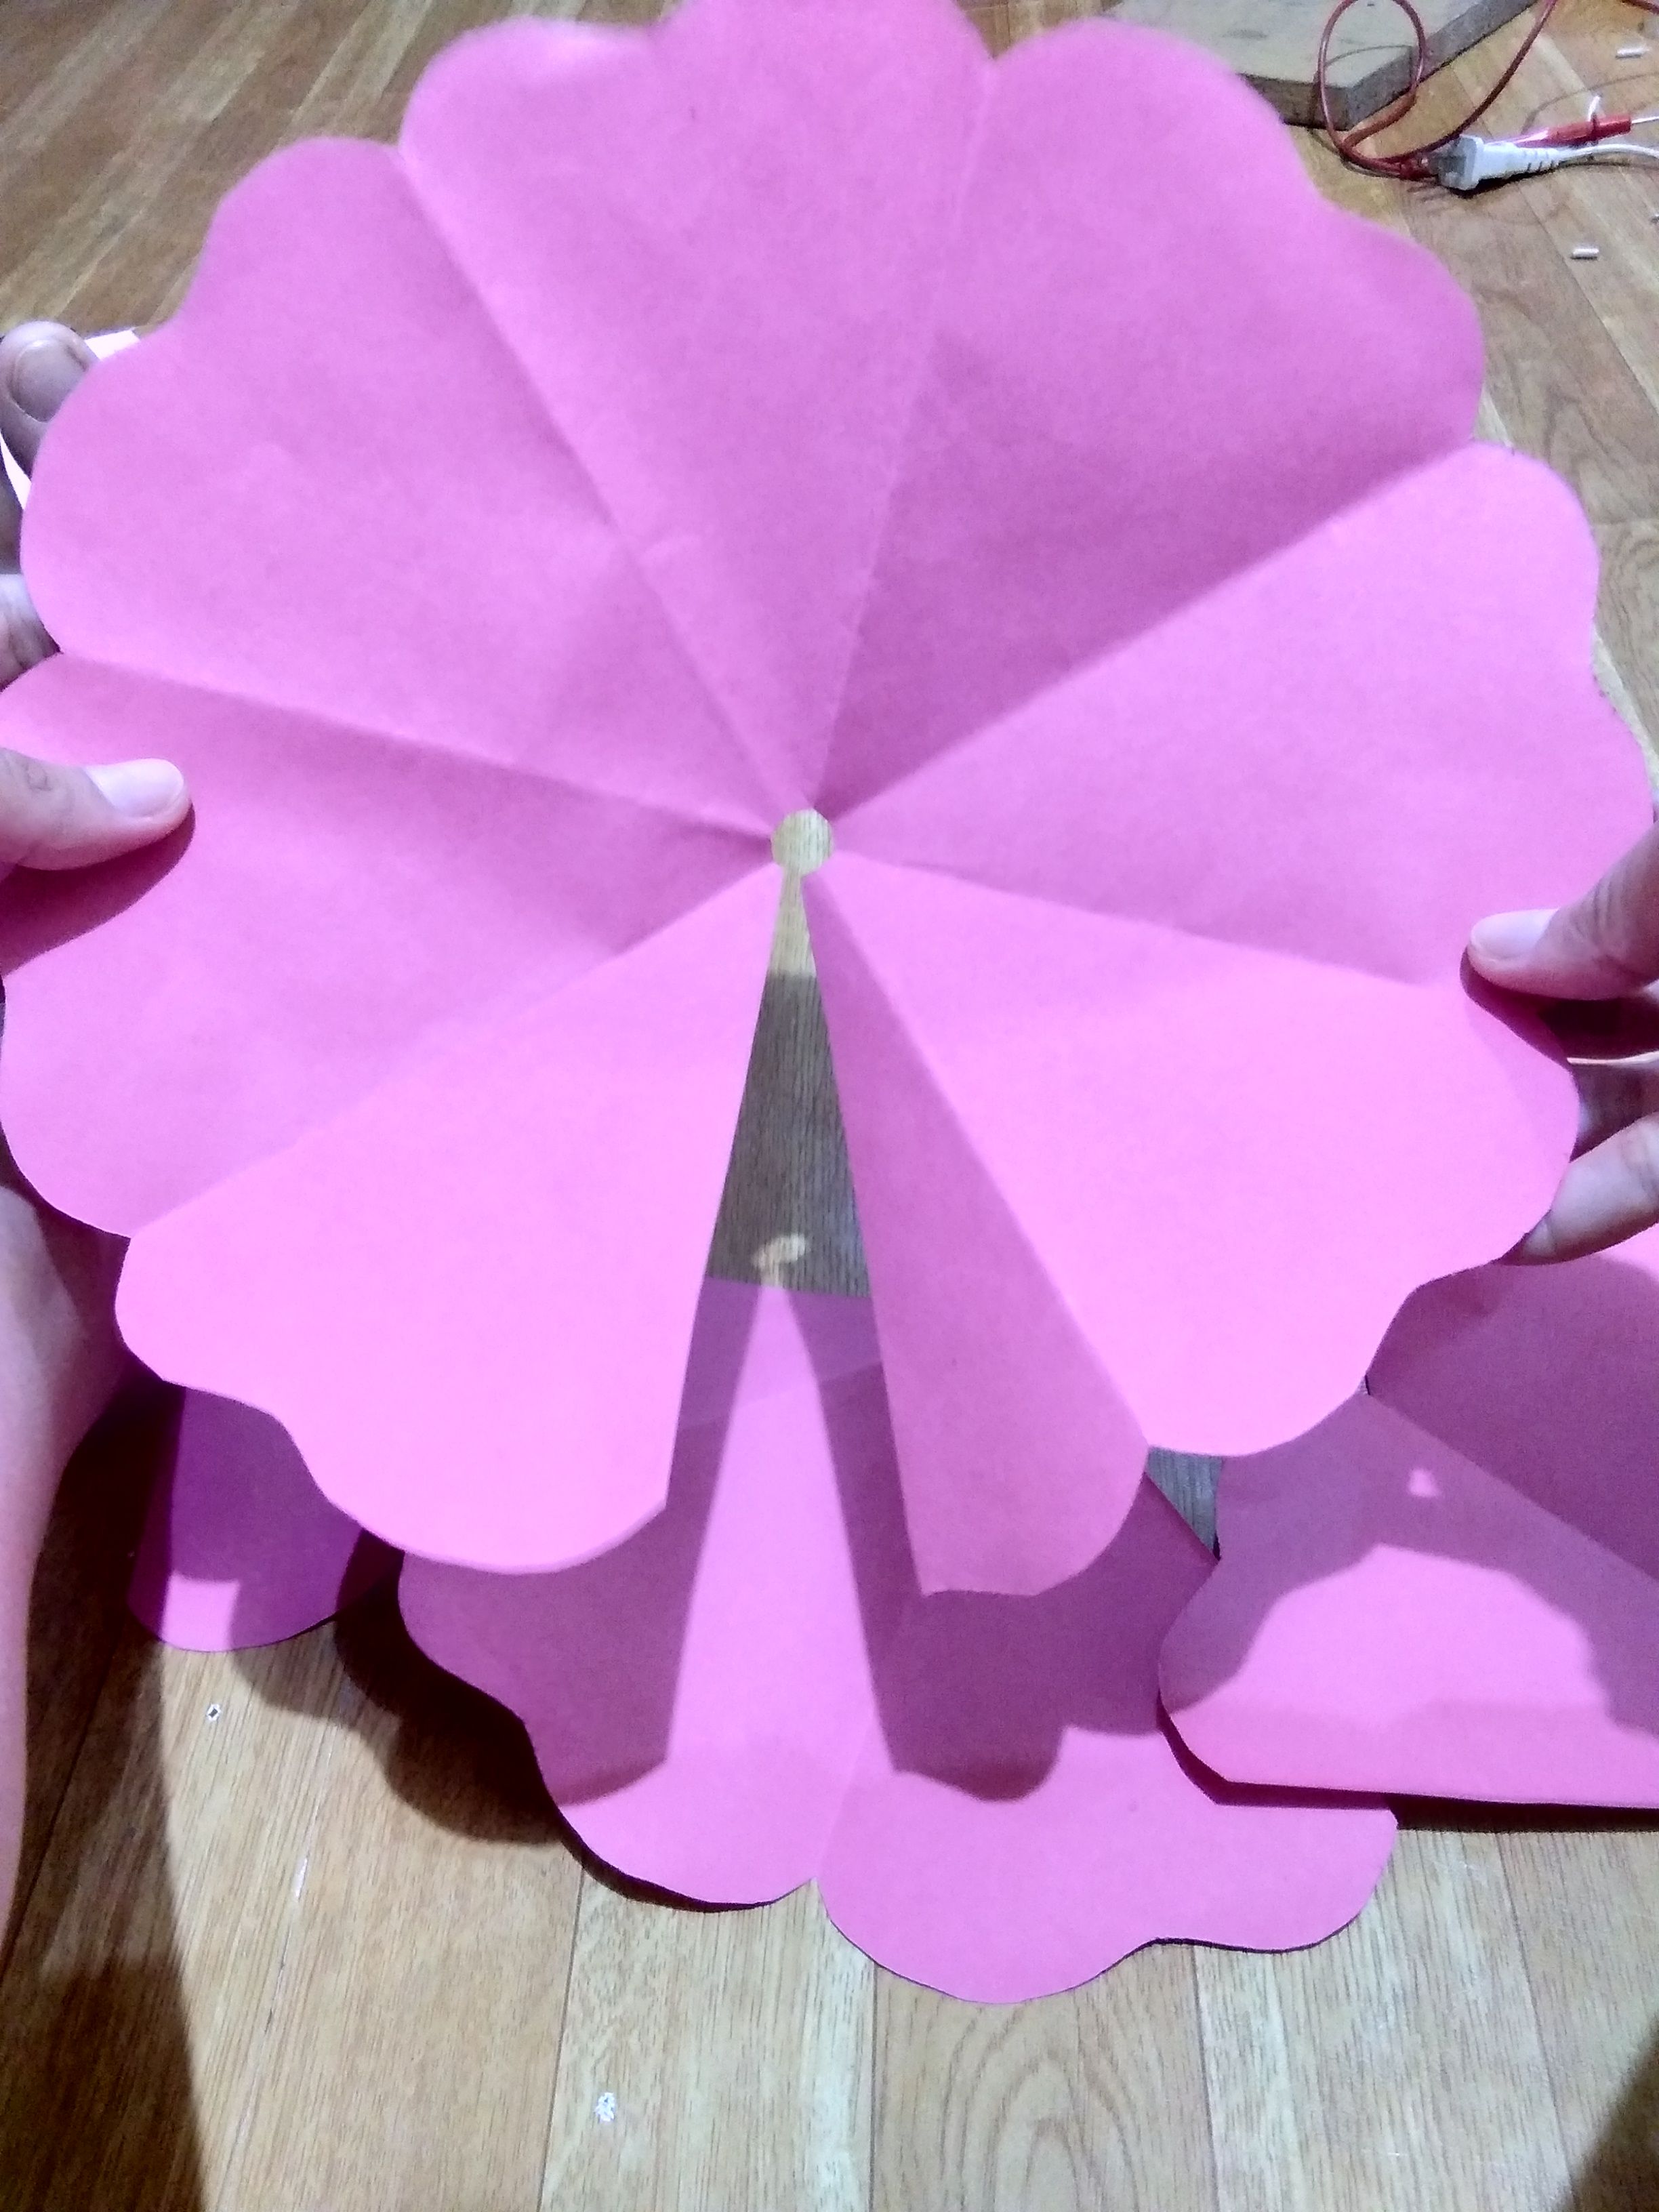
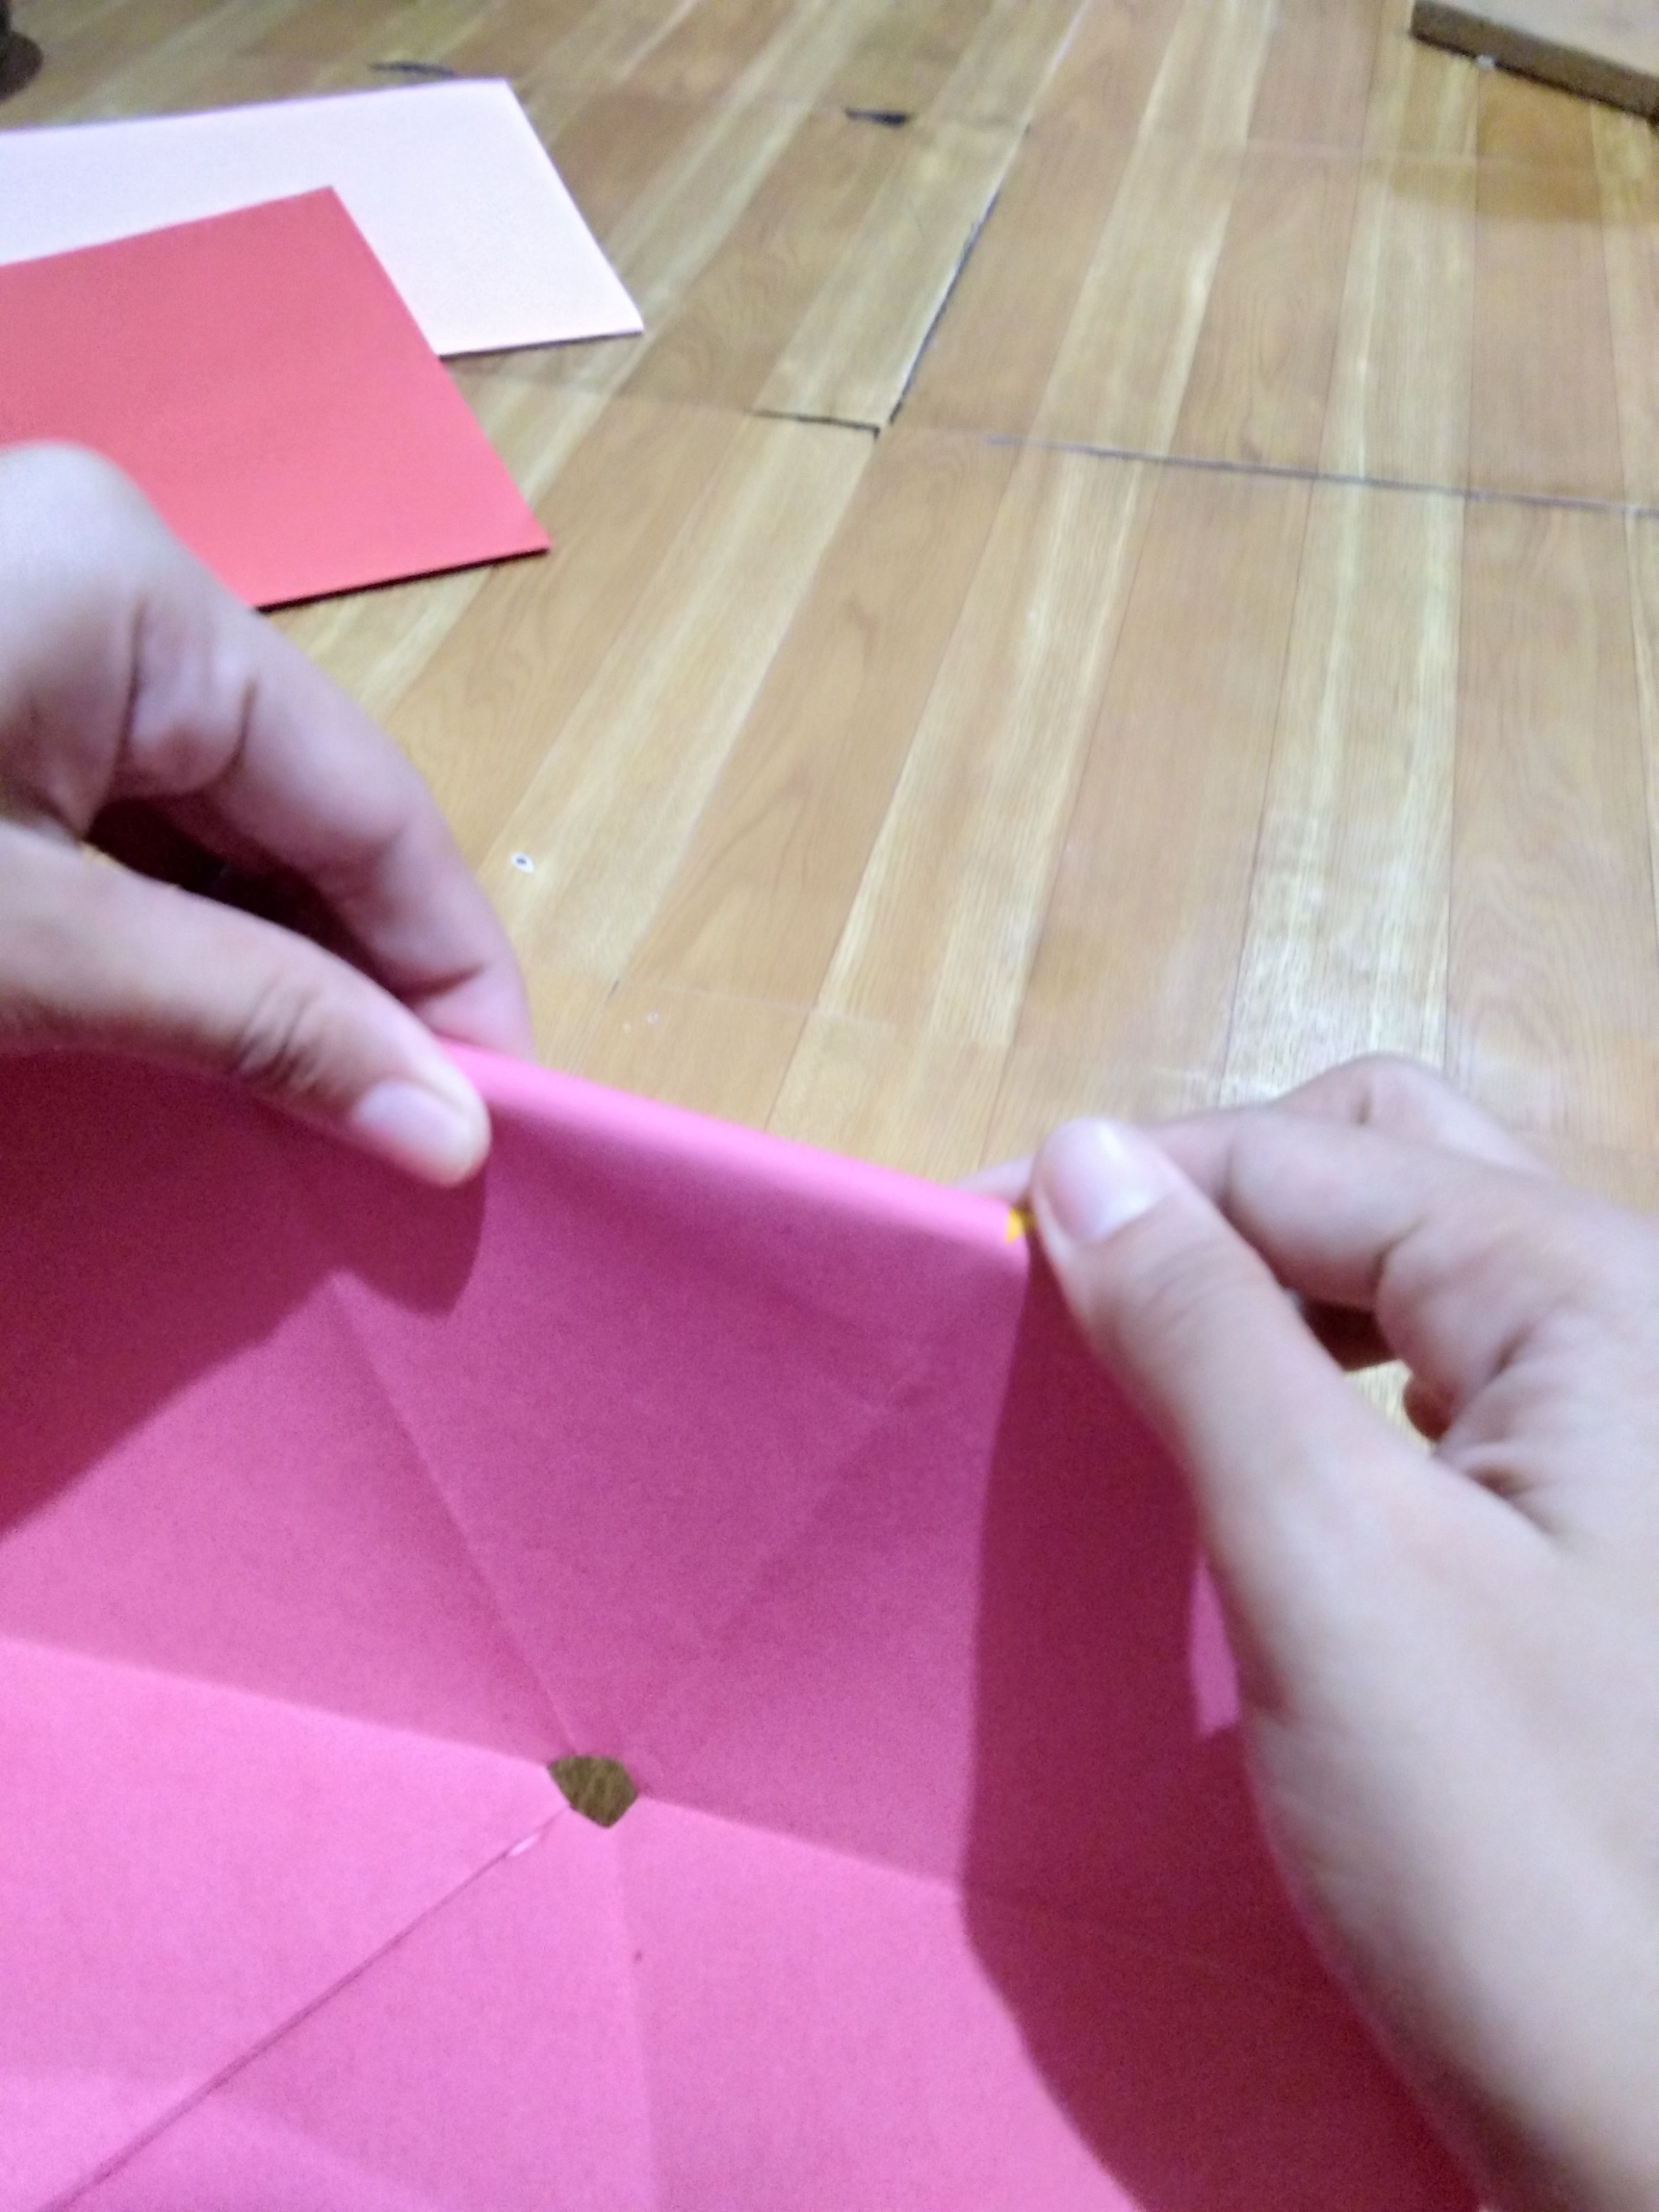
6TH STEP: CUT THE TIP
Cut the tip of the petals so that when we attach the four layers of petals it will easily be glued to one another.
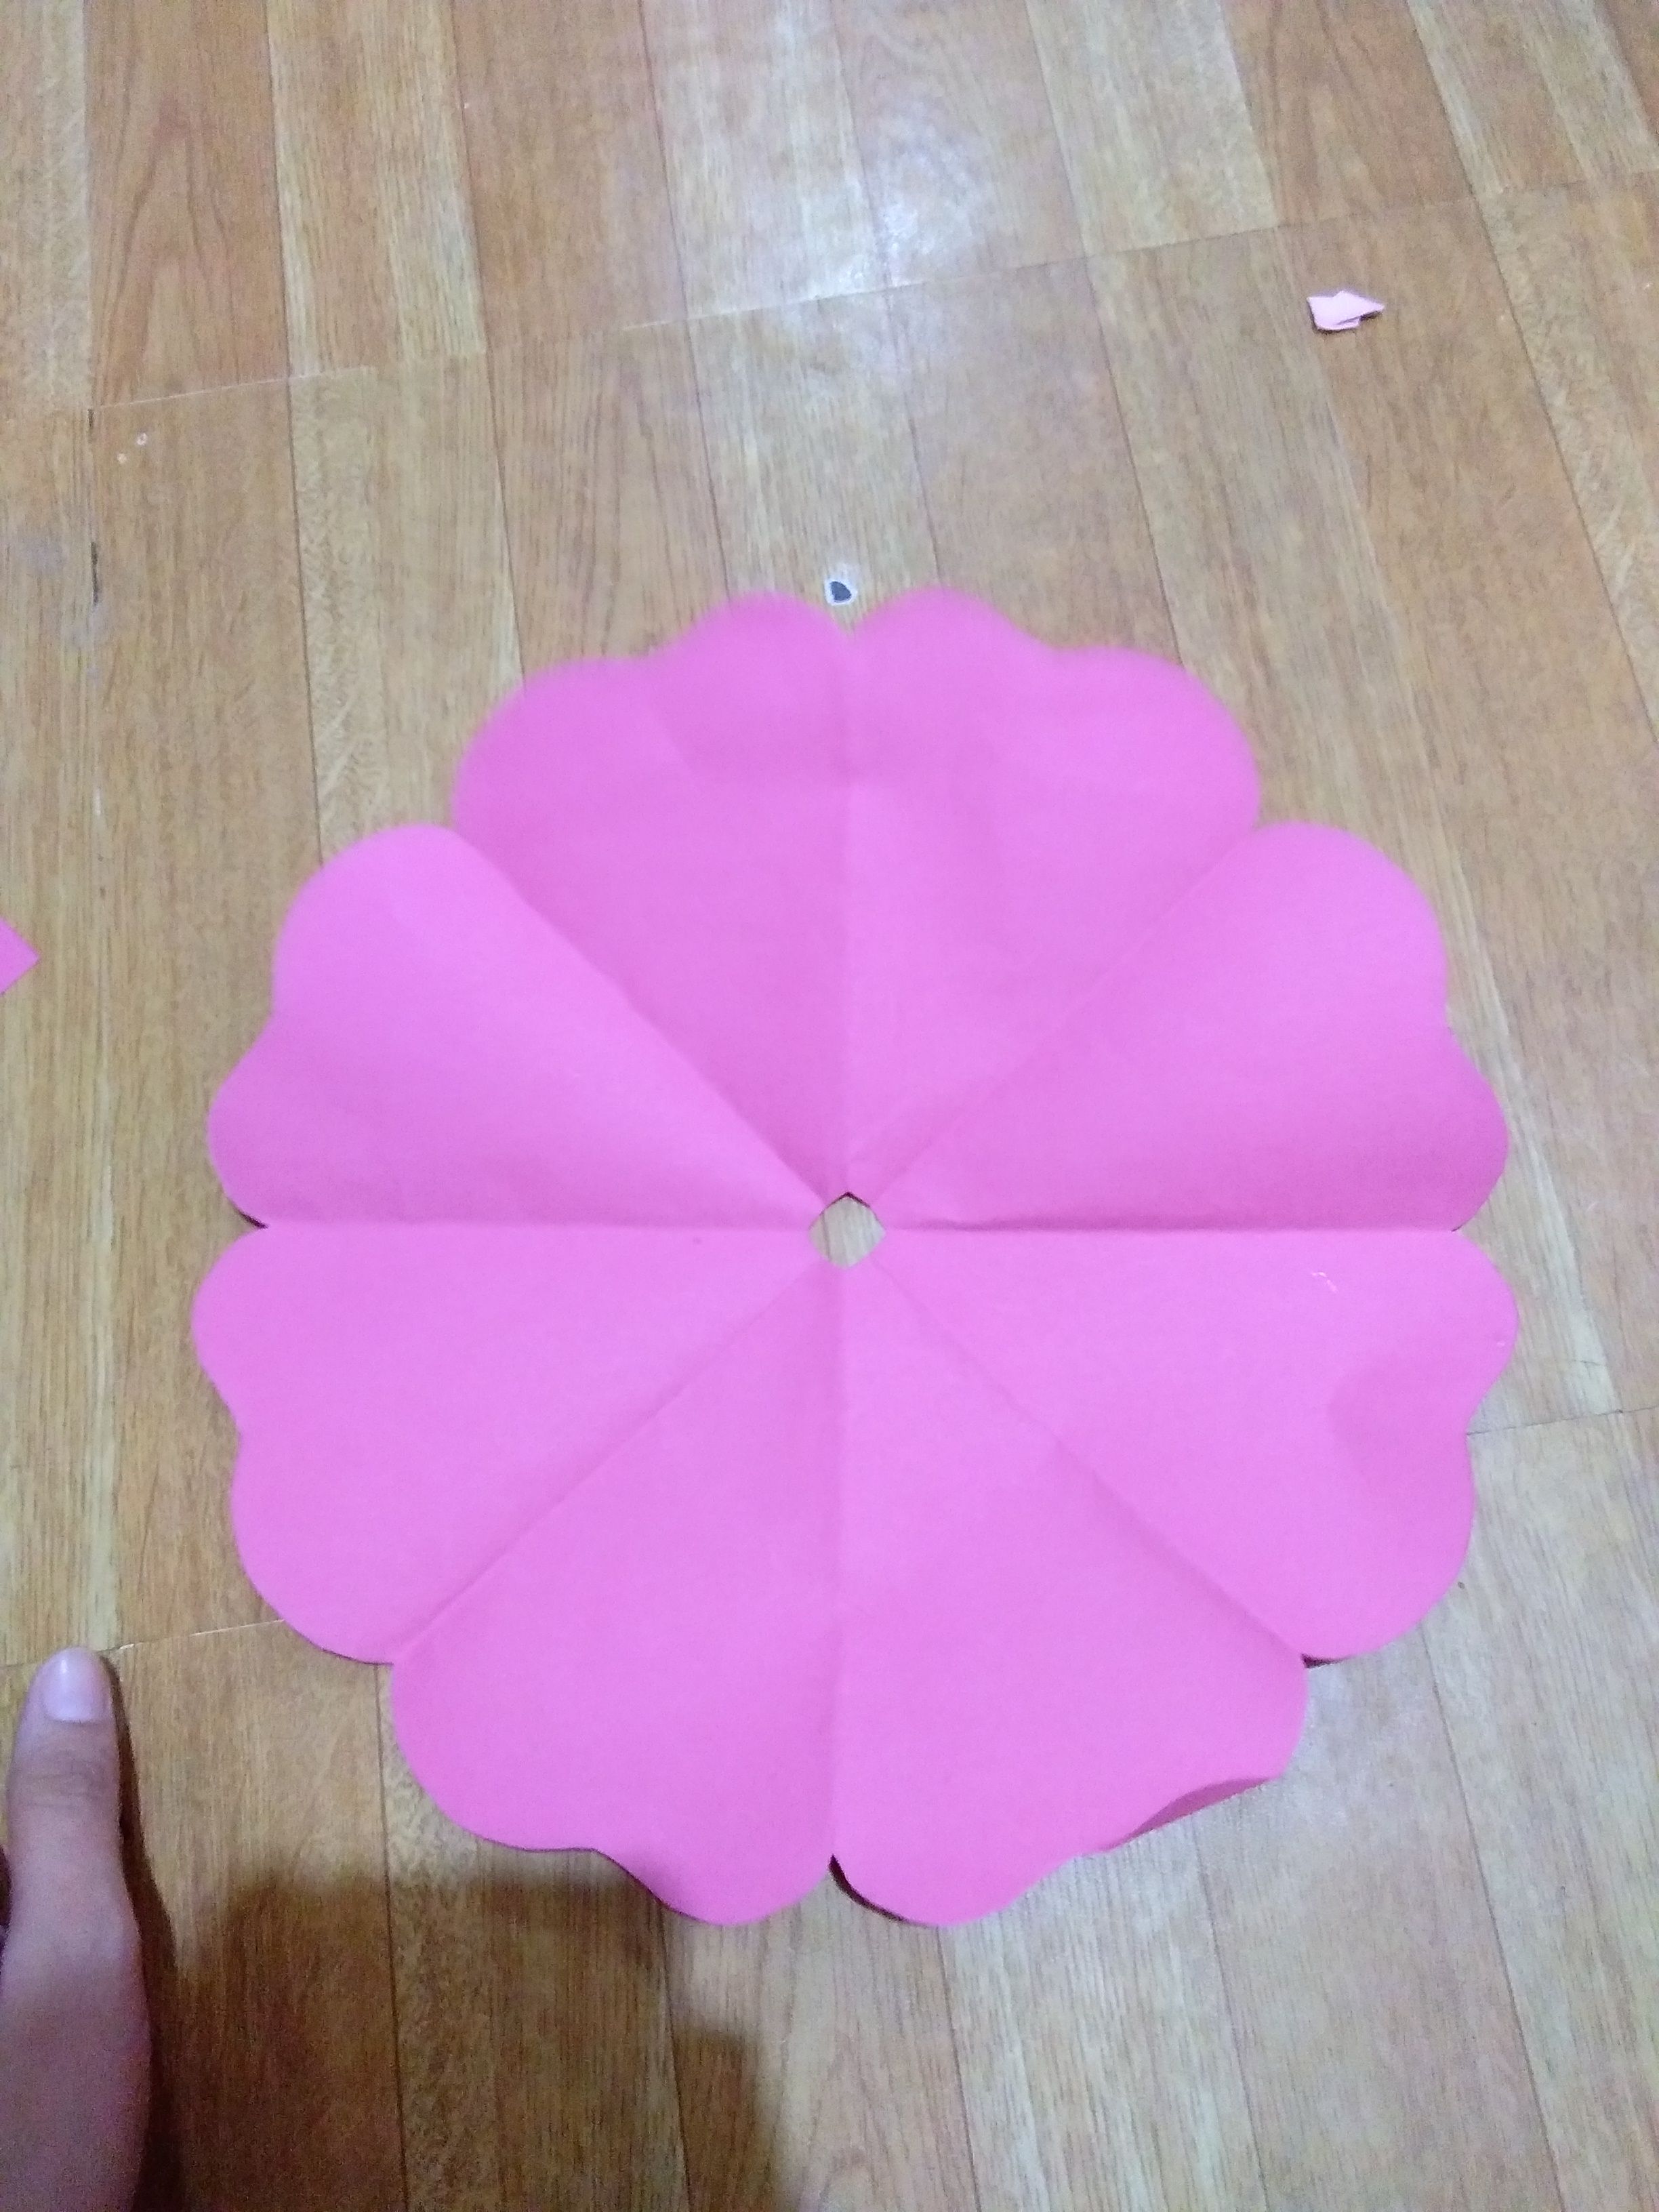
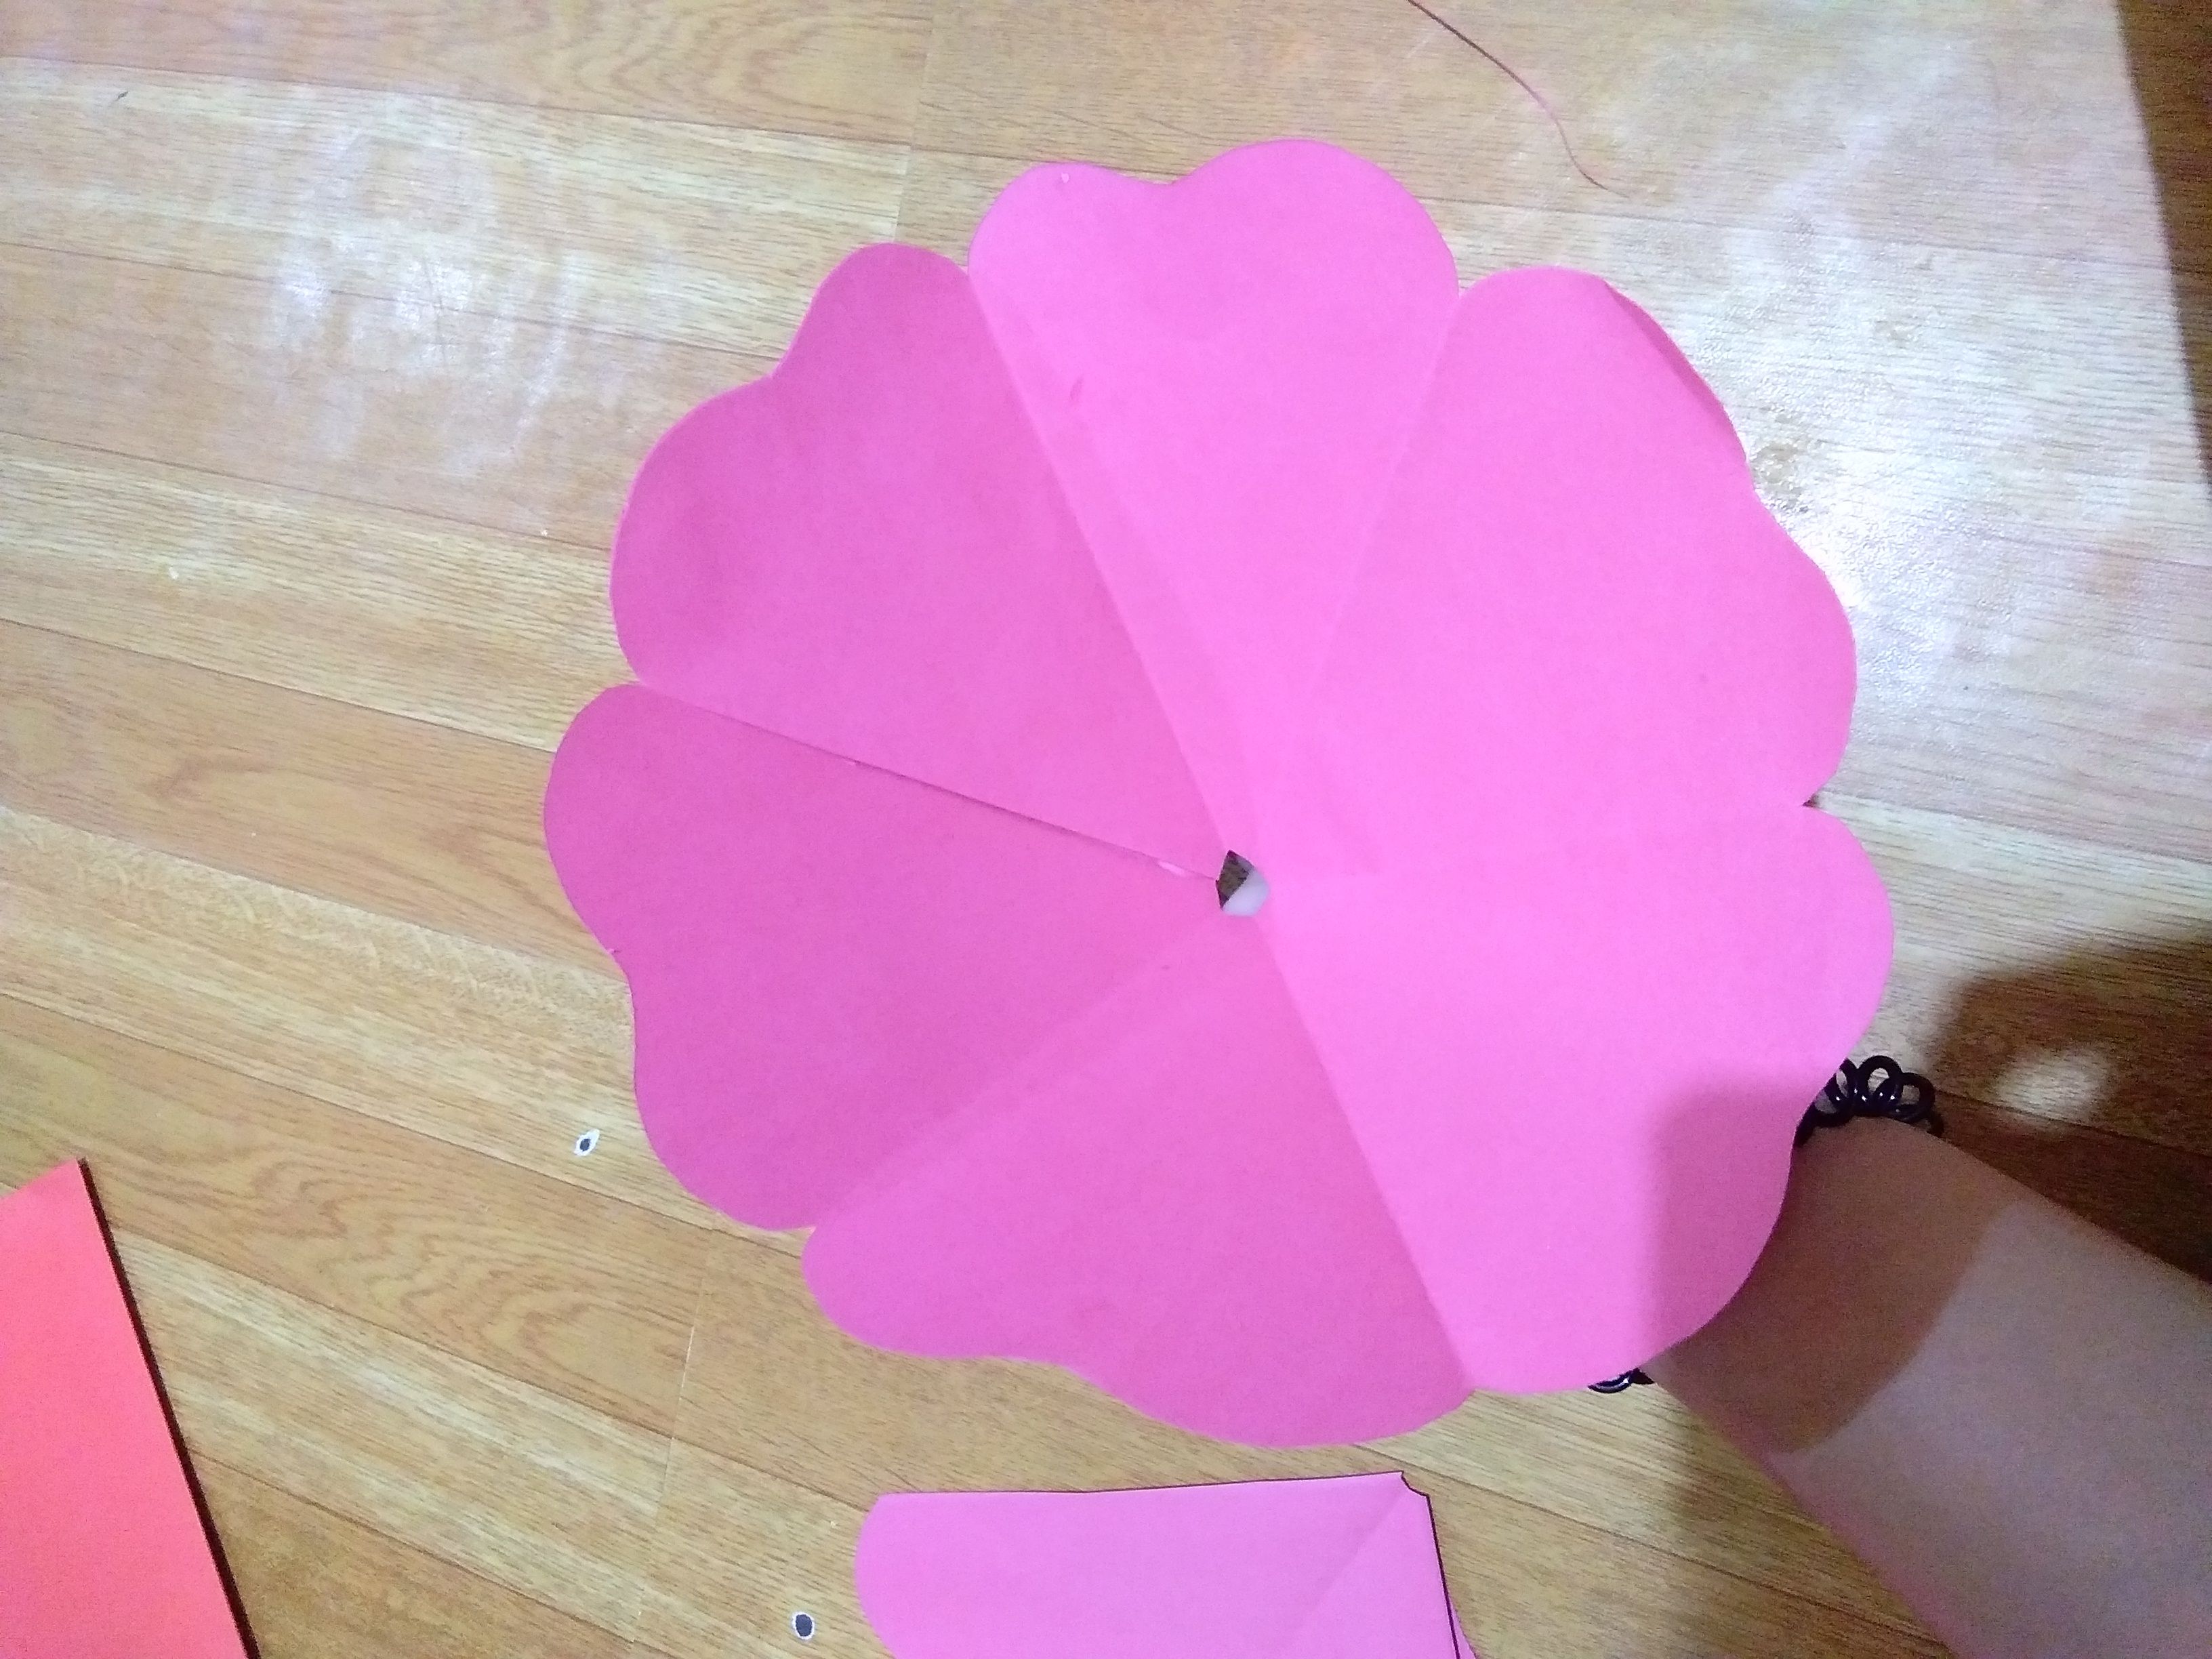
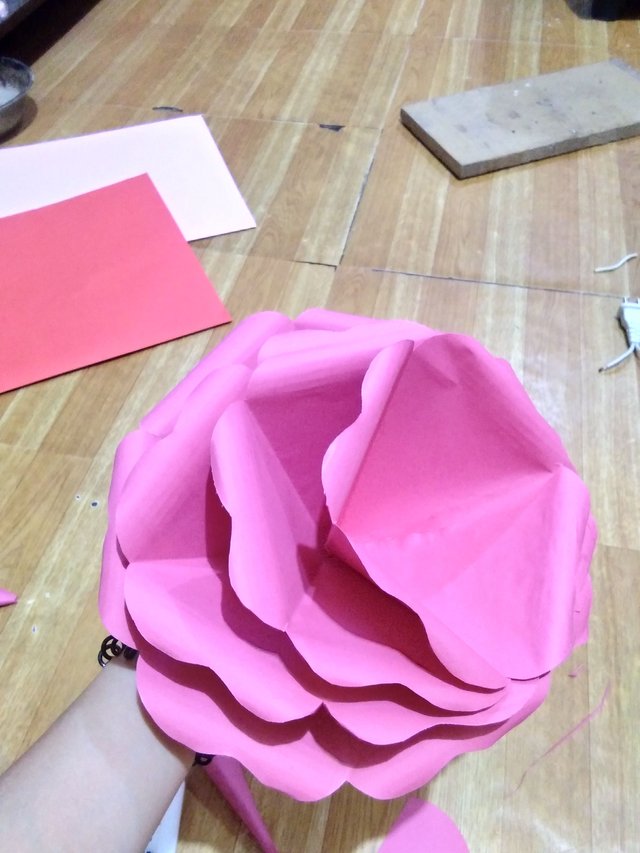
After cutting the tip, unfold the petal and this is how it looks like. We now have the layers for our rose backdrop. Yay! Be amazed of your work guys, you earned it.😉
SEVENTH STEP: CUTTING SOME PETALS OF EACH LAYERS.
Get one layer of the rose and cut one petal from it.
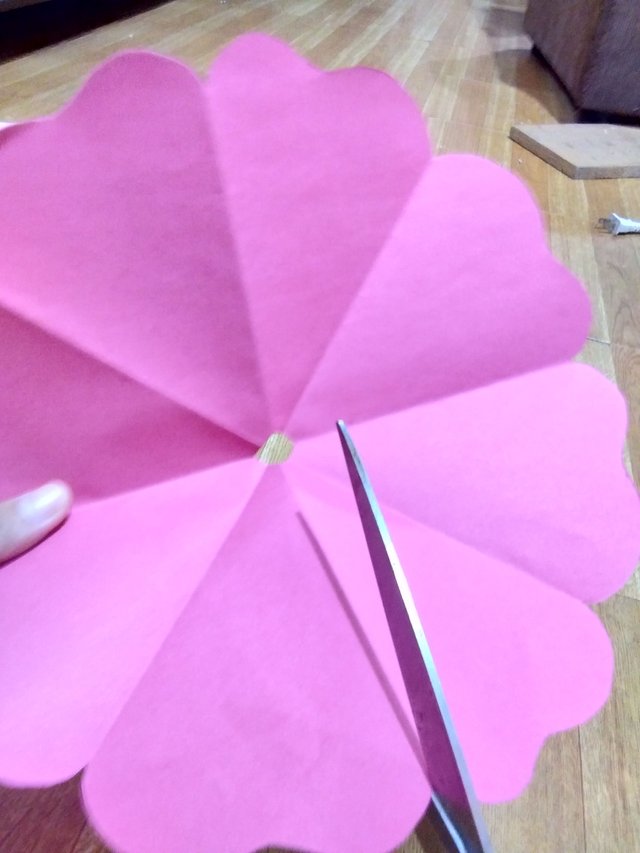
Get another layer then cut 2 parts of petals from it.

Then again, get another one of the layers and cut three petals from it.
Then for the last layer, just cut half of a petal.
DO NOT THROW AWAY THE CUT PETALS BECAUSE WE WILL STILL USE LATER ON.
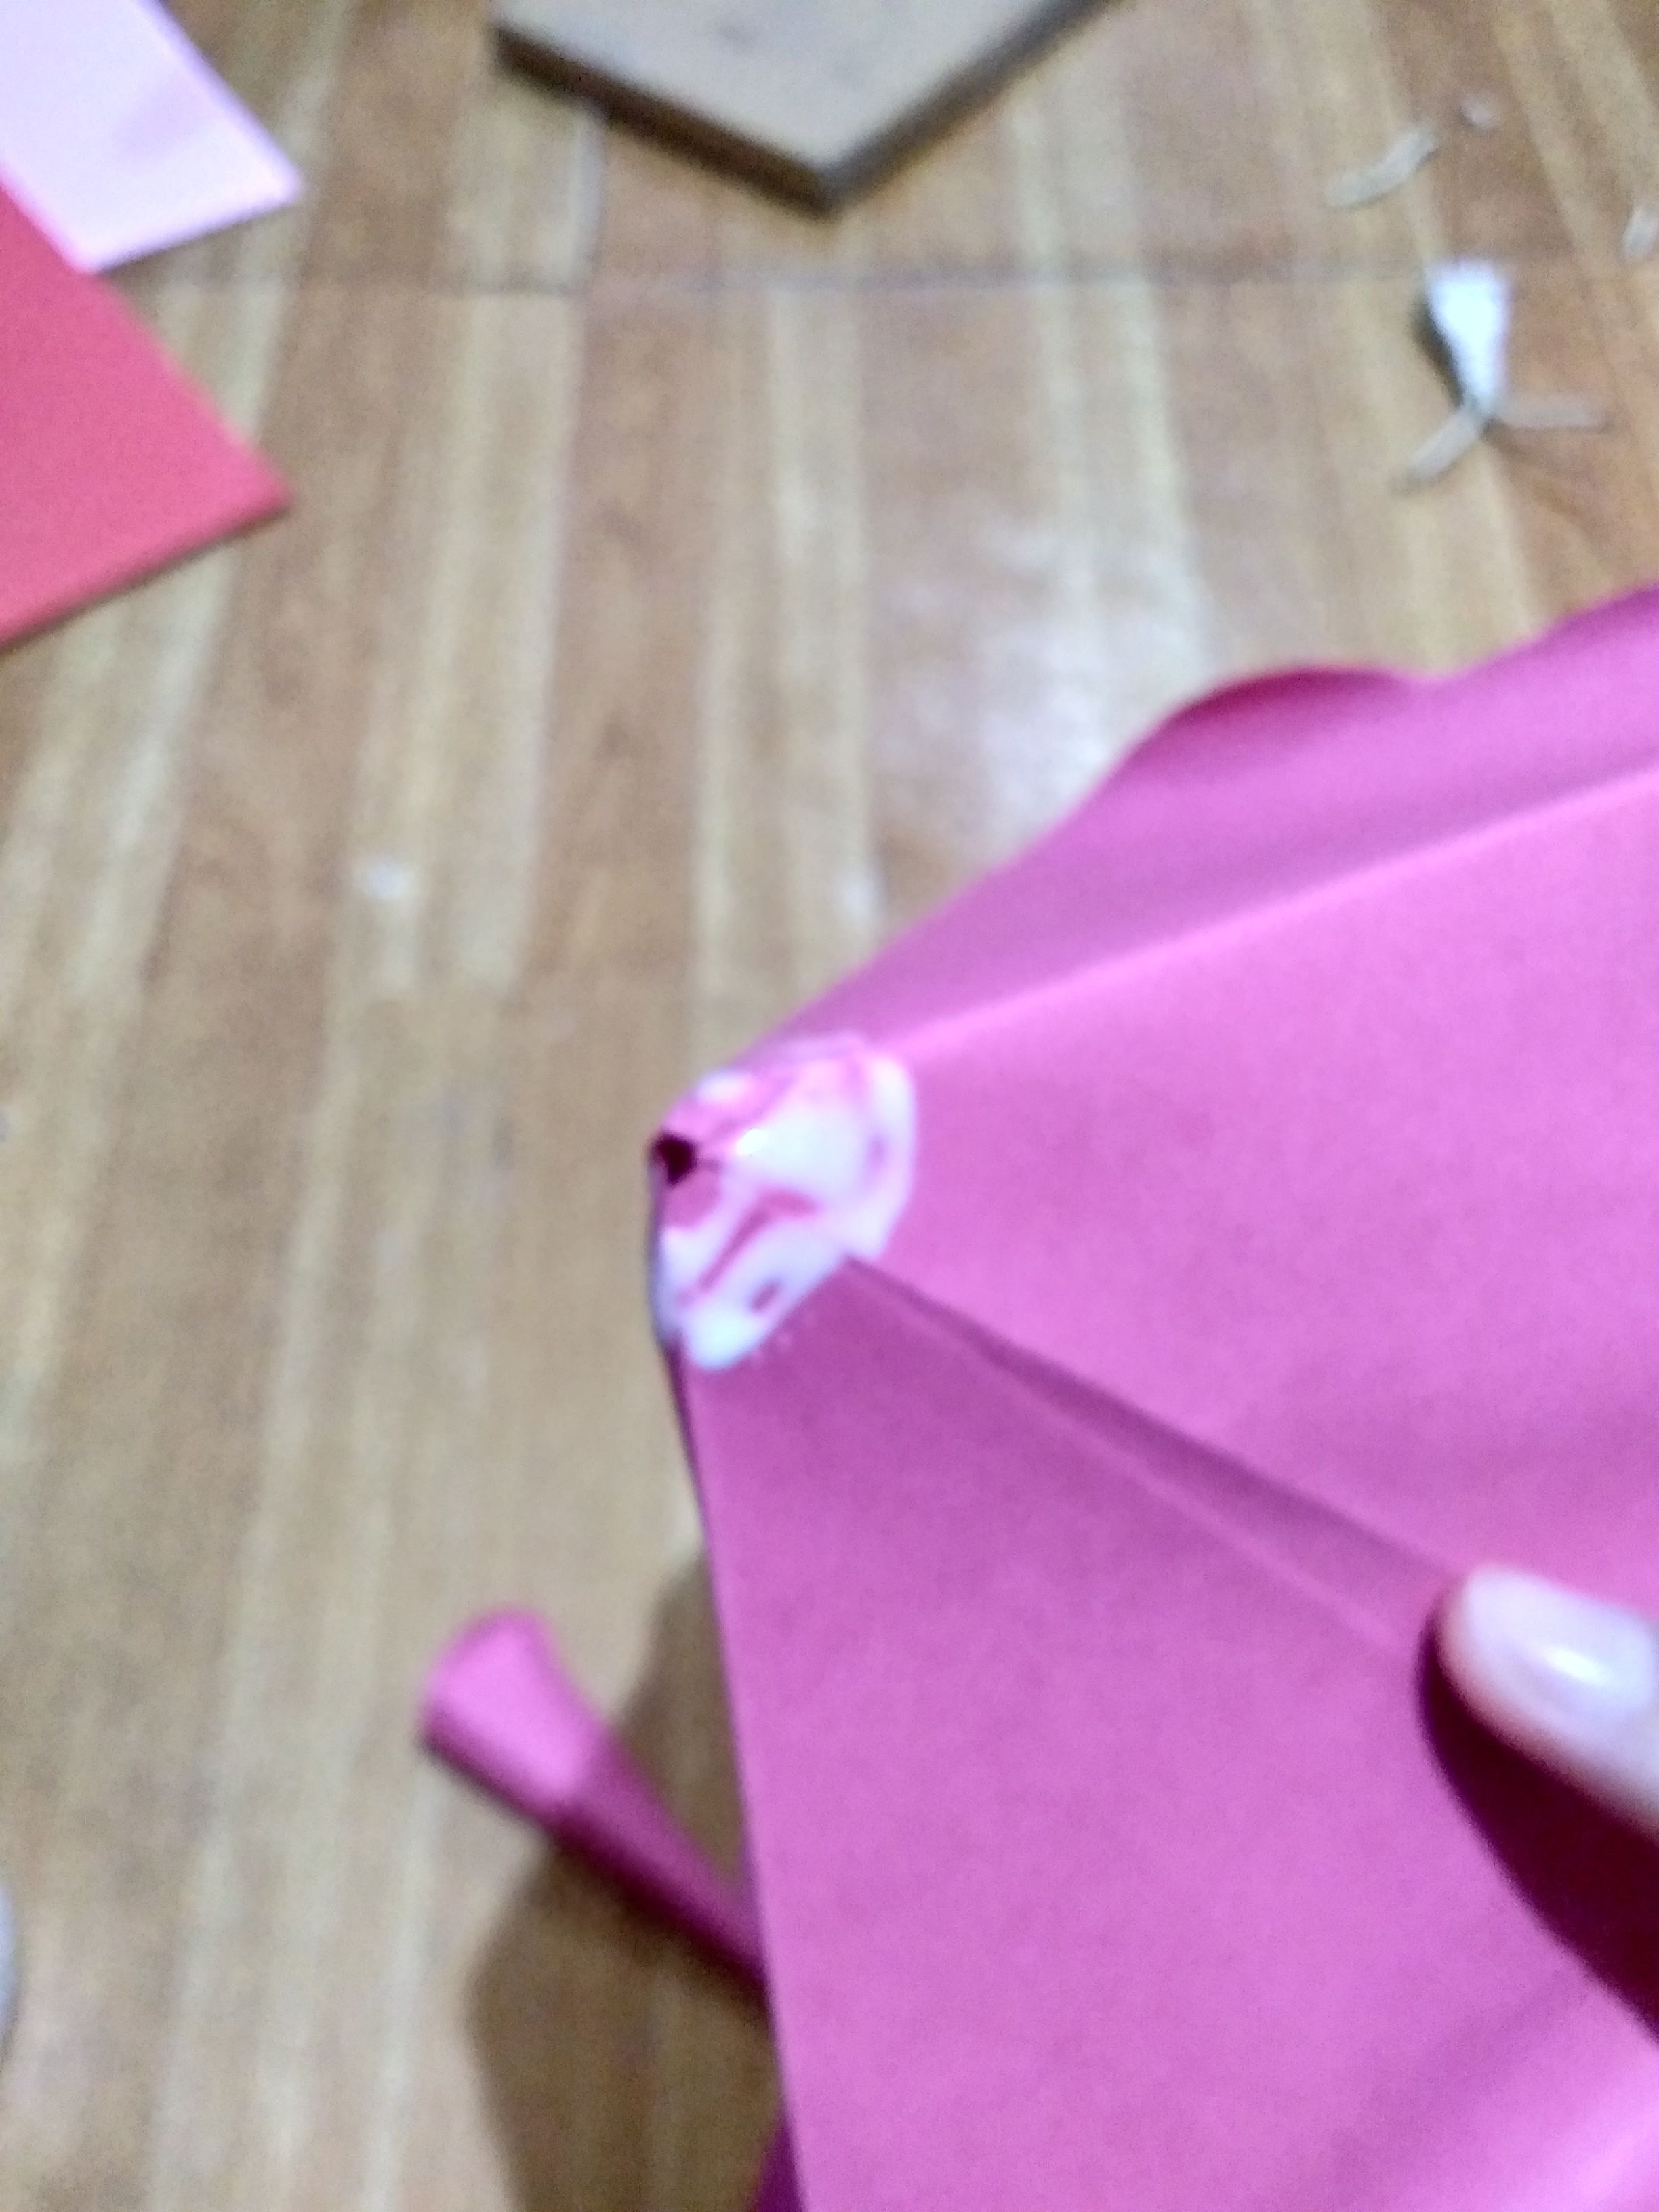
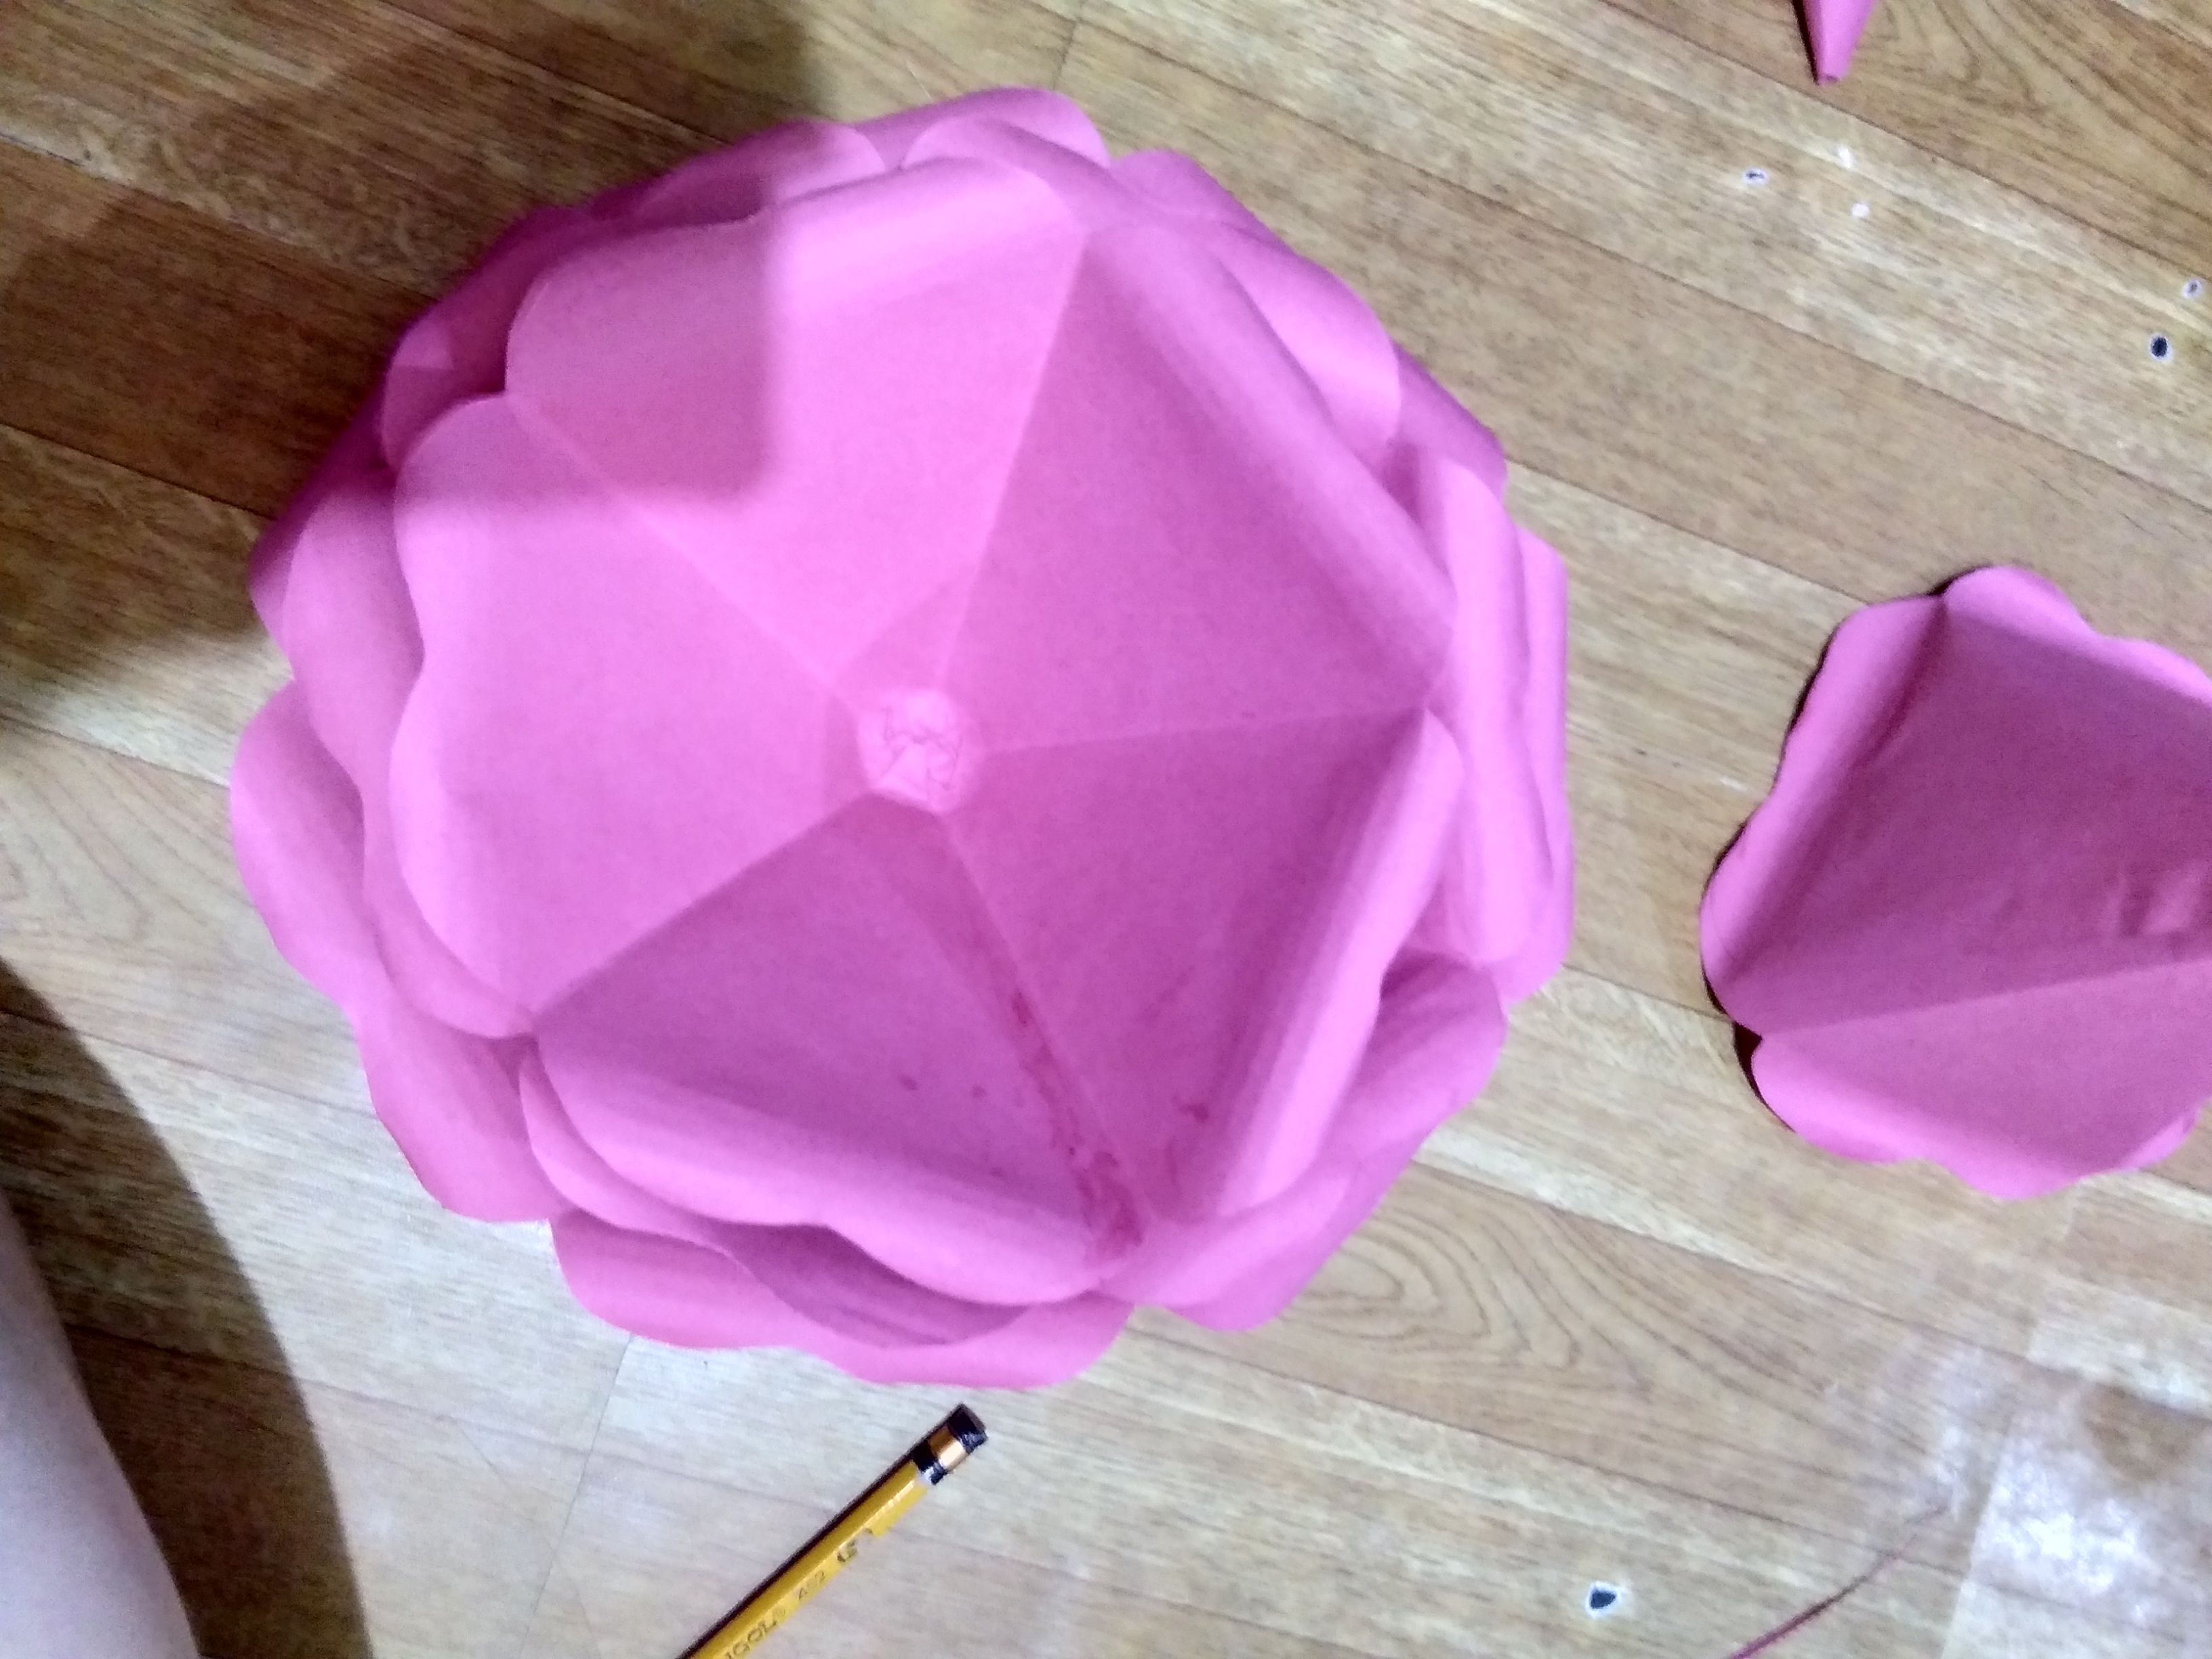
EIGHTH STEP: PASTE AND ATTACH
After cutting, attach it to form a cone liked using a glue. Do the same procedure with the other layers.
1 cut petal layer
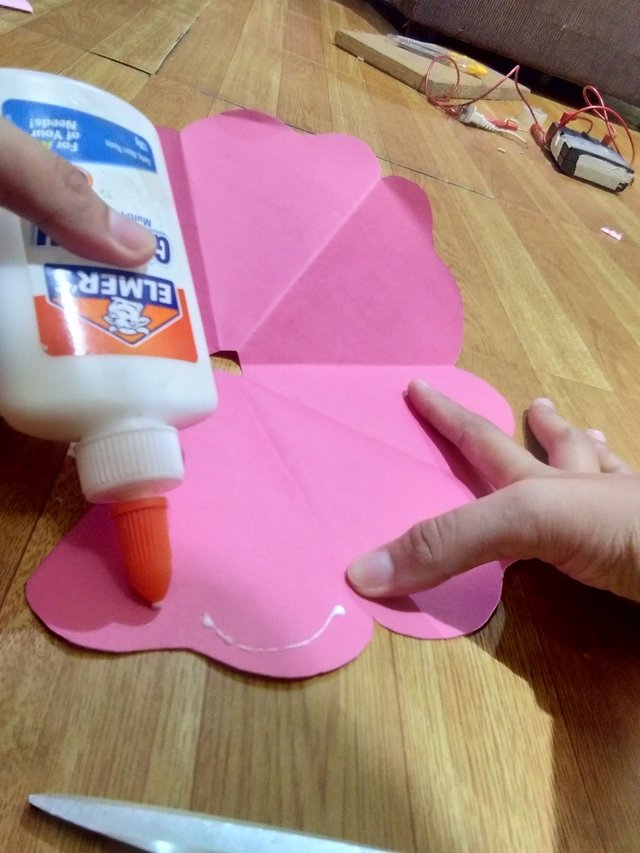

This is how it look like. You got it?
REPEAT THE PROCESS FOR THE OTHER LAYERS.
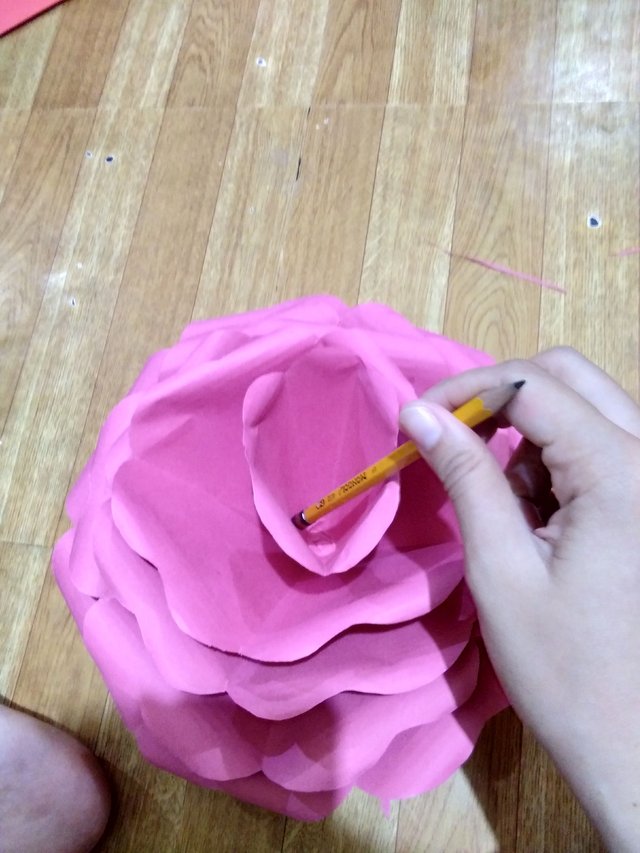
9TH STEP: CURVING THE PETALS
After the 8th step, we'll now use a pen or pencil to curcde the top part and the sides of each petals.
DO THE SAME FOR THE OTHER LAYERS.
10
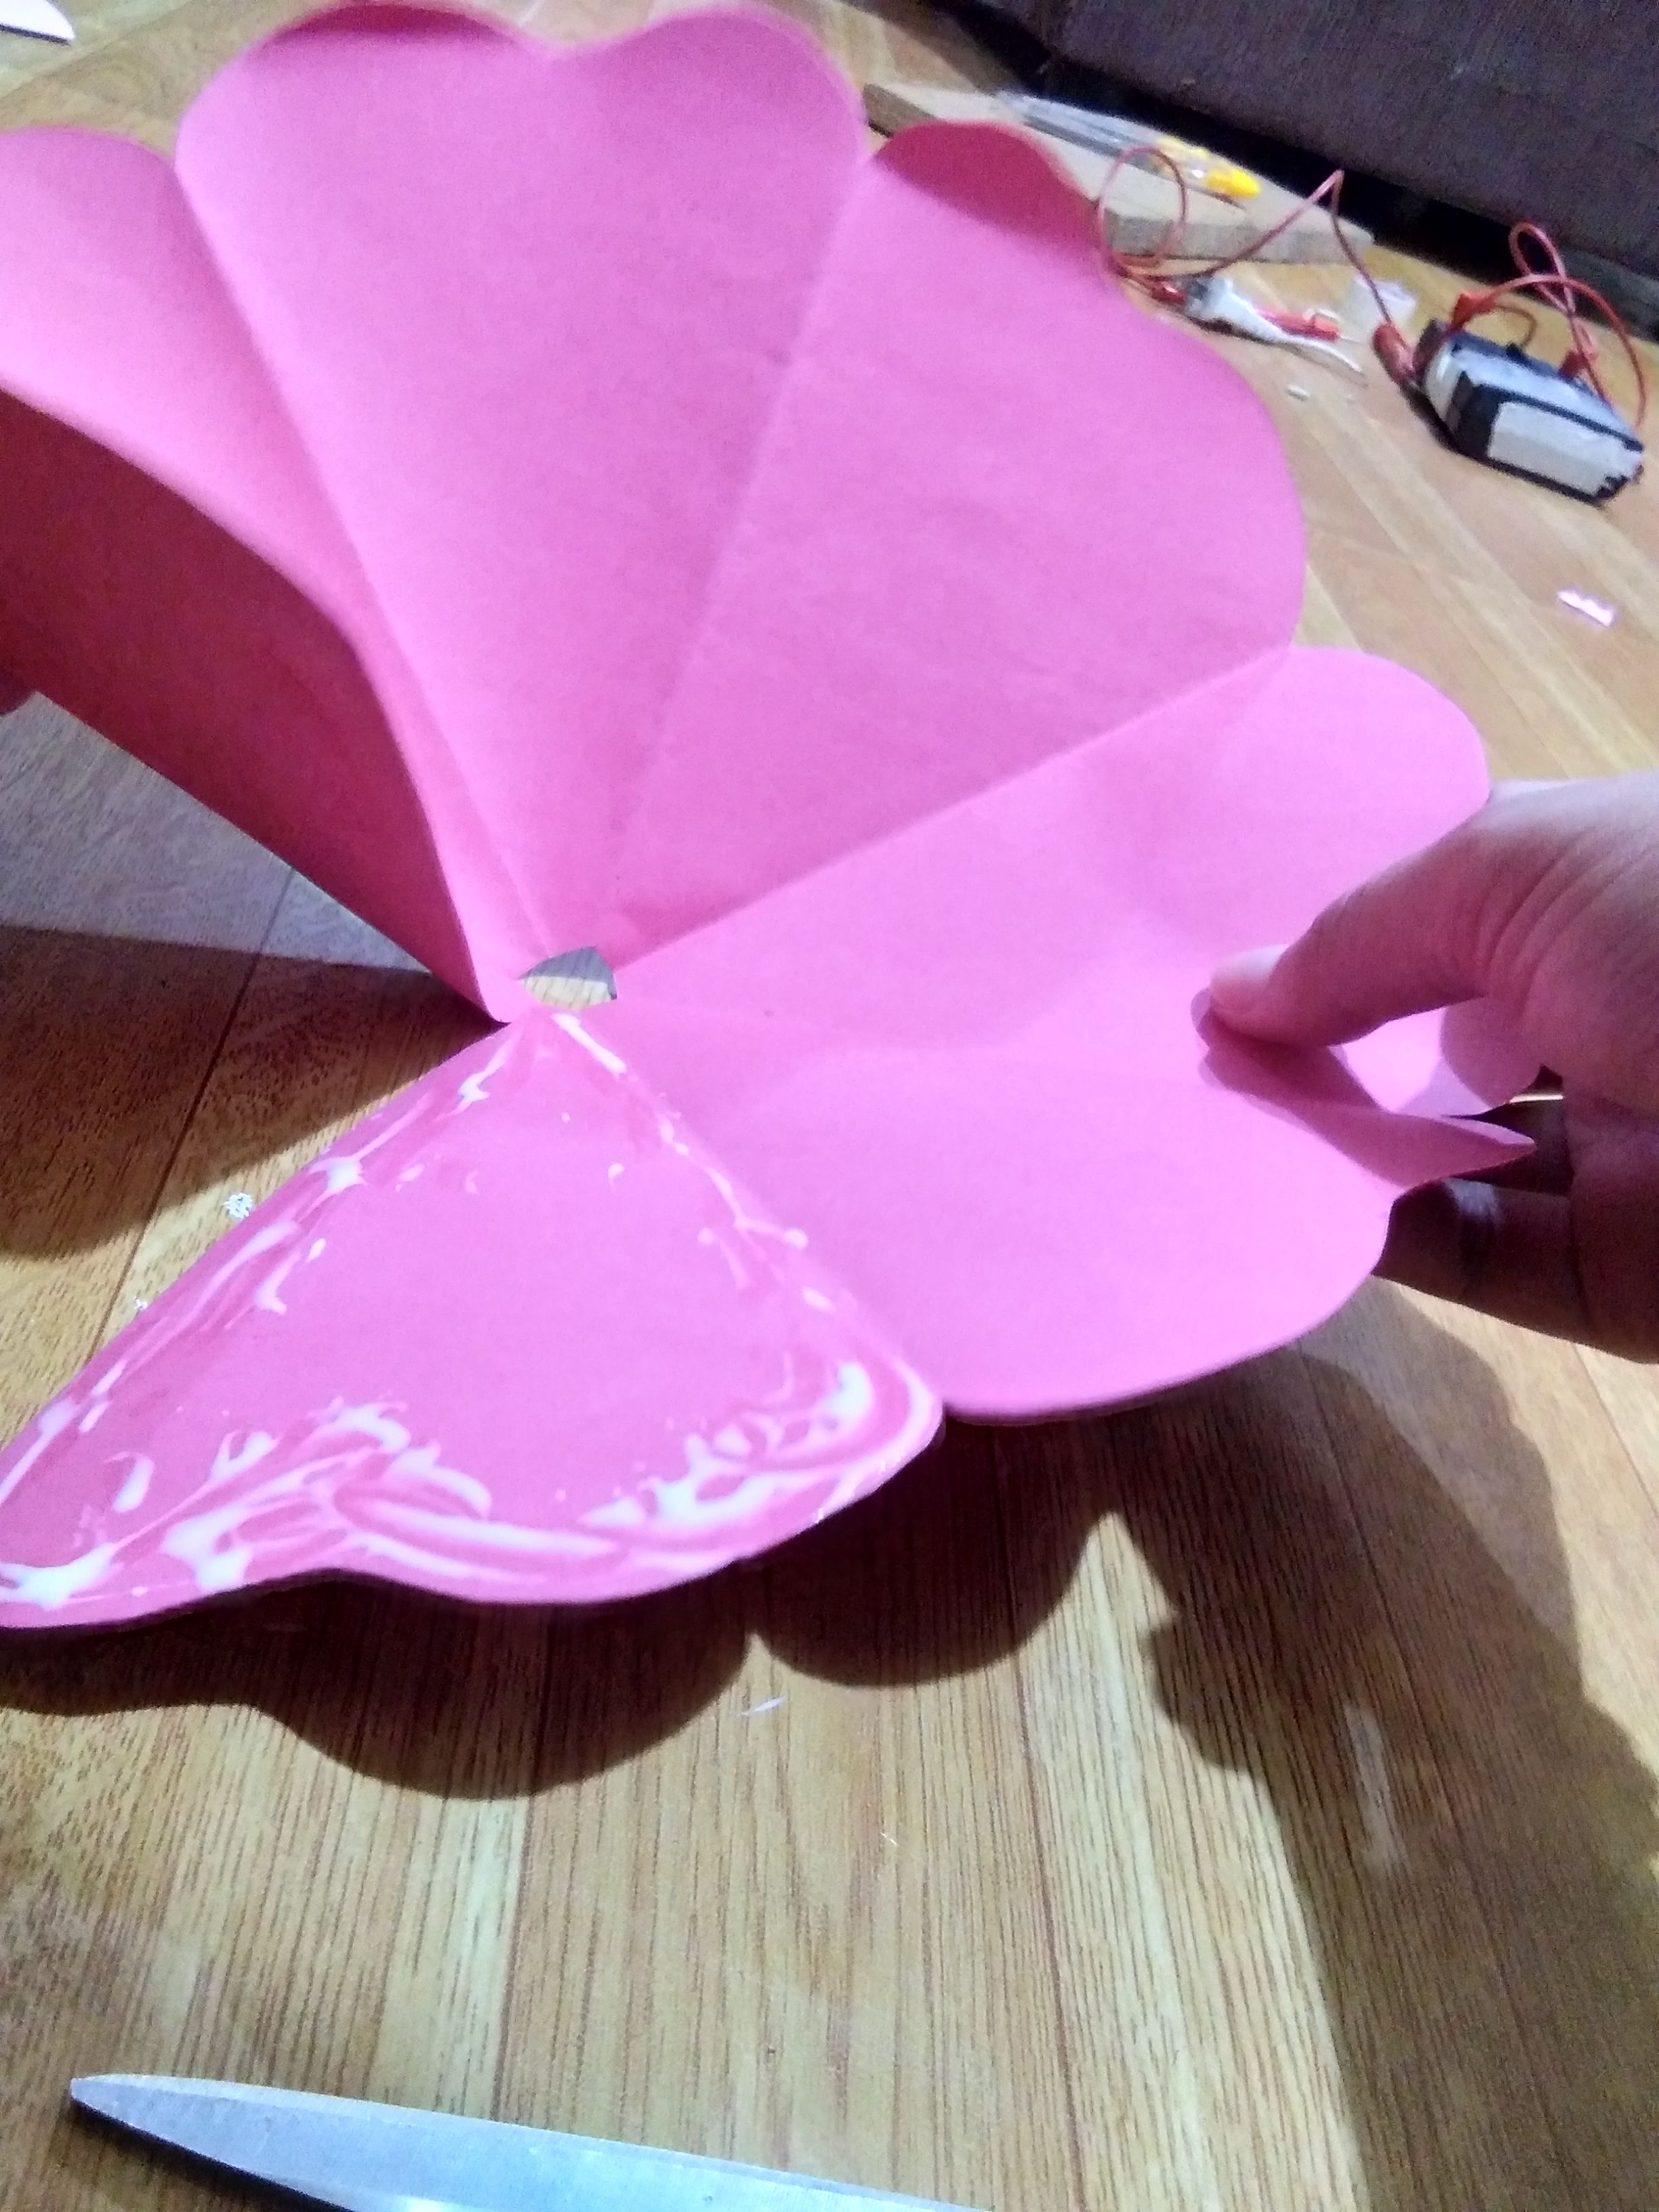
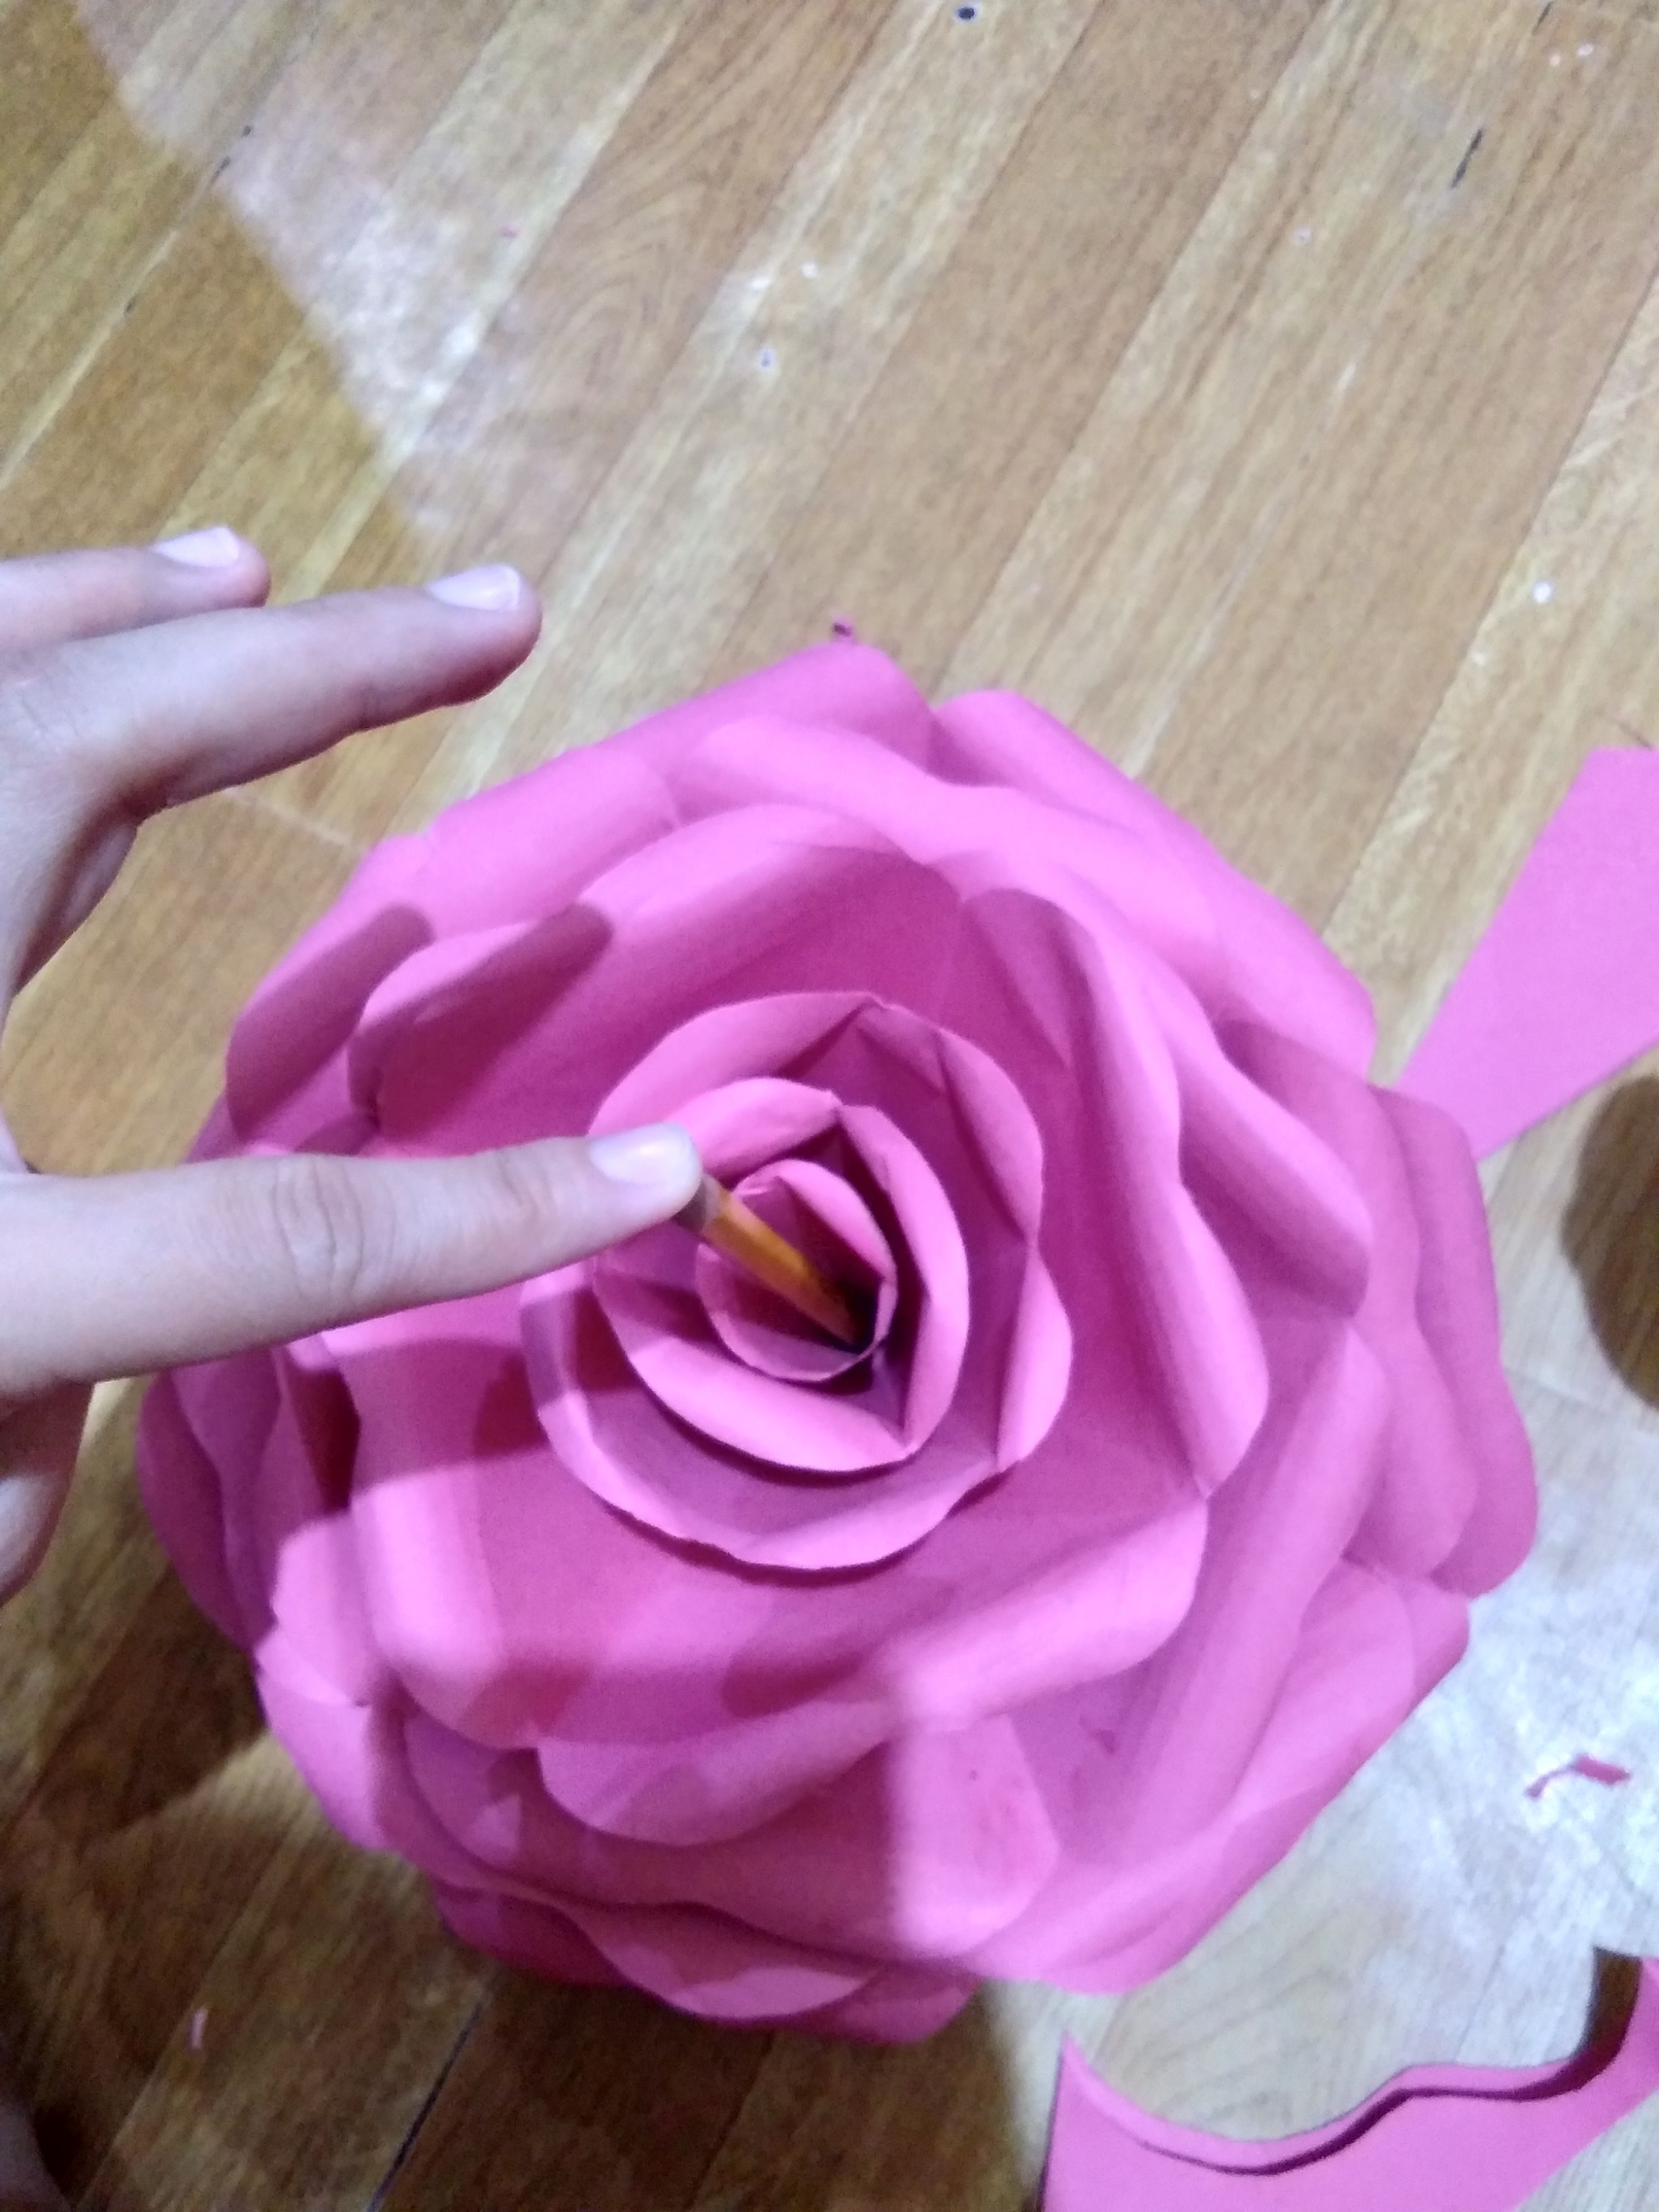
10TH STEP: ASSEMBLING THE FLOWER
Put some glue at the tip of each layers then attach the 2nd layer which is the 1 cut petal layer attach to the 1/2 cut petal layer. Then do it again until you're done attaching all the layers.
Remember those cut petals form each of the layers? We will use ot now to form another layer of the rose.
Just repeat step 8 and 9.
I am using the pencil to push the small layer down since my fingers won't fit to that layer.
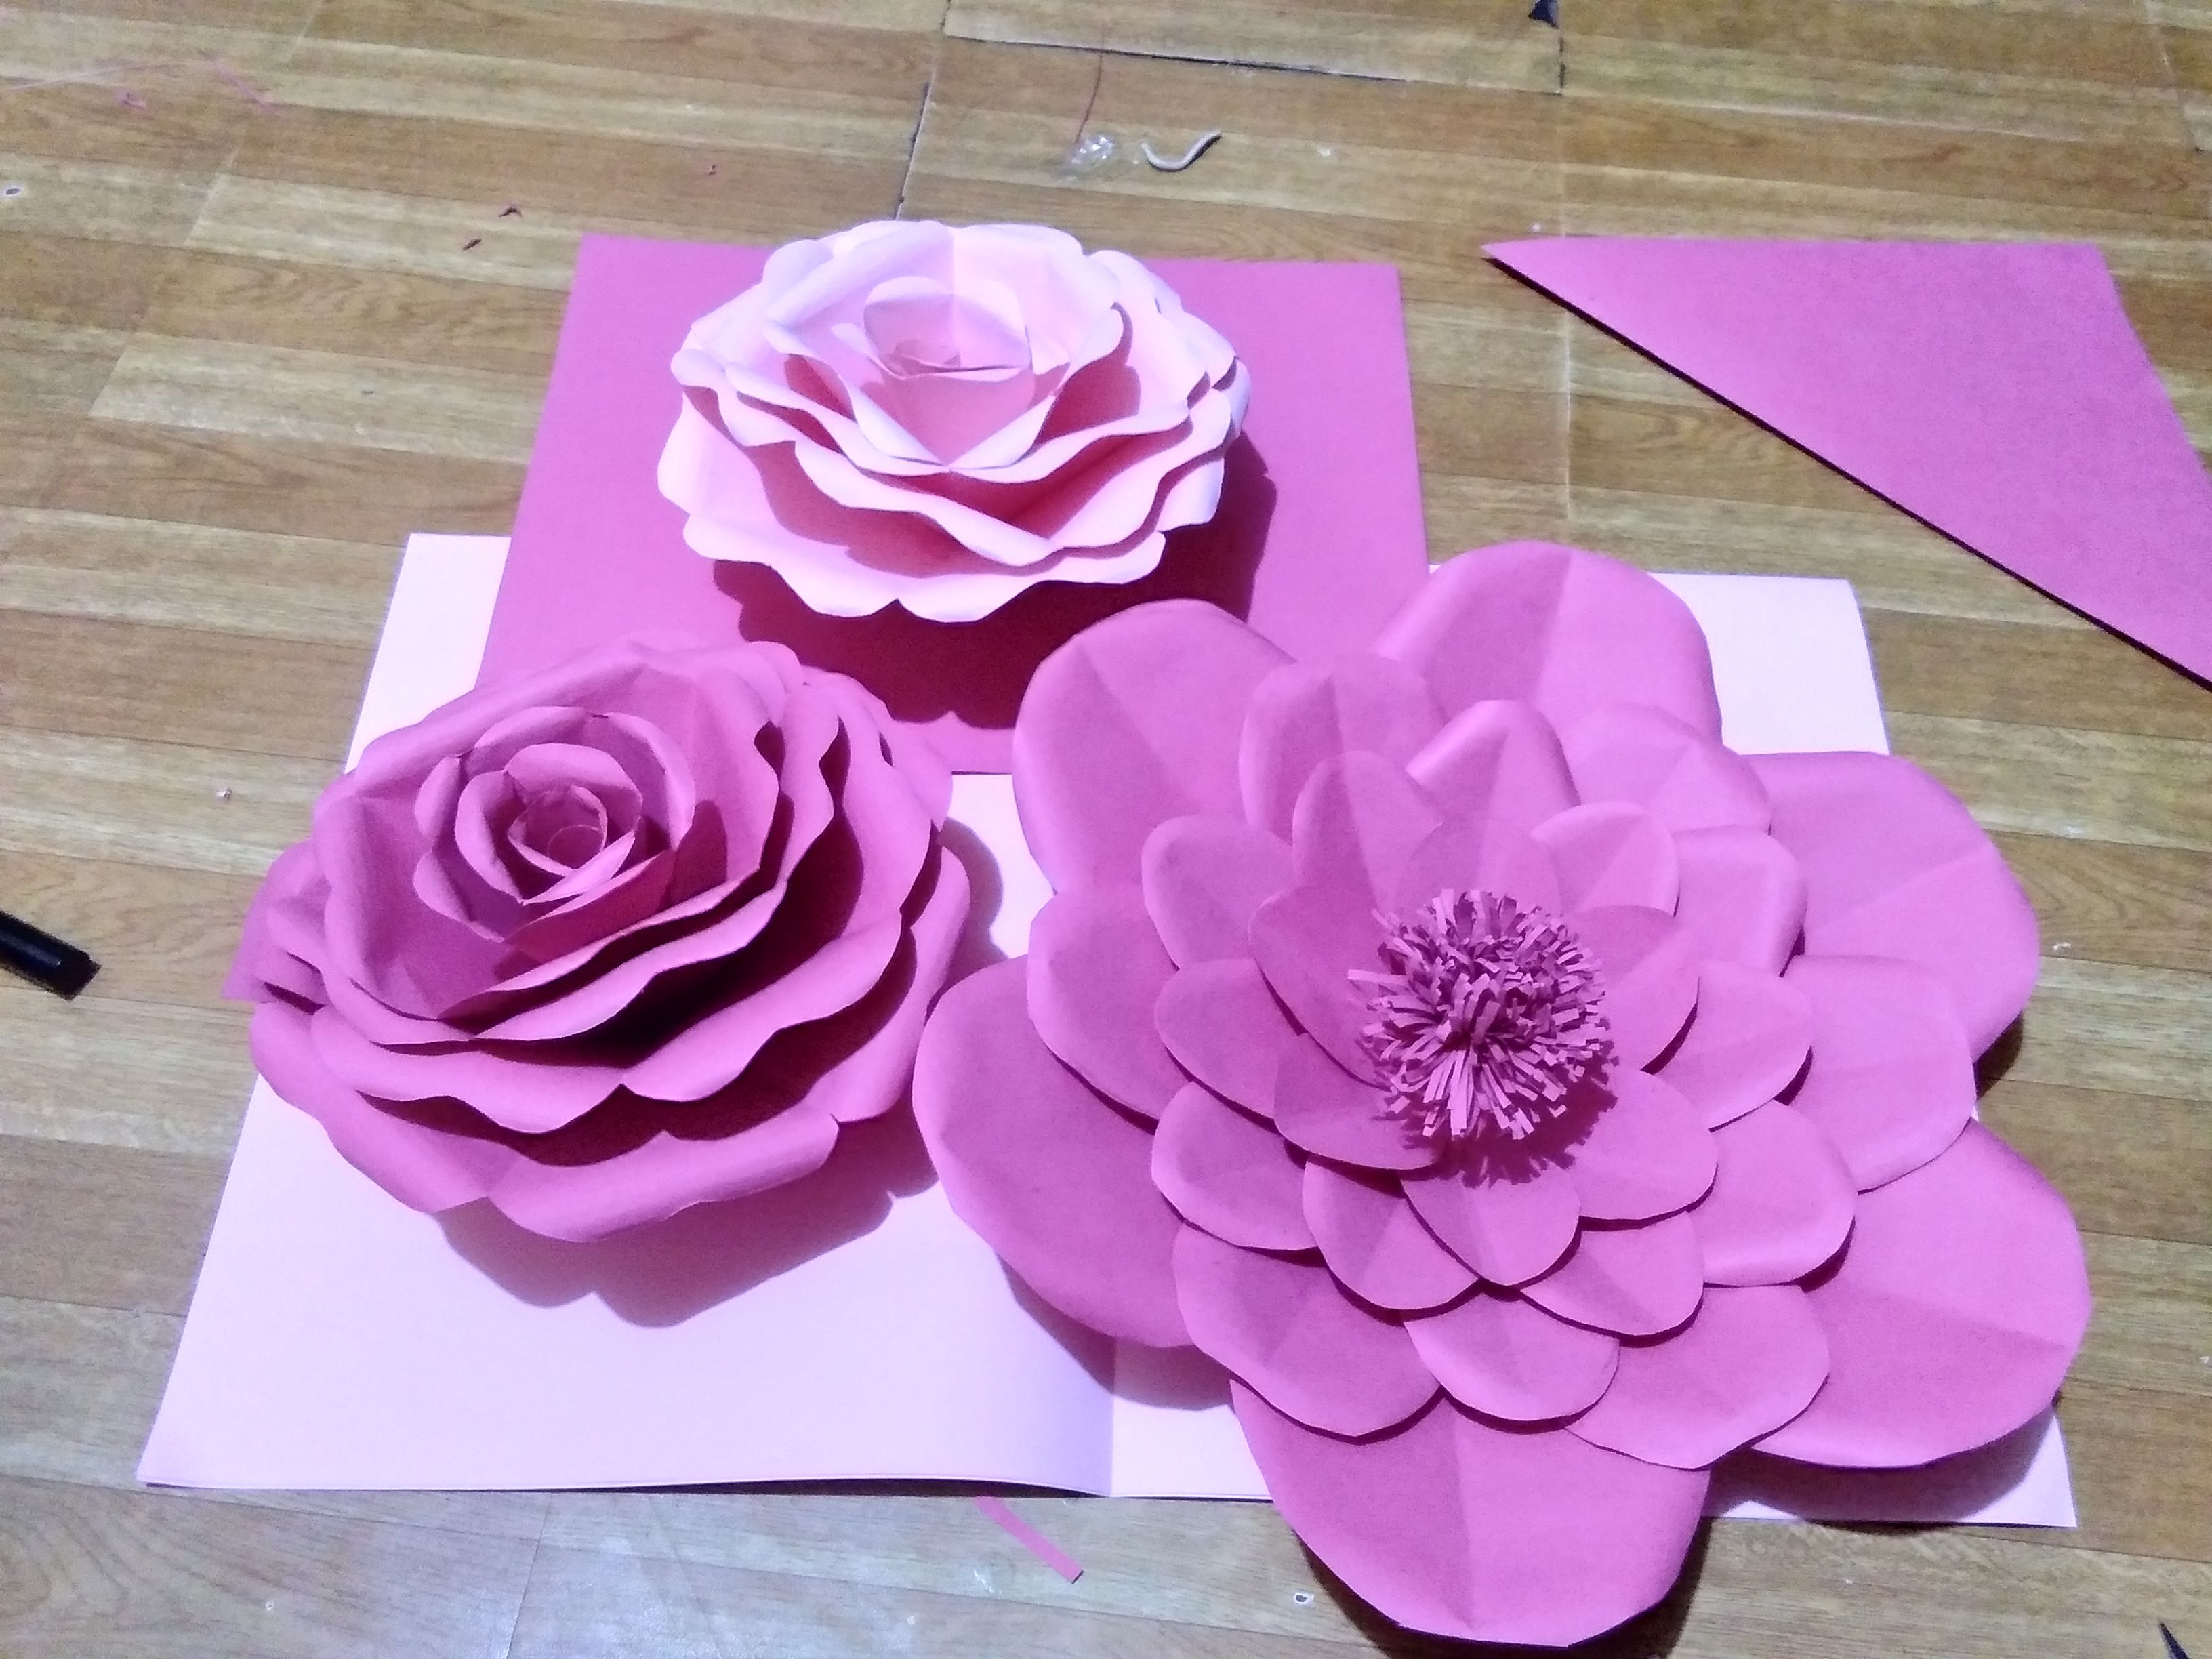
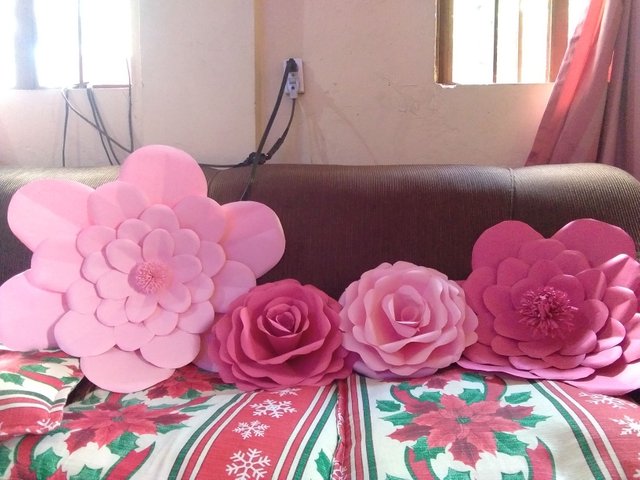
AND WE ARE DONE!
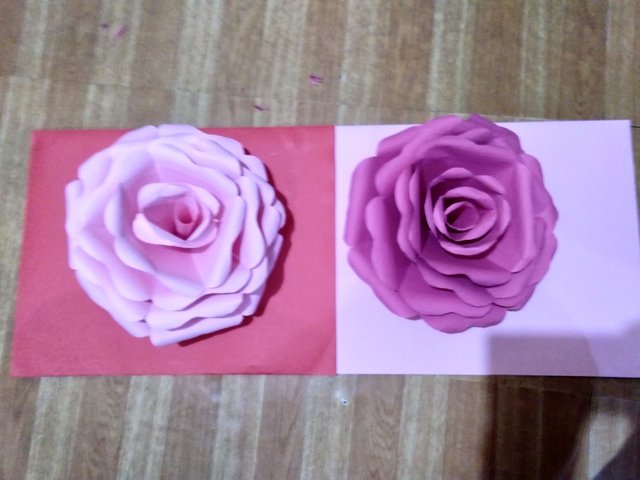
Easy right? Clap your hands and be proud of what you've done. You can now design your room with your own effort and without spending too much on decors. I hope this is helpful to you guys. 😊
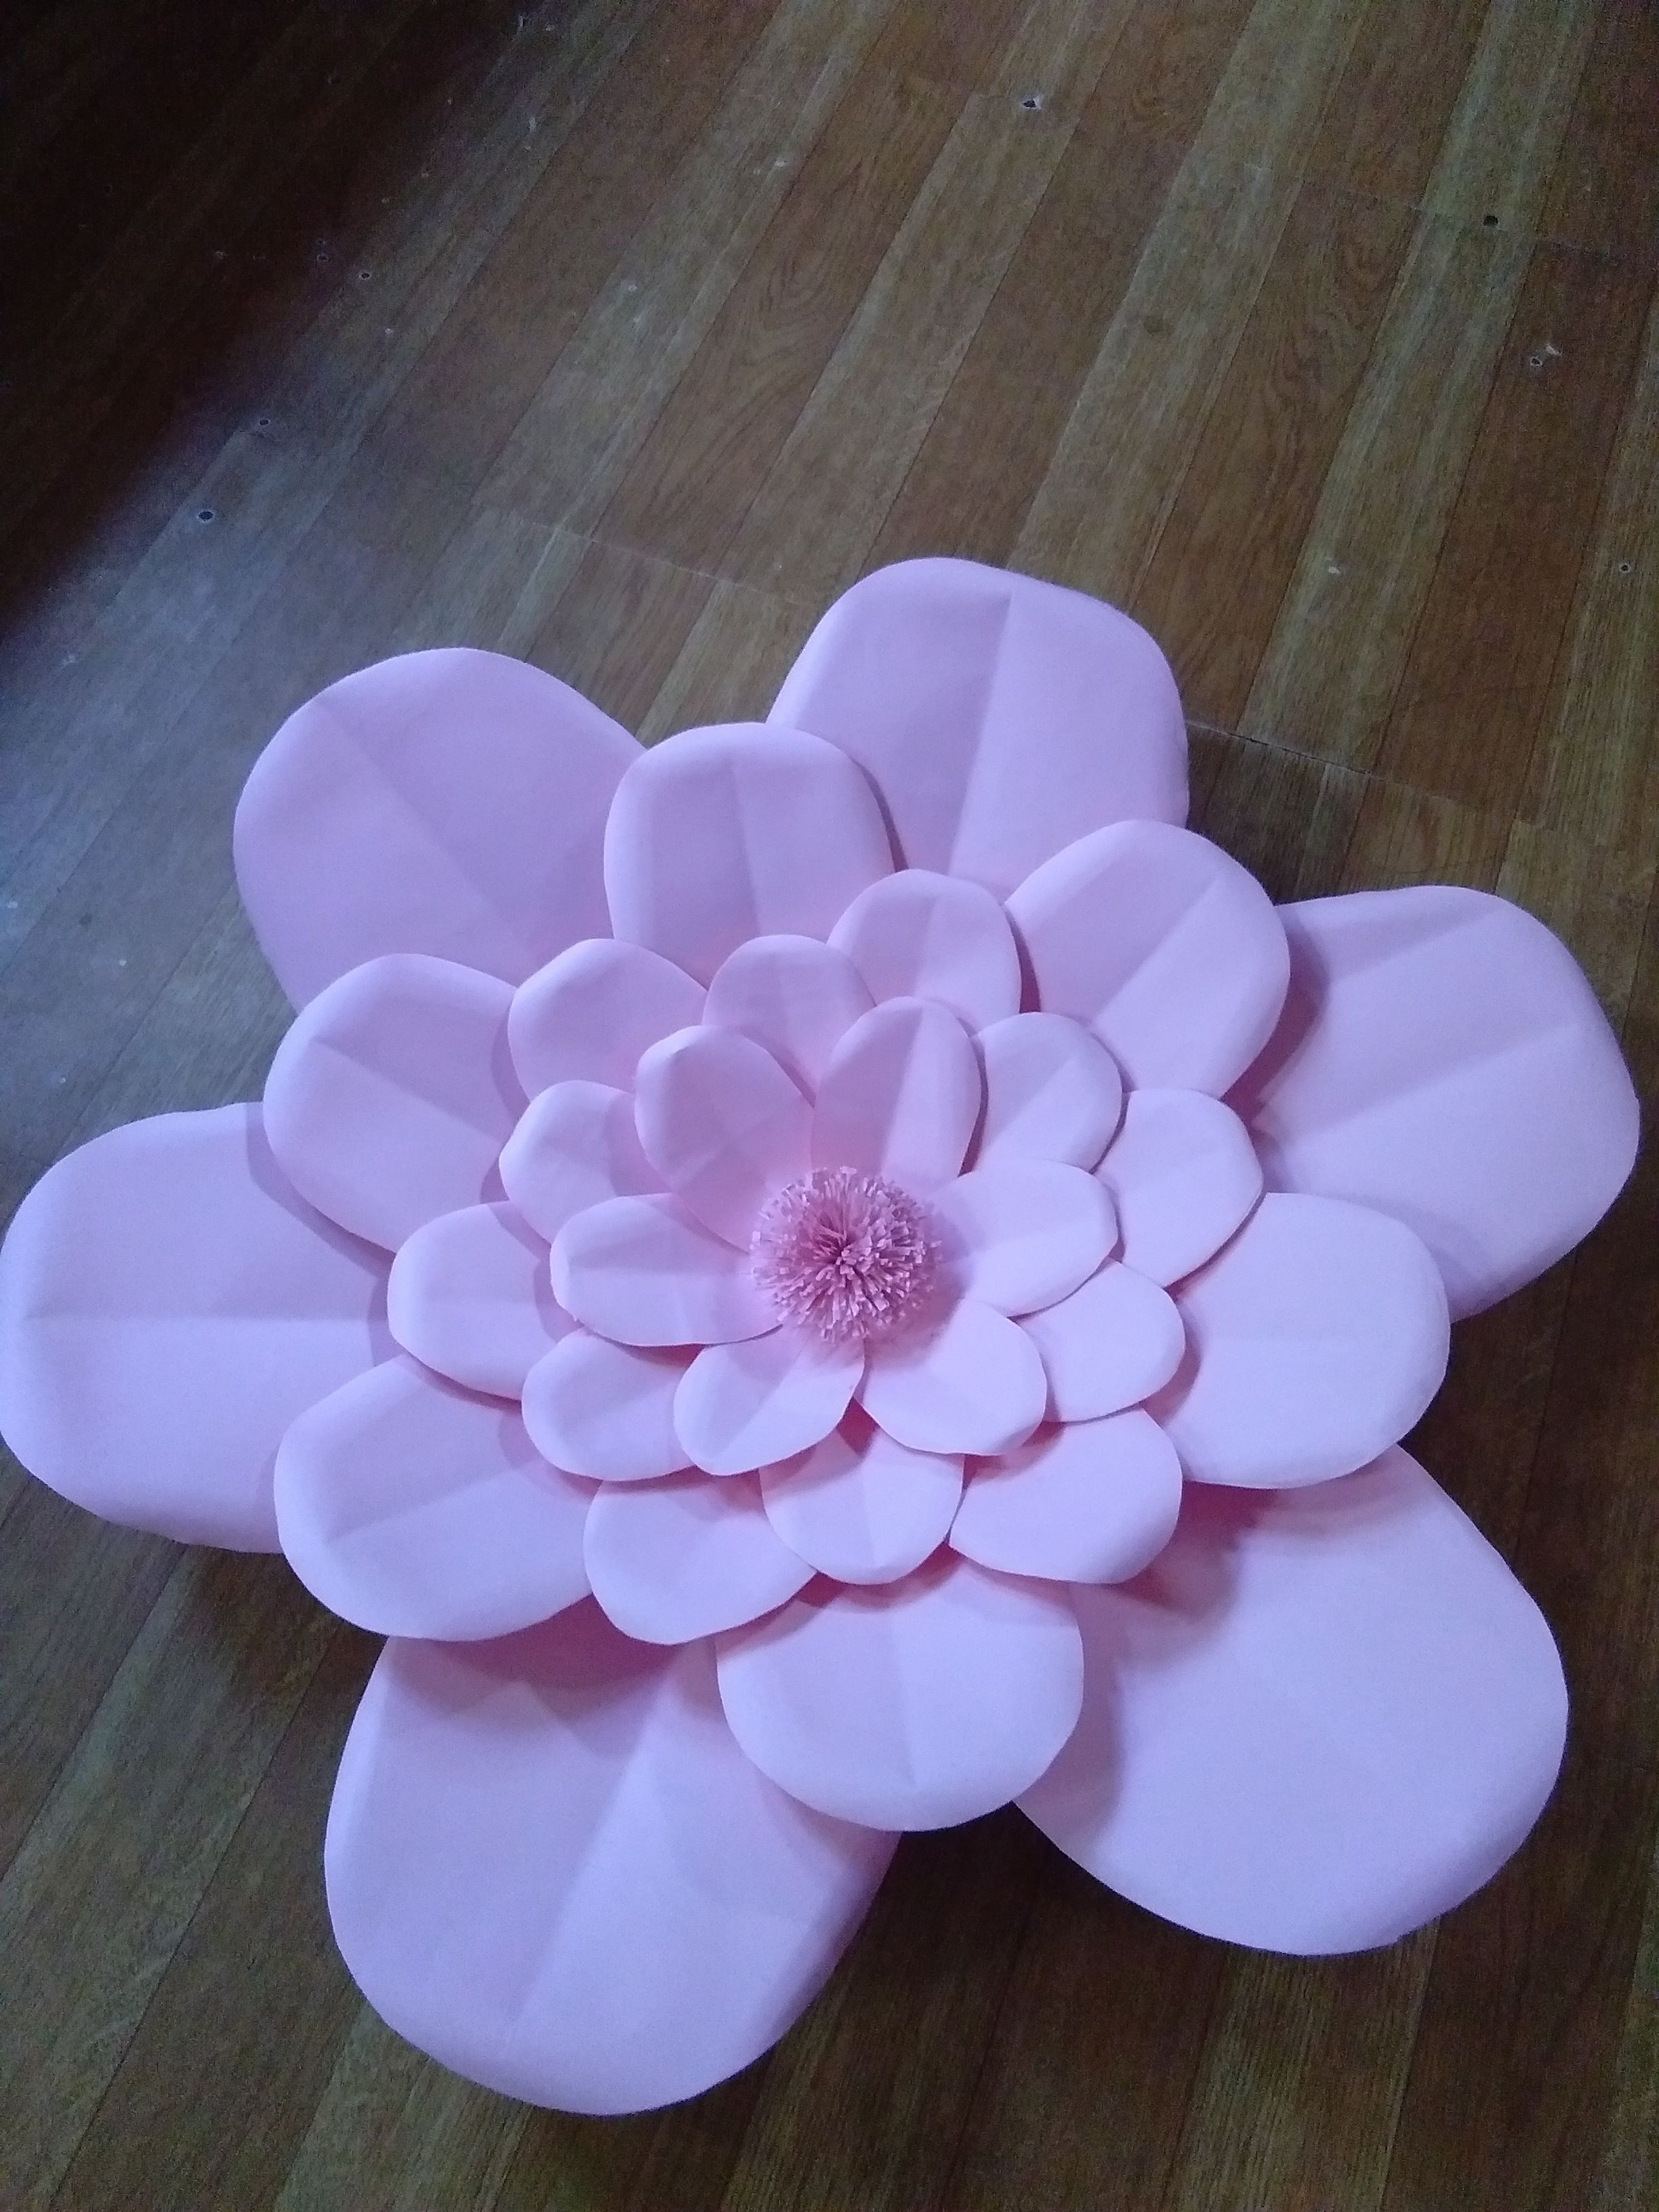
I have another flower that I made too.
I'll be posting its tutorial on my next blog so stay tune and don't forget to follow @christney.
I'm all ears with your feedbacks steemians.
HAPPY STEEMING EVERYONE!
Congratulations @christney! You have completed some achievement on Steemit and have been rewarded with new badge(s) :
Click on any badge to view your own Board of Honor on SteemitBoard.
For more information about SteemitBoard, click here
If you no longer want to receive notifications, reply to this comment with the word
STOPIt is the best tutorial on paper rose.i really love it.
Really? Thank you @glorystephen. I just followed you. I'll be posting another DIY Tutorial about paper flower backdrop so stay tuned.
Happy steeming!