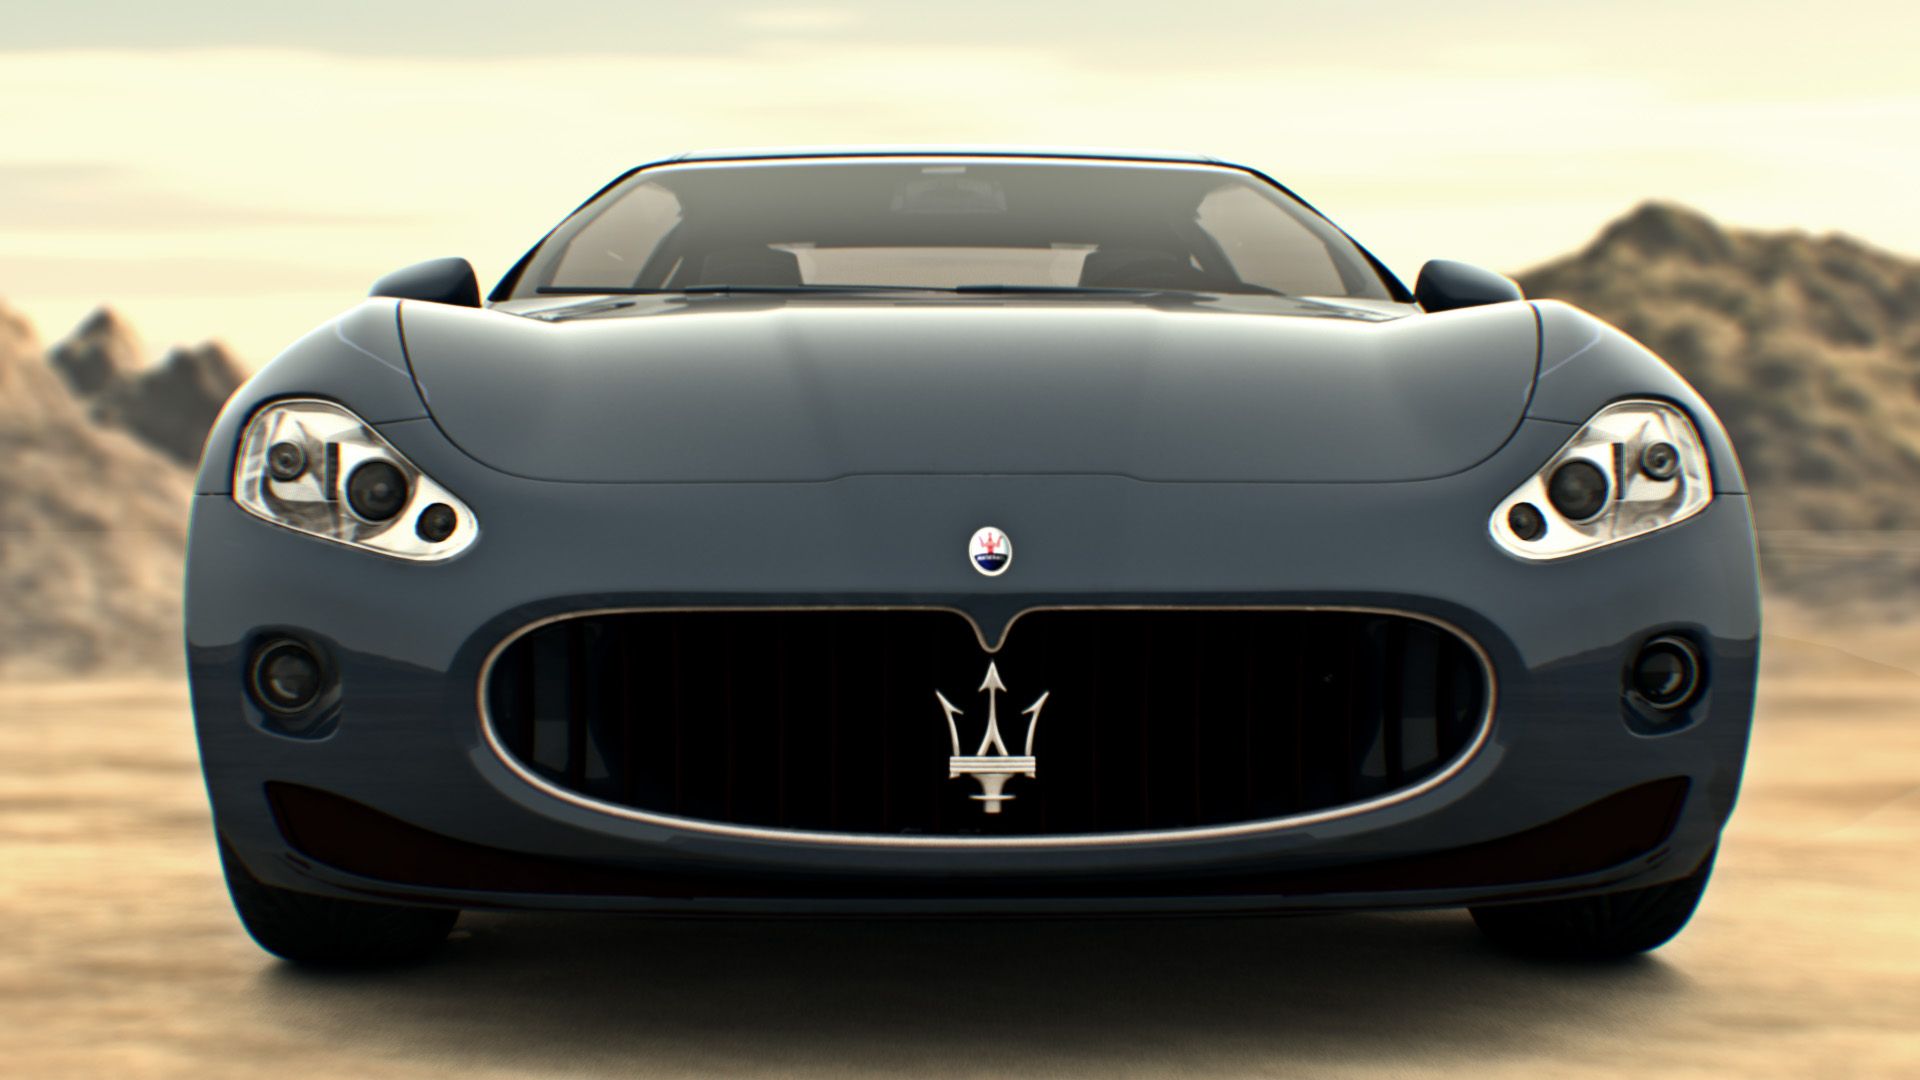
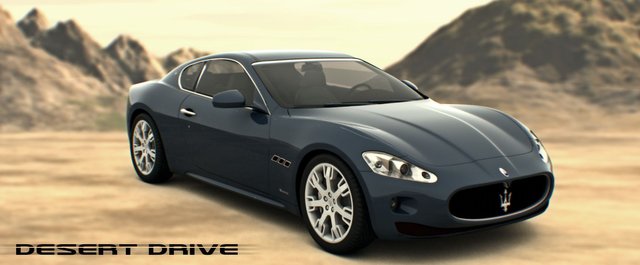
HOW I CREATED MY DESERT DRIVE CAR SHOT

Hello wonderful Steemians, hope we are having a lovely week... I'm here to do a quick walkthrough on how I created the desert drive car shot. It was a fun shot to create and everything was done entirely digital... That's the beauty of creating stuffs in computers. Nowadays, a lot of studios create their products shots using CGI (computer generated imagery). So instead of taking a specific car model to the desert to take a shot.. It can all be done digitally.
Creating believable shots all boils down to the level of skill. Not everyone has the skill knowhow to create believable shots digitally... It all takes some level of practice and learning to develop the skills...
As for me, I still learn on a daily basis and I can never stop learning... Learning is a continuous process and it never ends. Especially those of us in the creative side... We need to keep improving and polishing our skills cos the world is improving and a lot of talents are emerging daily.. So one needs to keep up with the highest level.
Desert drive car shot was created cos I wanted to see how I can achieve photorealism in my 3d works... I originally saw the shot online by another artist and I decided to recreate my own with the same car model.... To see if I could match the realism... And I posted it for my friends to see if they could detect the original shot and my own rendered shot... Some chose mine and the original shot... And that gave me some confidence to do something different using the same car model, so I decided to create a desert scene shot... Just something that entered my mind... And it turned out not bad. Though there are few things I should have done, like adding dirt and dust on the car body and tyres and windshield also... But wen I created the shot... What i know now... I didn't know then when I created the shot... Lol.. That's the beauty of learning... We learn to improve..
My idea was to create a realistic or better still an 80+ percent realistic cg car render since I have been playing around with car rendering lately. My goal was to have a balance between good looking render and render time which is a huge factor in the CG world.
Let me do a quick lecture on what 3d and CG is all about for people who may not understand what it is and wants to learn.
WHAT IS CGI
CGI (computer generated imagery) is the creation of still or animated visual content with a specialized software.
CGI is used to produce images for many purposes including visual art, advertising, automobile designs anatomical modeling, architectural design, engineering, television shows, video game art and film visual effects. Infact over 90% of movies rely heavily on CGI to accomplish impossible tasks that cannot be filmed in real life.
CGI/3D SOFTWARES
3ds Max
Maya
Cinema 4d
Houdini
Modo
Softimage (discontinued)
Etc
The above mentioned softwares are the popular ones used by big studios and professionals all over the world.
I personally use 3ds Max cos I love it. It does the job for me and it suits my areas of interest. A lot of these softwares have their pros and cons and are designed to do some certain tasks better than the others... For eg cinema 4d is widely used by motion graphics and graphics designers..
3ds Max is widely used by architects and game studios. Cos of its modelling and rendering capabilities. Maya and Houdini are widely used by the animation and film studios cos of its tools and features geared towards animation and film... Softimage has been discontinued by autodesk... As they want to focus more on 3ds max and Maya.
OK, Enough of my long talks, let’s get into business.
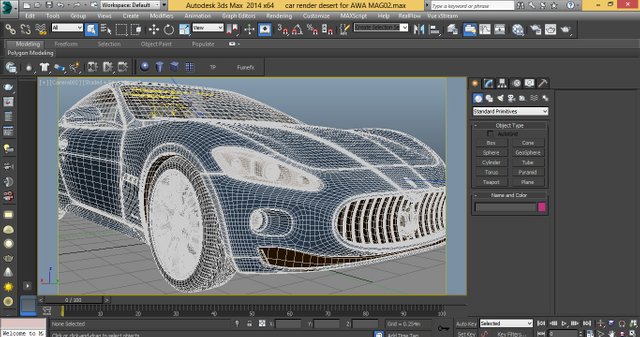
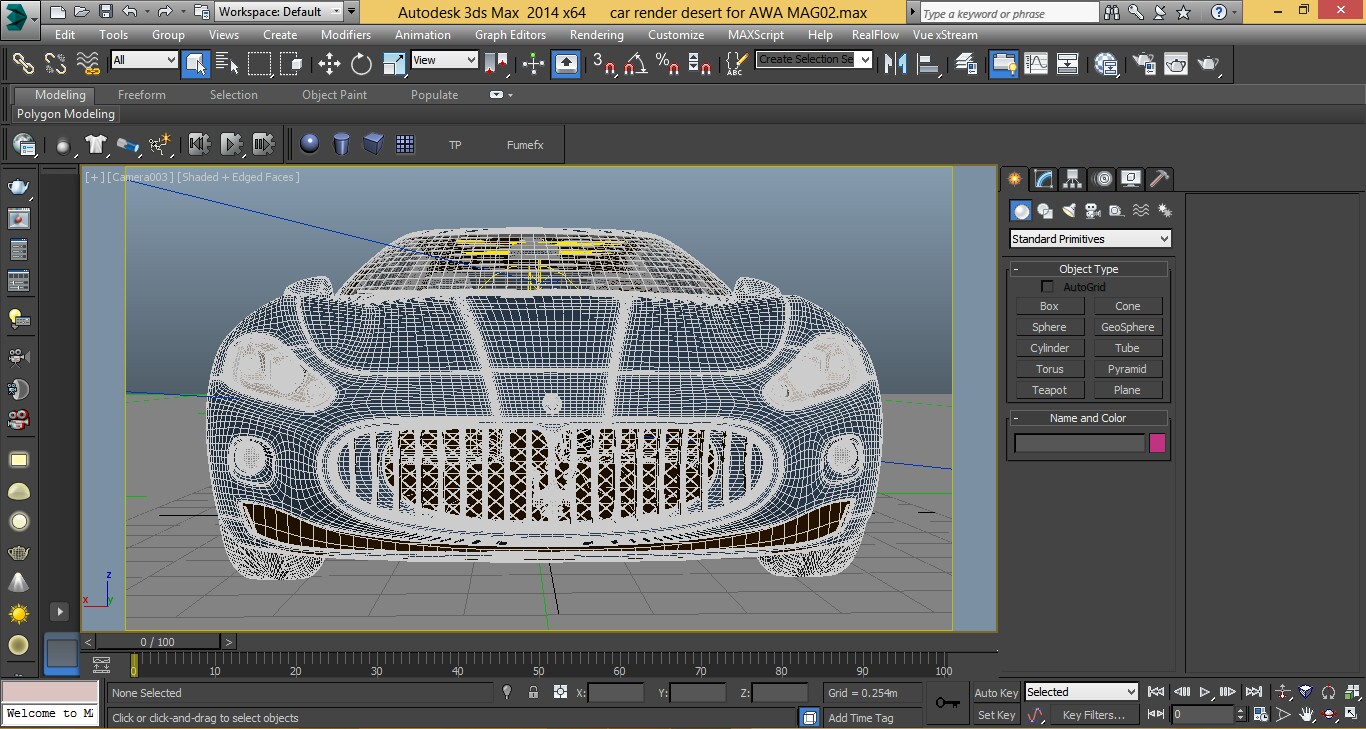
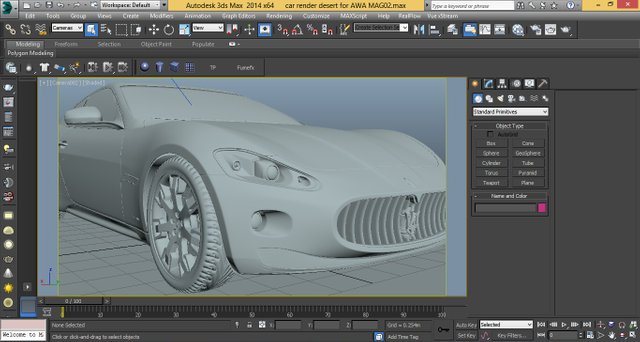
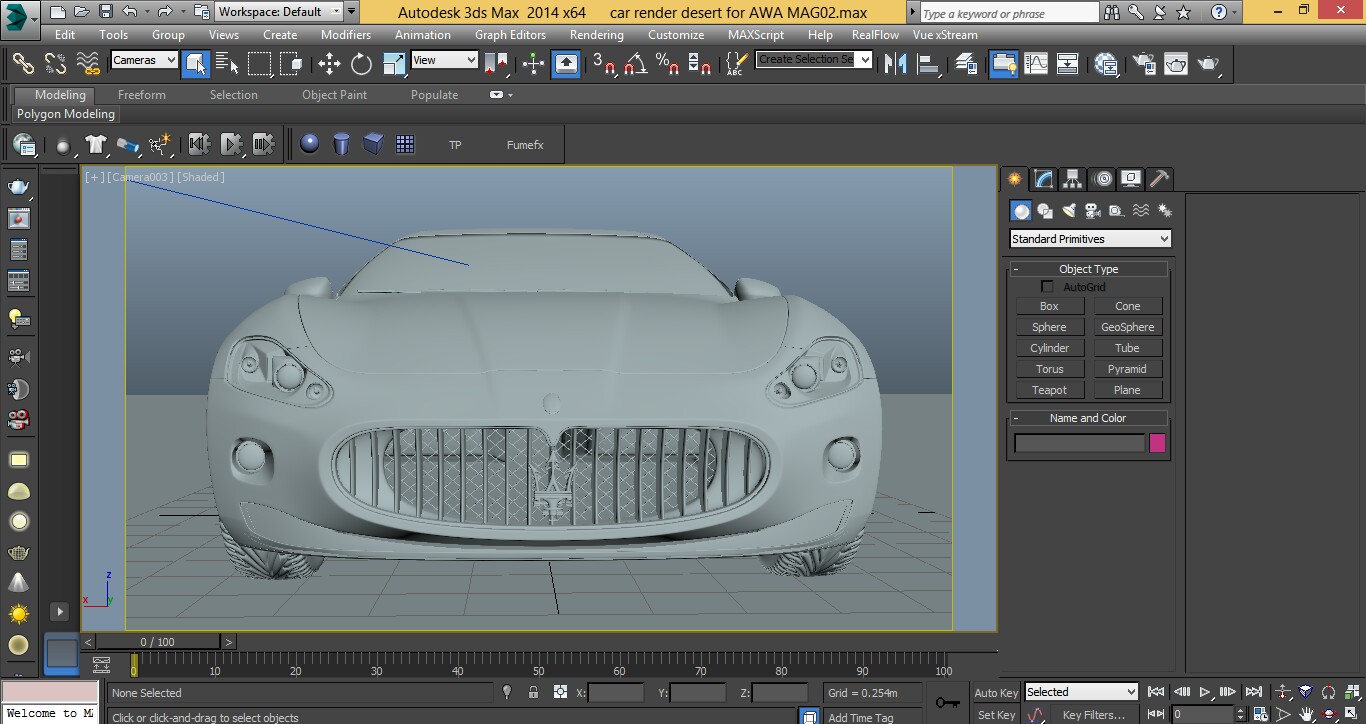
In this breakdown, I am going to show you the process, tips and tricks I implemented to creating this desert drive car render.
The 3d car was a free model gotten from the internet, there are many free car models on the internet, so check them out. The benefit of using free models is to save you time and lets you focus more on what you want to do.
Everything was done in 3ds max and rendered with vray.
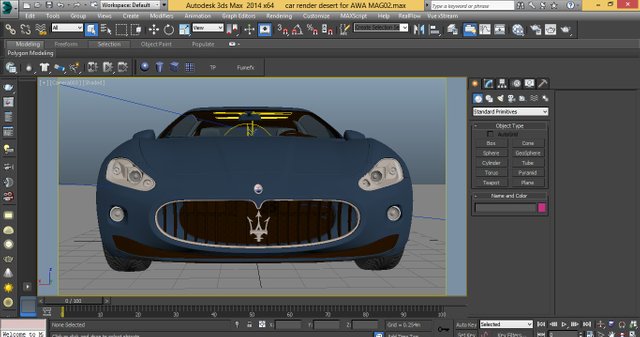
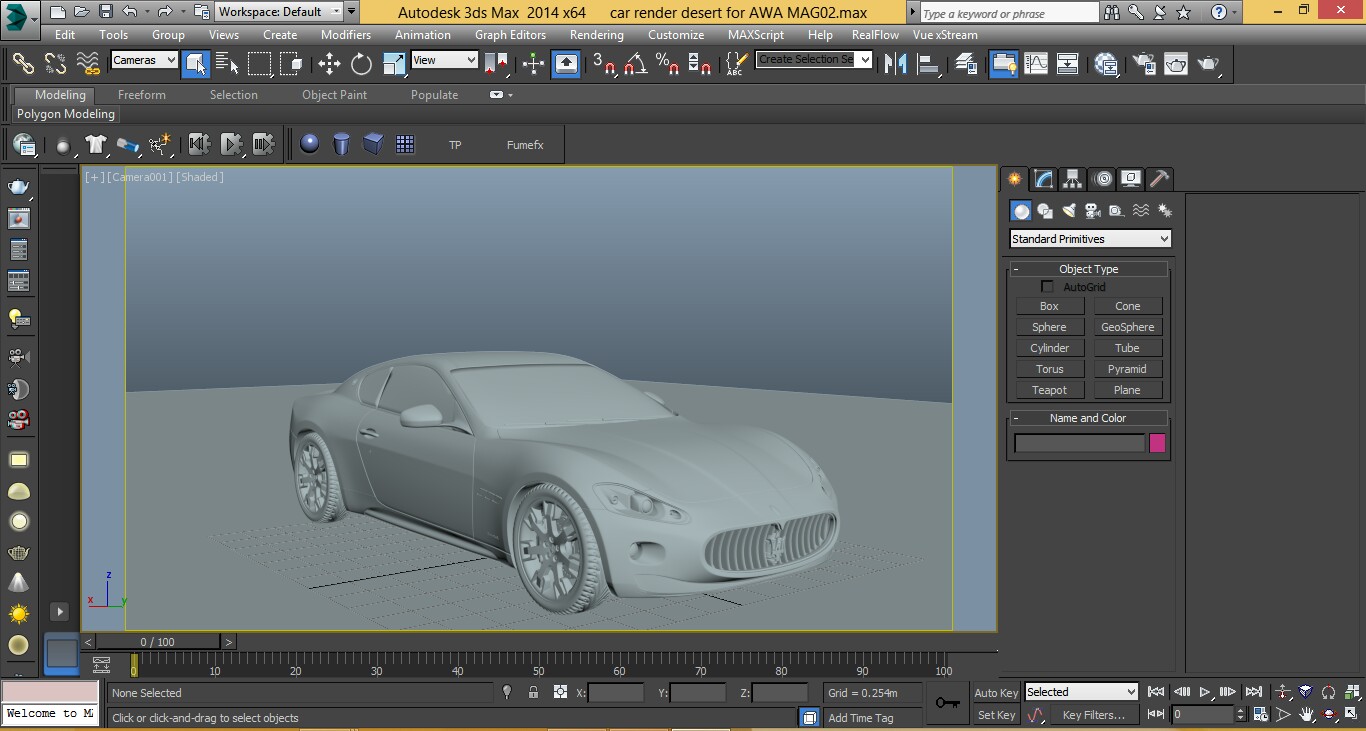
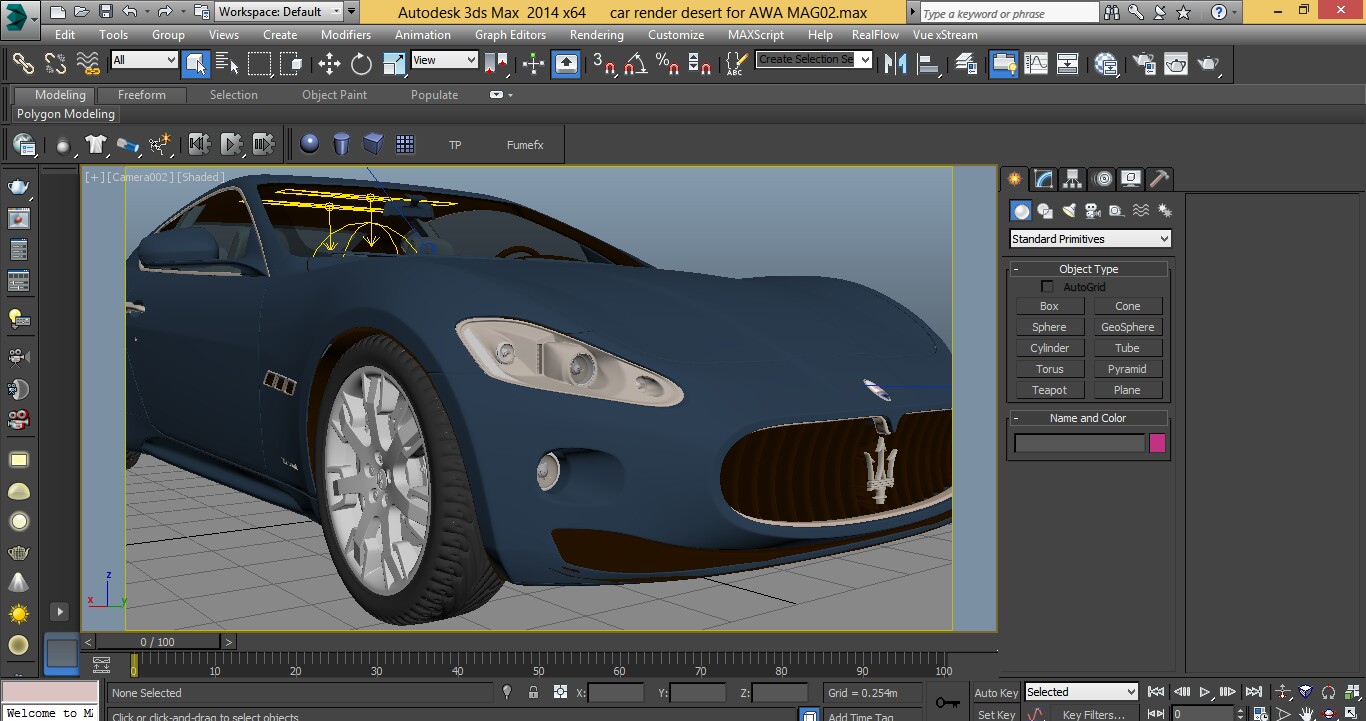

I used the built-in vray car paint material on the car body and my custom made materials for other parts of the car. I made few changes to the vray car paint material. I made the base color darker and also made it less saturated same for the flake colour. I reduced the flake density, scale and size to make coat have a subtle car flake effect.
NOTE: It is very important to understand how various material look in real life and how they interact with light in real life. Knowing this will really help you to create believable materials and light setup for realistic rendering
MATERIALS
For the glass material, I set the diffuse colour to black and Set the reflection and refraction color to 90% white since a car windscreen does not have 100 percent reflection and transparency. I added a little colour to the fog parameter to give it that tinted look. I also used a Fresnel reflection type to give it that natural reflection you would normally see on a car windshield. I didit alter the relection and refraction subdivision amount since I was only rendering a still image and not an animation, subdivision of 8 was enough.
For the chrome materials, I set the diffuse colour to light gray and set the reflection colour to 90 percent white since nothing is 100 percent reflective except a mirror. This time the refraction colour was set to black since metals have no transparency except we are talking of metals created by aliens in outer space. Lol. This time, I turned off Fresnel reflection since I wanted overall reflection on the chrome surface.
For the tyre material, I set the diffuse colour to 90 percent black and remember NOTHING is 100 percent black or white in real life except digitally. There are so many factors that affects colour intensities in real life. I added very little Fresnel reflection to give it that extra gloss and to make it not to look completely matte.
For the dark plastic material, I used almost the same settings as the tyre material but with a little more reflection.
From these, I know you can figure out how the other materials were created. Let me don’t waste much time talking about materials since I didn’t make use of complex textures or material networks, just basic material setup.
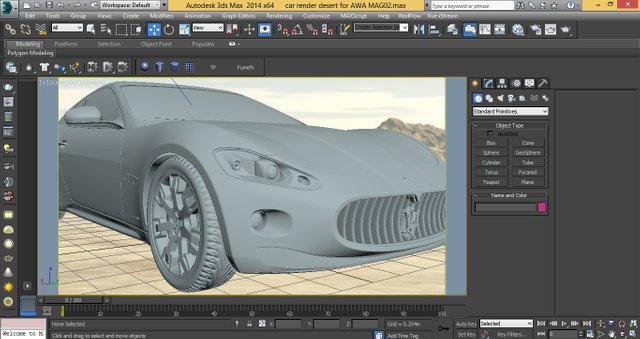
LIGHTING
Now for the fun part, lighting. I used a vray dome light and I also used the background image as a fake hdri and reflection map. I added two vray plane light and a vray sphere light, all with low light intensities just to give life to the interior of the car.
RENDERING
As you already know, the car was rendered using vray. I used the irradiance map as my primary GI engine and light cache as my secondary GI engine and a few other tweaks. In the irradiance map settings, I set the subdivision to 30 and the interpolation samples to 5, the current preset was set to very low since it was a still image render. In the light cache settings, I set the subdivision amount to 1200 and sample size to 0.01.
I used Mitchell Netravali as the antialiasing filter (personal preference).
In the global DMC tab, I set the noise threshold to 0.002
In the colour mapping tab, I changed the type to reinhard (since it is a blend between exponential colour mapping and linear colour mapping), I felt this colour mapping type best suit my lighting setup. Pretty much from here, all the other settings were at their default values.
For the render elements, I rendered the background separately to give room for alpha channel and also I rendered out an ambient occlusion pass to give contact shadows to the car. To render out ambient occlusion pass in vray without baking it into the render by checking the ambient occlusion check box in the global illumination setting, doing this limits your freedom to control it separately. So to render out ambient occlusion pass separately, you have to select the vray extraTex in the render elements and apply a vray dirt material to the extraTex material input.
COMPOSITING
I composited the final render in Photoshop, it is always a good idea to render out render passes so as to have full control over the image and also to easily fix problems in the image. But I only rendered out ambient occlusion pass which was fine. In Photoshop, the occlusion pass blending mode was set to multiply, and I reduced the opacity to 90 percent.
Pro tip: always add imperfections to your renders both in 3d and in post. Making everything in your scene look perfect will in turn make your cg look fake, that little imperfection in your 3d scene will go a long way in making your scene look and feel more realistic.
For this shot, I used magic bullet looks from redgiant to do most of the post touches. I added some lens effects like chromatic abbresion and lens distortion to make it feel as if it was shot with a real camera. Finally, I did a little colour grade on the image to give it that pop and cinematic look. I also added a Depth of Field effects so as to focus the eyes more on the front side of the car.
And there we go guys, there are few other steps I skipped which I would have covered if it were to be a video tutorial, but I can’t cover all the steps in a written articles, but overall these are the major things I did to create this shot. I hope you like it. I will try to come up with more of these in the future. Thanks a lot guys for checking it out… I'll like to also hear from the community especially the ones interested in computer graphics, 3d animation and visual effects if you want me to post more this topics like this and also tutorials on how I create some of my works... Thanks
If you like this post, please UPVOTE, COMMENT and RESTEEM. Thanks

Follow me @chimzycash
Nice one
Tnx bro
That car is looking good. The creativity is nice keep it up
Tnx
Nice work @chimzycash
No smoking Campaign 🚭
wow! awesome work! Very realistic!
Tnx alot... I'll post more on this topic
Nice! 👍
Congratulations @chimzycash, this post is the second most rewarded post (based on pending payouts) in the last 12 hours written by a Newbie account holder (accounts that hold between 0.01 and 0.1 Mega Vests). The total number of posts by newbie account holders during this period was 2261 and the total pending payments to posts in this category was $997.80. To see the full list of highest paid posts across all accounts categories, click here.
If you do not wish to receive these messages in future, please reply stop to this comment.
I simply love your articles, what great content and quality of posting you offer the community here on Steemit and abroad.
Thanks a lot :)
I really appreciate this... Tnx alot... I ll always try my possible best to GIVE THE BEST contents to the community...