Now a Blogger Handbook which used to be a Gumbrih Village Website Handbook during my community service program
Note
This guidebook is a guidebook that I wrote when I conducted a Community Service Program or Kuliah Kerja Nyata (KKN) in Gumbrih Jembrana Village, Bali, when I was an undergraduate student at Udayana University February 2014. One of our contributions was to create a guidebook for Gumbrih Village to manage its blog which at that time became the main website. The story is that the Community Service Program team before us contributed to the creation of a Gumbrih Village blog because one of the potentials of Gumbrih Village is its tourism object and to attract more tourists can be done by promoting Gumbrih Village tourism objects through the website. However, the previous Community Service Program team could only do that and did not handed over the website's maintenance to Gumbrih Village. Therefore, the aim of our Community Service Program team was to make a guidebook to manage the Gumbrih Village website at that time and handover the management to Gumbrih Village. But after I returned today I could no longer find the Gumbrih website, either it was no longer taken care of so it was deleted or moved to another website, for example I found http://desagumbrihpekutatan.blogspot.com/. If anyone knows the latest development of the Desa Gumbrih website, please comment. So this manual is now only useful as a tutorial for Blogger or Blogspot. In the end, this article is shown for those who have never blogged at all but want to find out and try, and for those who want to know what I contributed to during my Community Service Program.
1. Accessing Gumbrih Blog
Gumbrih Village already has a website at www.desagumbrih.com that can be accessed at blogger.com with a google account username: ***** with password: *****.

Figure 1. Screenshot of Gumbrih website front page

Figure 2. Login through Google 1

Figure 3. Login through Google 2

Figure 4. Entering blogger 1

Figure 5. Entering blogger 2

Figure 6. Entering blogger 3
2. Update News
News updates can be done in the post section. This section can be filled with written pictures and so on, which will immediately appear on the front page so that it is suitable for the latest news and the like. Post addresses can be modified using the permalink feature.

Figure 7. Creating new post

Figure 8. Writing on post

Figure 9. Adding figure on post

Figure 10. Choosing figure on post

Figure 11. Uploading figure on post

Figure 12. Setting post's permalink

Figure 13. Front page view after posting

Figure 14. Editing post 1

Figure 15. Editing post 2

Figure 16. Front page view after editing
3. Adding Menu
In the past, to add menus, we have to modify the html code in the template section but now there maybe exist templates that can modify the menu in an easier way.

Figure 17. Existing menu

Figure 18. Modifying the menu through the edit html template

Figure 19. Looking for the water travel keyword (menu) in the html code using ctrl+f

Figure 20. Adding new menu after last menu

Figure 21. Adding test link menu

Figure 22. Test link menu added
Figure 23. Link address of test 1

Figure 24. Link address of test 2

Figure 25. Adding new test link 1

Figure 26. Adding new test link 2

Figure 27. Backup html code

Figure 28. Backup html code to wordpad 1

Figure 29. Backup html code to wordpad 2
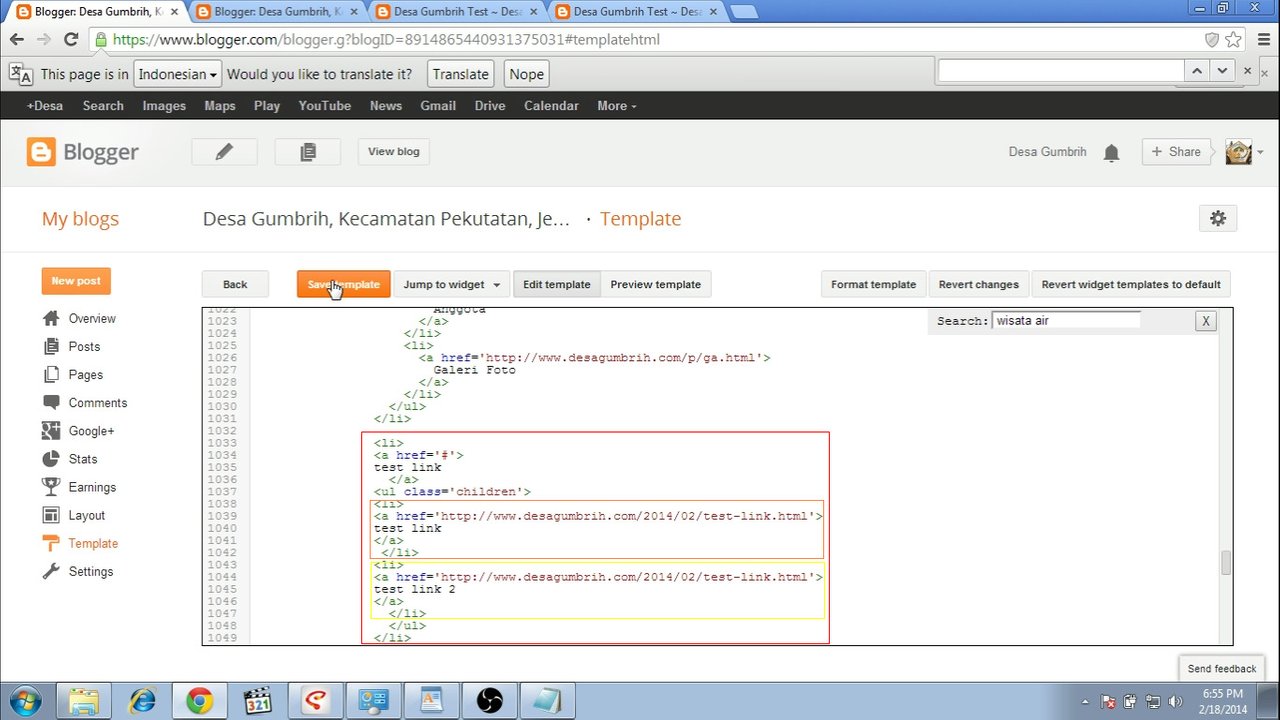
Figure 30. Penambahan test link 2 menu

Figure 31. Test link 2 menu on website

Figure 32. Adding test link 3 menu on test link 2

Figure 33. Test link 3 menu on website
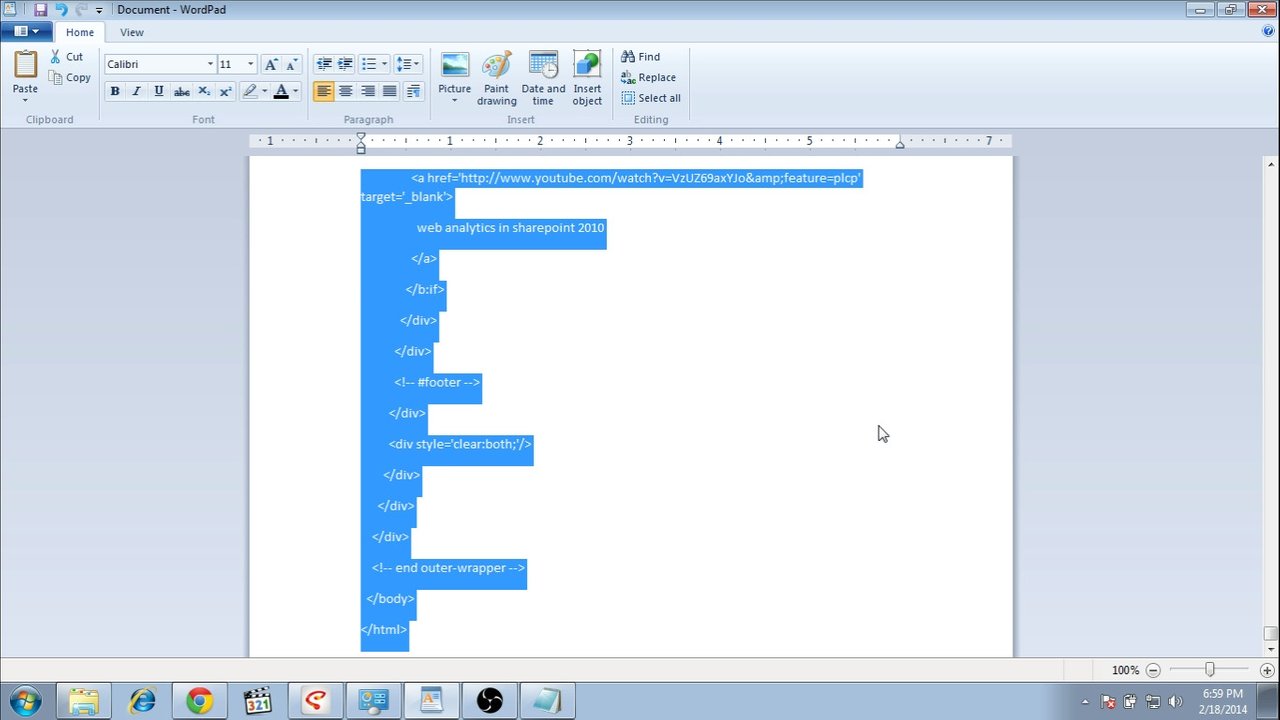
Figure 34. Restoring template

Figure 35. Copy html backup code from the wordpad to the template

Figure 36. Menu restored to previous
4. Page and Special Board
In terms of using, the difference between a post and a page is that the post will appear immediately on the front page according to the latest news, while the page will not appear on the front page and have to be shared manually. A post is like a one time news while page is like a special area that is outside of one time news like an about page or contact person page or a page that often changes. About creating a special board, for example a noticeboard on the website use the label feature where this board will consist of several posts.

Figure 37. Adding blank page

Figure 38. Publication page

Figure 39. Test page preview

Figure 40. Address of a page

Figure 41. Page does not automatically appear on front page

Figure 42. Adding test page menu
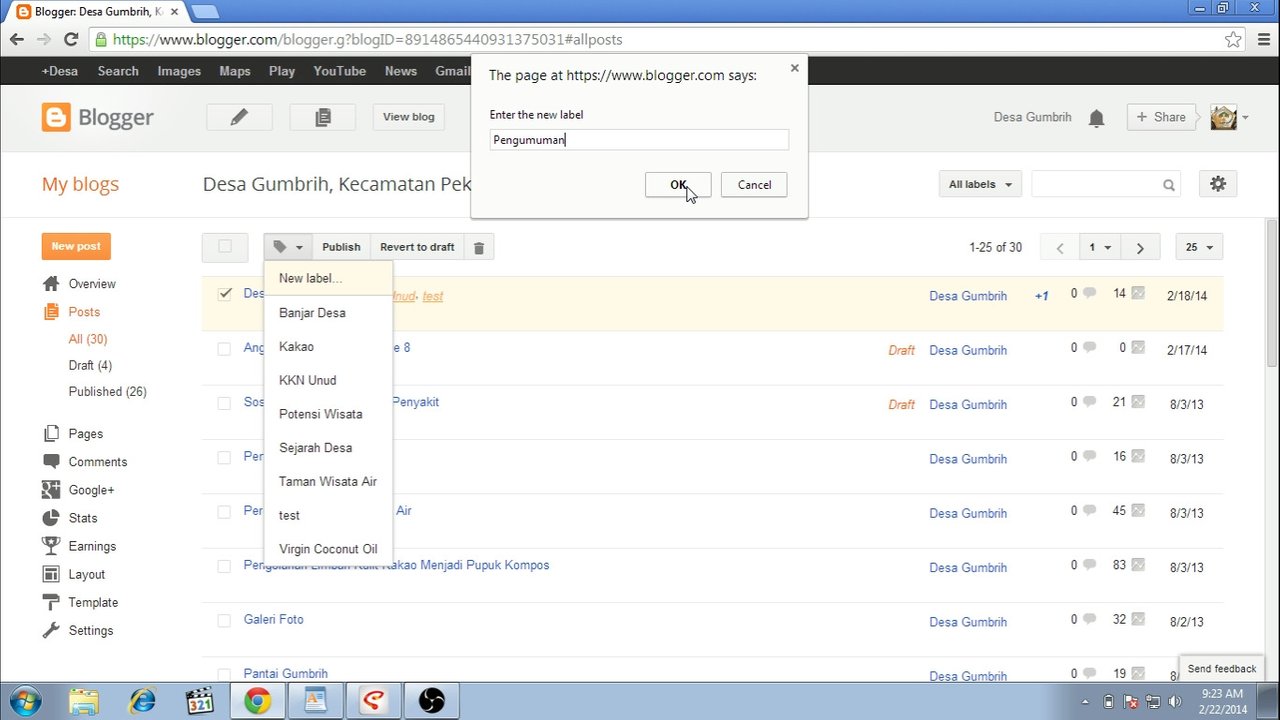
Figure 43. Adding announcement label on a post

Figure 44. Announcement label

Figure 45. Address of announcement page

Figure 46. Adding announce page menu
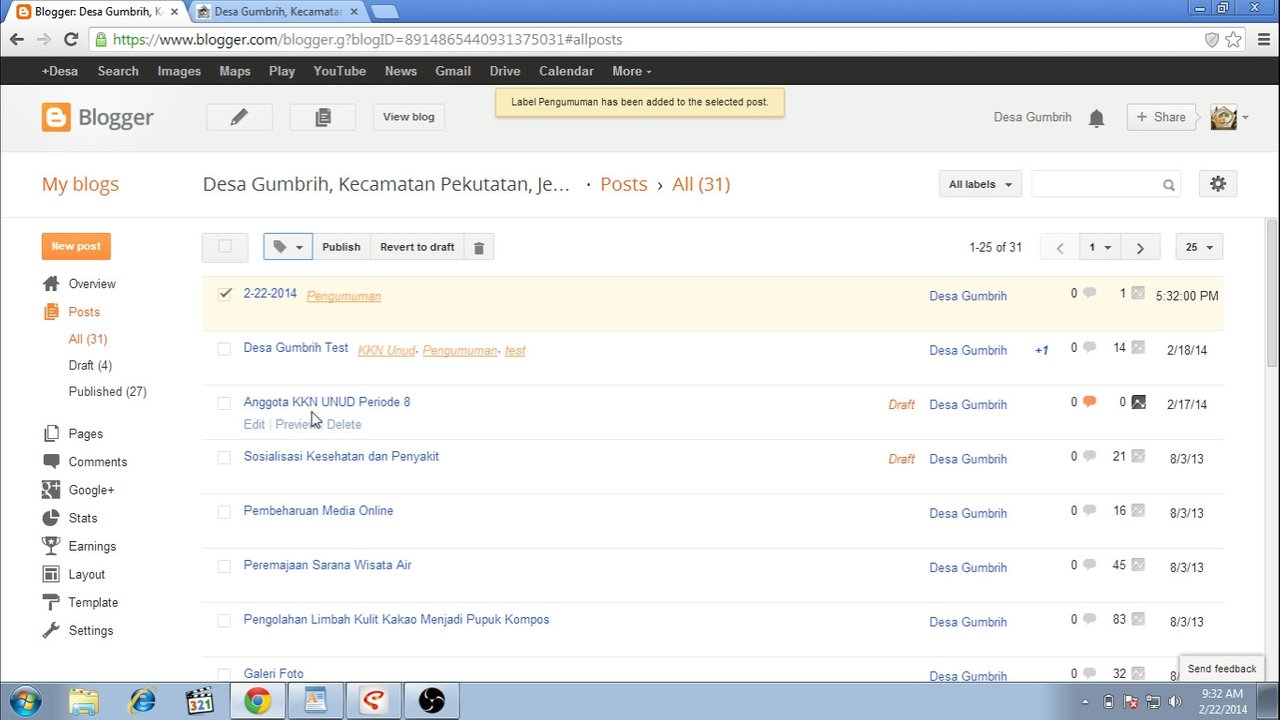
Figure 47. Adding announcement label on new post

Figure 48. Announcement page display 1

Figure 49. Announcement page display 2
5. Slider

Figure 50. Editing photo gallery
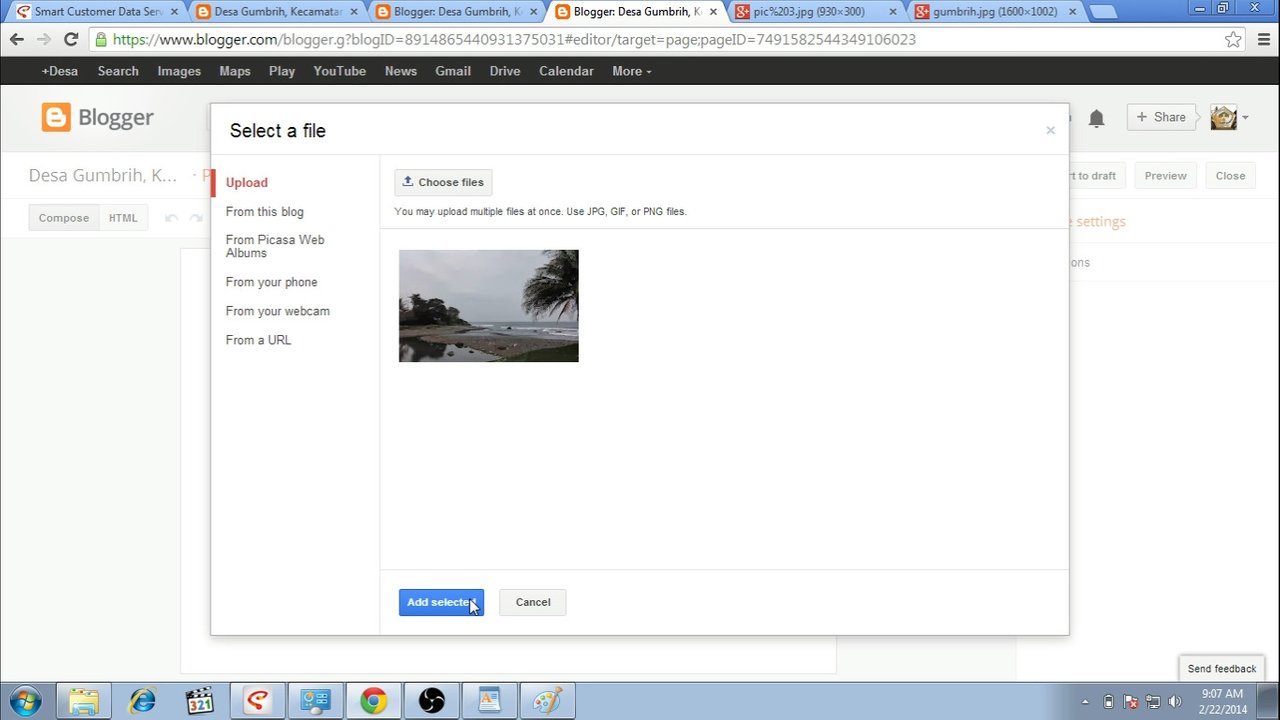
Figure 51. Adding photo to photo gallery

Figure 52. Photo gallery publication

Figure 53. Photo gallery display

Figure 54. Copying photo's hyperlink

Figure 55. Inserting photo's hyperlink to slider

Figure 56. Slider html code

Figure 57. Additional image on slider
Mirrors
- https://www.publish0x.com/fajar-purnama-academics/now-a-blogger-handbook-which-used-to-be-a-gumbrih-village-we-xllrmzz?a=4oeEw0Yb0B&tid=steemit
- https://0darkking0.blogspot.com/2020/10/now-blogger-handbook-which-used-to-be.html
- https://medium.com/@0fajarpurnama0/now-a-blogger-handbook-which-used-to-be-a-gumbrih-village-website-handbook-during-my-community-70bab9ee9c57
- https://0fajarpurnama0.github.io/internet/2020/10/21/blogger-handbook-gumbrih
- https://hicc.cs.kumamoto-u.ac.jp/~fajar/internet/blogger-handbook-gumbrih.html
- https://0fajarpurnama0.wixsite.com/0fajarpurnama0/post/now-blogger-handbook-which-used-to-be-a-gumbrih-village-website-handbook-during-my-community-service
- http://0fajarpurnama0.weebly.com/blog/now-a-blogger-handbook-which-used-to-be-a-gumbrih-village-website-handbook-during-my-community-service-program
- https://0fajarpurnama0.cloudaccess.host/index.php/9-fajar-purnama-academics/78-now-a-blogger-handbook-which-used-to-be-a-gumbrih-village-website-handbook-during-my-community-service-program
- https://read.cash/@FajarPurnama/now-a-blogger-handbook-used-to-be-gumbrih-village-website-handbook-during-community-service-program-9e17237a
- https://www.uptrennd.com/post-detail/now-a-blogger-handbook-which-used-to-be-a-gumbrih-village-website-handbook-during-my-community-service-program~NzgyMTEw