[4]Repearing of: power cable
Repair of the power cable
Today's article will concern the repair of all kinds of power cords in which the plug or cable in its vicinity has been damaged.
About health and safety
Many electrical devices are designed in such a way that in the case of a damaged or broken supply plug, the replacement of the entire cable is difficult to implement. Therefore, it is easiest to replace the plug itself at such times.
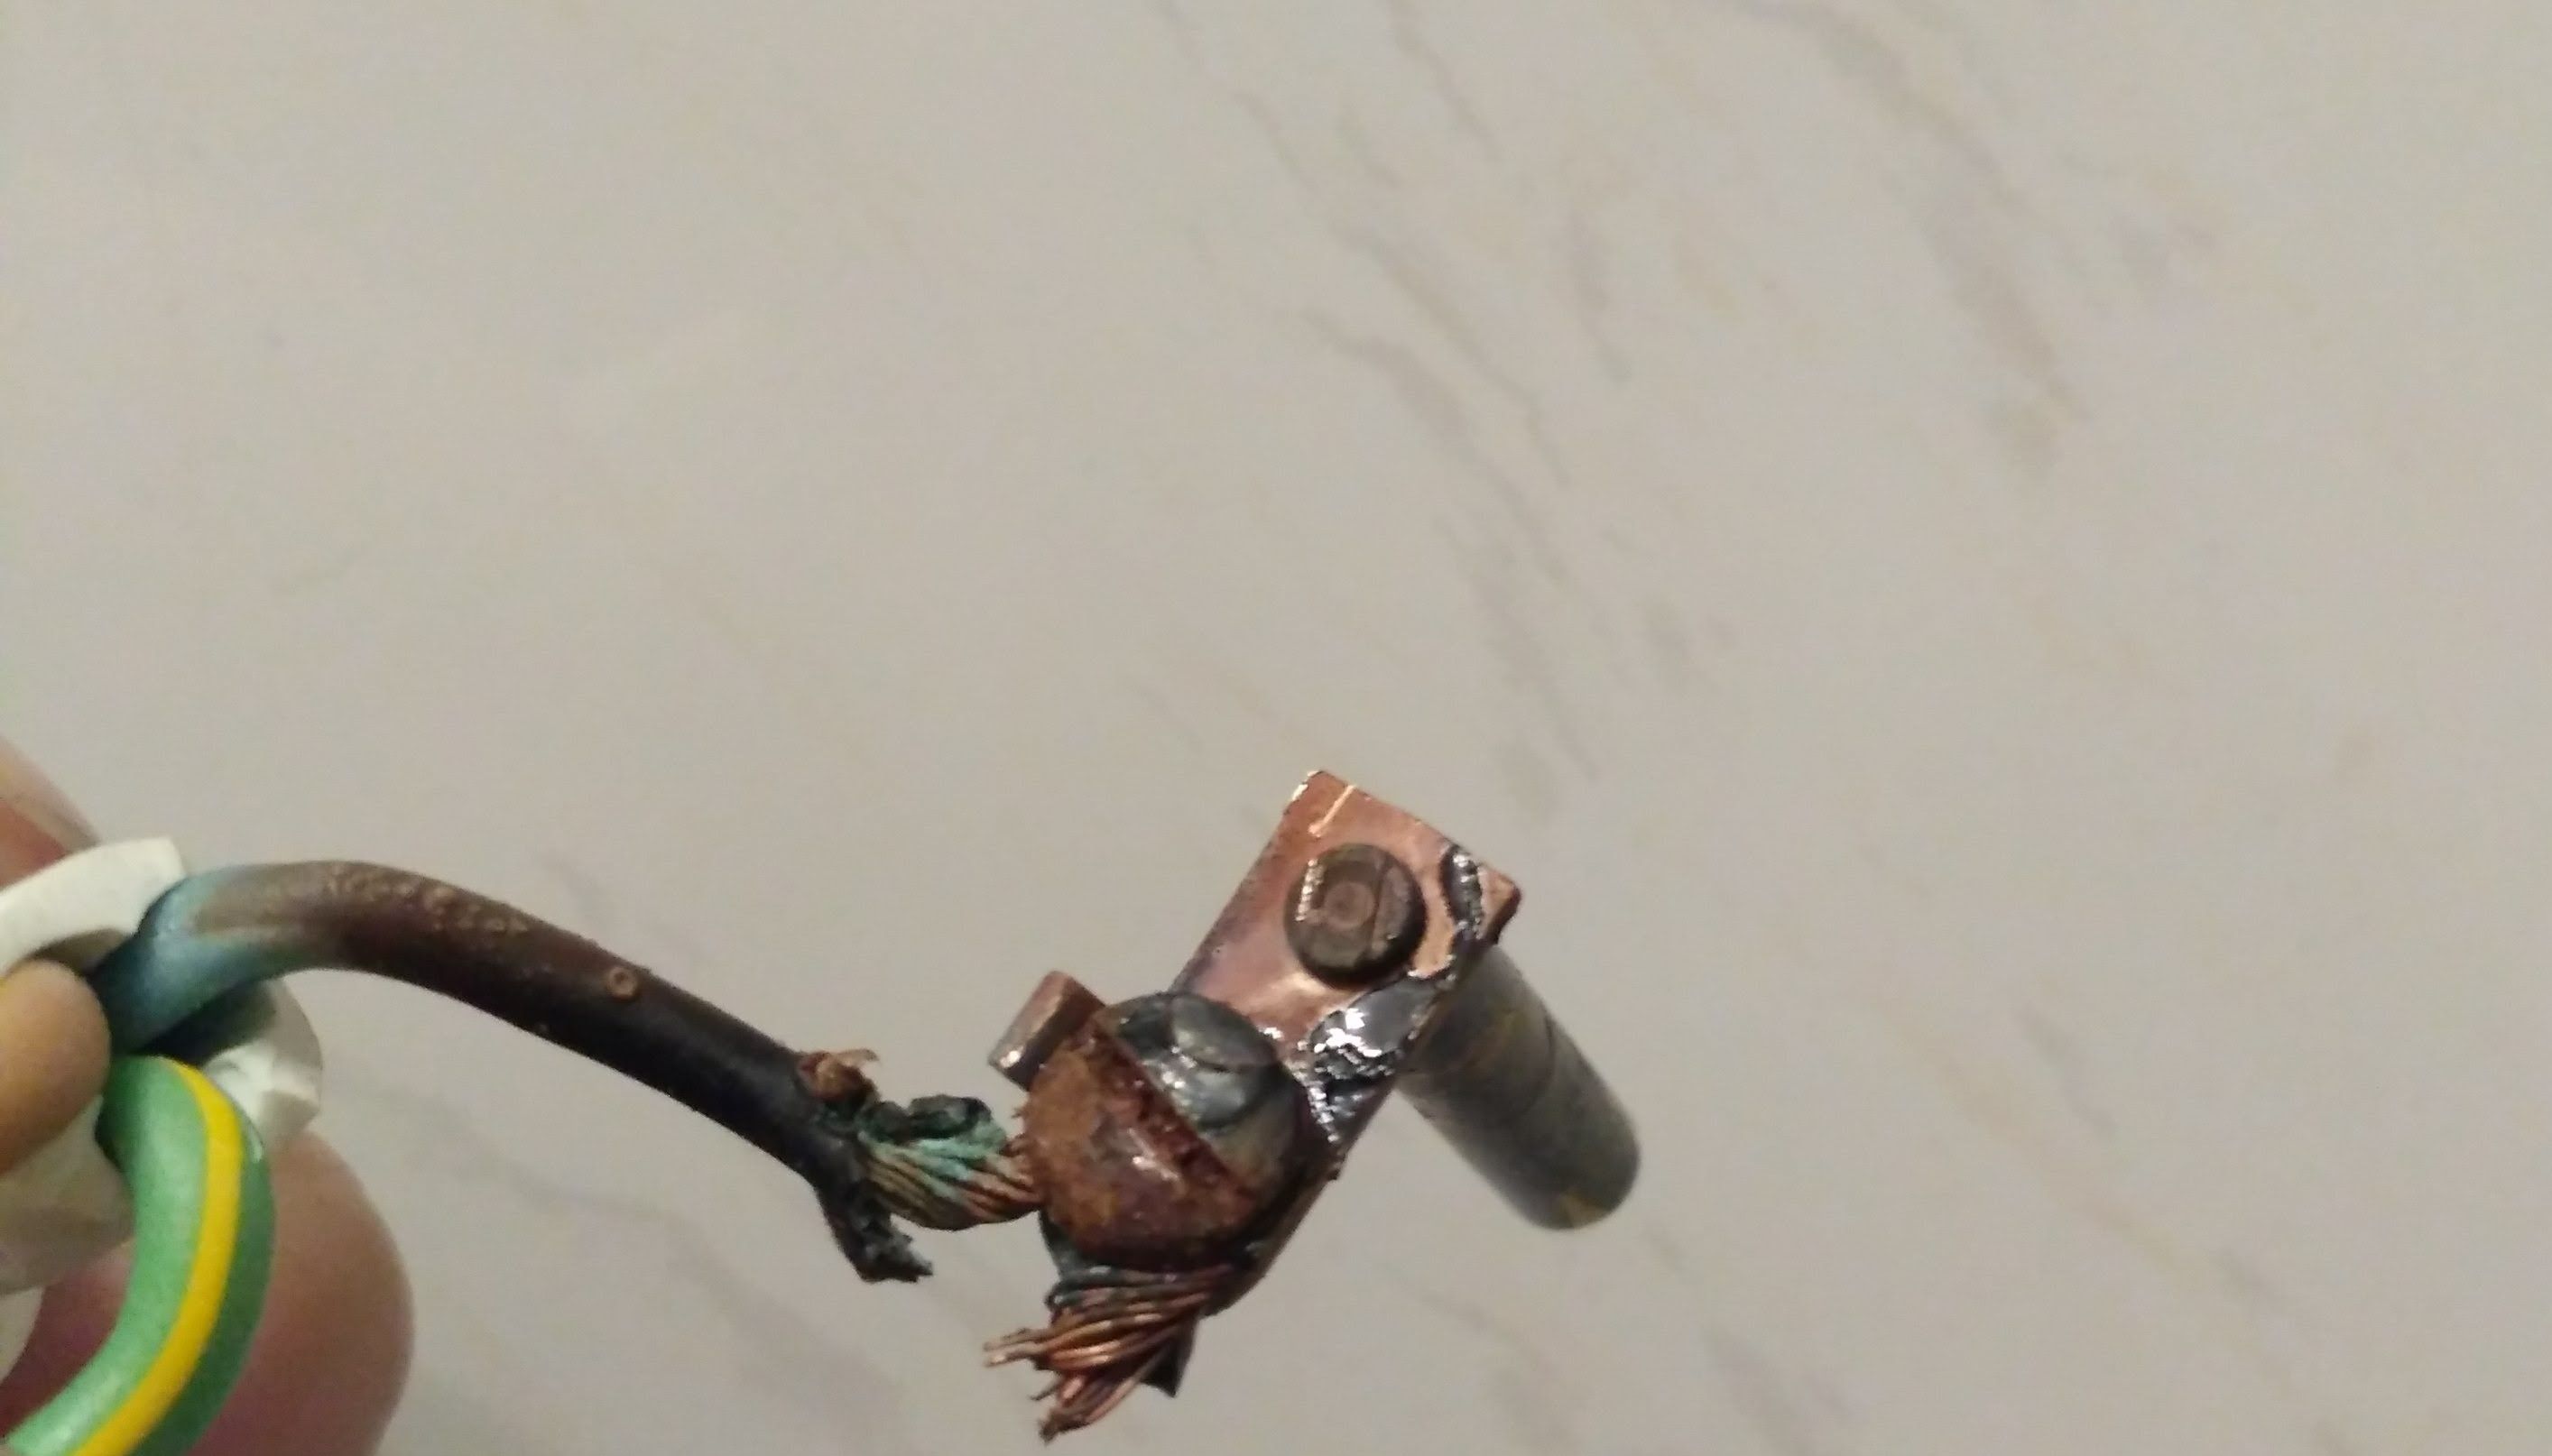
Basically, there are the two most common reasons why we exchange it. The first is that the device does not work, or notice that his work is interrupted by shaking the cable. The second reason is health and safety, which in my opinion is more important. When does the device stop being safe? When the external insulation of the cable is damaged. There is no breakdown yet, because conductive conductors cover the insulation, but there is a very high probability that since the external insulation has been interrupted, the isolation of the cables may occur in a very short time. It should be remembered that it is simply less resistant to mechanical damage. When we see such a situation, we can not underestimate it! It's best to get right away for repair. Remember that devices can also be used by people who are unaware, such as children. So it's better to react immediately.
Causes of cable damage
As the cord next to the plug itself is the most susceptible to damage, if something is wrong with it, the wires at the plug have been torn to 90%. It is very often the case that the external insulation is whole, but the copper has been broken. So what is the most common reason for such invisible damage? In most cases, this is unfortunately an inappropriate treatment of wires. How many times have you seen that there was not much left at the vacuum to reach the last mugs on the floor, but the last jerk of the hose caused the vacuum cleaner to stop working because the plug had jumped out of the socket? Yes, this is a very common reason for damaging this piece of wire. Learning for now? Never remove the cable from the socket by pulling the cord! We always catch the plug :)
Another reason for cable damage is incorrect winding of wires. How many times have you wrapped the power cord around the device? Here, you can more often damage it on the device itself and not on the plug, but it is also worth paying attention to it :)
How to fix it?
Devices powered from 230V in a household can be divided into two types. Those with metal casing or metal parts on which voltage can appear and those whose casing guarantees that there is no possibility of voltage on them. These are successively devices 1 and 2 of protection class. Why do I mention this? They differ in the type of wire. Those of the second class of protection are powered by a two-wire cable, while those of the first class - three-wire. When replacing the plug, keep this in mind. The principle is that for a two-wire cable we can insert a plug with a protective pin (there is nothing connected to the protective contact) and for a three-wire cable, the insertion of a plug without an earthing plug is not allowed!
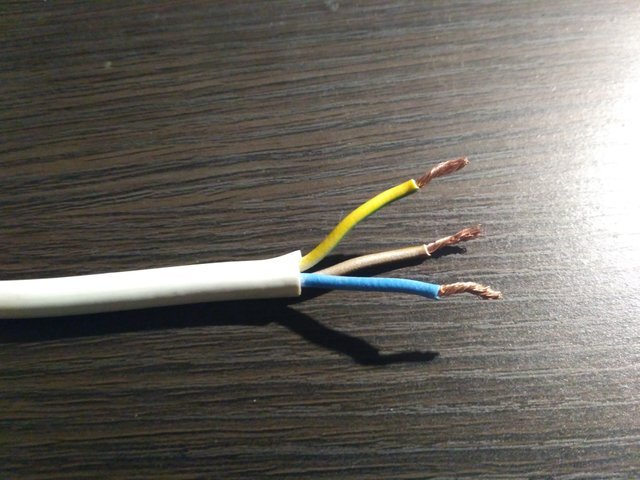
We start the work of replacing the plug first with the preparation of the cable. We remove the surface insulation and then get rid of the insulation from individual wire. (photo 1)
Some people, having such a prepared cable, connect it to the plug. It's a mistake! The power cords of the devices are made of many thin wires. Connecting this type of wire without prior preparation will cause that after some time due to the flowing current, the contact surface between the wires and the pin of the plug will deteriorate. At this point it will start to heat up, to one day cause a short between the wires due to the melting of the plug.
The next step in the preparation of the wire is whitening the tips. If you read my entry about headphone repair - you know how to do it. We will need a soldering iron, tin and rosin.
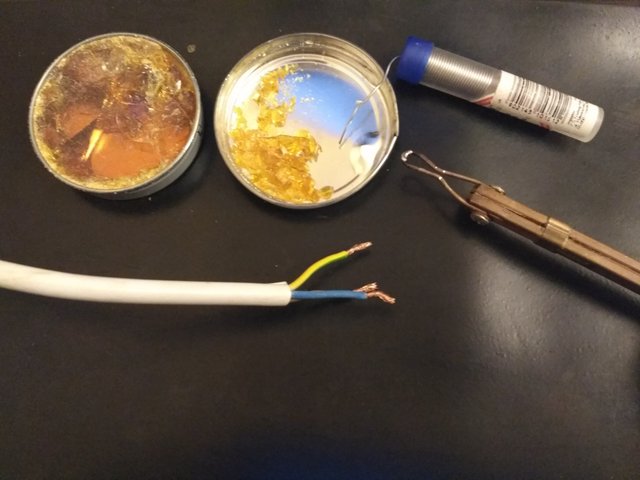
We will do it again not entirely in accordance with art. Use a soldering iron to melt some tin, apply the wire to the rosin and then heat it with the tip. The heated conduit will be immersed in the rosin, melting it, and the tin which is on the cave will immediately connect with the copper. We repeat this treatment until the vein is whitened thoroughly. We remember not to allow tin and rosin to get under the insulation! After whitening the tips, we are ready to assemble the plug. Before this happens, however, we make sure that there is no residual rosin on the whitewashed wires.
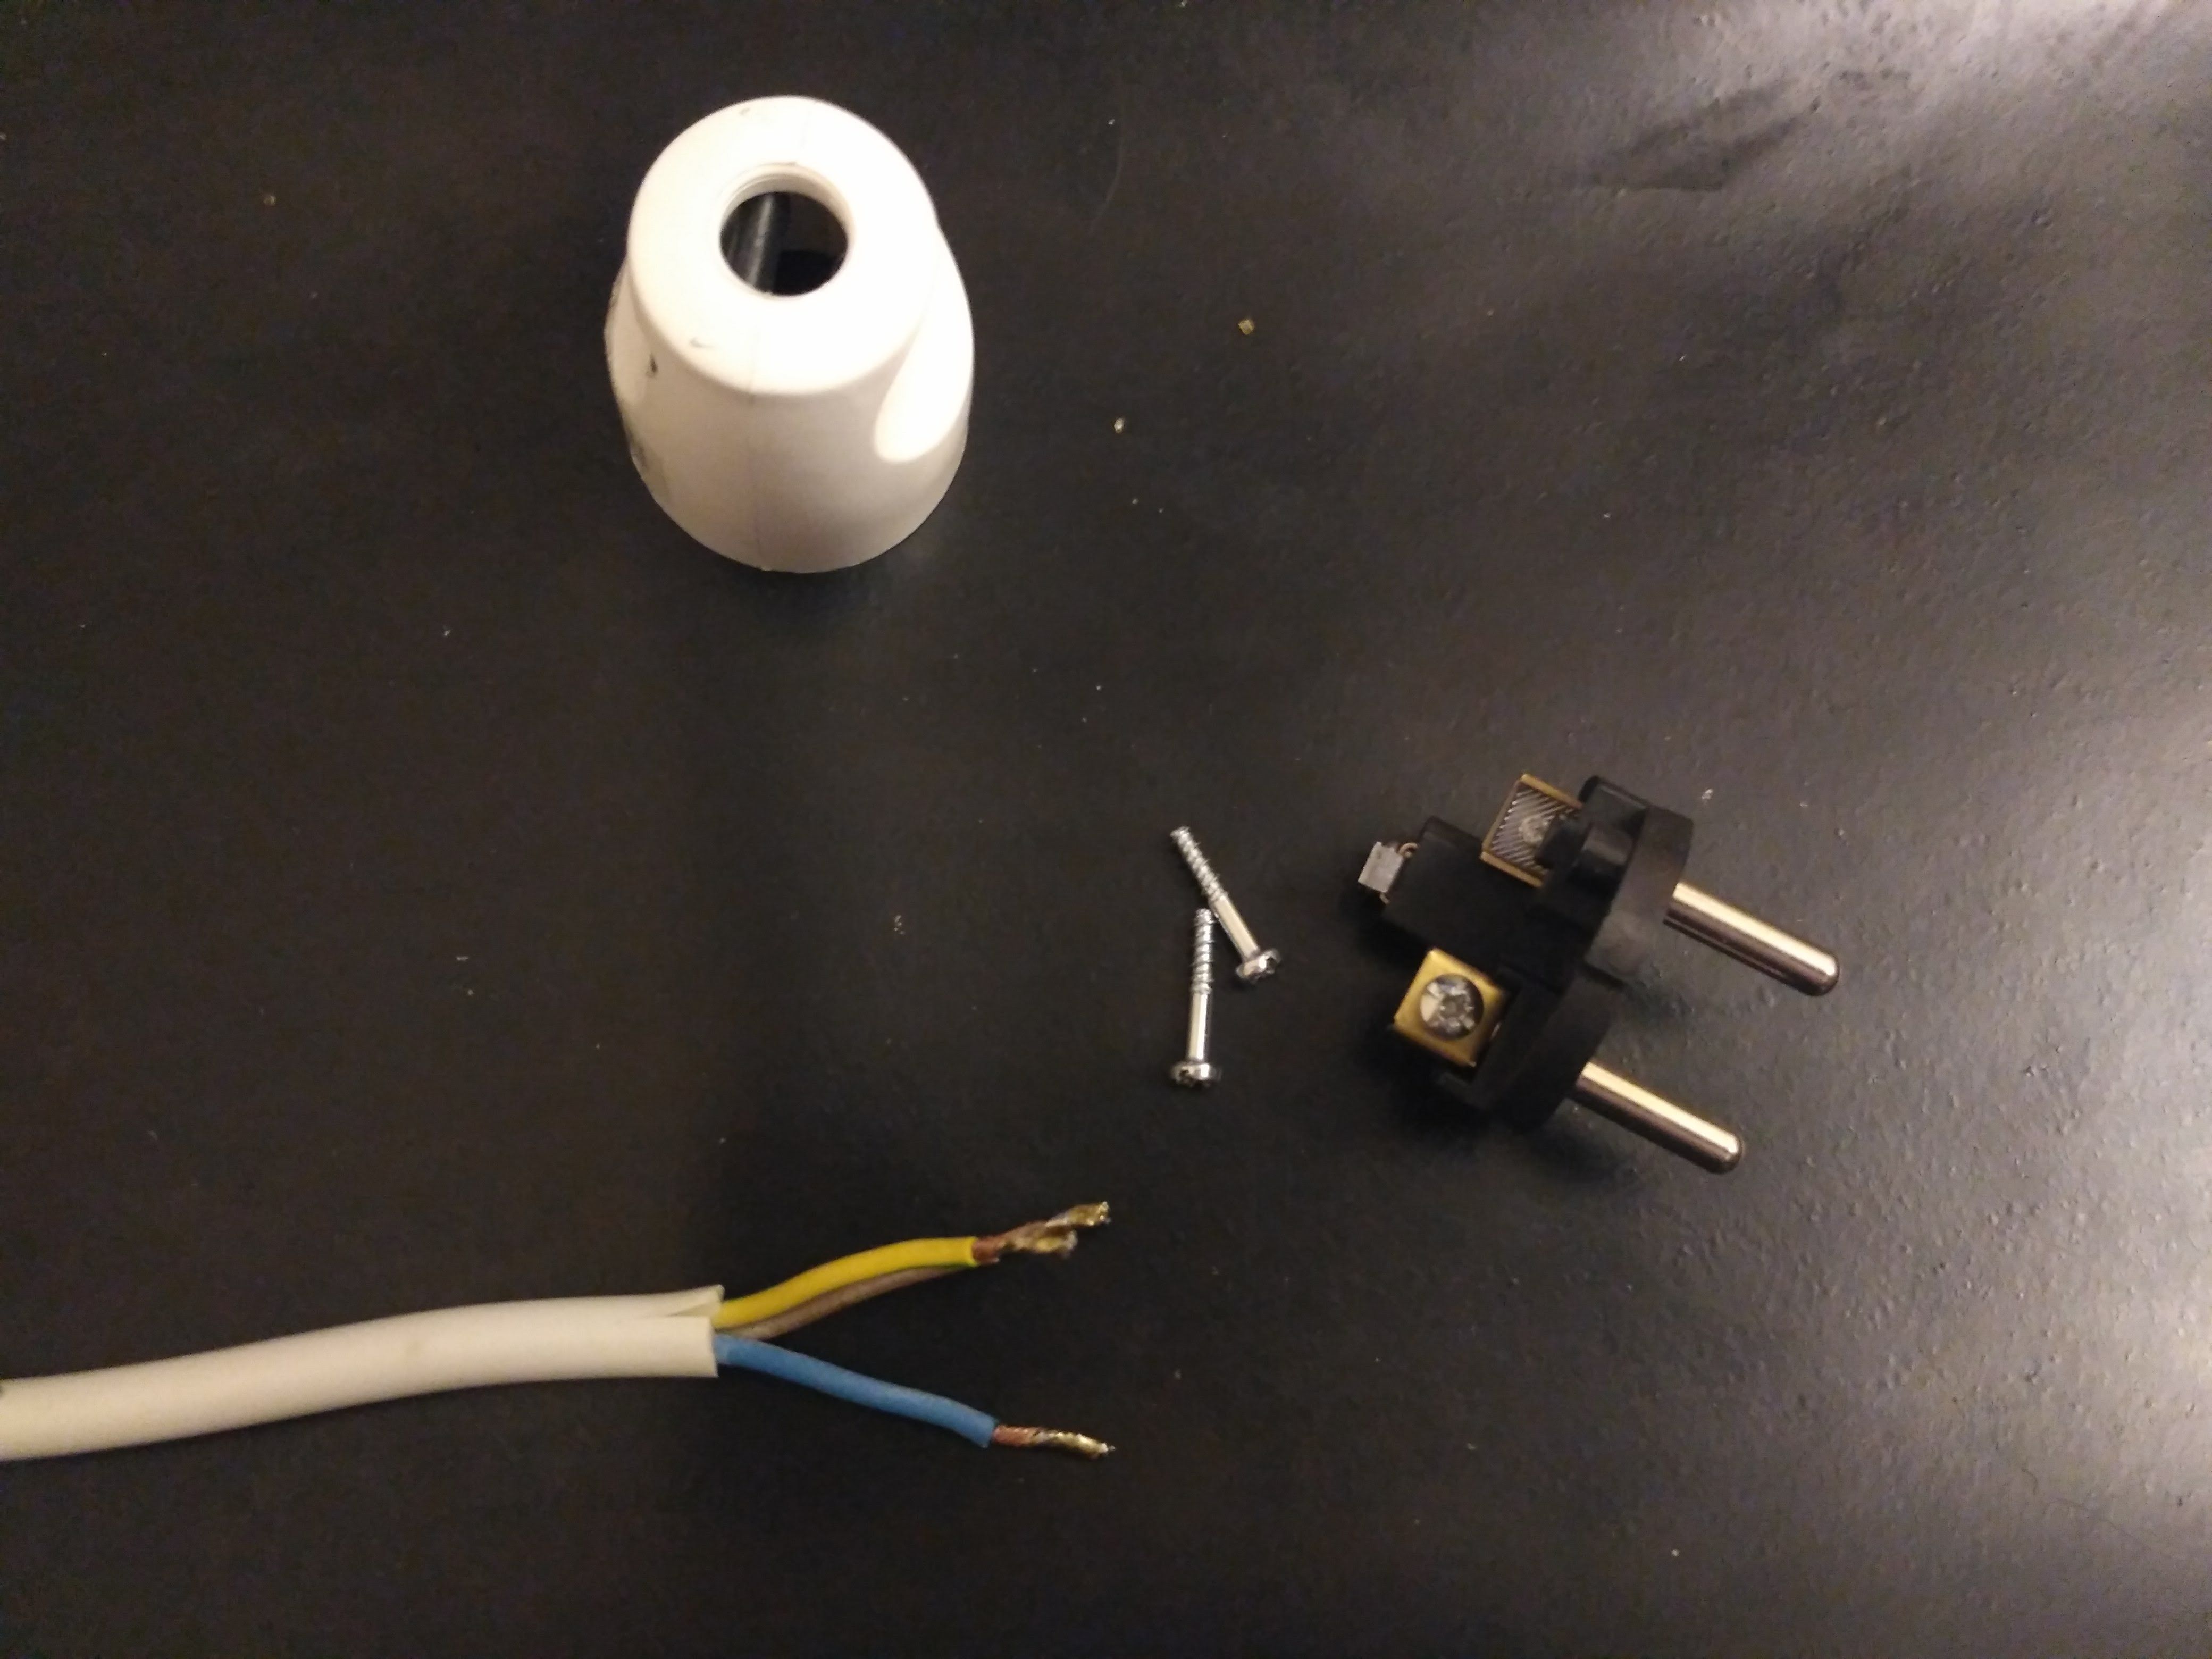
Disassemble the plug, loosen the screws that fix the wire holder and then pull the wire through it. For now, we do not tighten the screws.
We remove the bolts from the housing, and the green-yellow cable is mounted to the screw in the middle. If individual wires seem to be too long, we can shorten them gently. After installing the brown wire to the pulled out pin, mount it in the left hole (looking from the back of the plug, with the body position as in the picture).
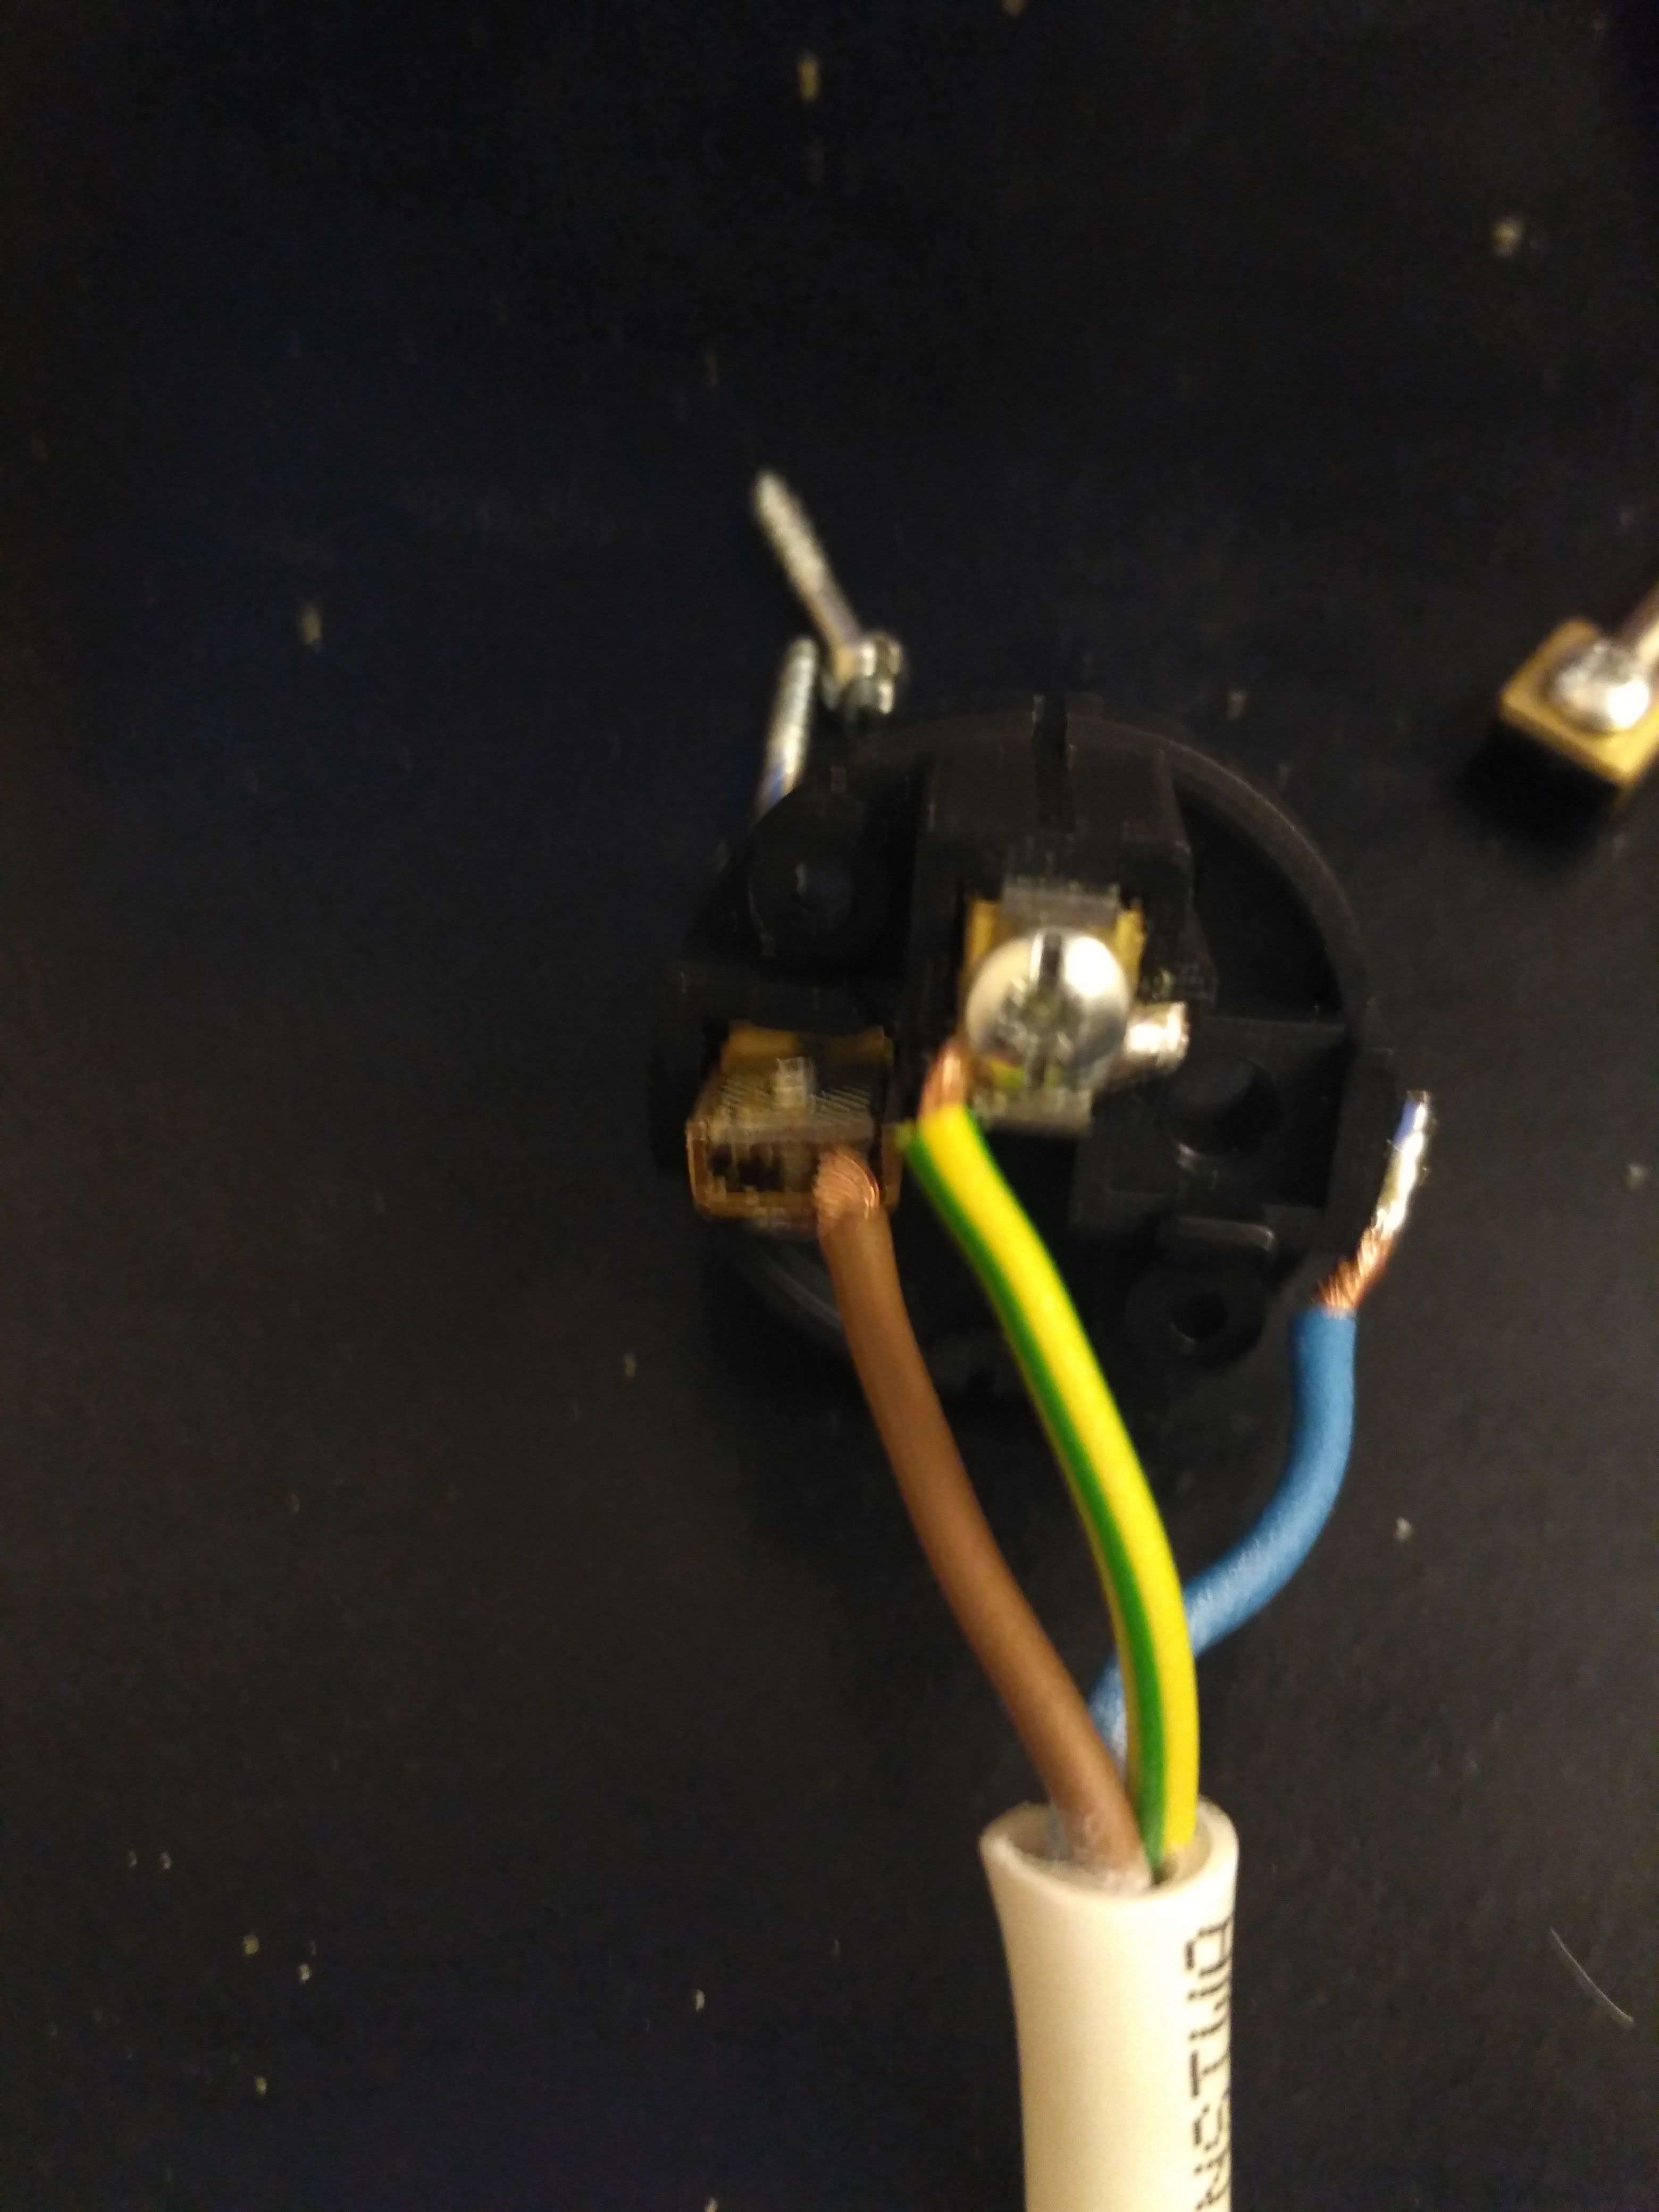
It is true that this is not officially recorded anywhere, but it has been assumed that the phase conductor is mounted on the left side. Therefore, let's stick to the so-called good habits of electricians. :) The blue wire is assembled to the second pin, we put together and turn it together.
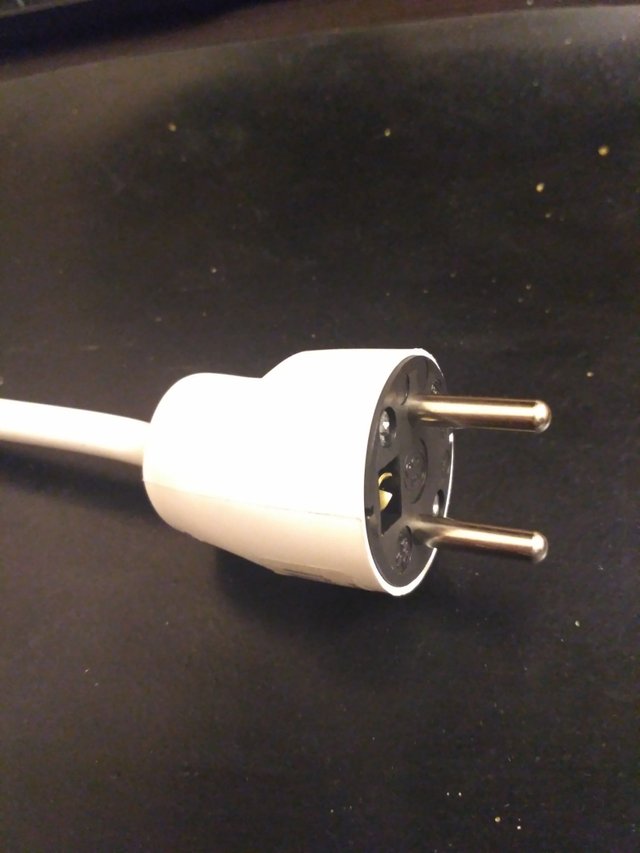
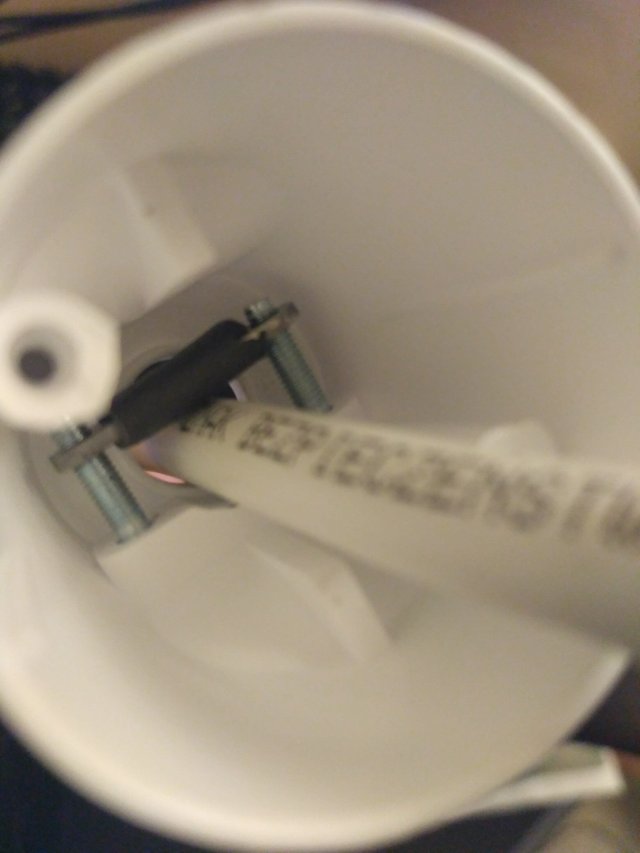
We remember that the handle holding the cable in the plug must tighten on the outer insulation! Otherwise, we may have to repair the cable again in a short time. Remember about your safety and your loved ones!
Great advice on repairing electrical wiring! So me farmers in Southern IL USA need to learn about the safe handling of electricity. (Grew up on a farm back there years ago. Was amazing the dairy barn never burned to the ground (was concrete but had lots of flammable crap in it)!
Electricity is a very important part of science. :) Sometimes it is good do know how it works and how can we repair some to do it safer :)
Congratulations! This post has been upvoted by SteemMakers. We are a community based project that aims to support makers and DIYers on the blockchain in every way possible. Find out more about us on our website: www.steemmakers.com.
If you like our work, please consider upvoting this comment to support the growth of our community. Thank you.