How To Replace a Brake Booster
WARNING! FIXING YOUR OWN CAR IS DANGEROUSLY GOOD FOR YOUR WALLET AND MAY LEAD TO FEELINGS OF ACCOMPLISHMENT AND SELF SUFFICIENCY! ALWAYS WORK SAFELY!
Power Brakes
When the automobile was a new invention, they had a hand brake like an old carriage. As time progressed, we got the foot brake. At last, in 1927, the vacuum brake booster was invented to shorten stopping distances.
Diagnosis
Brake boosters can go bad over time or they may suddenly give up on you. Never fear, though, just because you lose boost doesn't mean the car wont stop, it just means you have to apply a lot more effort to stop.
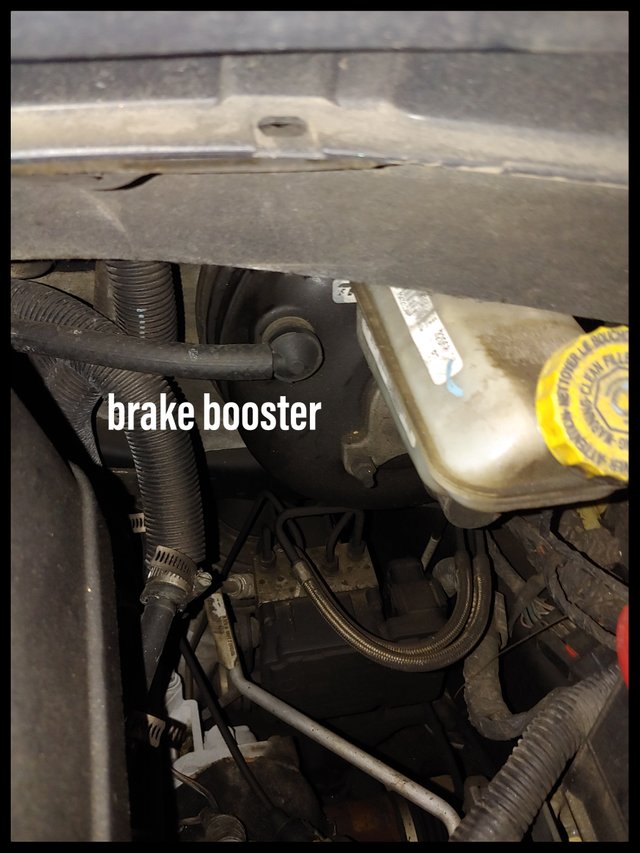
If the boost on your brakes goes away, pop the hood and have a look at the vacuum hose that goes to the booster. Is the line attached? Is there cracks or holes in the line? If so, replace the hose and check the brake pedal. If the hose is fine, disconnect it from the booster while the engine is running and place the end of your finger over the end of the hose. There should be a strong vacuum sucking on your finger. If not, you may have an engine problem. If you have good vacuum and no boost, your booster is bad. Time to break out the tools!
Step 1
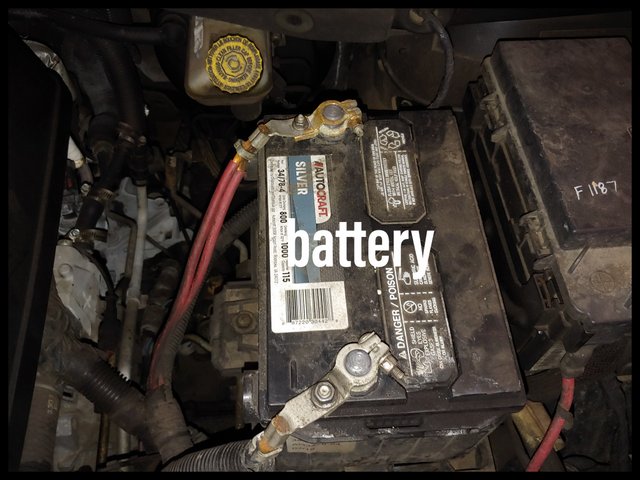
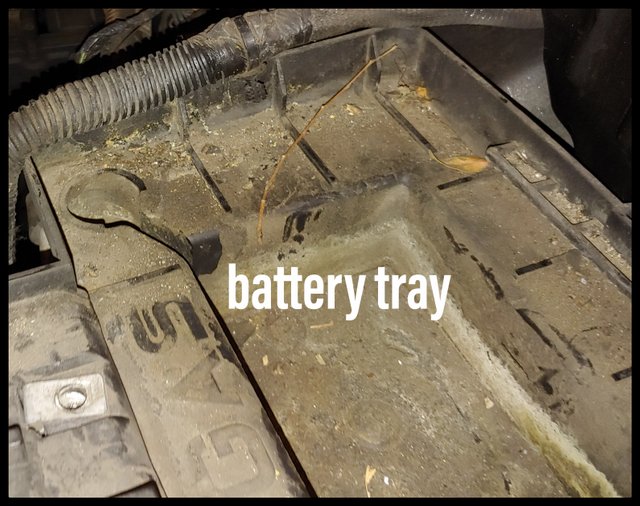
In my vehicle, the battery and battery tray block my access to the brake booster. I remove the battery and remove the bolts from the battery tray.
Step 2
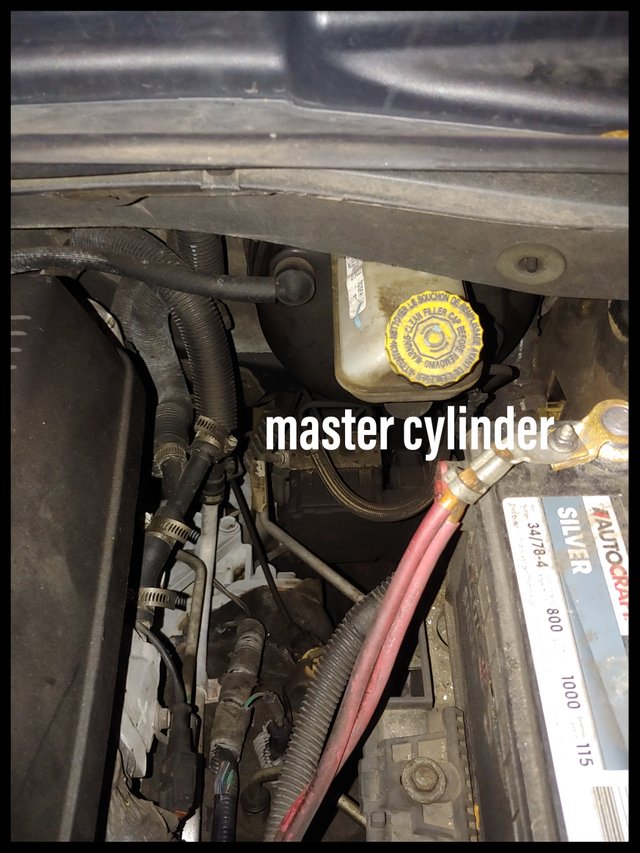
Thank God for some automotive engineers! Some gem at Chrysler put braided flexible brake lines on my master cylinder. That saves about an hour over solid brake line. If you have solid brake lines, you must disconnect them prior to removing the master cylinder nuts. Sorry.
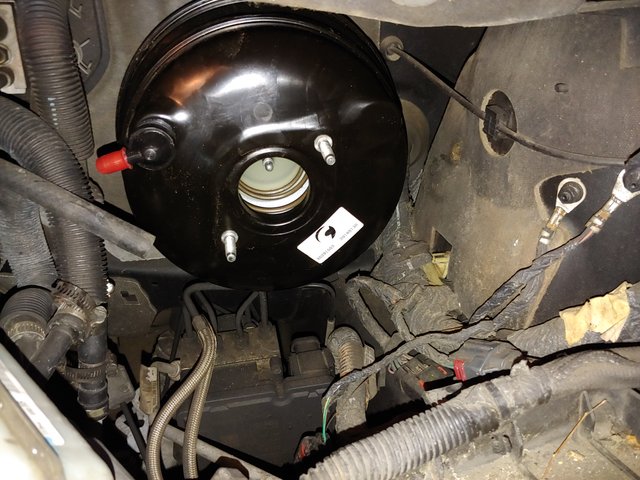
If you are lucky, like me, remove the master cylinder retaining nuts and rotate the master cylinder away from the booster. I stuck mine under the intake shroud. Disconnect the vacuum hose at this time as well.
Step 3
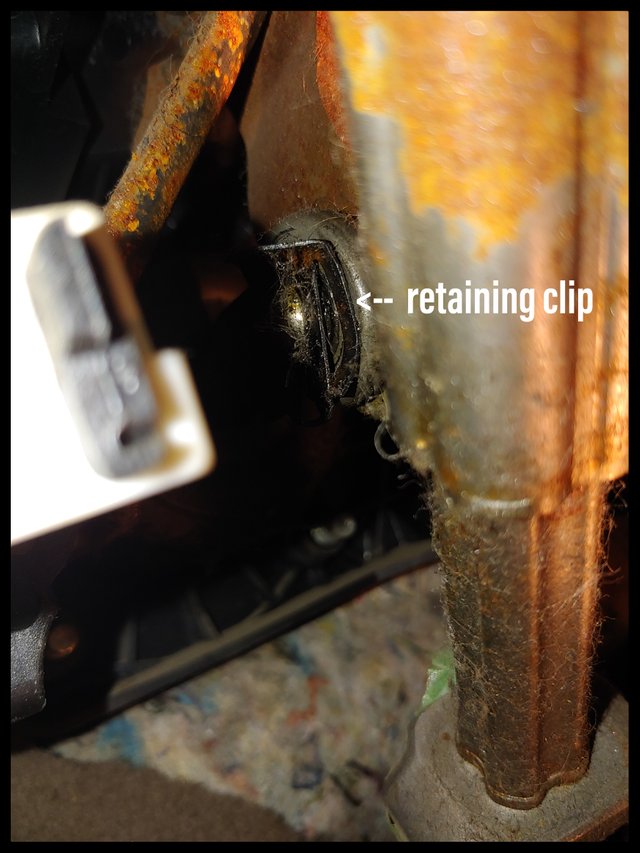
Inside the car, find where the brake pedal connects to the brake booster. There is usually a clip or cotter pin holding the two together. Remove the clip and sever the connection.
Step 4
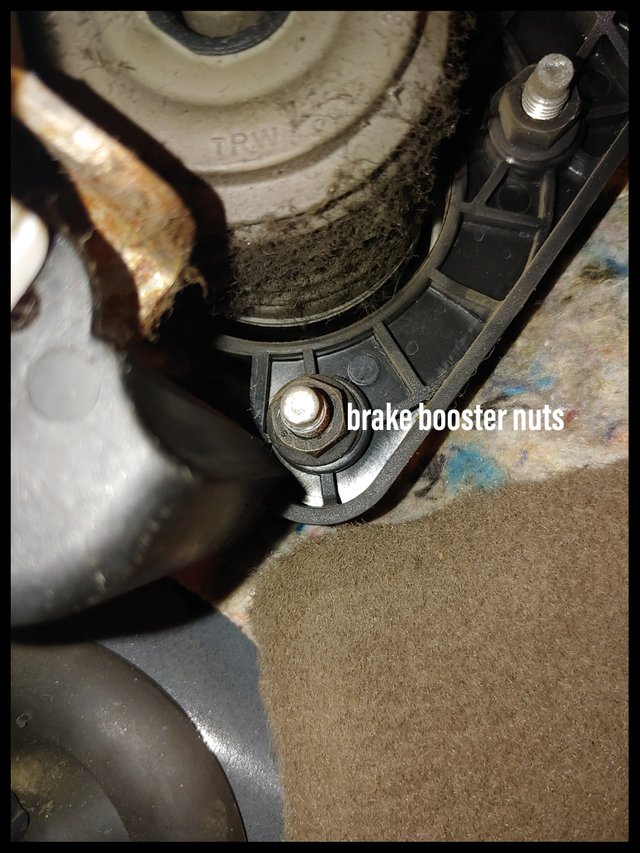
Remove the four nuts holding the booster to the firewall. A deep socket is usually required.
Step 5
Remove the booster from the engine side. I had to move my battery tray to clear the old booster, your results may vary.
Step 6
Reverse order of steps 1 through 5
NOTE: If you disconnected your brake lines for this operation, you must bleed your brakes after installation is complete! I told you I got lucky!
Start engine and check brake pedal. Your boost should be back. Congratulations! You just saved about $250 worth of labor. You're welcome!
See you soon!
Congratulations @matthewtiii! You have completed the following achievement on the Steem blockchain and have been rewarded with new badge(s) :
Click here to view your Board
If you no longer want to receive notifications, reply to this comment with the word
STOP