Photoshop Tips [Mask, Layer style and more]
Hello boys and girls !!!!
this time I'm give them a little tutorial, how to use some tools in photoshop, to facilitate a bit the illustration process.
This tutorial was made with Photoshop CC2019 but these options exist in all versions.


The Mask
Mask is an option that is used to block a space in a layer or in a group, and that in the colors or options that we use in the group.
This way we can do the coloring without wasting time erasing the eccesses of color.
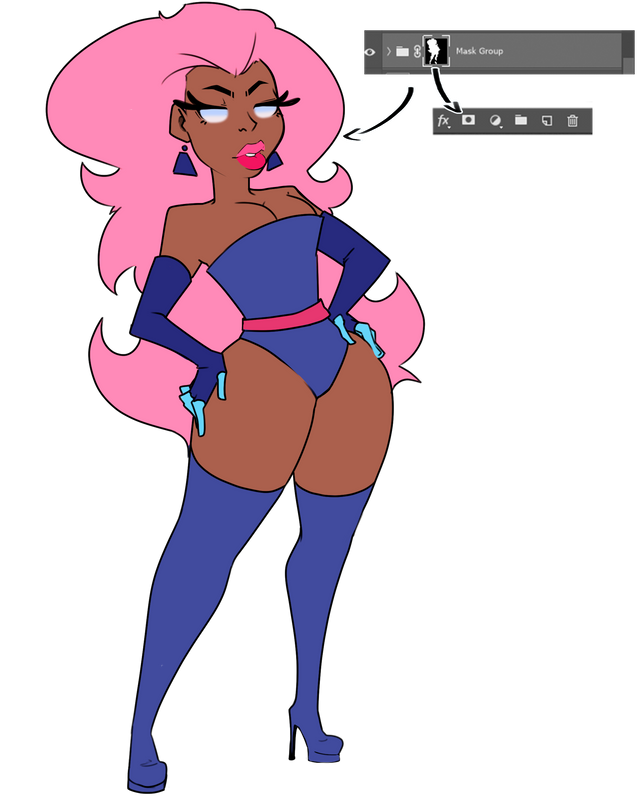
to place a mask in a group or in a layer, we select with the loop tool the zone where we are going to work, or using the magic wand.
then we use the symbol that appears in the image, selecting the layer where we are going to apply it.
Clipping Masks
A crop mask is a set of layers to which a mask is applied. The bottom layer, or base layer, defines the visible boundaries of the entire group.
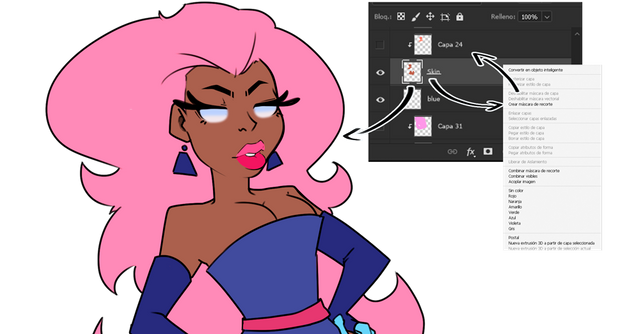
To create one of these masks you just have to select the layer or the group you want to place the mask on, right click on it or open the layer options panel.
and select clipping masks.
After that you can make the effect of lights or color change that you need for that specific section.
With this technique we can modify the color of a specific zone without the need to paint on the layer itself.
Sometimes to be able to make better effects of change of color also we will need the style of layer, but it is something that we will learn later in this post.
Grandient tool
to use it you only have to select it in the area where the can of paint is, using Right Click.
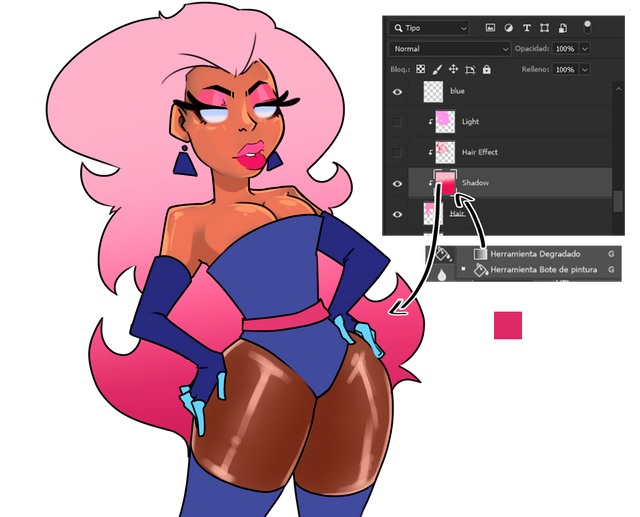
this tool is to add a touch of shade to the hair.
with a brush, we will use our colors, to add illumination and texture to the layer.
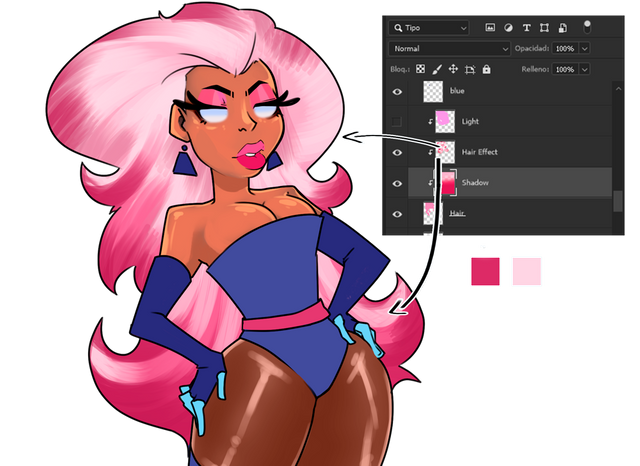
Layer Styles
lighten or modify the colors according to the option you choose.
there are many variants that you must use following the steps of the color theory or with simple "trial and error".
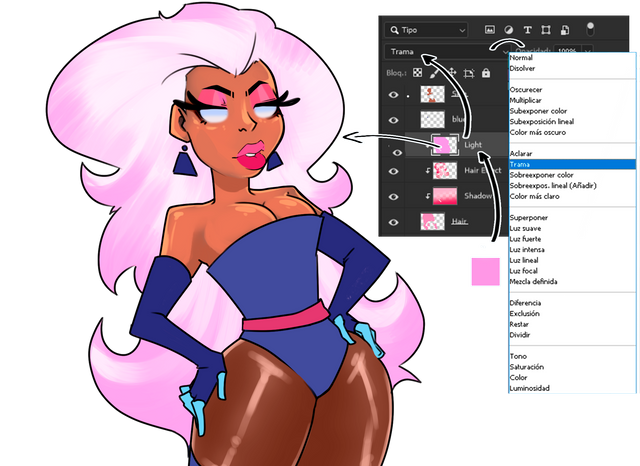
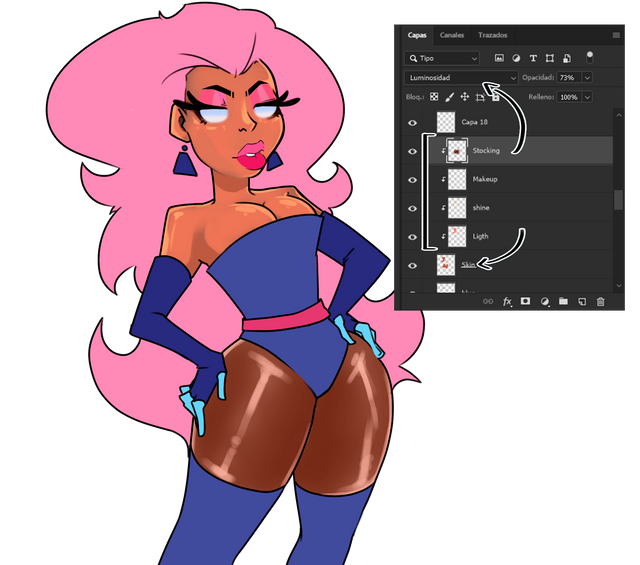
Layer Style, Multiply
this coat style mixed with tile or light purple tones, are mostly used to make the coats.
Without the "Multiply" style you would only see a flat color like this.
and then putting on the layer style and lowering the opacity a little bit.
the tone is distinguished and fused with the colors of the layers of the group.
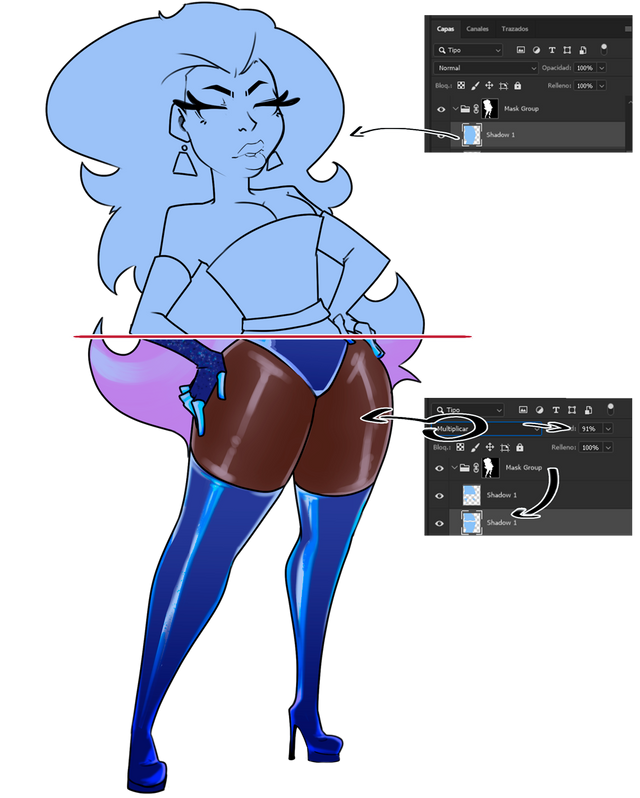
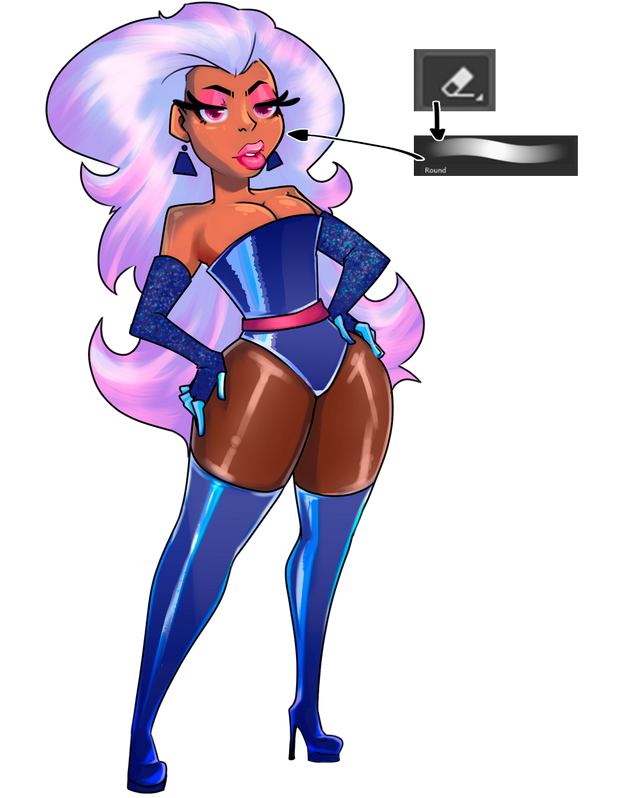
Eraser Tool
With a soft brush, we will erase the areas where we want to observe the lights.
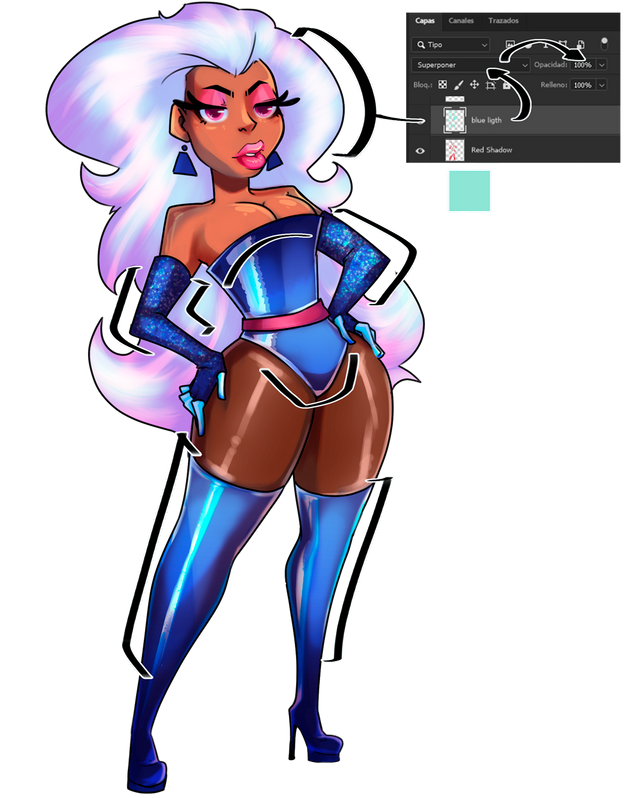
We will repeat the step of the layer multiply, but with a reddish tone to highlight some areas.

Finally to add illumination we will superimpose a light blue layer.
Ready!! this was all our little Tips to improve our performance in Photoshop!
I hope you like it and see you again!

Dear Artzonian, thanks for using the #ArtzOne hashtag. Your work is valuable to the @ArtzOne community. Quote of the week: Art, freedom and creativity will change society faster than politics. -Victor Pinchuk
muy bien explicado, saludos