REALISTIC SHADING: a drawing like a picture
Hi my dear steemians, this is yet another drawing that came in just before my series, I hope you don't mind following me as I explain the magical steps to producing it...

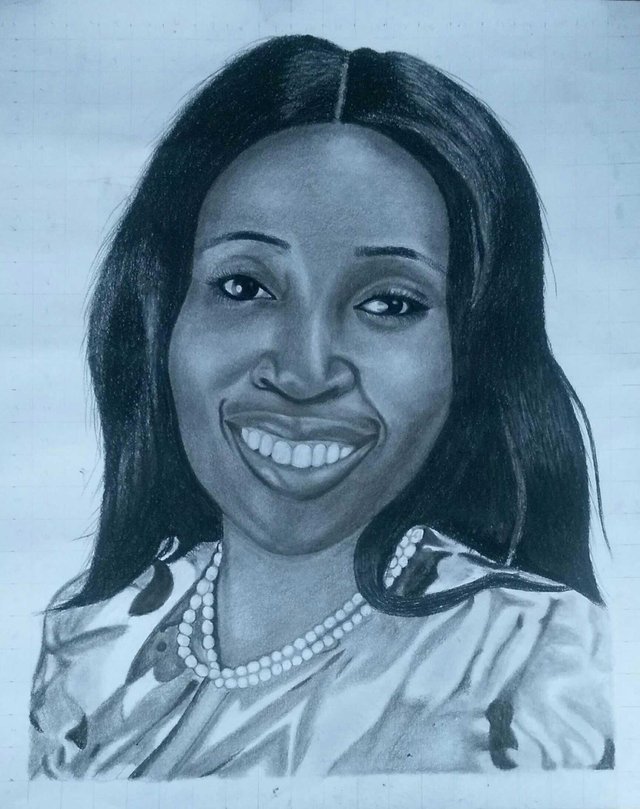
finished product.....
Materials includes
- 2b mechanical pencil
- charcoal pencil (hard & soft)
- Eraser
- blending stump
- tissue paper and
- water colour pencil black
step 1
Normally on every drawing, you begin with the sketch of the image using your 2be mechanical pencil and eraser just in cases of mistakes. But before that, you learn how to grid the work you are to work on. Grinding gives you the accuracy you want let's say 95% accuracy to whatever you are drawing.
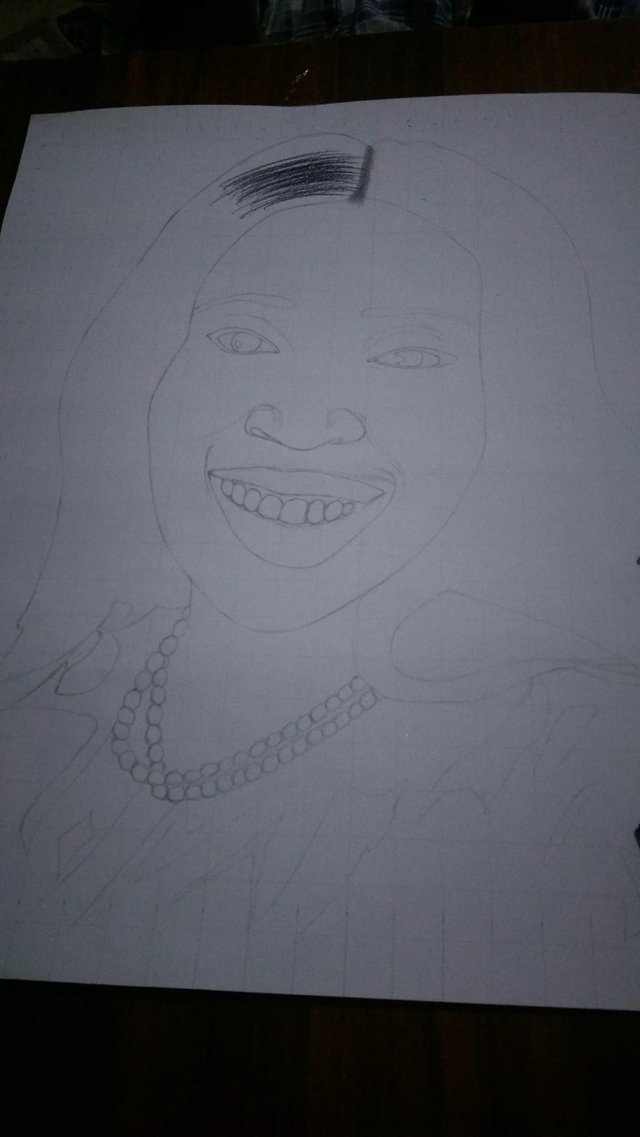
step 2
Using my charcoal pencil soft and dark, started with the strands of her hair. Now in this section, I was very careful and I hard to sharpen my charcoal pencil, soft to get a tinted mouth so that when producing the strands of hair it will appear so thin and looking real. You can see the start and progress just below
*start
*progress
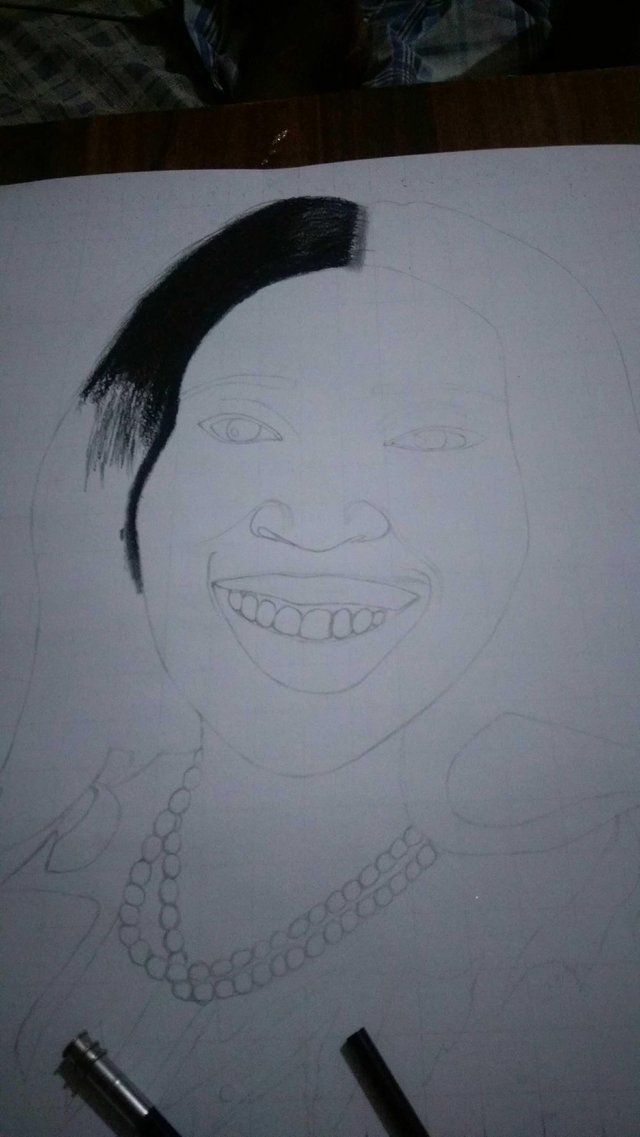
step 3
At this point I was done with the left part of her hair from my own side of the view. Then I took my charcoal pencil hard, sharpened it but not too tinted, starts the smooth shading effect while at the same time, blending with my blending stump and the tissue paper to produce a realistic smooth effect on the image. Then my eraser gave me the light effect on her skin

*finished part of the hair and some part of the other side
*shading stunt
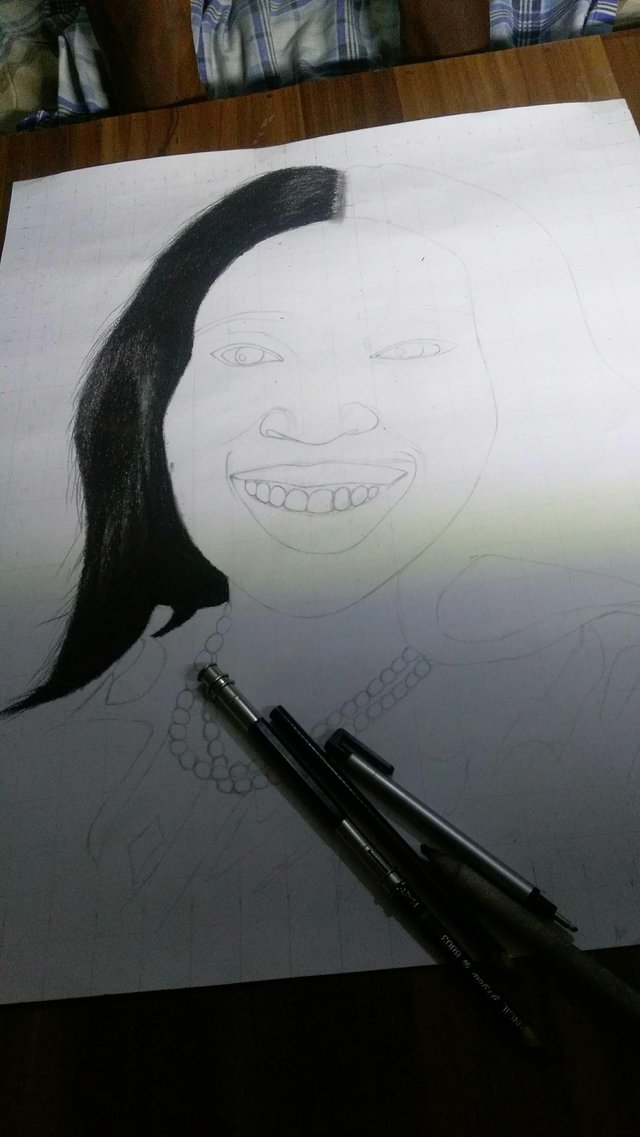
step 4
Then I did the left part of her eye from my view. Doing this, I used the water colour pencil black on that. I sharpened it very very well then drew out the dark lines and started producing the strands of eye lashes from the line I created on the eye and then shaded the eye pupil and leaving the catch light out. But for the eye brow, I used the charcoal pencil soft to create her hair strand and this made it so realistic.
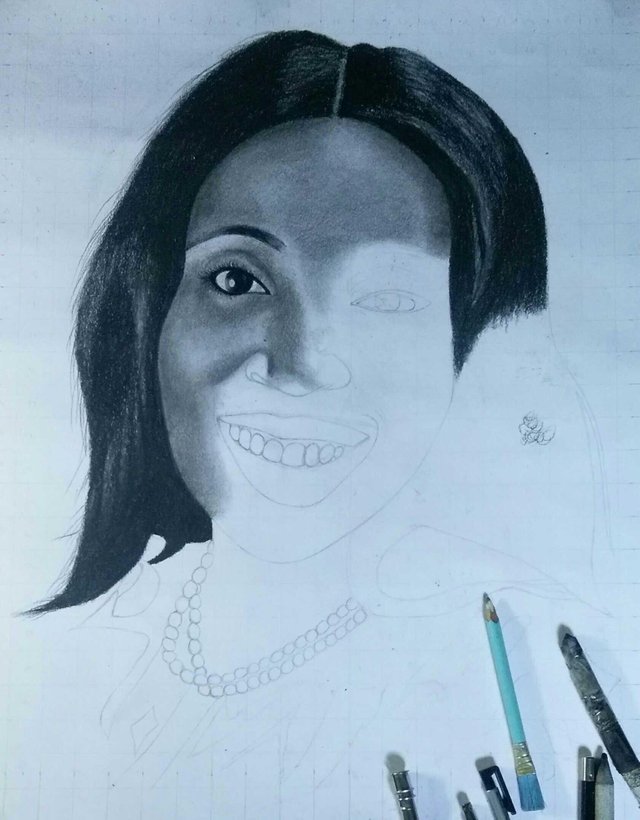
step 5
Then I continued the drawing and unto the nose, still using my charcoal pencil hard for the shading, blending stump and tissue paper for blend while eraser highlighted the low light areas or reflection on the nose and or face. When you look at the nose, you will notice a dark shades beneath it and round it curved joints, that effect enables the nose to stand out and look realistic
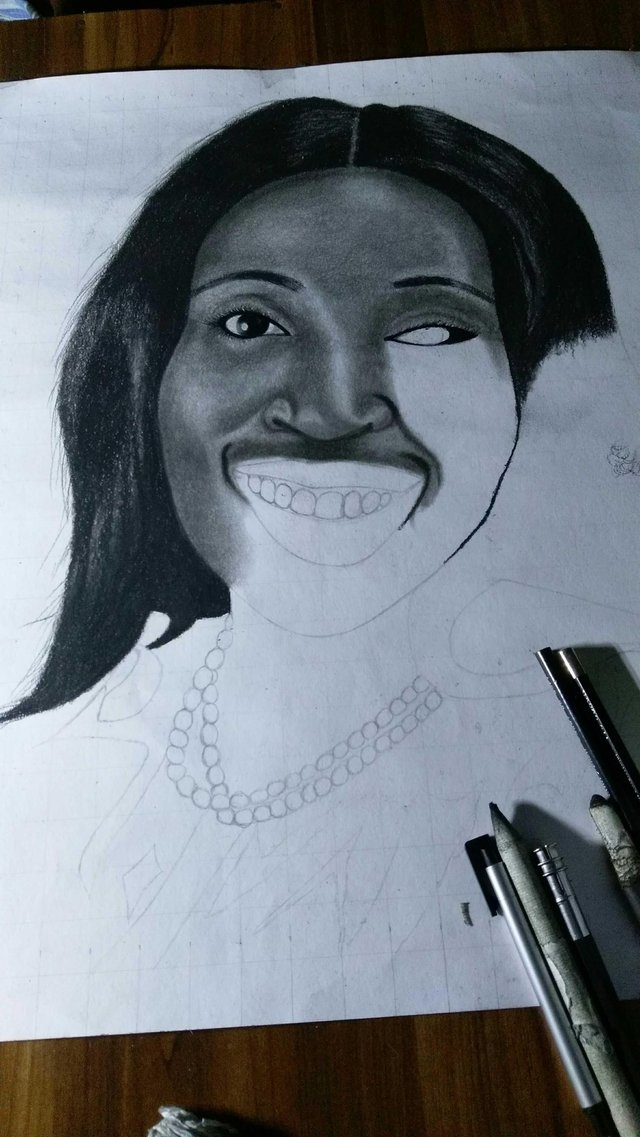
step 6
To the left part of her eye from my view. Doing this, I used the water colour pencil black on that. I sharpened it very very well then drew out the dark lines and started producing the strands of eye lashes from the line I created on the eye and then shaded the eye pupil and leaving the catch light out. But for the eye brow, I used the charcoal pencil soft to create her hair strand and this made it so realistic. I then did part of her chin and face to make or strike a balance when seen.
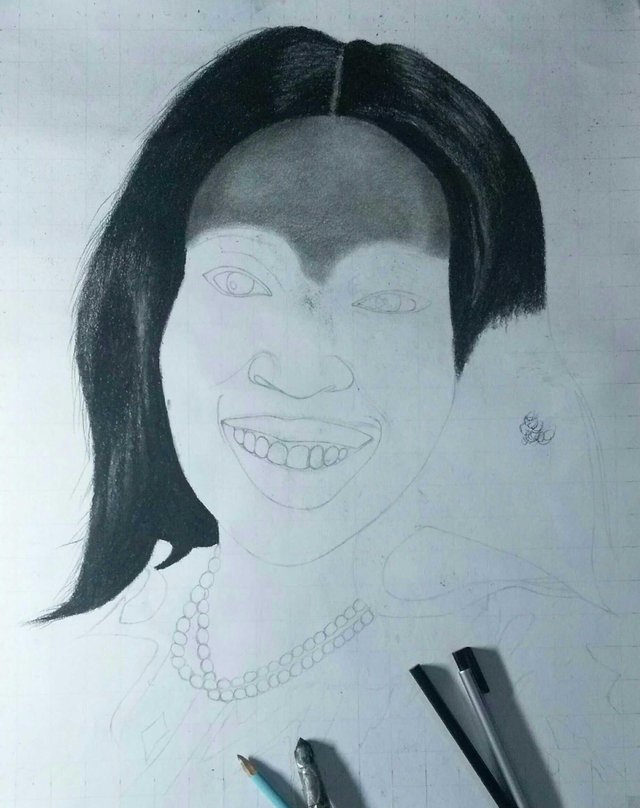
step 7
Creating her lips, teeth and jaw was just not that easy but simple, one has to be just so careful, observant and determined. Using my charcoal pencil hard, I shaded the top part of her lips, blended and smoothen with blending stump and tissue paper on both lips, but observe something, the upper lip is darker than the lower lip. On all drawings and in humans, it is a ways so. Then my eraser highlighted and created this light reflecting on her lips.
On her teeth I used 2b mechanical pencil, to create the look-like a triangle at the top of her fleshy part of the teeth with an extensive line separating the jointed teeth then I shaded a bit and also shaded the part where the teeth lies on her lower lip to make it appear inner than outer hence looking realistic

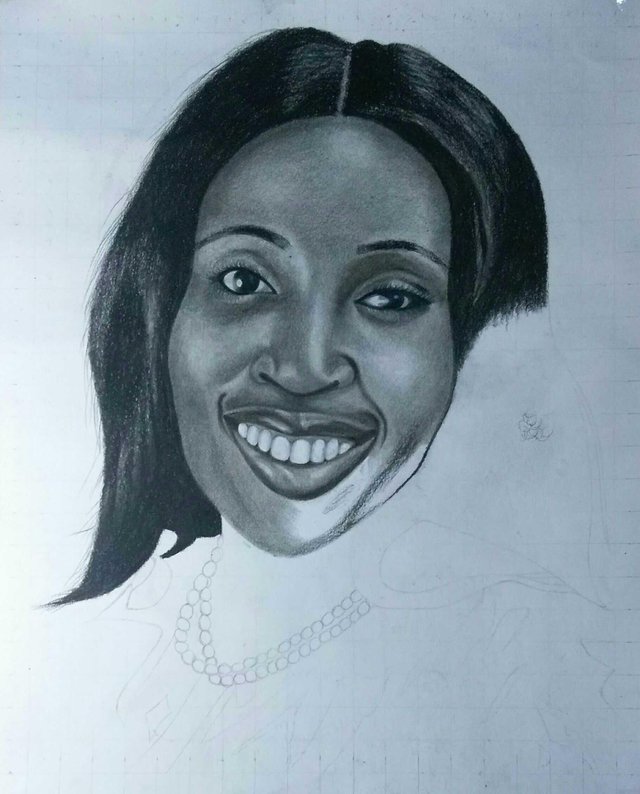
step 8
Using same charcoal pencil medium, I did the shading on her neck and created the necklace(bead) she was wearing and doing this, the technique is just simple, shade every other part around the bead way darker that the bead, and its bead will stand out looking realistic. And as well as I did part of her hair using my charcoal pencil soft. I was actually careful and at the same time fast in producing the effects. Then used the same charcoal pencil hard, on the shading of her shirt while I smoothen it with my blending stump and tissue paper.
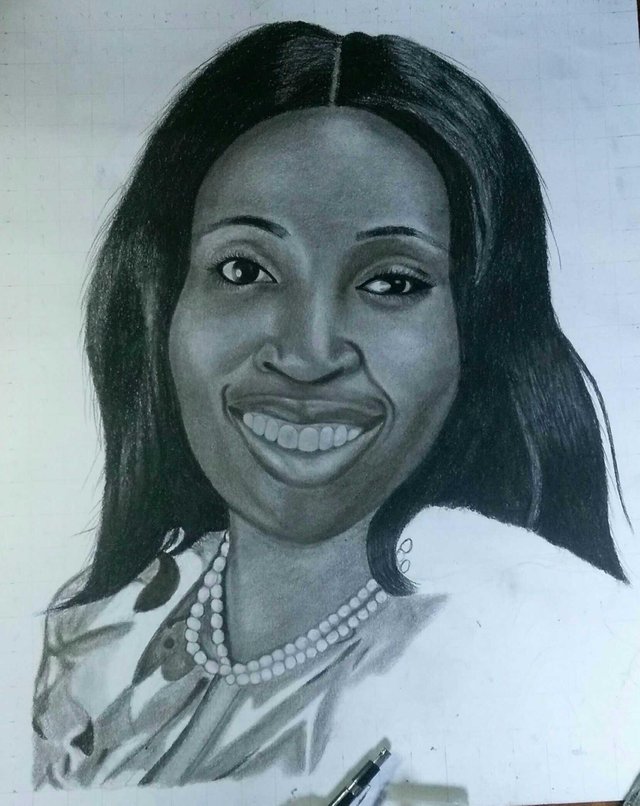
step 9
At this point, I finished the other part of her hair and shaded the shirt too with no difference in material application and effect. After that, I went on to doing the finishing touches. Some times we as artist we forget to adding some details or I might have evaded my memory so we go back to do the adding and subtracting effect.
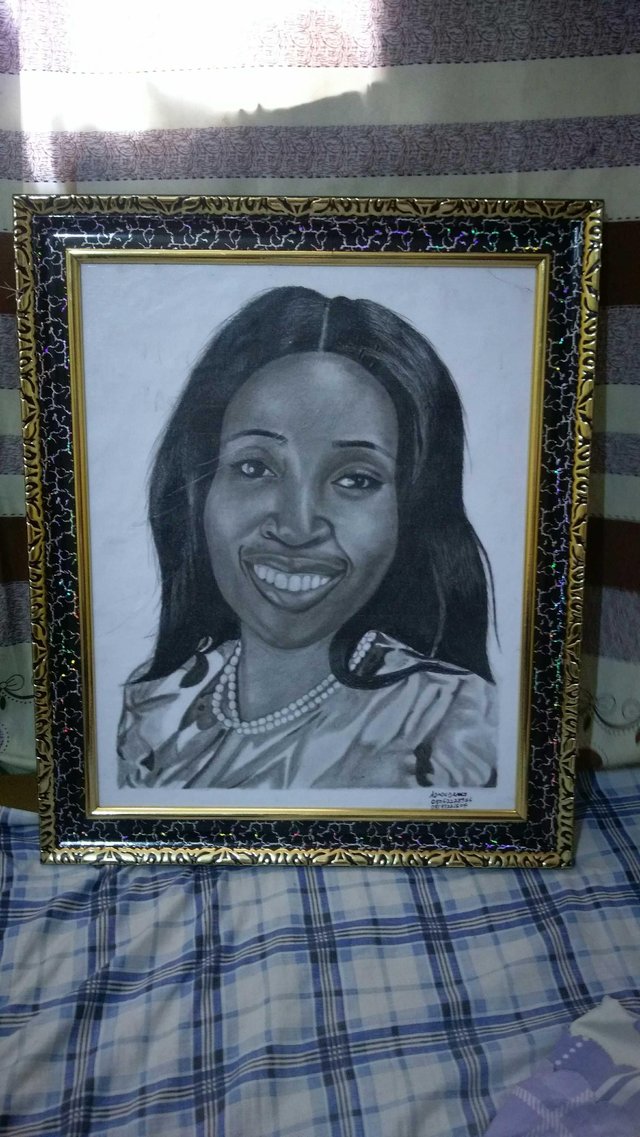
step 10
I packaged, framed. That's what it is like, to have a work framed.
thank you my dear steemians for the following up of my artistic story
Thanks for this article nd information
You are welcome
Dear Artzonian, thanks for using the #ArtzOne hashtag. Your work is valuable to the @ArtzOne community. Quote of the week: Art, freedom and creativity will change society faster than politics. -Victor Pinchuk
Thank you
Nice Artwork.
Thanks
This is a beautiful artwork. Would you like to be or guest on Artzone artist feature?
Check this links out for the interviews of our past guests:
https://steemit.com/artzone/@artzone/artzone-artist-feature-interview-with-gric
https://steemit.com/artzone/@artzone/artzone-artist-feature-interview-with-adelepazani
If you are interested, you can reach me on telegram: Chiama1
Or just reply here and we can work something out.
Looking forward to hearing from you.
Yes of course
Hello @ajadudraws, thank you for sharing this creative work! We just stopped by to say that you've been upvoted by the @creativecrypto magazine. The Creative Crypto is all about art on the blockchain and learning from creatives like you. Looking forward to crossing paths again soon. Steem on!