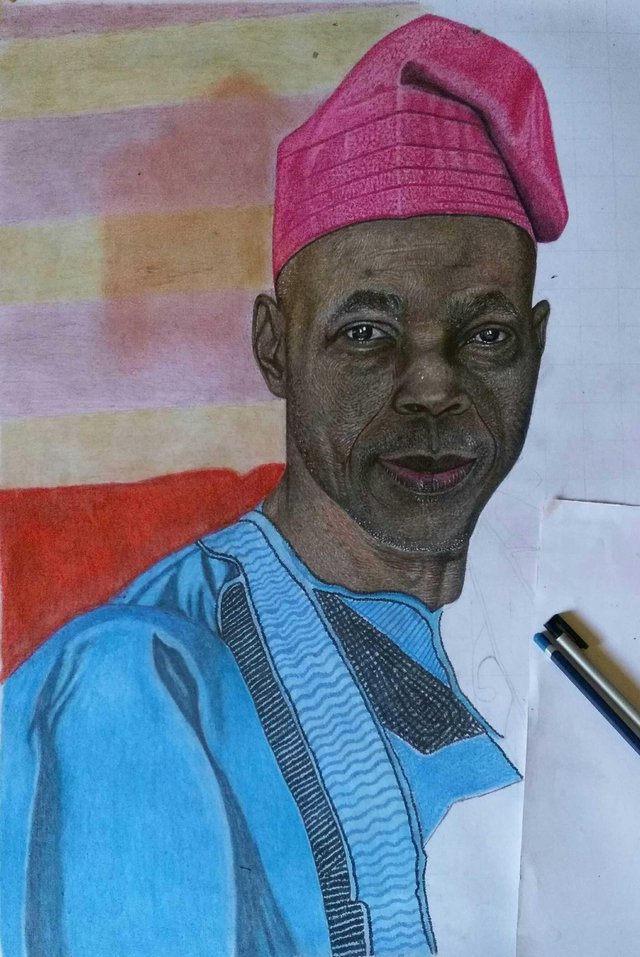
Colour pencil hyperrealistic portrait drawing
Hi everyone, welcome to this great session again as I would be introducing and teaching you guys how to make drawings realistic..
materials includes
- derwent brown
- blue
- orange
- dark brown
- purple
- pink and
- black watercolour pencil
- pencil 7b and charcoal pencil
step 1
- the sketch
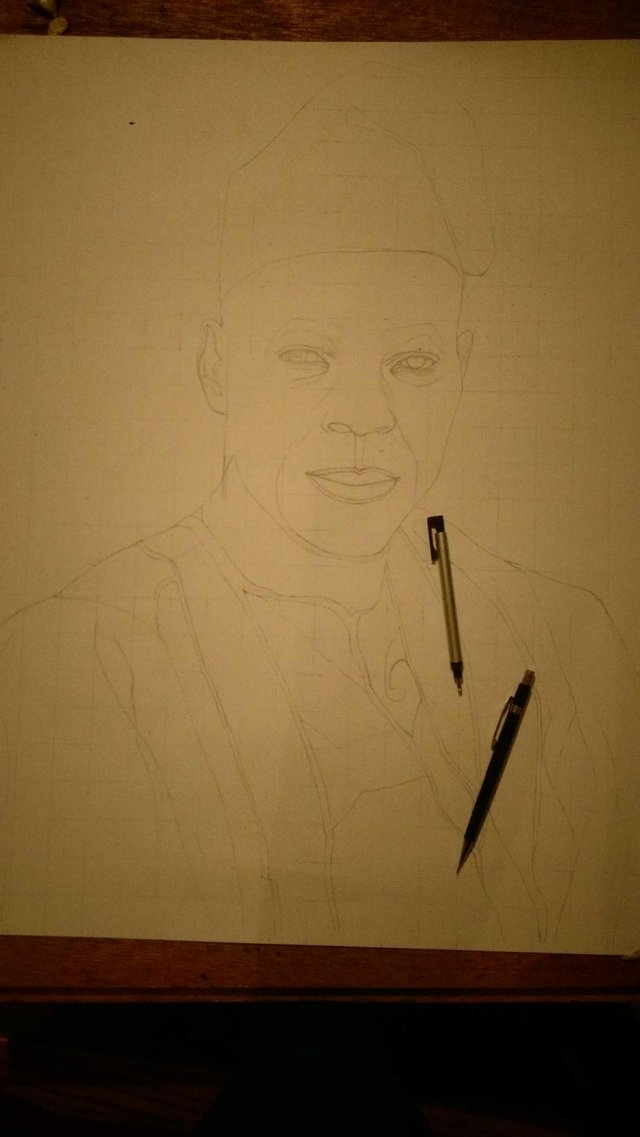
As usual artist always start with the sketching of any work... this, you must ensure to be very very careful while working on it. Cause every mistake or fault most times comes from the sketching.
step 2
- the cap
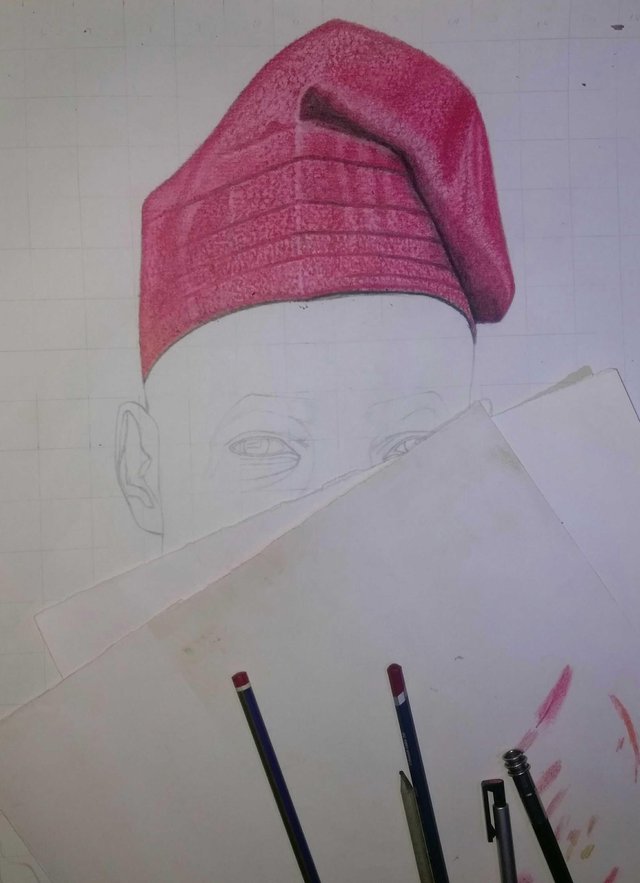
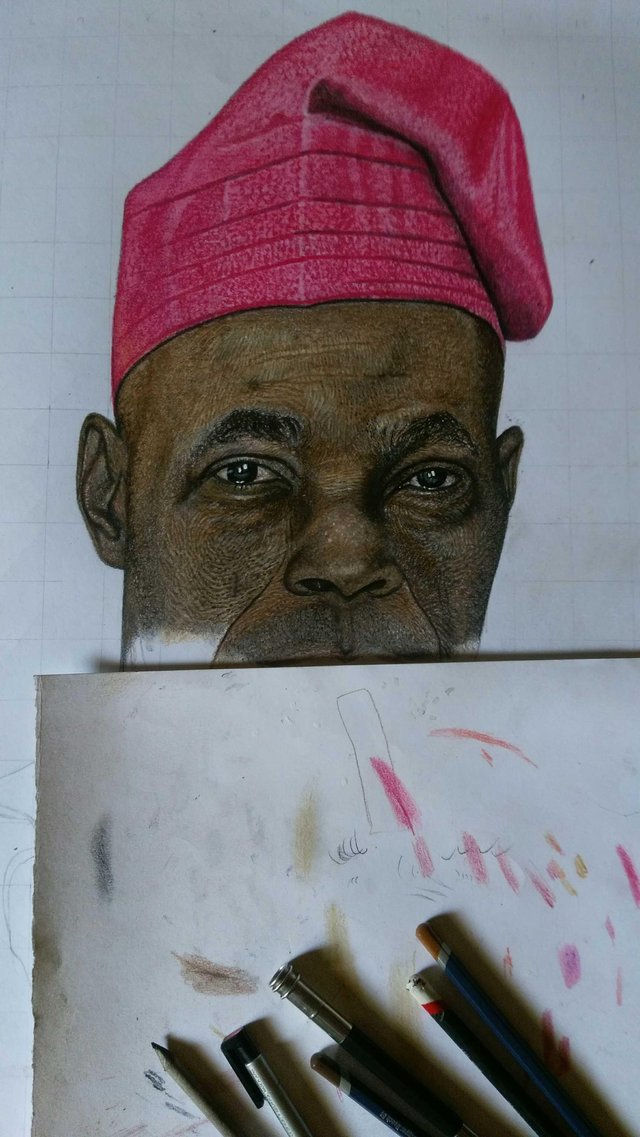
There is always an amazing thing about drawing. On this I used the pink mixed with the 7b pencils, you can witness the combination at those dark areas.
step 3
*the layers of the forehead
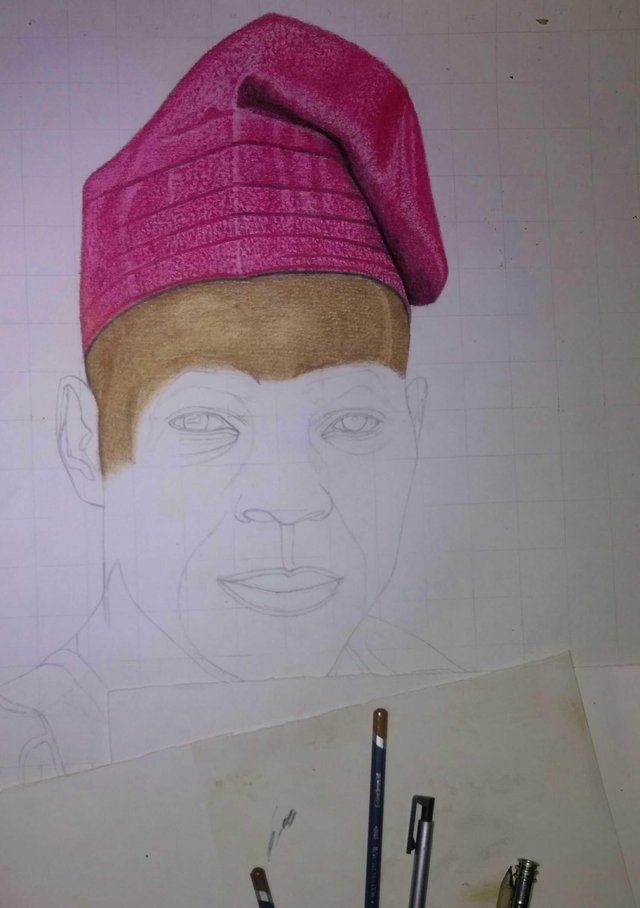
Now, look at the fore head, I added the first layer in the initial picture (colour pencil, orange and brown) then mixed it with pencil 7b to get the appropriate skin. Then I did that of the ears too. After that I starting putting the skin effect which made the drawing more realistic and perfect...
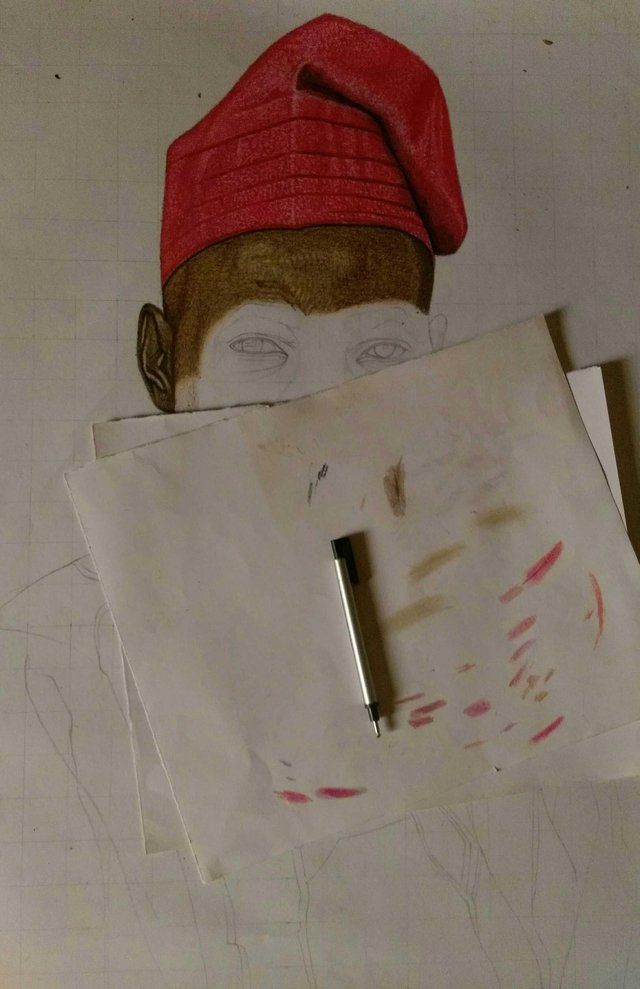
step 4
- his first eye

Then I went on to doing his first eye. Here I used black colour pencil, most times this pencil brings out the beauty in the eyes of every drawing. One just needs to be very very careful as not to mistake the lines and brow of the eyes, else you get it all wrong...
step 5
- the nose and other eye
so I applied the same technique in that of stage 2 and 4 for the nose and the other part of the eye. One thing about drawing is, establishment. Once you establish your style try to follow it to the peak before you make any mistake check from what you have done before..
step 6
- the mouth
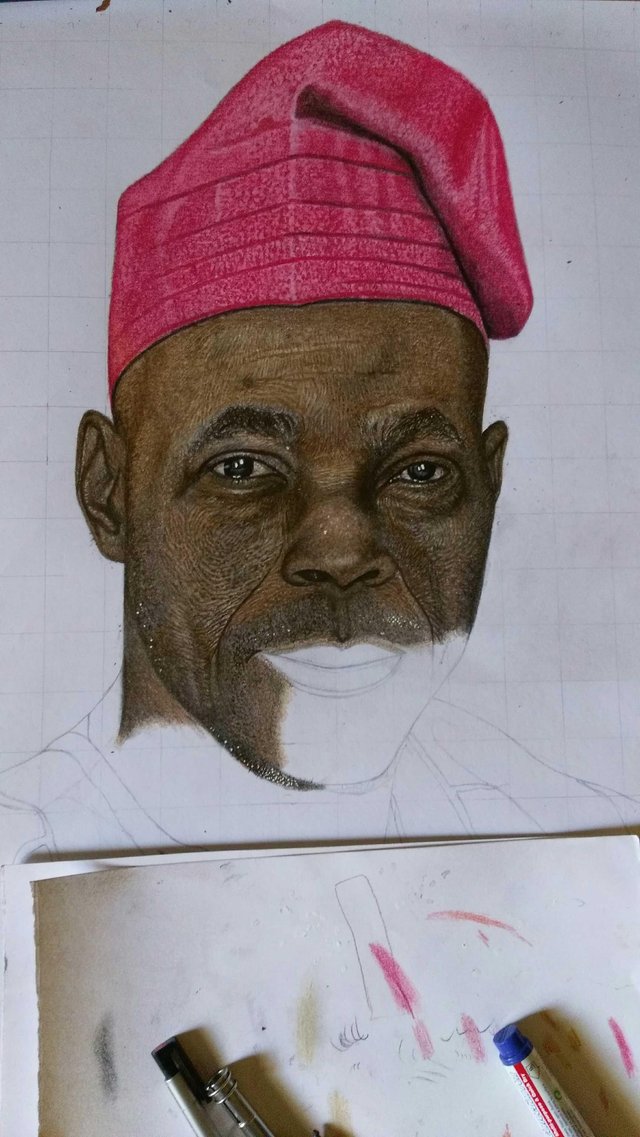
Now what can you observe!?, I followed the combination of 3pencils till I got to the mouth. The orange, the brown and the pencil 7b. Now on his mouth area I drew, using the combination of pink and normal pencil. This gave me a fantastic resemblance of his mouth and made it realistic. Then I went further to doing his beards. That I got a video to show you all in stage 7.
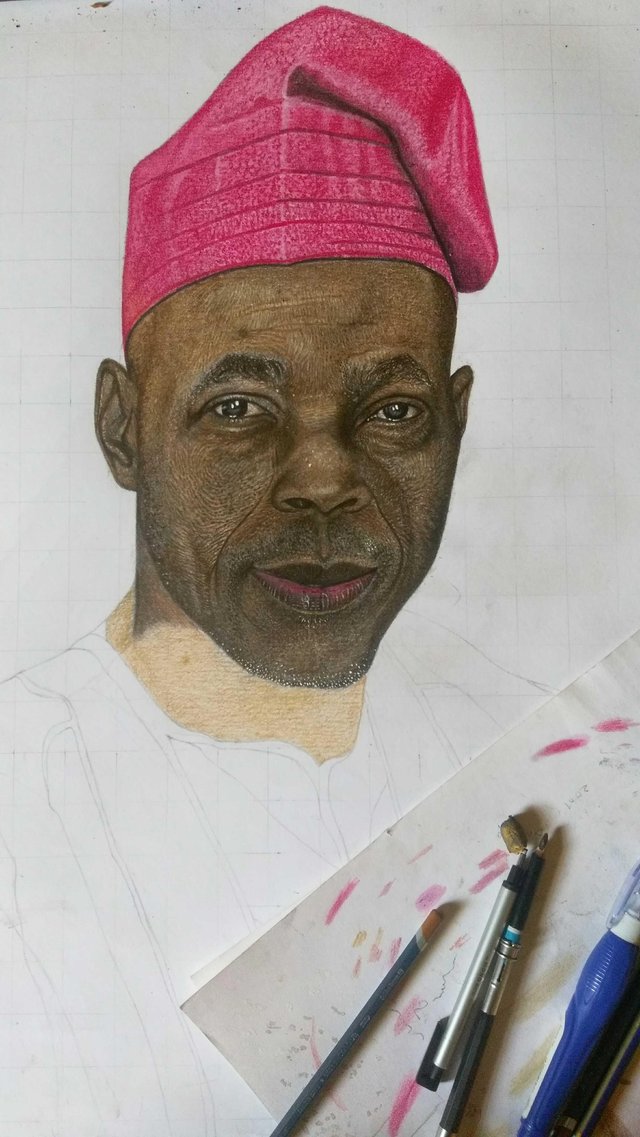
stage 7
- a video on how to do realistic grey beards.
After shading all the areas with the normal combination of pencils, then I took correcting fluid, tpaste. To insert series of white strokes on the jaw, then I shaped it to make it look more like realistic grey hairs. The video says it all guys. Do watch it.
step 8
- the neck
Now after combing those the pencils in shading, I then picked the brown and blue to give the neck a realistic figure, this helped me to really bring out the beauty of his neck. And the pencil 7b made it so realistic...
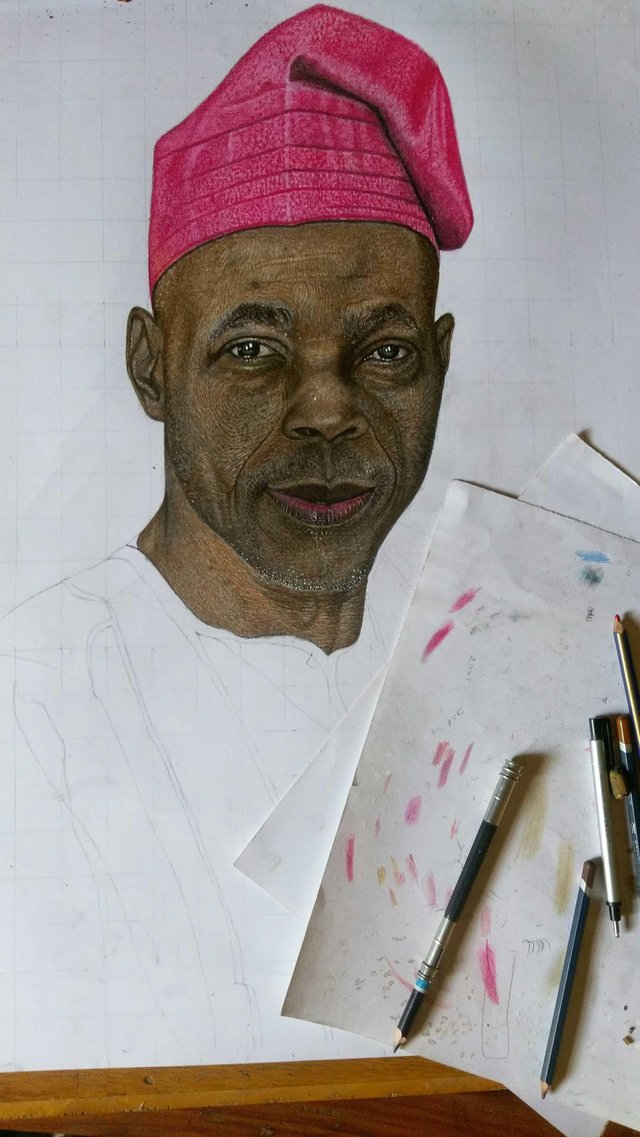
step 9
- on his shirt / final shot.
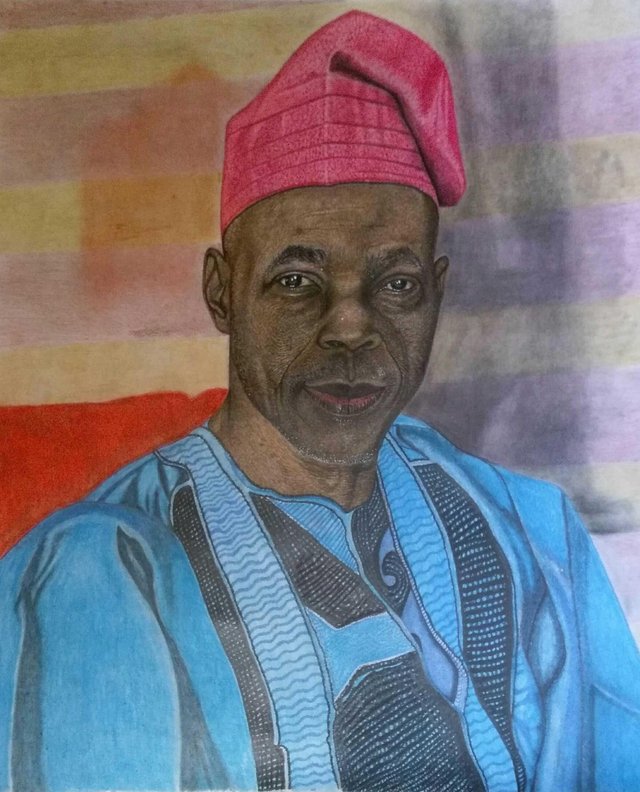
In this, I did the shirt using blue colour pencil and 7b pencil as well as charcoal pencil. The darker ares shows where I used the charcoal pencil to bring out the pattern of the cloth and the light dark ares show where I used the 7b to bring out the folds on his shirt. These made the work look amazing to me...
Then I went into doing the background, I used the dark brown and a little bit of purple as well as 7b pencil to get the background perfect from my own end. Then I took the snap shot after final touches.
Hope you liked this description? Will be showing you another soonest.
This is lovely! Please keep it up. I saw your promo link from genesisproject post link page and decided to look in, be courageous brother man. I’ve up voted on it.
Thanks so much bro
Thanks for using eSteem!
Your post has been voted as a part of eSteem encouragement program. Keep up the good work! Install Android, iOS Mobile app or Windows, Mac, Linux Surfer app, if you haven't already!
Learn more: https://esteem.app
Join our discord: https://discord.gg/8eHupPq