Glowing particles banner/intro tutorial Part 1
Hi Steemian. As per promised, here is a tutorial on how to create an appealing Steem "upvote" GIF banner,
although this technique can also be used as a basis for a professional video intro.

I've decided to split this tutorial into sereval posts, focusing on modelling and particle setup on the first, and following with futher compositing and adding materials and camera properties on the others.
So, let's begin:
Basic modelling
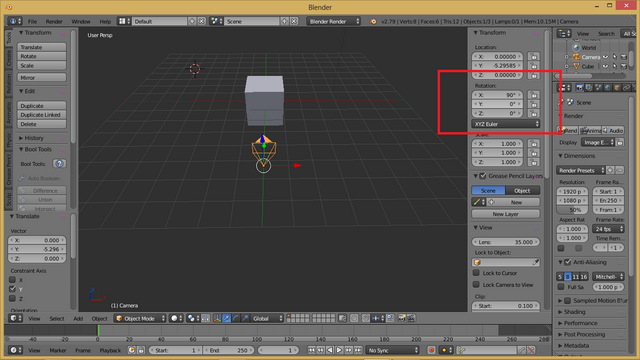
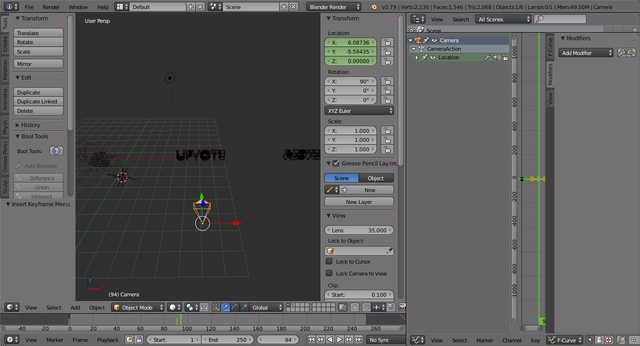
Starting off with the defaut Blender objects, select the camera and press alt+G to reset the position to center, grab on the yellow (y direction) arrow and pull it pack a bit, and then go to the right panel (press N if hidden) and set the rotation field into the following values: 90x, 0y, 0z as shown below:
Now set view to camera using nupad 0 and scale the default cube to less then a quarter of your shot, and move it (G key) to the left and side like so: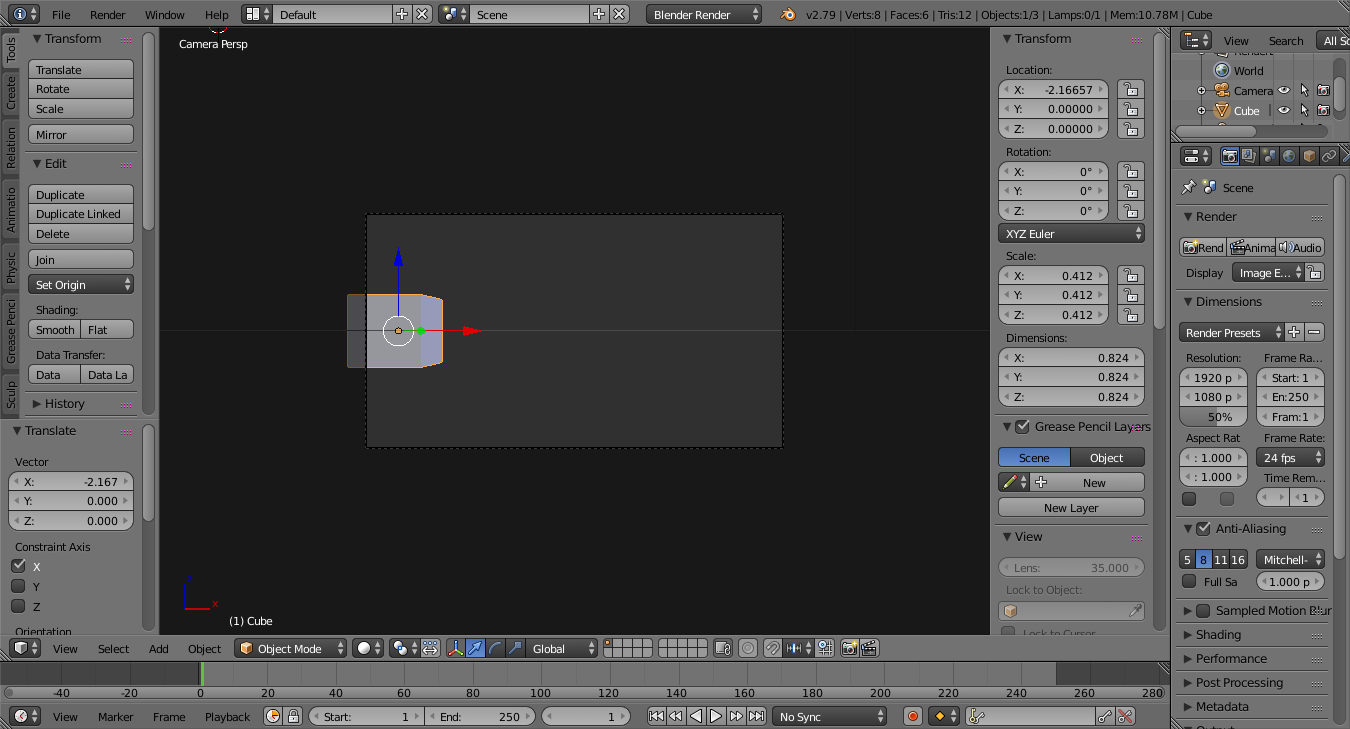
Go to the object tab in the properties area and choose Maximum draw type->wire from the drop-dowm menu.
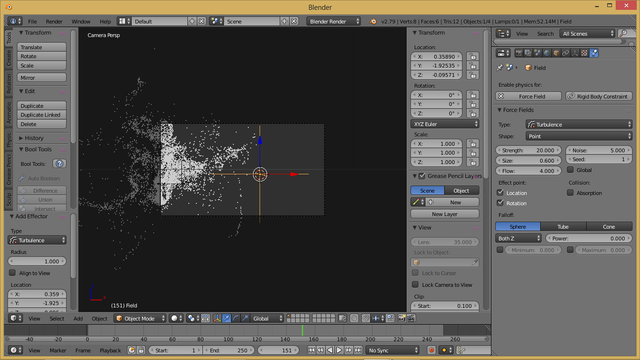
Now go to the particles tab and press new to create a new particle system.
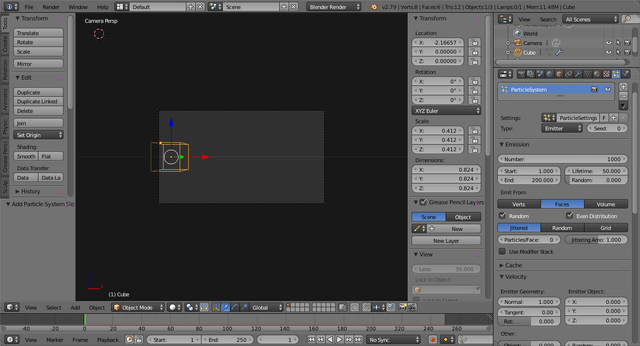
I recommend using the settings that I have, but it's not mandatory. I've adjusted them based my intendet video lenght
and frame size. I've set the emission nuber to 10,000 in the final render, but you can go lower to say, 3000, in order
to preview the dynamics before baking (I'll explain later).
random is about 1.4,
lifetime is 500 frames
Emit from is set to "volume" with the random box ticked.
Velocity- everything is zero, also down in the field weights set gravity to 0.
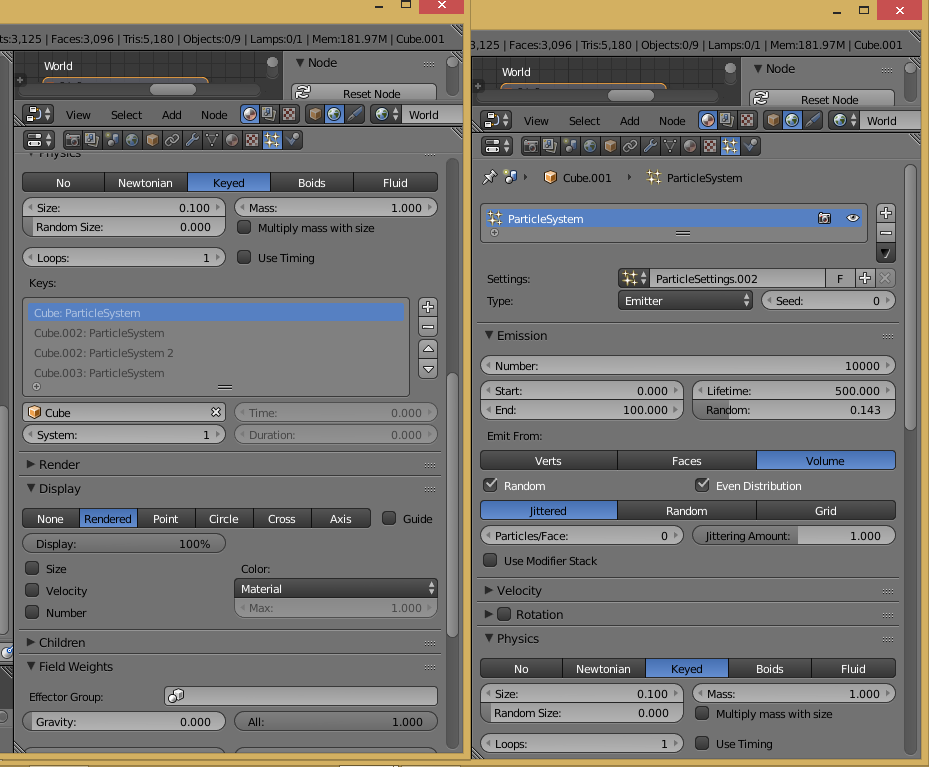
Physics is Newtonian with mass set to 1 and drag set to 1. this will slow the particles a bit as the machine calculates supposed "air resistance".
Make sure to uncheck the "emmiter" option in the render section so the container mesh will not be rendered!
Press ctl+A to preview animation, notice the particles are emenating but are stationarty. to get them moving introduce a force field to the scene. on the scene area press shift+A then Force field->turbulance to create a turbulence generator.
select the generator and in the force field tab of the properties menu enter the following values (you can adjust them if you wish):
now when you play back the animation, the particles start "wobbling" around.
the next step is to add more movement to the particles by constantly rotating the force field. set a keyframe on frame 0 by pressing I and choosing rotation. next go to the graph editor and open the right panel by pressing N. under the modifier tab in the panel menu click "add modifier" and the "generator"
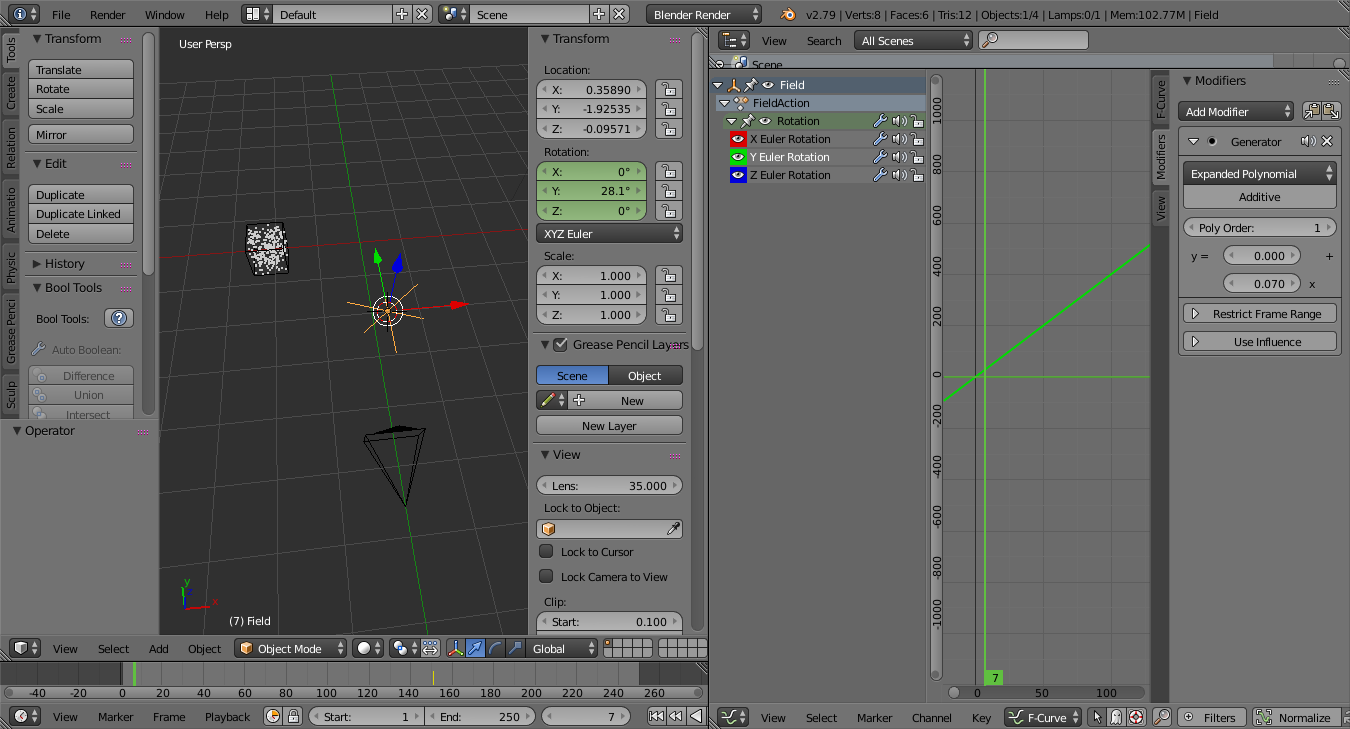
fill the equation with the following- y=0+0.070. this value is the slope equivalent in the graph and will make the force generator spin continously. you can increase or decrease this value to controll the speed of rotation.
Next you will create the mesh that serves as the particle shape. in the view area press ctl+A->mesh->icoshpere.
on the left panel choose subdivion level 1 and size=something small, let's say 0.05.
Now select the cube again and in particle settings, under the render section choose "object", and use the pipette
symbol to sample the icosphere object in the scene area. set the size to something like 0.2 and 1 for random,

The particles are now icospheres. you can change the size setting to your liking.
Move the sample icosphere to layer 2 (select it then press the second box in the layers table)
Now for the text, press shift+A and click on text. press tab to go into text edit mode and write down something you like.
give it some extrude and choose a font and size that you like.
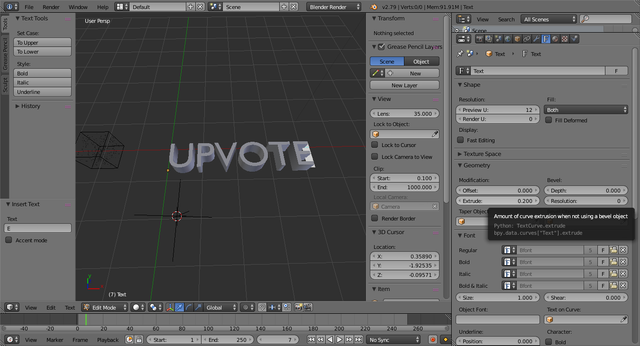
to the exact same steps, write a second word and place it to the right f the first word, as far from it as the first word is from the cube, like so:
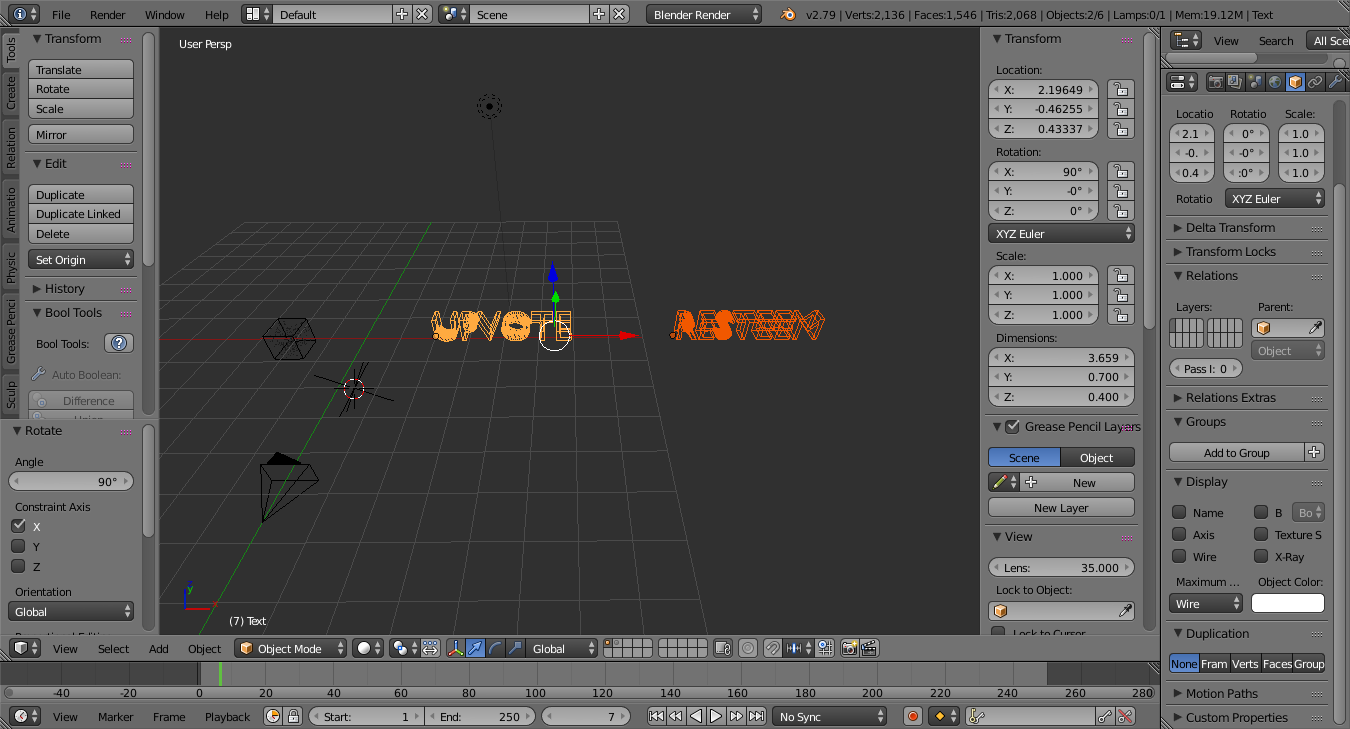
also rotate both words 90 degrees on the X axis so that they will face the camera. give a decent amount of space betwwen the objects so that the particles will have distance to travel. the camera will strafe right in a dolly movement
from the emitter to the second word. to set the camera motion select the camera, and while being on frame 0 press I to set a keyframe and click on "location". go forward a few frames, lets say 90, move the on the in the X direction until it faces the first word. you can go to camera view by pressing 0 to be percise.
This concludes the first part guys! Check in for updates on the other several parts.
I will add the rendered final version as soon as it finshes to render.
Thank you for your time and have a great weekend!