Steem Marines - Art Log - 18.03.16
Welcome back, to possibly one of steemit's most nerdiest content blog.
Seriously, this stuff is pretty nerdy.
Know what else it is? F****ing creative, that's what!
So welcome back brothers. Now it's been about 3 days since my last post. What kind of progress have I made?
Well, Not too much. But I have progressed some time on my latest creations.
Last blog, I shared that I was working on a new Plague Marine.
To refresh your memory, here's what my progress was 3 days ago.
Not too bad of a base coat, and just barely starting to lay down the coats for all the intricate details.
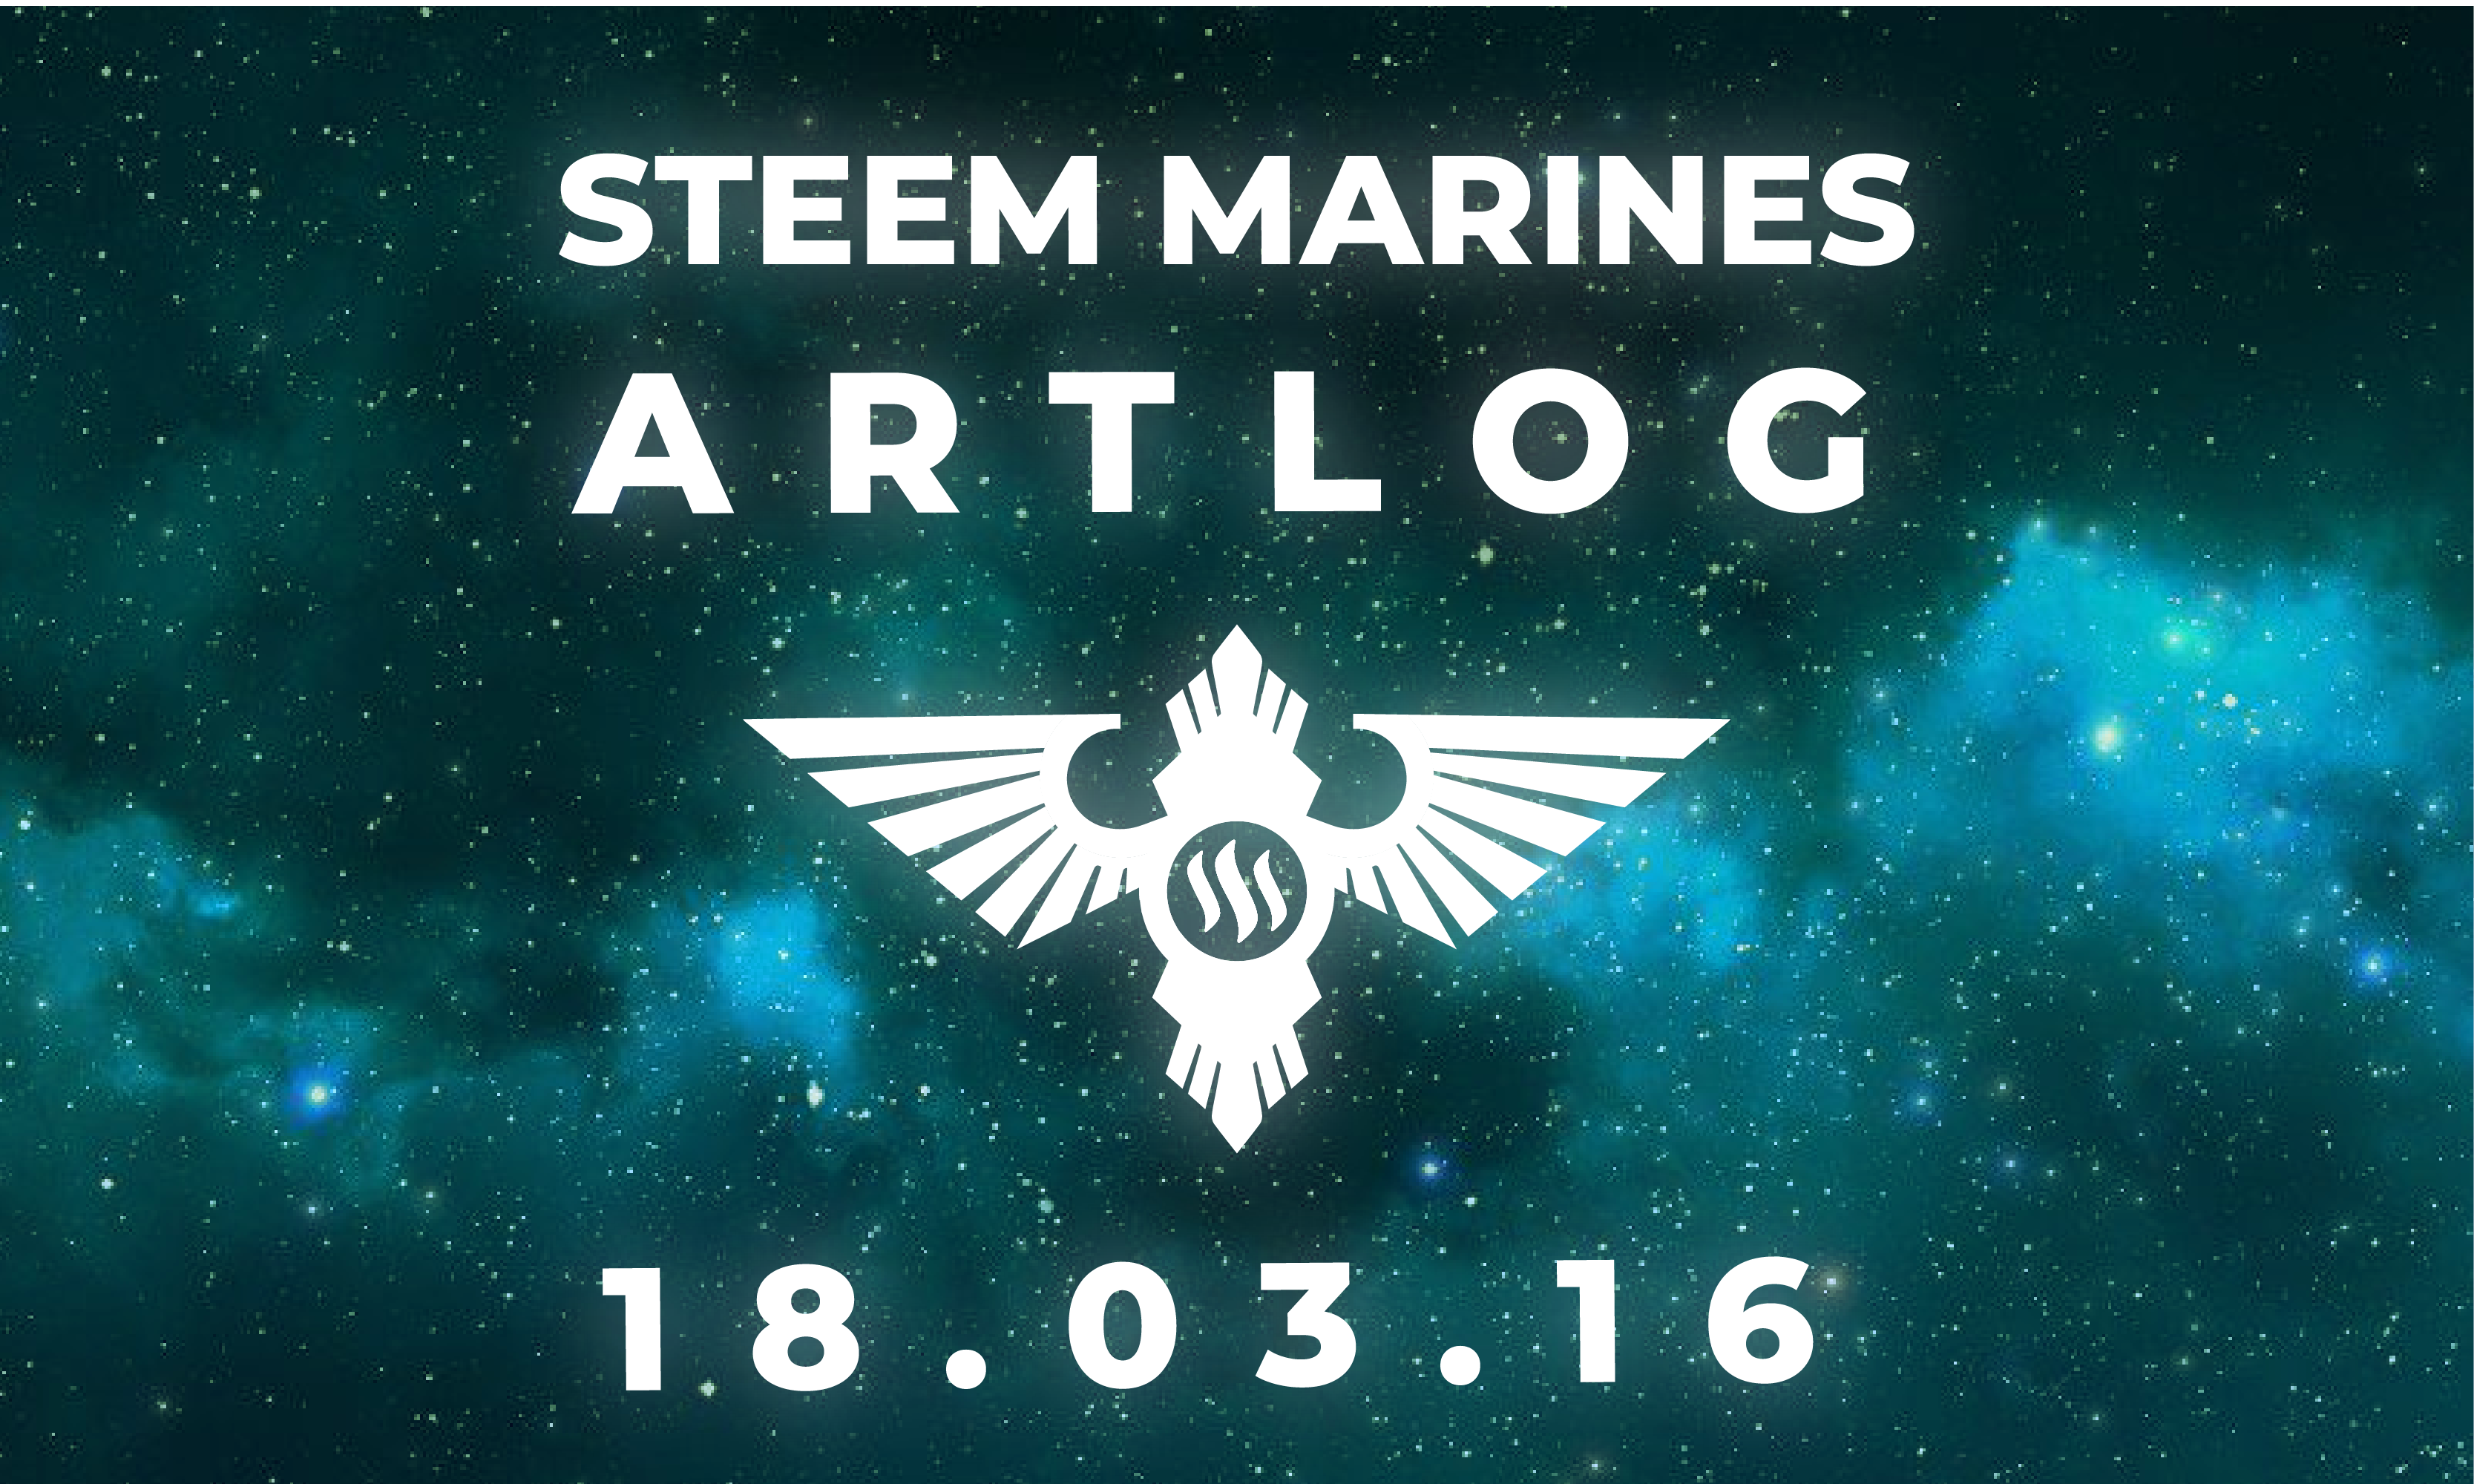
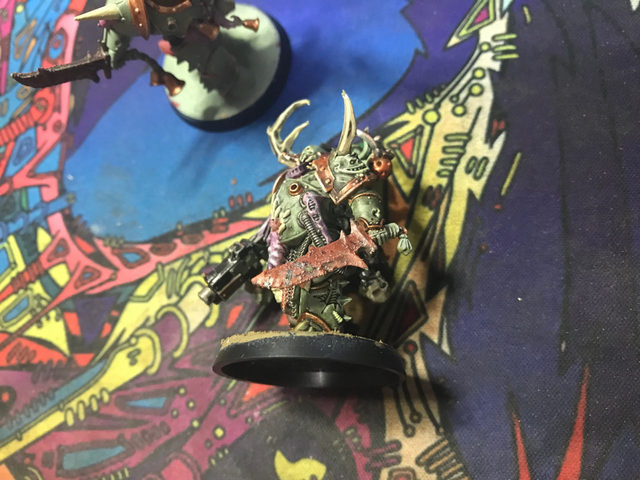
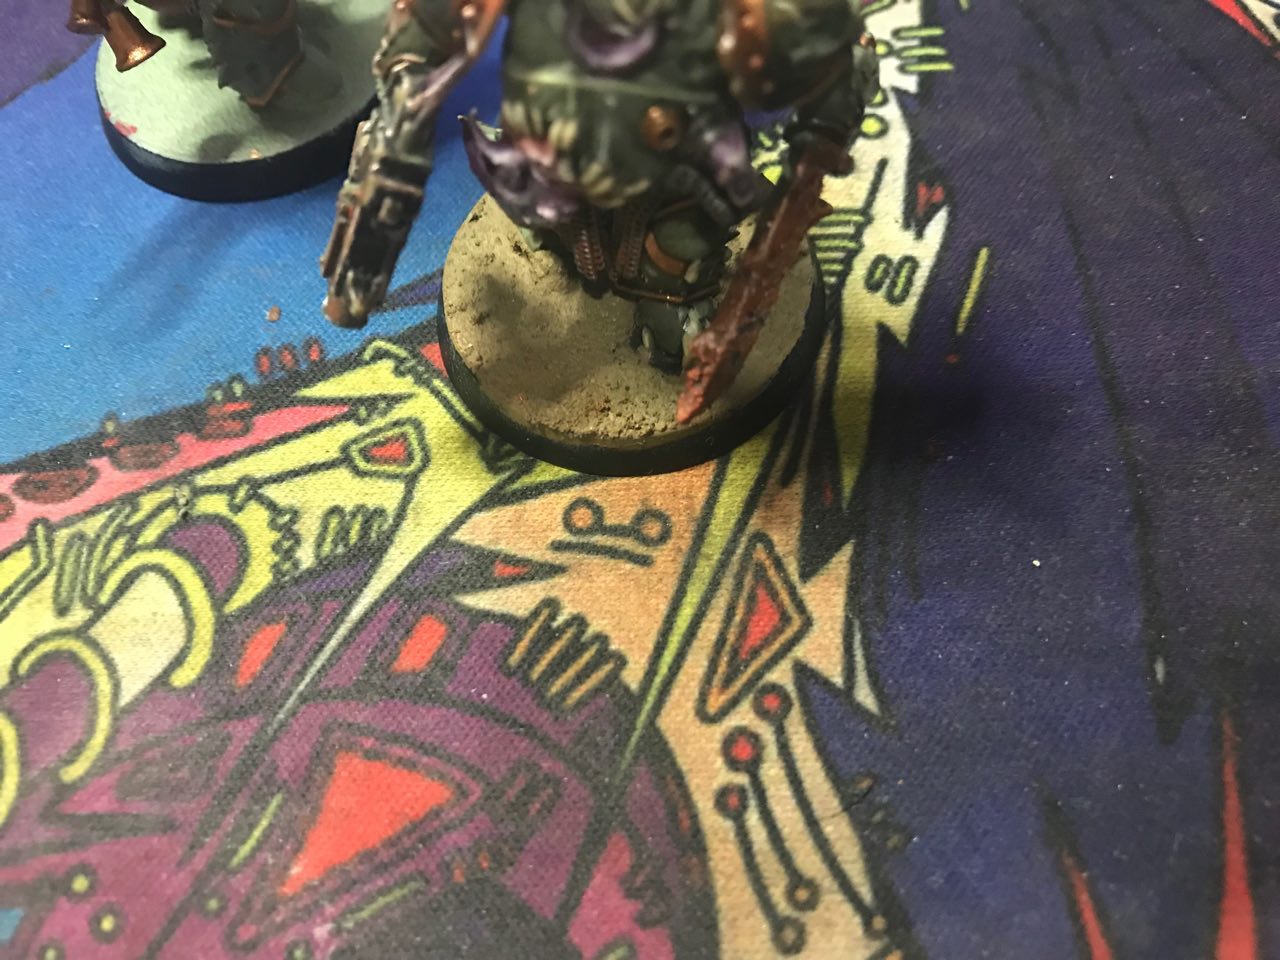
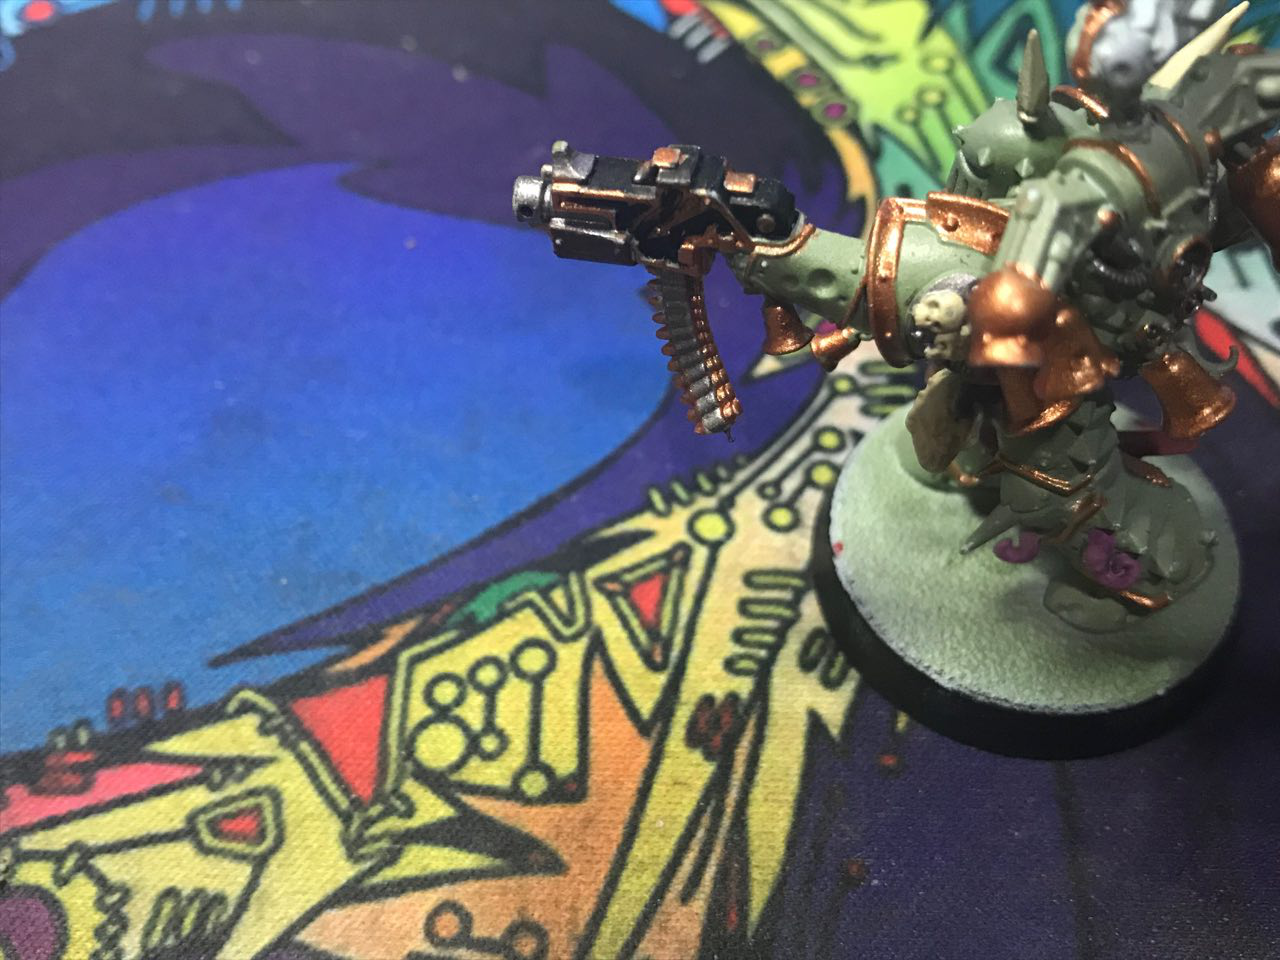
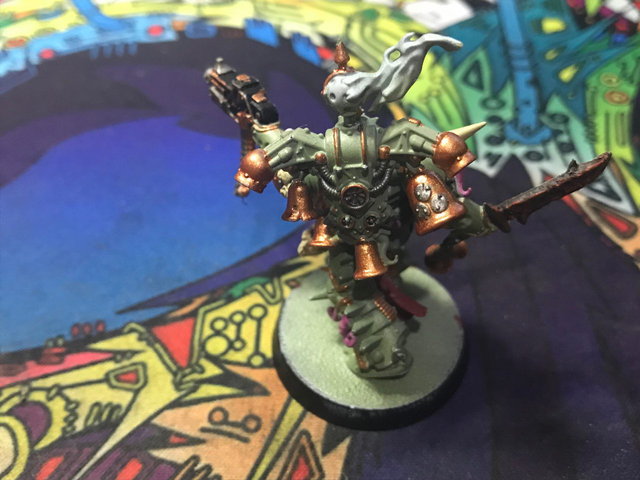
Well, let's go ahead and show you guys what this Plague Marine is looking like right now...
And yes, I am aware of the spots that are missing paint. I will actually go over everything with another layer to ensure a even and smooth coverage.
But hey, check this out, I've been experimenting with a brand new technique to the arsenal.
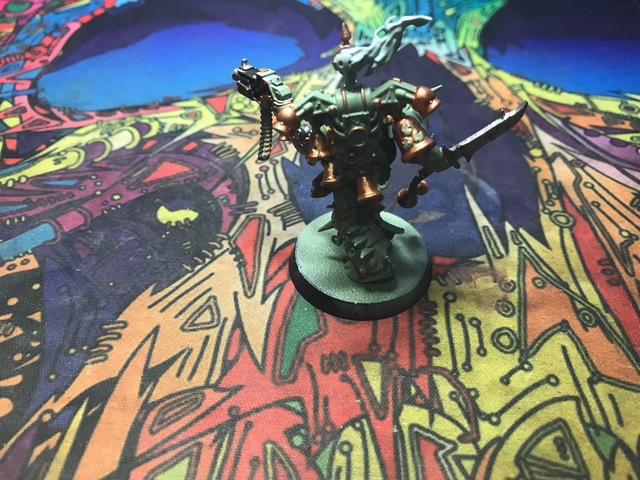
RUST EFFECTS.
It's still in a very experimental phase.
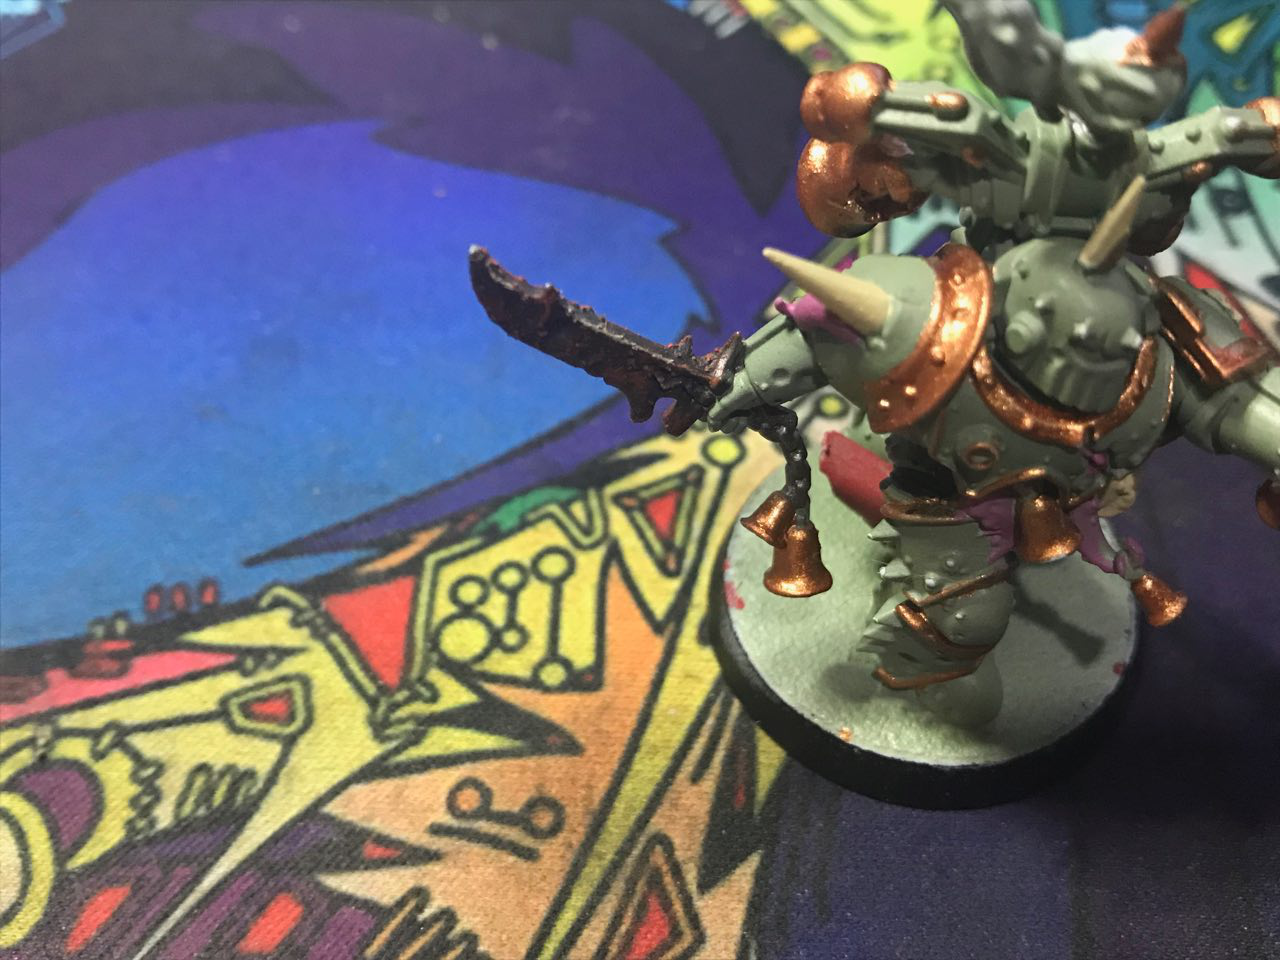
Been trying to find the right balance of texture, metalic, shading, and rust highlighting to achieve the most realistic effect.
HOW TO MAKE RUST
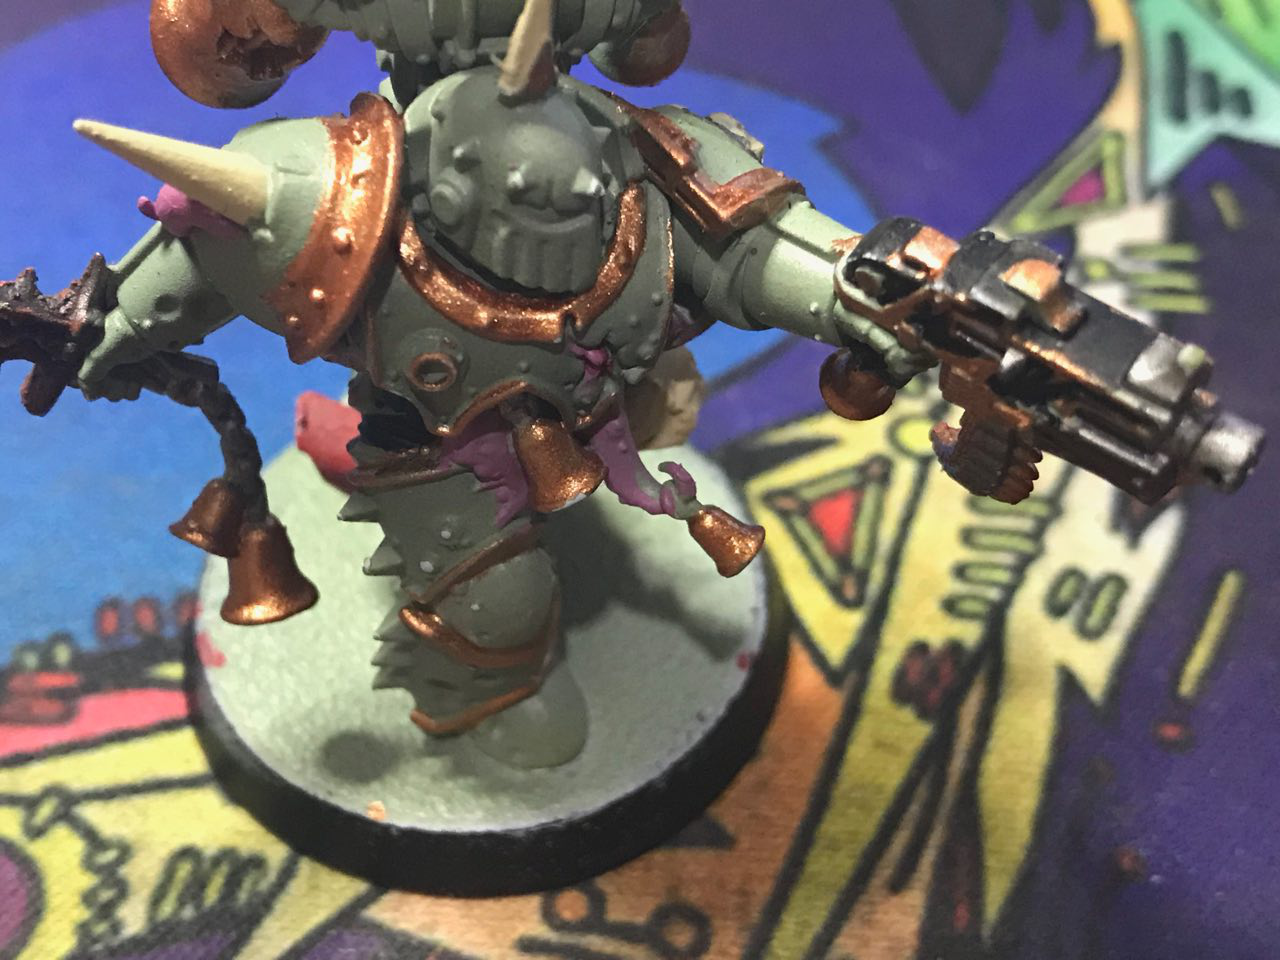
I even revisited my first Plague Marine to experiment and find the correct balance.
You're probably wondering how I got this effect. Well, very simple. Get a darker paint. I mixed green brown and black. Then lightly sprinkle some fine grain sand. And I mean fine.
Mix it up so that its nice and thick but not too thick. Apply in small layers with a feathered or worn brush. Try to simulate the texture of a piece of wreckage that's been sitting around for hundreds of years.
After that, apply a layer of a metallic grey.
Then mix a bright orange, yellow and a red to this ratio - 2 to 1 to 1 respectively. Mix, and apply via dry brushing method. Be very light, try to simulate that oxidation.
That's how I achieved my effect. I'll be experimenting more though.
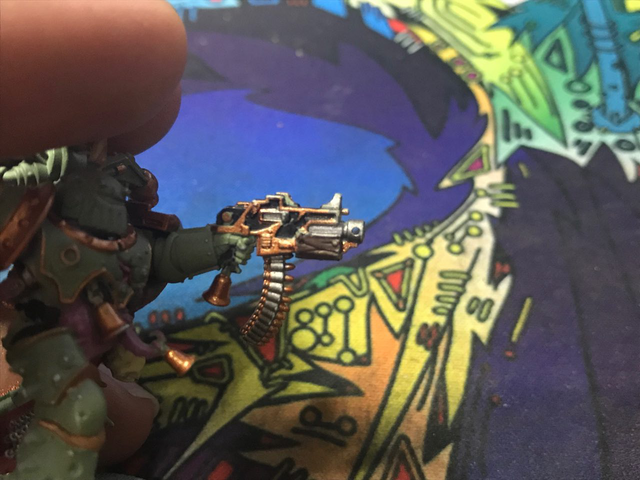
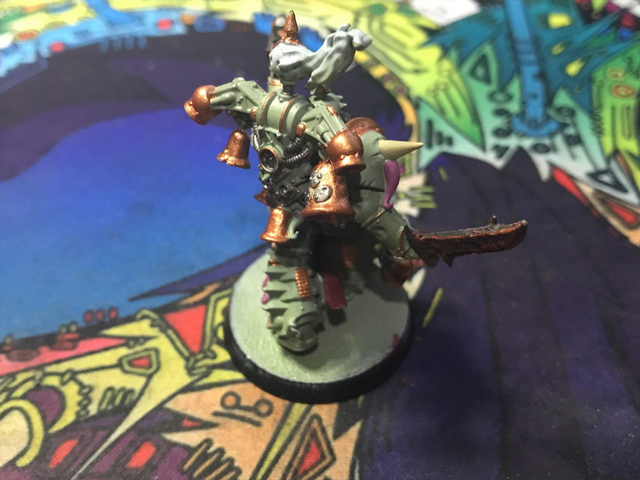
I've been working really hard on the boltgun, been trying to get a very neat and even coverage on everything. I do realize it will need more work to get it to the perfect levels.
So again, trying to keep things very neat and ornate with this color scheme.
The back is loaded with a massive amount of details that no one paints. Except me!
So. Not too bad on the progress, considering how small these details are.
I know it may not look like much now, but I haven't even started shading yet. When that shade hits this model, this thing will be an entirely different BEAST.
I'll be able to tint and tone down the bright colors, and the metallics, make more details pop, and then the final stage is high lighting.
I can already kind of feel that this model is going to trump the last, I can definitely feel it.
Also, one thing to note. The Smoke on the top of the model, and the lenses. I have been studying some techniques on how to achieve smoke effects with air brushing, so I'm going to give that a go. The lenses as well will be a new technique that I'm studying. Can't wait for that.
Anyway that's it for this blog, I hope you guys were entertained by some of this content, and maybe even learned something new.
As always please leave comments below for me and tell me how I'm doing.
good to work.keep it up.
The post is very good ,,,, boss
good to work...
new information from me....
regards @azyref
Nice write
Very good post....
pls visit my link and give me vote and comments ........https://steemit.com/accuriam/@asiddik/gappi-fish