How a Rock Becomes a Pot: Part 4
Ok, you've finished digging, levigating, sieving, drying, and wedging your clay. Stop and congratulate yourself for making it this far...
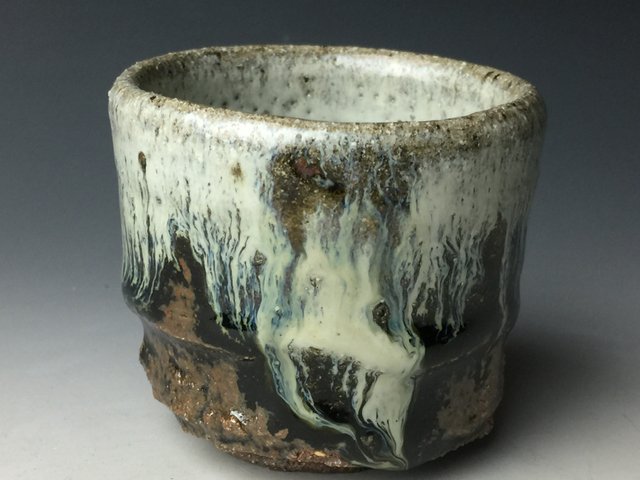
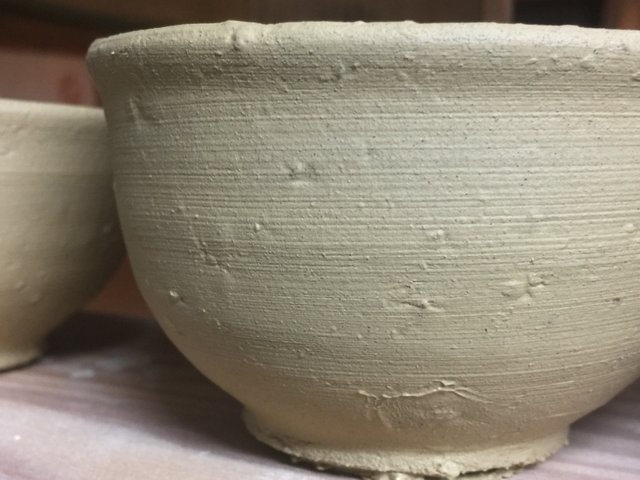
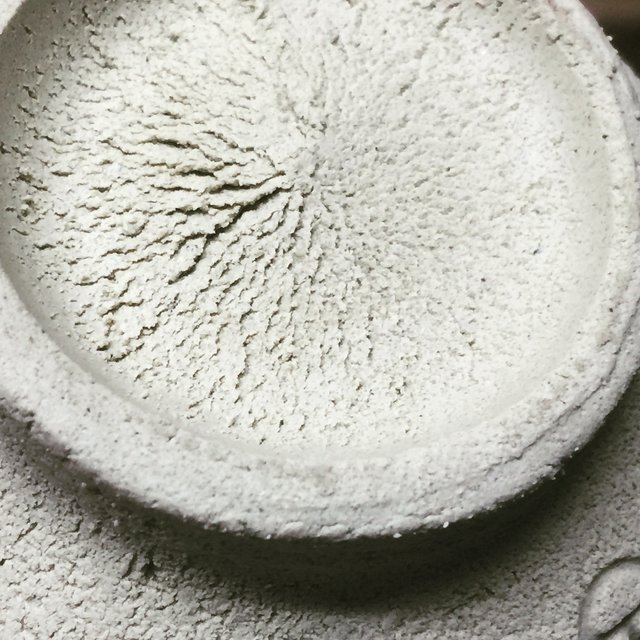
Now for the fun part, making stuff! Here is one of the freshly thrown teacups, showing the texture of the surface. You can see the rocks and other impurities left in the clay to add interest to the final piece. The first piece shows the final product, the second shows what it looks like before glazing and firing.
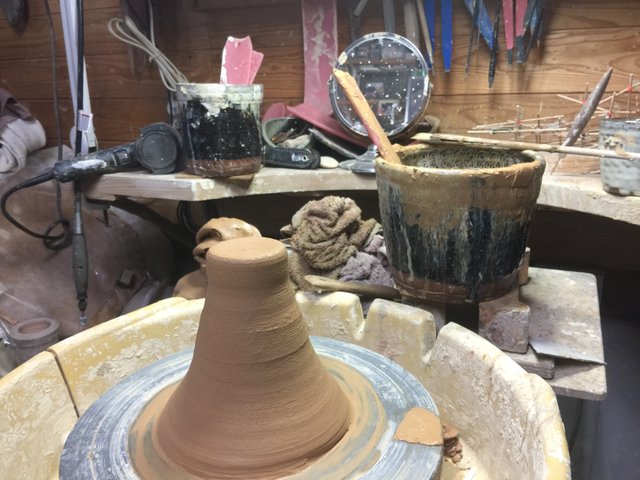
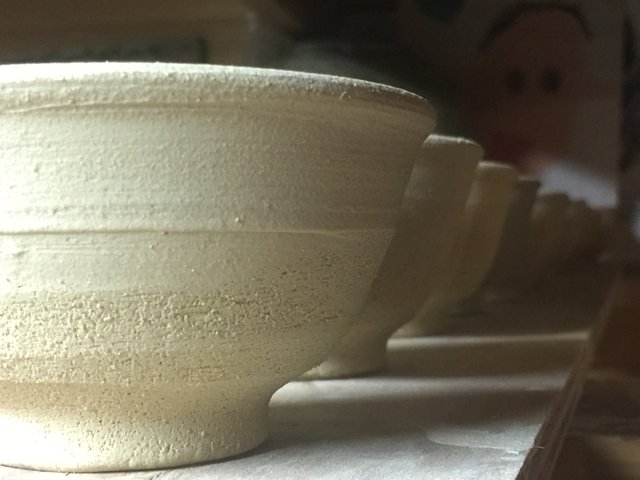
Here is a group of cups that I just threw, and will be trimmed in a few hours after they firm up. I have taken the left over clay on the wheel and made it into a soft trimming chuck. It will dry a bit, but remain relatively soft. When I put the cups on it to trim, it will grab the cups nicely and prevent sliding. Since it is not a fired chuck, it will conform to the shape of the cups, and will not deform or mark them in any way. And, since it is the same clay, it won't leave any odd colors on the interior of the cups. Once the trimming is done, I will use the clay from the chuck to throw some more pots of a different shape.
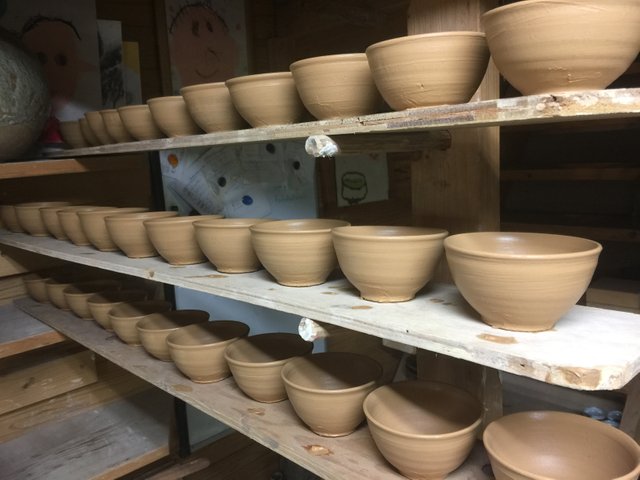
If I'm lucky, the trimmed pots may look something like this:
Thanks for visiting!
Cheers,
Karatsupots
cool :)
Thanks! I love the concept of making something of beauty and value, from something as worthless as dirt. It is a cool thing...