Customized Laptop and Monitor Stand - DIY
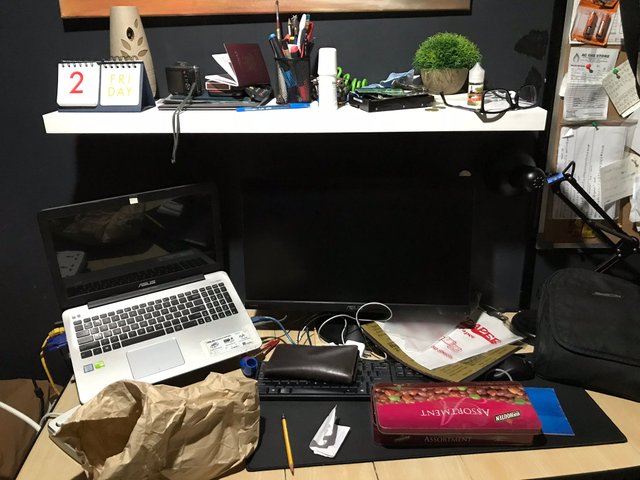
Hello Steemians, this is my workstation. Yes it's a mess. This is what my table looks like almost every time, everything is clattered, the wires are tangled and everything is out of its place. It is very hard to focus and concentrate if your work station is like this right? That is why I've decided to organize it a little bit. My goal here to make my work station clean and organized because I believe a clean and organized work place will lead to more productivity.
Let me show you how I made my customized laptop and monitor stand. This is my step by step process.
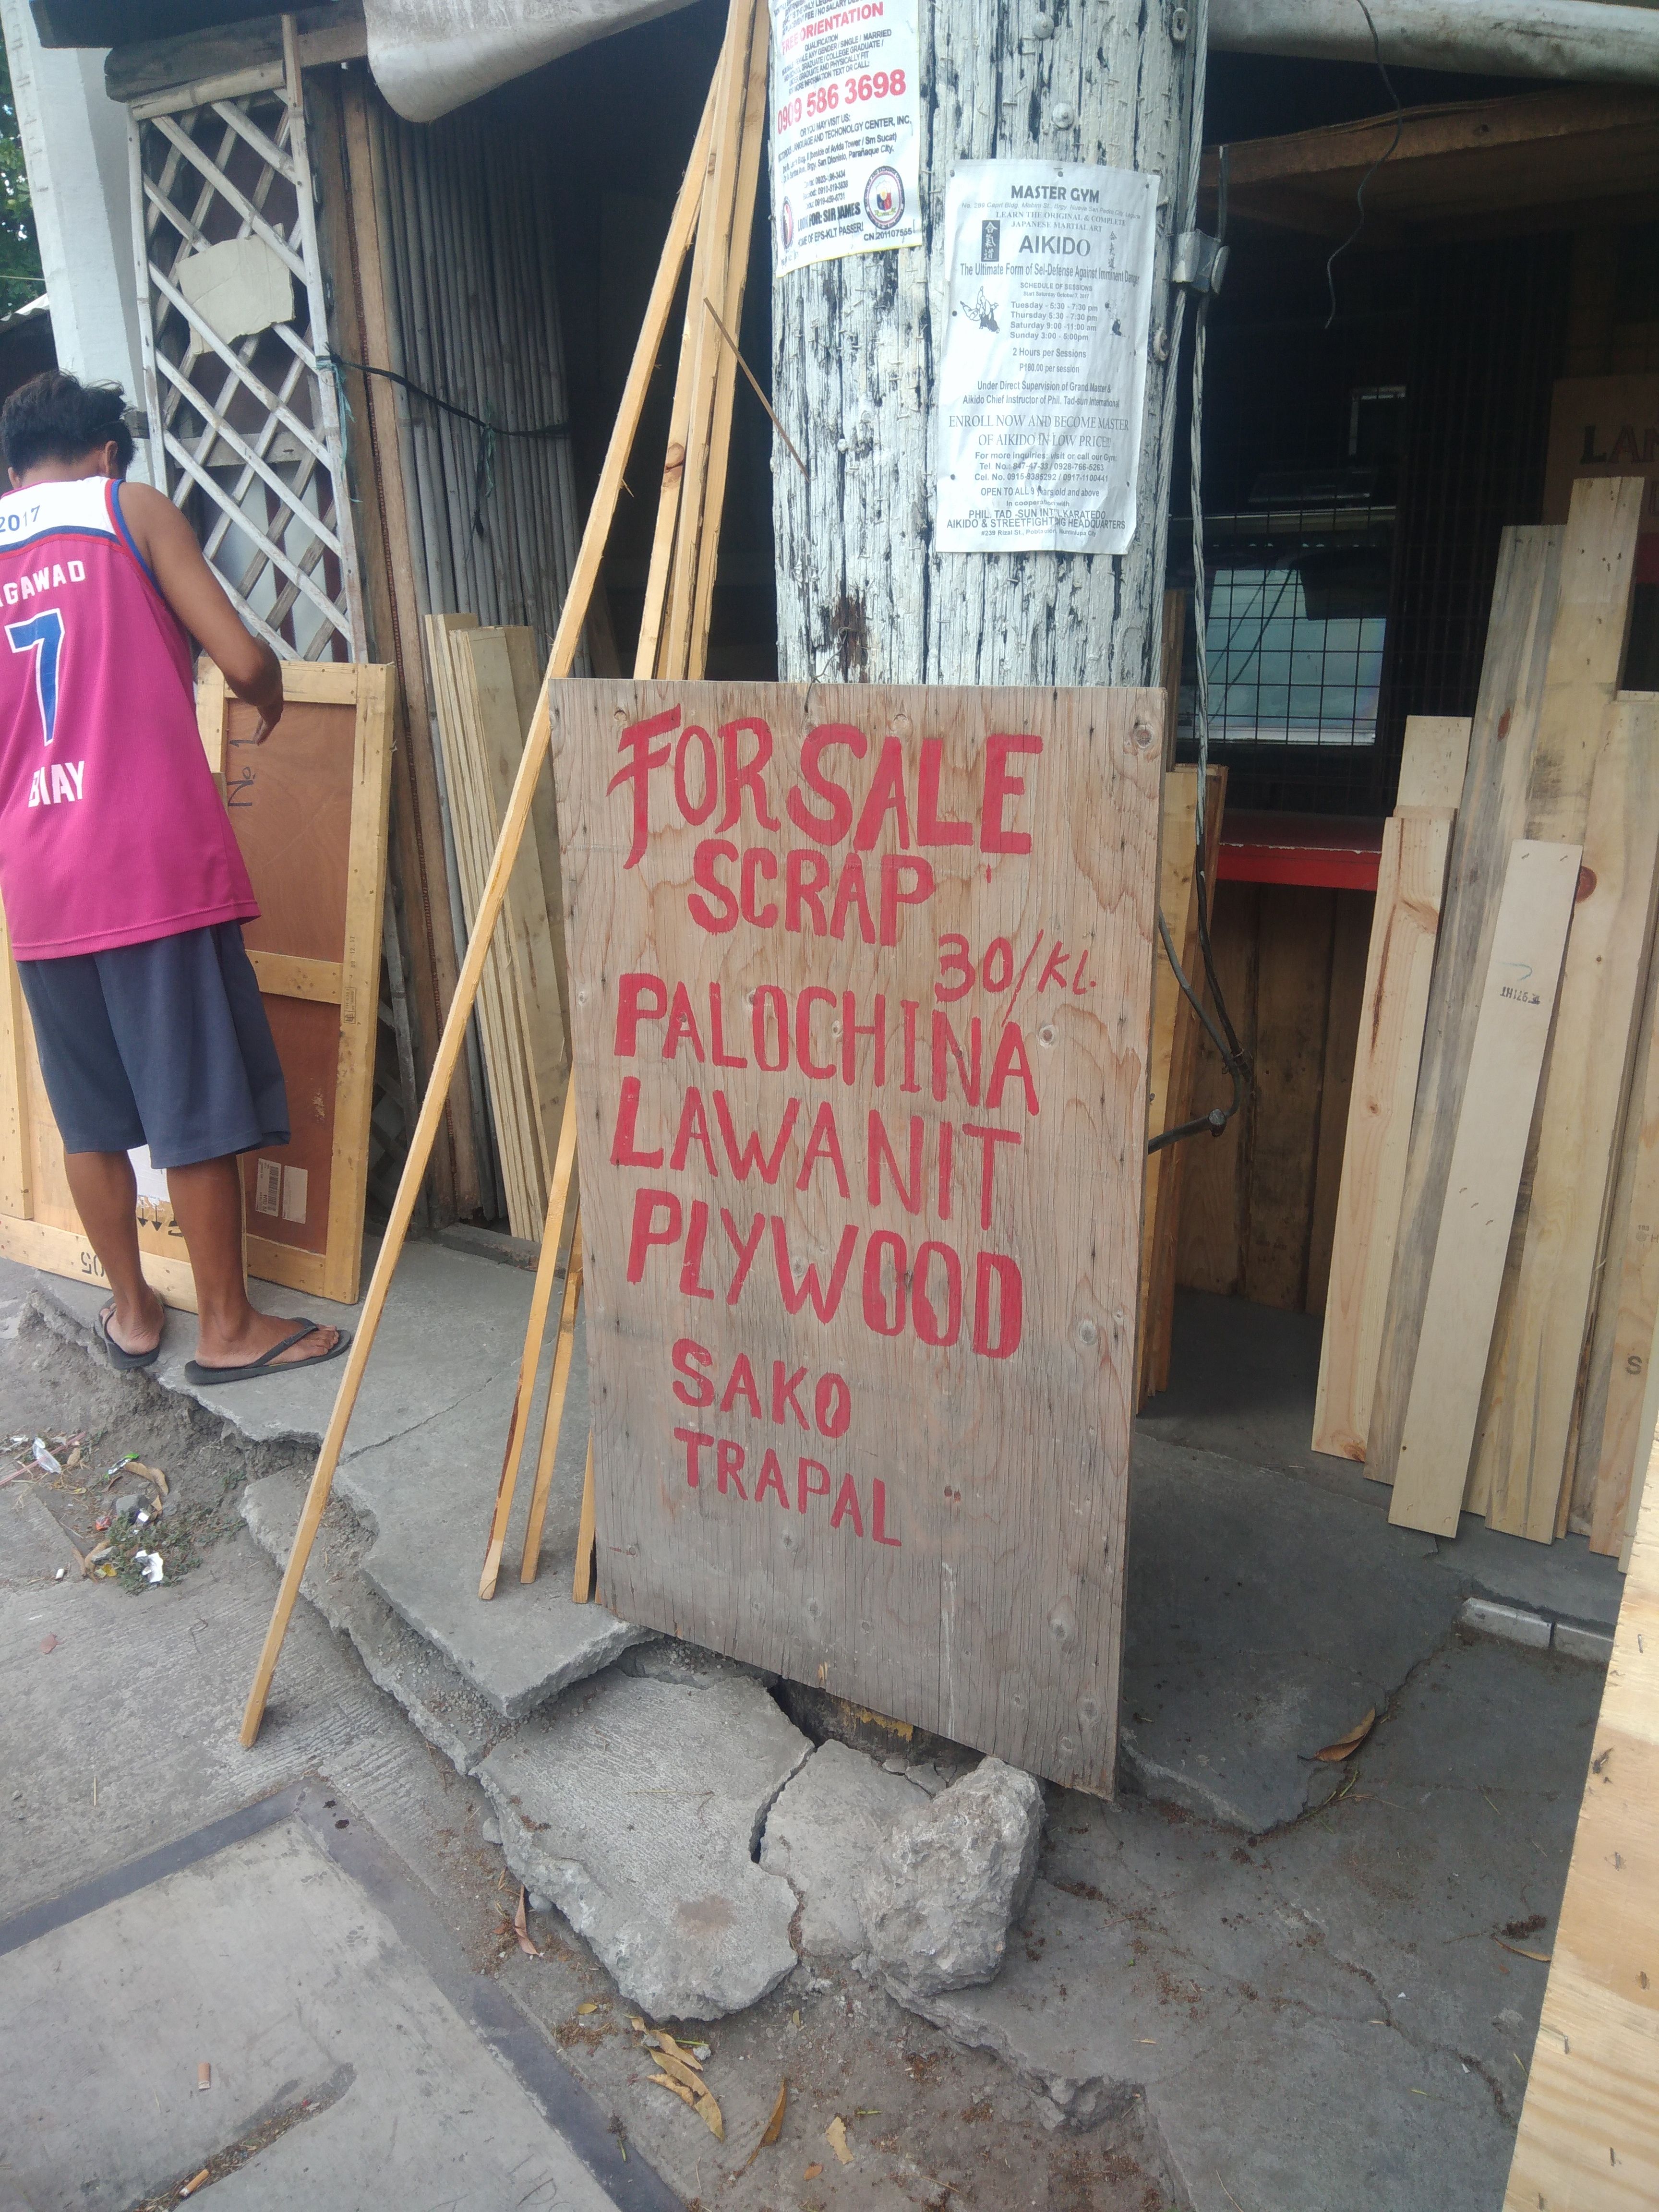
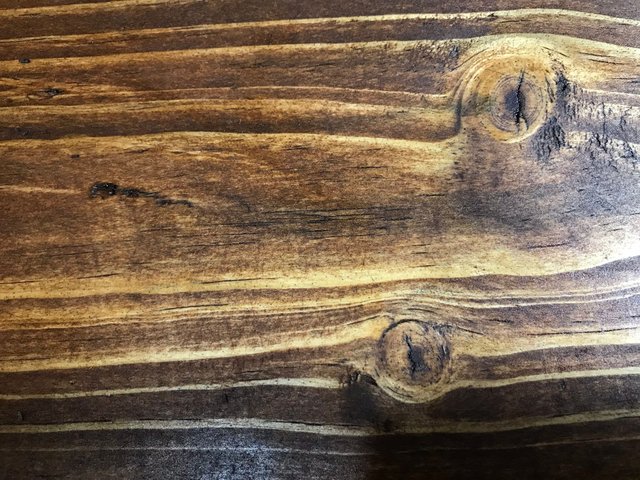
First I went outside and look for some wood then I stumbled upon this wood working shop nearby our city, they have many used palo china wood that came from the crates used in container vans. They are selling those for $.60 per kilo of wood, I bought around 30 kilos which costs me less than $20. Palo china is a cheap but sturdy type of wood, it has many imperfections but with a little bit of work you can transform this cheap wood into something beautiful. I love to use this wood because of it's intricate wood grain design. This wood will be perfect for this project and for my future projects as well.
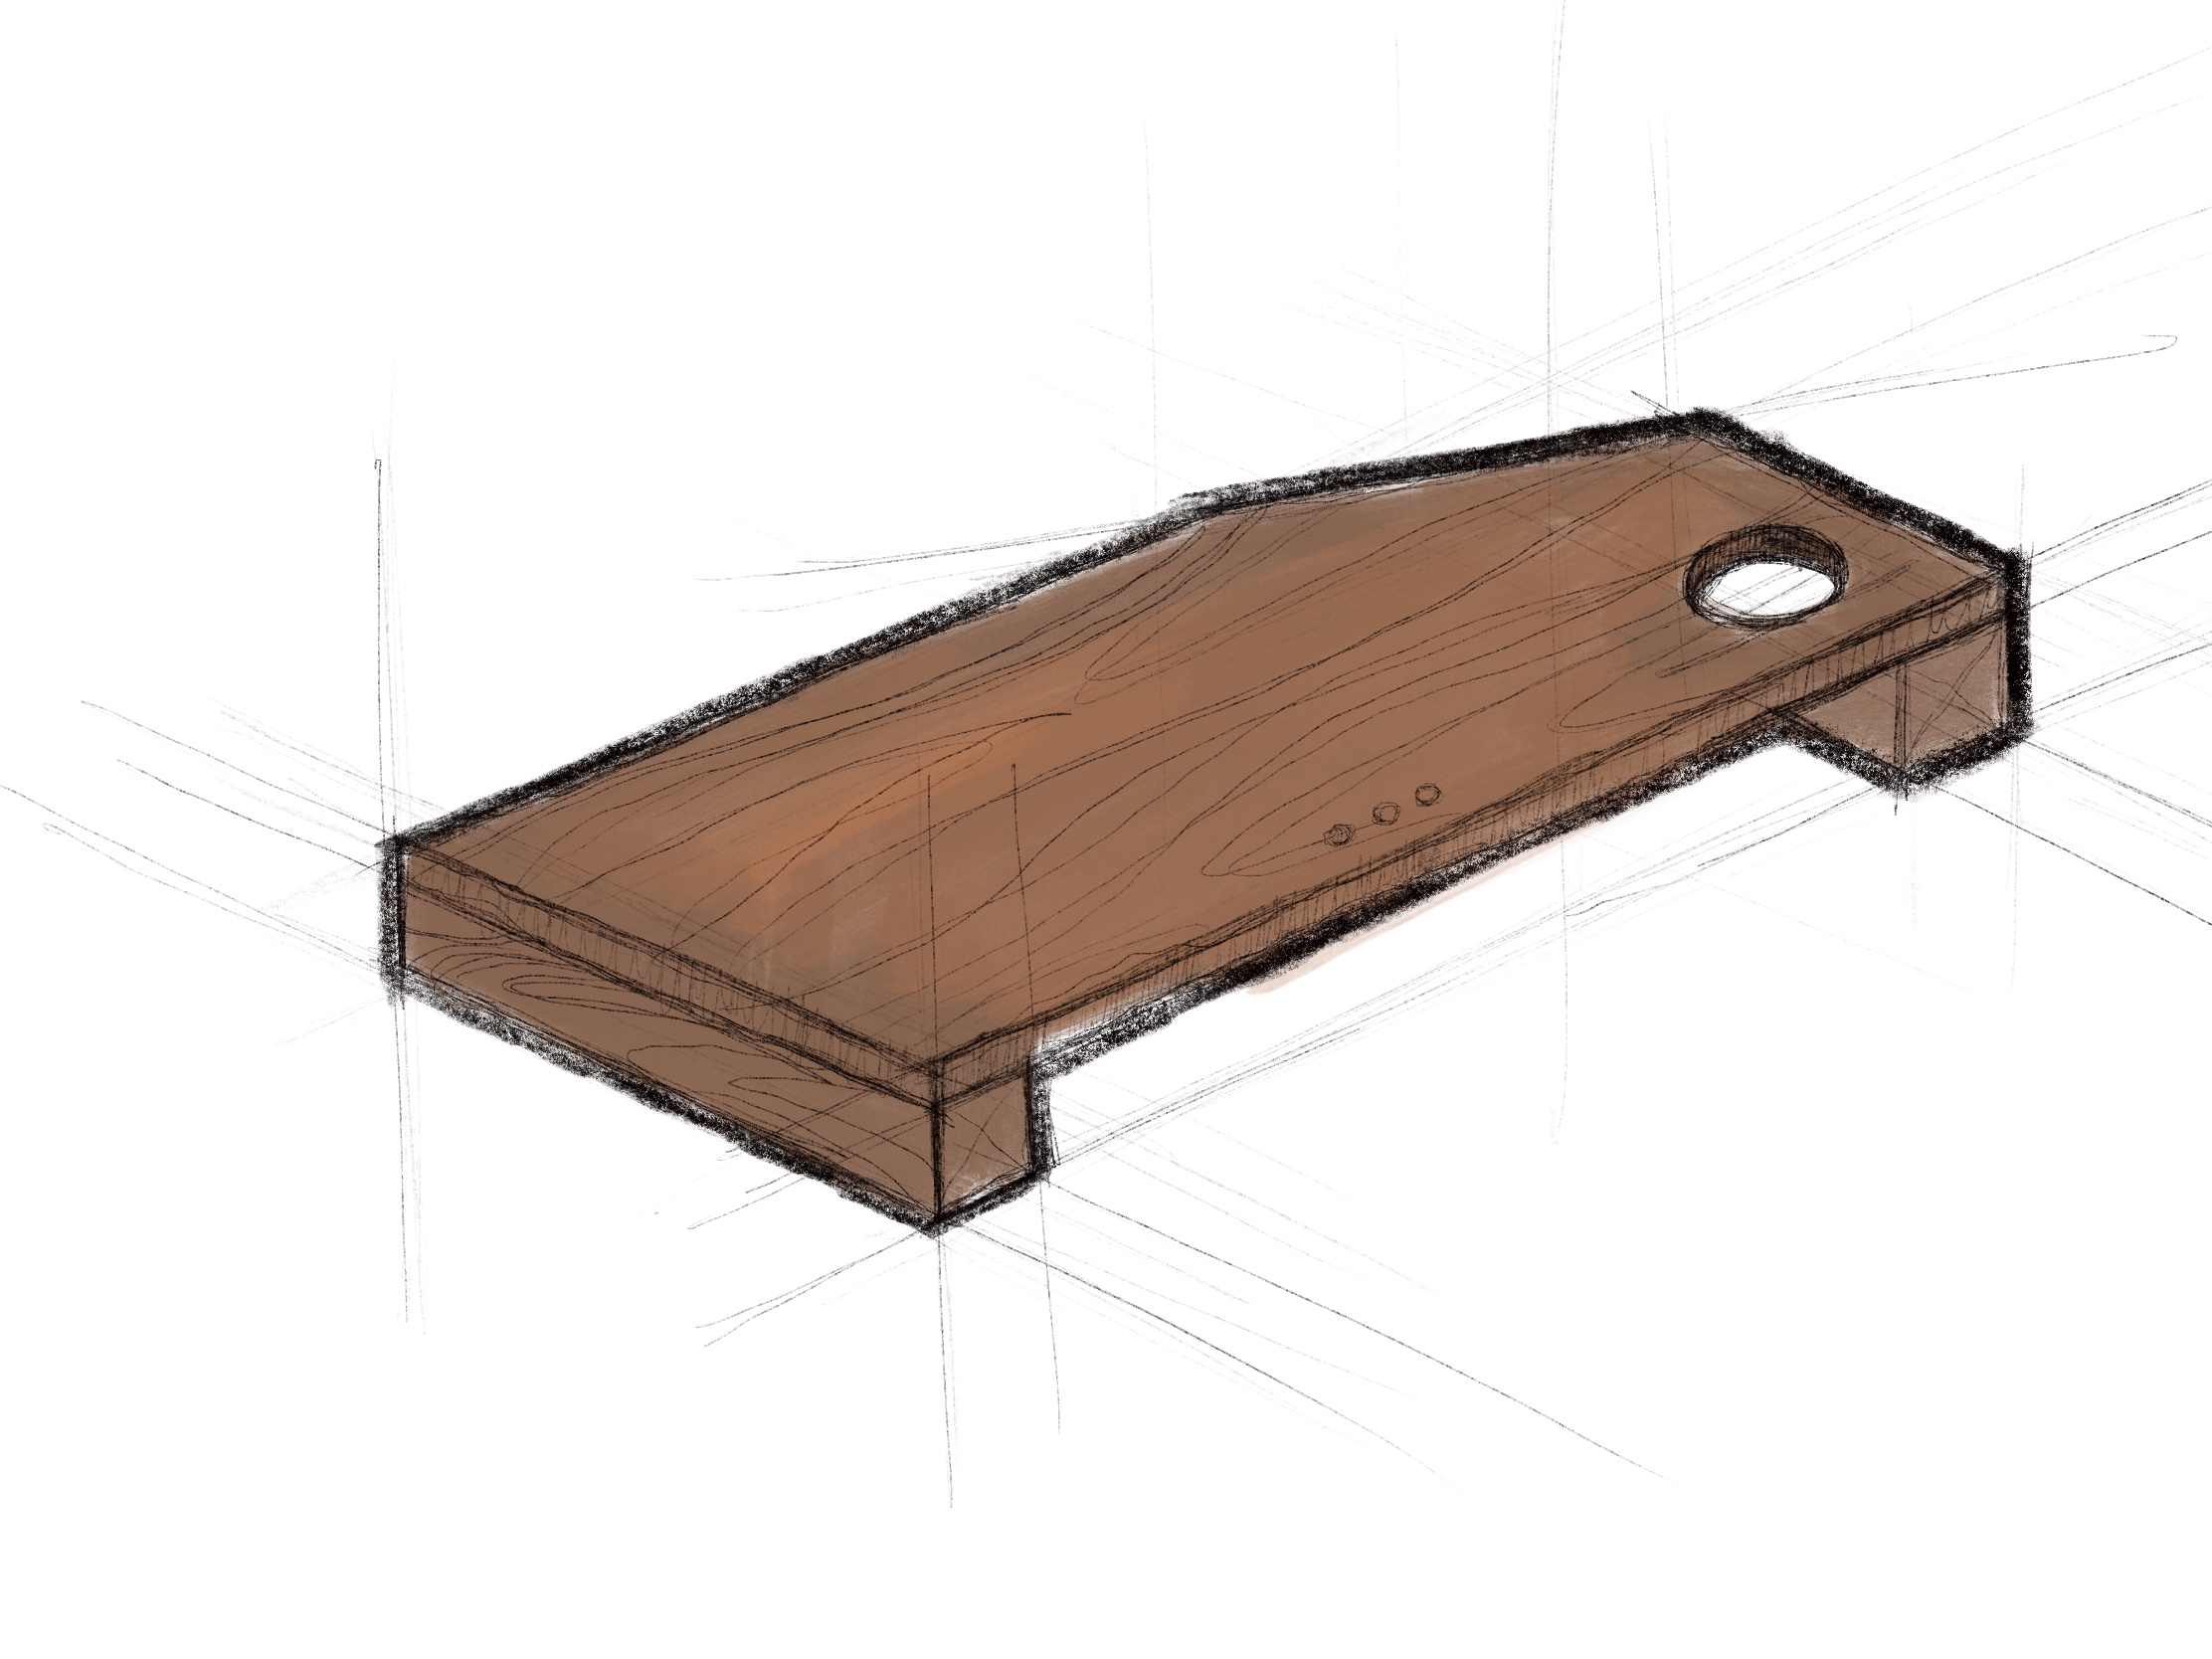
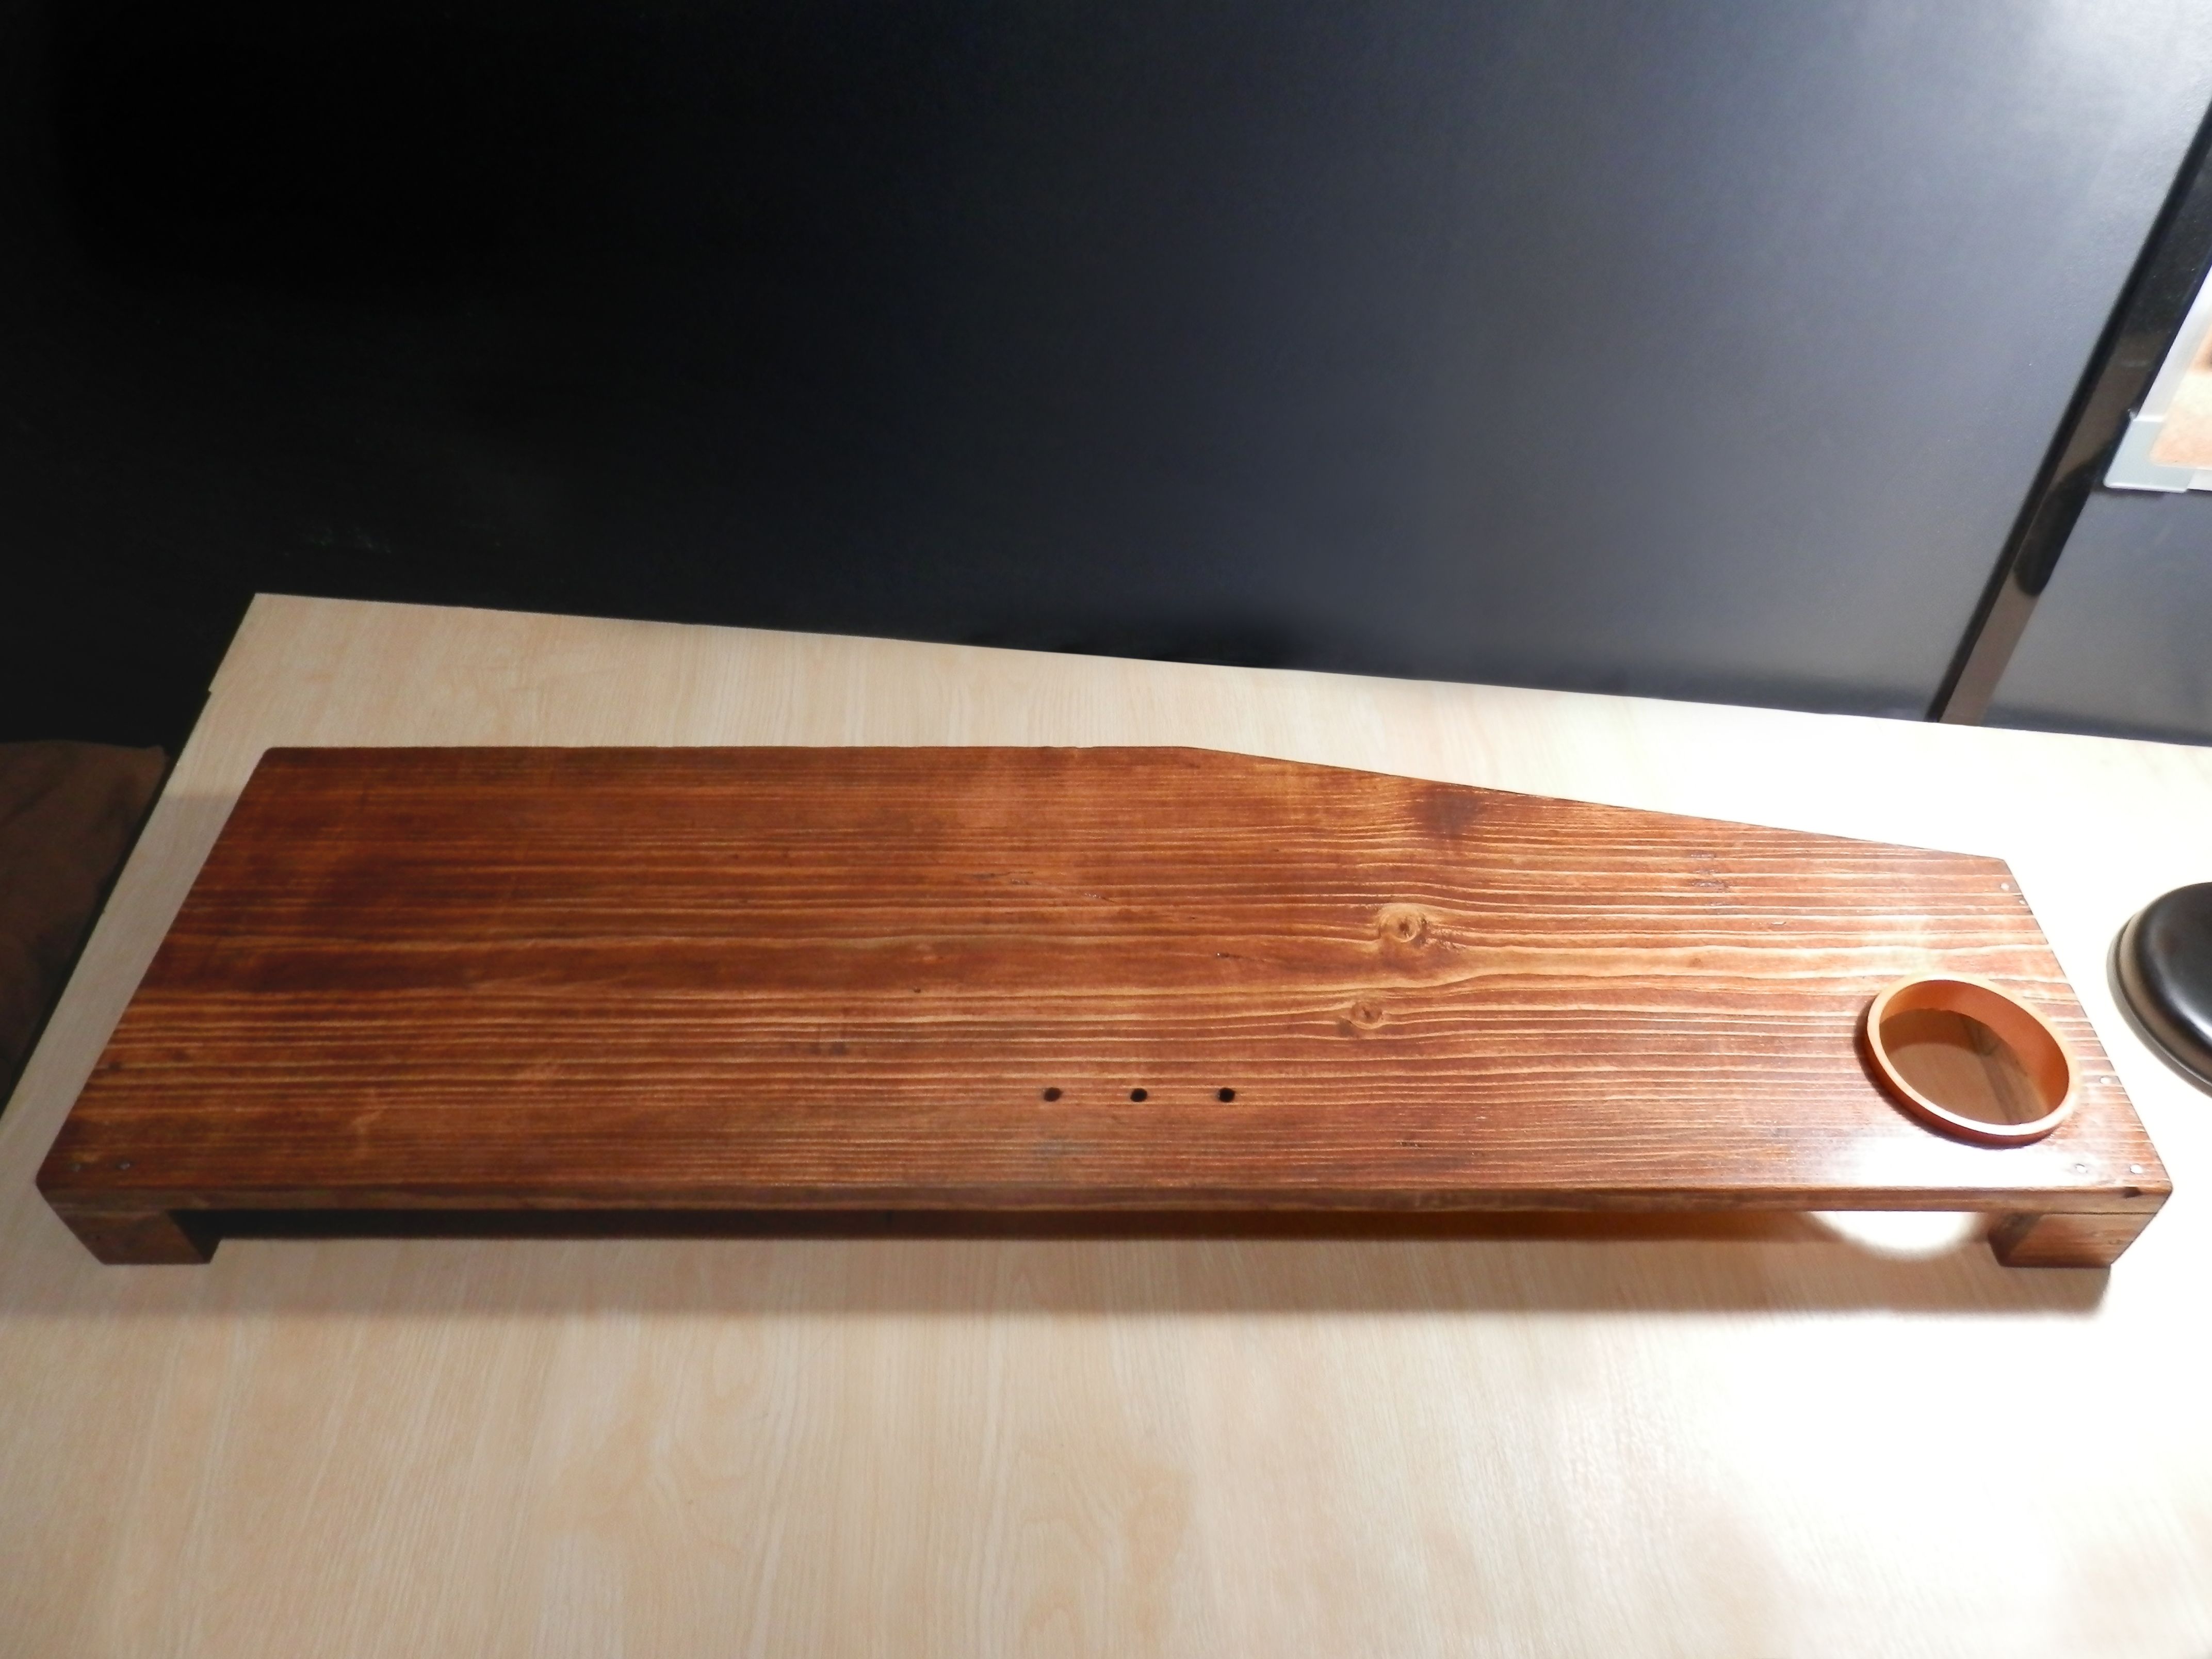
This is the master plan for this project, a small table for my monitor and laptop. This will also have pen holders, cup holder and compartment for the mouse and keyboard so that I can hide it if I'm not using them.
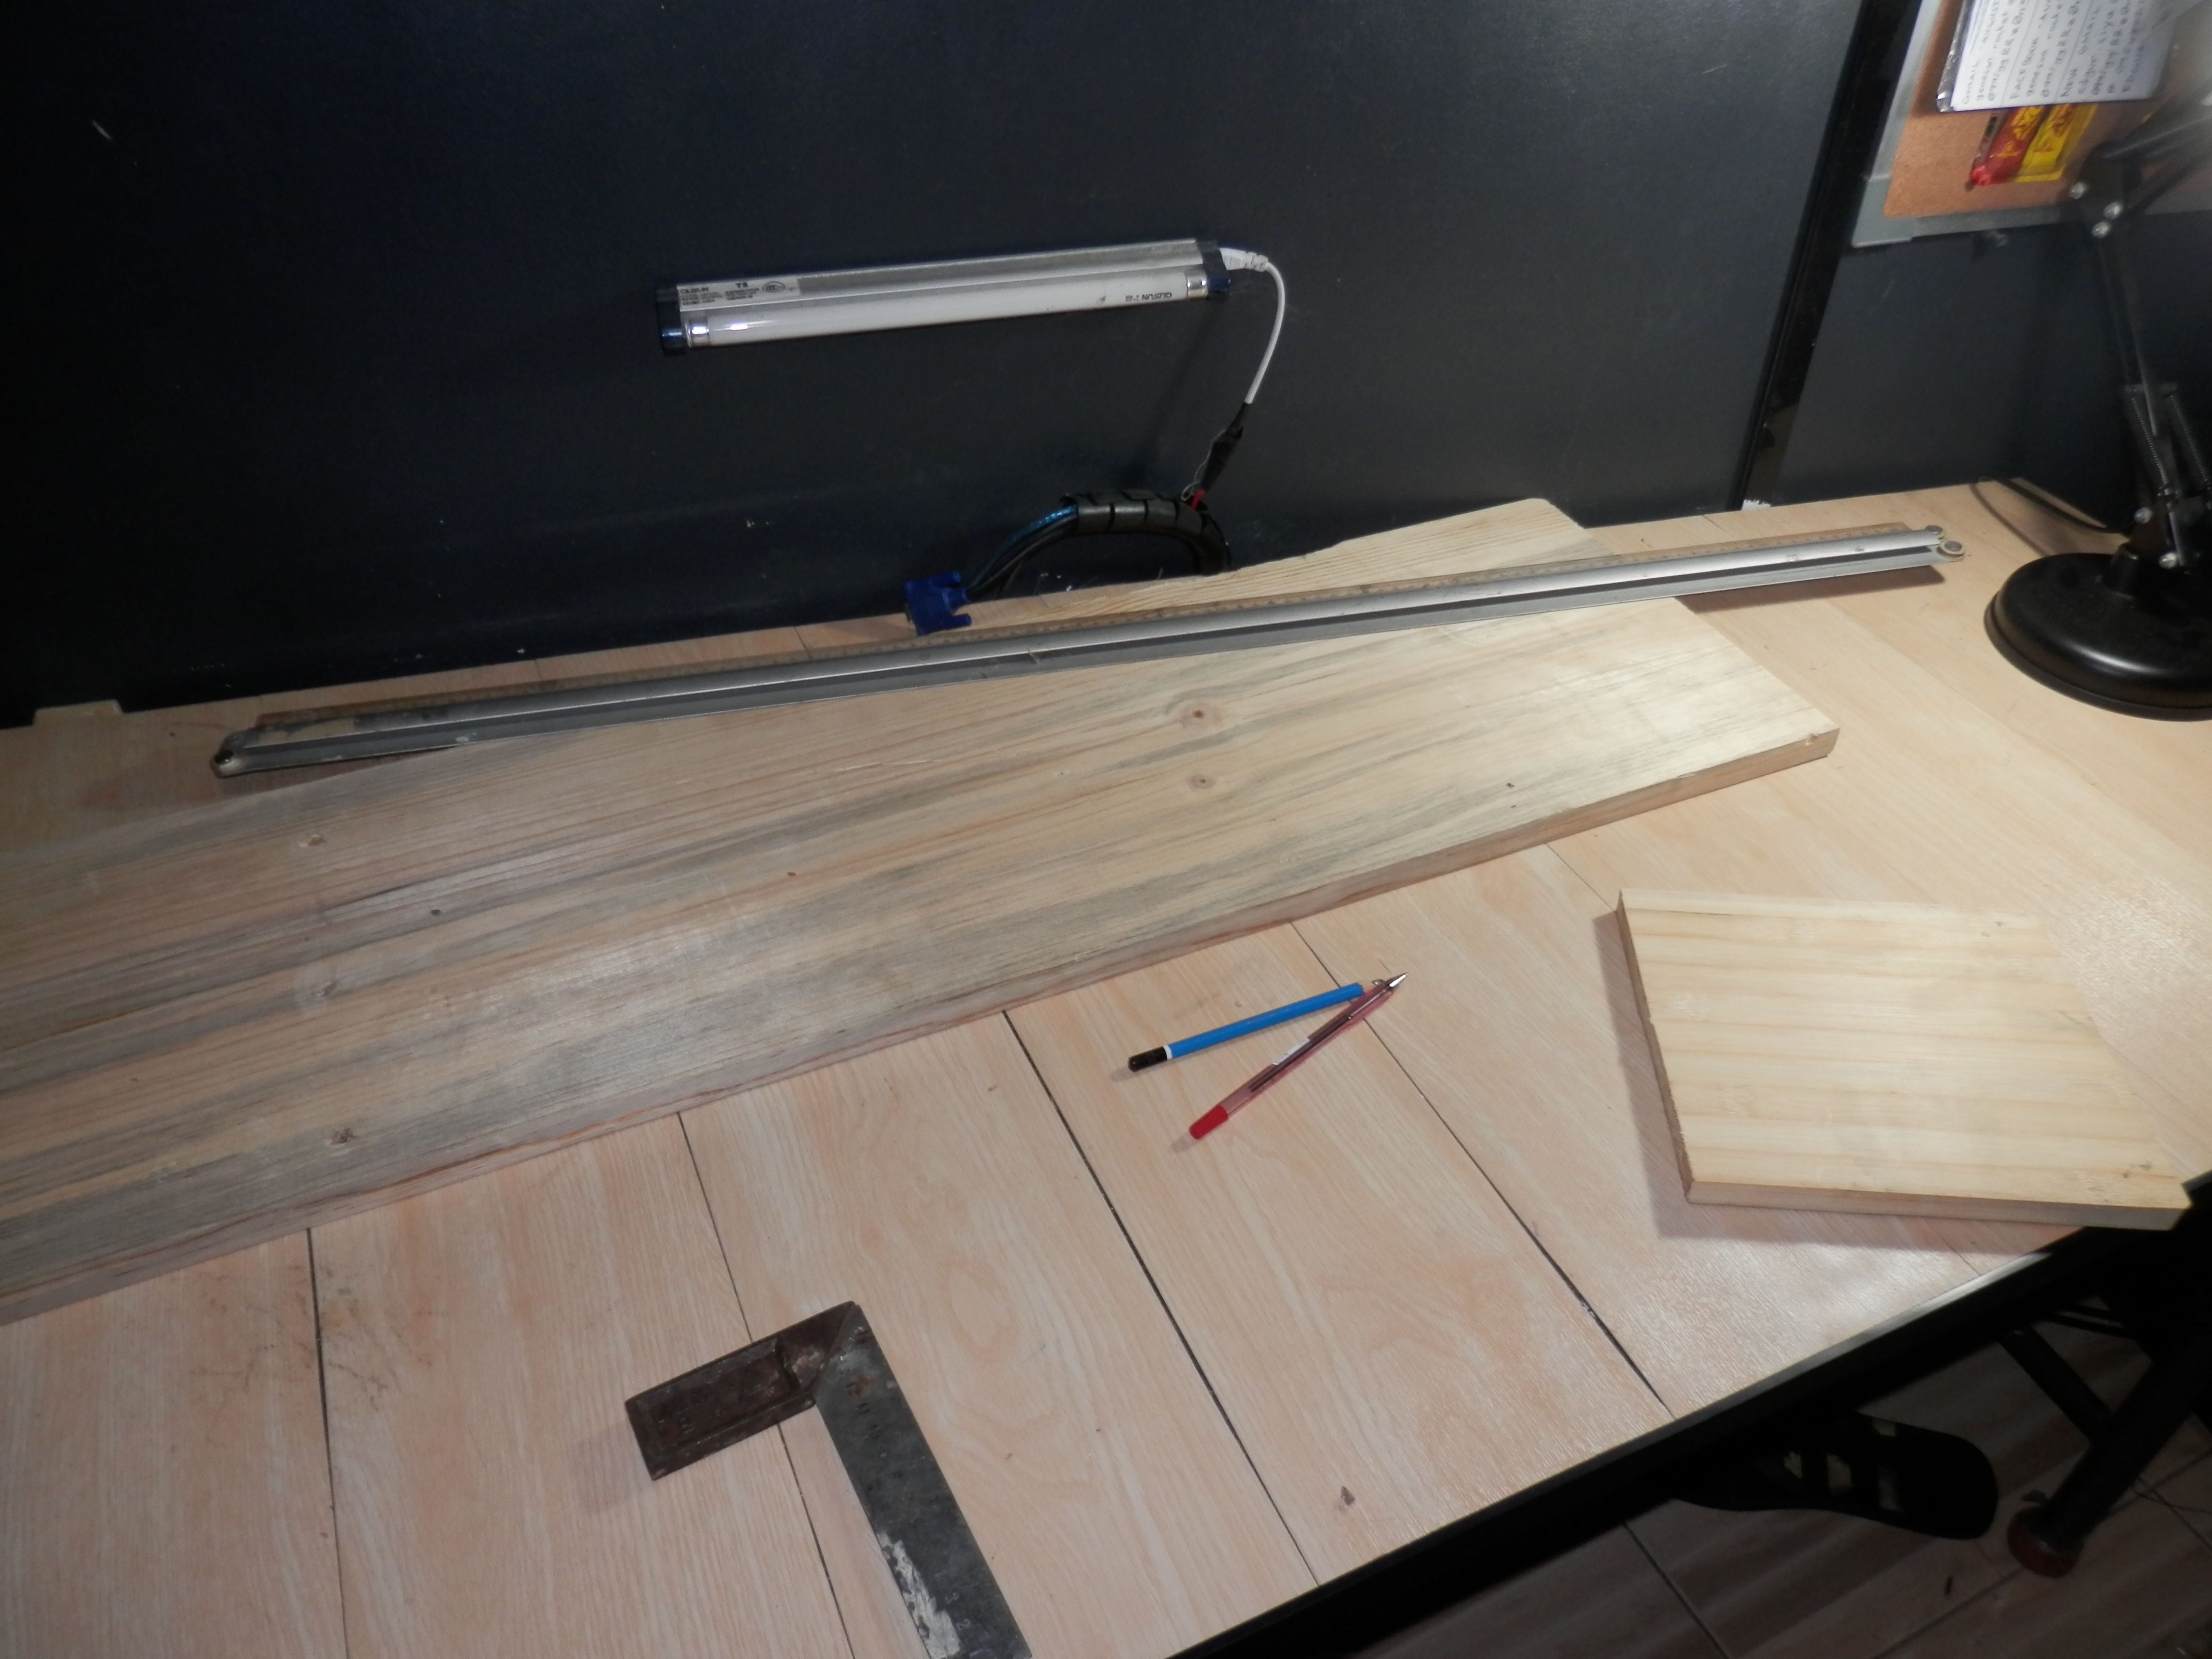
I removed all the things from the table then I did the measurements.

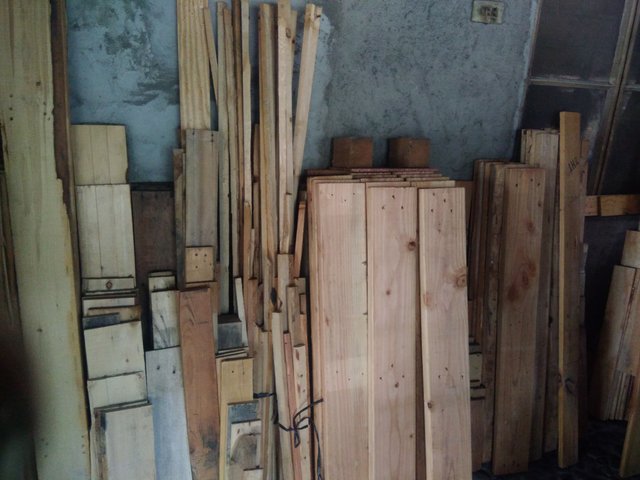
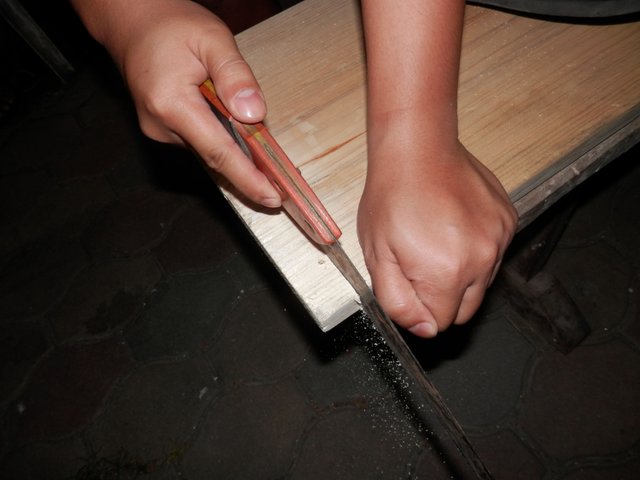
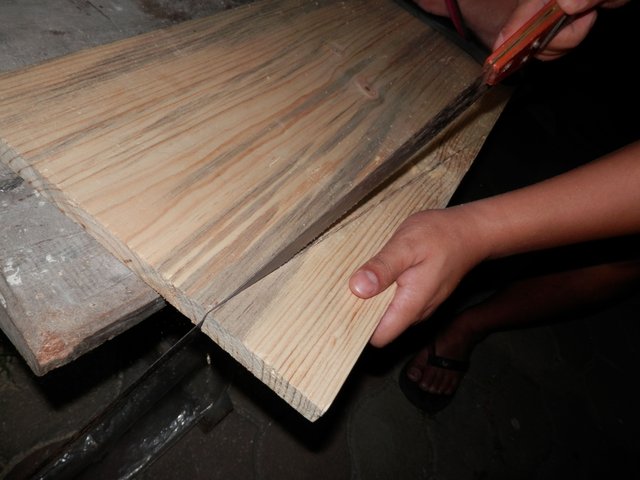
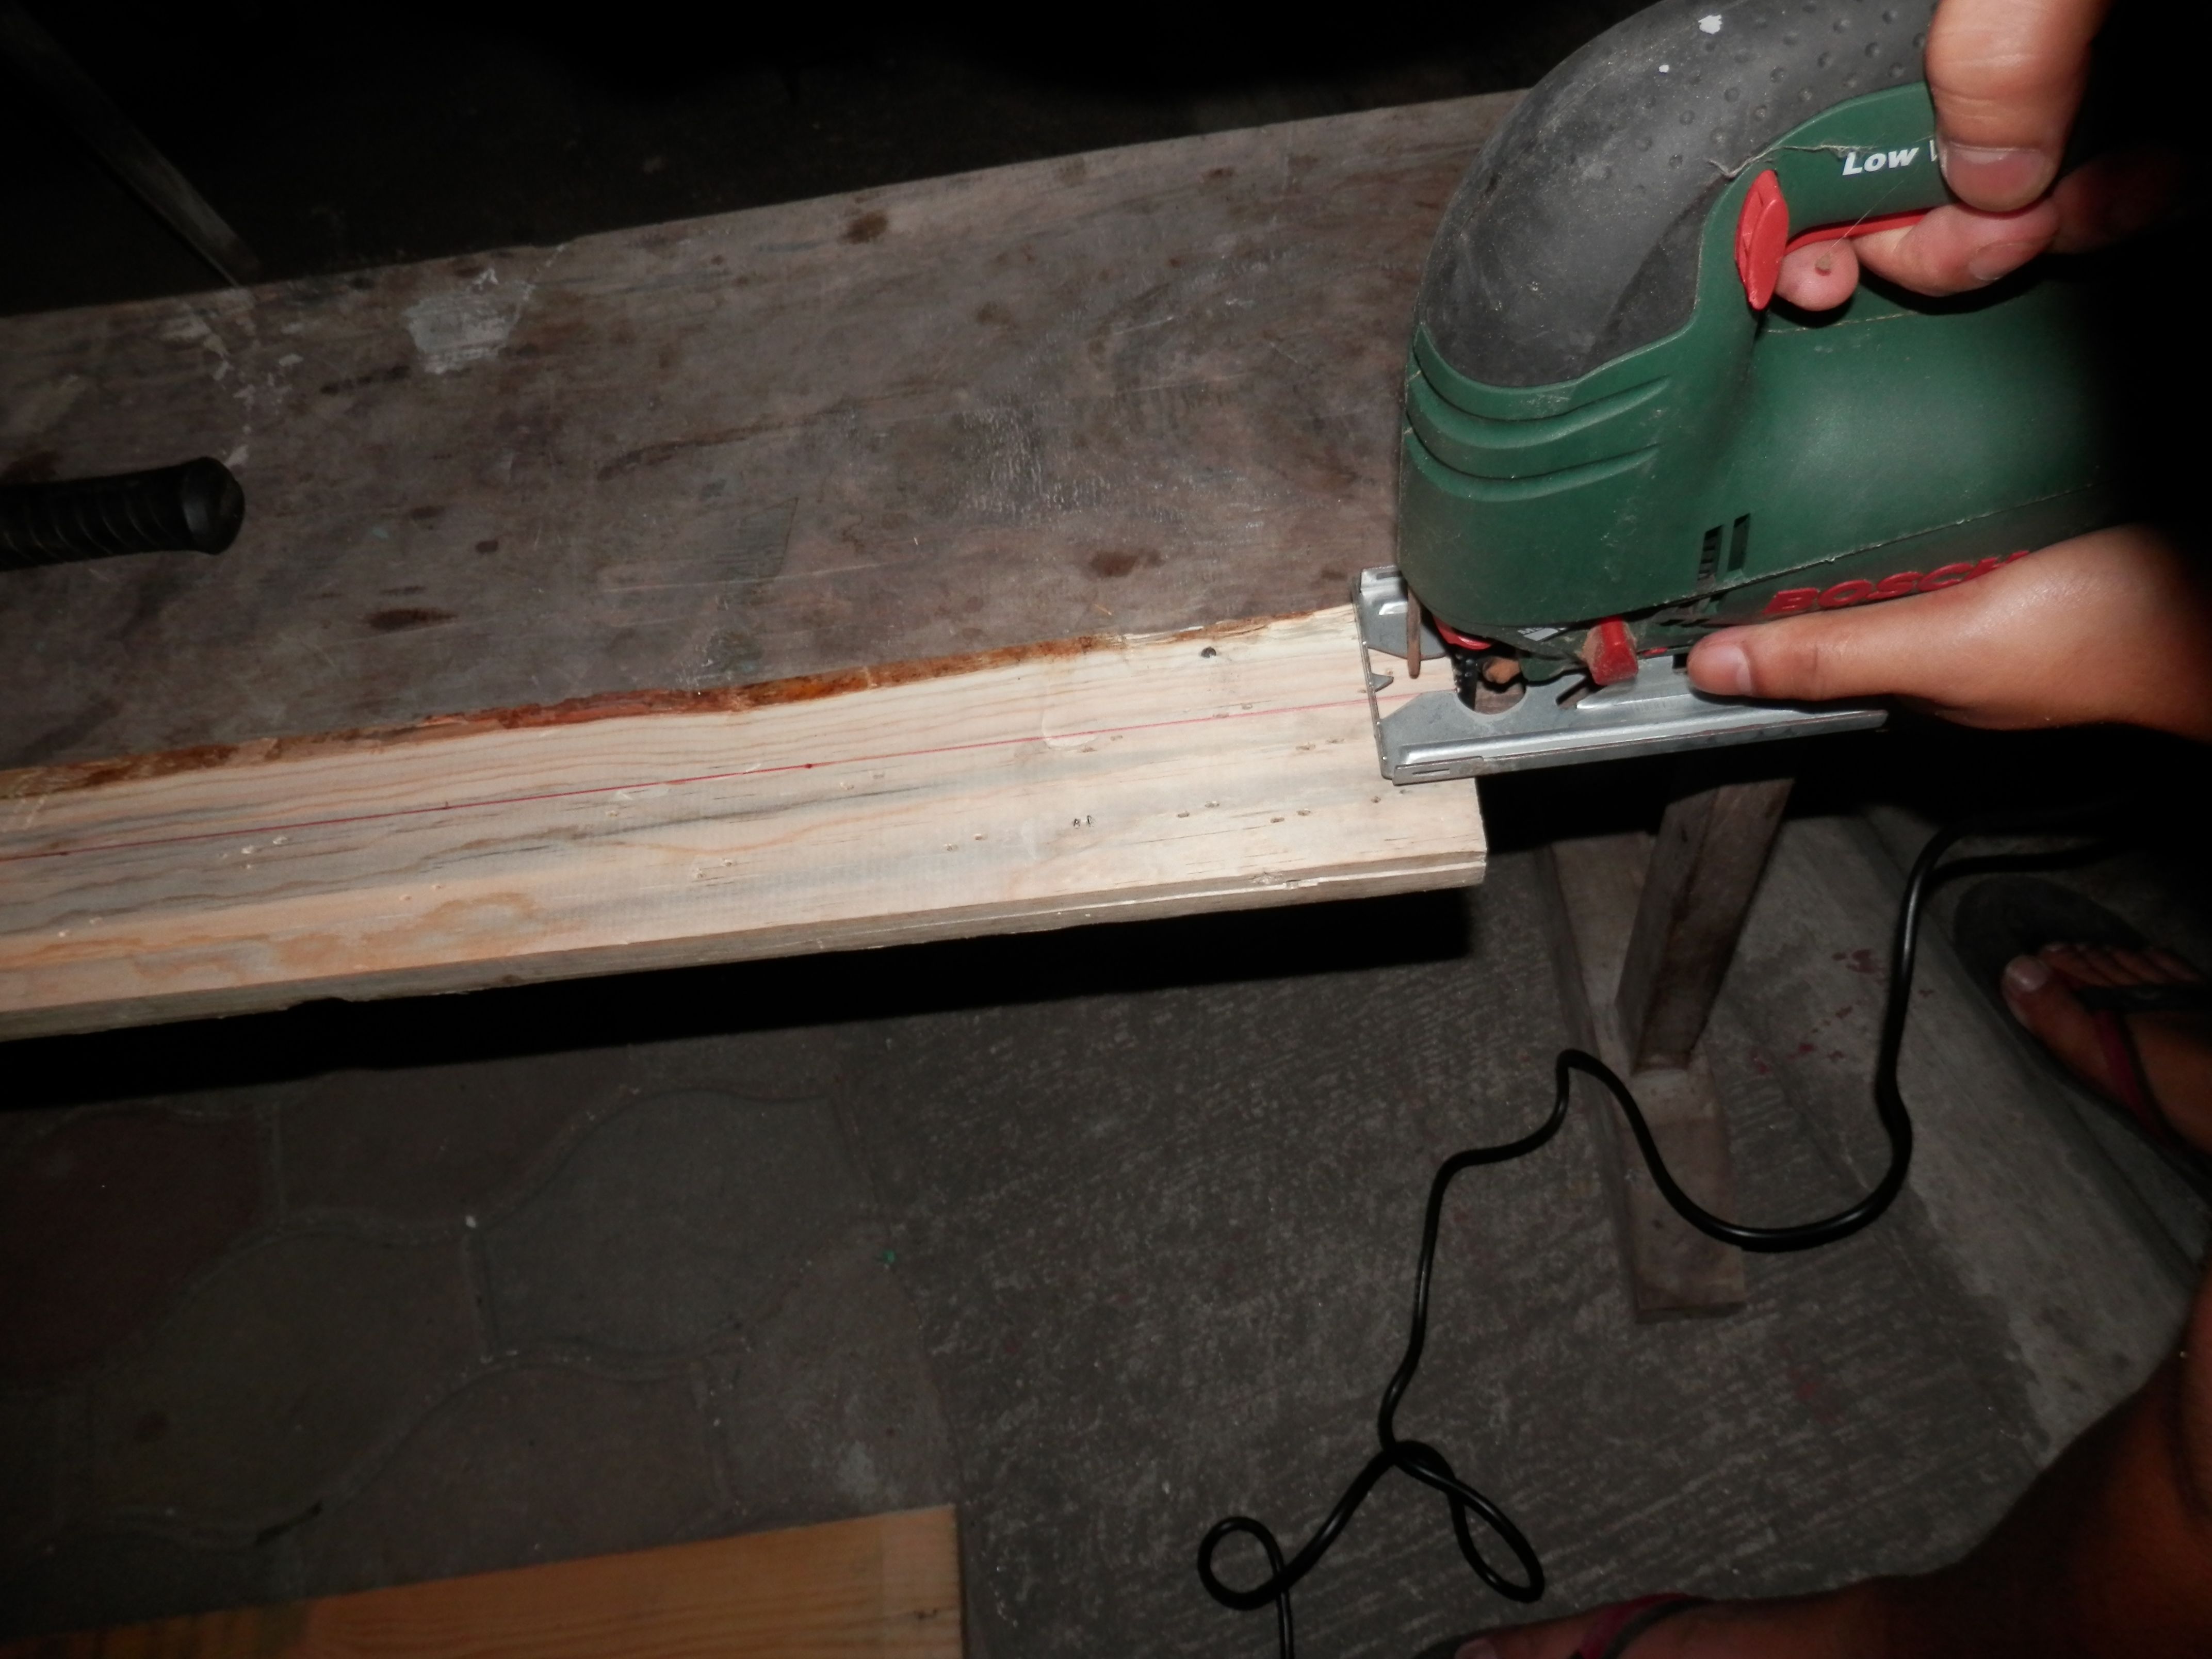
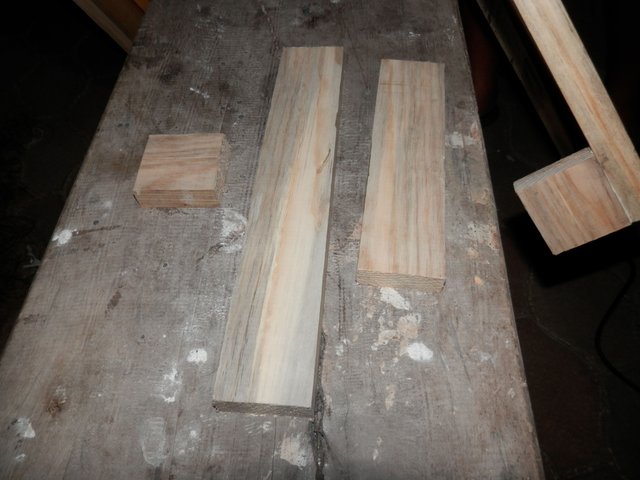
After the measurements I picked the wood that suites best for this project then I started sawing and cutting everything.
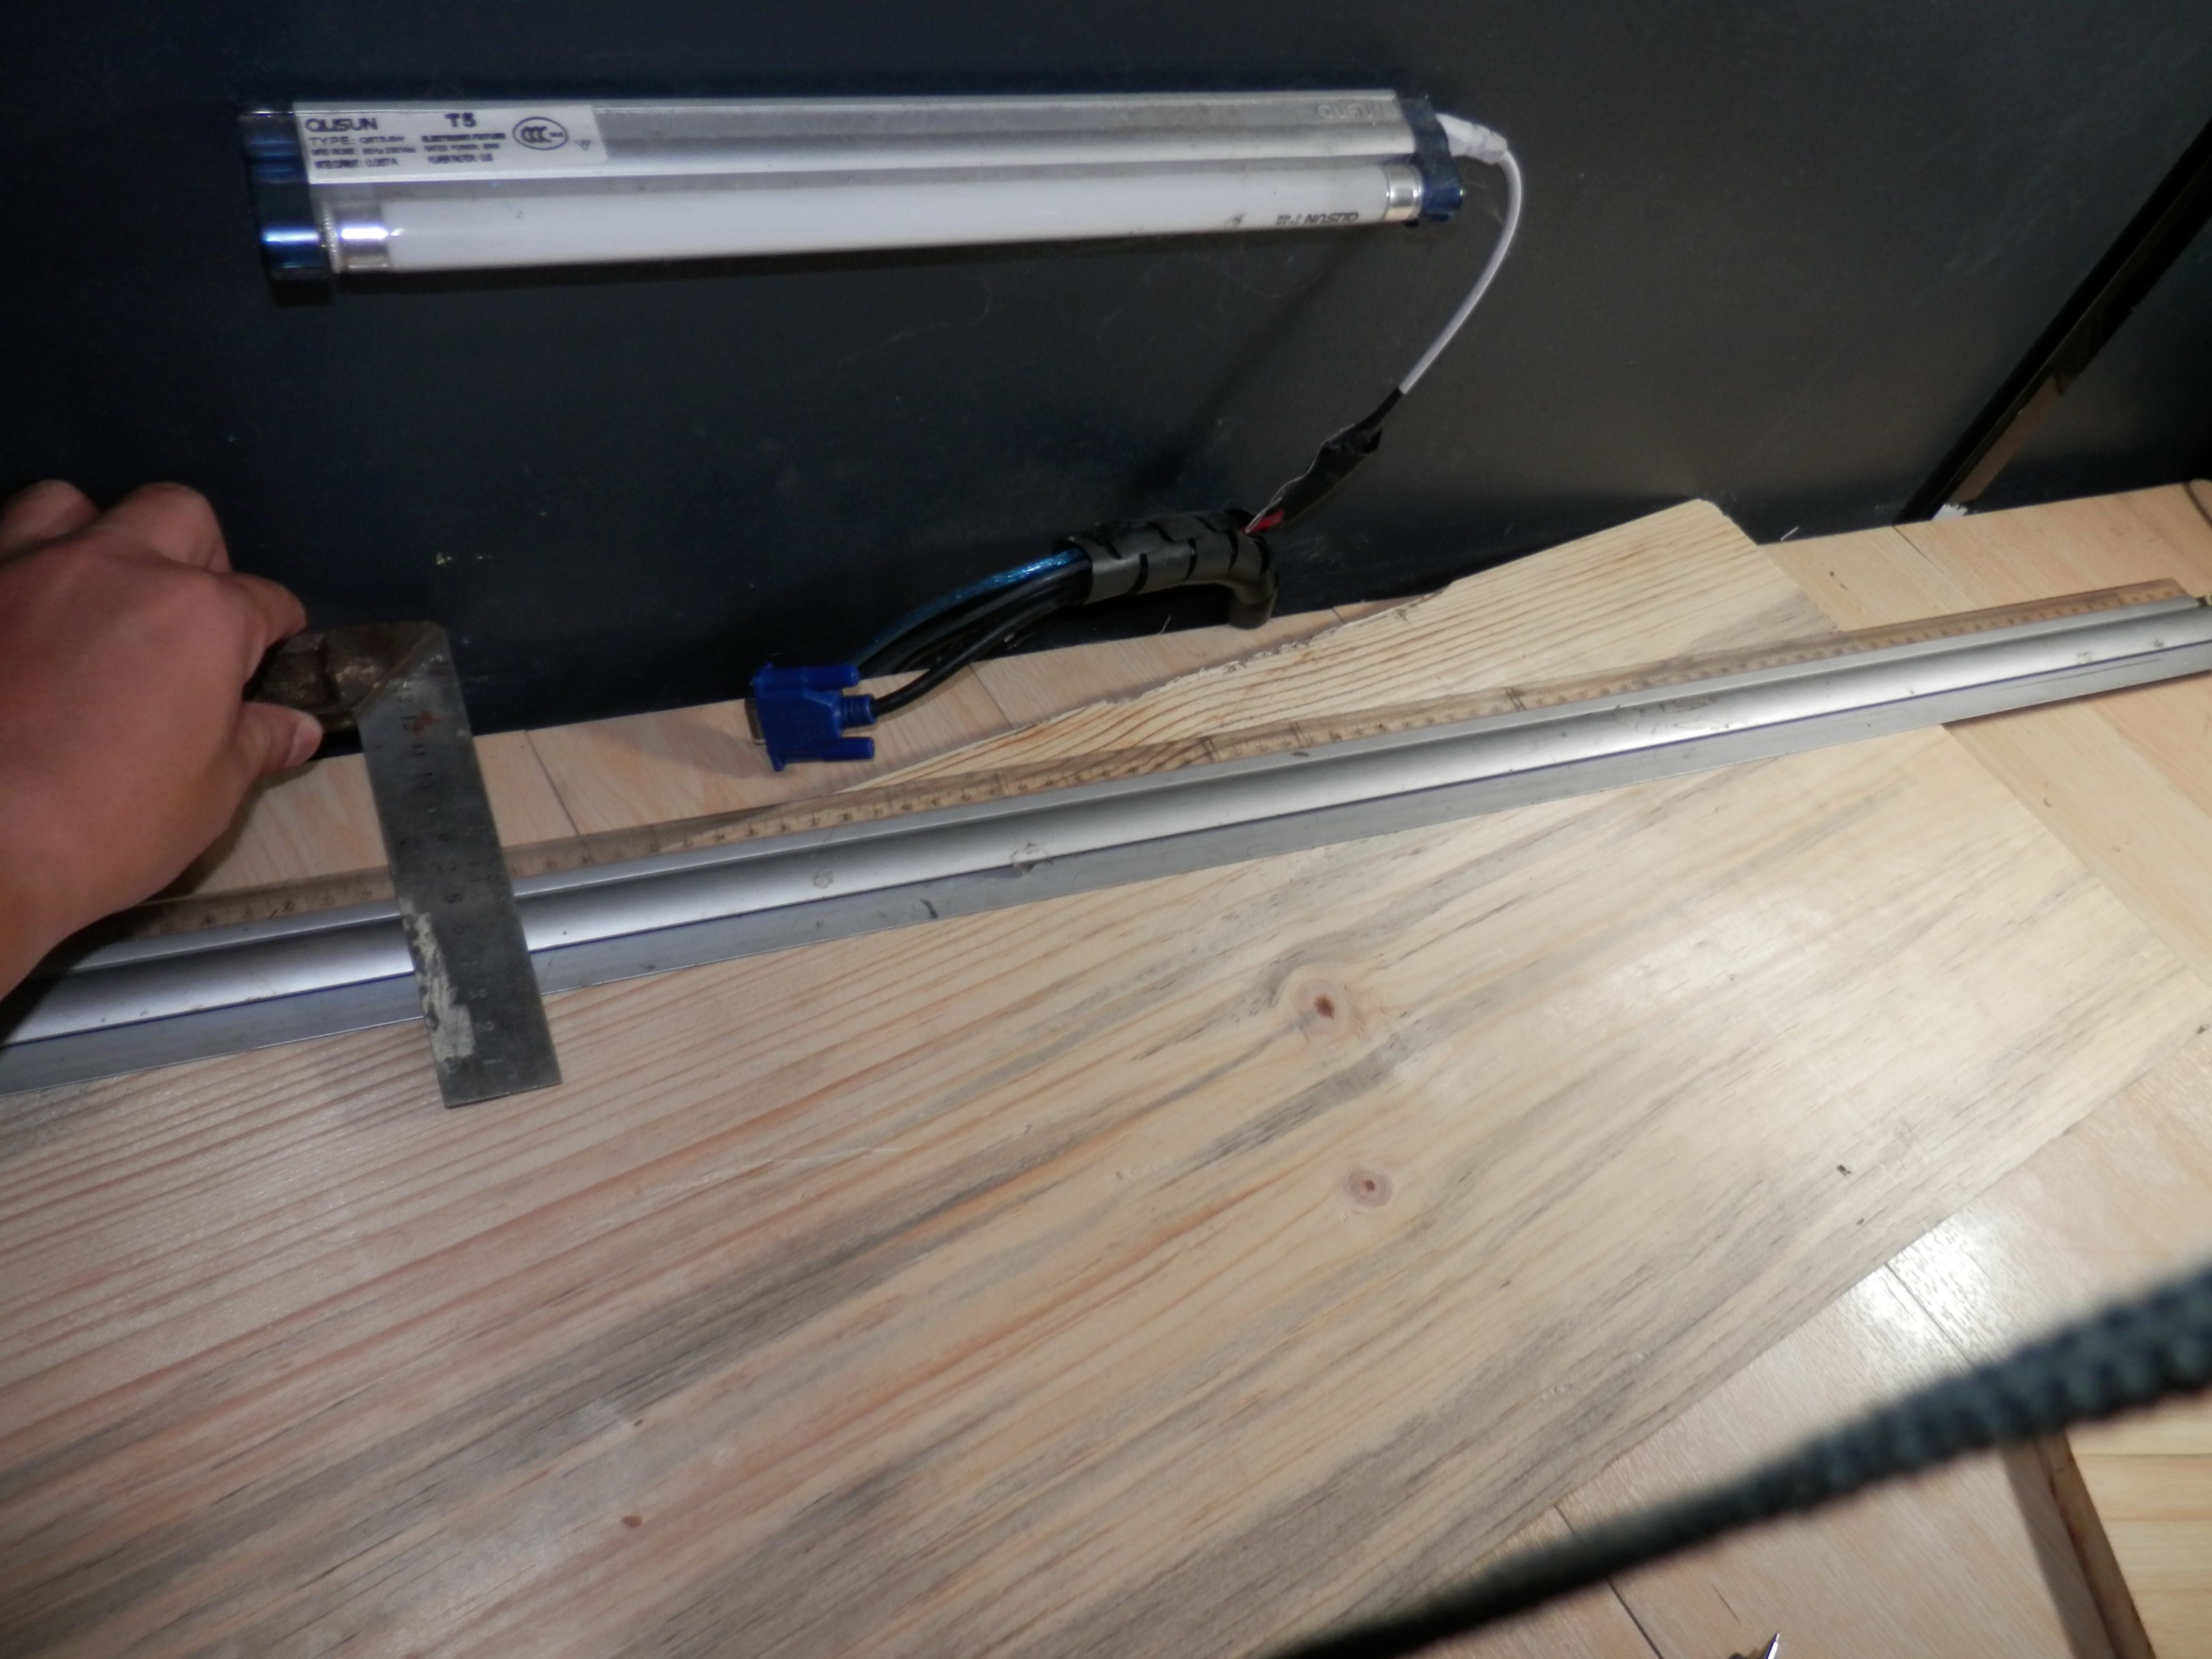
As you can see from this picture my wall and my table has an irregular shape that's why I have to cut one corner of the wood at around 20° angle.
This will become the feet of the table. The measurement is 2 inches width / height.

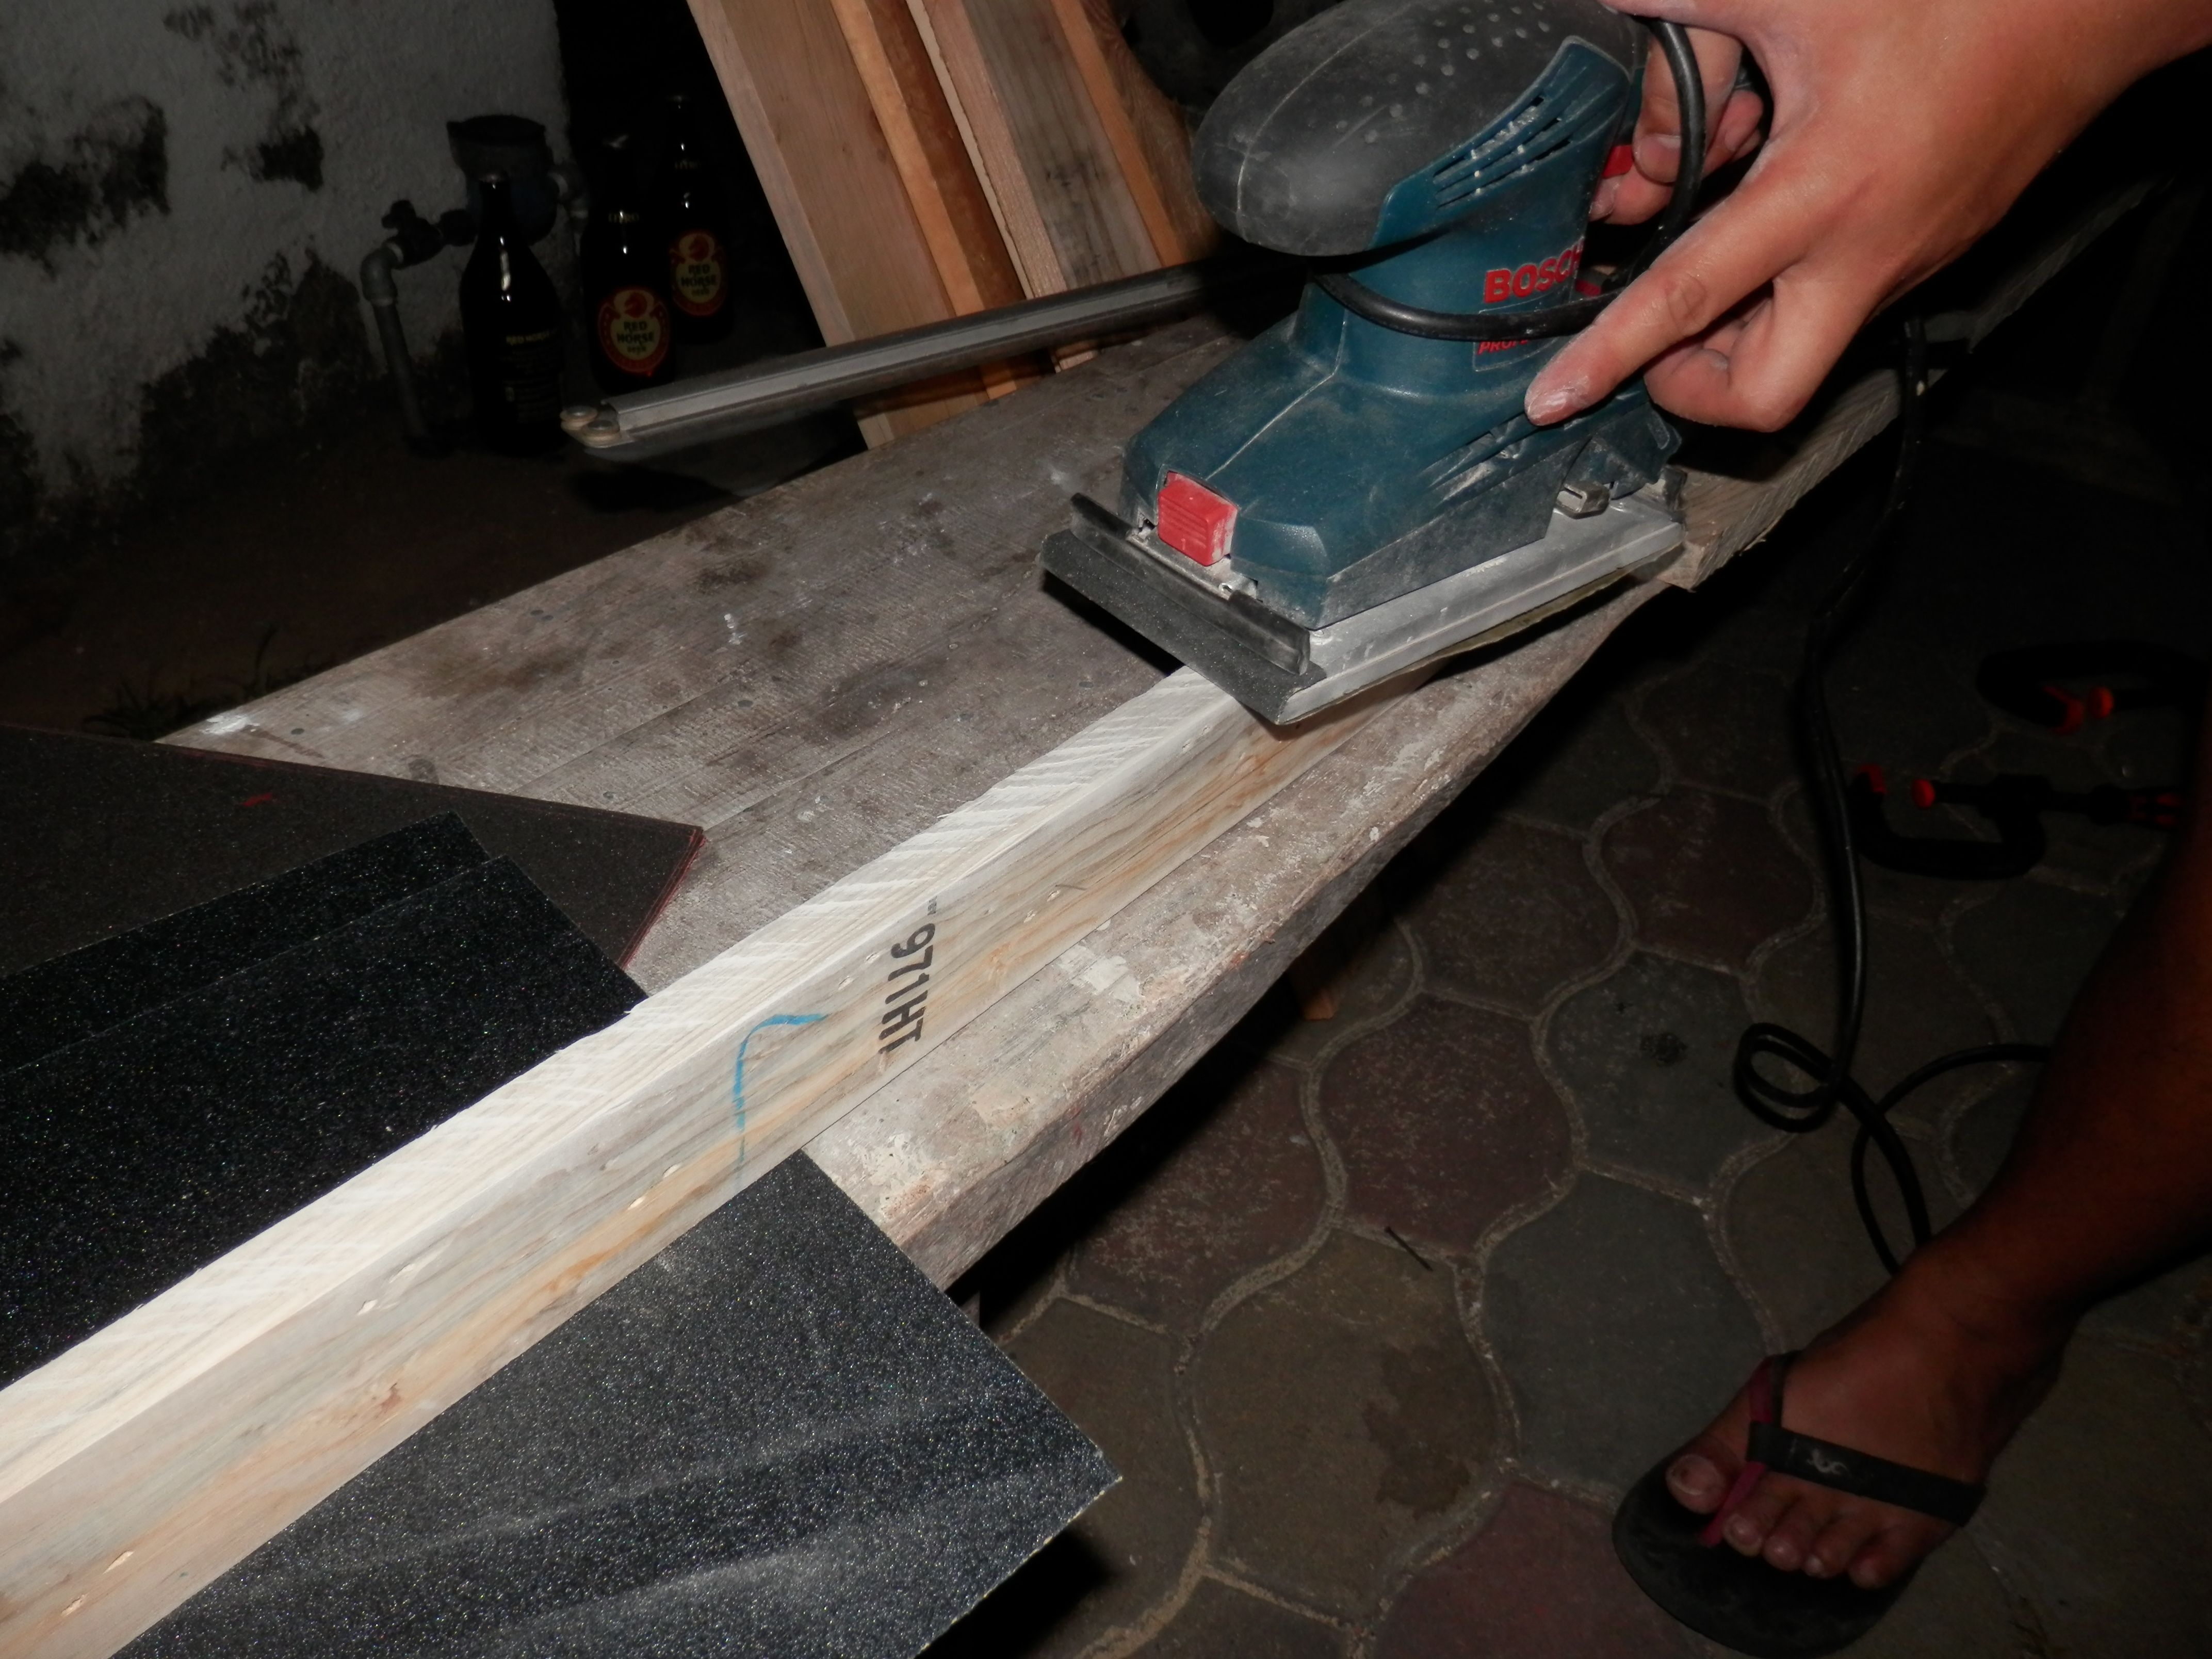
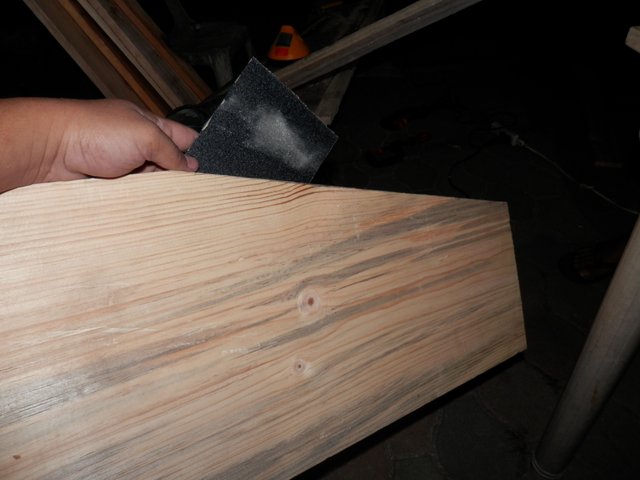
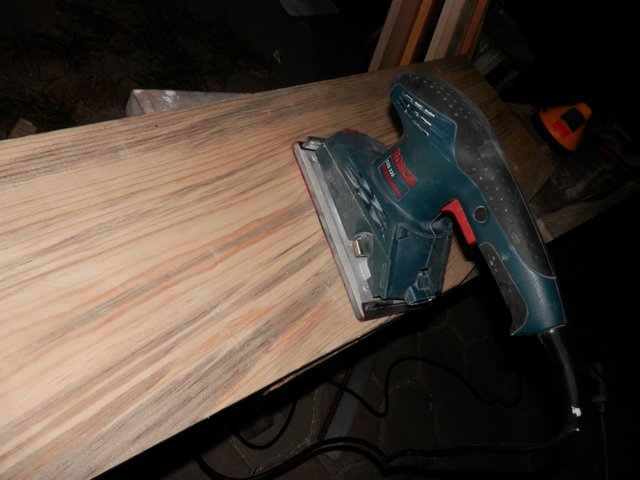
When everything has been cut down to the right dimensions it is time to sand out the rough surface and edges. This electric sanding machine helped me a lot but nothing beats the power of our own hands because I have more control over the pressure and the speed of sanding.
I cut down the (feet) wood into portions.
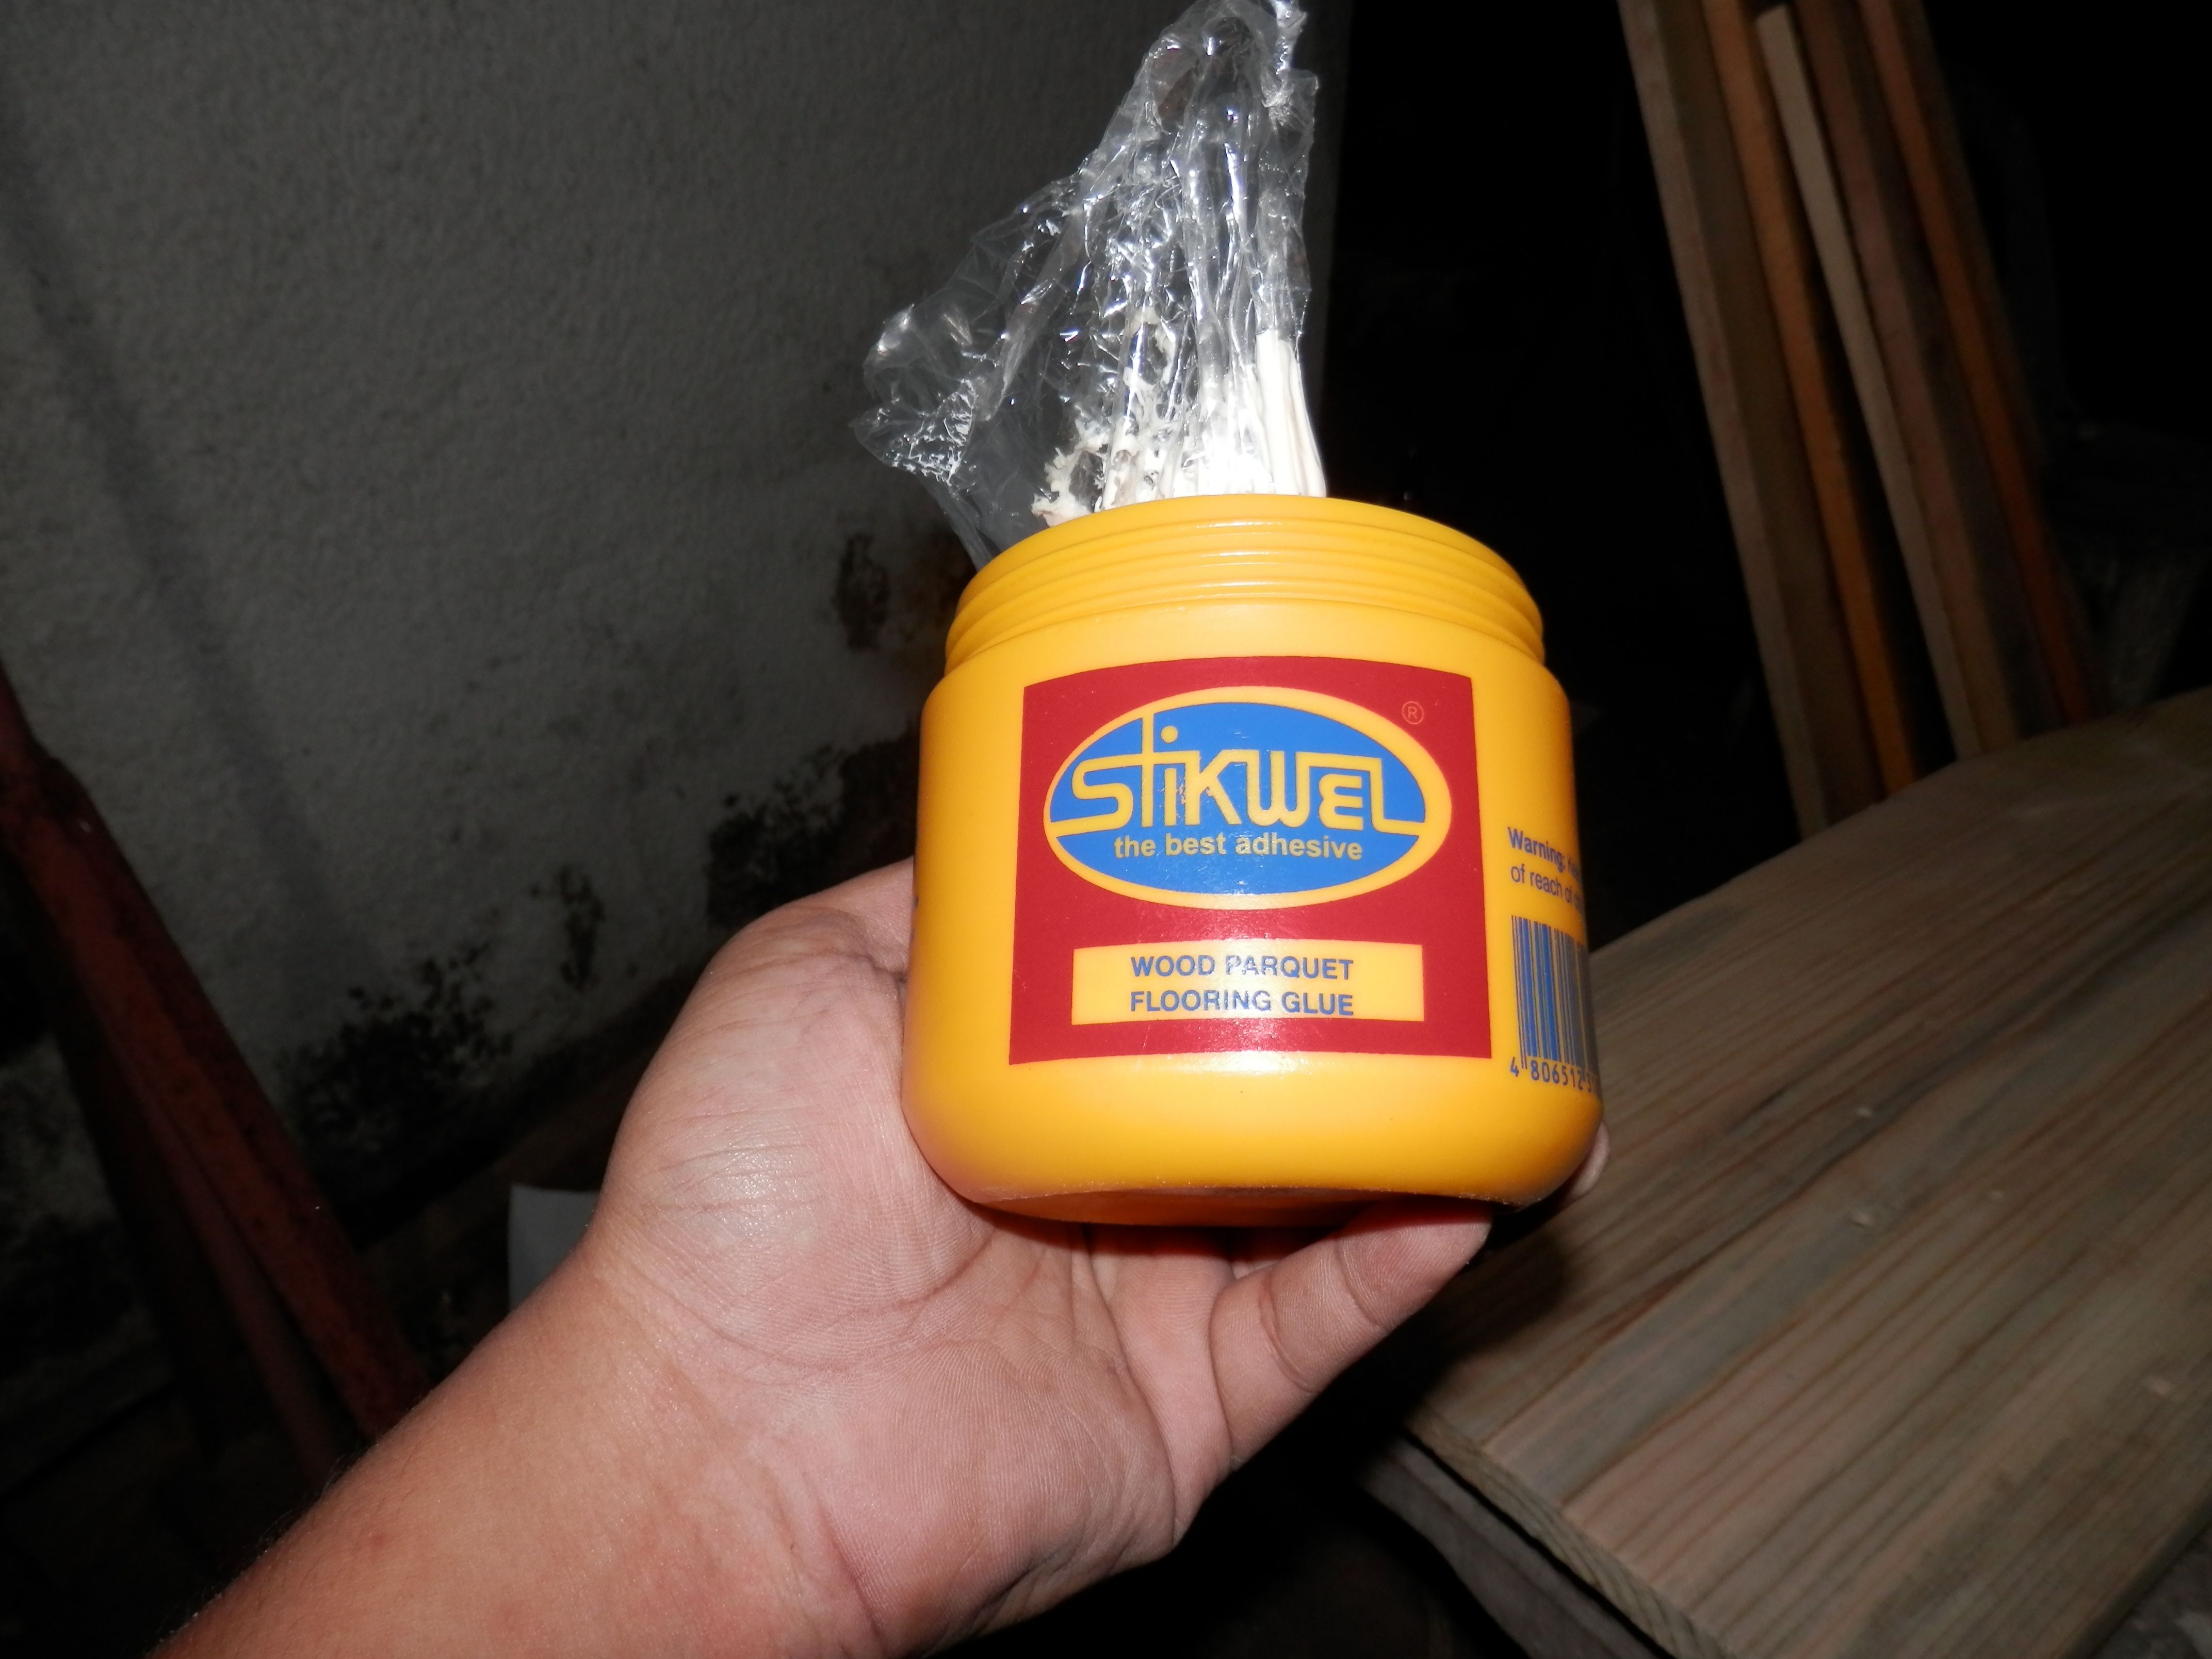
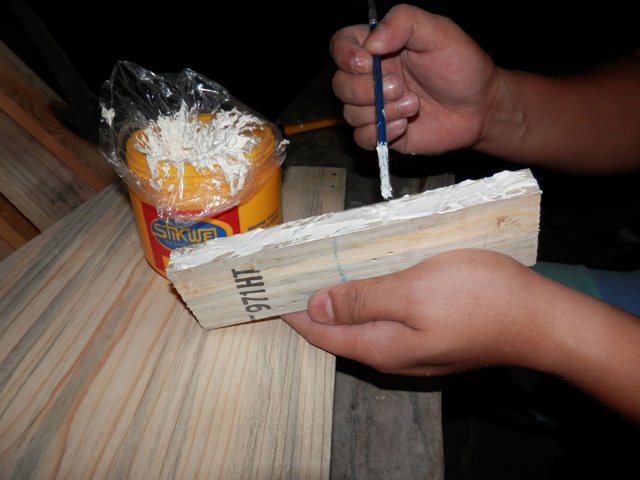
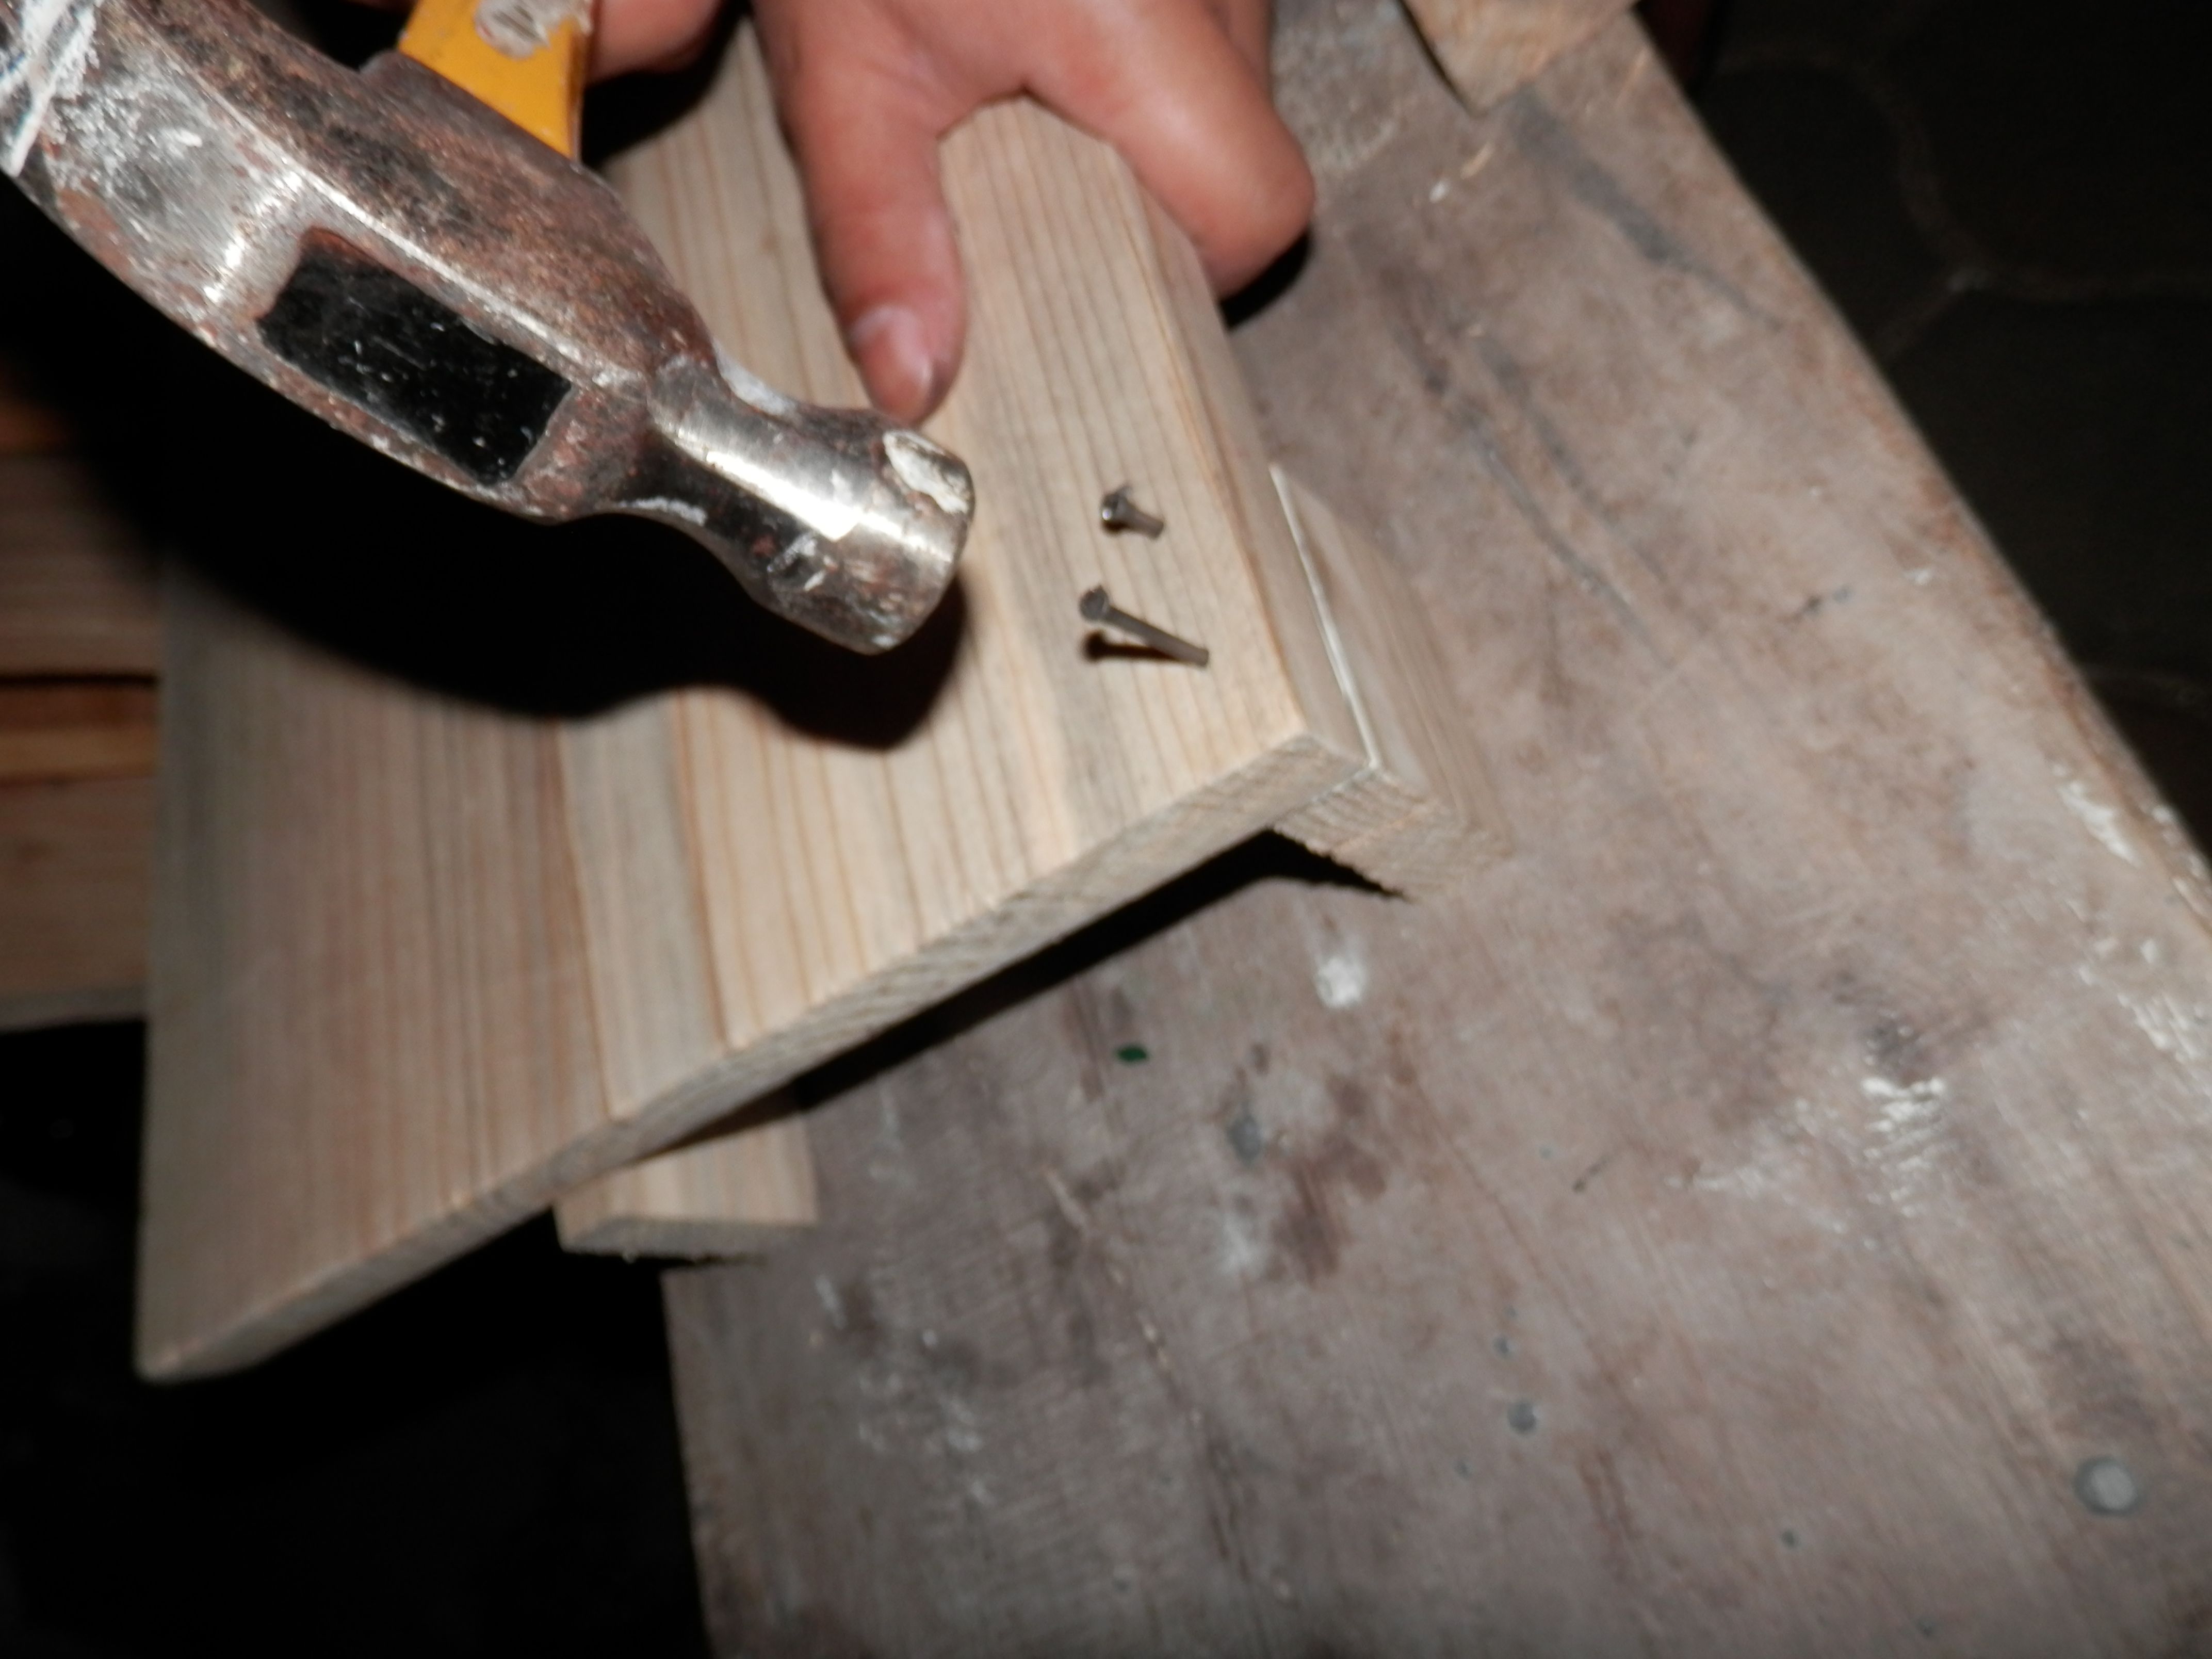
It's time to put the feet into the right place. I used the the combination of wood glue and 1.5" of nails for better adhesion and to make it sturdy.
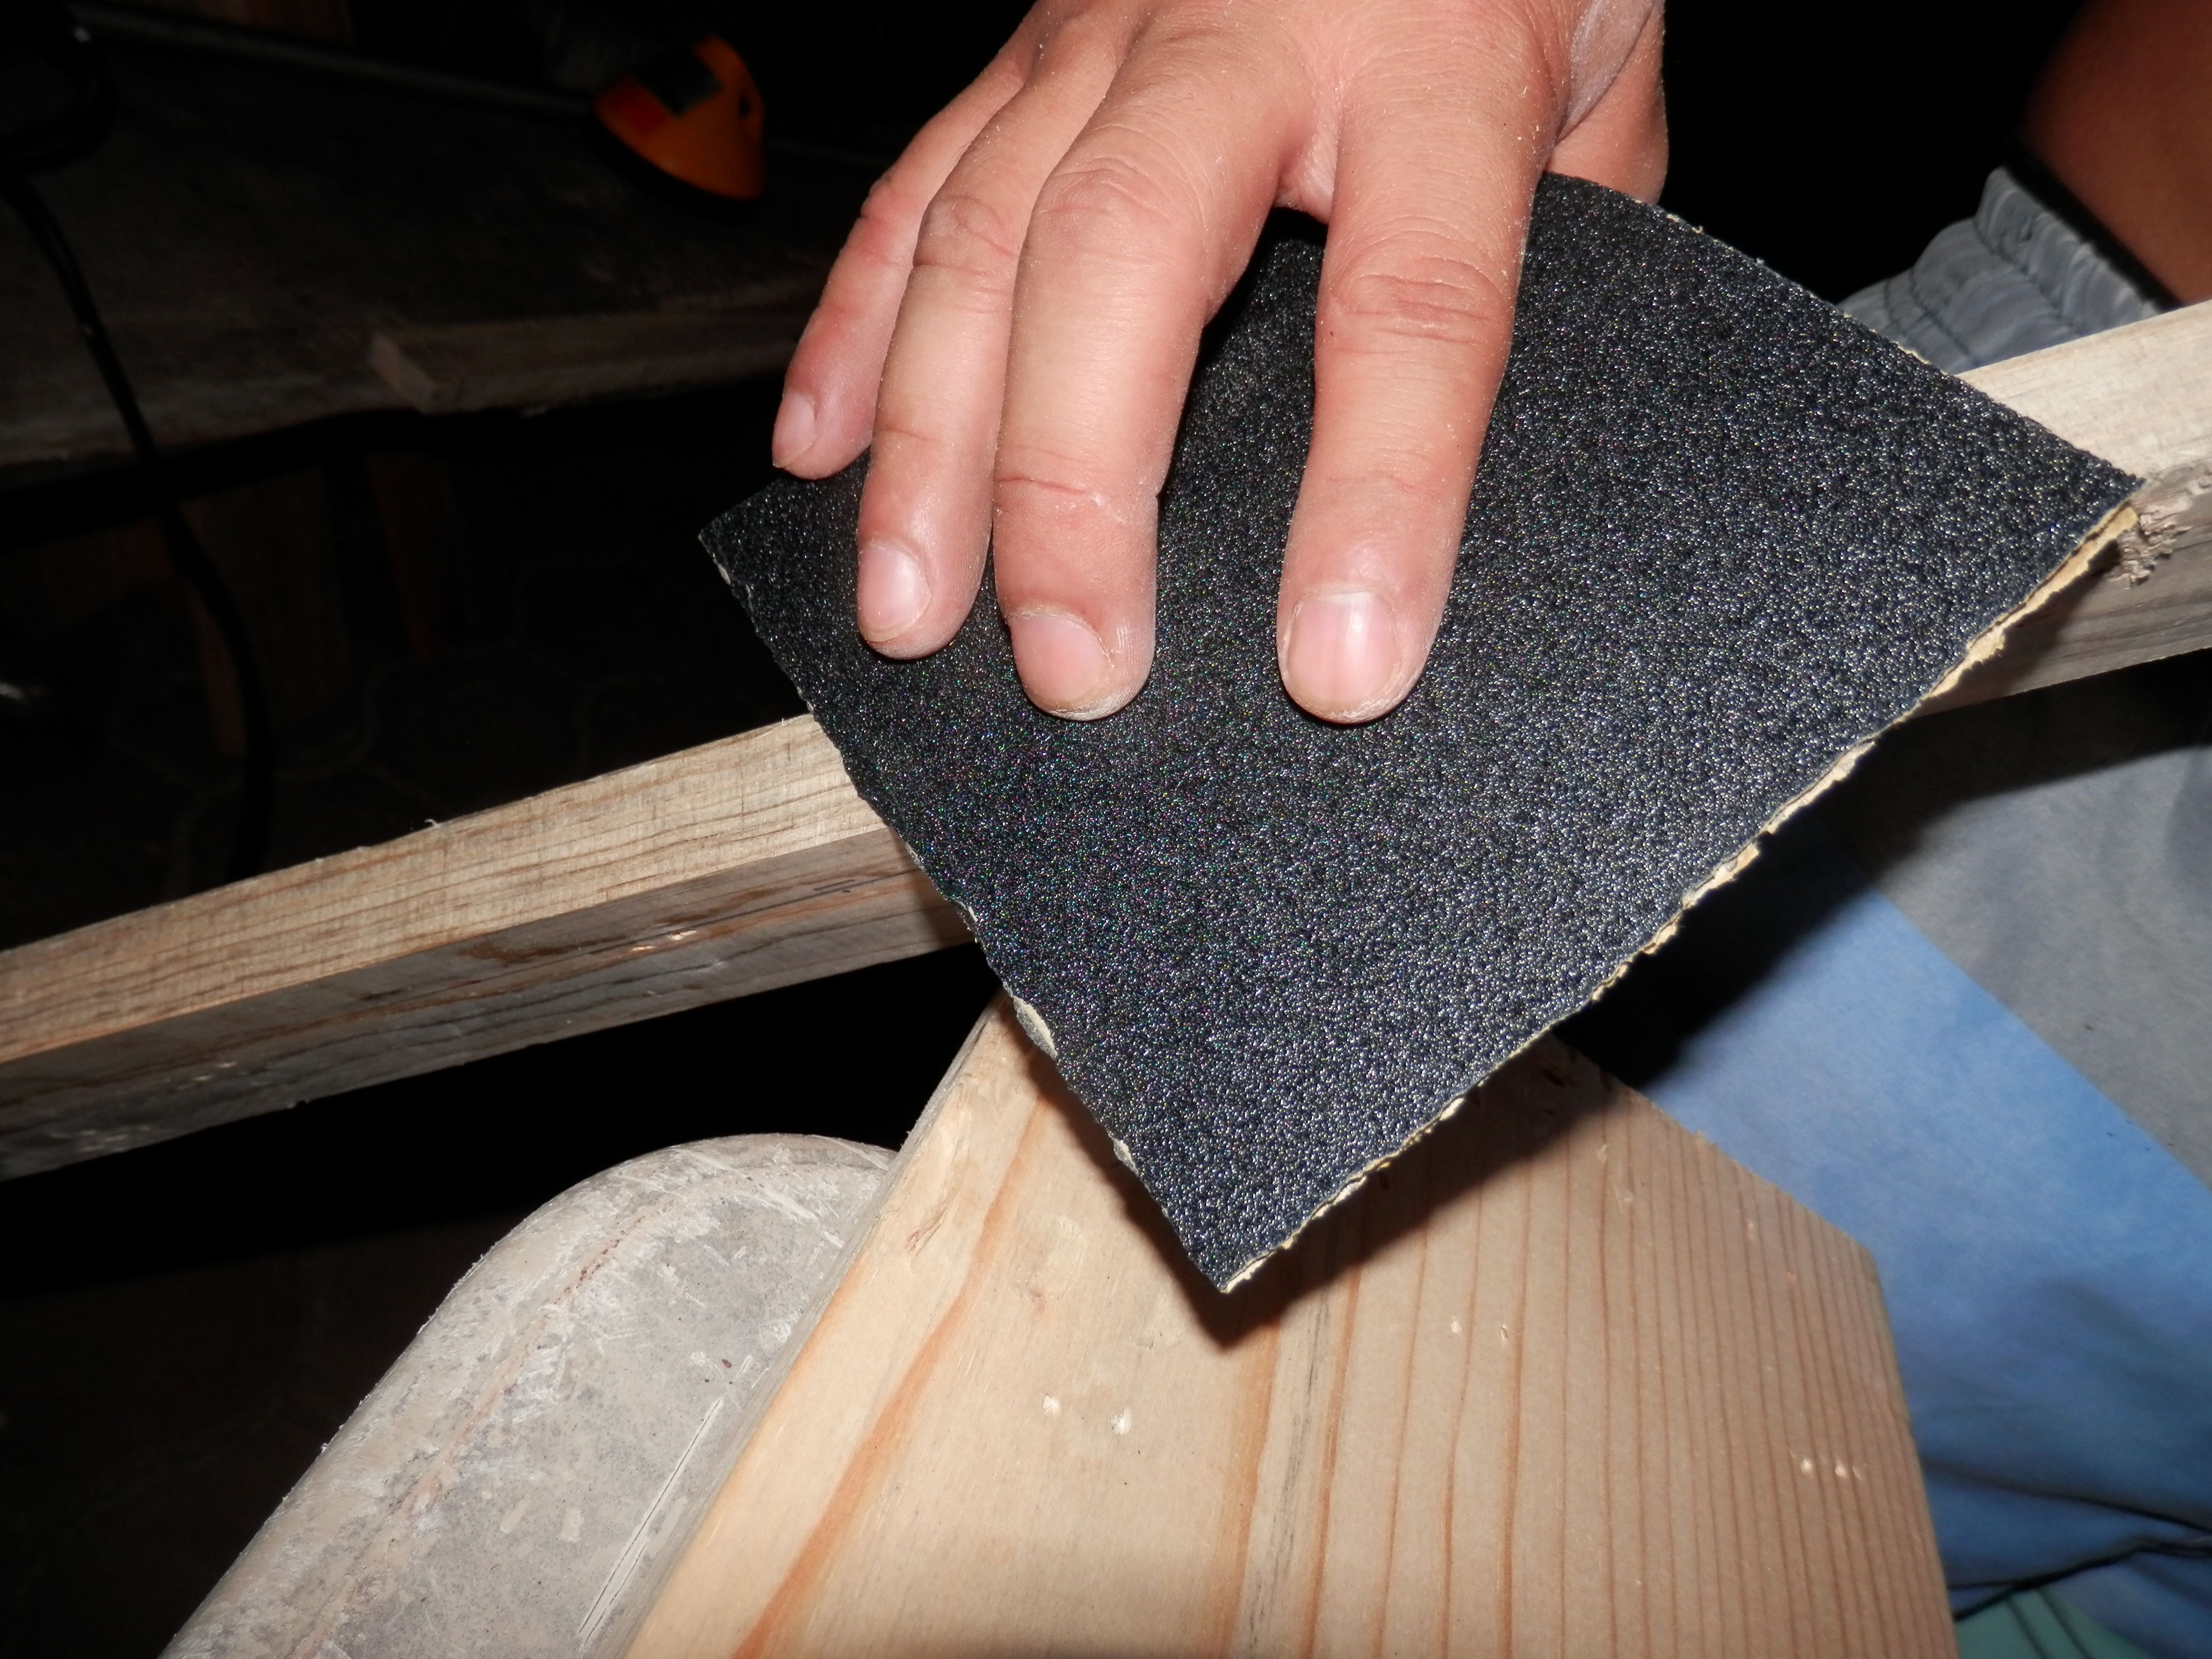
Then more sanding. This time I used a finer 300 grit sand paper for finishing. This process took me 1 hour just to make sure every sides and edges has been smoothed out.
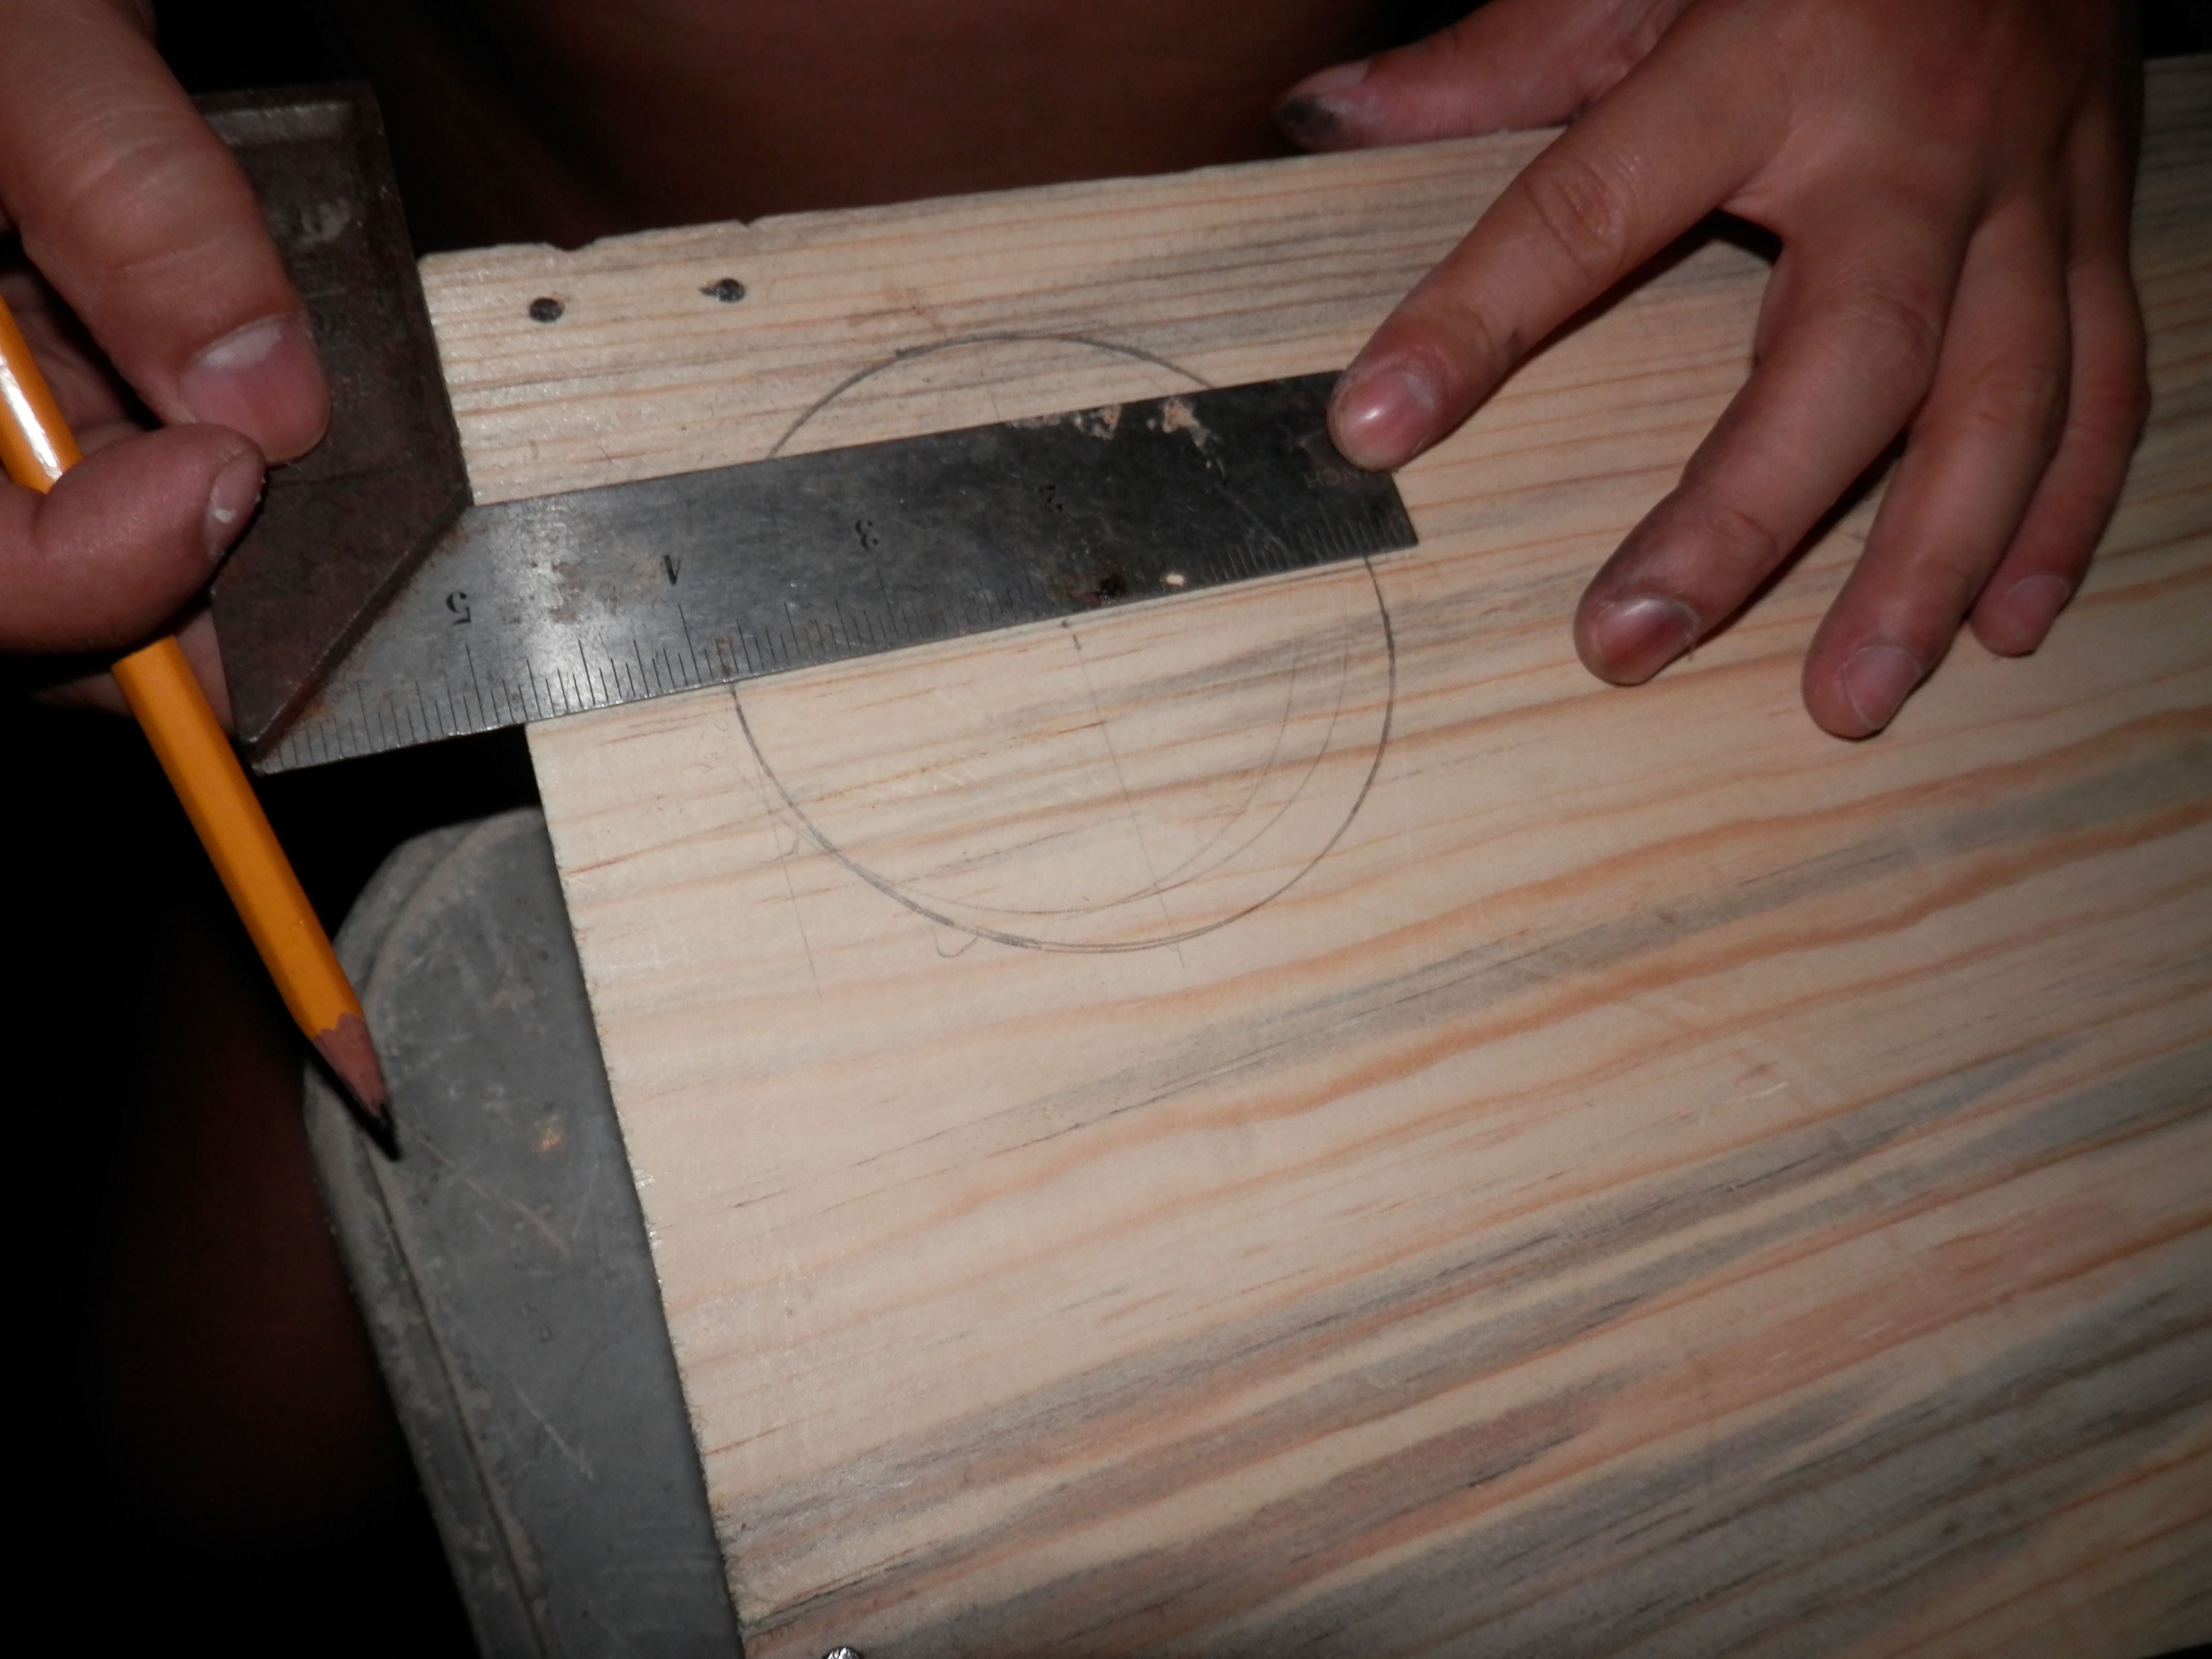
It is time to do the measurements for the cup holder. Since I don't have a big hole saw I only used a small paddle bit.
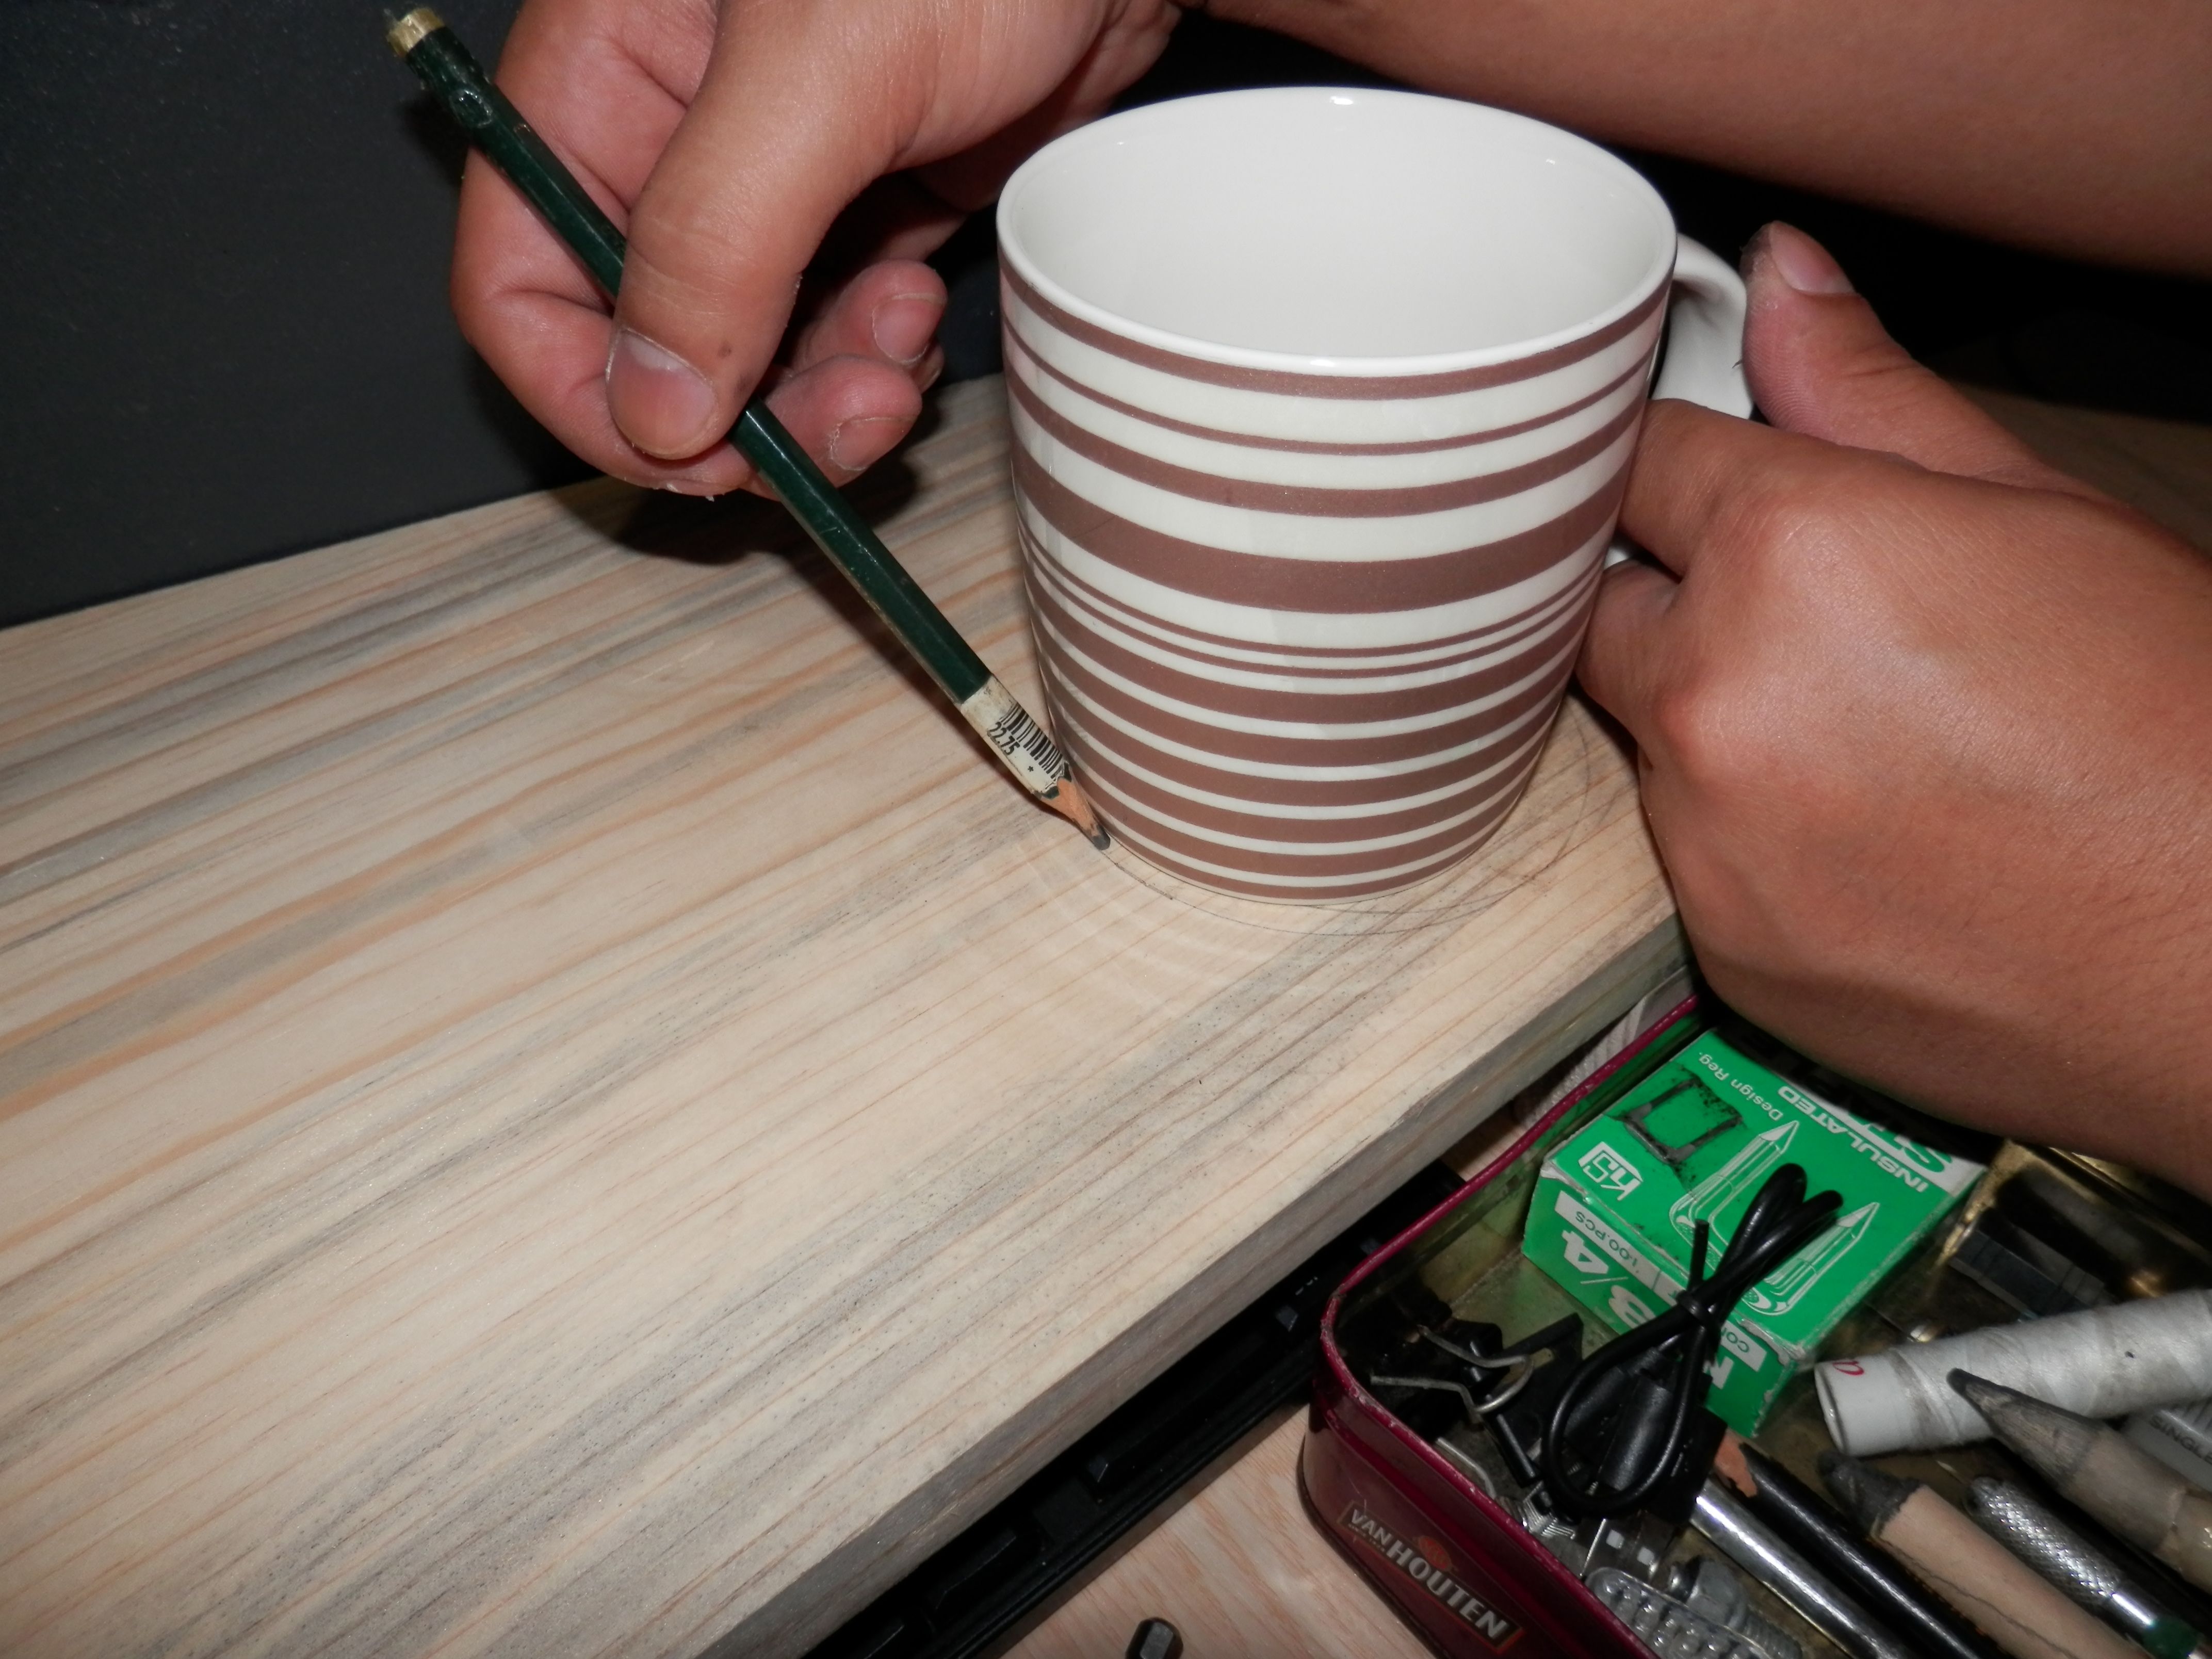
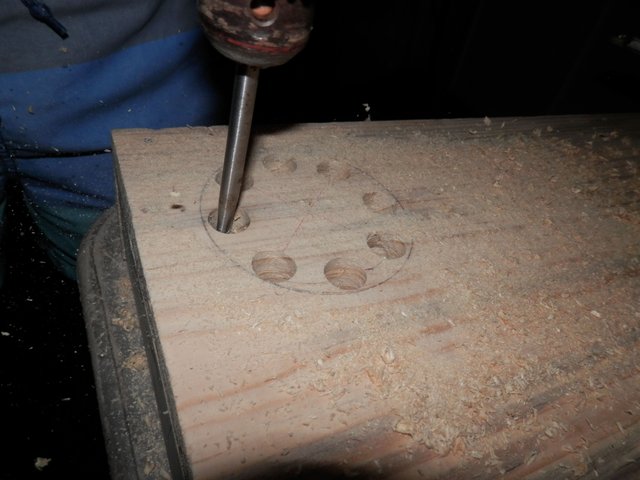
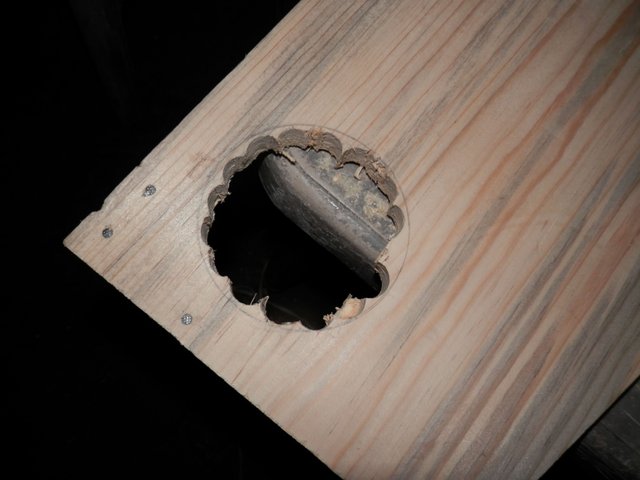
This will be the hole. I don't have enough tools to make this hole smoother that's why I have to become resourceful and change the plan a little bit.
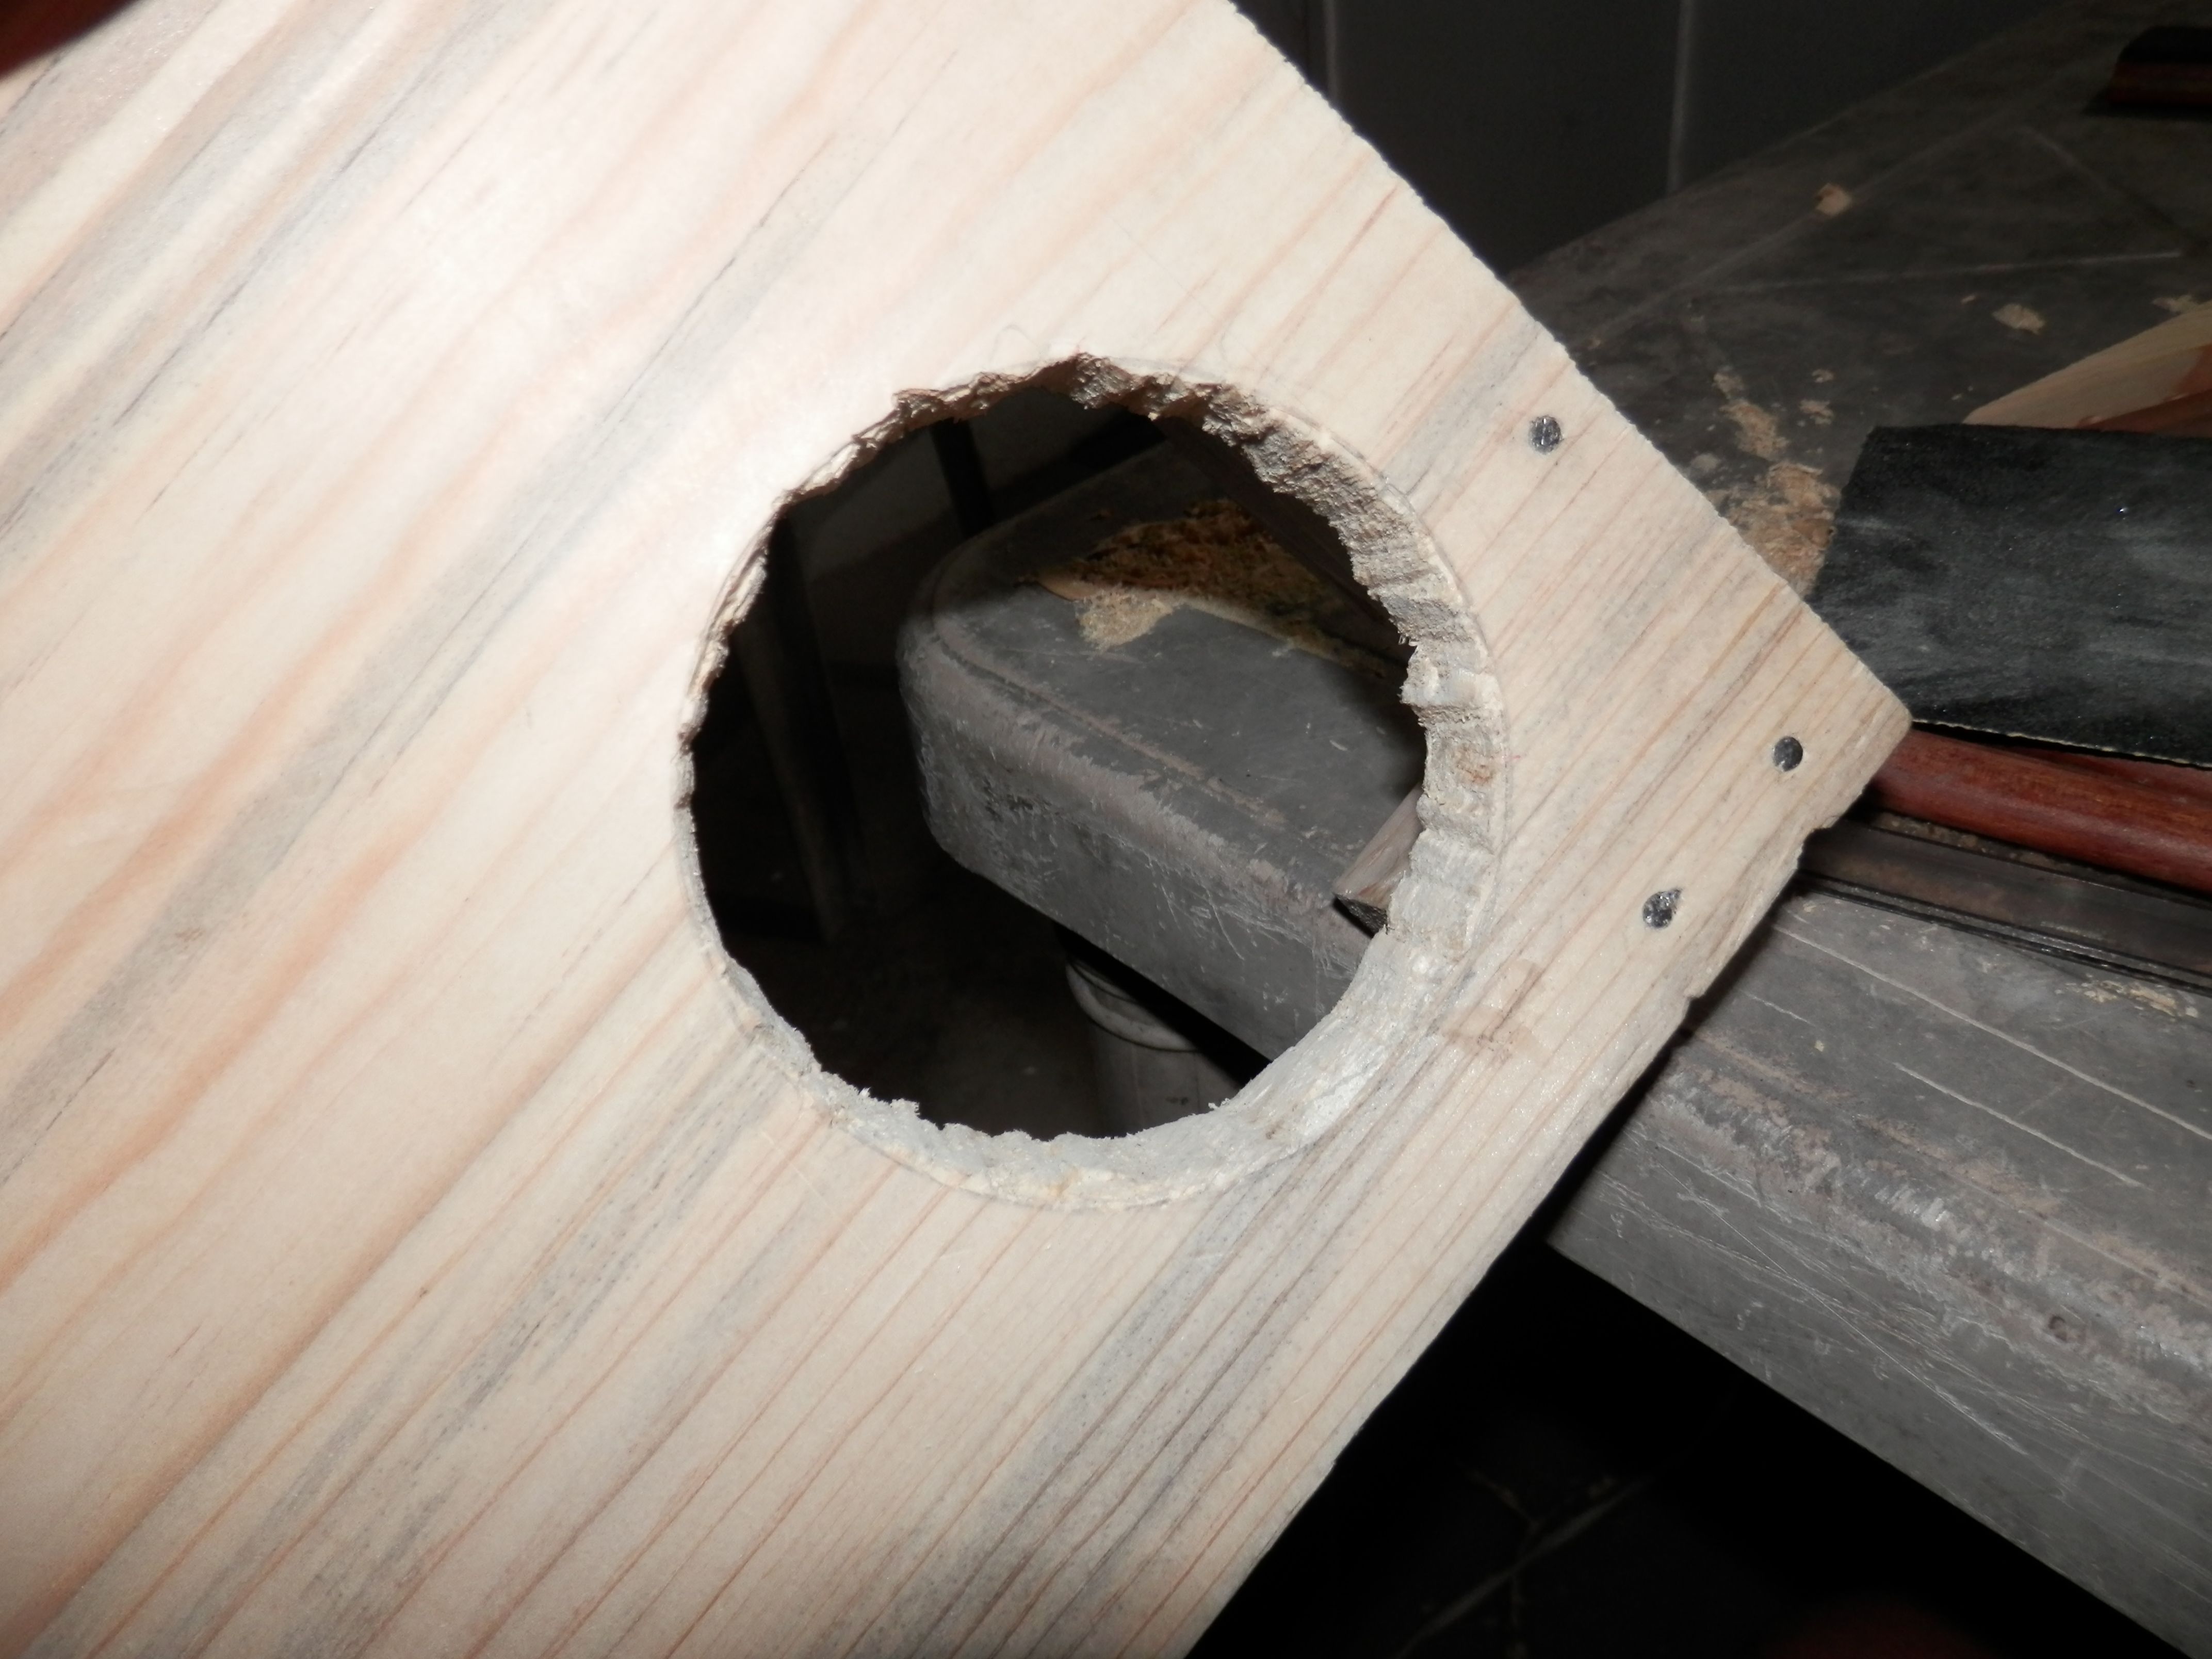
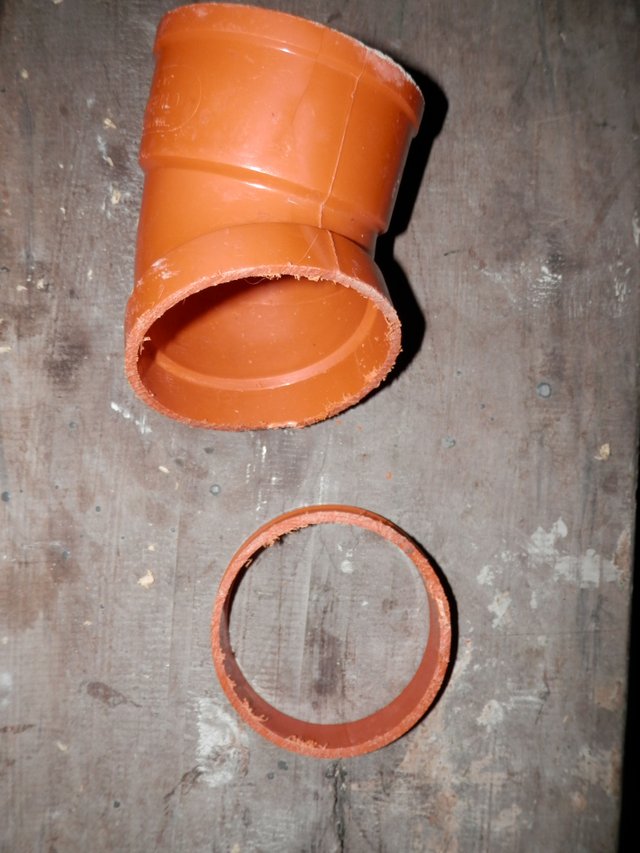
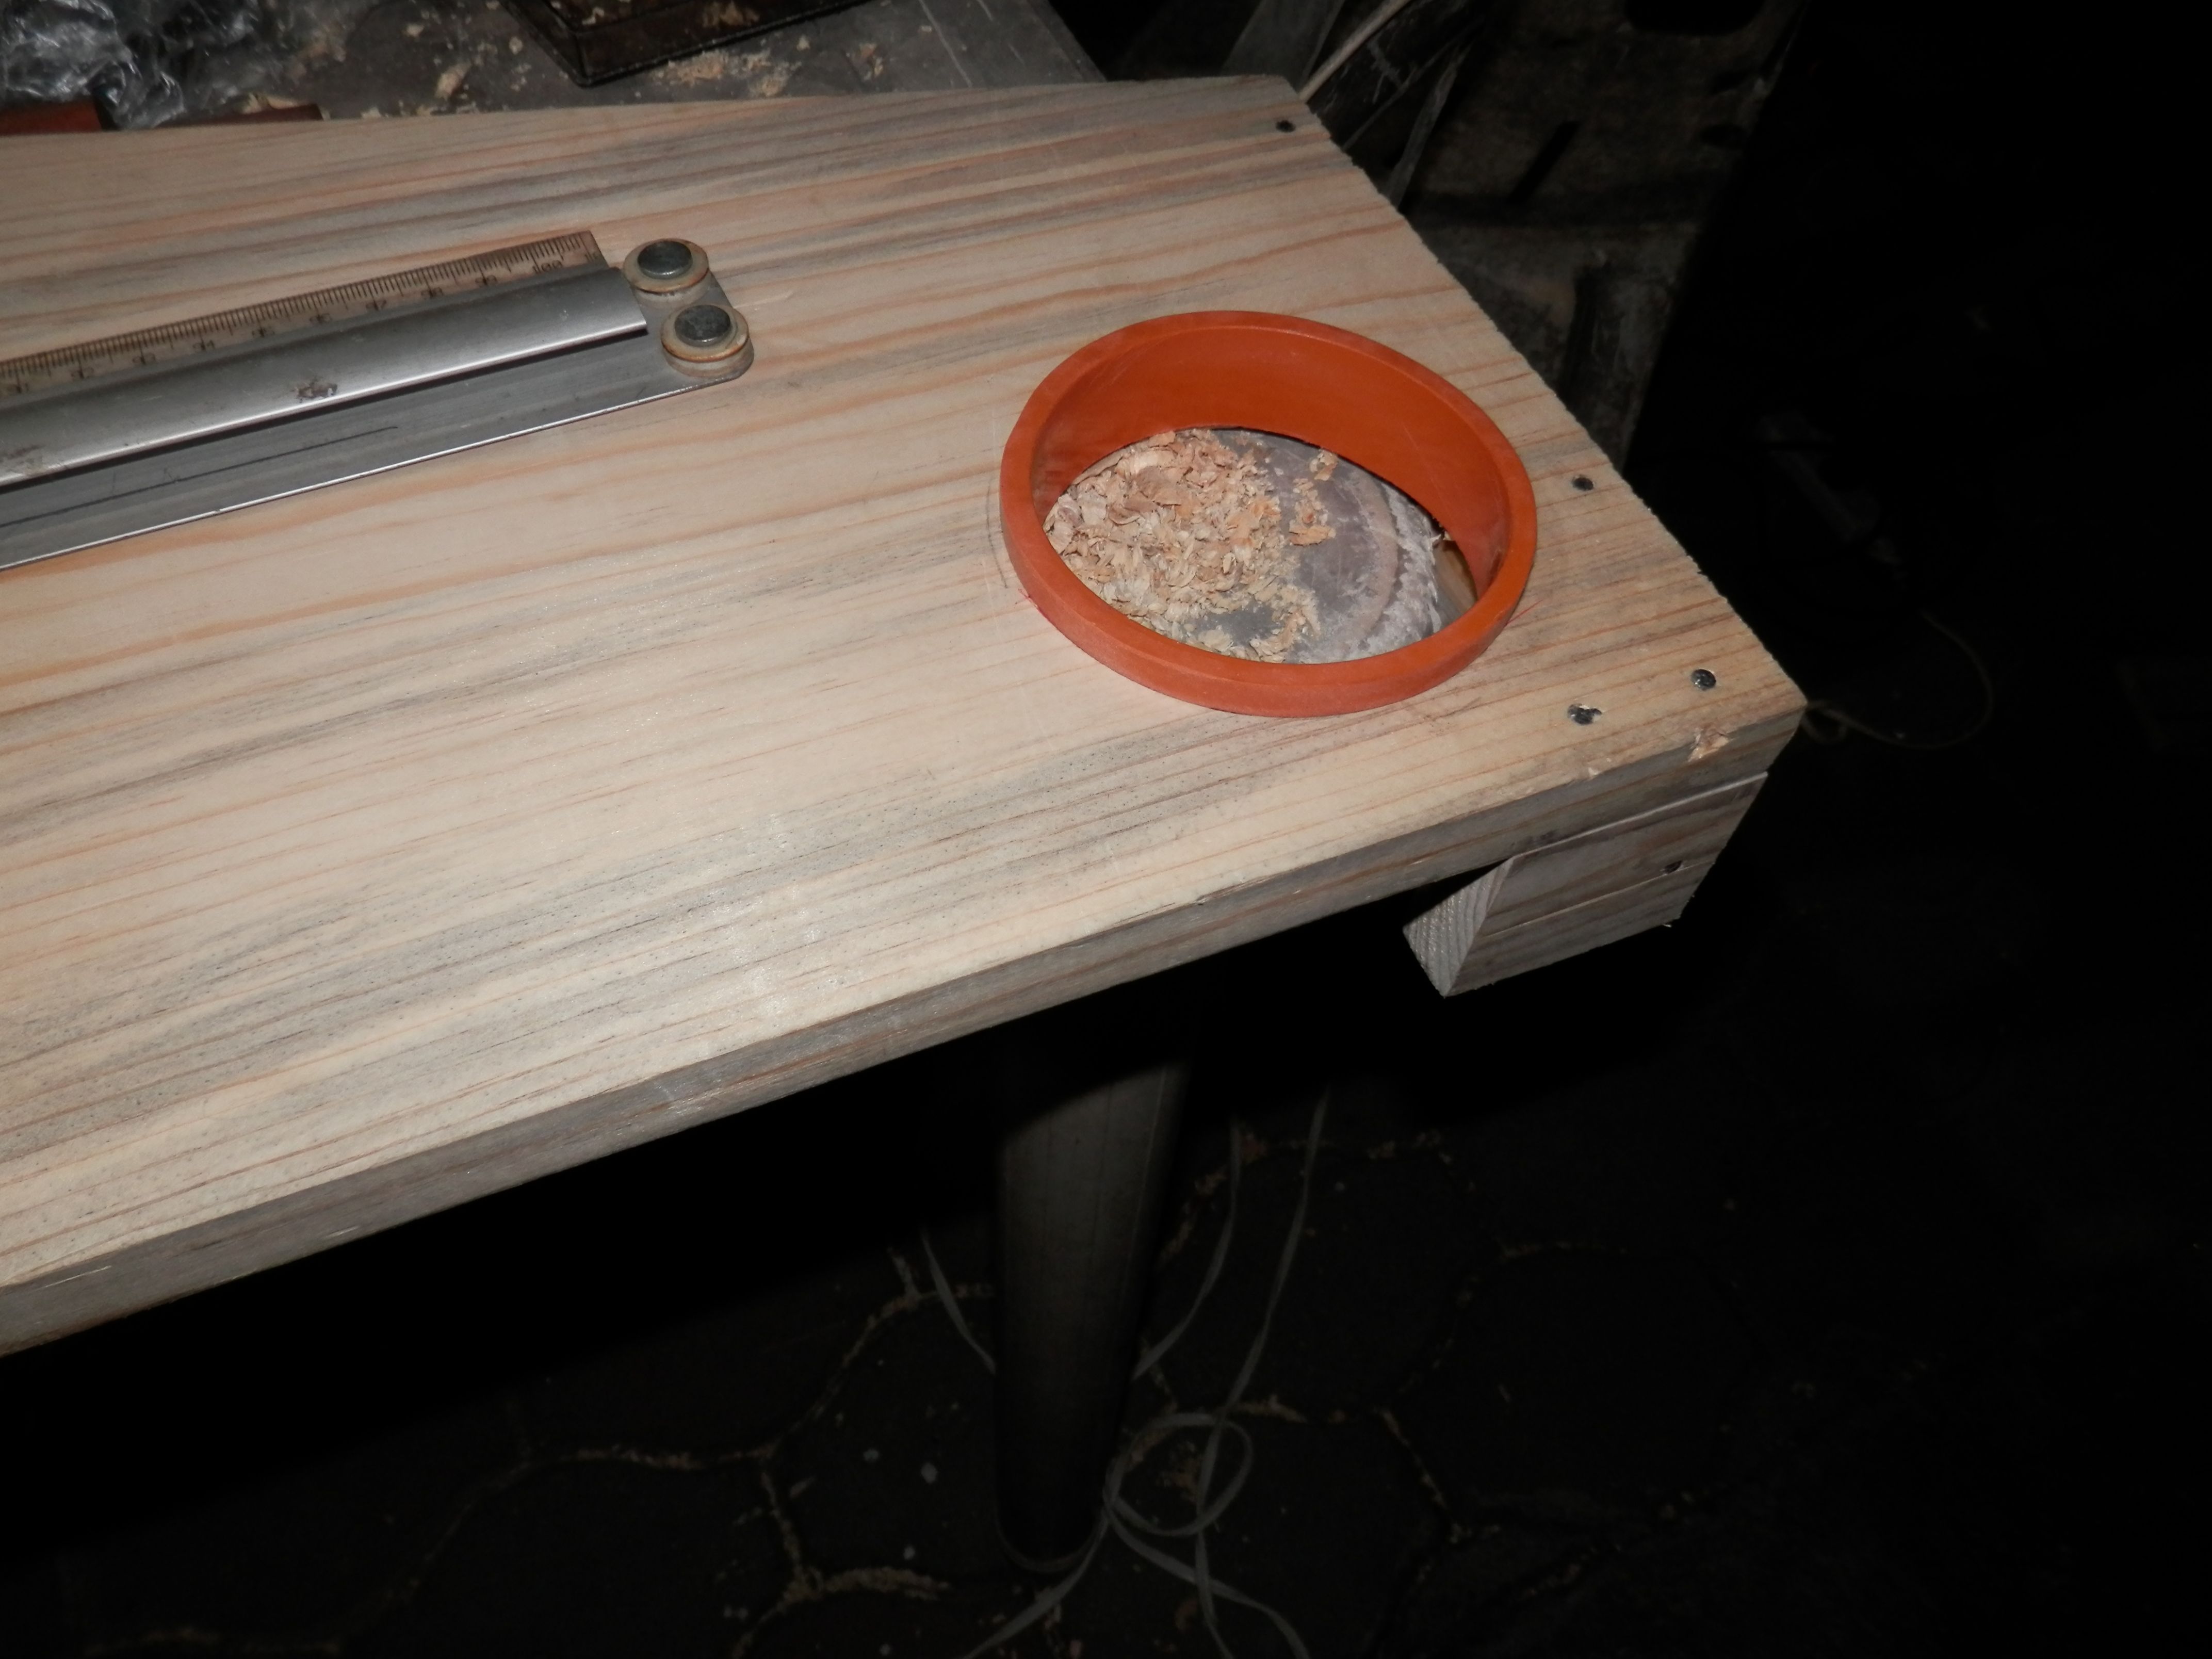
Luckily I found this elbow pipe. I cut the top portion then It's like magic it fitted perfectly. This also adds design to this project.
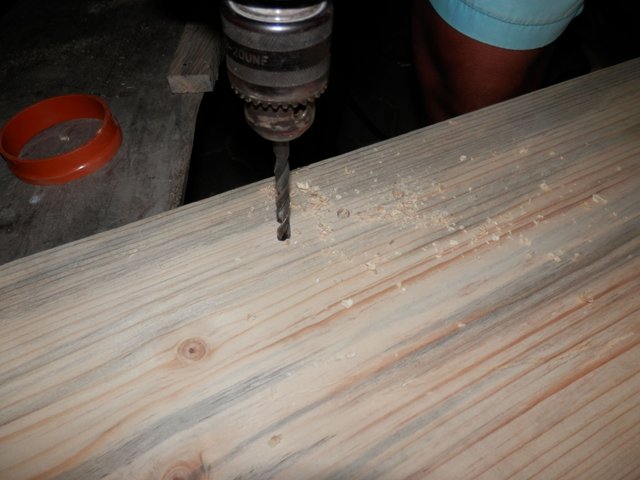
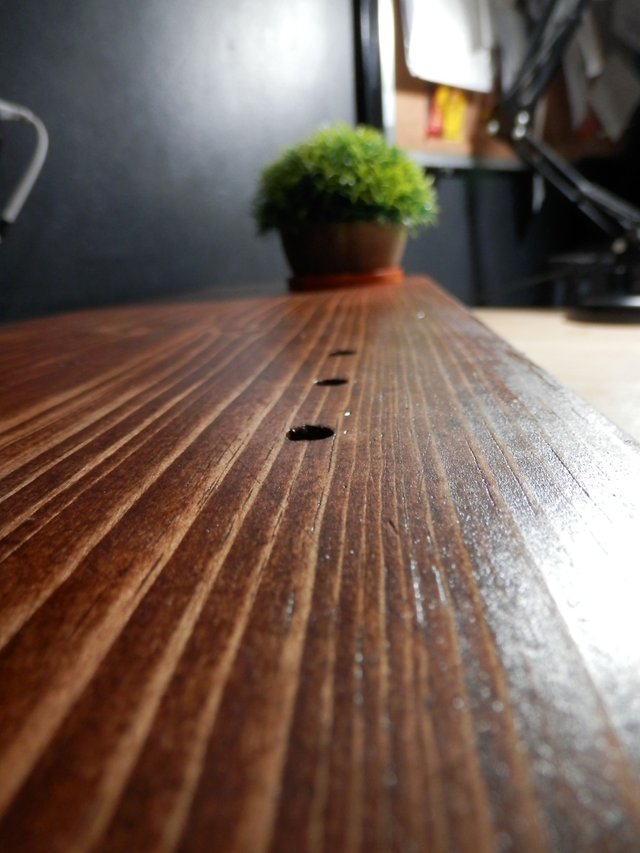
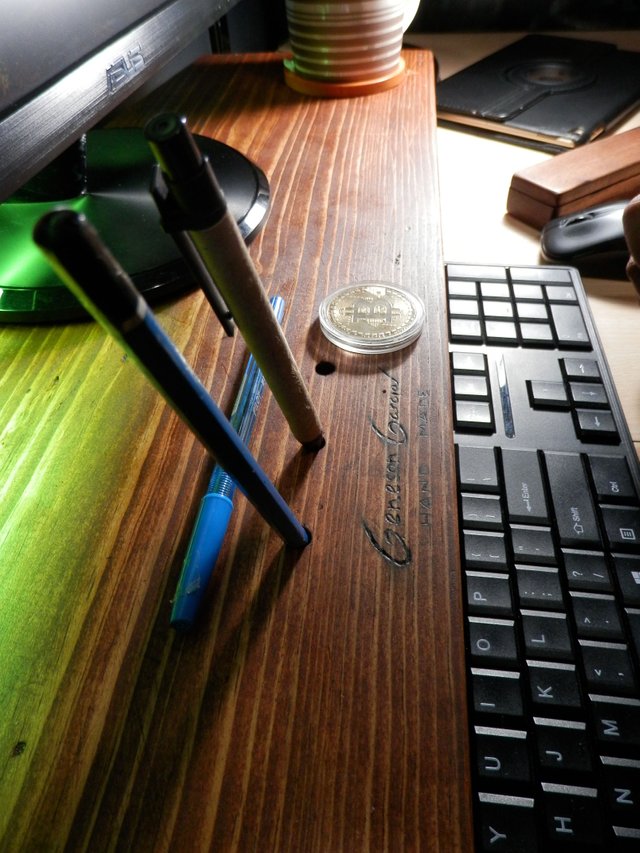
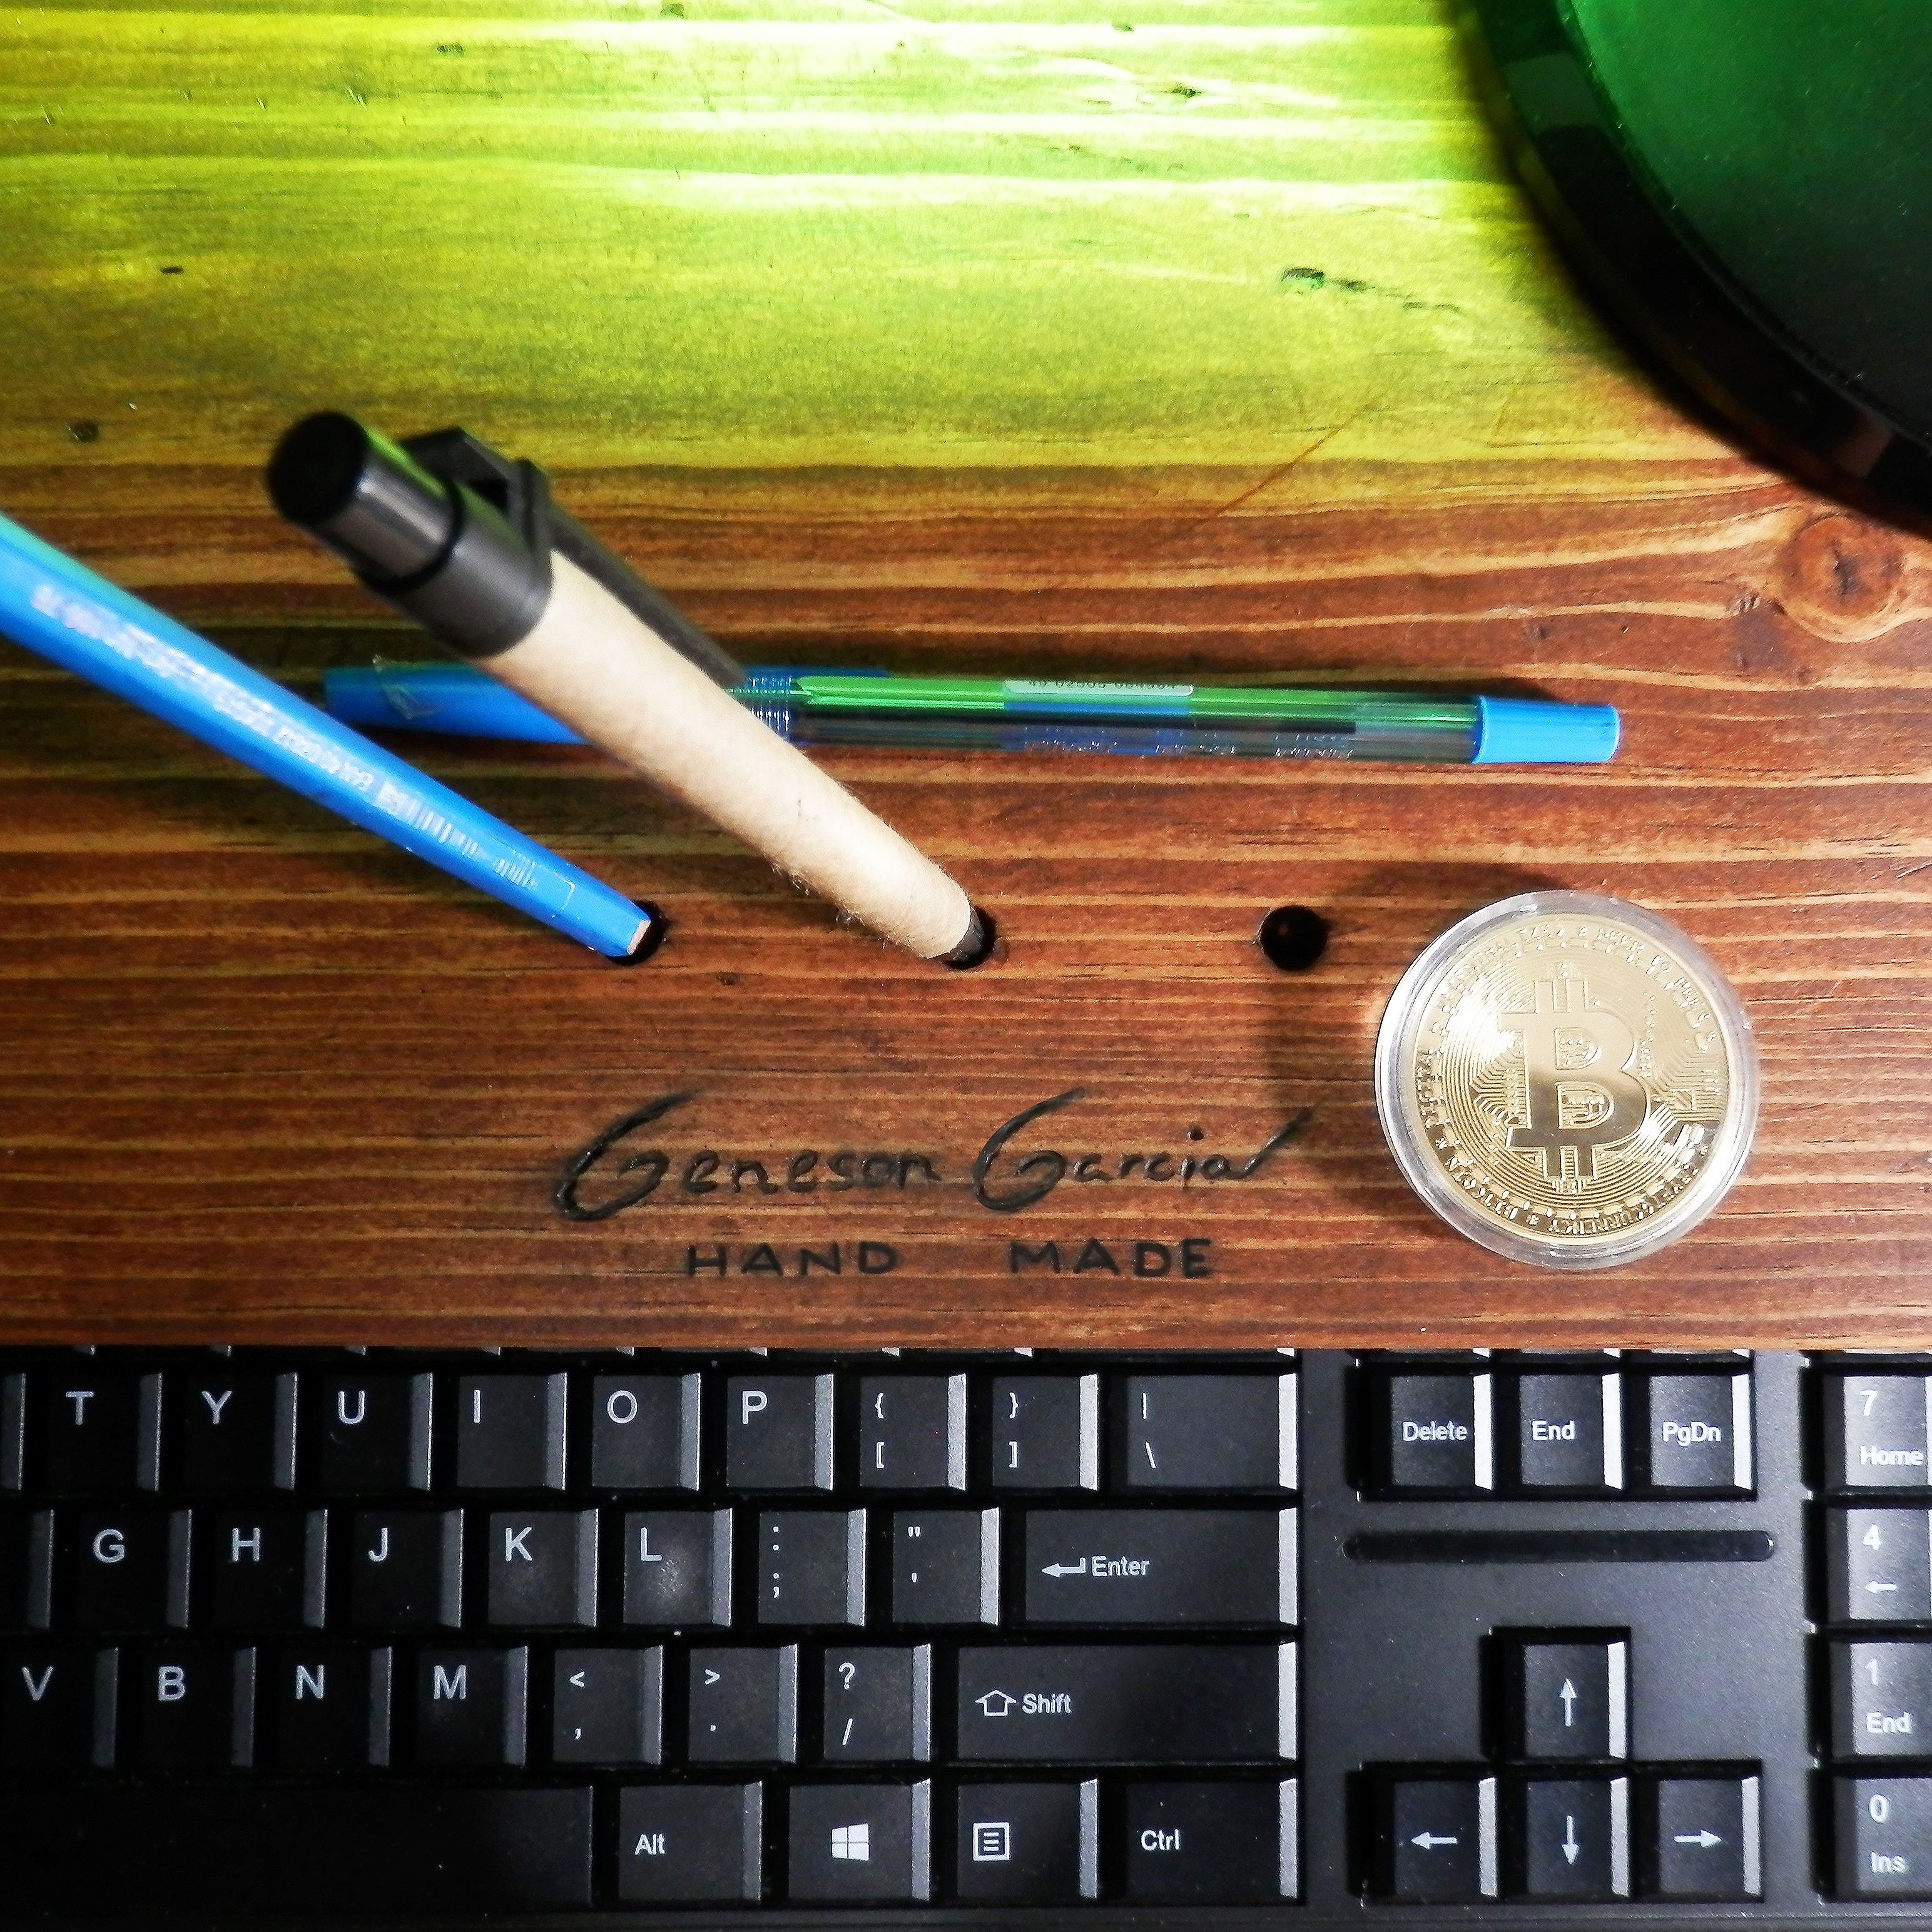
I poked 3 holes for the pencil stand, I drilled it half way through the wood.
It is almost done by this point then I decided to use the mahogany wood stain once again to make the wood darker and to add protection to the wood as well.
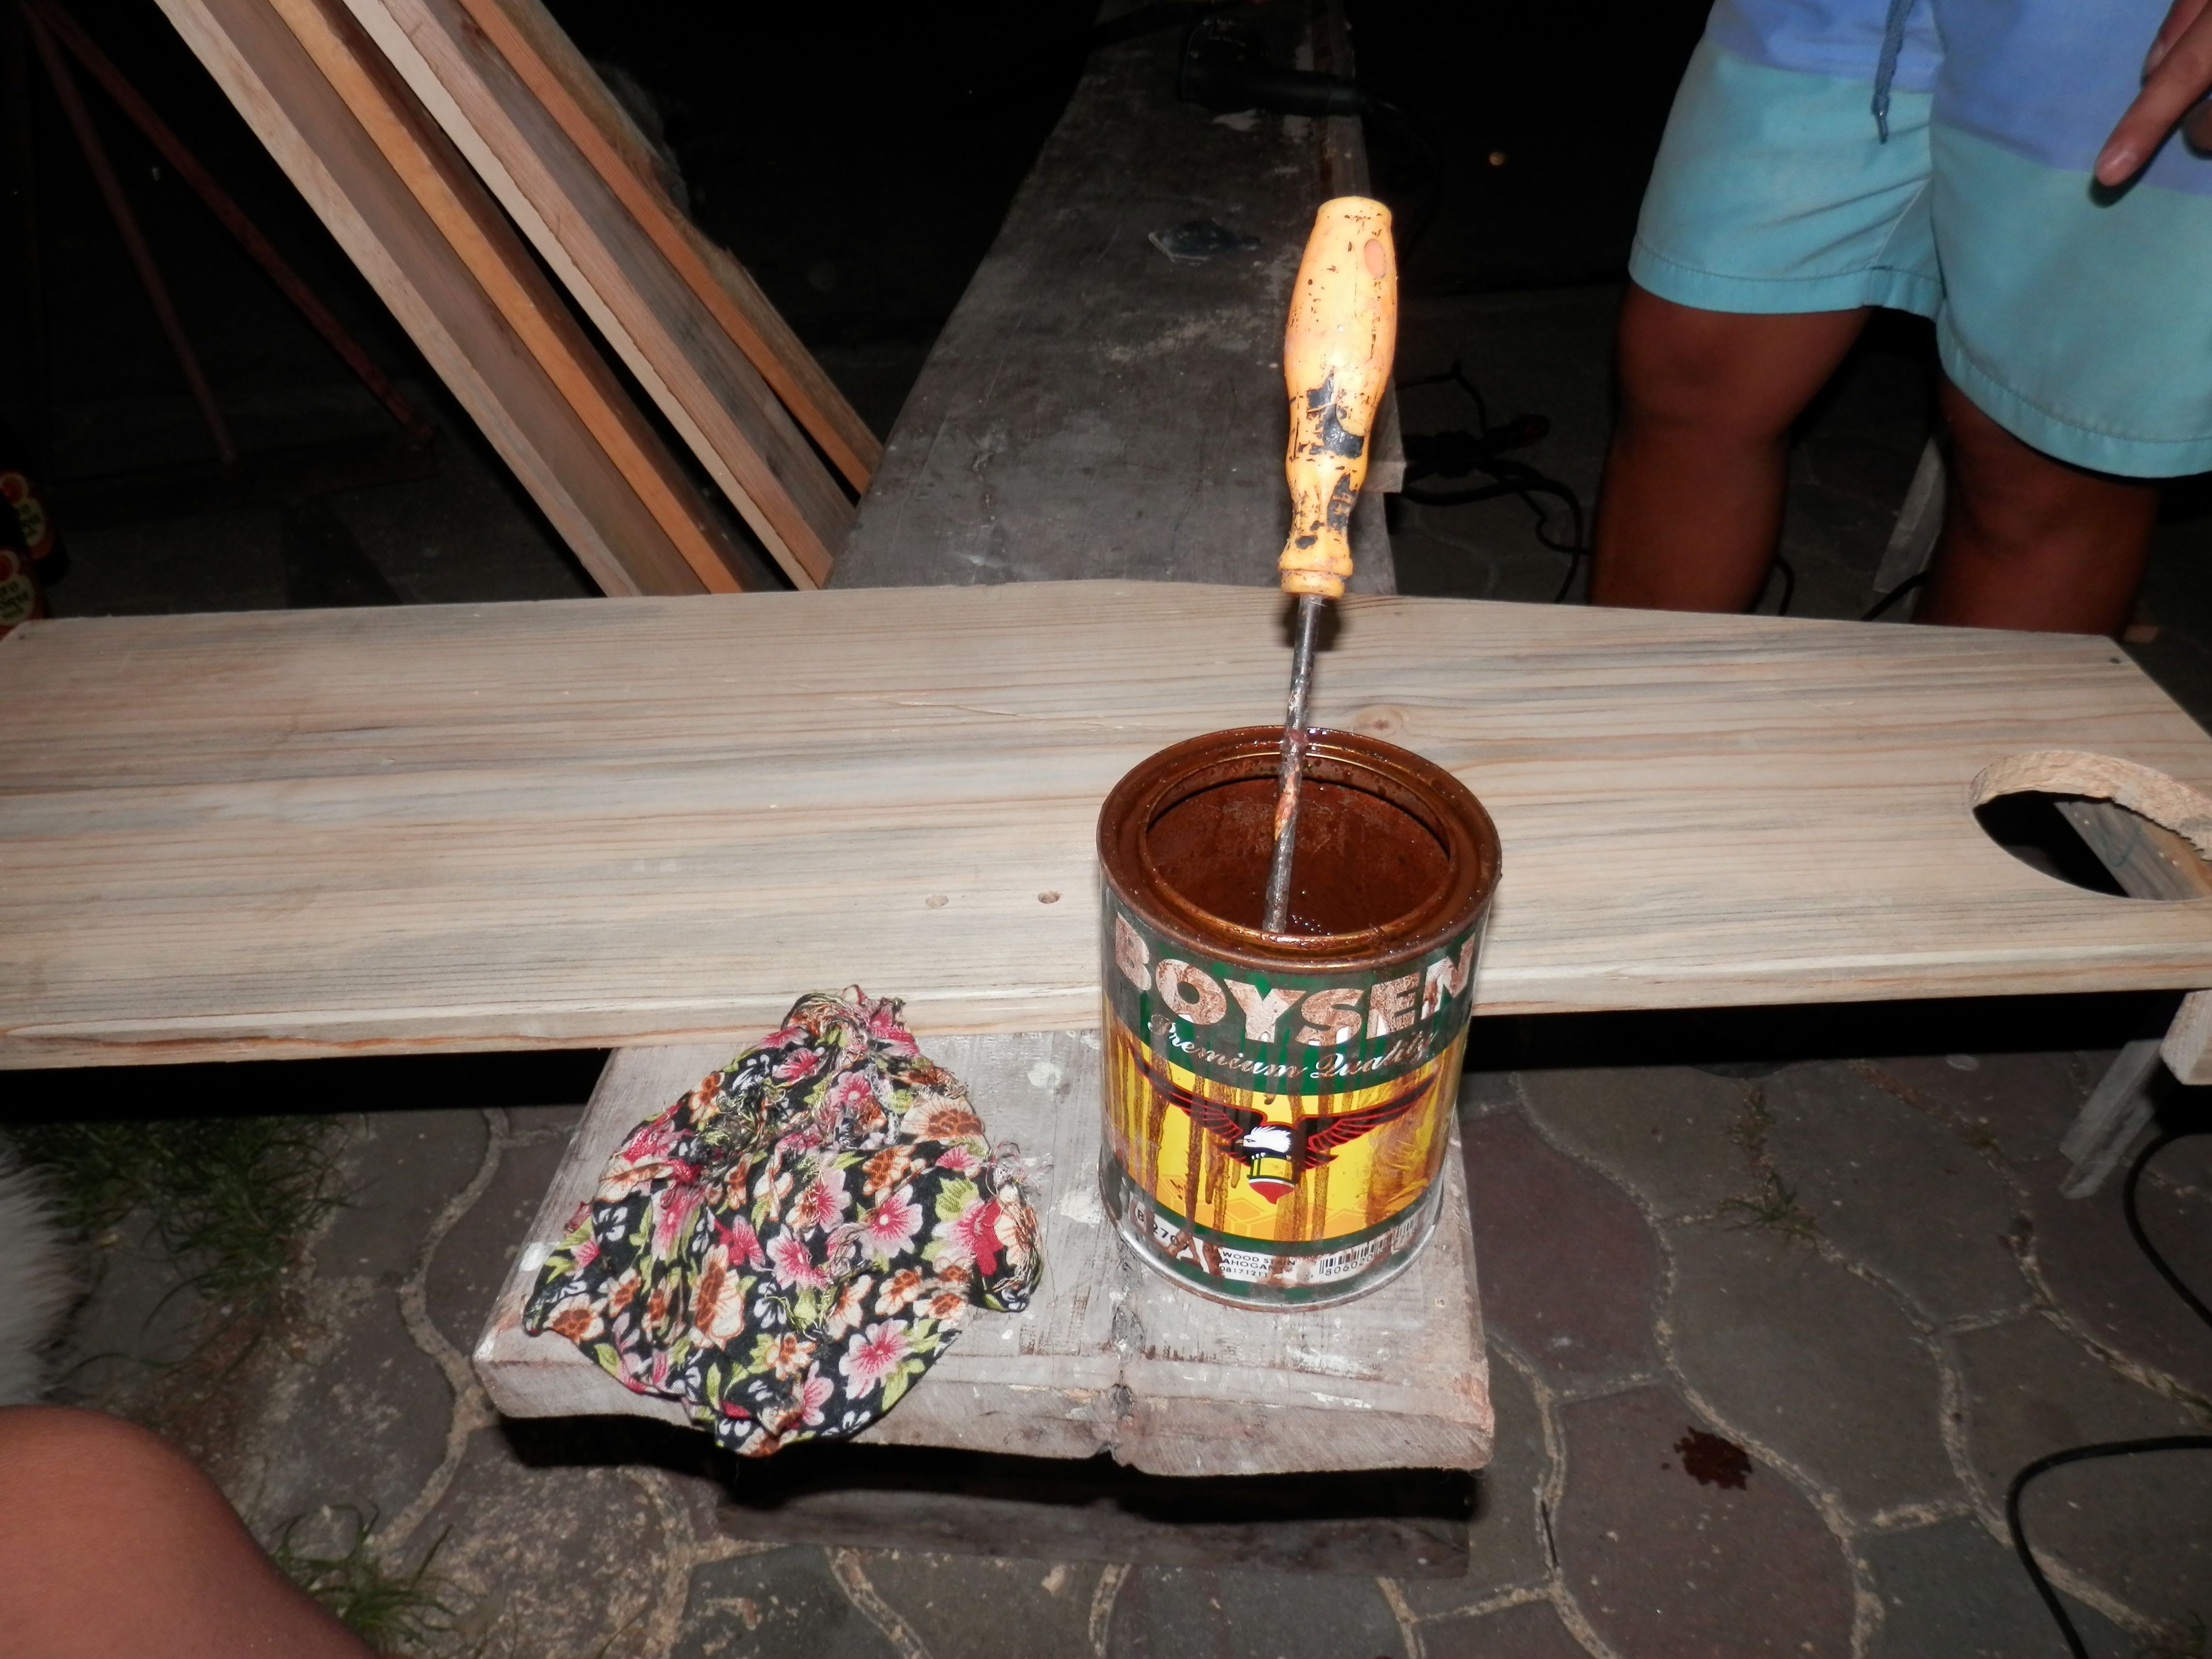
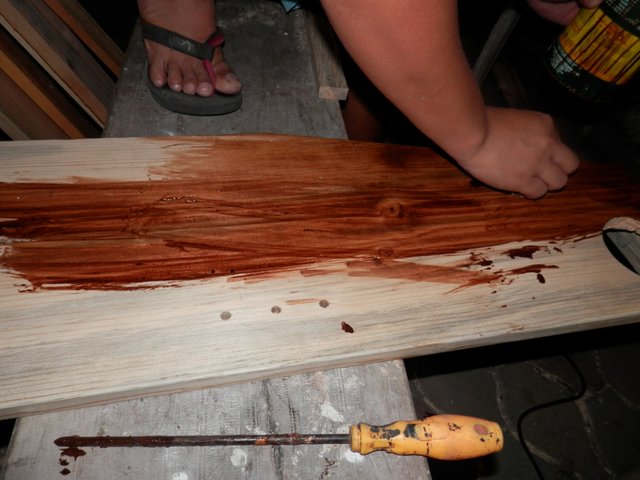
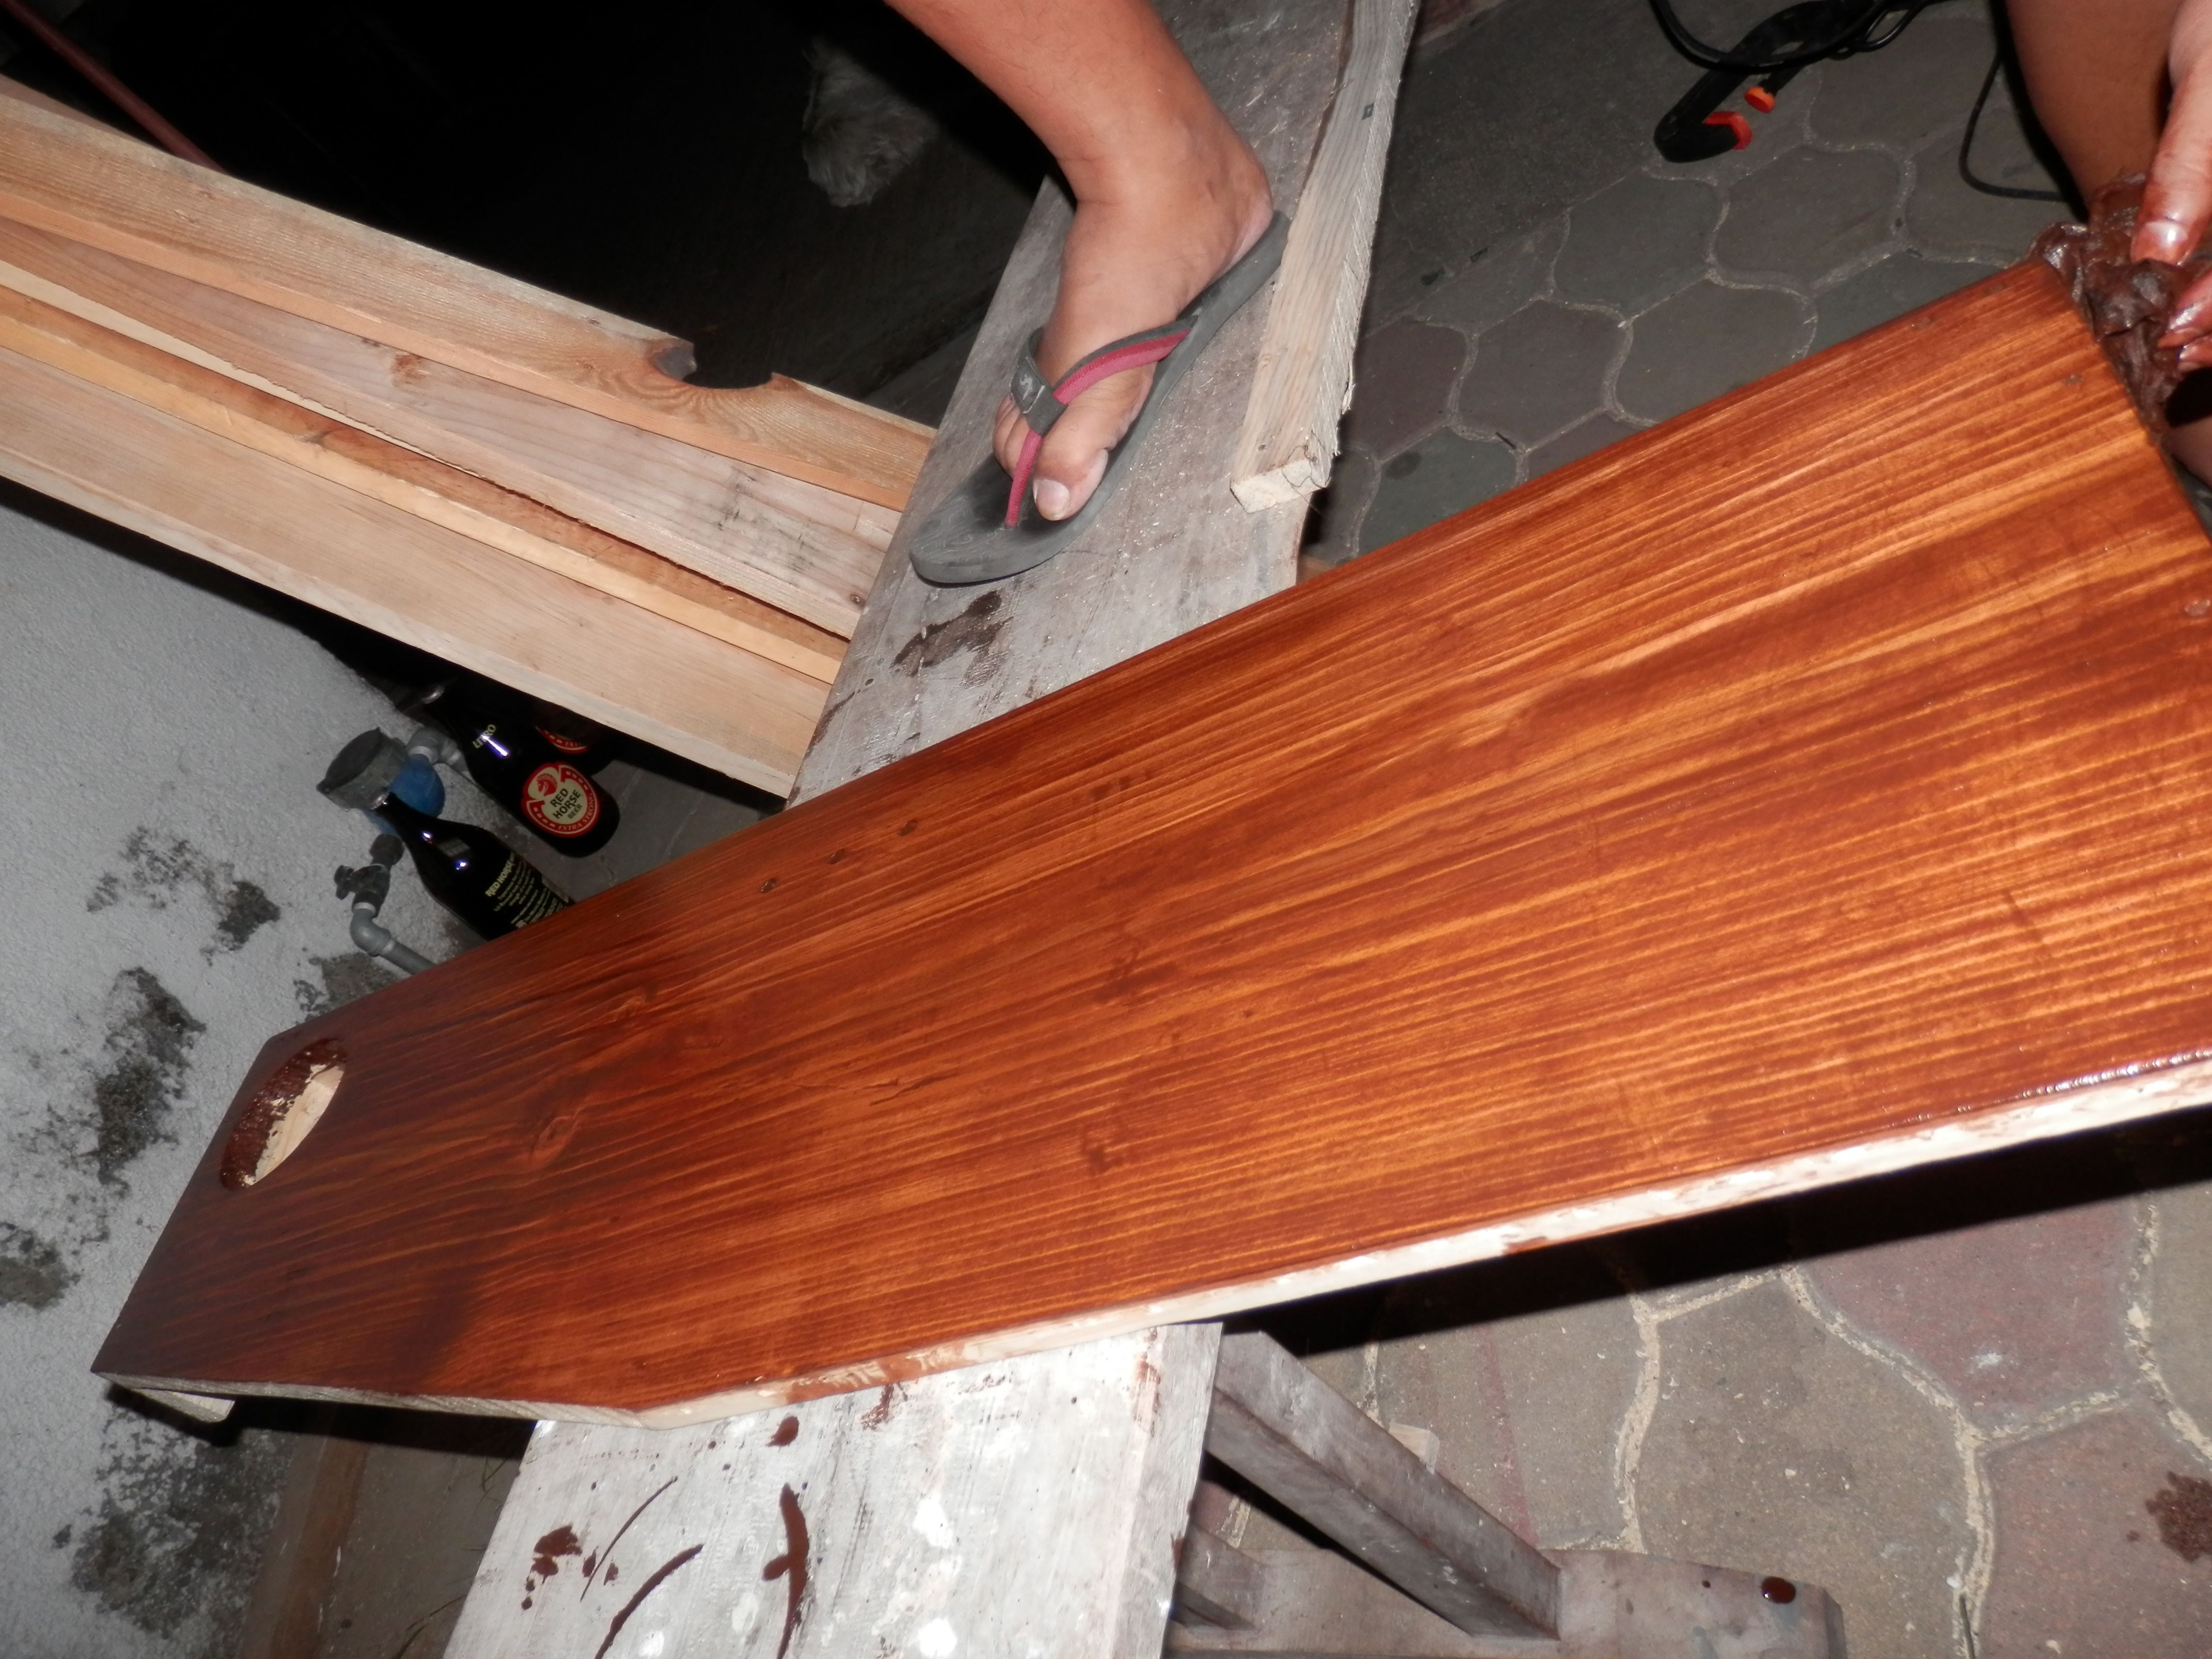
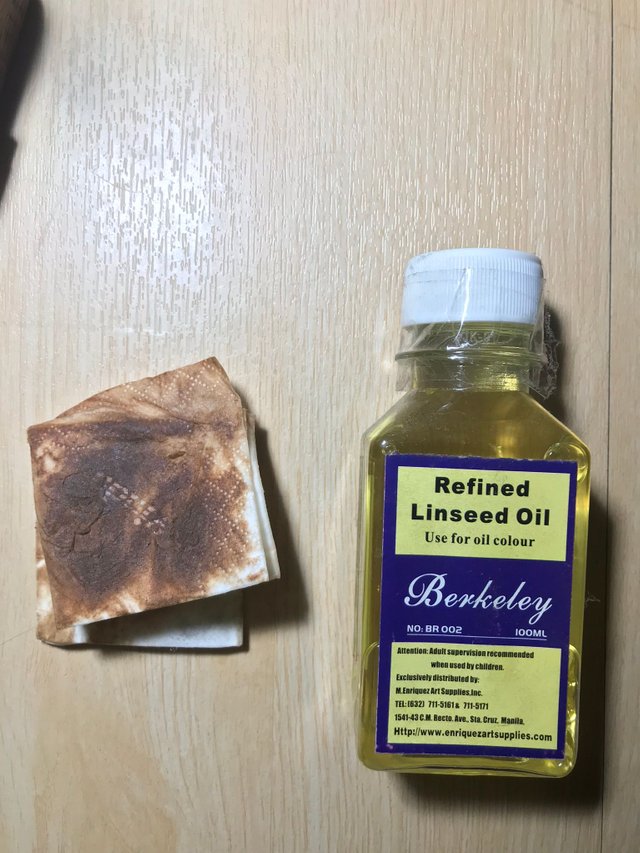
After that I sanded everything once again with a 300 grit sand paper then coated it with 2 layers of mahogany wood stain. I also polished it using this linseed oil from my painting materials. I will spray it in the future with varnish, but for now this will be ok since I am still deciding on what more I can add to this laptop table project.
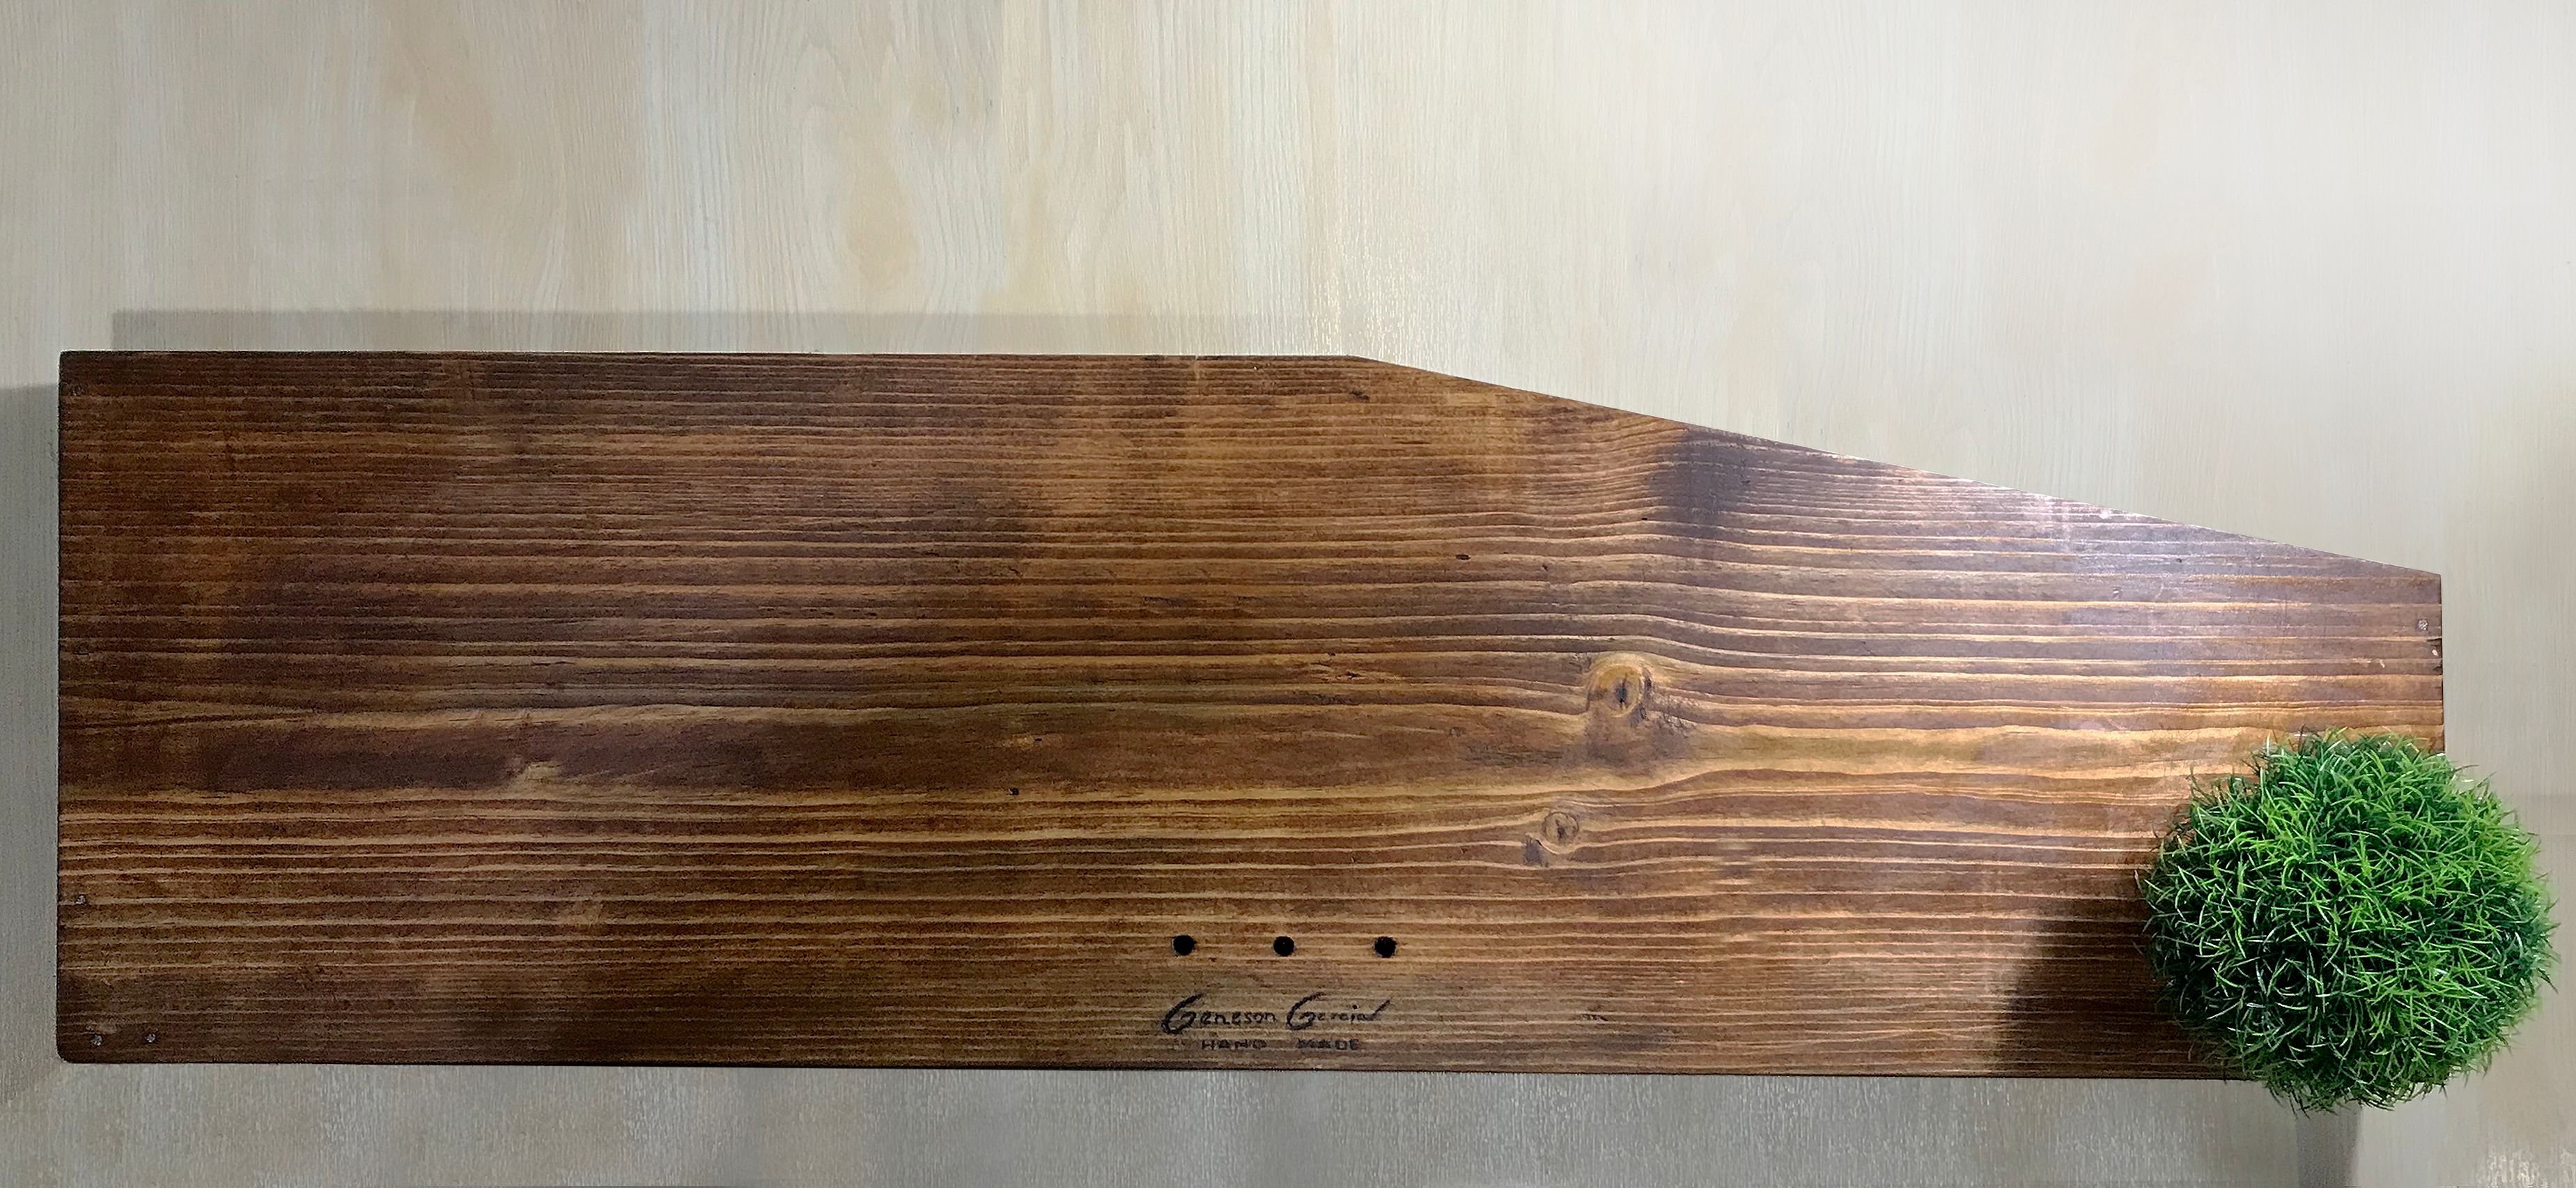
This is the final output of the project. I hope you appreciate it.
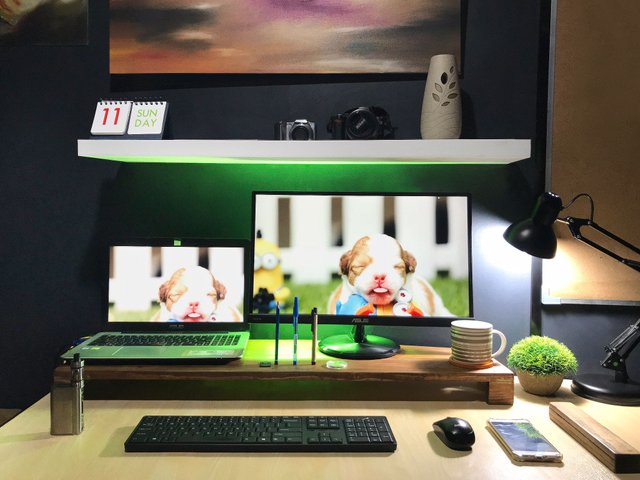
This is how my work station looks right now. It's more organized unlike before. I feel so refreshed and inspired to do more creative stuff now.
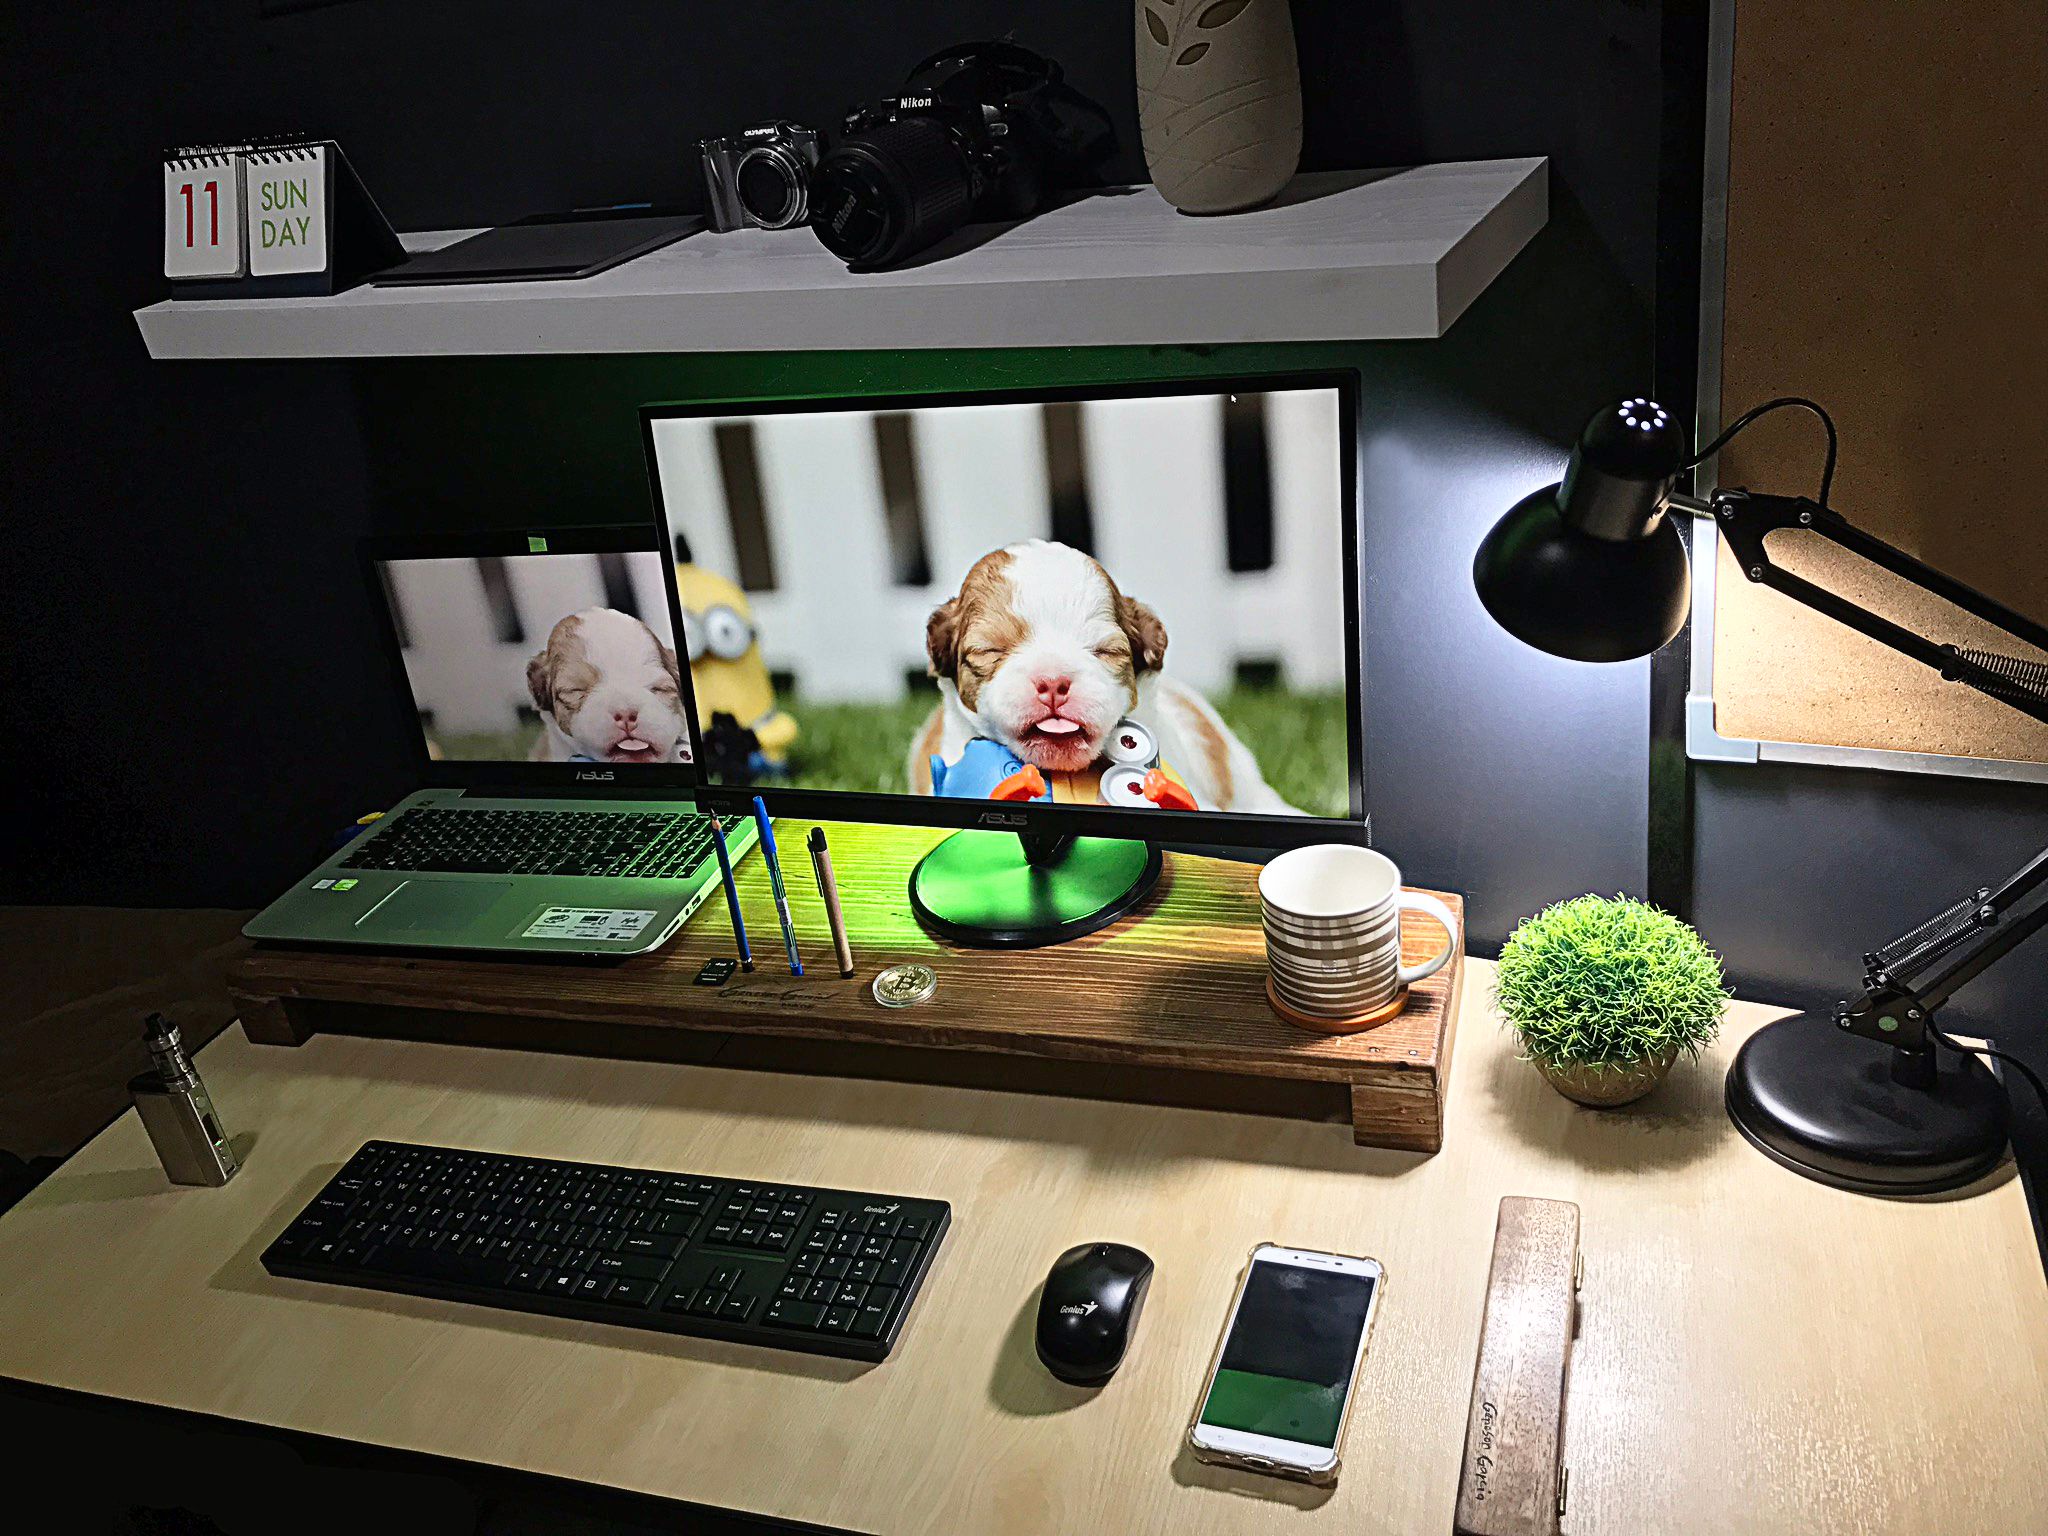
I hope you like my new work of art guys. I also hope that I inspired some of you to not be afraid to create art works and crafts with just a little budget and with just limited tools and resources. If you really like what you are doing, you can do great things out of simple things.
For more crafts and artworks don't forget to upvote and follow me @geneson.garcia
Congratulations @geneson.garcia! Your post has been featured to our steemph-manila-daily-featured-posts. Please continue to create quality articles. Click here: steemph-manila-daily-featured-posts-12-mar-2018 Thanks!
Wow its an honor! Thank you.
@geneson.garcia, this is so nice!
Thank you!
You're so skillful, bro. Turning scrap materials into something extra ordinary.