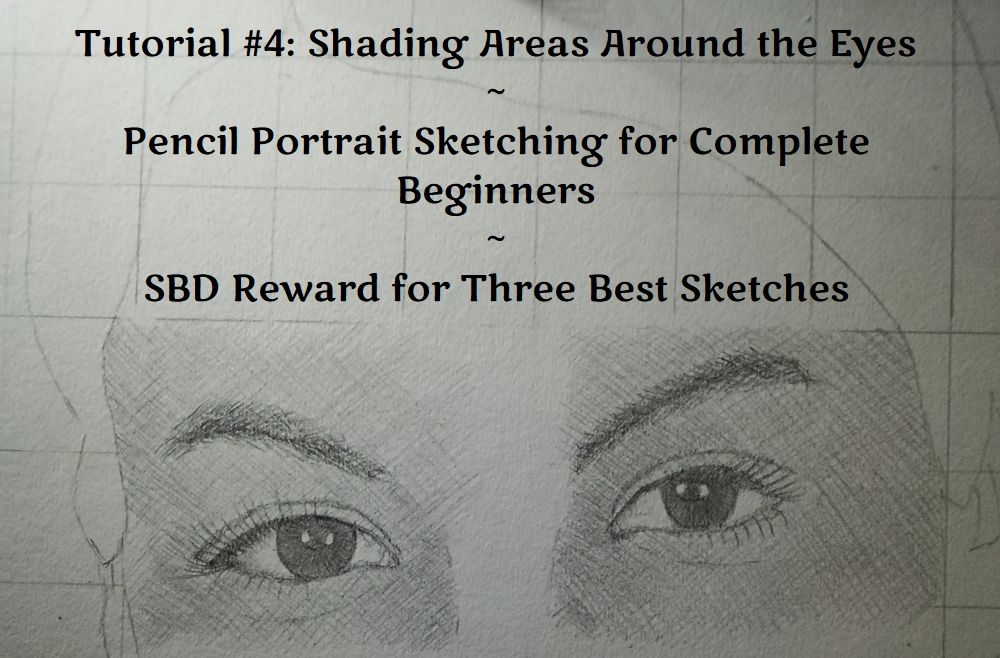
Tutorial #4: Shading Areas Around the Eyes - Pencil Portrait Sketching for Complete Beginners - SBD Reward for Three Best Sketches
This is the fourth tutorial in a series of portrait sketching tutorials for complete beginners. You can read the previous tutorials here:
Tutorial #1: Pencil Portrait Sketching for Complete Beginners - SBD Reward for Three Best Sketches
If you haven't read the previous tutorials I highly encourage you to go through them because the rest of the tutorials will be the continuation of past tutorials.
In this tutorial I will teach you to do the basic shading for the areas around the eyes. But before we proceed let me introduce to you the shading technique that we will use.
Hatching

Cross Hatching

You can add more layers to create darker shading or apply gentle (pencil) pressure if you need lighter shading.
So let's begin!
Shading the Right Eye
If you noticed the number on the following image is 20. This tutorial is supposed to be part of tutorial #3, but I had to break it into two tutorials because I was concerned there were too many images on one post.
I used 3B pencil throughout this tutorial.
Step 1
Erase the grid lines around the eyes.

Step 2
Draw hatching lines above the eyebrow.

Step 3
Draw hatching lines below the eyebrow.

Step 4
Draw hatching lines on the eyelid.

Step 5
Continue to draw the hatching lines.

Step 6
Draw hatching lines below the eye.

Step 7
Draw cross hatching lines above the eyebrow.

Step 8
Draw cross hatching lines below the eyebrow.

Step 9
Draw cross hatching lines below the eye.

Step 10
Continue to draw cross hatching lines near the nose. Make sure to create extra layer to make it darker.

Shading the Left Eye
We are basically just repeating the previous steps. So let's continue.
Step 1
Draw hatching lines on top of the eyebrow and the right side of the eye.

Step 2
Draw hatching lines below the eye.

Step 3
Draw cross hatching lines above the eyebrow.

Step 4
Draw cross hatching lines below the eye.

Step 5
Draw another layer on the right side of the eye to make it darker.

Step 6
And that's it! Your shading should look like this.

Now you might wonder why does it look so untidy and flat?
This is just the basic layer. We need to shade these areas because in the next tutorial we will learn to shade the nose and it will be continuation from what we did in this tutorial. We will draw the more thorough and detail shading towards the end of the series. But for now let just learn the basic shading first.
So that's it for tutorial part 4. Is it too hard or does it help you to draw better? It's very easy, right? Please leave your comments below! Thank you.
Note: In the next tutorial we will learn to shade the nose and it will be a lot harder than this tutorial.

Stay tuned!
NOTE: I have thought long and hard about this. To encourage people to learn, I would like to offer some reward in the form of SBD to 3 people who could sketch the best portraits by the end of this tutorial series. I haven't decided on how much the reward will be though. I am thinking of giving SBD3 to the best portrait, SBD2 to the second one and SBD1 to the third. I know it's not much but I am just a lowly minnow who doesn't earn much yet, unless we have some sponsors or the response is encouraging.
So here are the rules:
- The challenge is for complete beginners in portrait drawing. They could be anyone, including artists who never attempted portrait sketching/drawing.
- Upvote and resteem this post
- Draw a portrait exactly the way I taught it in this tutorial series (there will be several posts covering different facial features. This post is the first in the series)
- Make a post for your entry (add pencilportraitnoob in the tags). Make sure you spell it correctly.
- At the end of this tutorial series, please link to your post in the comments so that I could find your entry
This is optional but feel free to share your progress photos in the comments.
Is this too complicated? If you are not clear, maybe you can leave me a comment.
Some of my pencil portrait posts on Steemit:
Jerry and Barbie - A Tribute to Meteor Garden On 16th Anniversary
Pencil Portrait of My Mother - Madam Veronica G. Bedindang
Pencil Portrait of My Husband and Son
Pencil Portrait: Luciana Zogbi - A Brazilian Lebanese Beauty
Pencil Portrait: Sabina Altynbekova - The Living Anime-Girl
My Previous Posts
Upvote and resteem if you think they are worthy. Thank you!
Tutorial #1: Pencil Portrait Sketching for Complete Beginners - SBD Reward for Three Best Sketches
Jerry and Barbie - A Tribute to Meteor Garden On 16th Anniversary
Tiny Audrey Hepburn's Portrait
Satan Patrolling the Earth - A Painting

Nice drawing tutorial... keep steem on :)
Thank you @happyphoenix :)
These are really great tutorials for beginners. Thank you so much for sharing.
[Trans-Mongolia Rail Adventure](Exploring The Beautiful Flower City Of Irkutsk, Siberia)(https://steemit.com/globaladventure/@positivesteem/trans-mongolia-rail-adventure-exploring-the-beautiful-flower-city-of-irkutsk-siberia)
This post is presently earning less than $1, please give it some love, thank you so much
Thank you @positivesteem . Sure will check out your post right on :)