My steemit how to Jorogumo: Polymer clay tutorial for Sunday by @bigboycrafts
Hello steemians! I'm back again with another tutorial. This time, we will be making the wonderful mythical being called Jorogumo which originated from Japan. I included a poem which gives a simple background of the lore behind this being.
ALLURE OF THE SILKEN QUEEN
by Bigboycrafts
Long ago there lived a female weaver
One no larger than a hand
With cunning and determination
4 centuries she survived the land.
Orbed weavers hardly ever live that long
But none was as cunning as she
For her struggles she was given powers
And thus this beauty came to be.
Some might say this was a blessing
For she is a sight to behold
No man can ever resist her charm
And the love for their wives turned cold
1 look is all she needs from you
1 look is all she needs to ensnare
For those who can't resist her charm
A grim fate lies inside the silken queen's lair
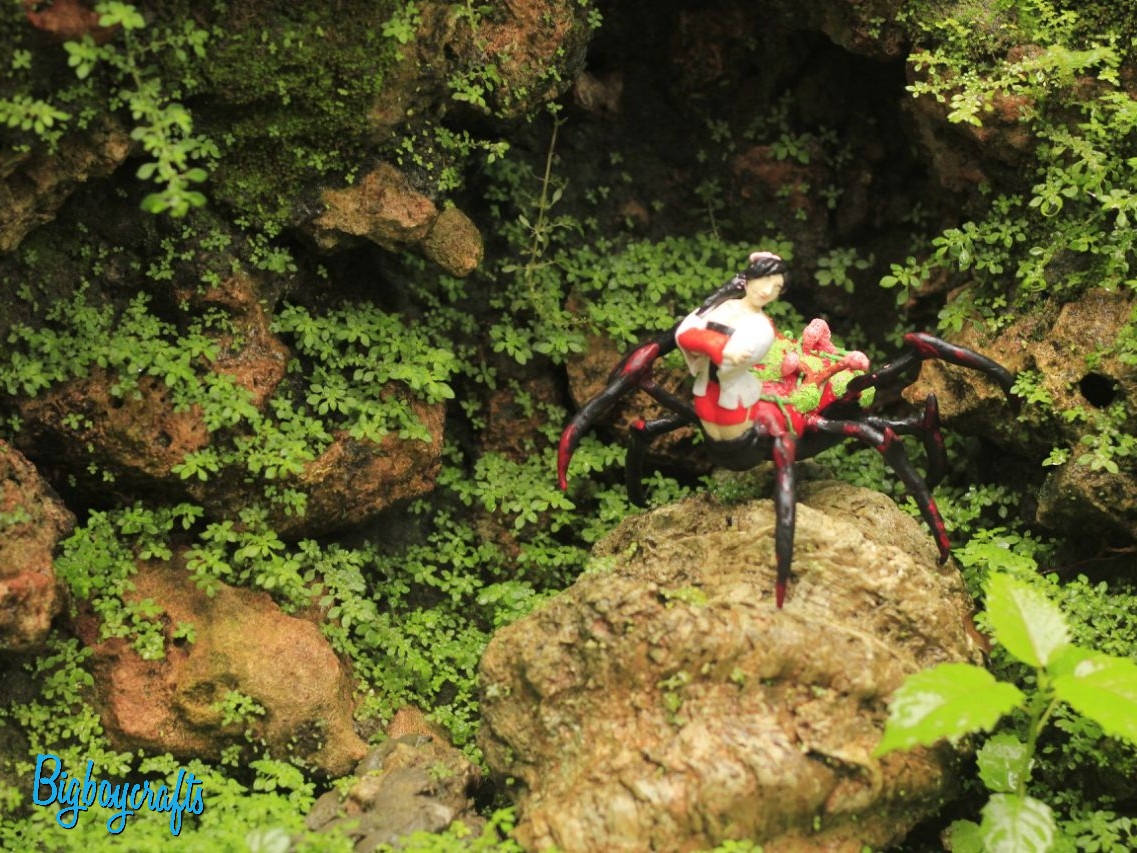
Myth: The Jorogumo
Description: She is basically a yokai, a supernatural creature/demon/spirit. The myth is located in Japan where a golden orbed weaver lives up to 400 years old and suddenly gains magical powers with emphasis on shape shifting. She then uses deception as a means to ensnare foolish men and prey on them.
Materials
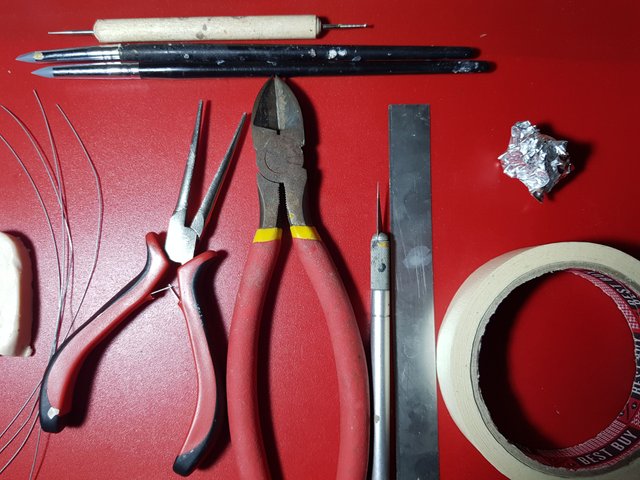
Polymer clay
Aluminum wire - for armature(skeleton)
Cutting tools - straight knife and hobby knife
Pliers - for bending and cutting
Blending tools - I used rubber tipped and ball point
Aluminum foil and masking tape
Acrylic paint and brushes
Some helpful tips:
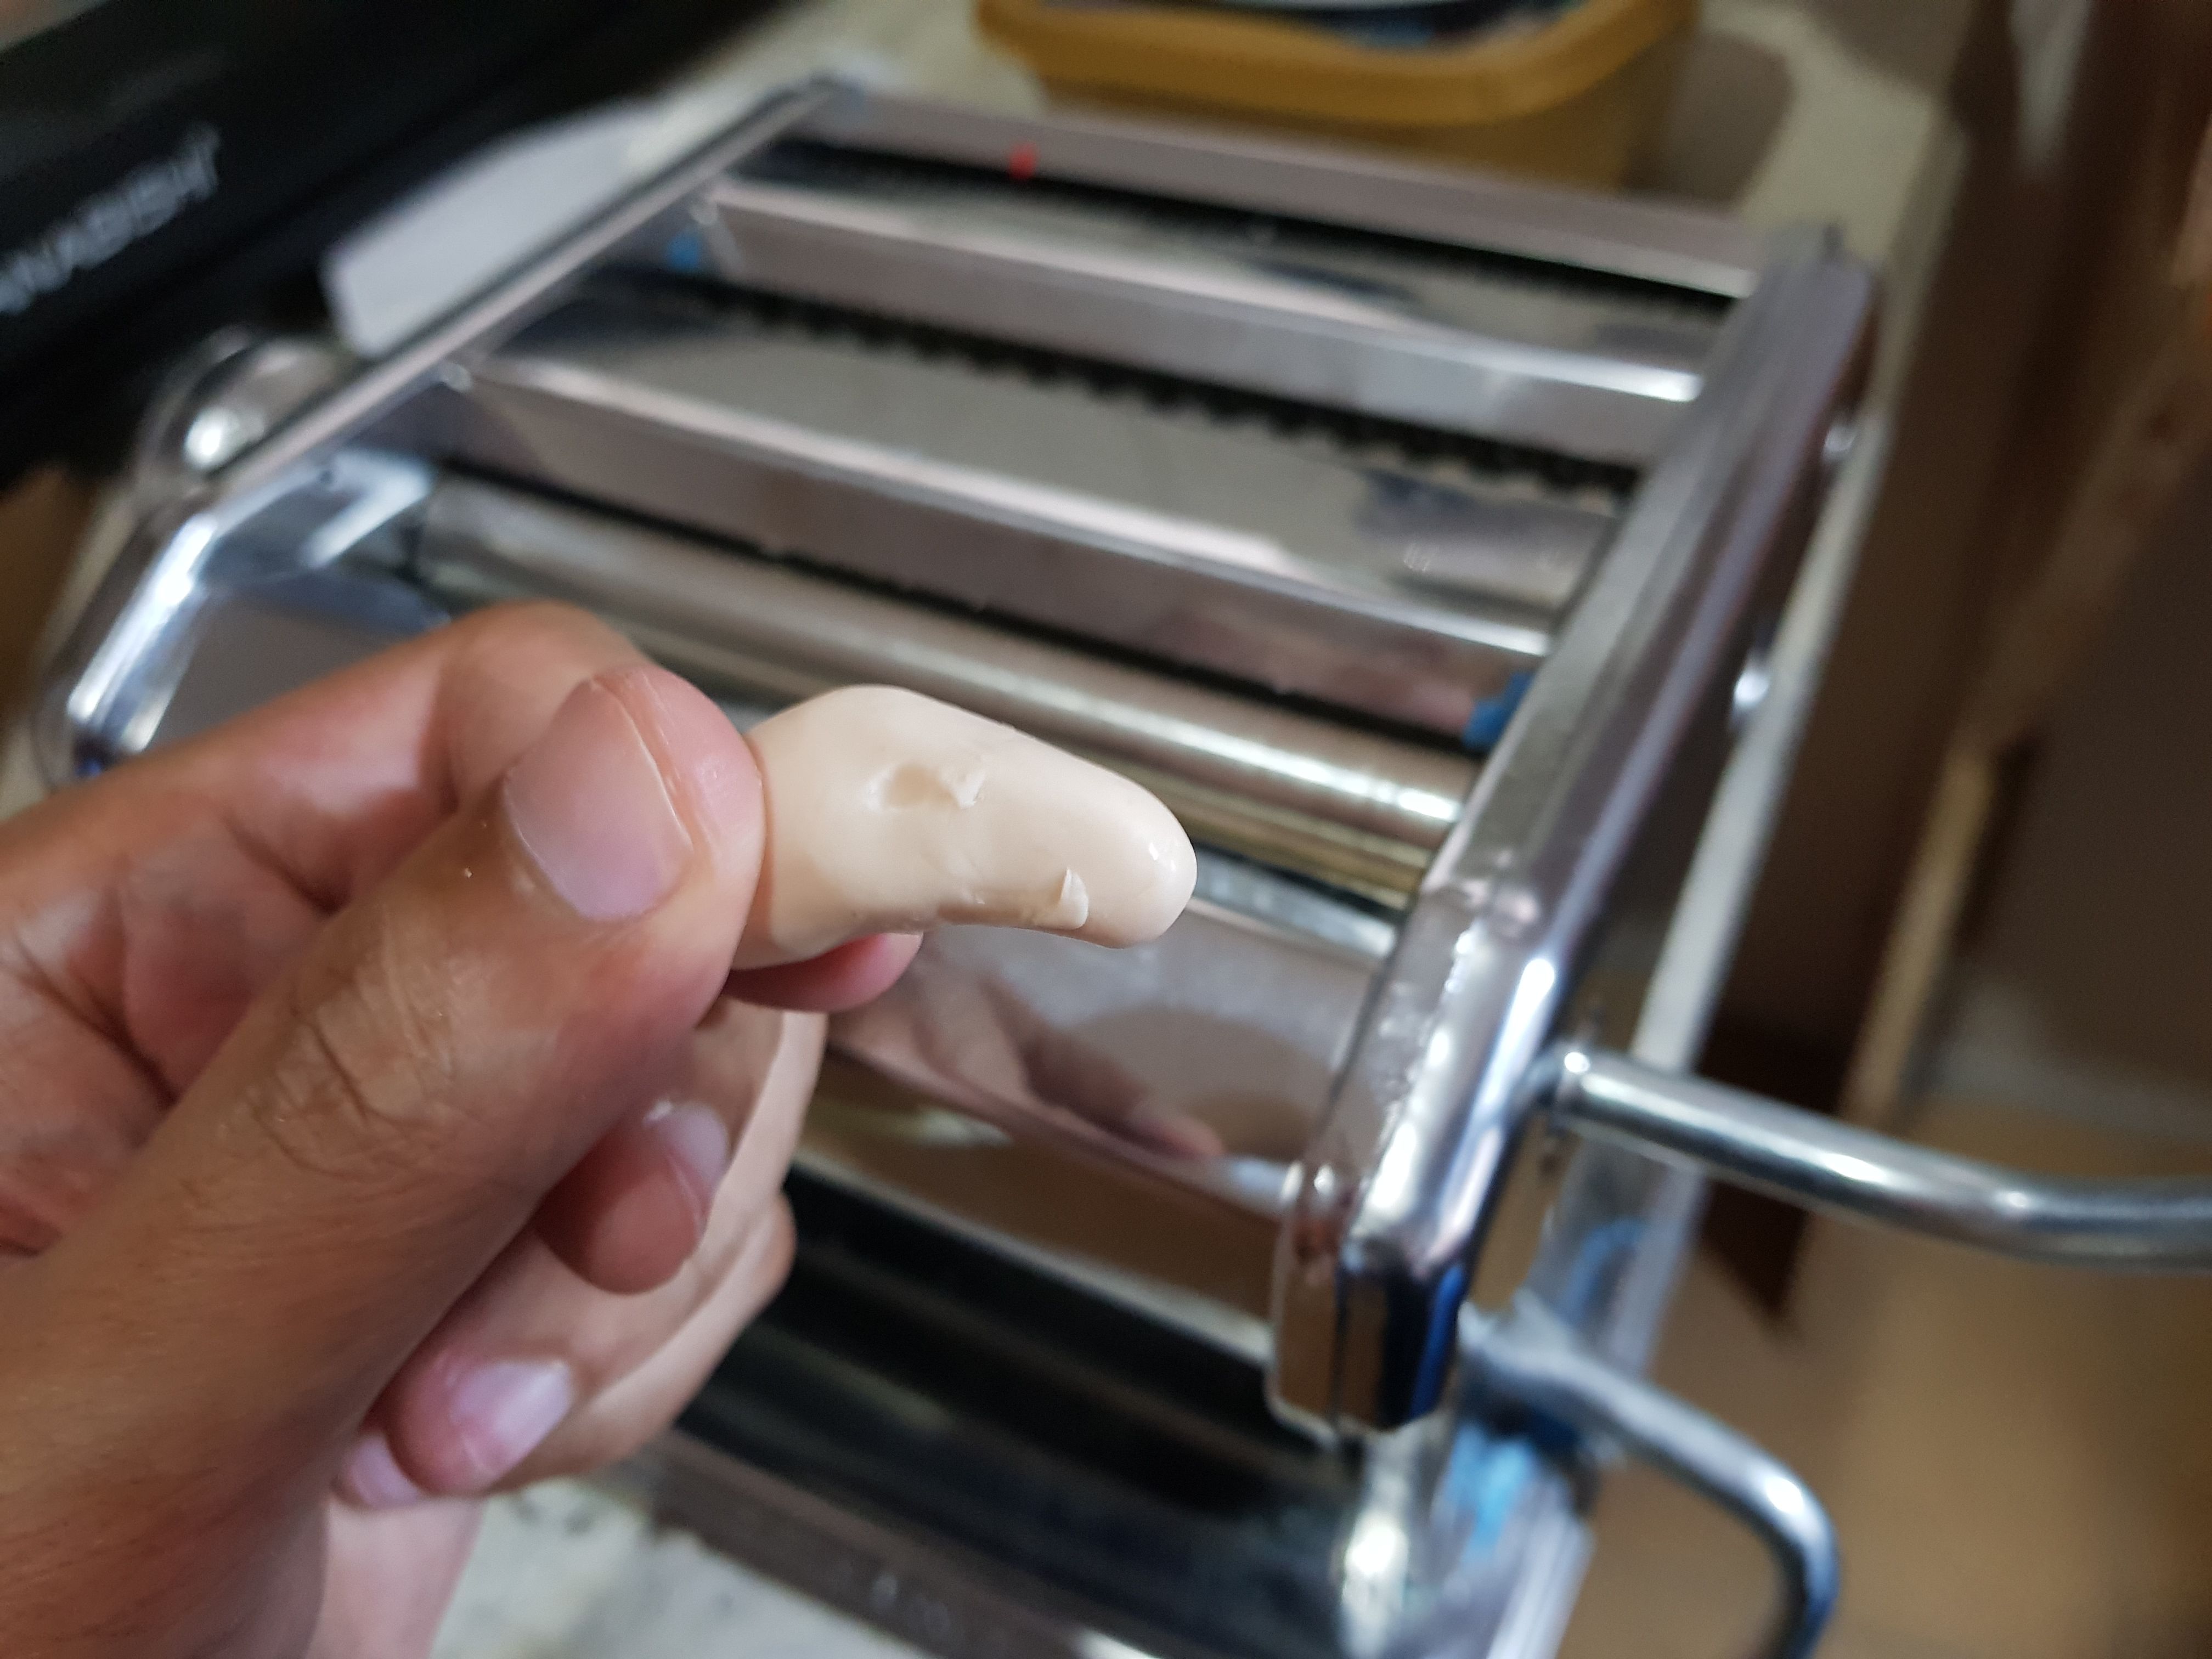
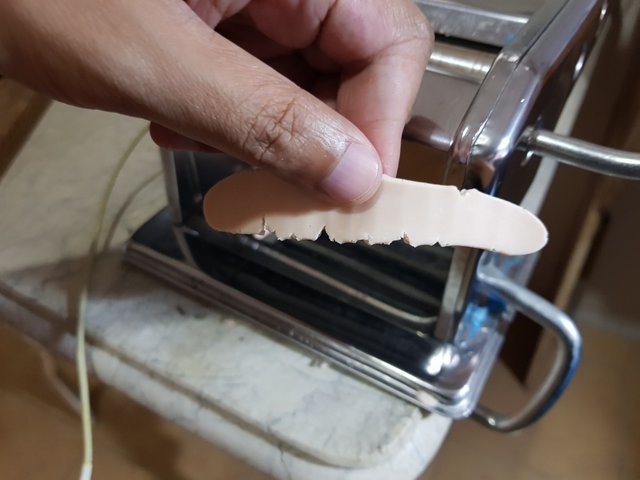
Condition your clay before use. This makes it softer and easier to shape. You can do this by squeezing, rolling, flattening or basically just playing around with the clay. A pasta machine makes for a great clay conditioner. You can also use a roller.
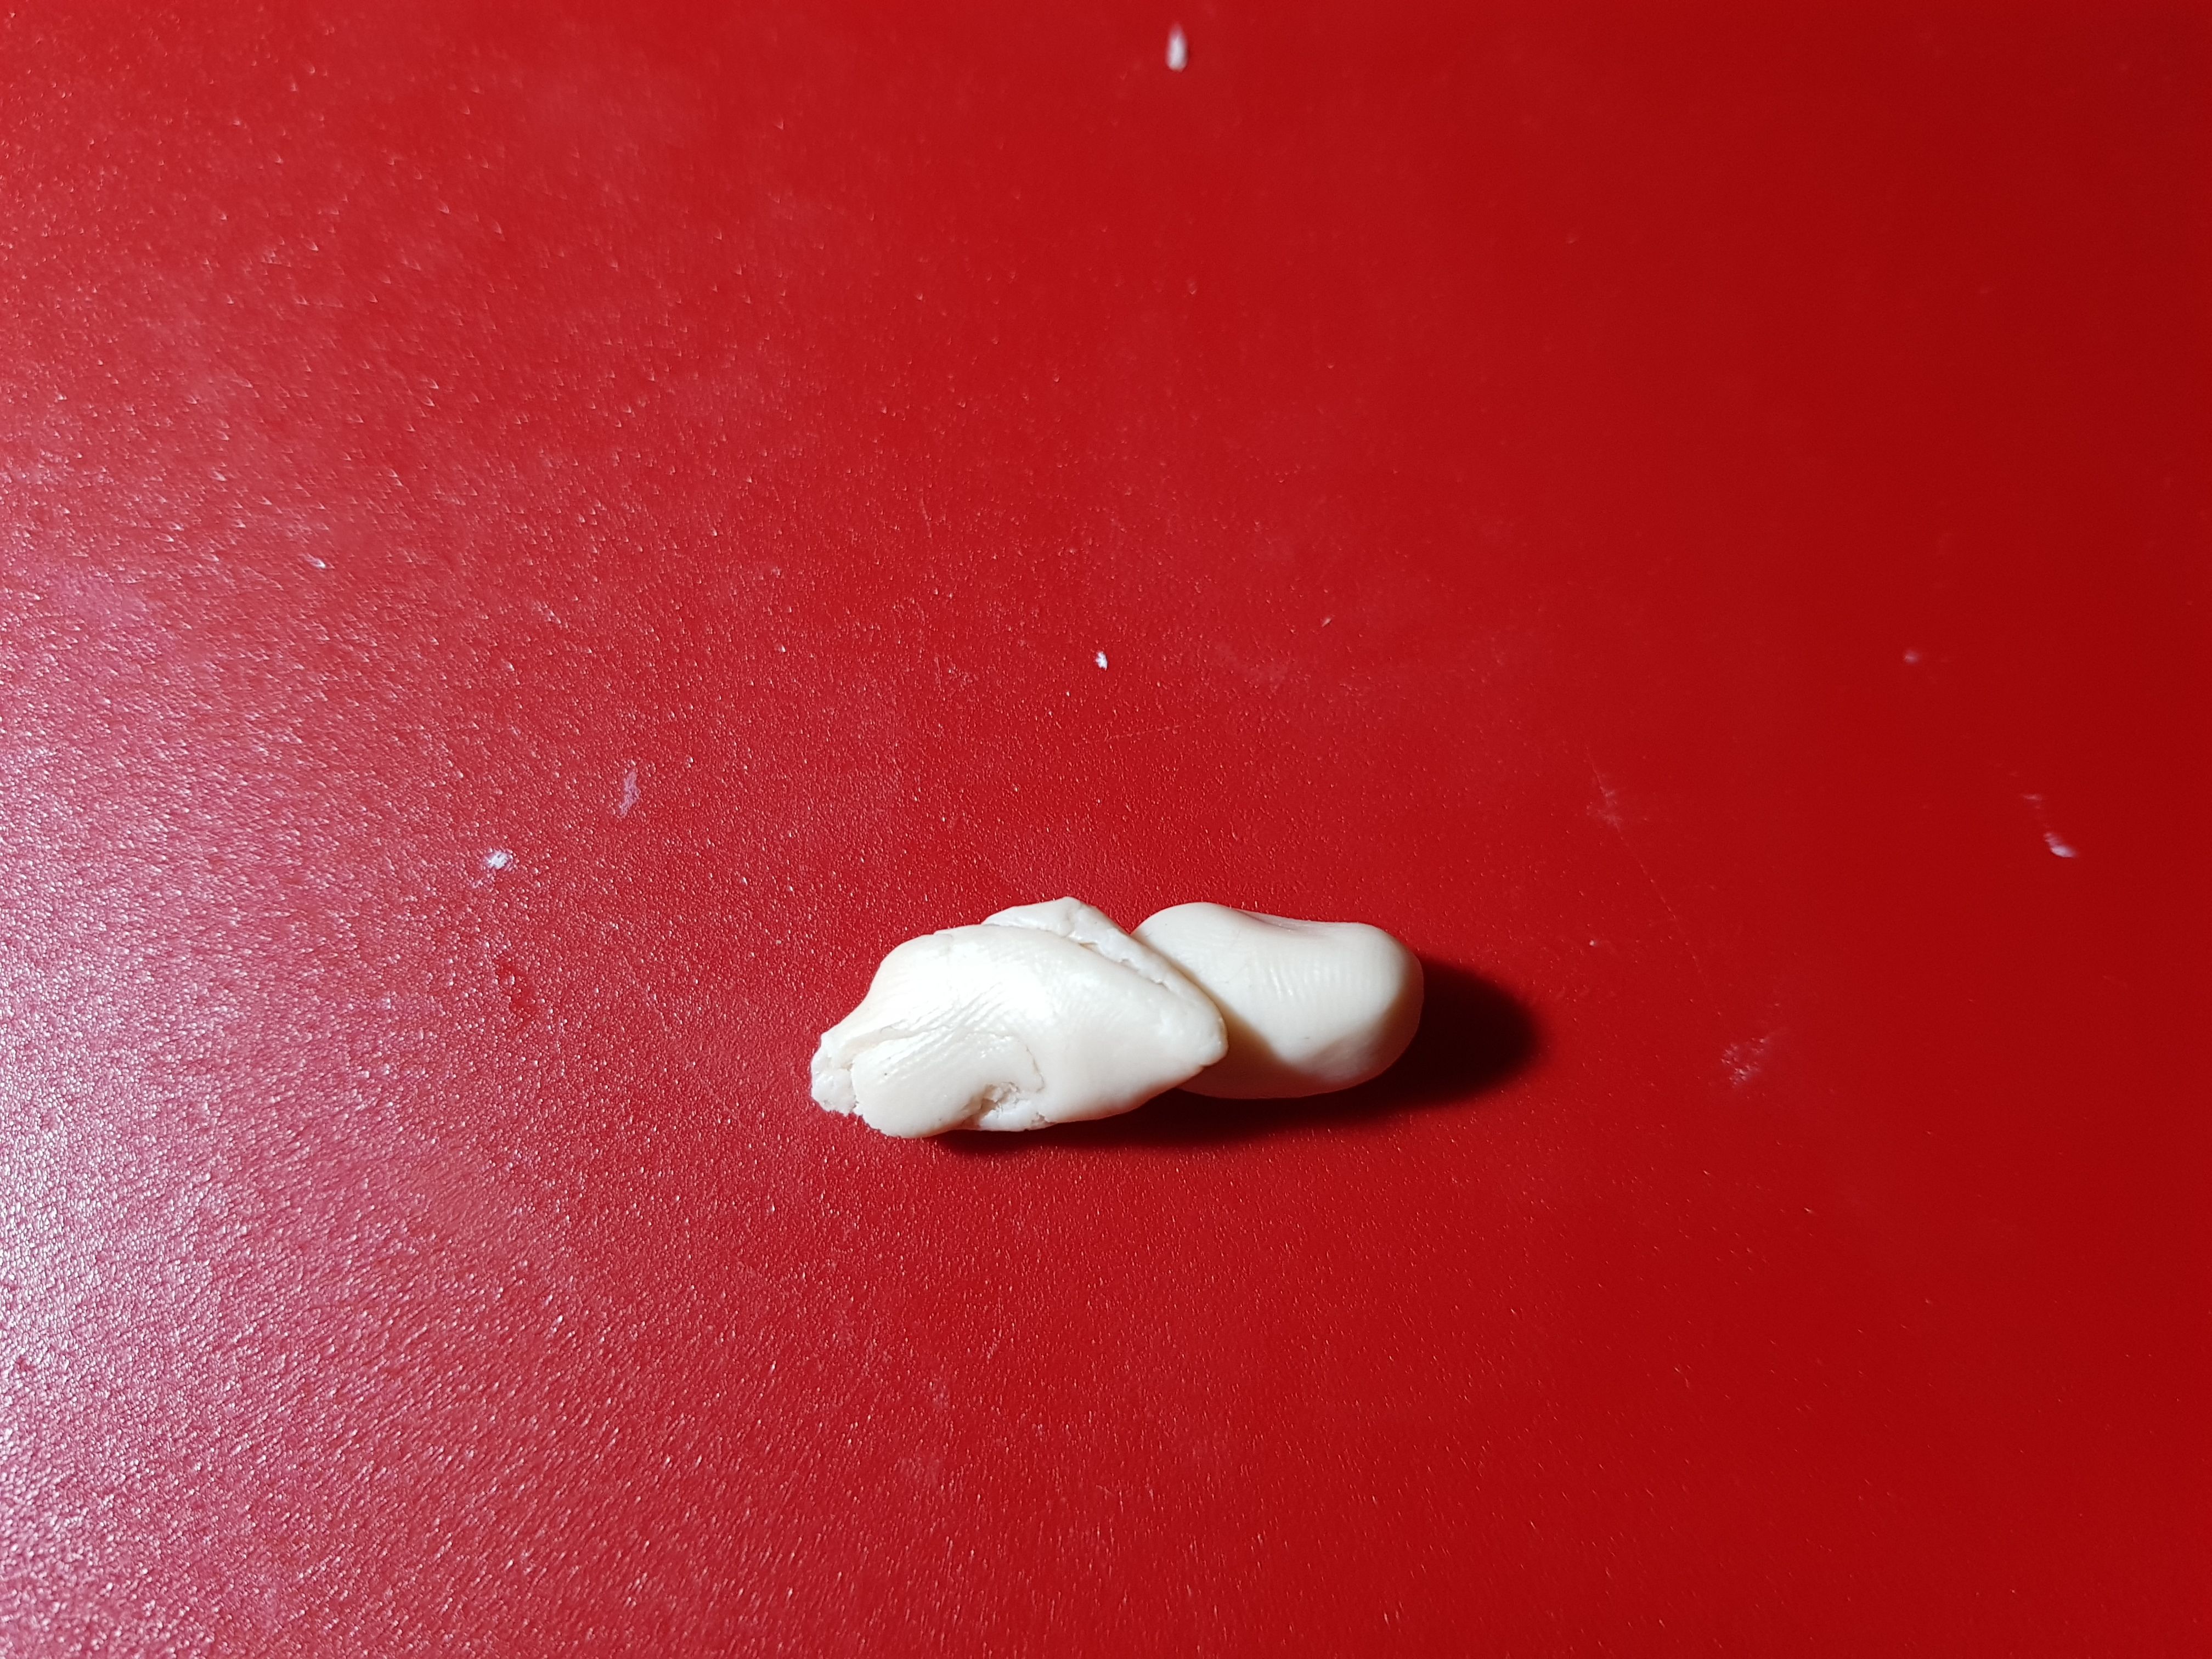
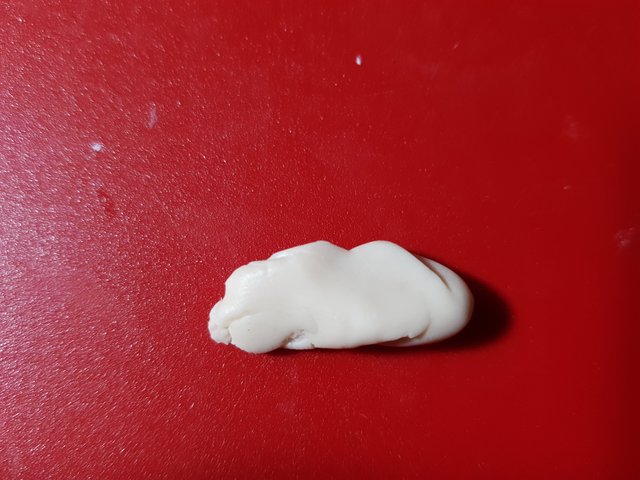
Always take time to blend the edges of where 2 separate clays meet. Use your fingers and/or the blending tools and carefully smoothen the area by rubbing it gently. This assures that the 2 separates pieces are melded together and also gives it a neat look.
Before blending
After blending
Use a cotton swab and rubbing alcohol to clean the piece before baking. This also helps in removing finger prints.
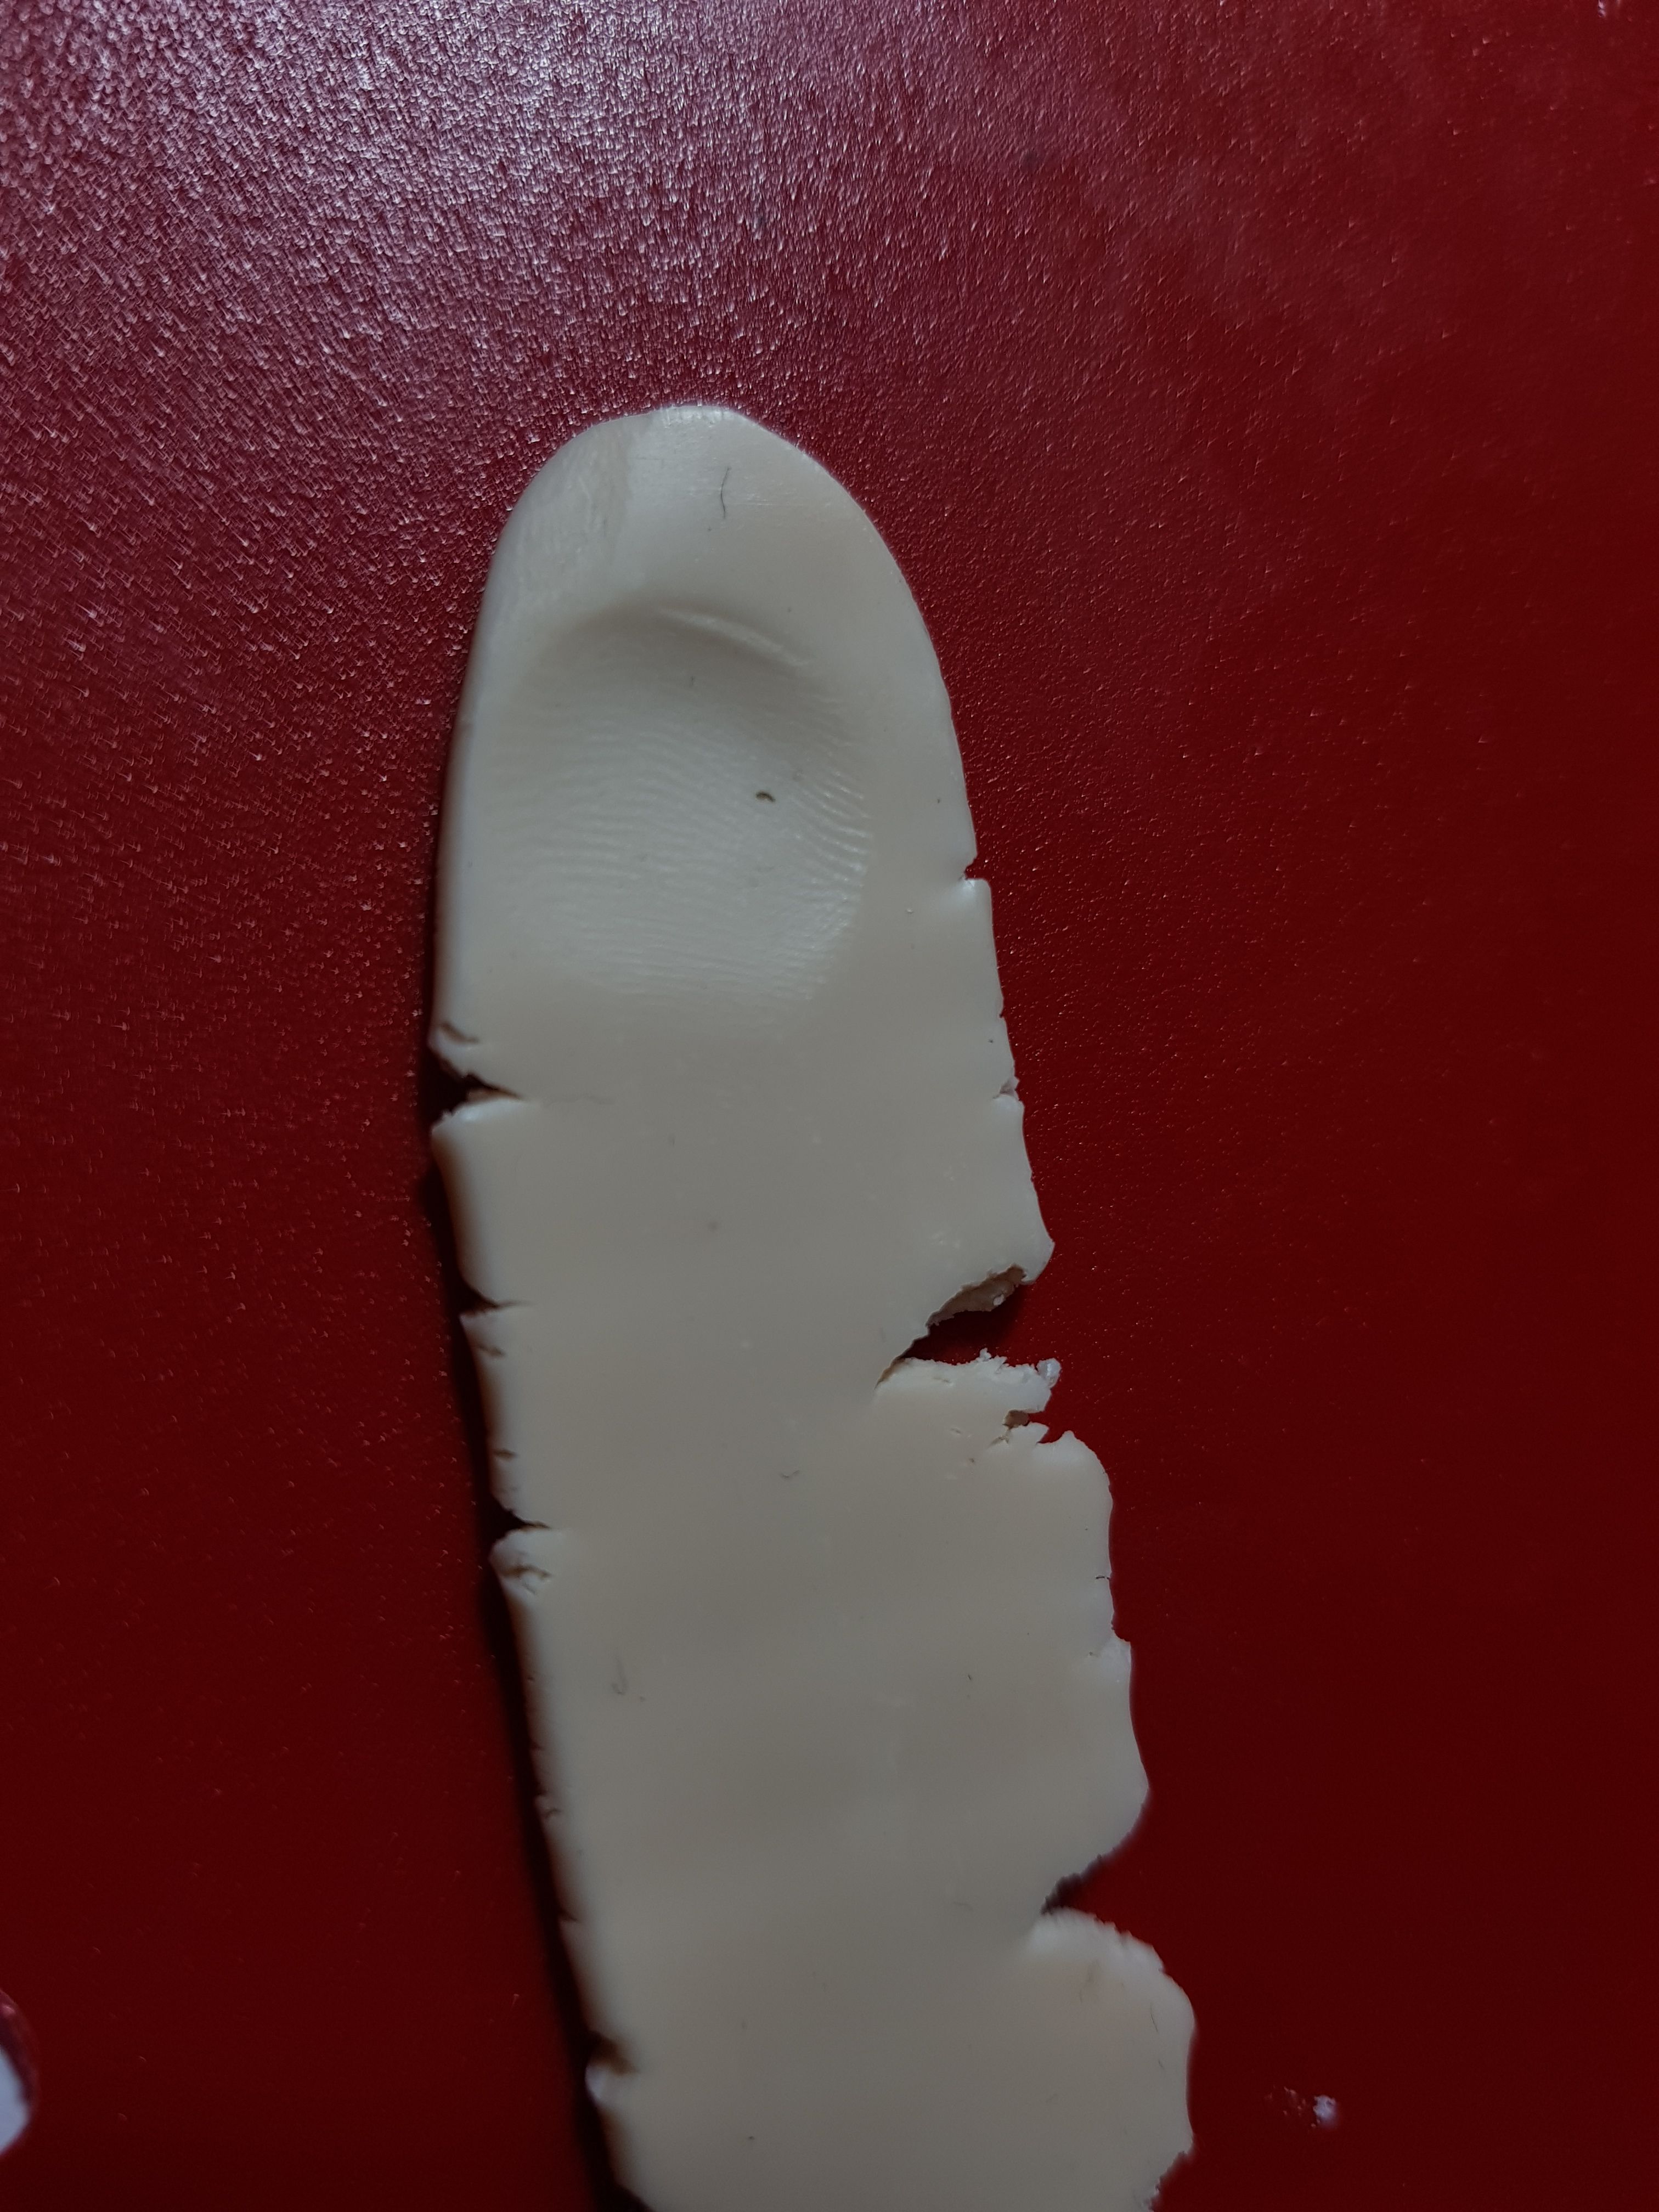
Before applying rubbing alcohol
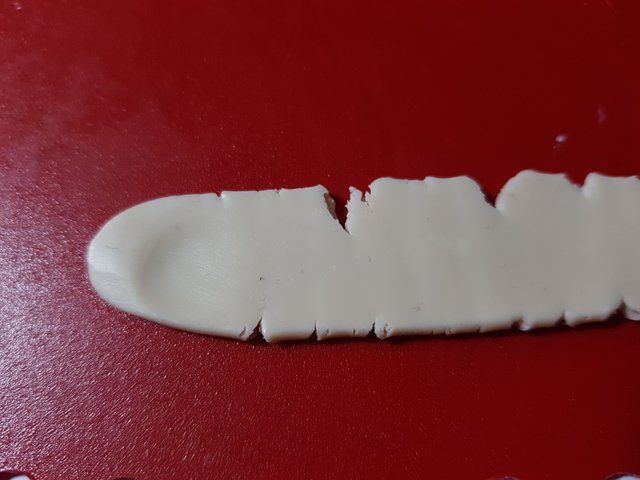
After applying rubbing alcohol
Always look at the piece using different angles. You can also take a picture with your camera. This really helps in checking the piece for mistakes in shaping.
Most importantly, take your time and have fun.
Step-by-step process:
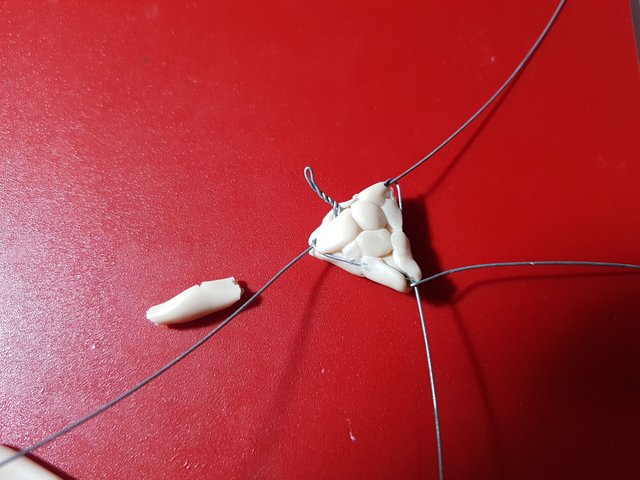
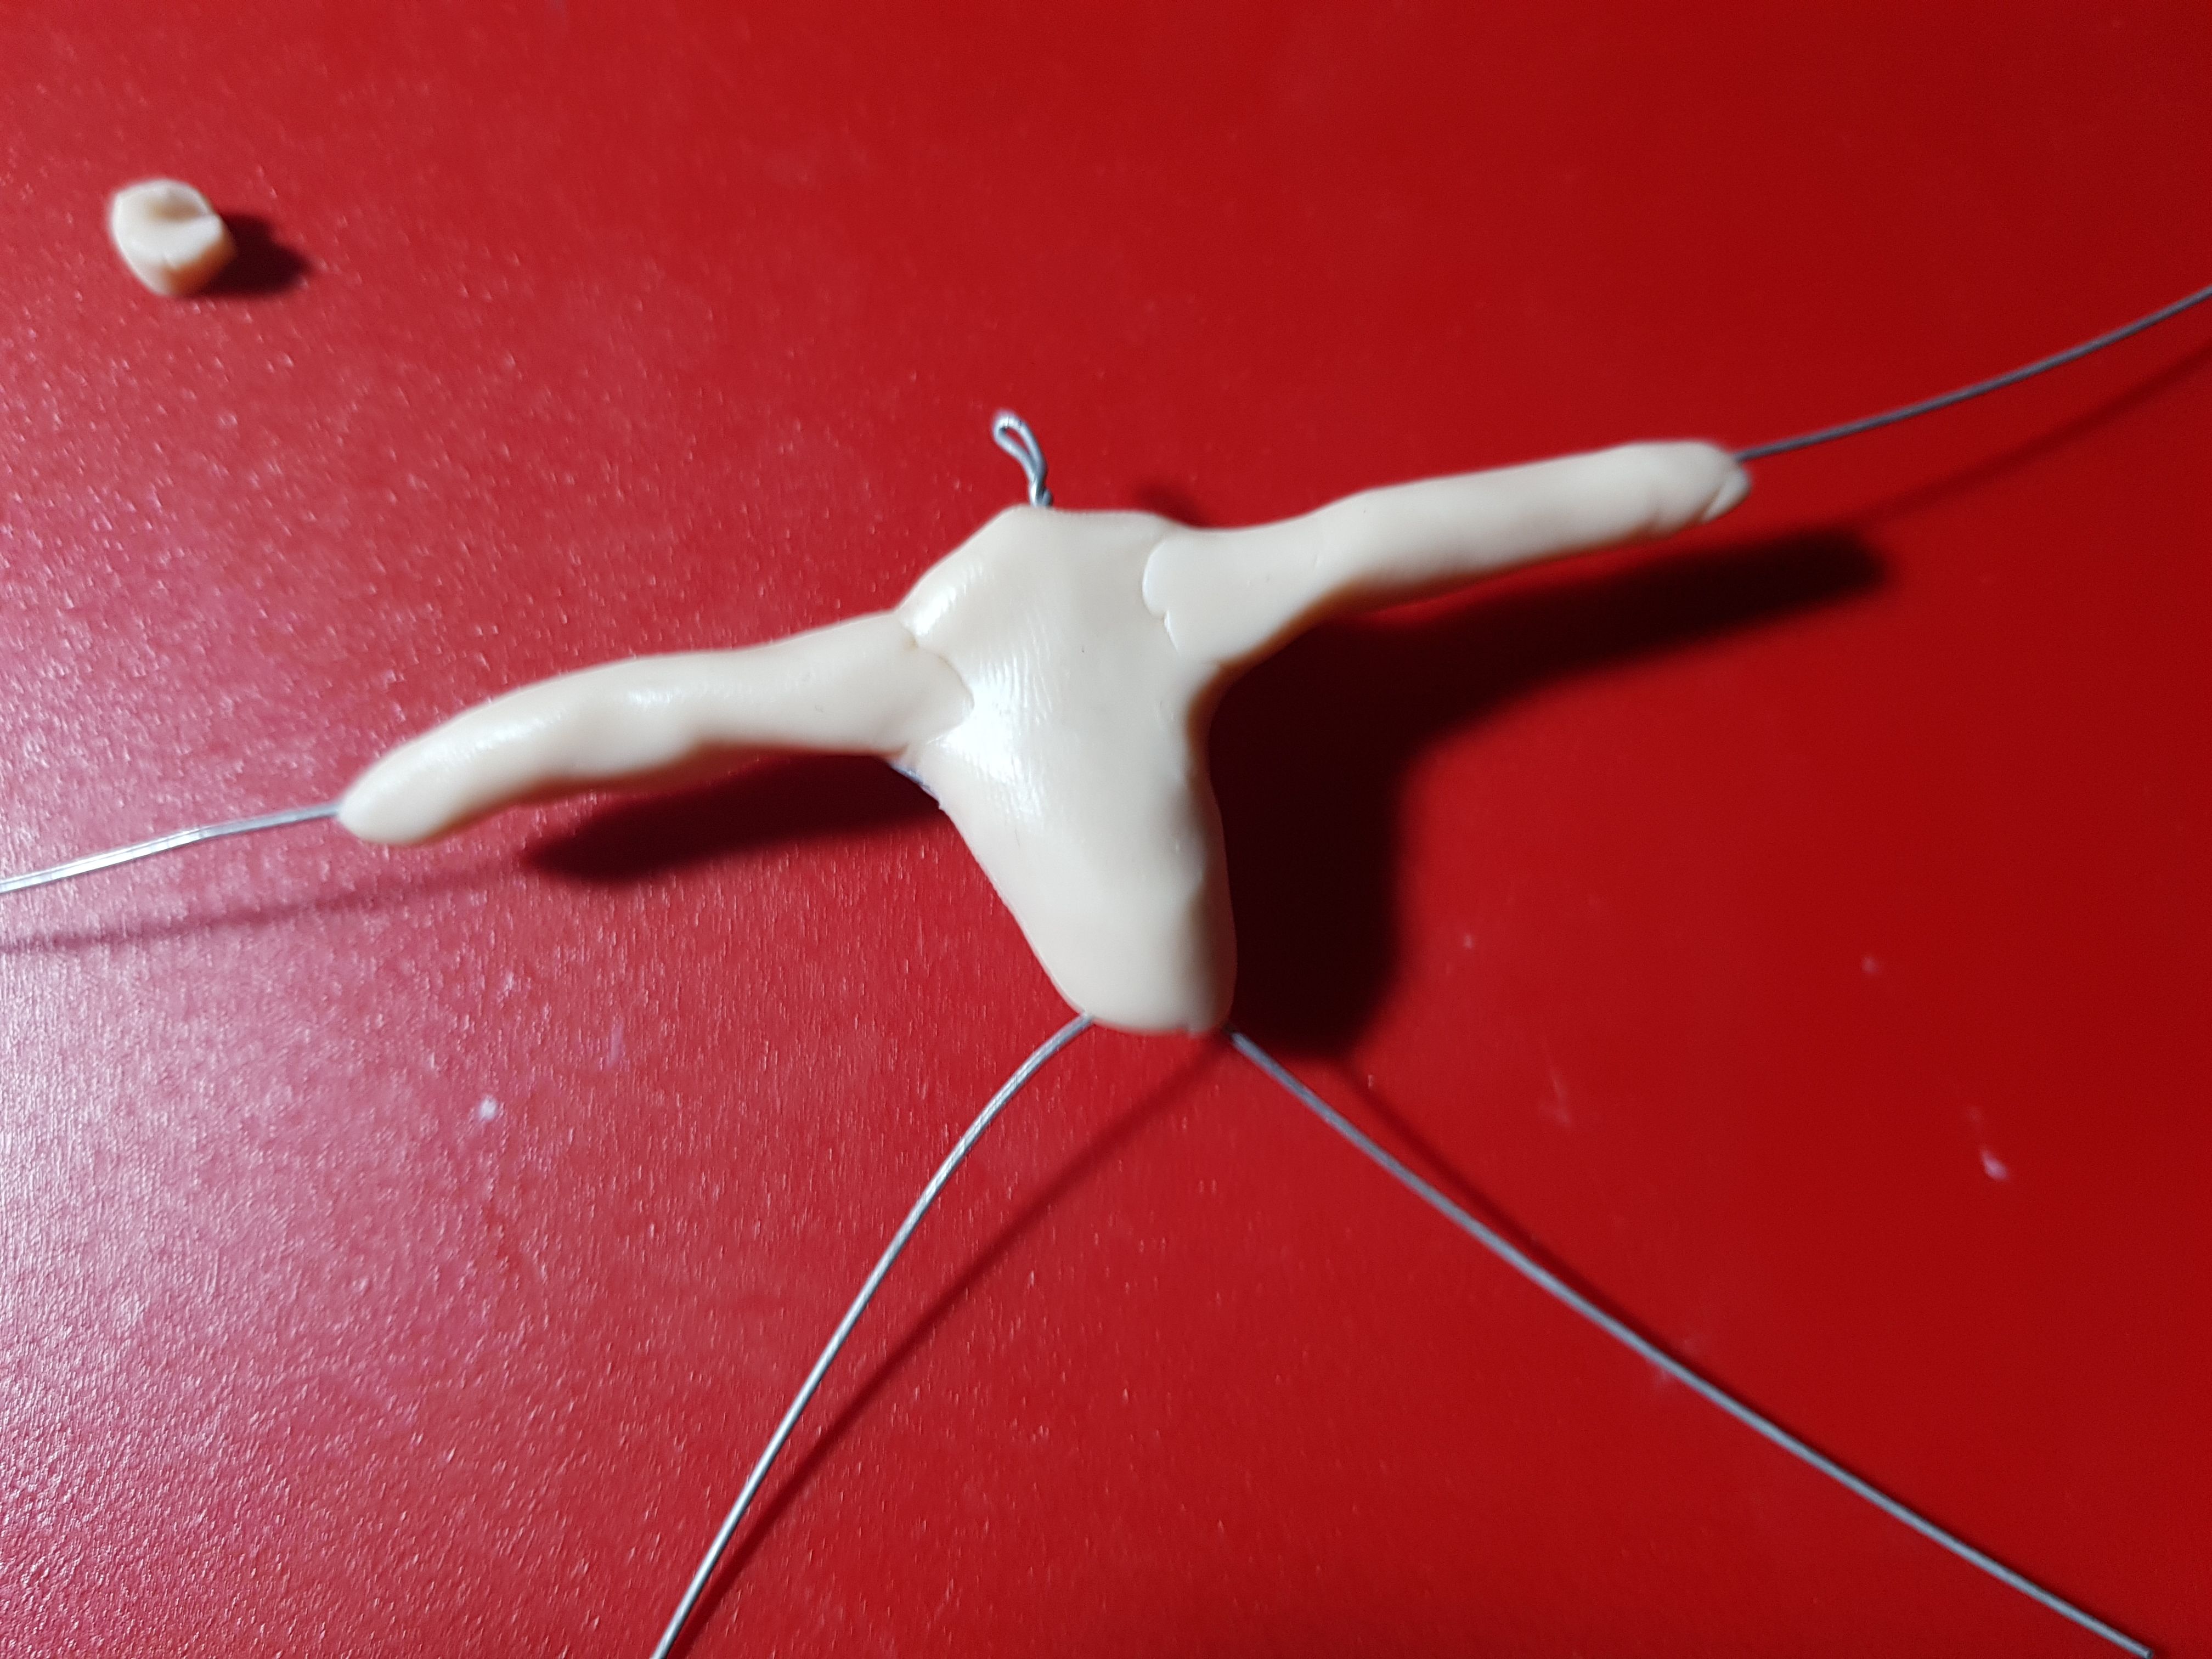
First up is to make the armature. This is important because not only does it give you a skeleton to work with, it also adds to the durability of the piece. It saves you clay too.
Cut out 6 wires with equal length.
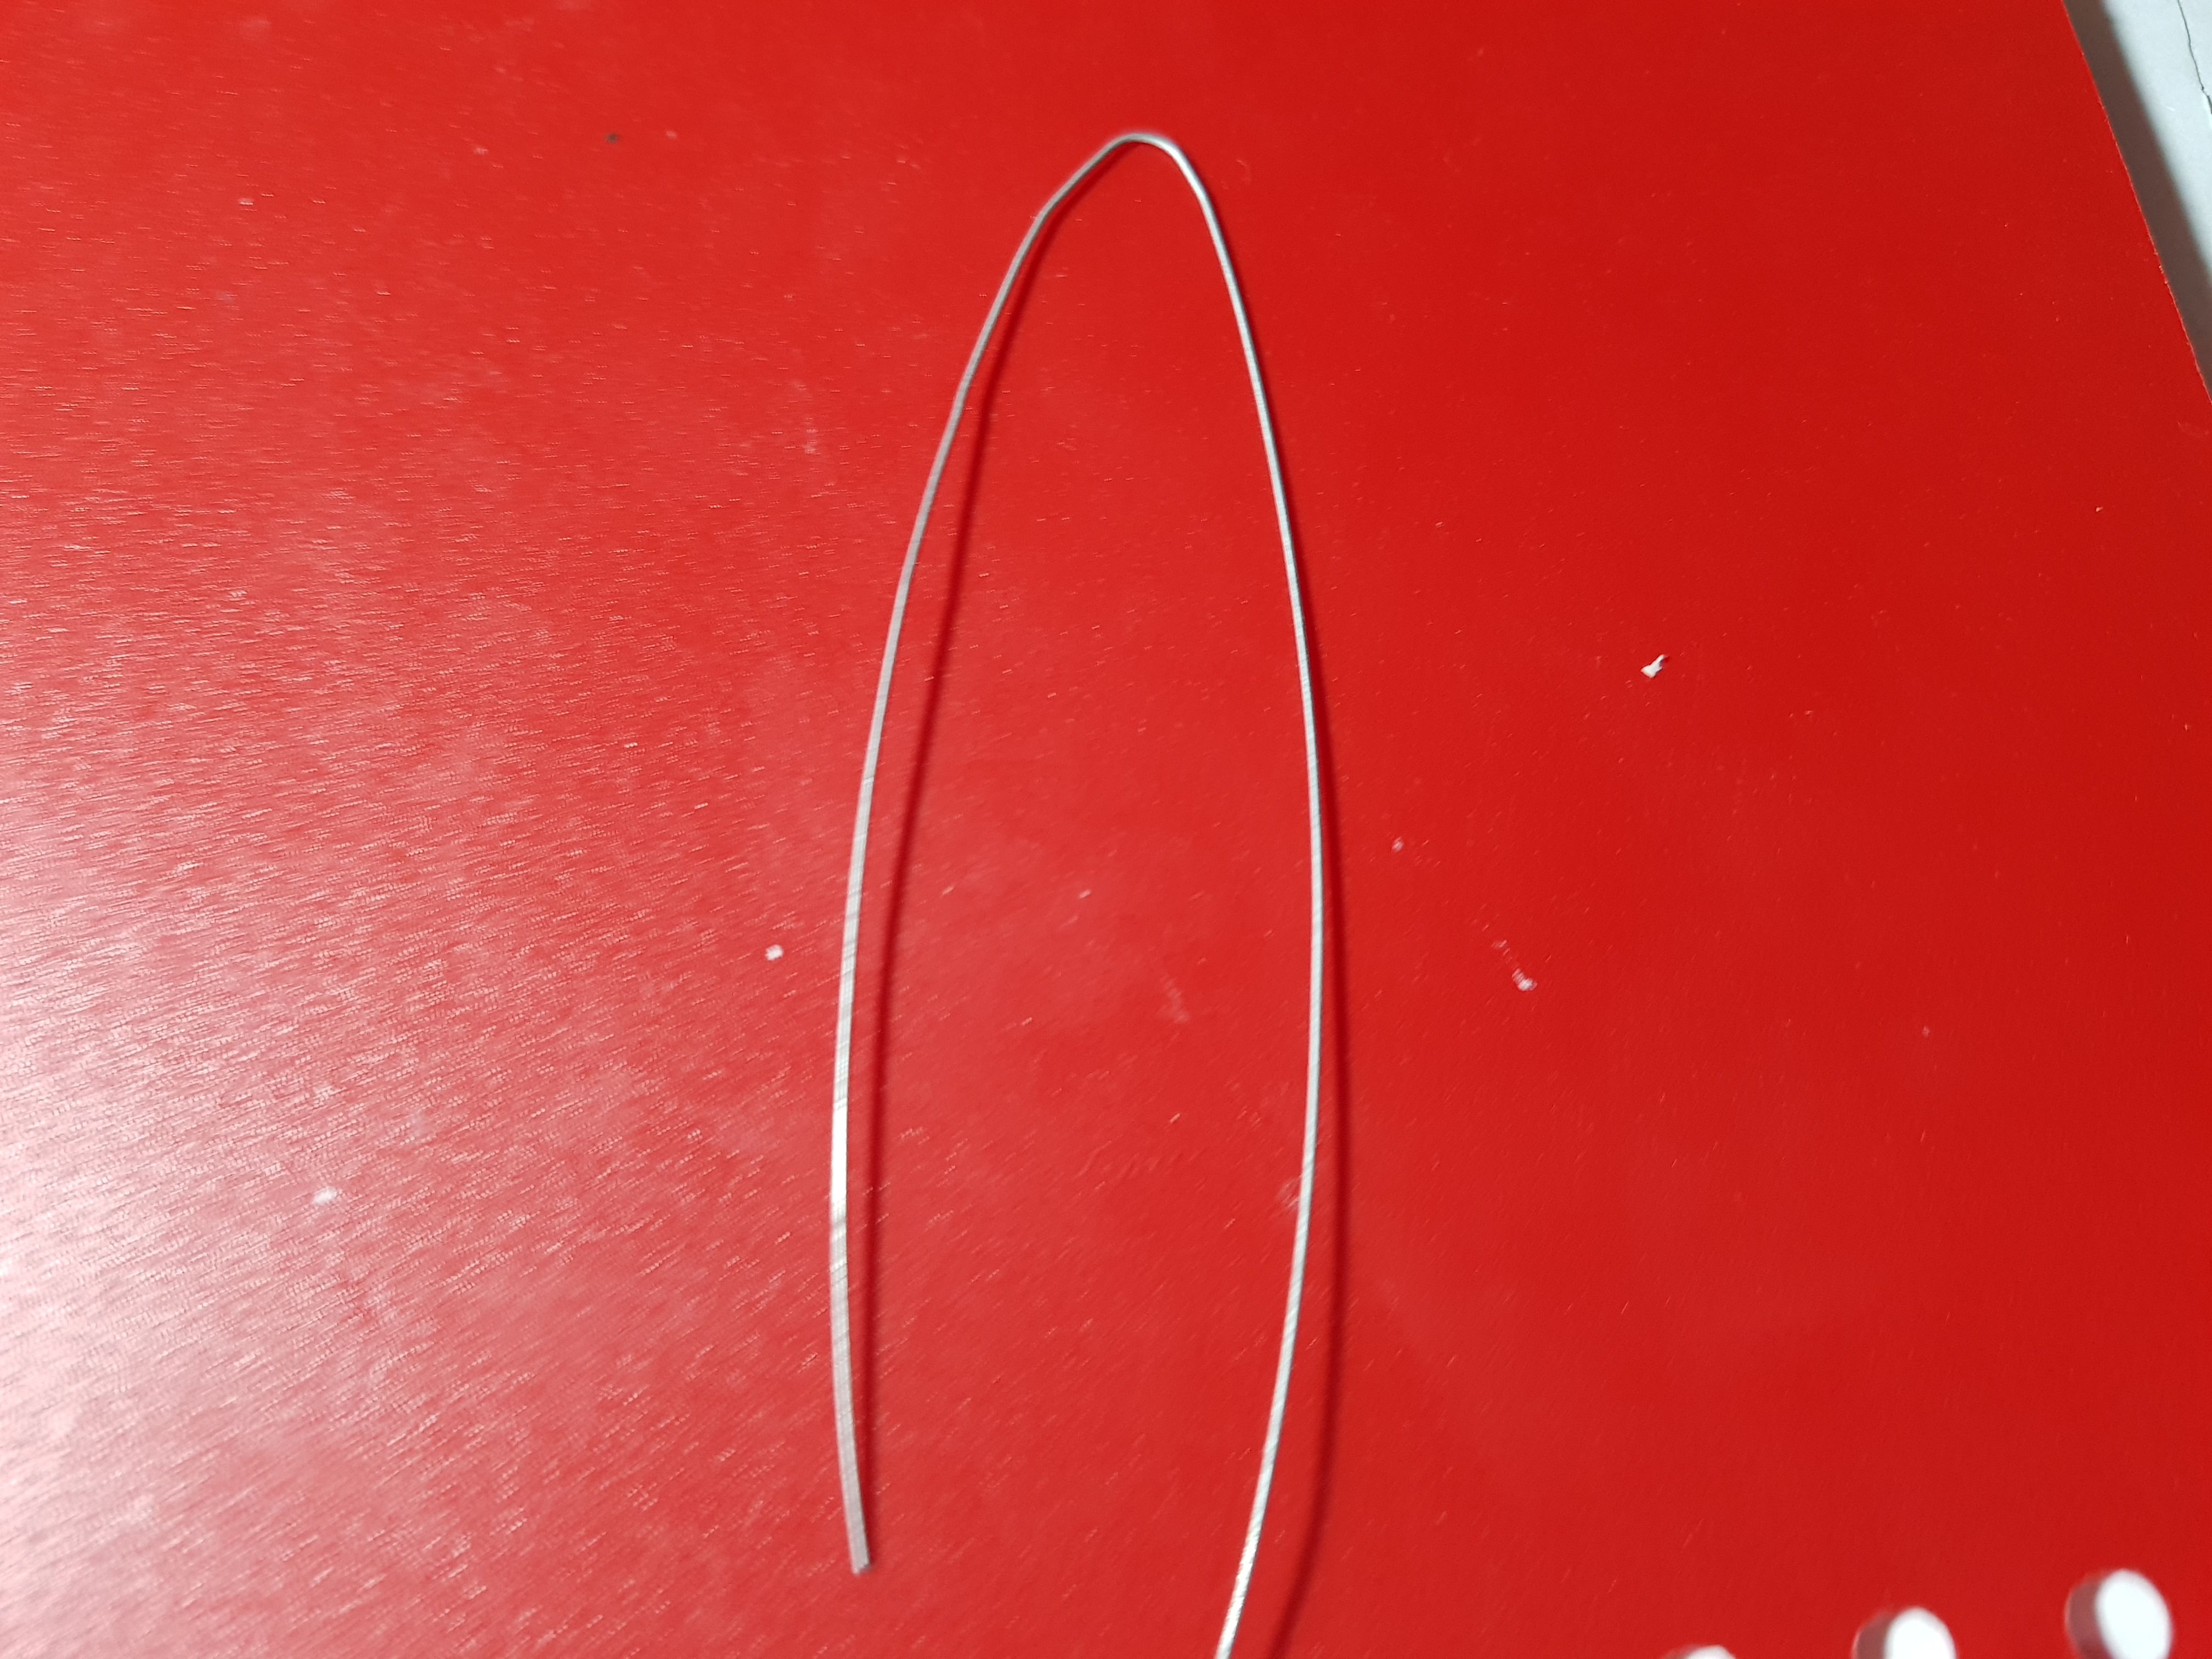
Bend the first wire at the center
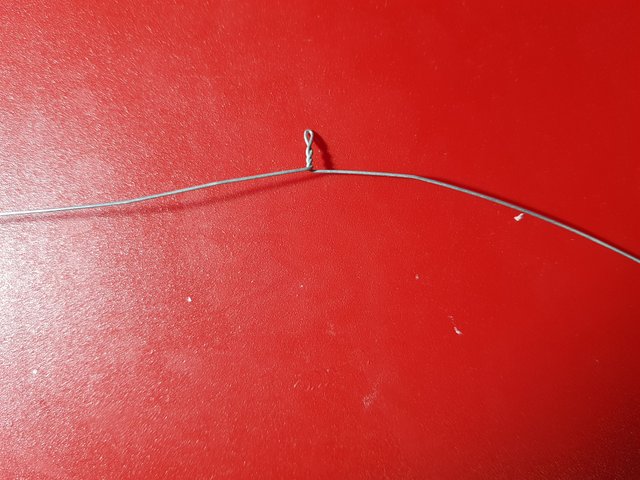
Twist to create neck and arms
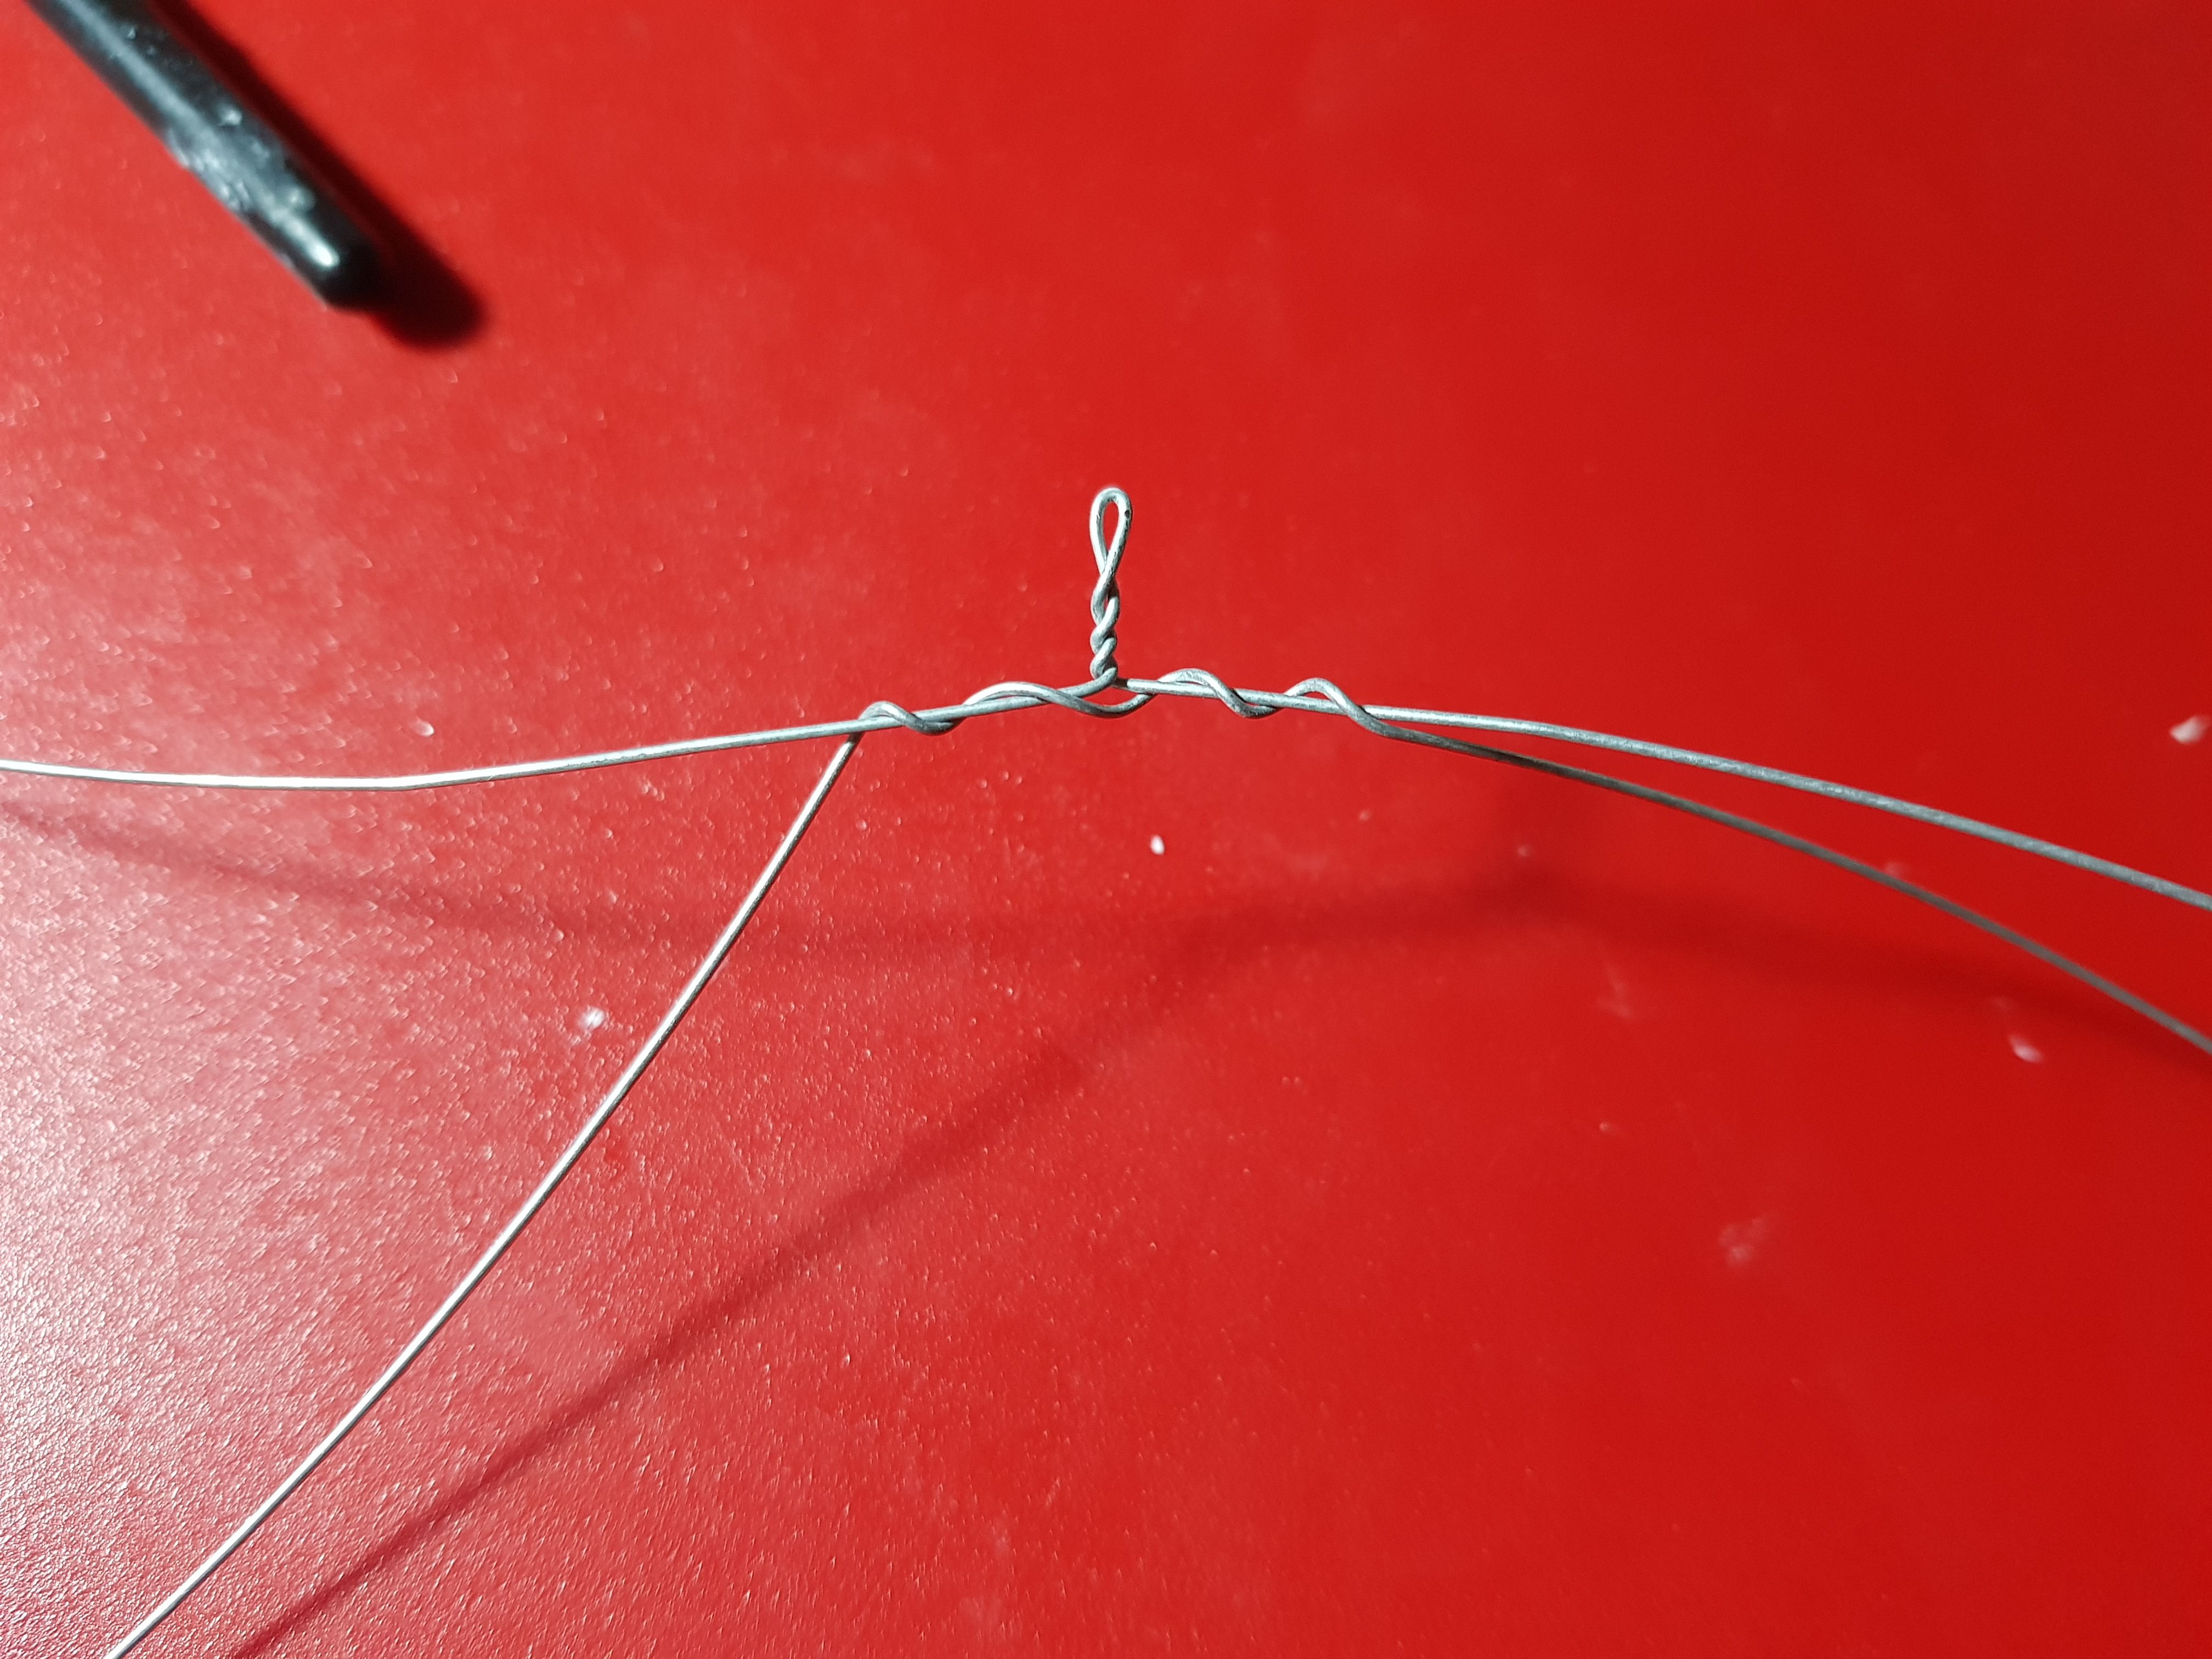
Twist another wire around and along the base of the neck
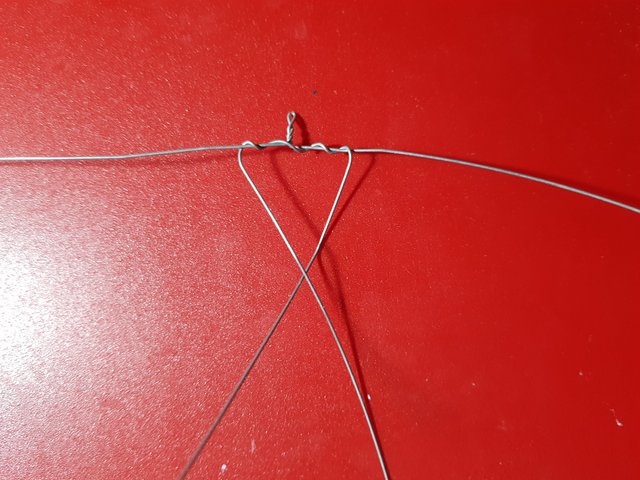
Make the body
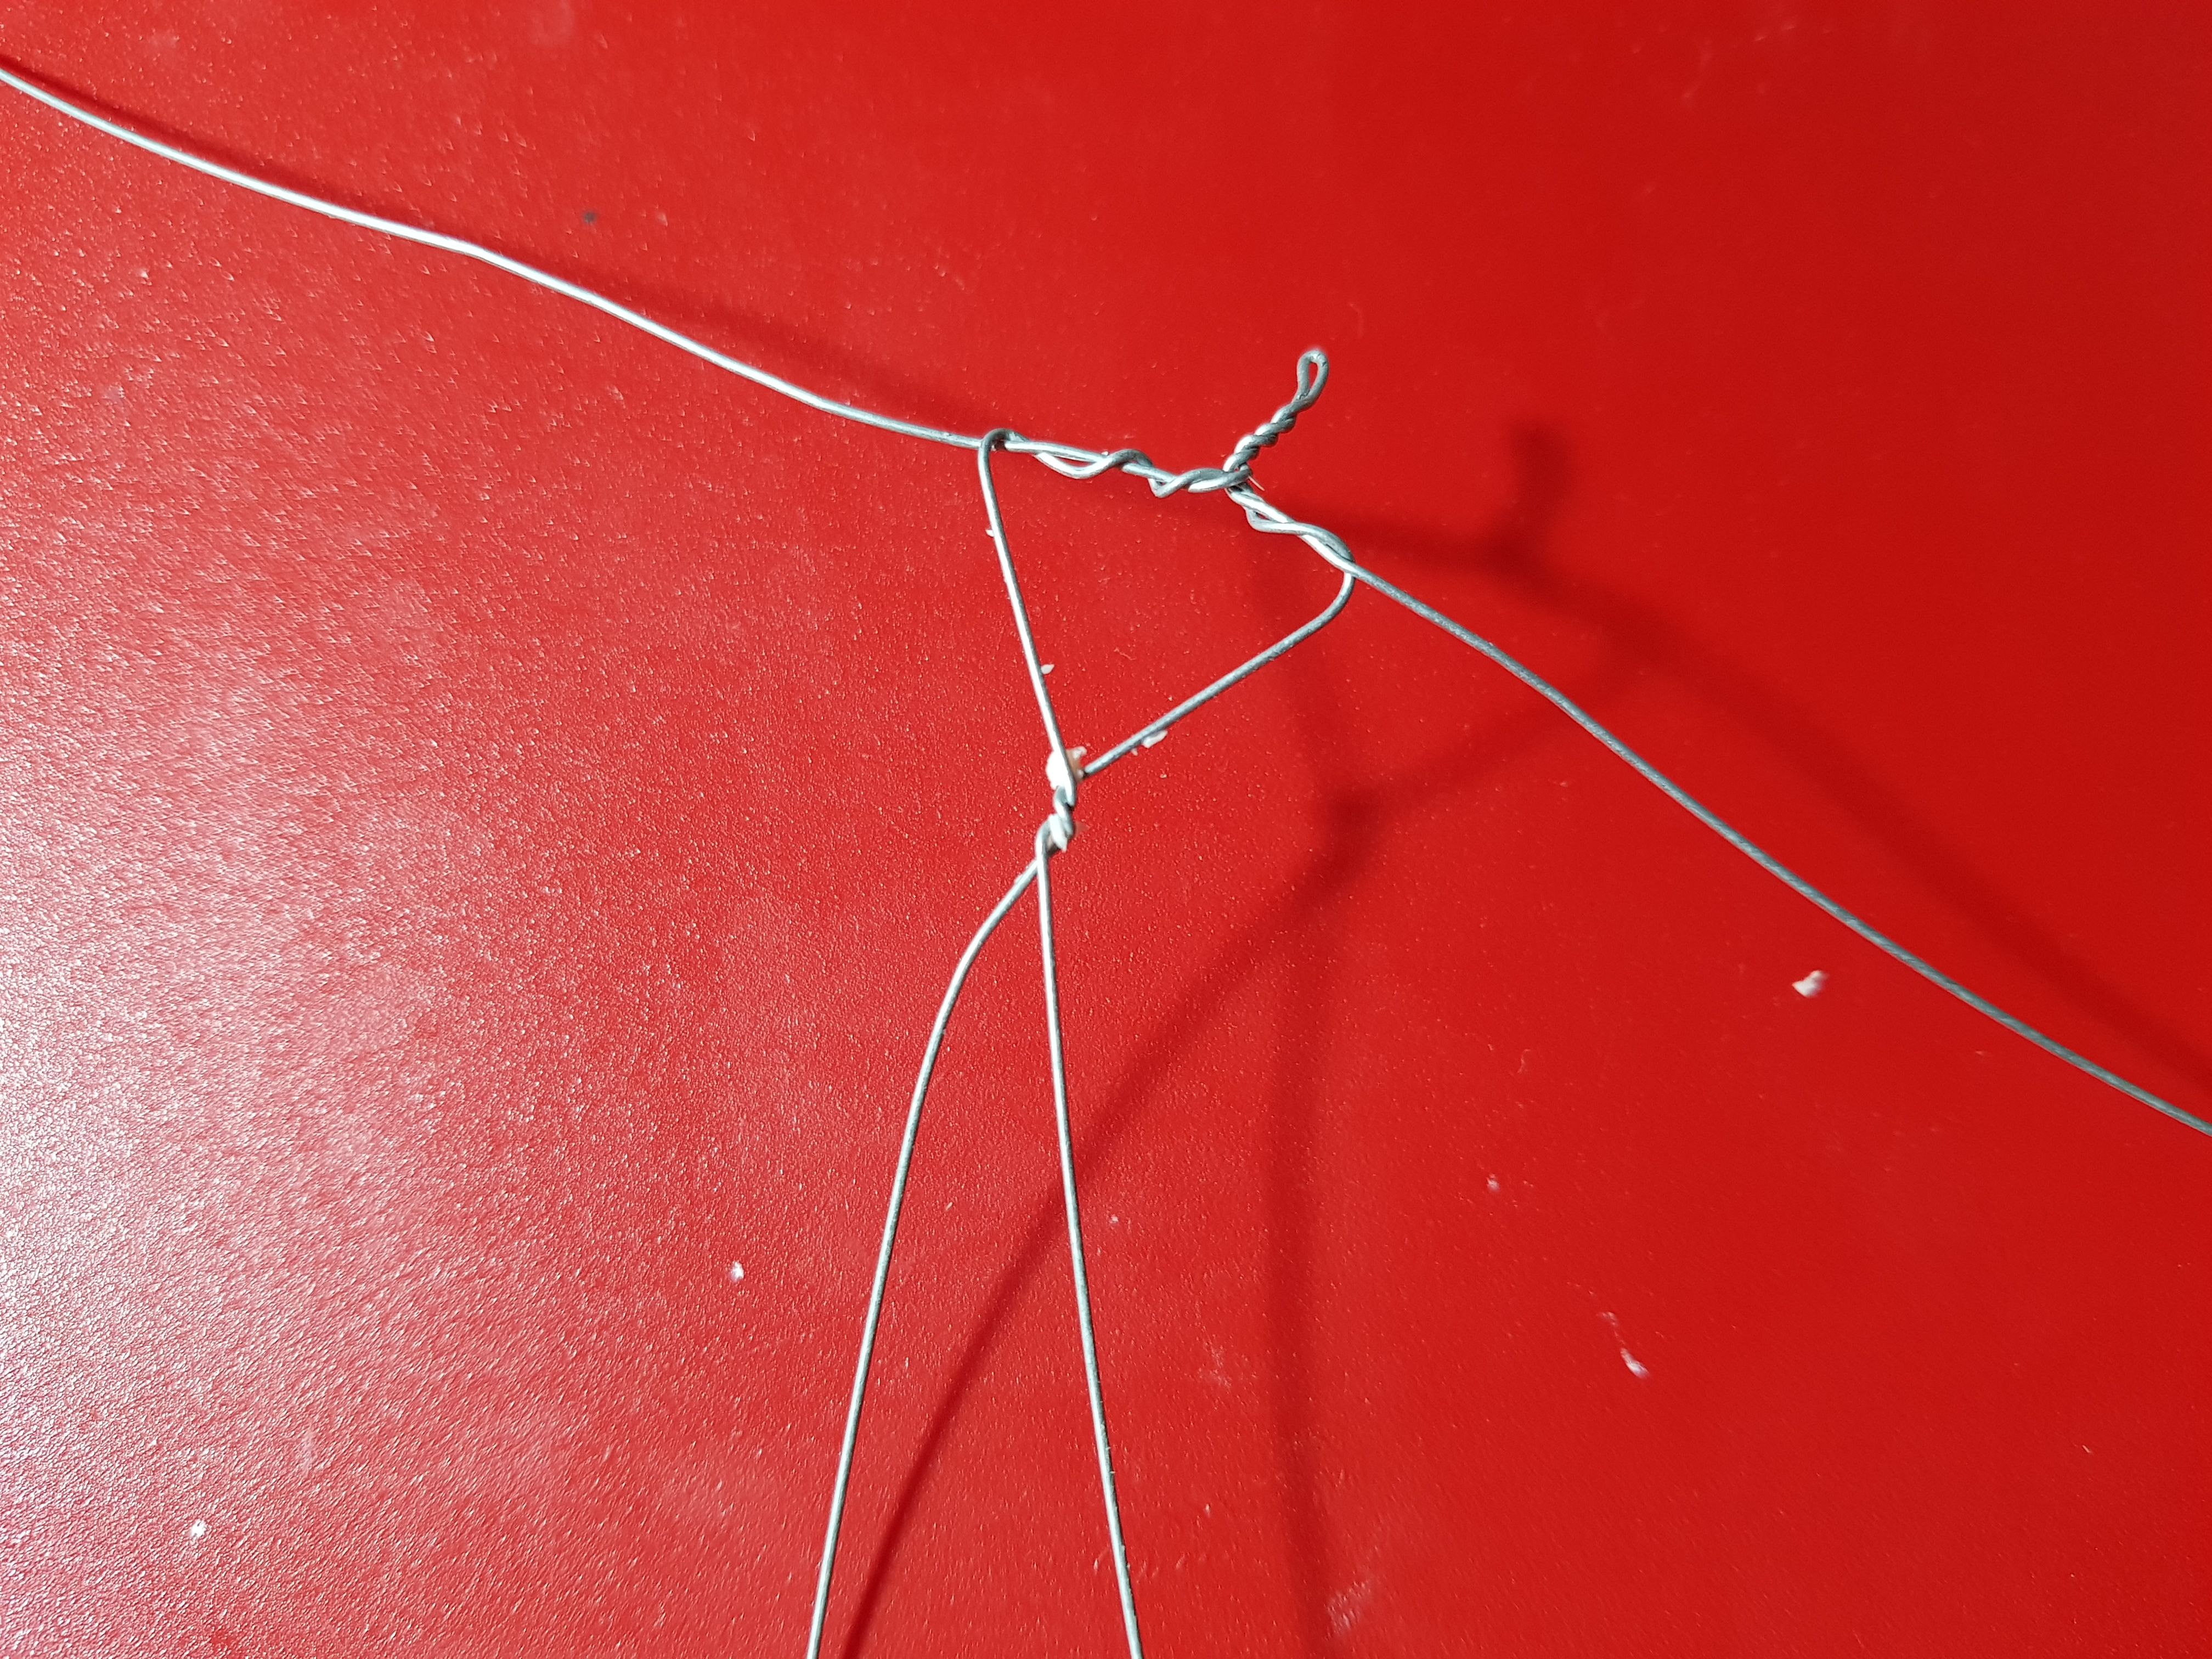
Twist the bottom where you want the torso to end
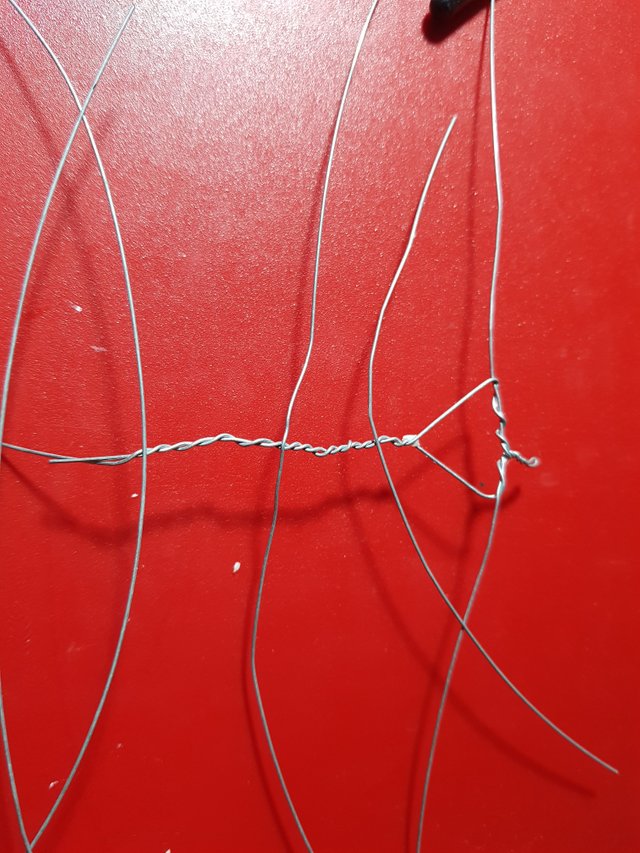
Twist the remaining 4 wires to create the 8 legs of the spider
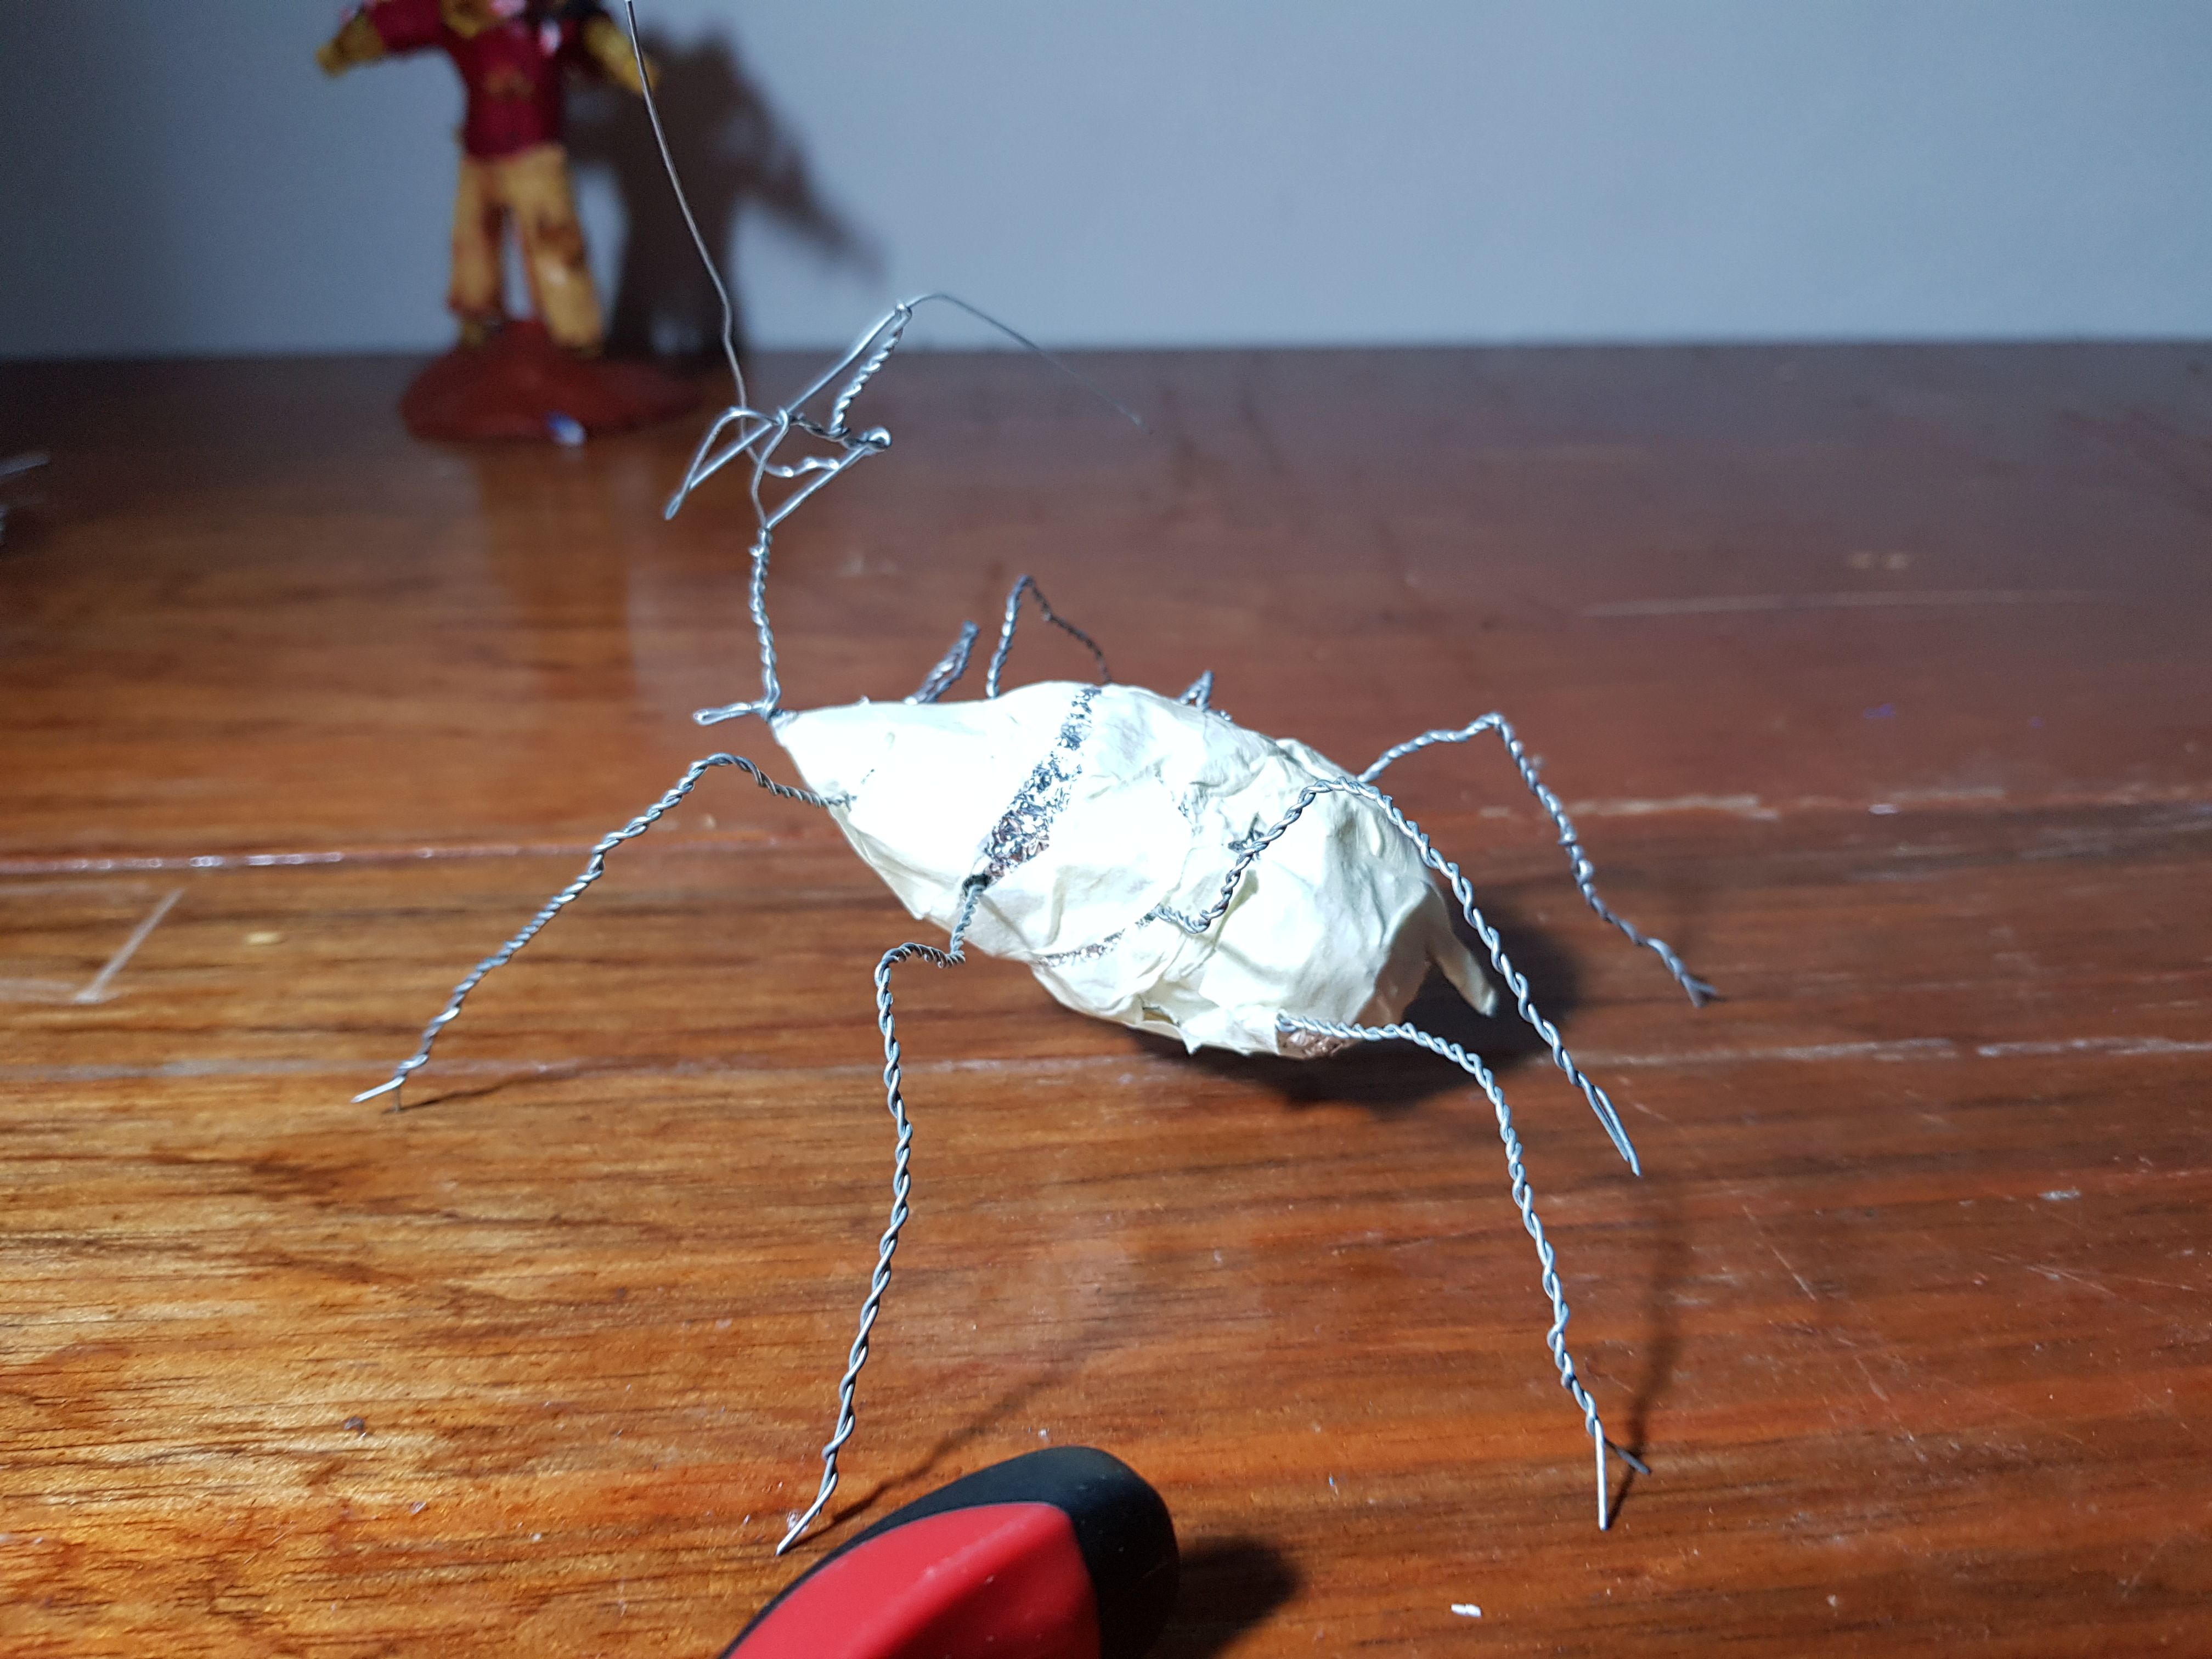
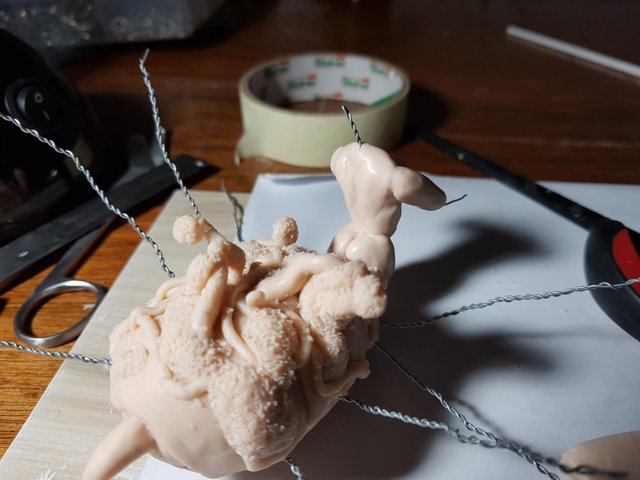
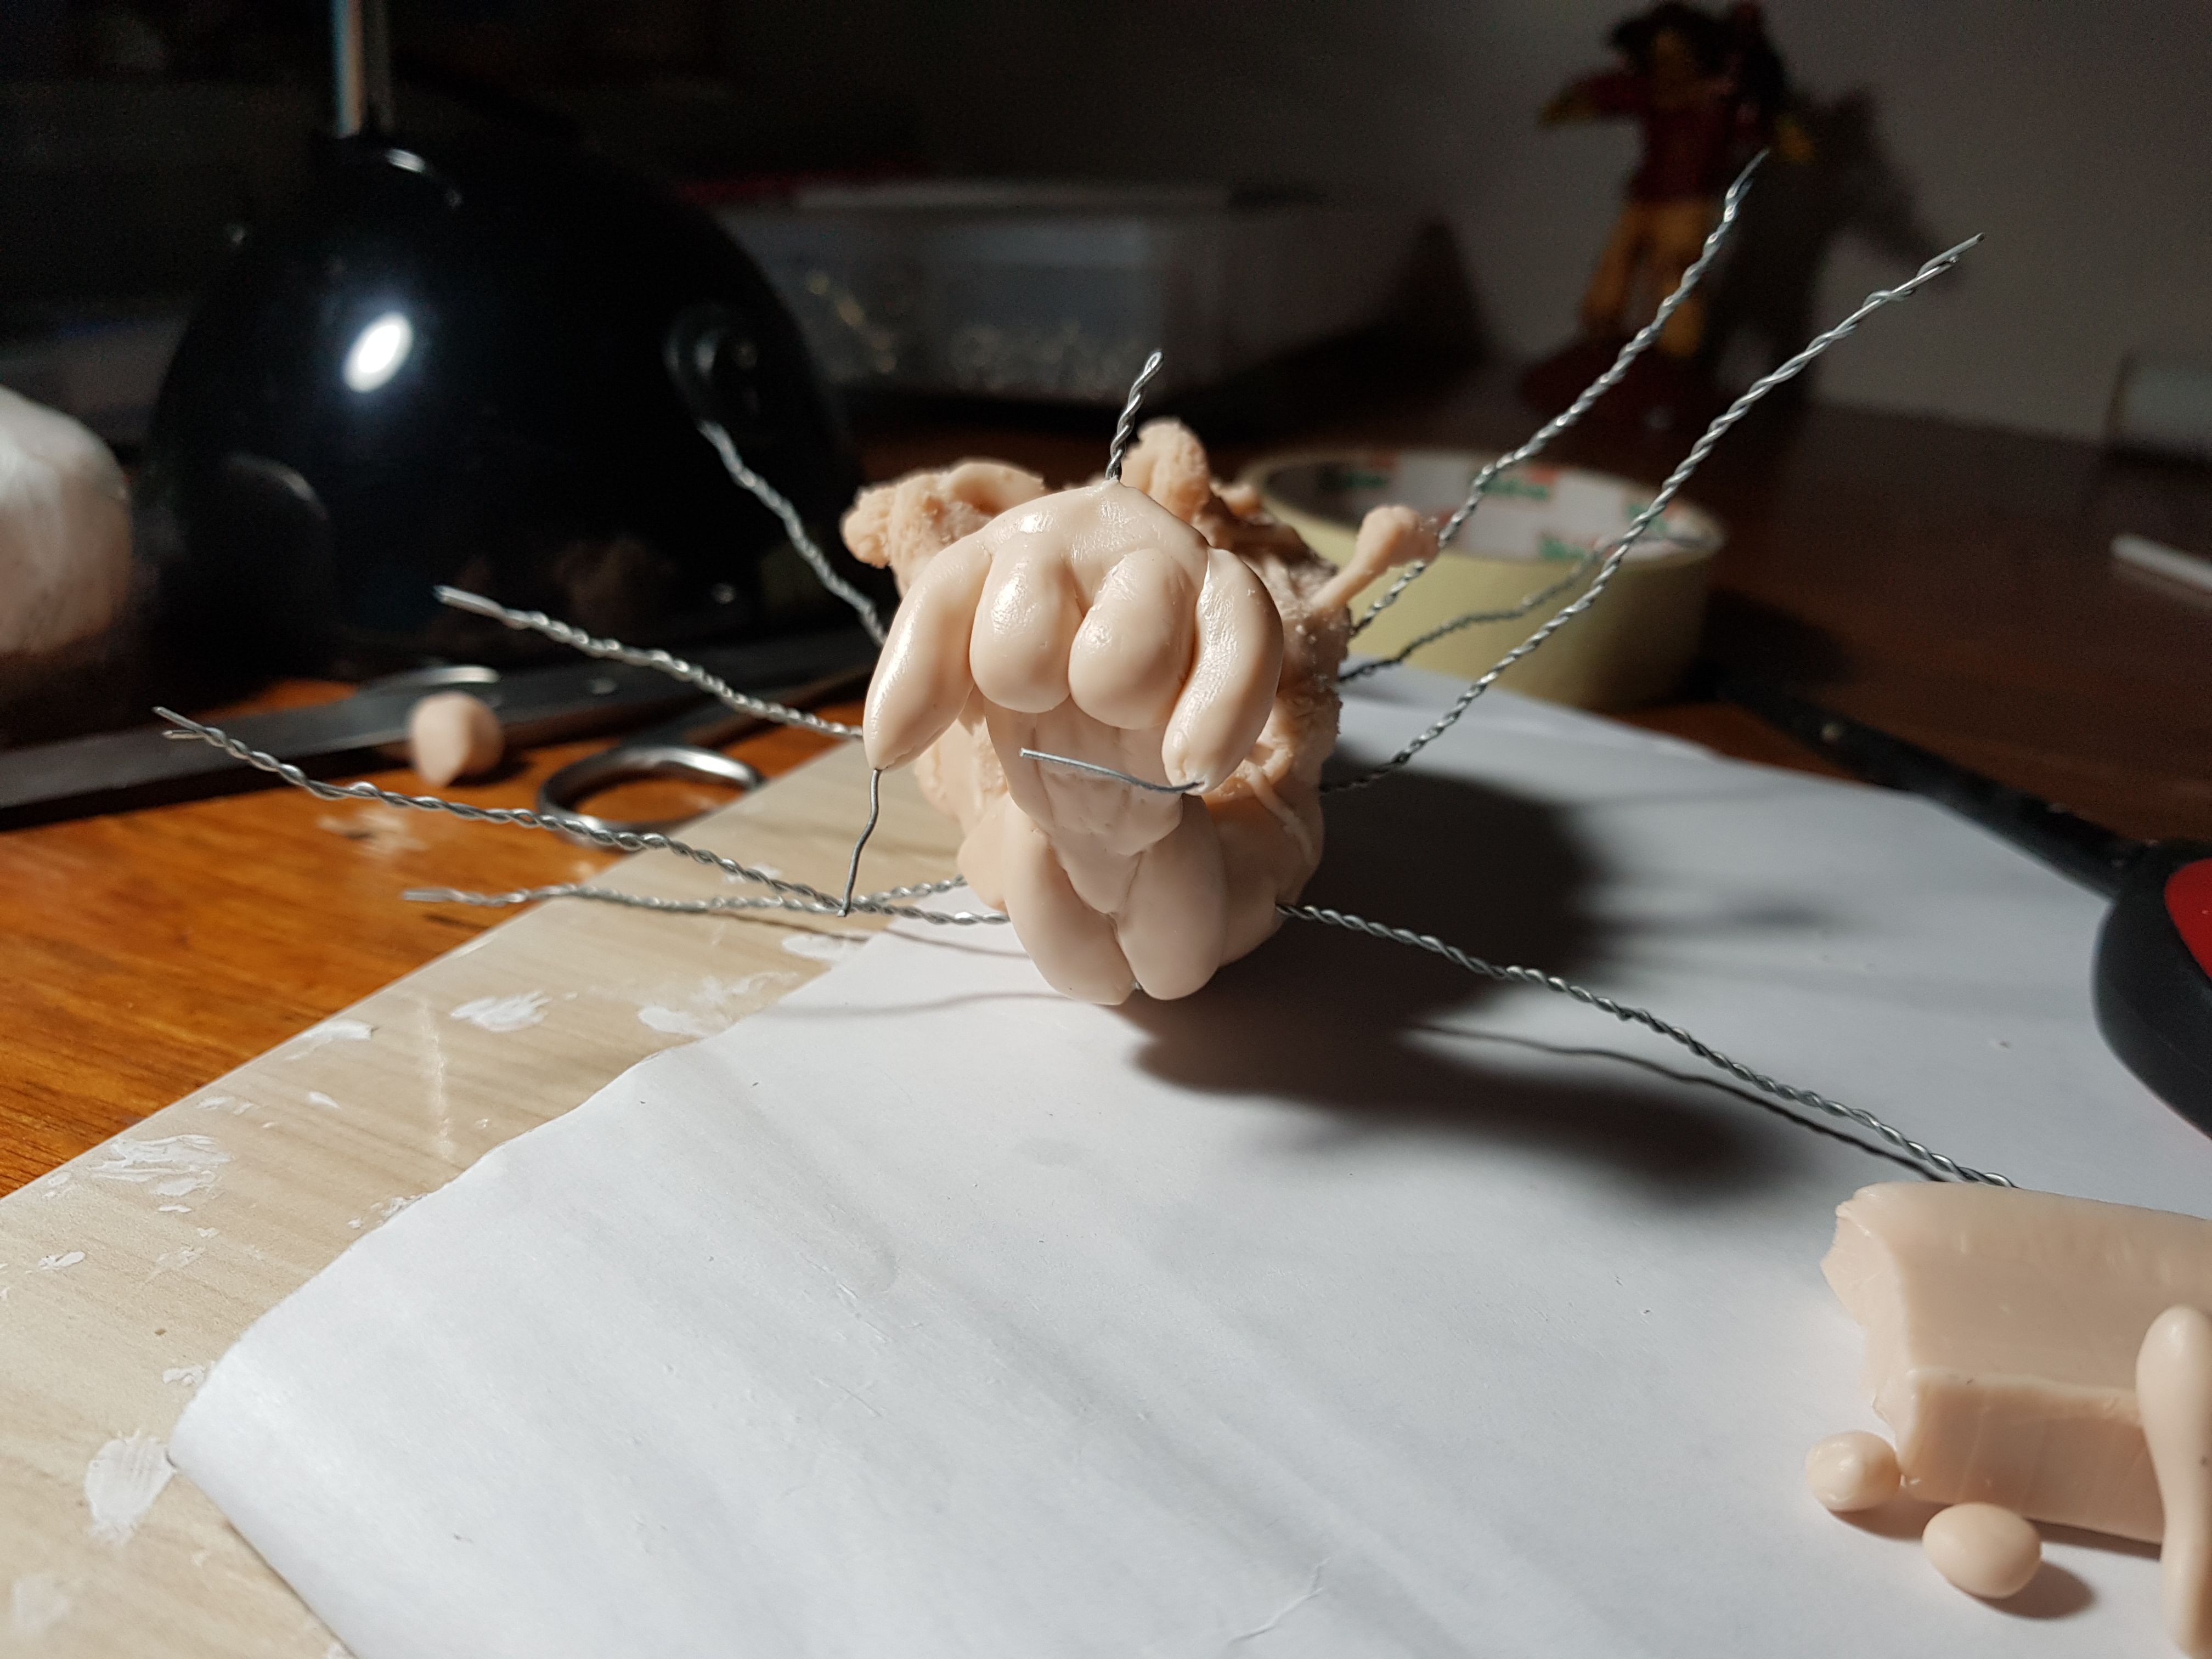
Add aluminim foil to the spider body and wrap with masking tape to secure it.
Note: it is important to use foil/masking tape to bulken the piece especially when it is going to be thick like the spider butt
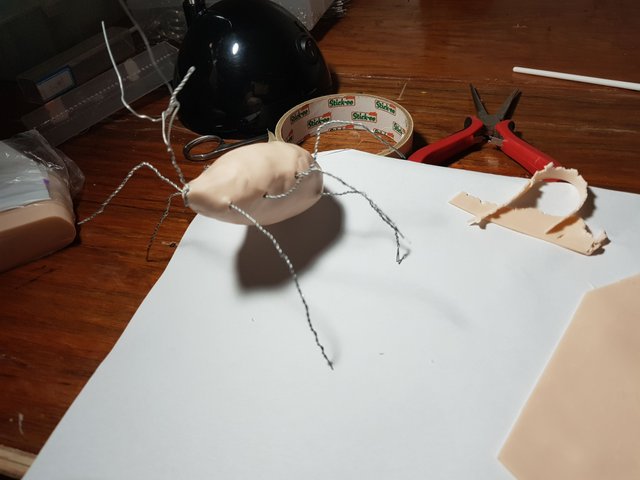
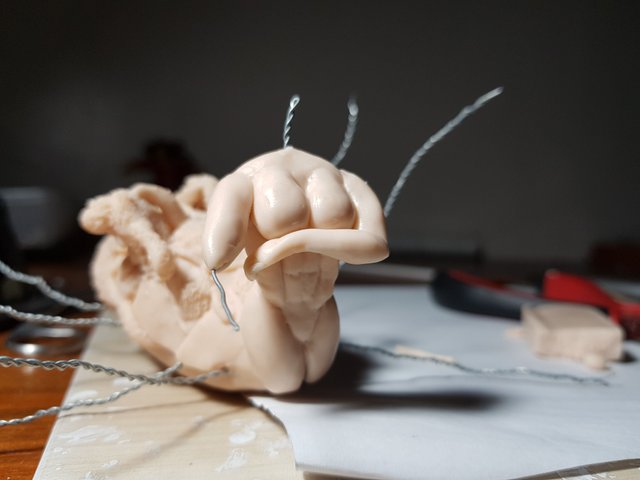
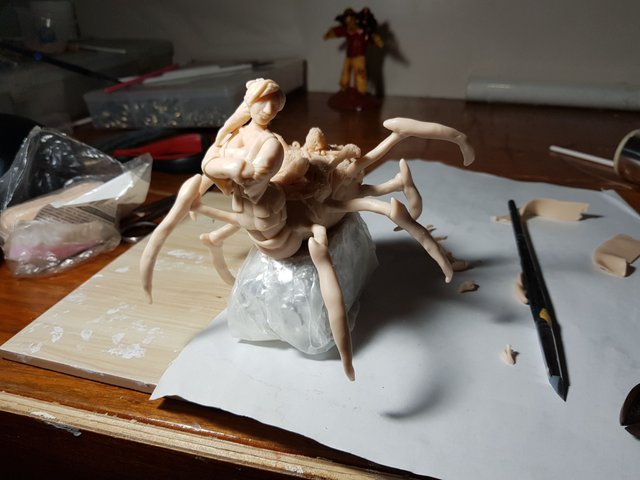
Next up is to cover the piece with a base layer of clay. I decided to start with the spider butt first because it is the biggest part of the piece.
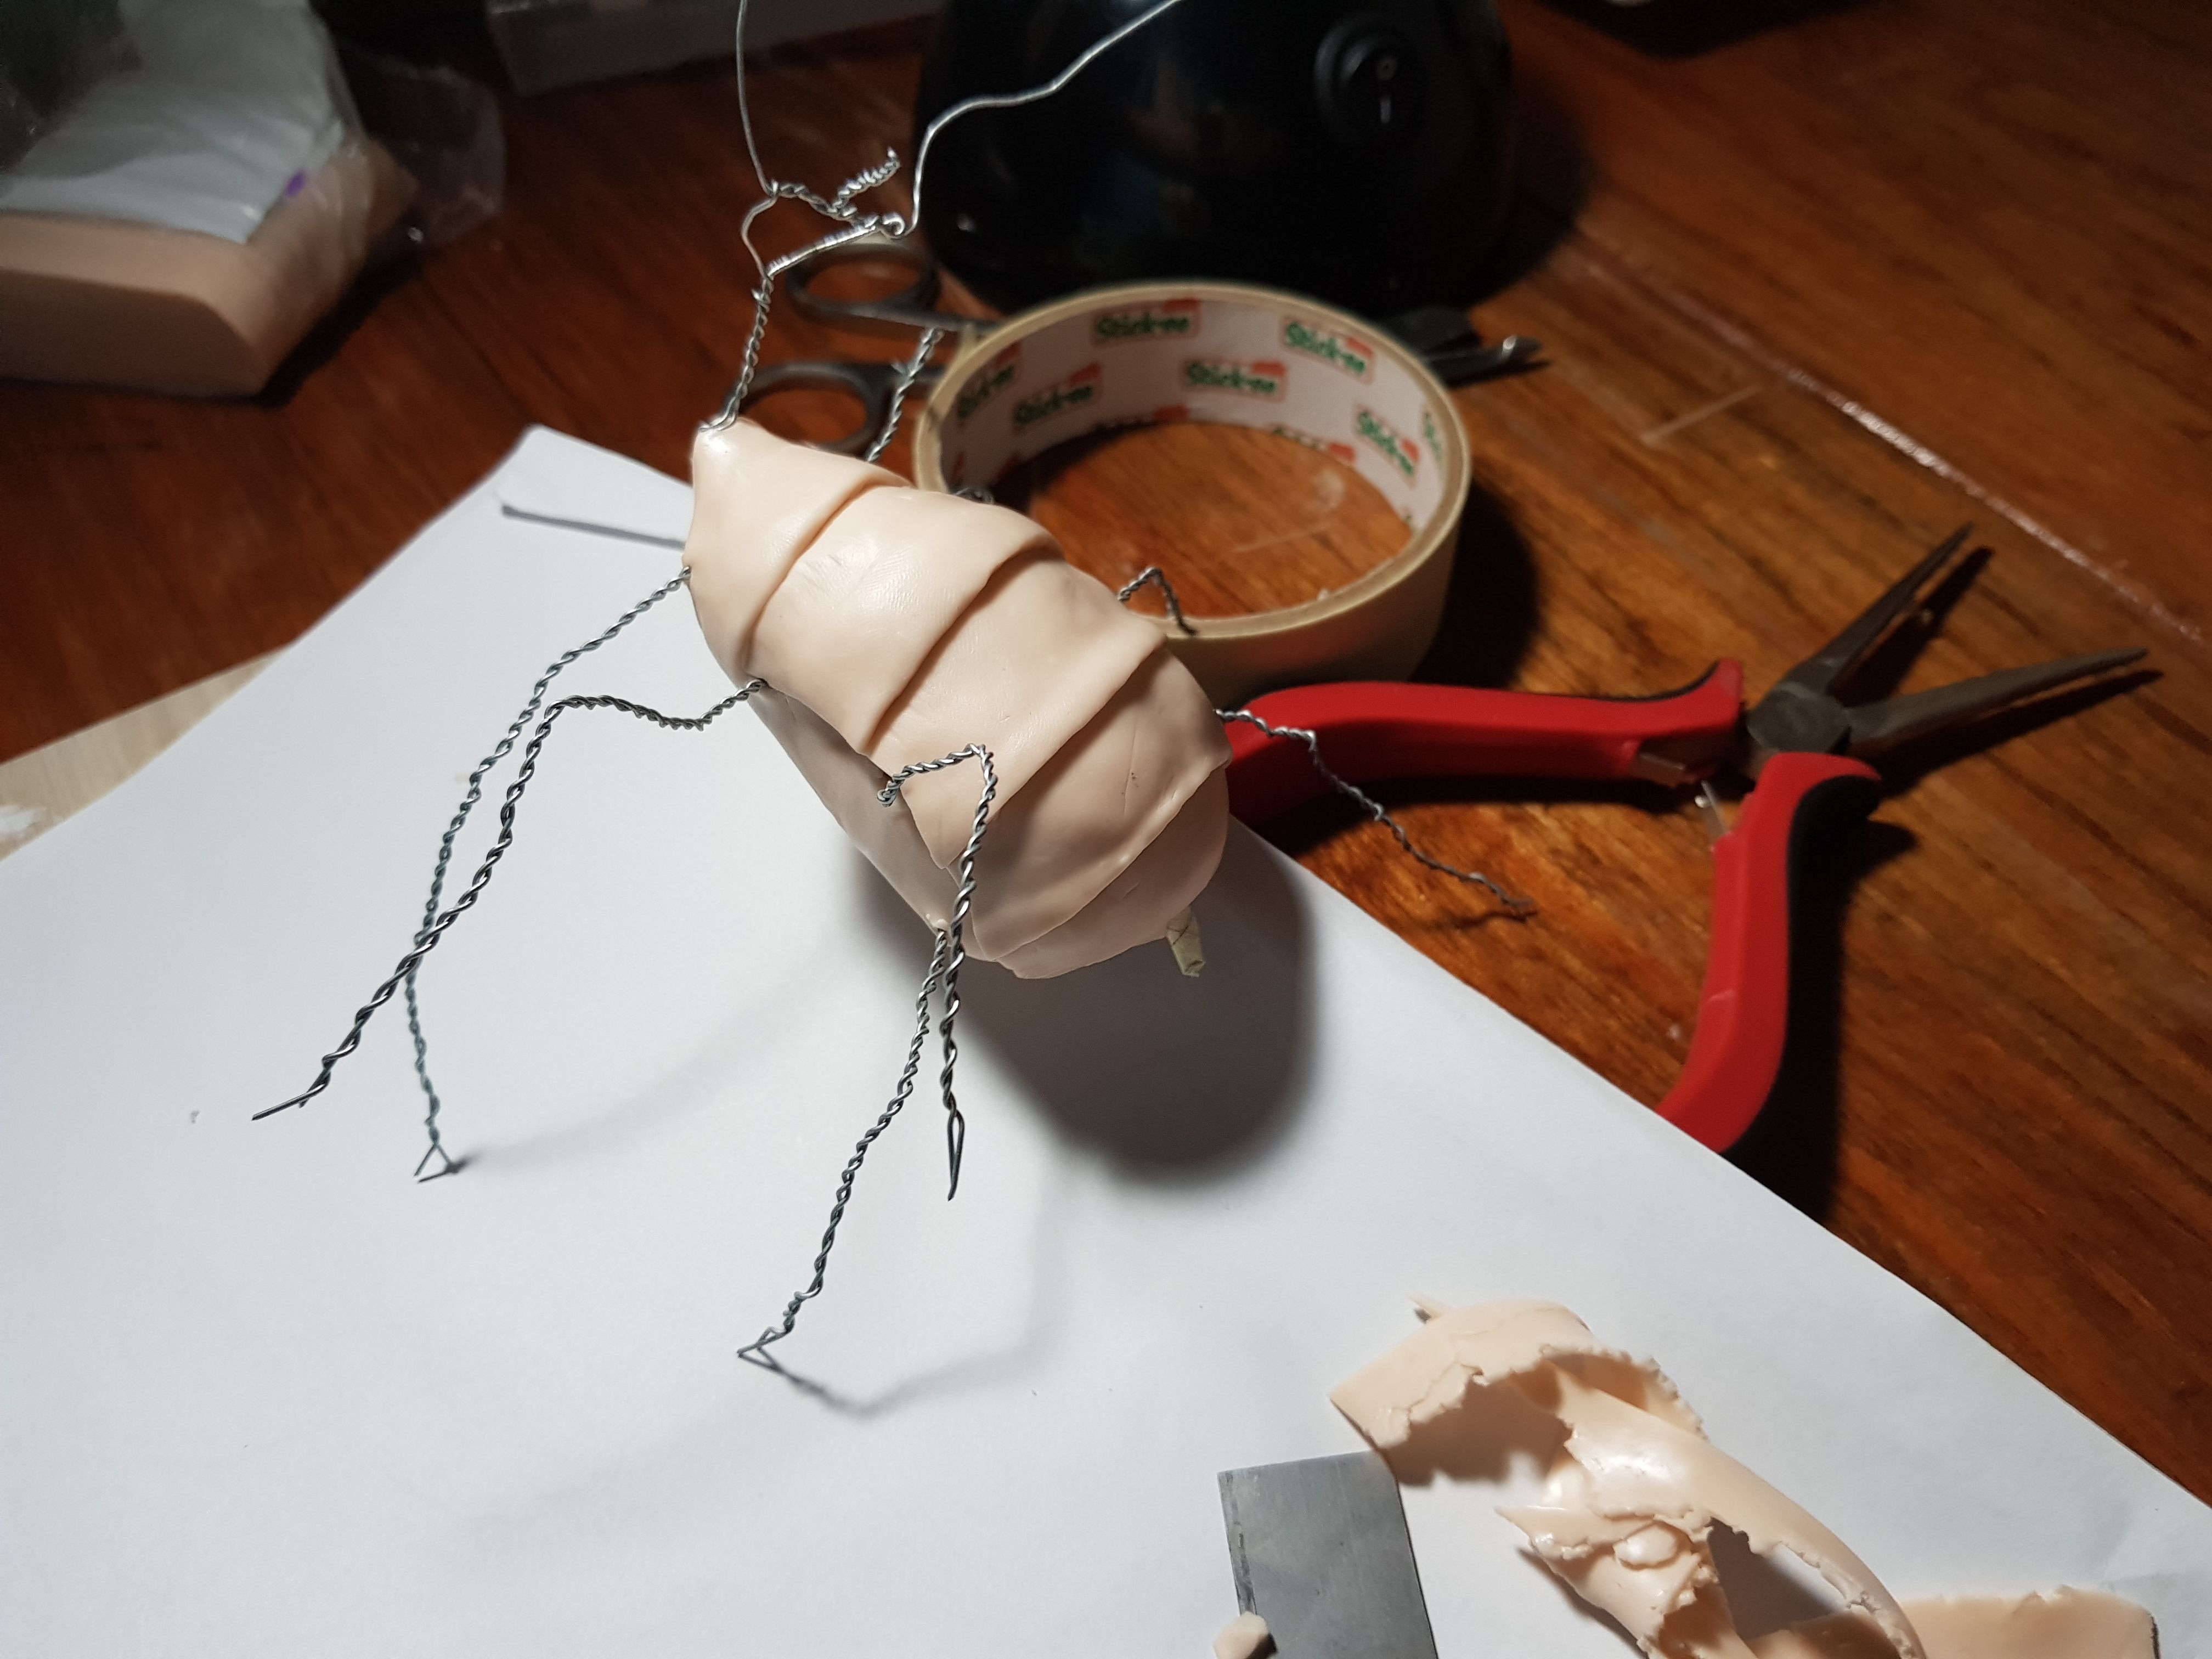
I decided to add a layered carapace design to give it that "hard".

I then went on to add details to the butt just like how some spiders have unique designs with theirs.

I won't be going into detail on how to design back area because I think that is up to you. Always keep in mind that you can go with whatever design you want. Express yourself with your creation.
Take a look outside! Maybe you'll get that "I wonder how that would look like on a spider's butt" moment. 😂
Beeeeeeeeeeeeeeeeeepppp!!!_
Important note:
We're basically done with the spider part of the piece. You can pre-cure (basically hardening it) the piece by heating it at half the full duration that is recommended by the brand of clay you're using. This is done to avoid messing up the earlier work you've done. This does make it impossible to reshape the piece so make sure you're happy with the look.
Now let's get back to it!!!
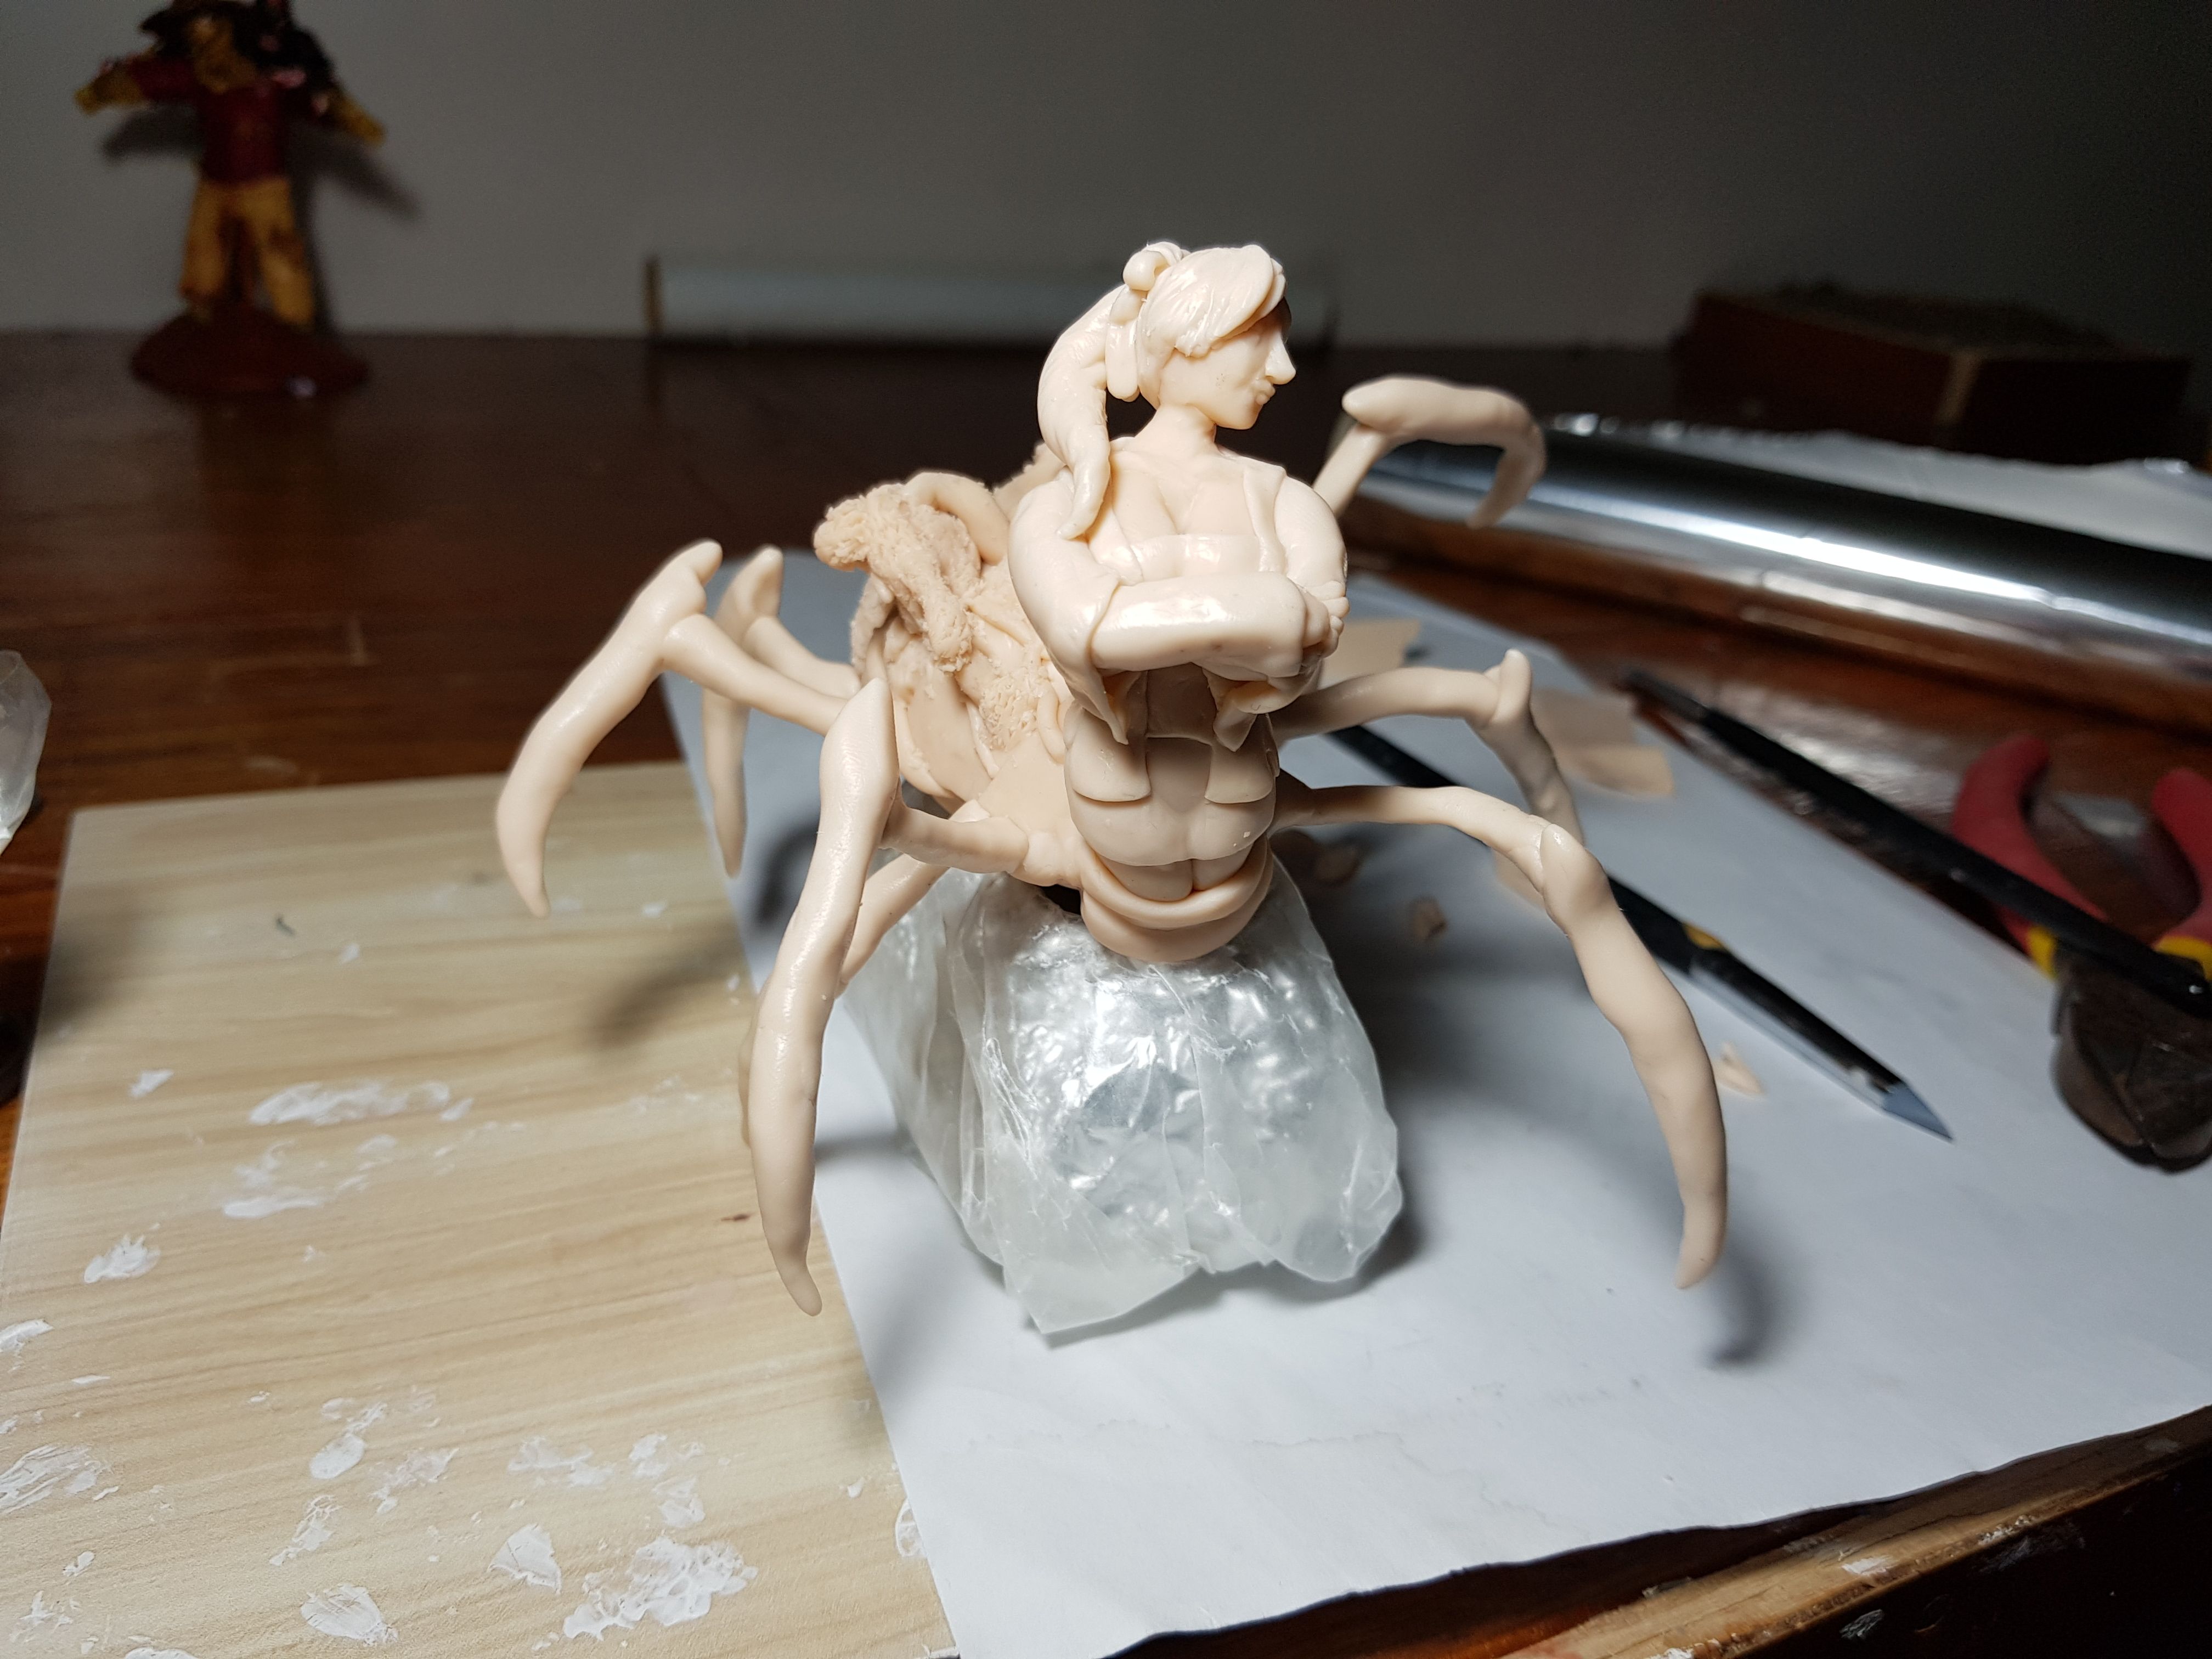
The human body is complex enough on it's own so I won't tackle in-depth details on this post. I think it deserves a post on its own.
Simplified version of the one I did in the piece
Add tidbits of clay until you're satisfied with the bulk.
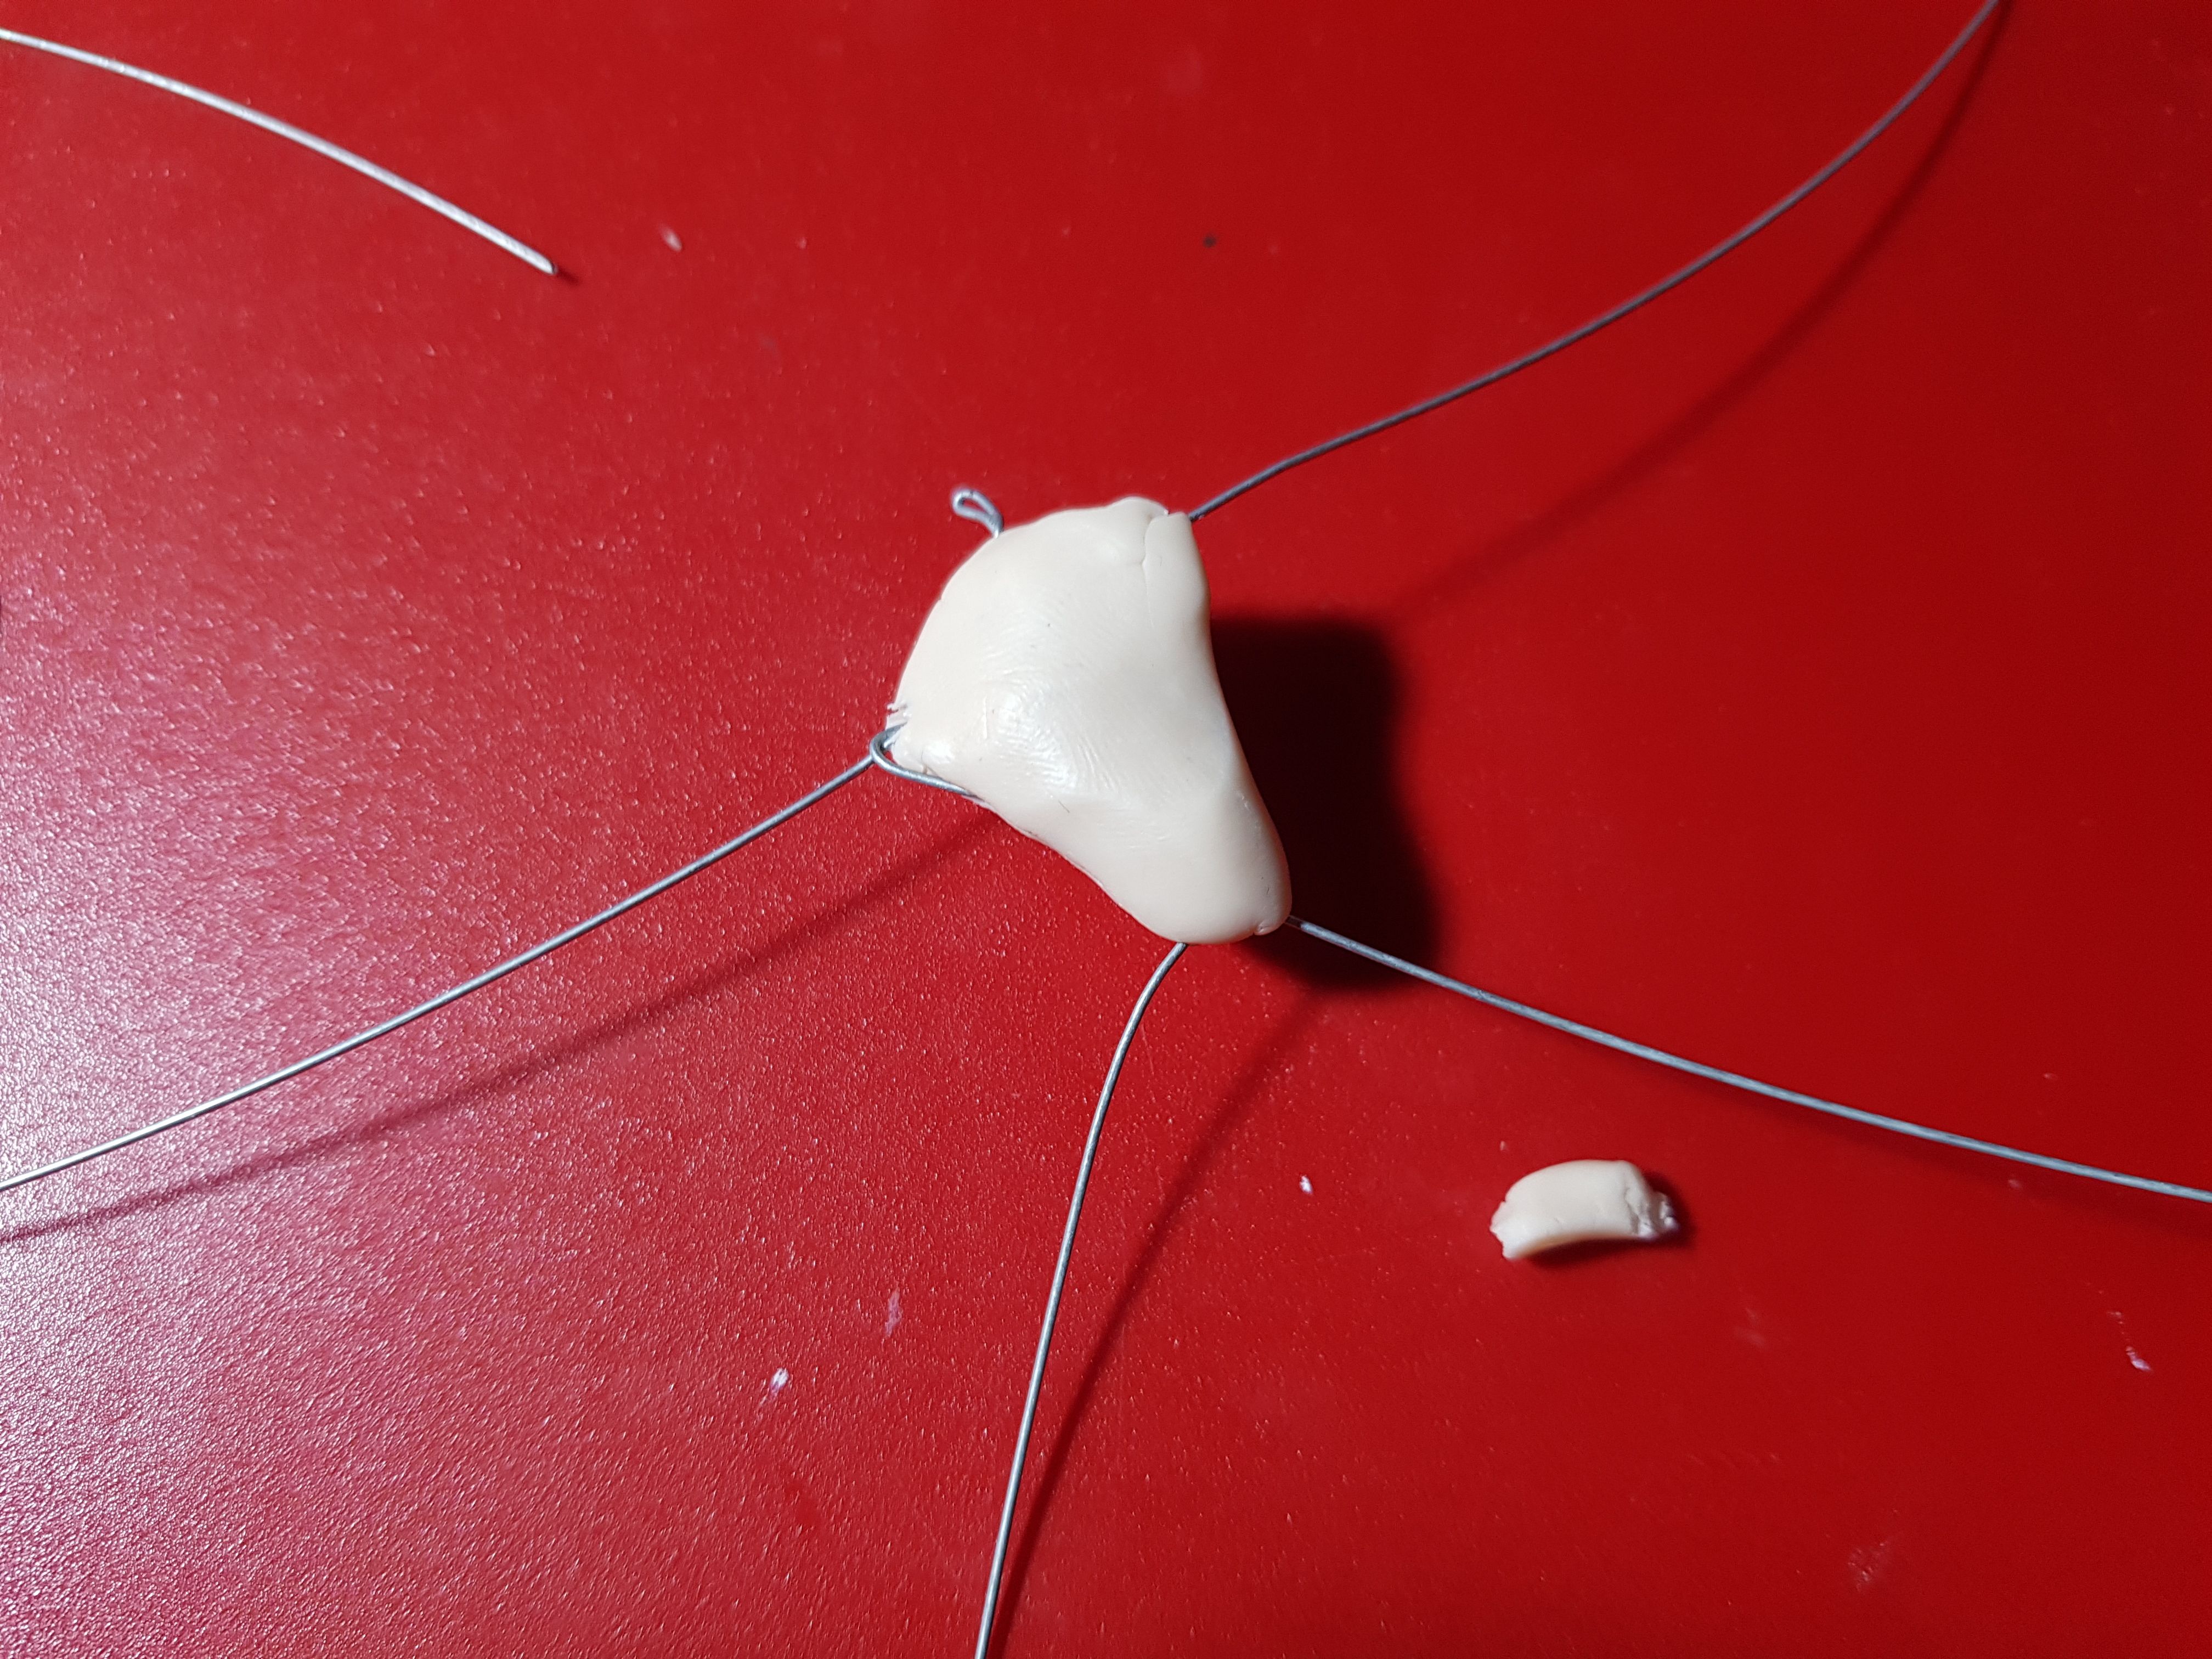
Blend using blendig tools and your thumb to smoothen.
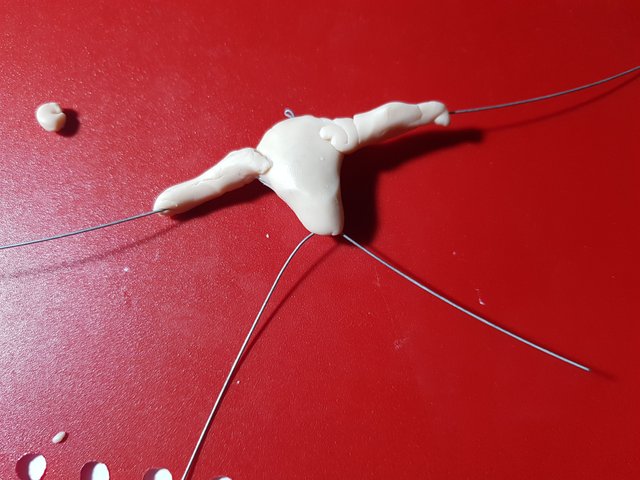
Add 2 cylinder shaped pieces of clay for the arms.
Blend!
In case you really want to go the extra mile then I'll provide different angles for the body I did here.
Here is the back view of the body.
Front view
Closer view of the front.
The body here really doesn't have to be as detailed as the one I did since I am going to cover it with clothes. This is just something I like to do because practicing every chance I get really helps me in the future. Also, I'm sorry for oversexualizing the female body, I was practicing on making female anime bodies and they do make them like that. 😅
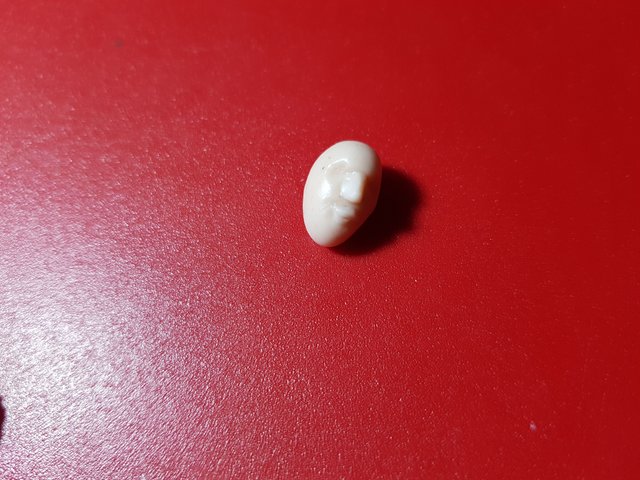
Head
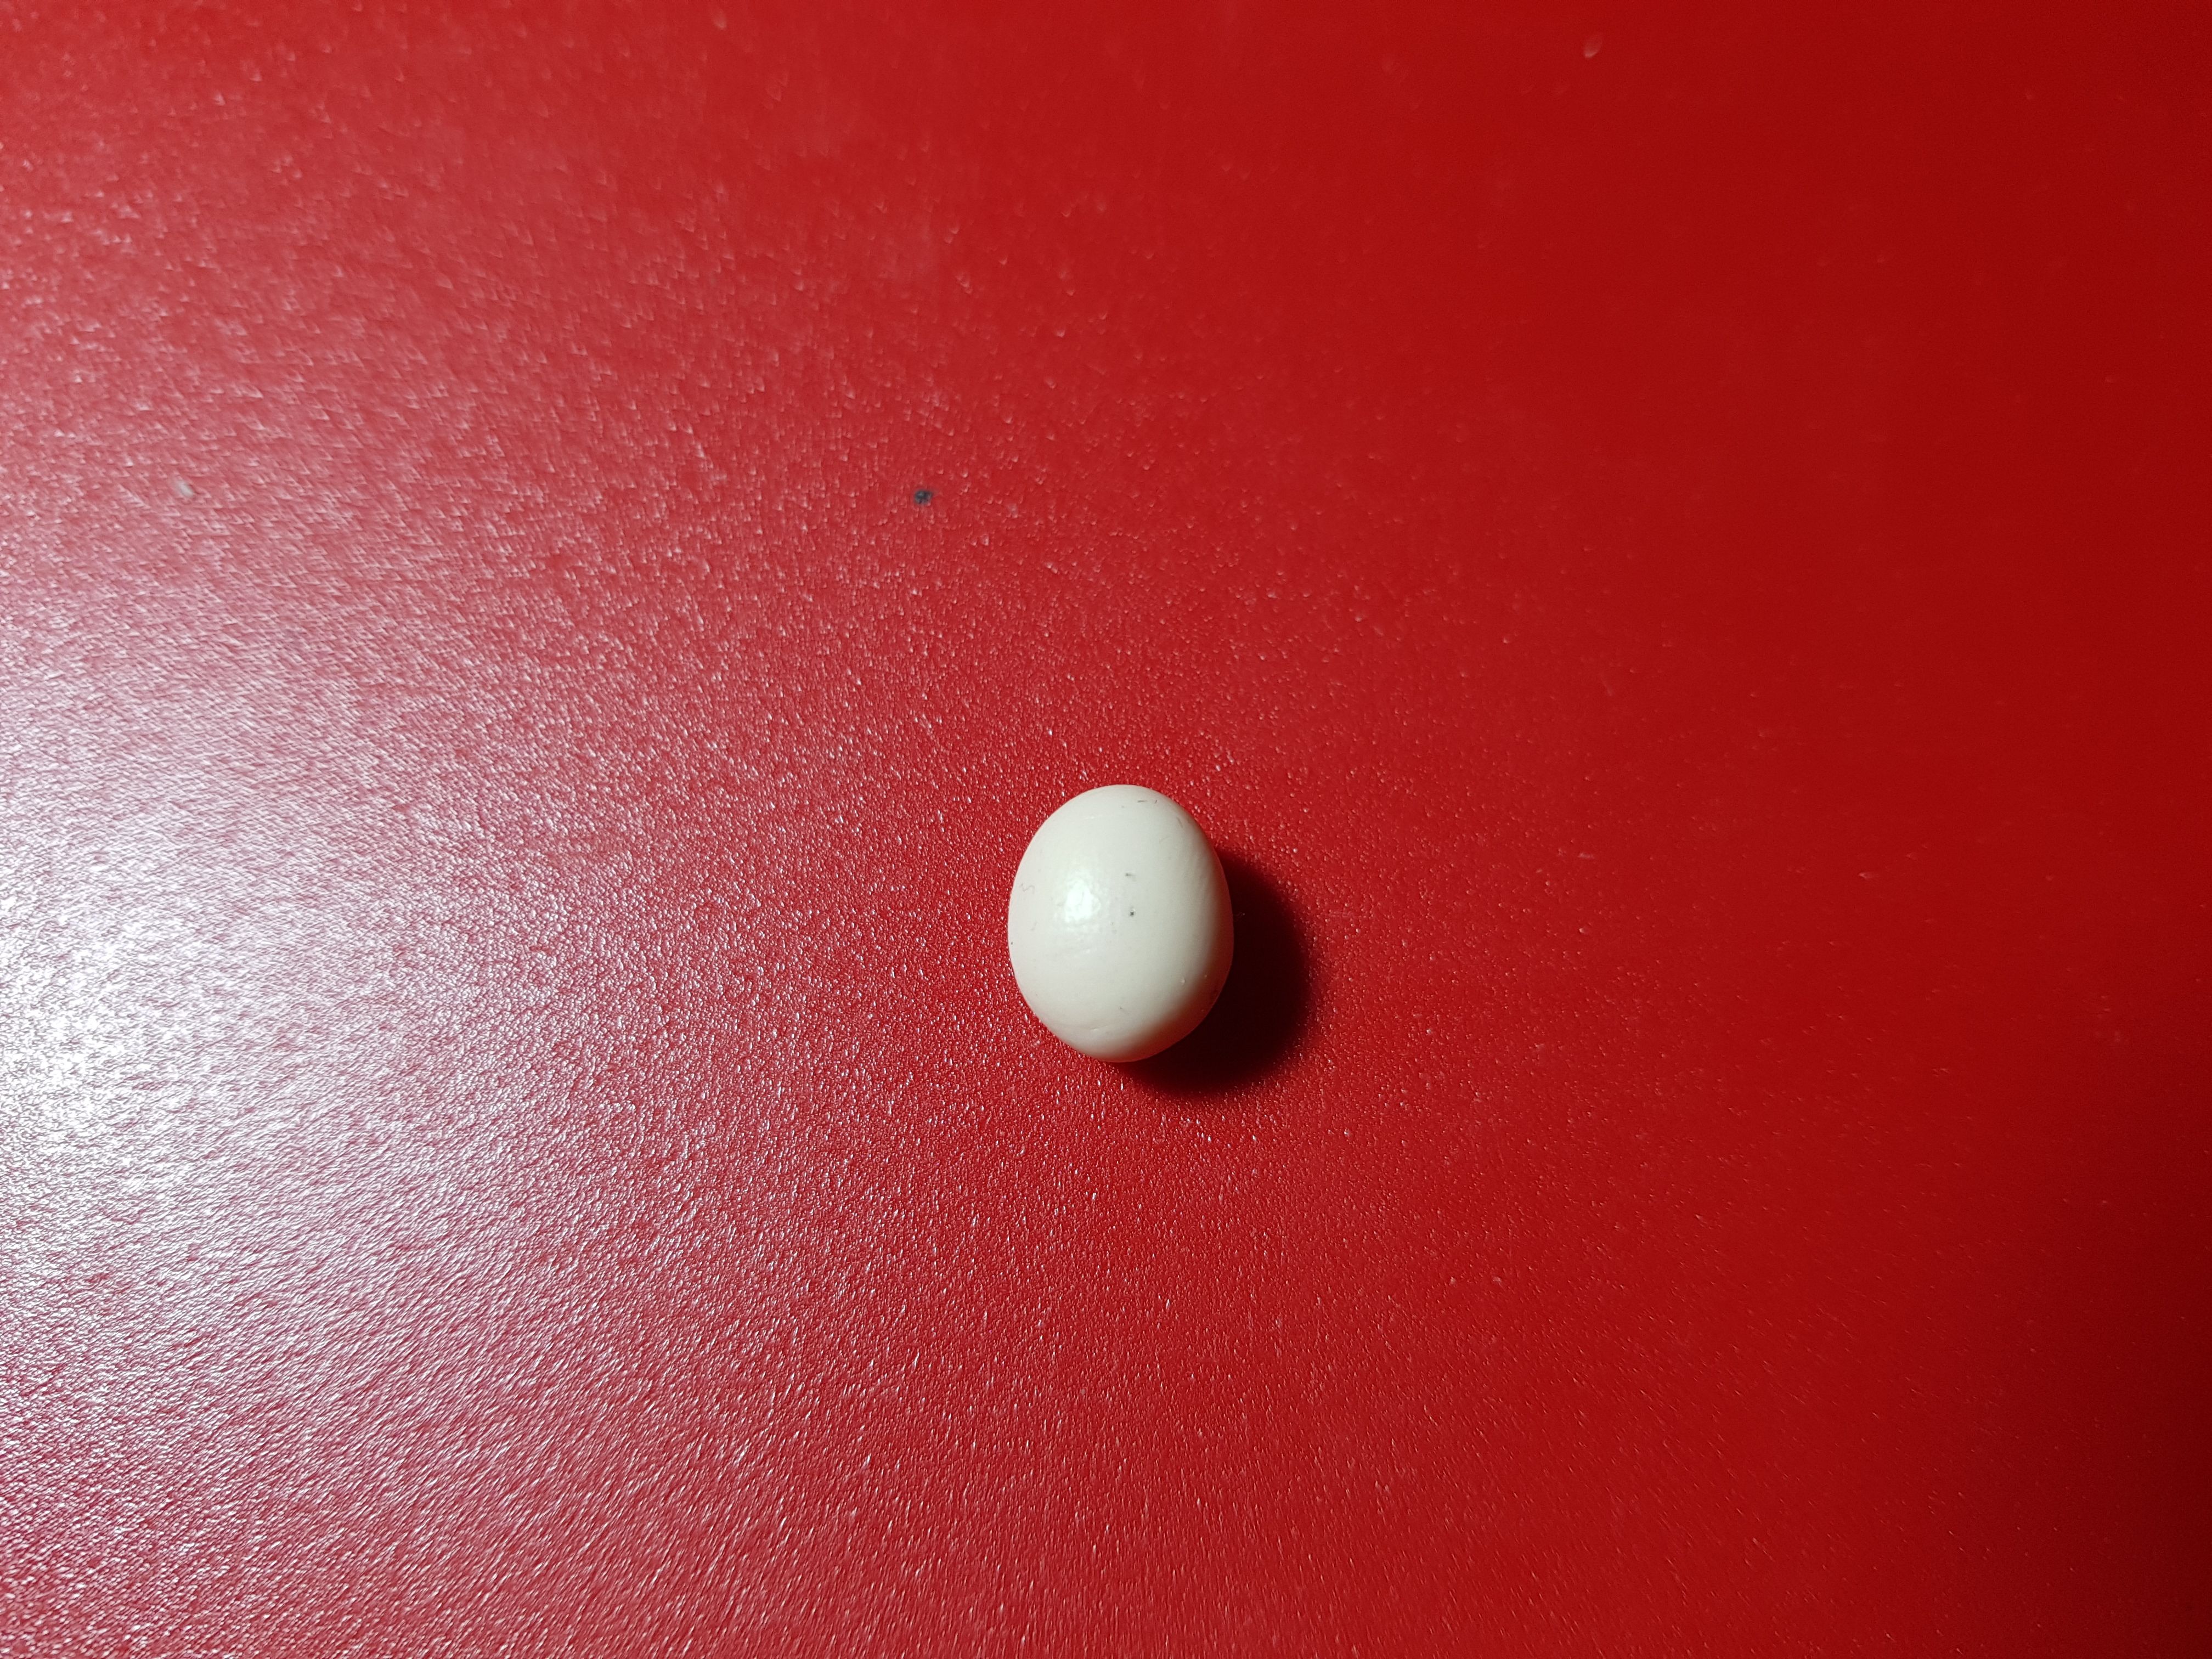
Make a small oblong shaped piece of clay roughly around 1/3 the size of the human torso.
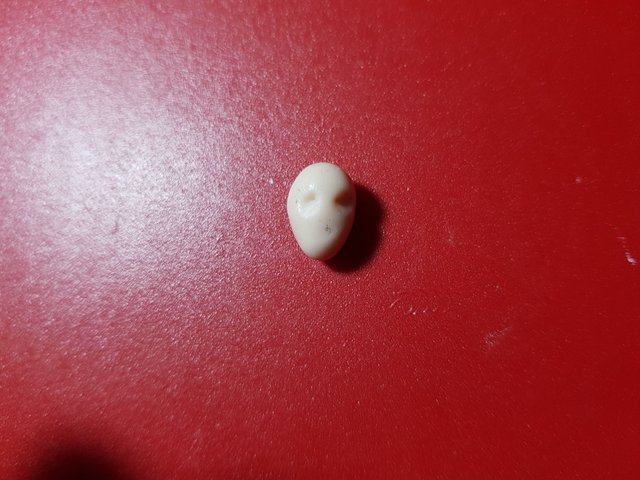
Poke 2 holes for the eyes using ballpoint tool.
Add a small bit of clay slighlty below the center of the eyes.
Blend and shape into nose.
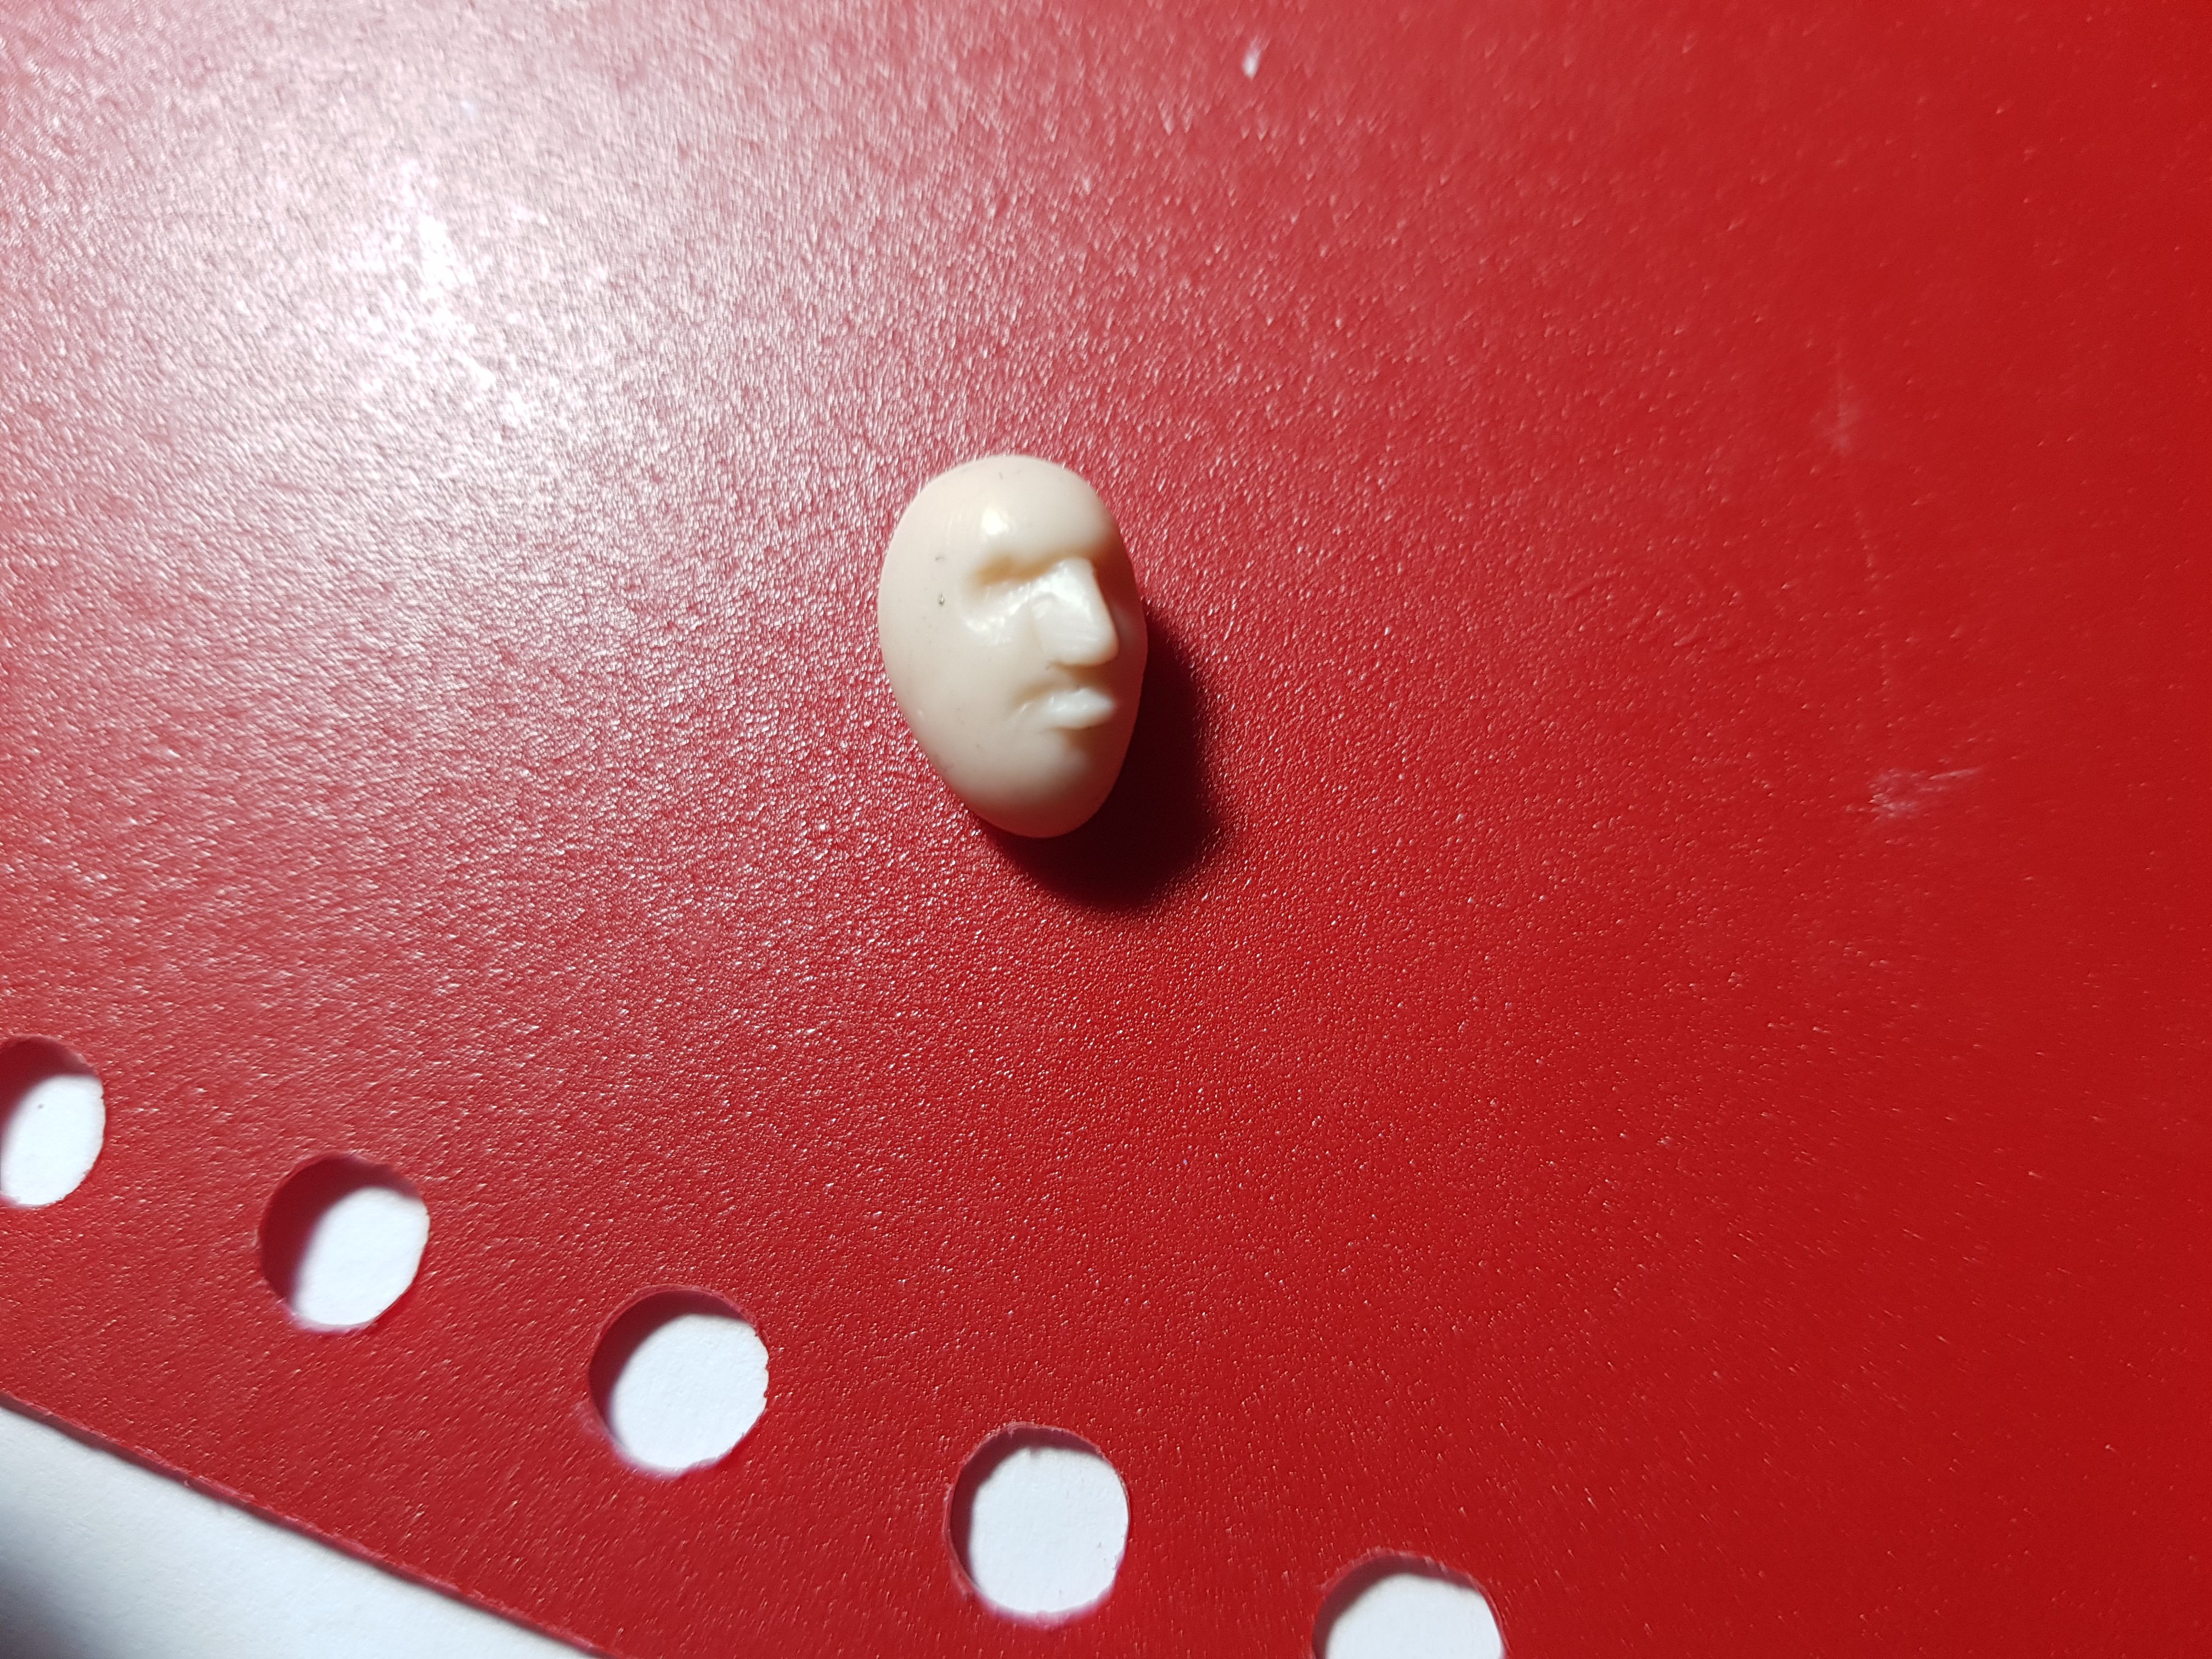
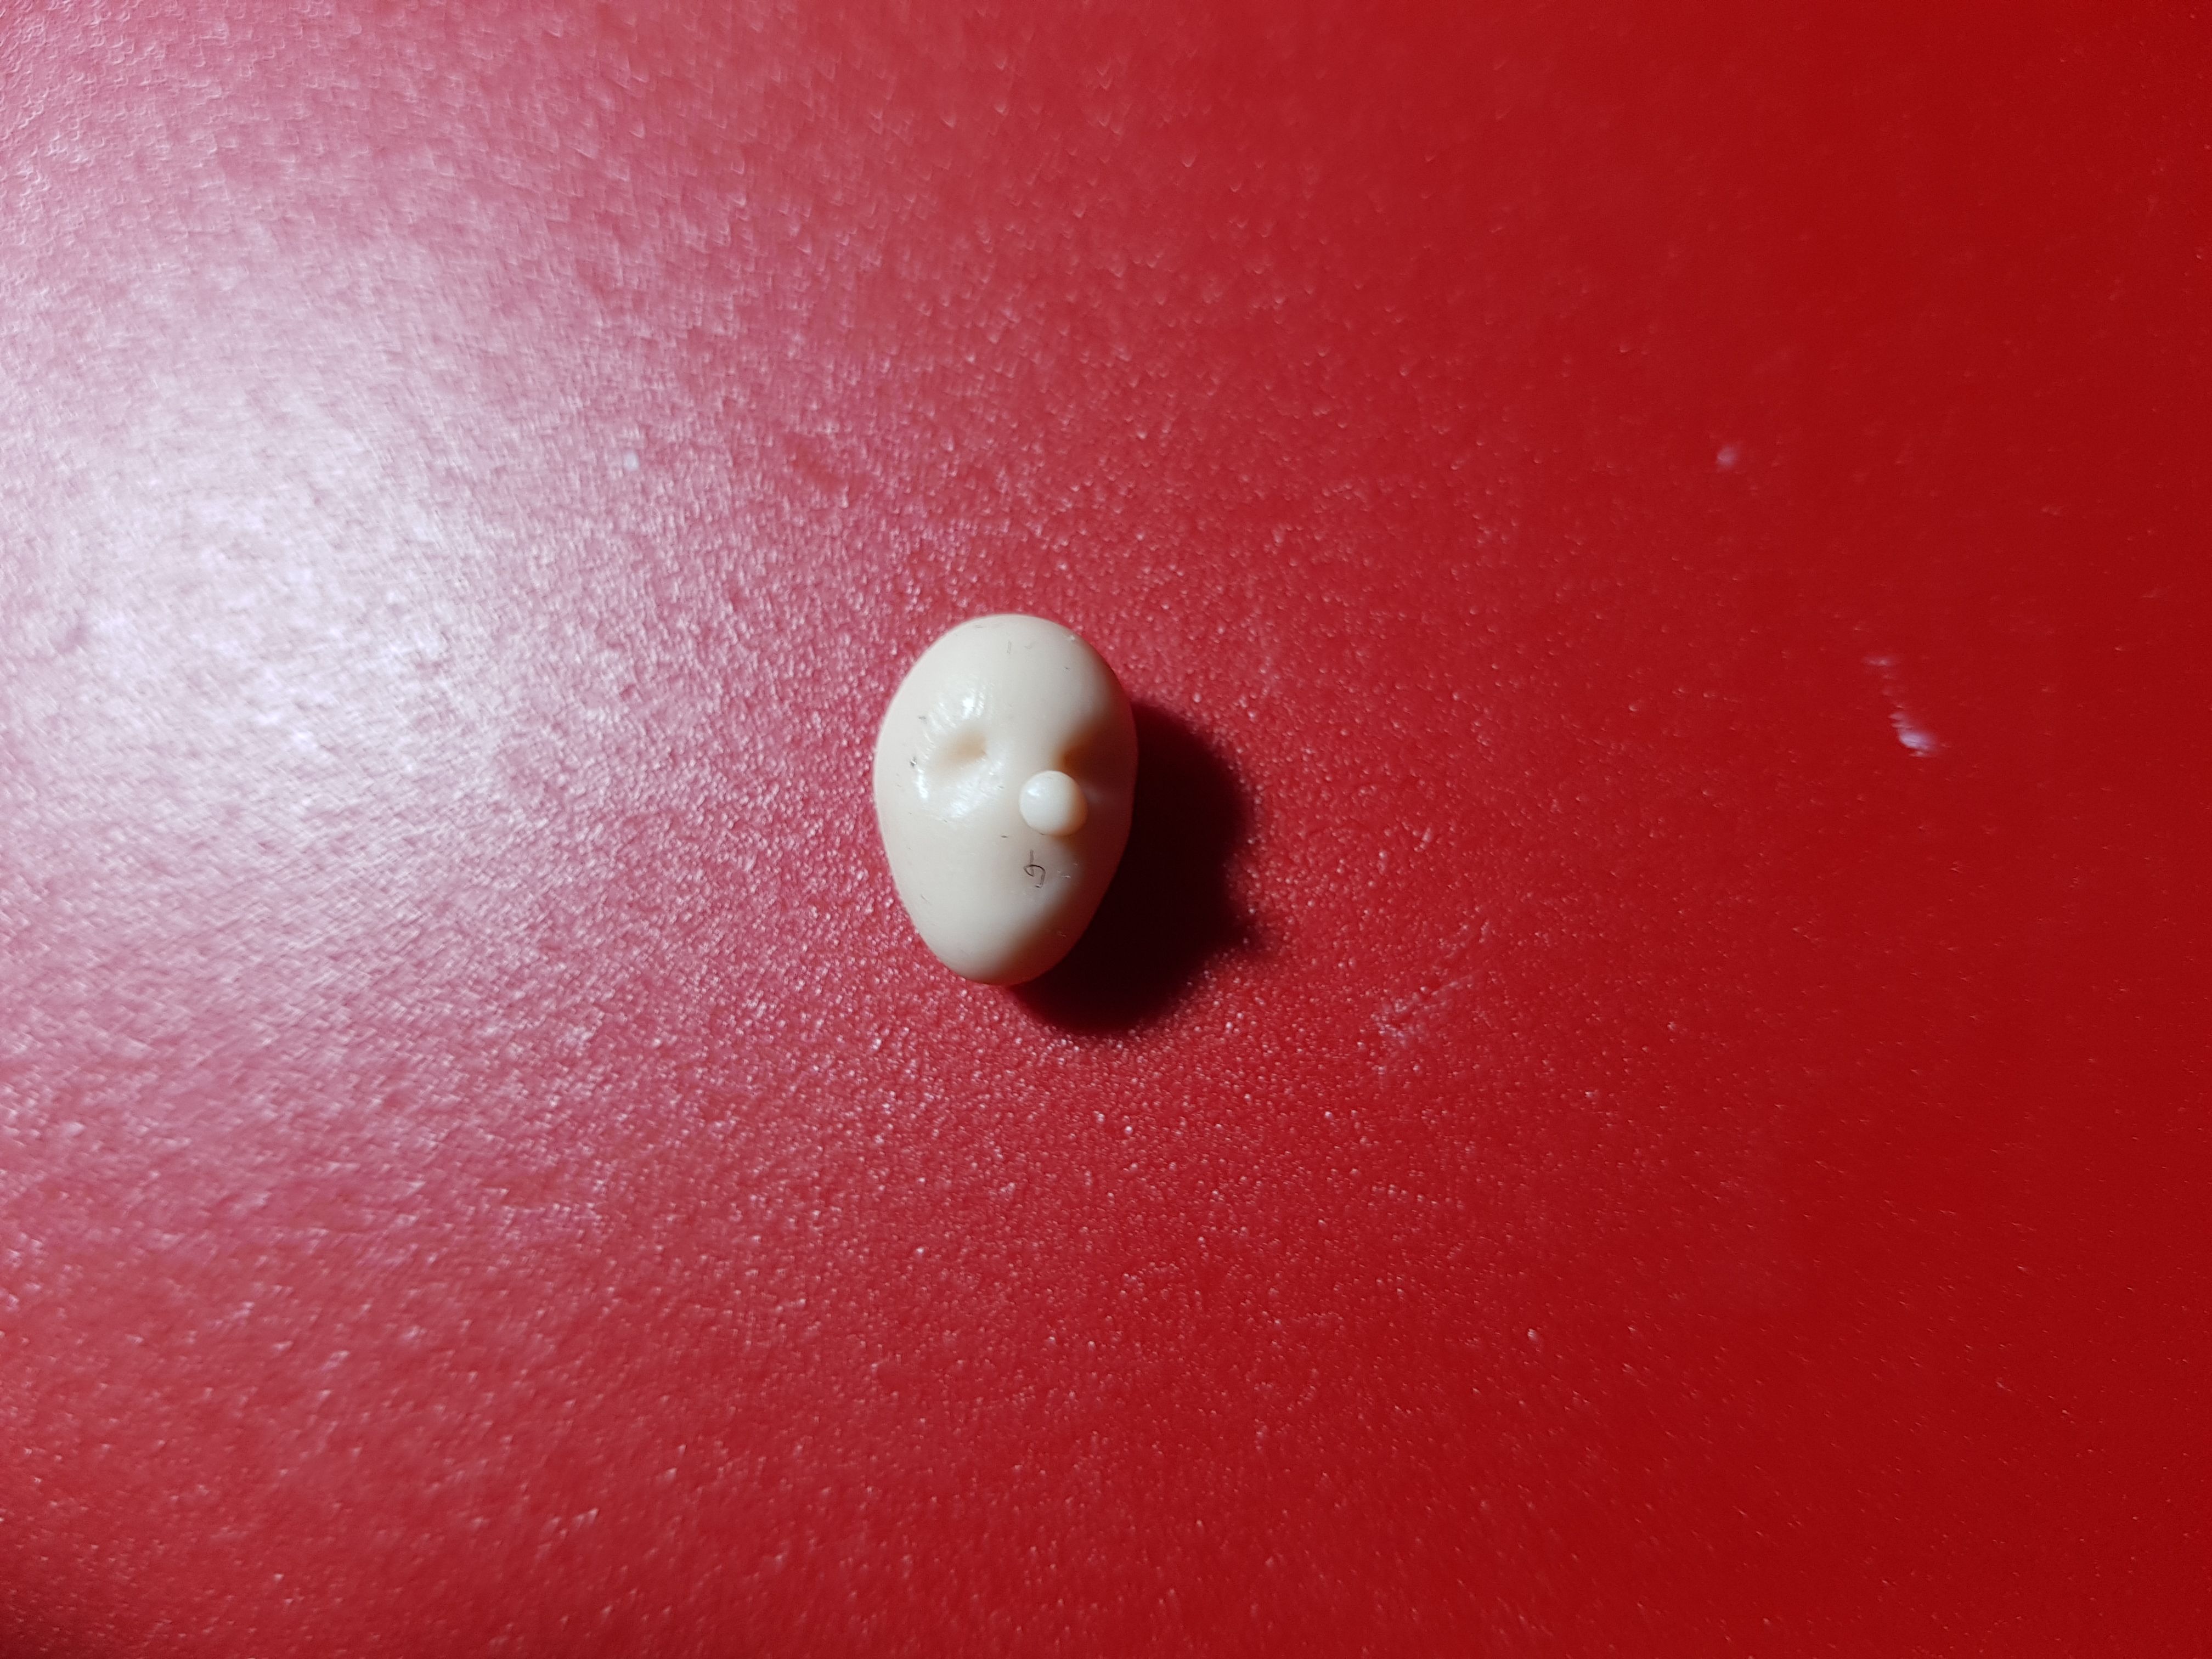
Add upper lips.
Add lower lips. Slightly shorter than the upper lip.

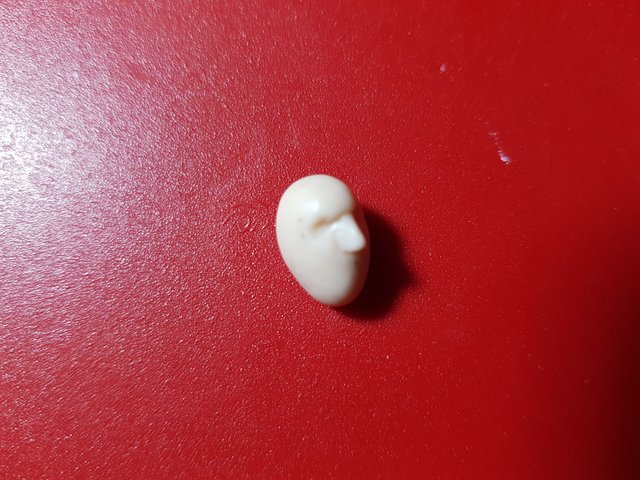
Add another small piece of clay where the chin should be.
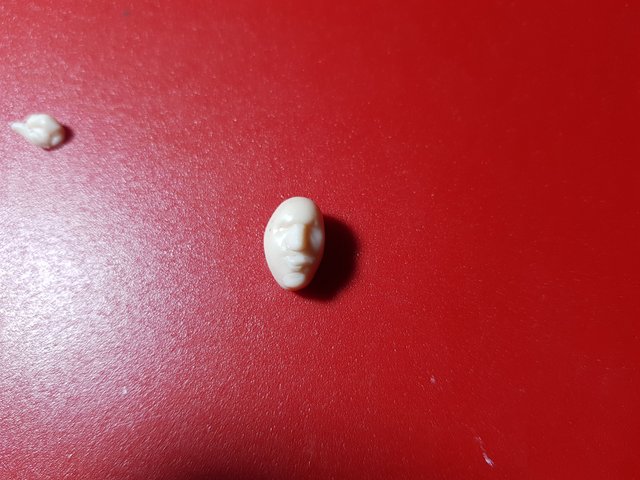
Shape into chin.
Hair
Just make pieces similar to the image above. Different sizes and thickness for different hair effects such as bangs and pony tails.
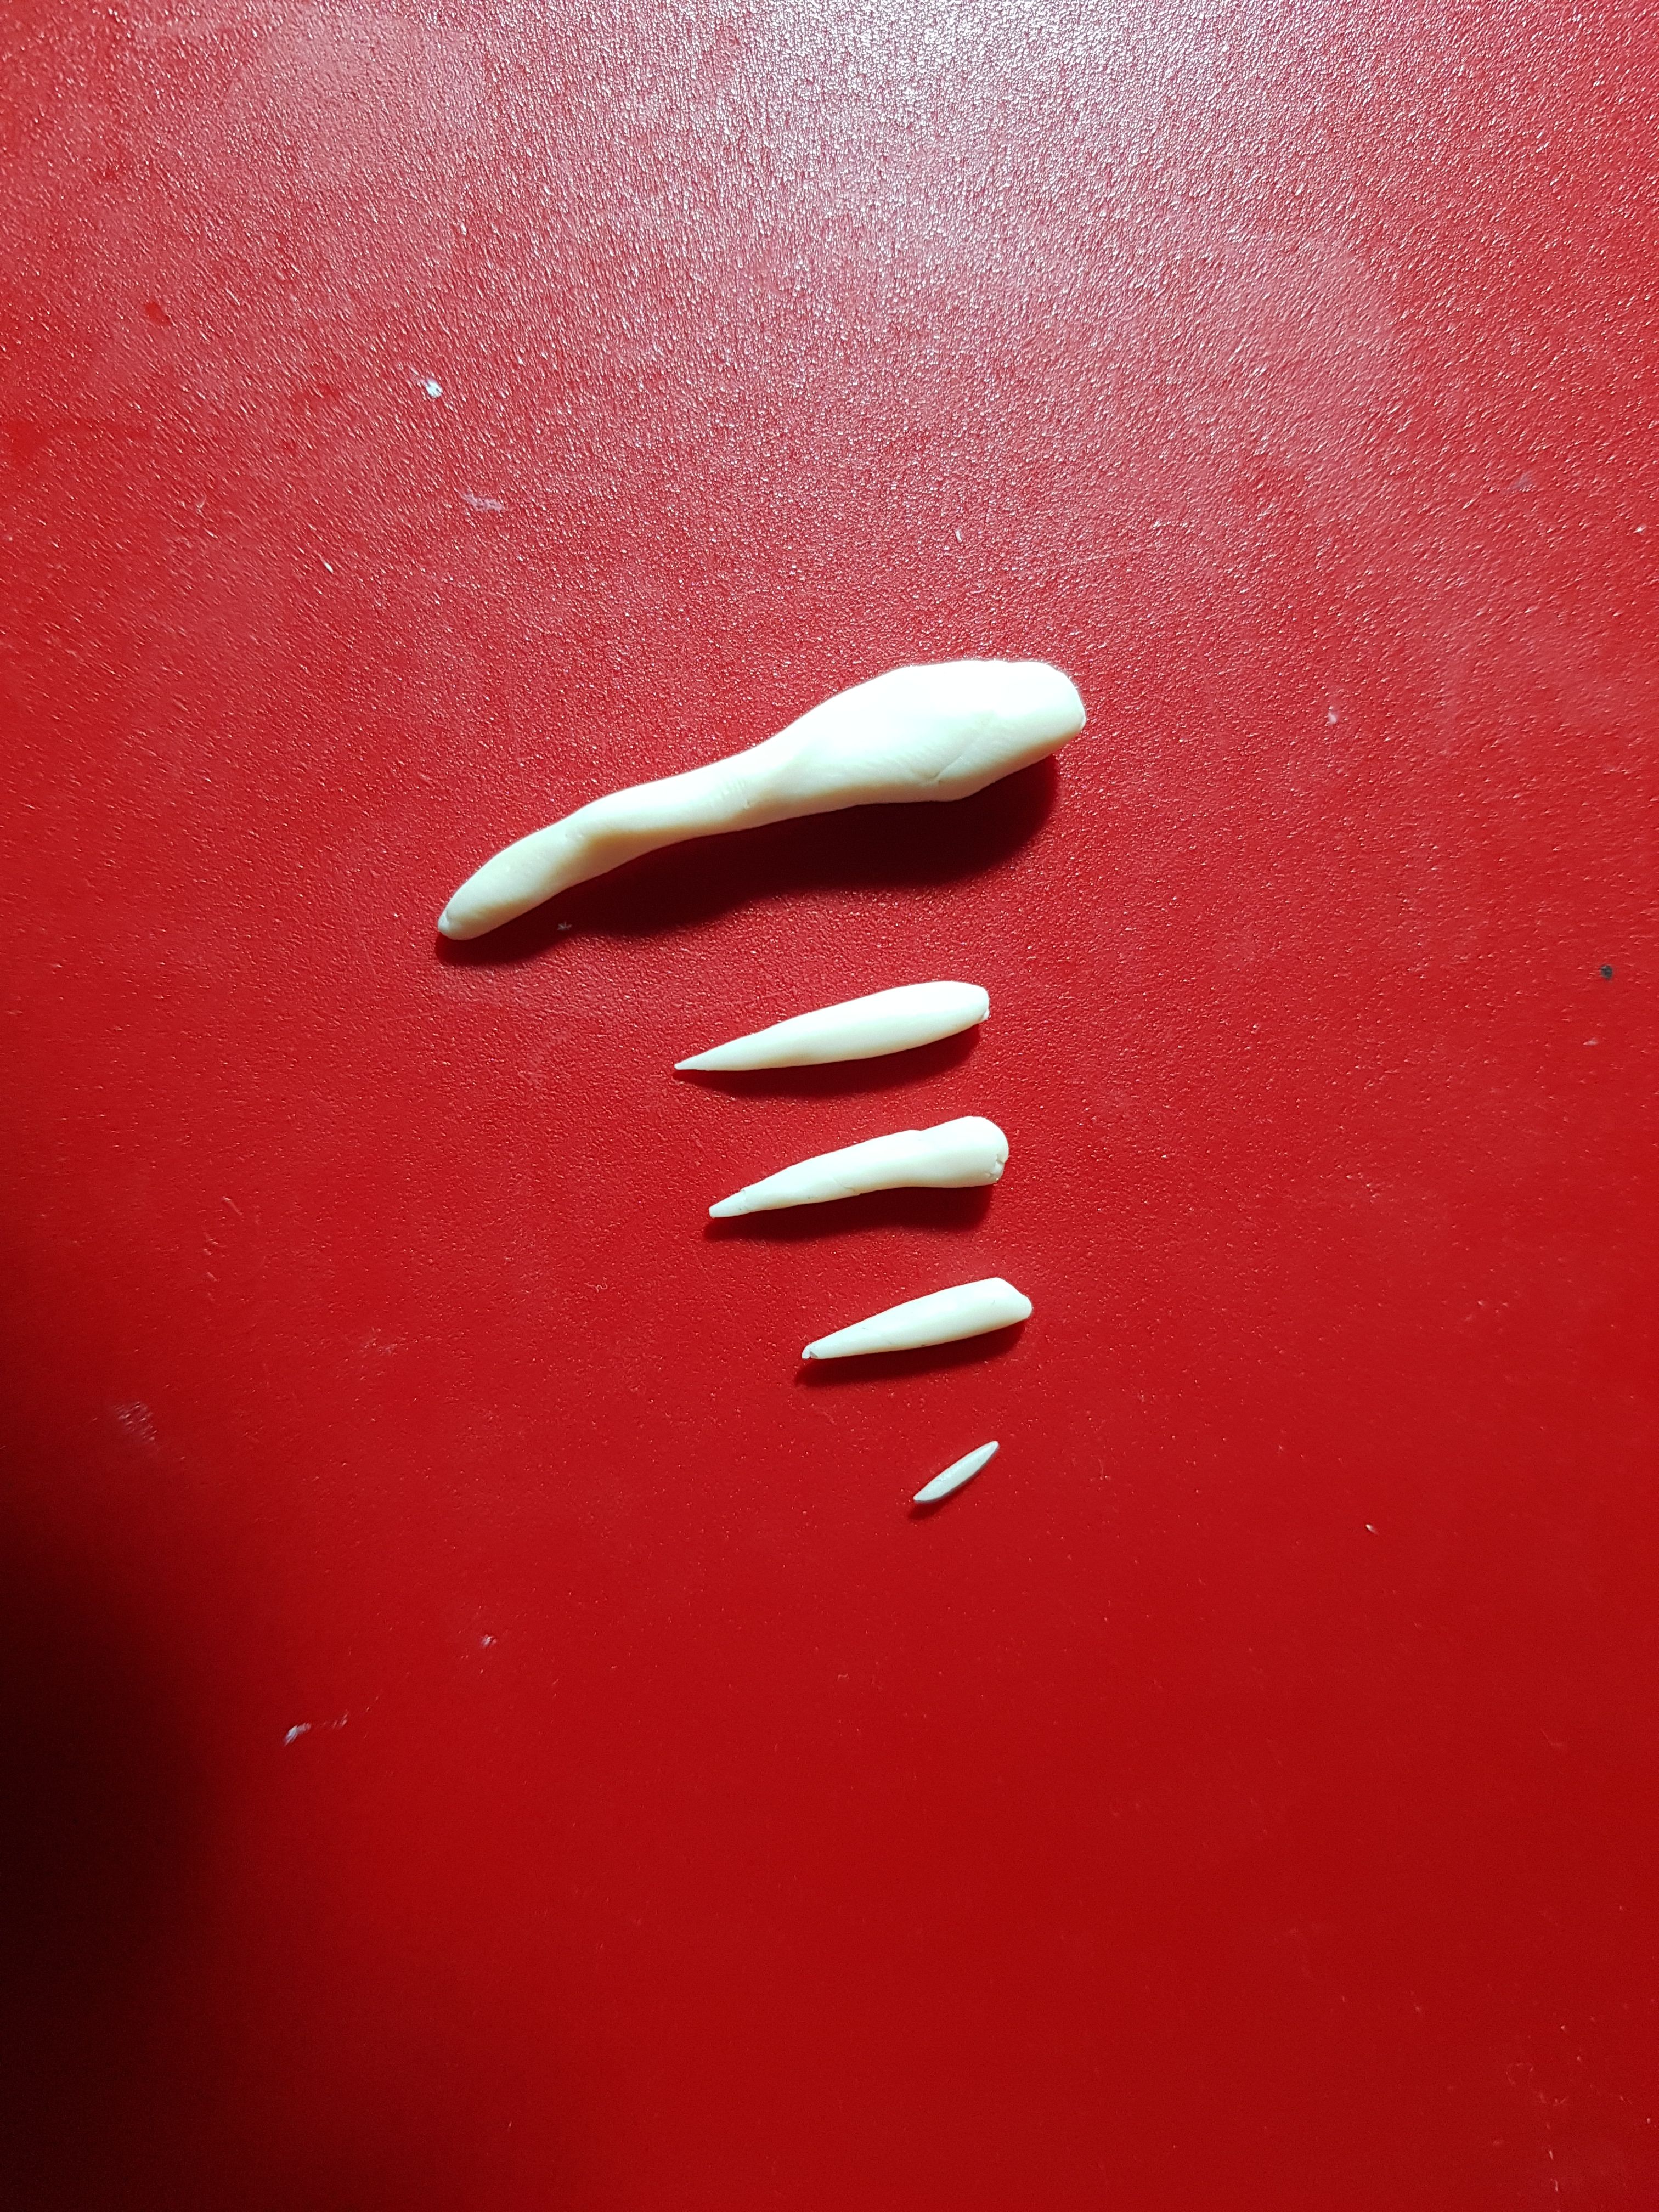
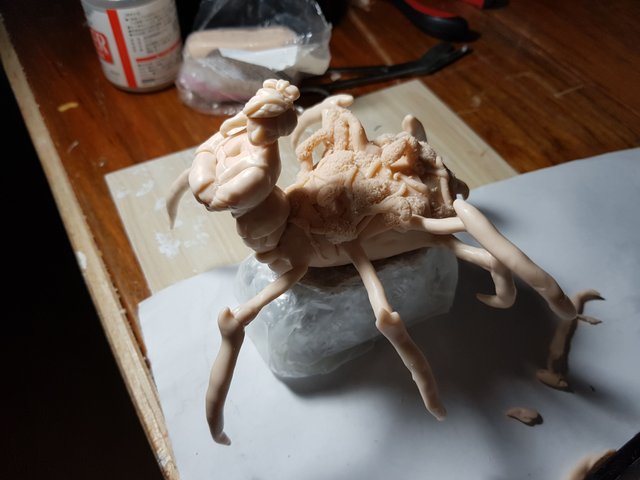
Spider legs
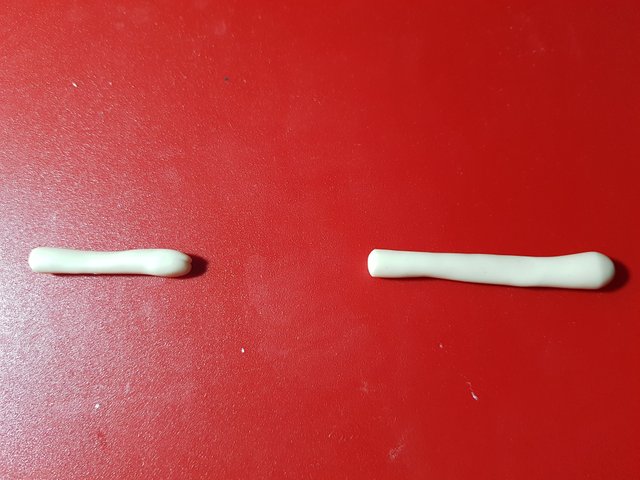
Make 2 cylinder shaped piece to serve as the 2 segments of the spider's leg.

Shape each part to that of a spider's leg.
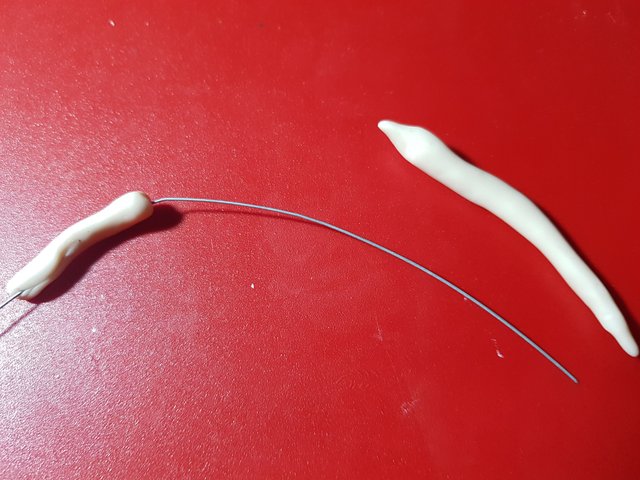
Attach each part to the wire.
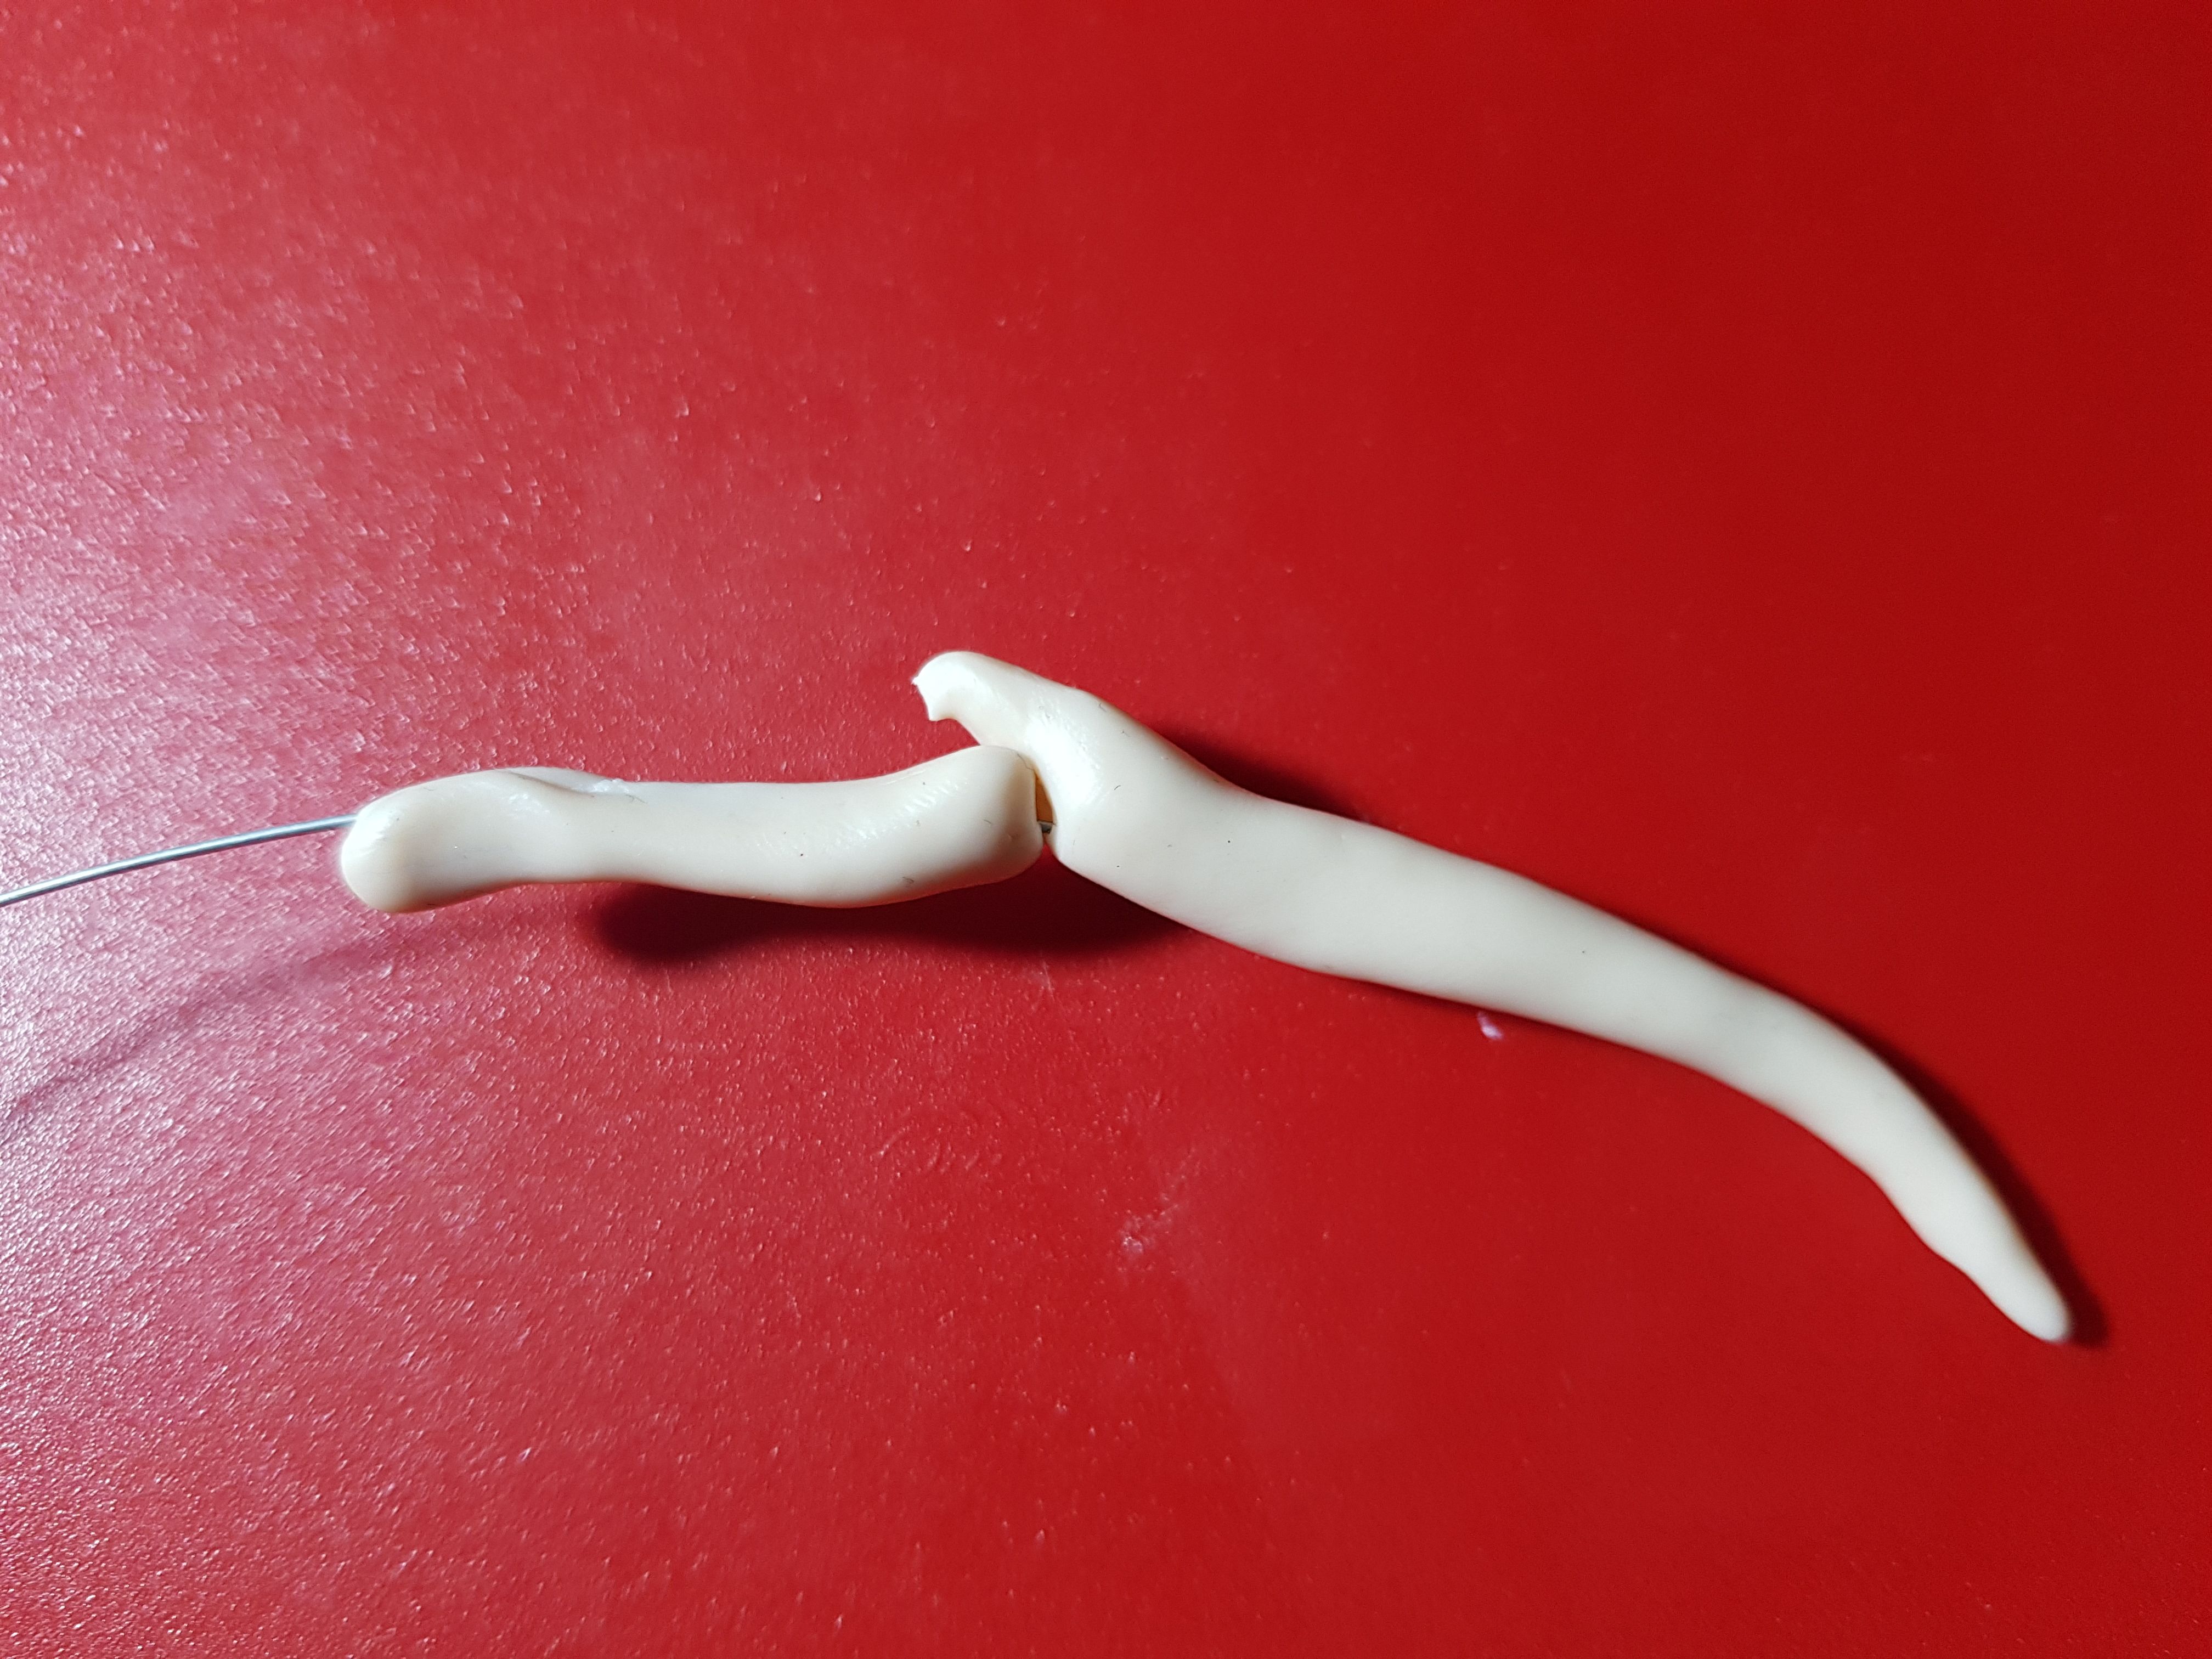
Should look more or less like this.
Again don't worry because a more detailed tutorial for the human body will be coming soon. This just serves as a basic how to so you can follow. 🙂
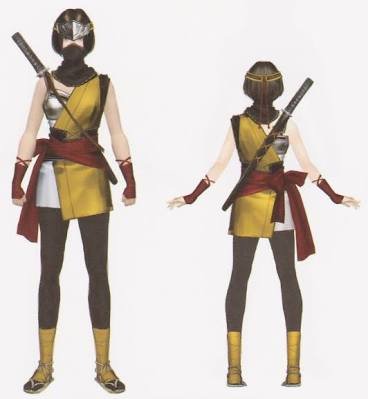
The clothes for the piece where heavily inspired by what kunoichis (female ninjas) are typically shown wearing. I just added different layers of clothing starting with the inner areas then the outer.
Here is the reference I used.
.jpeg)
Source - click this for link
Again, do let your imagination free in making the piece.
.jpg)

The simplest way to make clothes is to flatten a chunk of clay and cut out different parts of the clothes using the hobby knife.
Always plan out the design of the clothes. Begin with the inner layer and proceed outward. Doing it the other way around is harder.
check your piece one final time and add details as you see fit.
Now the piece is ready for the final curing.
Becareful on baking the piece especially since the spider legs might not be able to support the heavy body. I used a platform that raises the piece to a point where the legs are not touching the ground and positioned it where the bottom of the spider body is the one that supports the weight.
Coloring time.......Beeeeeeeeeeppp!!!
I am in no way, shape or form an expert in painting so feel free to do your own thing here😅
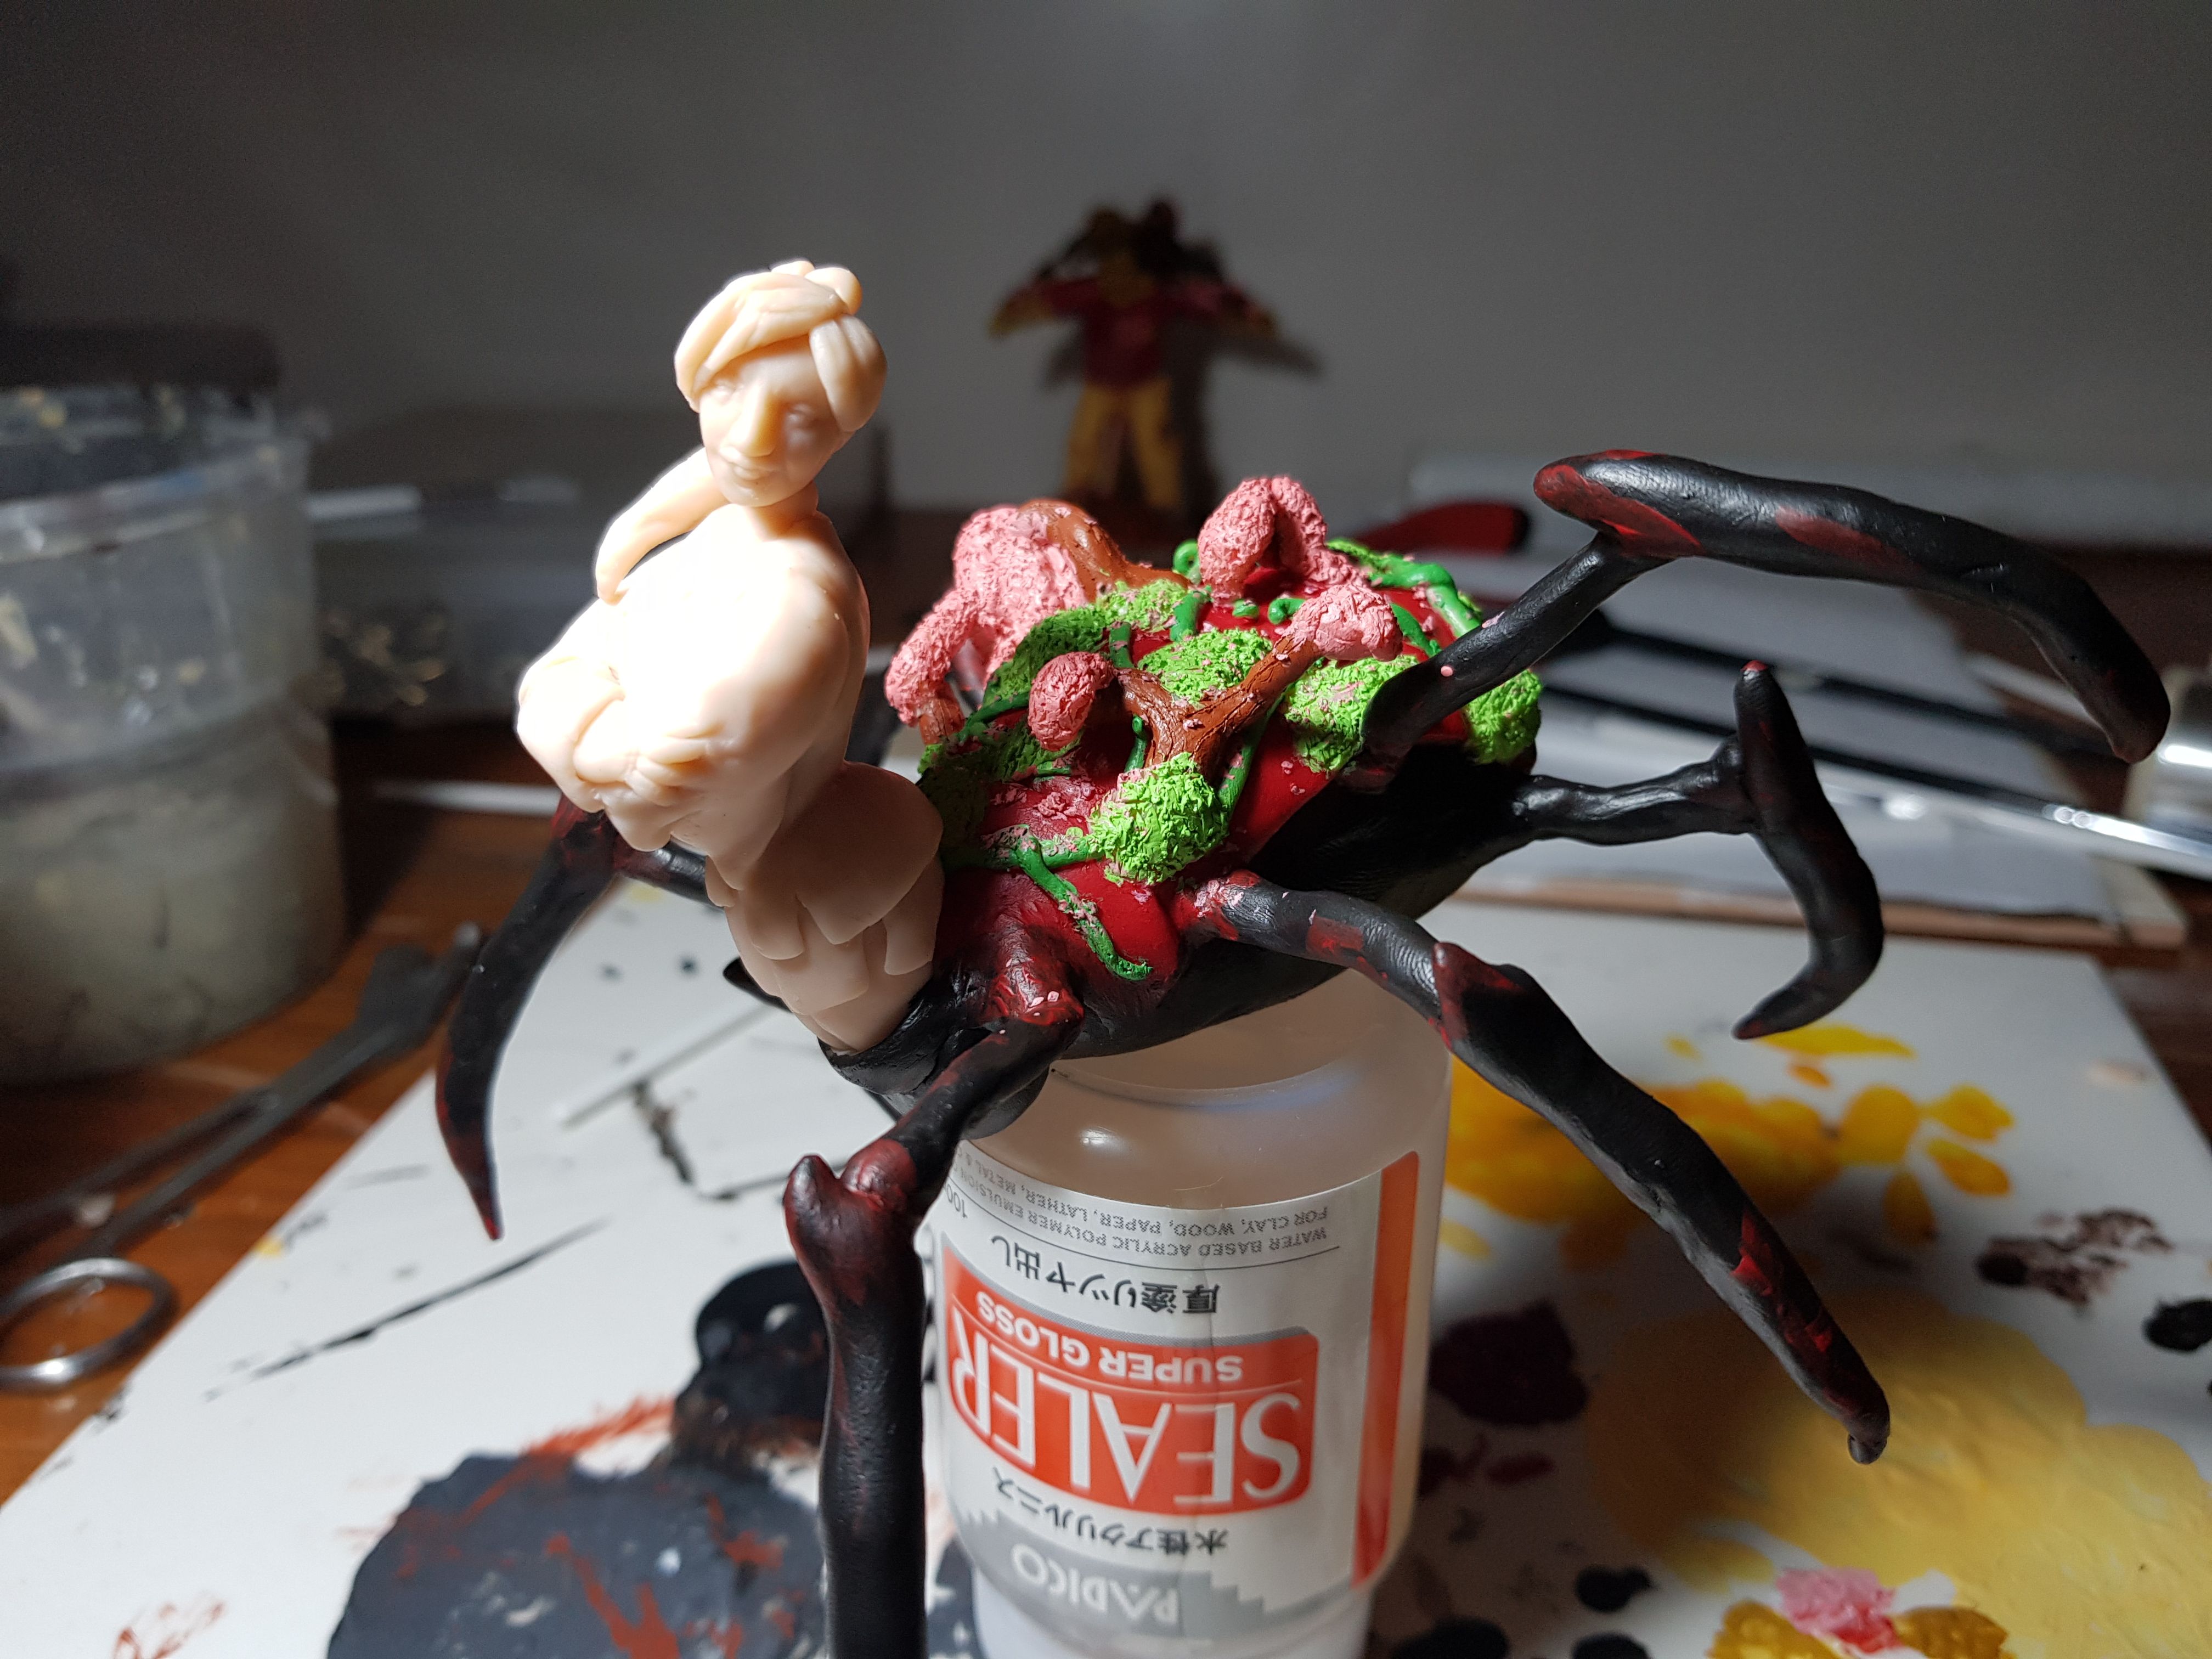
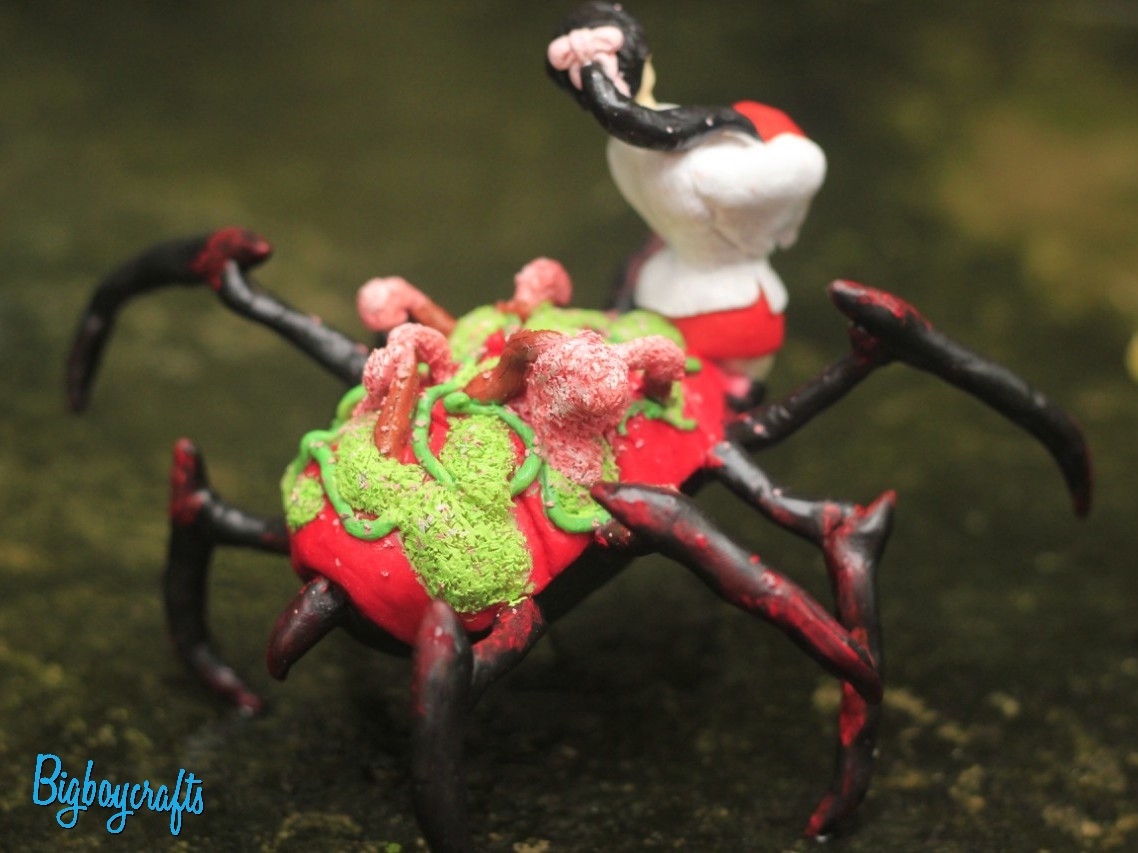
I think it' clear by now what I did for the spider part. If not then I'm sad 😣 joke! I went with a cherry blossom design. I used black red, brown, and pink acrylic paint and mixed in a bit of white to add lighter details to some areas.
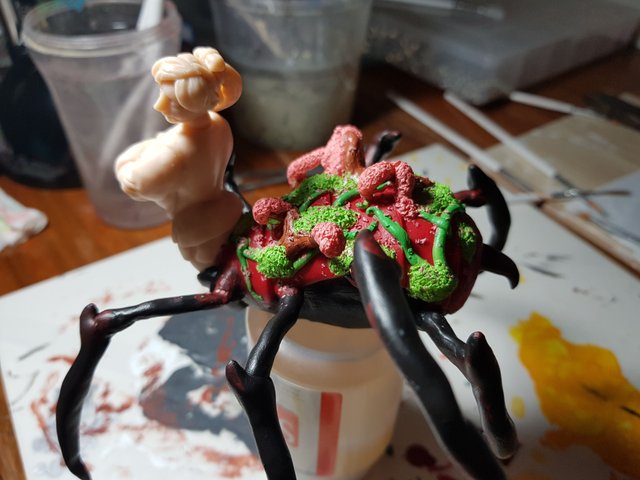
I also scattered red paint all over black areas of the body to give it that bloody/deadly effect.
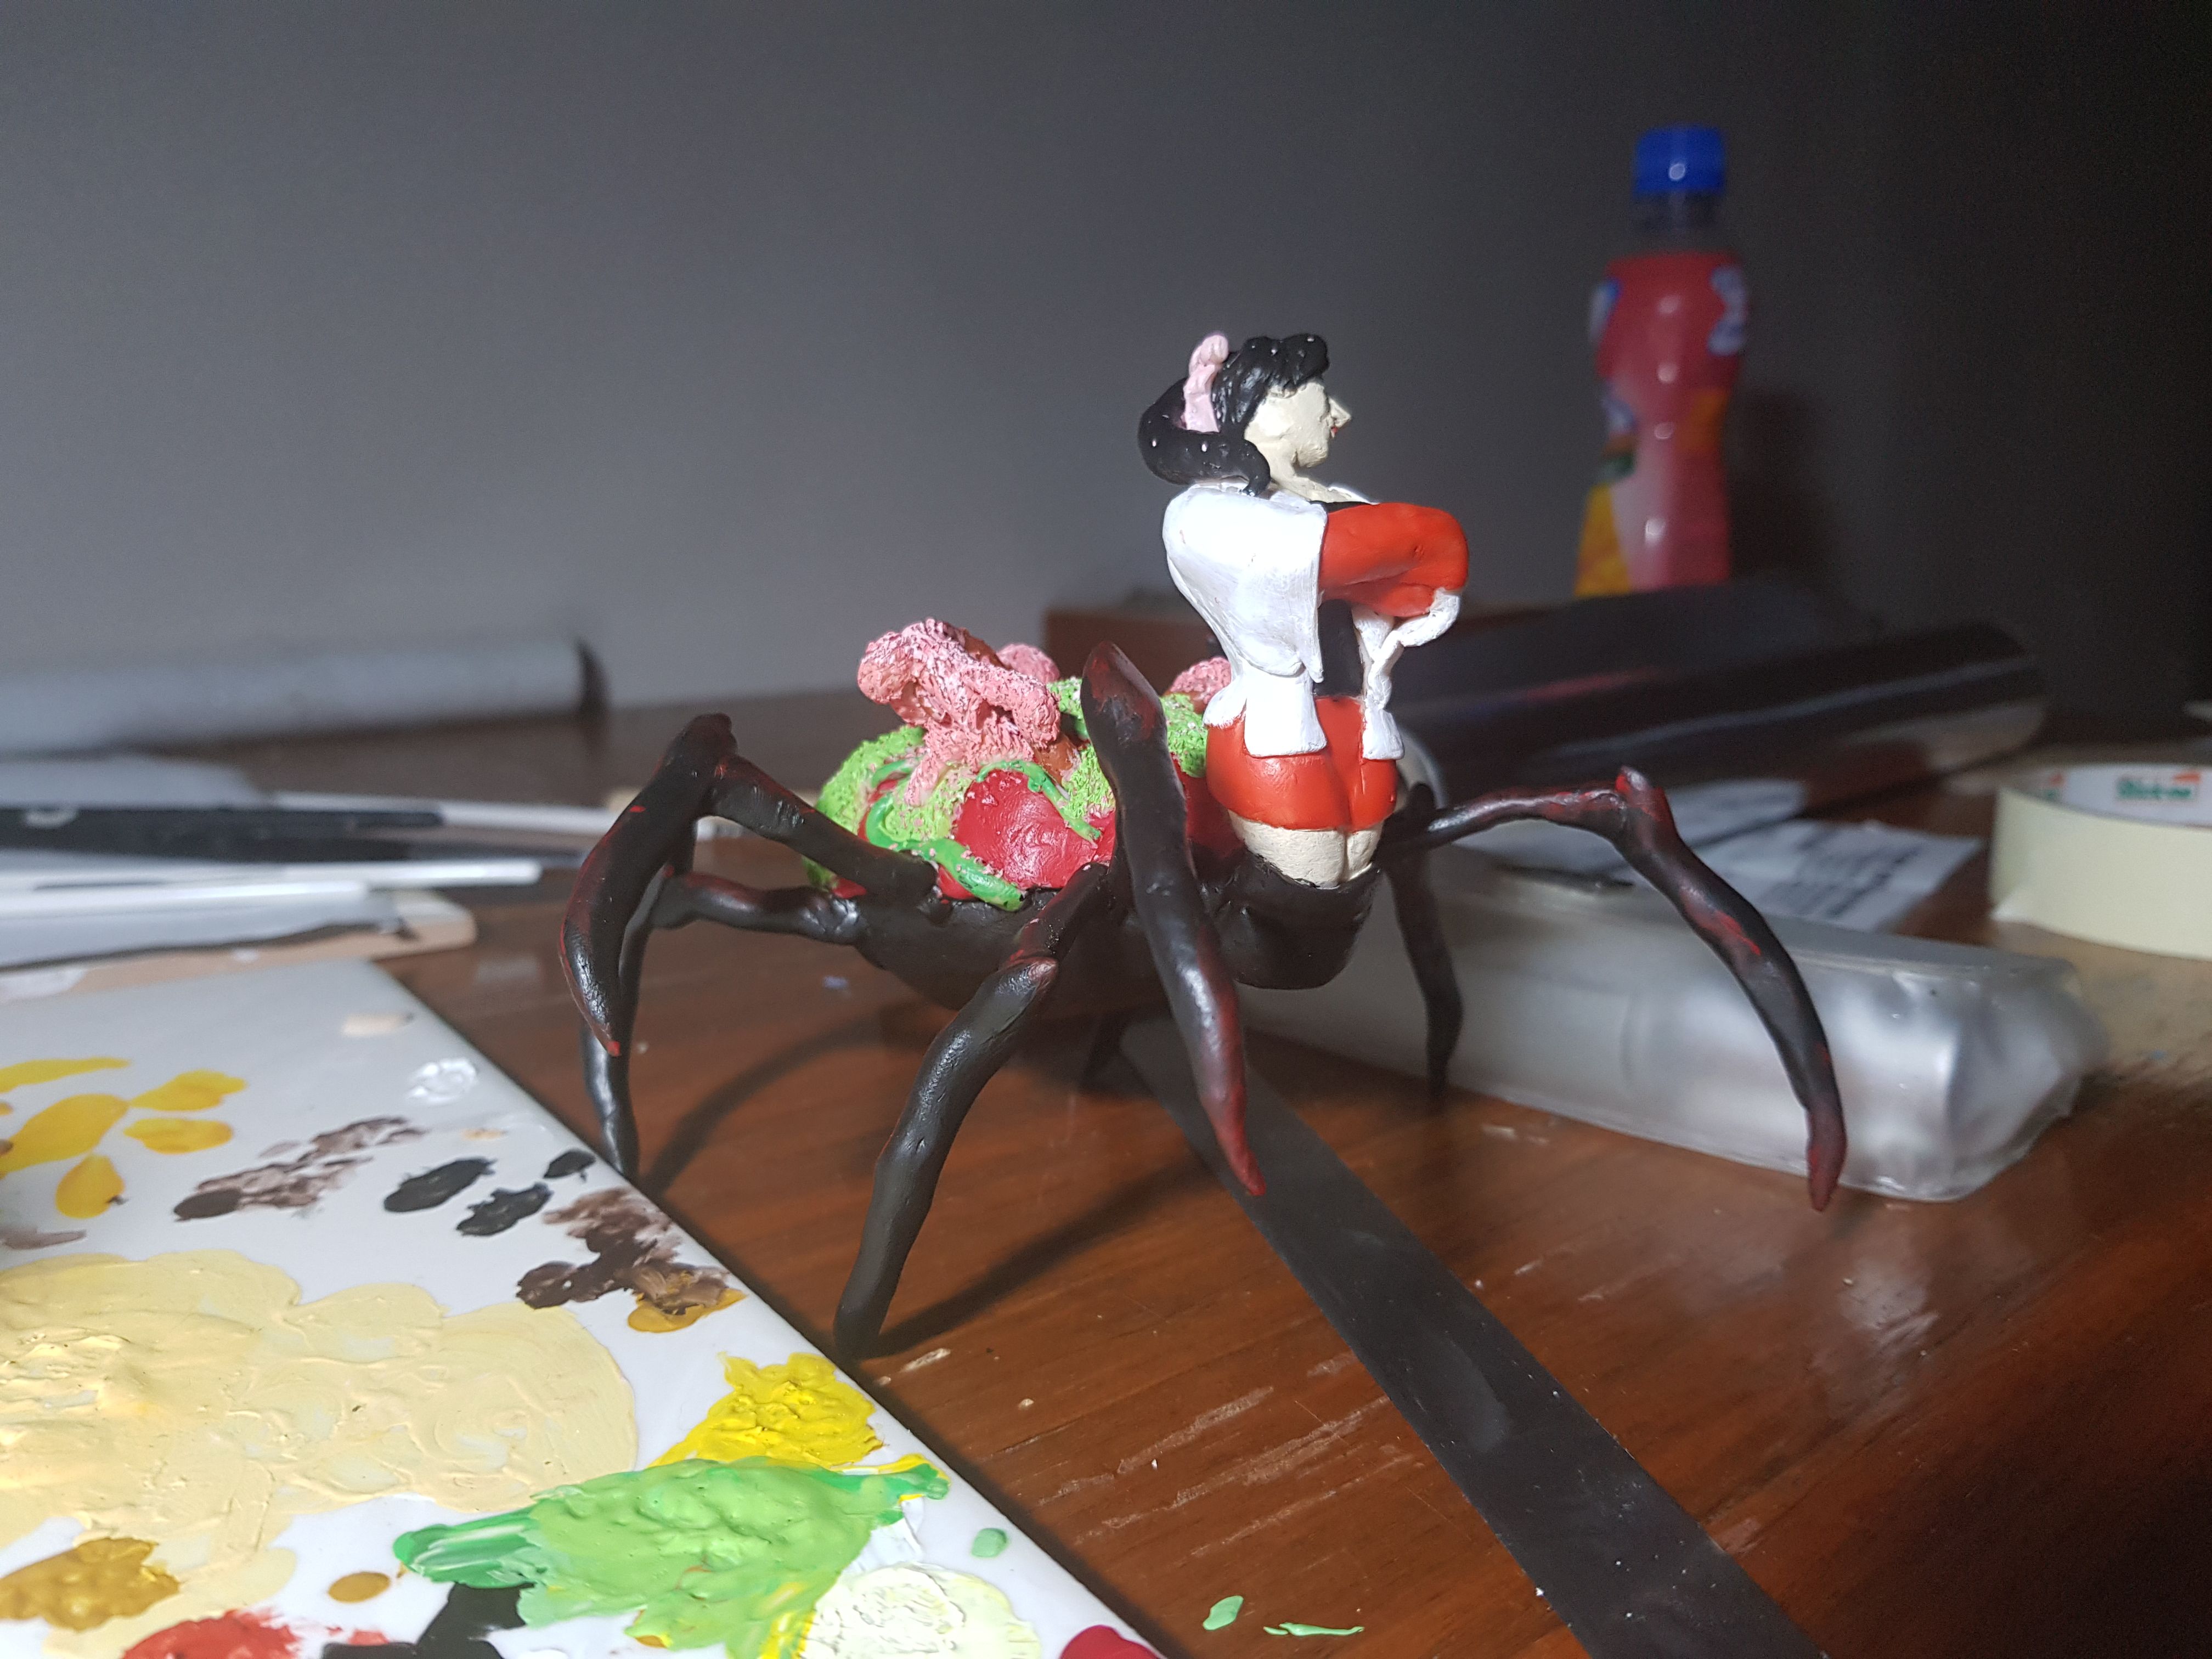
For the human part, I went with a white kimono, red skirt, black undershirt and hair, and light pink ribbon.
We're done! Time for the photoshoot!
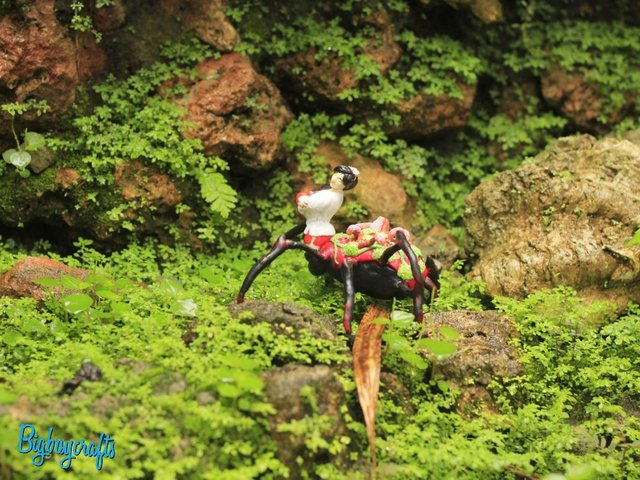

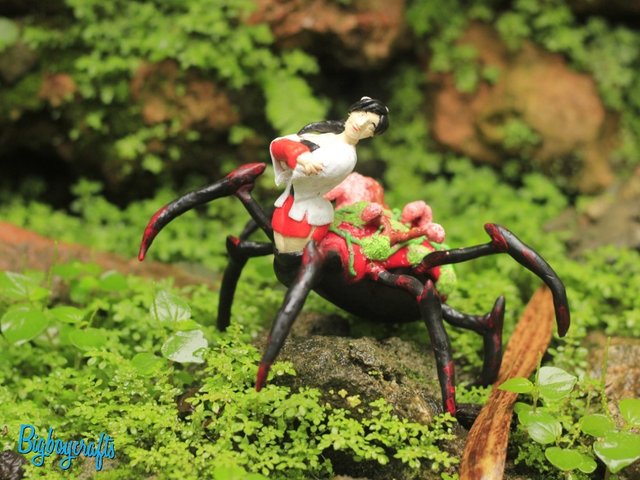
Reasoning behind the design
As the description said, the Jorogumo is a being that lures unsuspecting men who fall for her beauty to their deadly fate. With that in mind, I went with the Cherry blossom design because that is what attracts me most whenever I think of Japan. As for the human design, I made her look like a female ninja because I think they are a perfect blend of beauty, elegance and strength.
This is my entry for the #howtosunday and #howtoweekly contest held by @aoart.
Ty for taking your time to read my post. I am not a master in sculpting and the knowledge I have of this is from the 7 months of practice I did in this medium. Have a good day. 🤗

Amazing tutorial! I've always wanted to make mini people scenes. I think polymer clay would be awesome to use! Thanks for being our first entry in the #howtoweekly contest!
Ty so much @aoart 🤗 I really got excited when I saw your #howtoweekly contest because I'm just starting out with my polymer tutorials. I'm excited to see what other people have in store.
I hope you give polymer clay a try. It's really fun Fully recommend it. 🤗
You're very welcome @bigboycrafts!
Oh, I'd definitely love to use the clay! Your how to will help!
This post has received a 1.84% upvote from thanks to: @bigboycrafts.
For more information, click here!!!!
Send minimum 0.010 SBD|STEEM to bid for votes.
Help support @minnowhelper and the bot tracker by voting for @yabapmatt for Steem witness! To vote, click the button below or go to https://steemit.com/~witnesses and find @yabapmatt in the list and click the upvote icon. Thank you.
Voting for @yabapmatt
Congratulations! This post has been upvoted from the communal account, @minnowsupport, by Bigboycrafts from the Minnow Support Project. It's a witness project run by aggroed, ausbitbank, teamsteem, theprophet0, someguy123, neoxian, followbtcnews, and netuoso. The goal is to help Steemit grow by supporting Minnows. Please find us at the Peace, Abundance, and Liberty Network (PALnet) Discord Channel. It's a completely public and open space to all members of the Steemit community who voluntarily choose to be there.
If you would like to delegate to the Minnow Support Project you can do so by clicking on the following links: 50SP, 100SP, 250SP, 500SP, 1000SP, 5000SP.
Be sure to leave at least 50SP undelegated on your account.
Wow, this is like a creature born from one of Miyazaki films. Awesome art as always. I'm really digging the Japanese inspiration from all your work even if it's not directly anime-related.
Ty! Always a pleasure to read your ever supportive comments. Hahaha I think I really do have that tendency to swerve towards anime-ish/Japanese styled pieces. 😂
Congratulations on winning 3rd place!