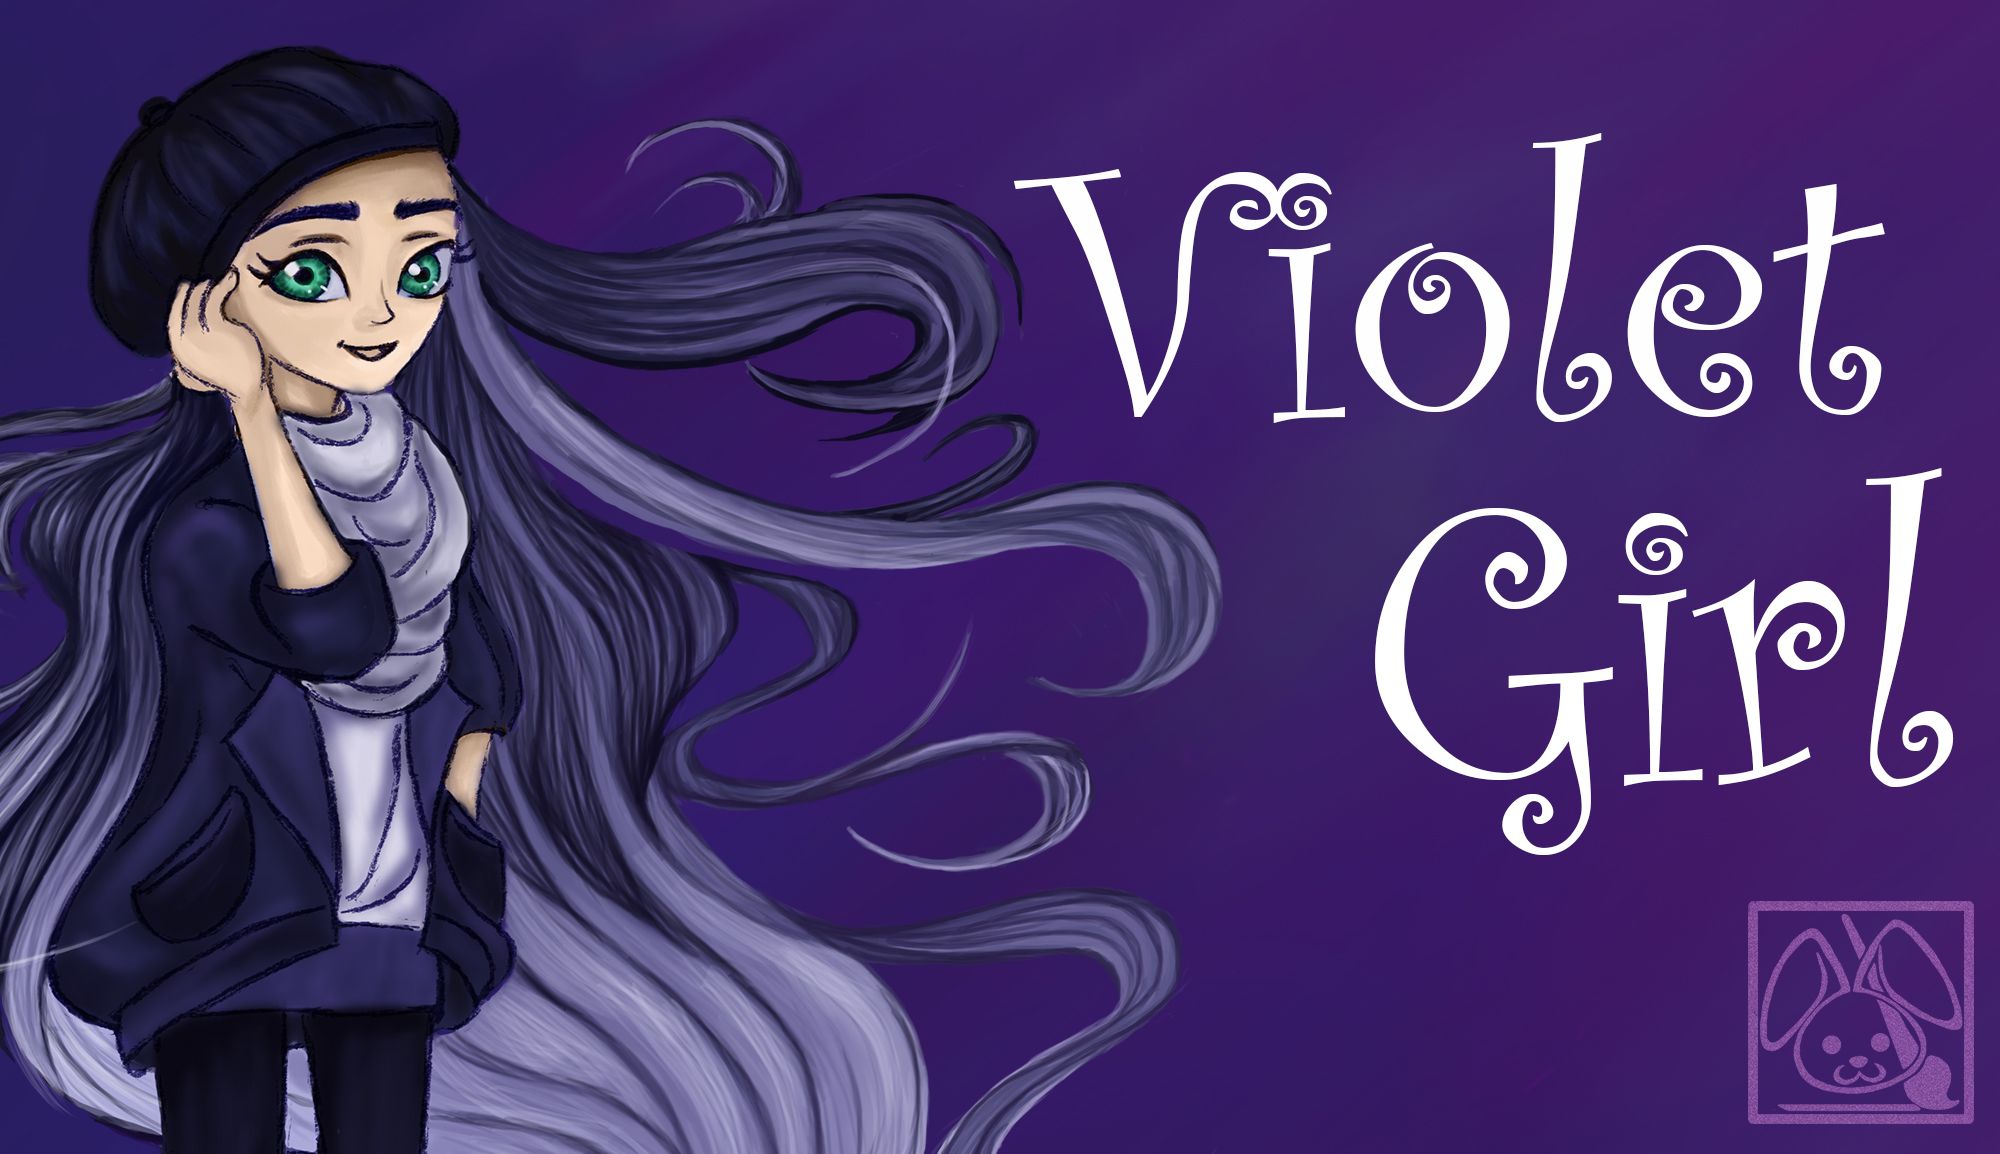
Violet Girl - Hair … blown away
Hi everyone!
Thank you all - for your warm welcoming and kind words. It may seem weird to you, but I appreciated and celebrated every comment, fellowship and upvote. :)
Now - that I decided on following this art journey, I feel a bit nervous - but very happy that you joined me. I will work hard, in order to improve and meet my very own - but also - your expectations. :)
Without further ado - I will walk you through my drawing process for “Violet Girl”.
1.) The Sketch
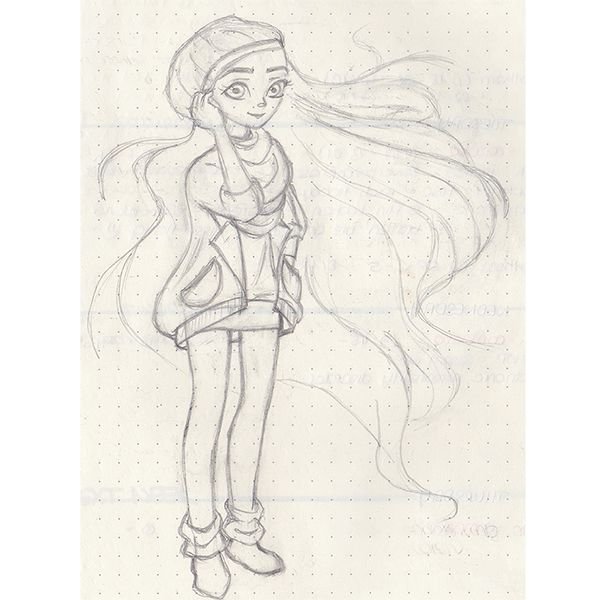
As usual - I started by a rough pencil sketch in my journal. For “Violet Girl” my main reference was a picture by Loish. Maybe some of you know her, she has a very unique colourful painting style. (If not, you can check her out on loish.net or also on Instagram under @loish.)
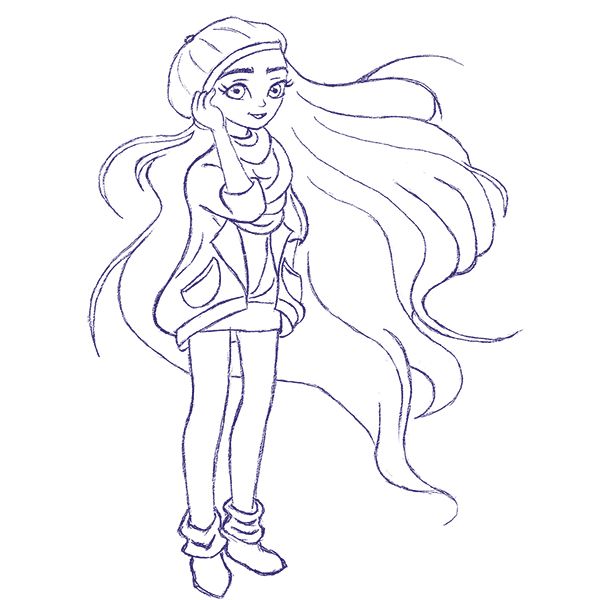
After the rough sketch - I made a pic with my trusty phone and then put it as the first layer in Photoshop. Then I did the line art on a second layer - with a charcoal-kind-of-brush. I like the texture very much, as it is very similar to a pencil.
On a side note:
I use a wacom bamboo tablet, which was gifted to me … years … ago. Well, I can hardly believe it myself - for actually starting to use it only very recently. * sigh *
2.) Base - Colour Blocking
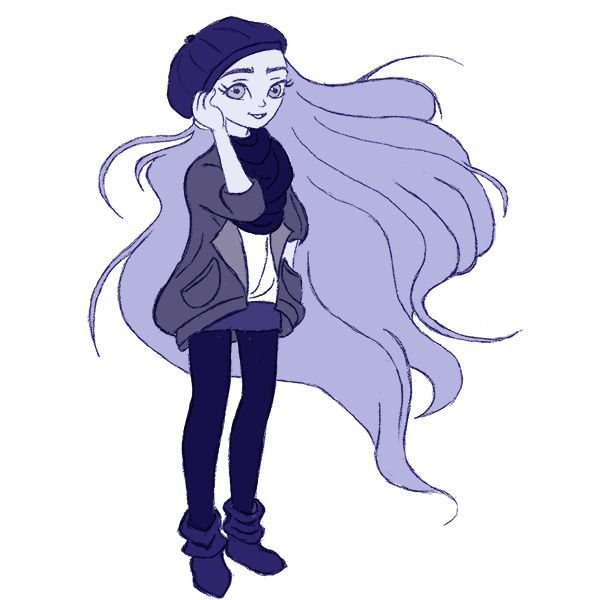
Here you can see, that I gave it another shot on the monochrome technique by blocking in the base values only in shades of violet. This time - I think - I could hold on to it.
But ... well ... you will see, that I eventually changed my mind -
but only in some cases
- again.
(In the next picture... ;)
3.) Problem Area - Skin

Although you may not assume it, but it took me - literally hours - in order to get the skin done. And to be honest, I am still not very happy with the result. But well, it only means - practice, practice and more practice!
In this step - I also coloured the eyes, as I used the same layer for them. I chose a greenish teal hue, in order to let them stand out and … to wake up the character out of her monochromatic slumber. ;)
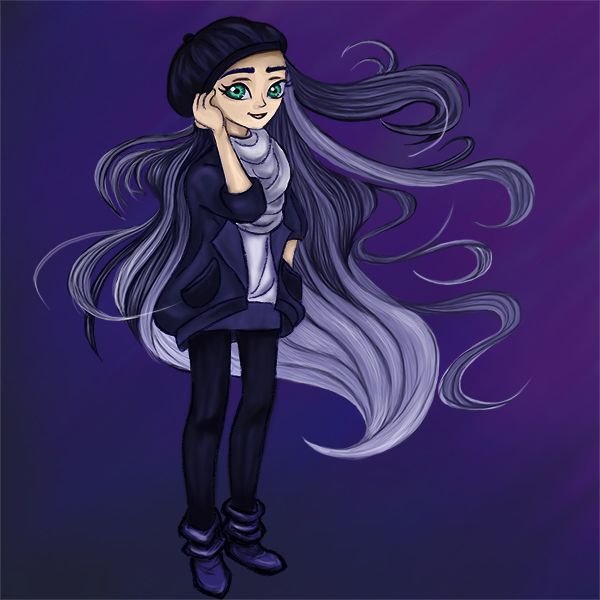
4.) Hair - My living Nightmare
Now to my nightmare of hair. Although, the purpose of “Violet Girl” was to study and practice drawing hair - it was such a pain. It took me several attempts to eventually end up with … what you see right now. The challenge was to let the hair flow and fly effortlessly. I don’t need to add, that I am still not happy with the result. But I am not giving up - - - yet.
Just kidding, I won’t.
I actually enjoy drawing soo much - right now. That it is pretty much the first thing I do, when I come back home. :)
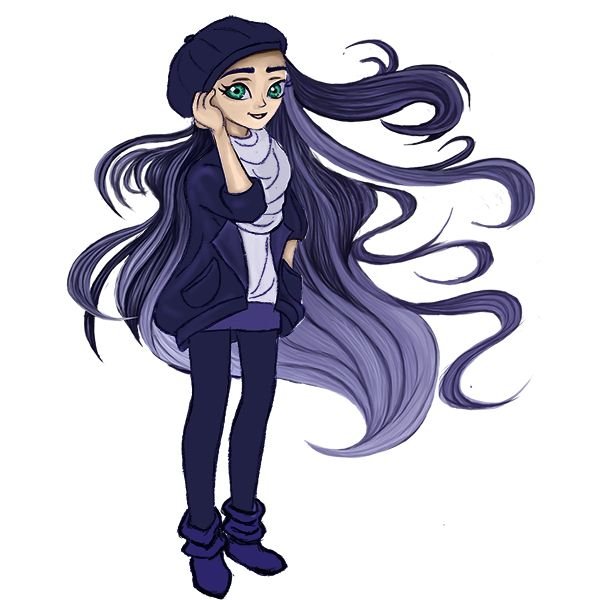
5.) Clothes and Accessories - Monochromatic Fashion Style

Next - I added some shading to the clothes and accessories. Everything looks very dark, right now. But I kind of wanted the base colour to be a very dark violet for the hat, jacket and leggins. And after shading they ended up … um … darker…
If anyone has tips and/or suggestions, you are very welcome to leave them in the comments below.
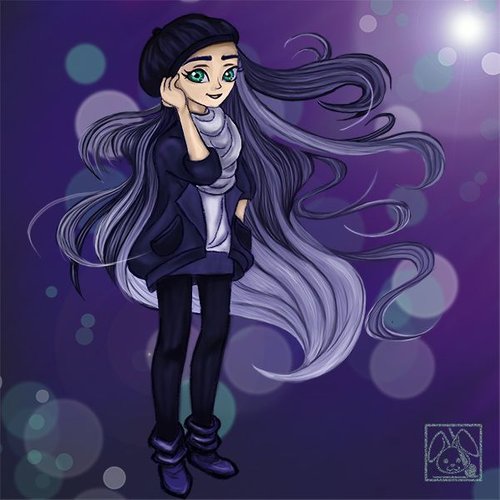
6.) The Background - Bokeh Flair
I have to admit, that I had the most fun while drawing the background. At first I mixed several shades of violet, pink and a very dark blue to create a bit of depths.
Then - after scrolling through Instagram that day - I wanted to integrate the light effects, which you can nowadays add easily by choosing the respective filters. As I really liked, what I saw - I thought about integrating those light effects into the background.
After some online research I learned that the light effect was called “bokeh”. Due to the research I also learned about “light flares” - and without hesitation I watched some more videos on Youtube. I even learned how to make my own “bokeh-brush”. :D
So - here we have it, the final background with added “bokeh” and “light flare” effects.
And last but not least -
I created a GIF, so that you can see the drawing process more properly.
Yay - we finally reached the end! ;)
If you like, what you see - please follow, upvote and resteem. Your support is very much appreciated.
Thank you so much for reading - and see you next week! :)
-ArtBunny-

This post received a 4.15% upvote from @randowhale thanks to @therealwolf! To learn more, check out @randowhale 101 - Everything You Need to Know!
This post has received a 16.53 % upvote from @buildawhale thanks to: @therealwolf. Send at least 0.50 SBD to @buildawhale with a post link in the memo field for a portion of the next vote.
To support our curation initiative, please vote on my owner, @themarkymark, as a Steem Witness
This is magnificent! @artbunny