How To Transfer Photo To Wood
This is a photo to wood transfer tutorial in one of the easiest way. It was one of my very first projects that I came out with perfect output. I hope you will love it so much because of the step by step photos and instructions. It’s a very interesting project, but does have need of a bit of patience. It’s not a speedy project, but if you have patience and stick with it, you’ll get stunning results. Enjoy and please let me know if you have any query!
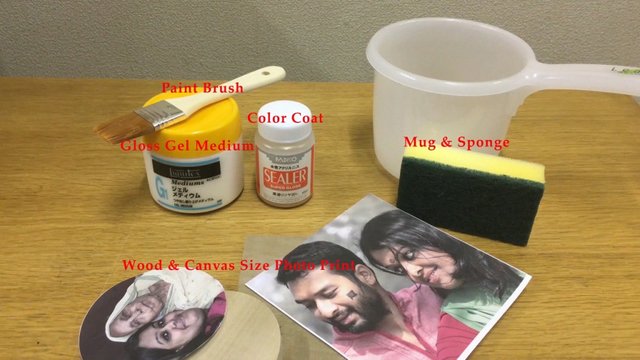
What you need:
-A piece of wood
-A laser printed copy of your photo on Basic paper, the copy should be the mirror image of how you would like it to appear on the wood. This ONLY works with laser copies. It won’t work with ink jet. (Make sure this is printed on regular paper, not photo paper.)-Modge Podge or Gel Medium
-A sponge brush
-Scissors to cut out your photo
-A normal kitchen sponge to soak your photo
-A cup or plate to pour your gel medium or modge podge into
-A boning tool or plastic card to get the air bubbles out with
Step 1: Print out the image you would like to transfer using a laser printer. Unfortunately ink jet printouts won’t work for this project. You may want to mirror your image as the transfer will make your image the reverse of how it is printed.
Step 2: Trim your image to the size that you want it to be on the wood.
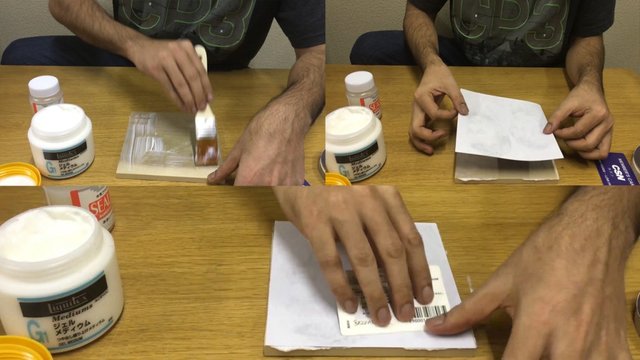
Step 3: Put a layer of gel medium on the wood, then lay the paper photo side down onto the wood. Use your plastic card or boning tool to remove any bubbles of gel medium from between the paper and wood by smoothing the card over the paper pushing excess to the outer edges. Make sure all of your corners are stuck to the wood with the gel medium. If it’s not stuck it won’t transfer.
Step 4: Clean away excess gel medium from around photo then leave to dry for at least 24 hours.
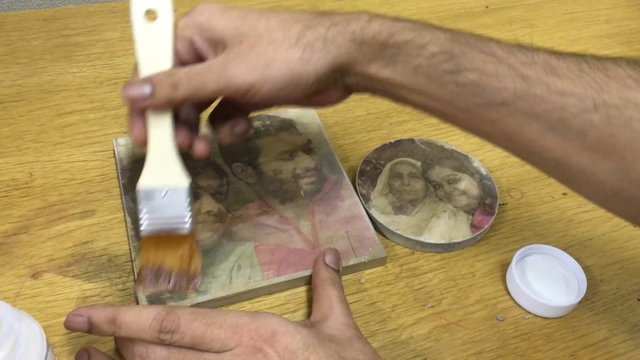
Step 5: 24 plus hours later, once the paper has completely dried, dampen a sponge with warm water and put it over all over of your photo. Keep it wet for approximately 5 minutes.
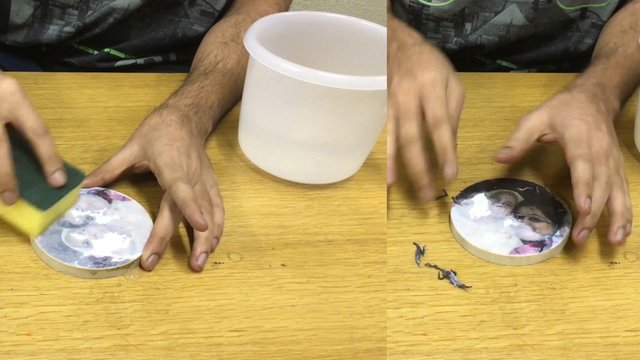
Step 6: Once the paper is damp comes the fun, but time intensive part of this project. Wet your fingers and slowly start rubbing your finger over the paper, almost using your finger like sand paper. The photo copy is going to appear to split in half. The white part of the paper will start to lift away and the paper with the ink will stick to the wood. Take this part very, very slow. If you go to fast the ink will lift away from the wood and you will be left with bare patches.
Note-
Having done these steps several times now I have come up with the following techniques. I stand at the sink and slowly remove the top layer of paper using circular motions with my fingers. I am constantly wetting my fingers and lightly rinsing the wood under the sink to wash off clumps of paper. Once I think I have the first layer of paper off I set the wood down for a couple of minutes and clean up all of the paper bits. This will give the transfer time to dry. When you look at it you will probably see that there are still places where there is a thin layer of paper left, the image will look cloudy. Wet down your fingers and start “sanding” away again. When you can’t see any white cloudy bits anymore set aside again, clean up a bit while it dries, pick it up again and “sand” some more. I wet down and let me project dry 5-10 times before I was done.
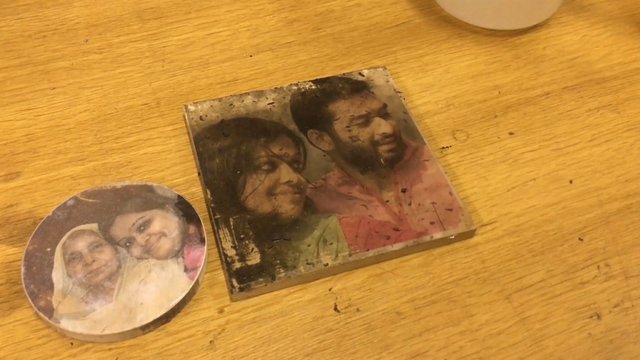
Step 7: Leave your project to dry for about an hour then look at it to see if you are satisfied. Grab your boning tool and rough up the edges a bit if you like. You can take a gray sharpie marker and lightly dot in areas where the transfer doesn’t look quite right. If you need to you can wet it down and “sand” down some more if there are bits of paper that you missed. In my case I decided that I would prefer if my photo filled the entire front of the wood so I wet the wood down, scraped the project offend redid it.
Step 8: When you are satisfied with the look of your transfer put a amount of Gel Medium into a cup, and using a sponge brush apply a thin layer of Gel Medium all over your photo, including the edges. Use smooth, even strokes. Allow to dry for at least 15 minutes then repeat 2 more times.
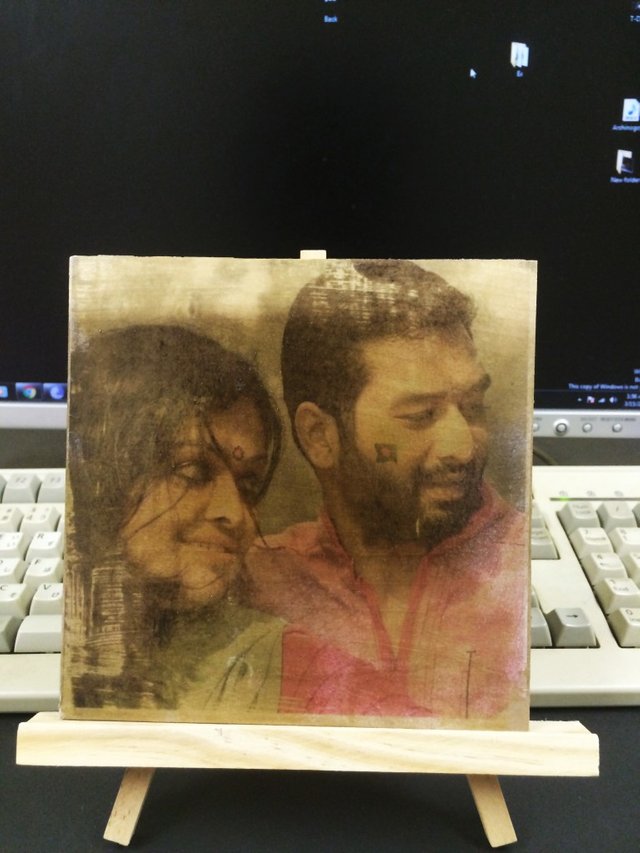
Once your Gel Medium has dried you have a beautiful photo impact piece that will be commented on by everyone who enters your home.They also make great gifts!
I hope you enjoyed our Photo to Wood Transfer Tutorial. If you have any questions please don’t hesitate to ask and I’d be glad to try to answer. I would love to see the results of your Photo to Wood Transfer projects you try.