Ichimoku

Ichimoku
Ichimoku is a trading system developed before World War II by Mr. Goichi Hosada, with the goal of being able to perform the entirety of his analysis from one single indicator.
The term Ichimoku can be roughly translated to mean ‘one glance,’ indicating that no other indicators or technical methods are required to use the system.
There are 5 lines used with Ichimoku, and this article will explain each.
The Signal
At the heart of Ichimoku is a 9 and 26 period moving average built on average price. The 9 period Moving Average is called ‘Tenkan-Sen,’ while the 26 period moving average is called by ‘Kijun-Sen.’
Much of the action with the Ichimoku takes place with these two lines, so it is important to recognize their function of each.
The 9 period moving average, or ‘Tenkan-Sen,’ is the fastest moving average, and I call this the ‘Trigger Line.’ An easy way to remember this is T, for Tenkan-Sen, stands for Trigger.
The 26 period moving average, or ‘Kijun-Sen,’ is the slower of the 2 averages, and I call this the ‘Base Line.’
Like many crossover strategies, a bullish signal is generated when the fast moving average, or the Trigger Line (Tenkan-Sen) crosses the Base Line (Kijun-Sen).
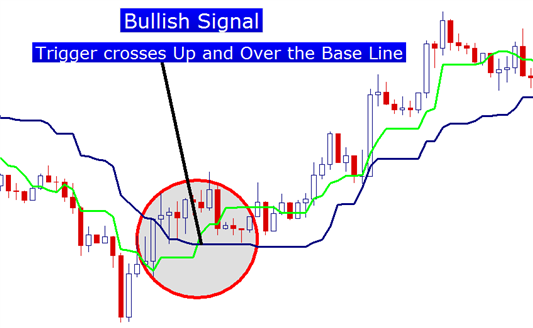
Bullish Ichimoku Crossover: Produced with Marketscope/Trading Station
Conversely, a bearish signal is initiated when the fast moving average, or the trigger line, crosses down and under the slower moving average, or the base line.
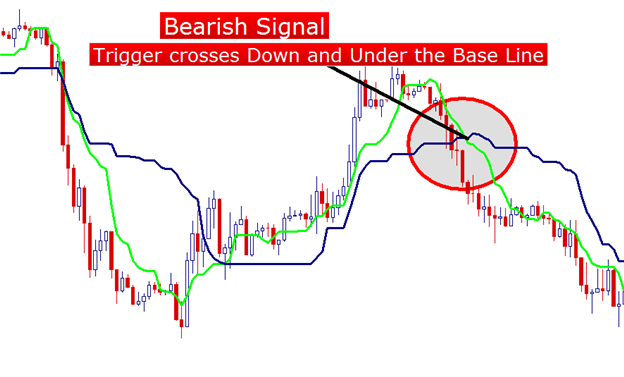
Bearish Ichimoku Crossover: Produced with Marketscope/Trading Station
The crossovers taking place within Ichimoku are the heart of the system; but many traders already know that moving average crossovers can be tricky. Not all will work out, and many signals will lag the market as price reverses shortly after the crossover takes place.
This is where Ichimoku can shine, and we’ll investigate that in the next portion of the indicator: Kumo.
Kumo
If there is one part of Ichimoku that sticks in trader’s minds, it’s ‘The Cloud,’ or called ‘Kumo,’ in Japanese.
The Cloud actually consists of 2 lines, with the area between the 2 lines shaded; offering traders a unique addition to their charts.
To create Kumo, we can take 2 lines, known as Senkou Span A and Senkou Span B, and look to the area of the chart between these two lines for potential support and/or resistance.
The Cloud is always plotted 26 periods in advance, and this is where the trader can receive assistance in grading the strength of the signals taking place with the Trigger and Base Line Crossovers we looked at above.
If Price Action is residing ABOVE Kumo, traders can consider that the posture of the pair is bullish. In this case, Kumo is a variable area of support. The below picture will show this relationship. Notice the inflection points at which prices were supported by the cloud:
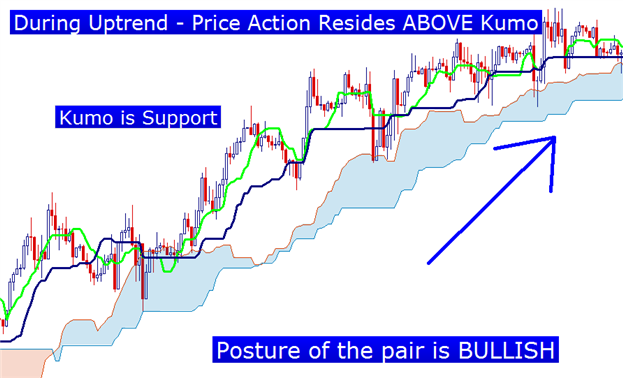
Bullish Posture as price action resides above Kumo: Produced with Marketscope/Trading Station
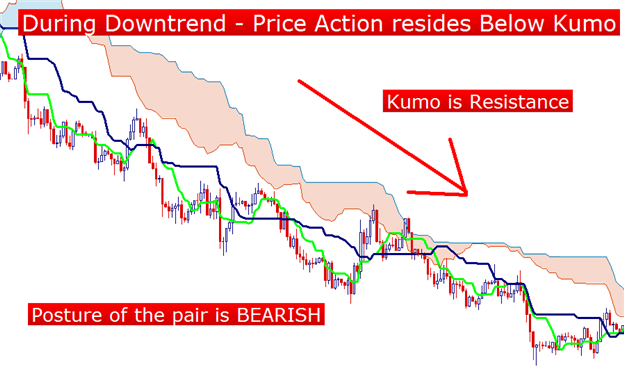
If Price Action is below Kumo, the exact opposite is the case. Traders can grade the posture of the pair as bearish, with Kumo functioning as Resistance.
Bearish Posture as price action resides below Kumo: Produced with Marketscope/Trading Station
Grading Signals
One of the primary benefits of being able to grade a currency pair’s posture revolves around the trader’s ability to grade the potential strength of the trigger/base line crossover signal.
Traders will often grade each signal accordingly – depending on whether or not the direction of the signal agrees with the posture of the pair at the time.
So, for example, in situations in which the direction of the signal and the posture of the pair agree – traders can grade that signal as ‘strong.’ The longer-term trend direction of the pair and the shorter-term momentum have aligned to give the trader the idea that they may be able to enter into the trade when the trend is strong. The below picture illustrates a ‘strong,’ crossover signal via Ichimoku.
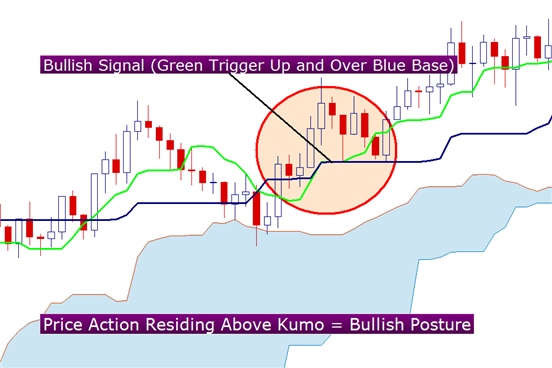
Strong Buy Signal as Signal and Posture agree: Produced with Marketscope/Trading Station
If you look closely at the graphic above, you’ll probably notice that shortly before we received our ‘strong,’ signal with the bullish trigger/base crossover – we had received another crossover. However, this was a short crossover signal as the trigger crossed down and under the base line.
Perhaps more to the point – this signal disagreed with the posture of the pair at the time. Because the pair had Bullish posture, with a bearish signal that differed from the pair’s posture, many traders would consider this to be a ‘weak,’ signal. As in, the signal that was generated does not agree with the longer-term trend of the currency pair. The chart below will further illustrate the difference between strong and weak signals via Ichimoku.
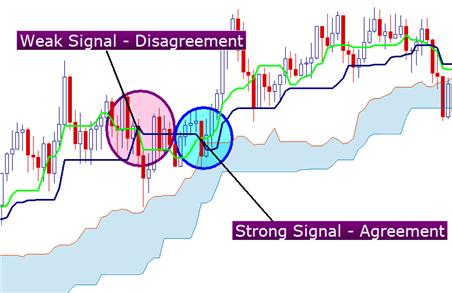
Strong and Weak Signal: Produced with Marketscope/Trading Station
Crossovers that take place within the cloud can be looked at as ‘neutral,’ as the pair is not displaying bearish or bullish posture at the time.
The below chart will take a closer look to the signals the generated during an up-trend on the Aussie Dollar. Weak signals are in red, while strong signals are circled in blue.
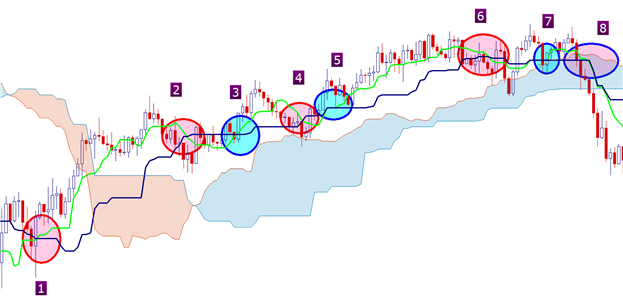
- This bullish signal takes place while the pair is displaying weak posture. This signal does not agree with the longer-term trend direction at the time, and as such – many traders will choose to ignore this crossover altogether.
However, for traders that are patient, there is a potential way of playing these signals which we’ll discuss a little later.
2 This bearish signal takes place after price action has crossed the cloud, now giving us bullish posture. This signal also disagrees, and once again, many traders may choose to either A) wait for a strong signal that offers agreement or B) not take a trade based on the signal at all. - Now we see a signal that offers agreement. This bullish signal takes place while price action is above the cloud, and many traders look at this as a ‘strong,’ signal. Notice how traders that may have elected not to take signal 1, can now look to enter in the trend as this is a signal with agreement.
- As the currency pair congests ahead of making new highs, traders see another weak crossover signal. Notice the candle that had bounced off the top of Kumo shortly before this signal generated. This is a sign to traders that other speculators might be looking at Kumo as an element of support. And shortly thereafter, we receive signal 5.
- On this signal, we have that agreement that traders are often looking for. This is another opportunity for traders to enter in the trend. Notice the bullishness that follows as price continues to rise after this signal takes place.
- Another weak signal. Once again – we have an inflection with the cloud. However, notice this time that the penetration of the cloud was deeper than the previous touch we had before signal 4.
- We receive yet another strong crossover; however this time price doesn’t continue to accelerate to the upside. As a matter of fact, price begins to trade closer to and within Kumo shortly after the generation of this signal. This gives traders the idea that the trend may be waning. Remember – posture is graded by price actions relationship to Kumo. So, if price action is moving towards Kumo, many traders will have the idea that the trend may potential reverse or congest.
- Now we’ve received a short signal – but this time we are seeing a signal inside the cloud. As we looked at for signal 7, many traders will have the idea that the trend is waning at this point as price is trading closer to, and within Kumo. Notice the strong breakout through the bottom-side of Kumo that follows this signal.
Playing ‘weak’ signals
As we pointed out above, many traders will elect to ignore weak signals altogether; focusing solely on the strong signals which offer agreement between the trigger/base crossover and the pairs’ posture – but with all of the available tools within this indicator – there is quite a bit of room for creativity.
For example, perhaps traders wanted to play ‘weak,’ signals – but only if the posture ended up agreeing with the signal.
So for example, a weak signal generates on a chart; and rather than just ignoring the signal and waiting for a strong crossover – the trader keeps a watchful eye on the chart waiting for the posture to change. The trader can look to take breakout trades, using Kumo as support or resistance. The chart below illustrates this potential play.
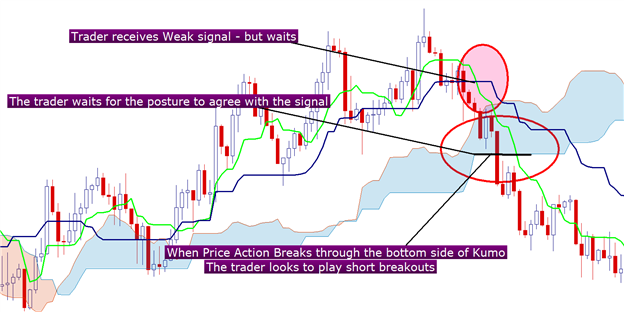
Trader waiting on a ‘weak’ signal: Produced with Marketscope/Trading Station
Assigning Lot Sizes
Due to the fact that traders can grade the strength of signals based on long-term trend direction or biases that may exist, traders can also choose to take weak signals but placing lower emphasis on those signals through trade sizing. So for example:
Trader with a 10k account
Strong Signals: 50k, or 5:1 leverage
Neutral Signals: 30k, or 3:1 leverage
Weak Signals: 10k or 1:1 leverage
Or perhaps a trader with a 250k account wants to be slightly more conservative:
Strong Signals: 1,000k trade size, or 4:1 leverage
Neutral Signals: 500k trade size, or 2:1 leverage
Weak Signals: 250k trade size, or 1:1 leverage
Risk Management
Because of Kumo, Ichimoku has a mechanism of built in risk management.
Remember, Ichimoku is a trend following system; and as we had looked at above, inflections with Kumo give traders the idea that the trend may be breaking down or potentially reversing. So many traders will use this as area as their stop – under the presumption that if, and when price action came back to Kumo – the trend may be over and they want to get out of the trade.
Traders even have flexibility with this mechanism as they can choose ‘conservative,’ or ‘aggressive,’ stops based on their individual risk profiles.
For traders that want to be aggressive, they can look to setting their stops to the nearest side of Kumo. In up-trends, this would be the top side of Kumo; and in down-trends, the bottom side.
This way, as soon as price action threatens Kumo – the trader is taken out of the trade.
However, for traders that want to be more conservative, they can look to the opposing side of the Cloud. This gives those traders extra distance to their stop, which could allow them to stay in the trade, and potentially the trend, even longer.
The chart below shows the difference between aggressive and conservative risk management via Ichimoku.
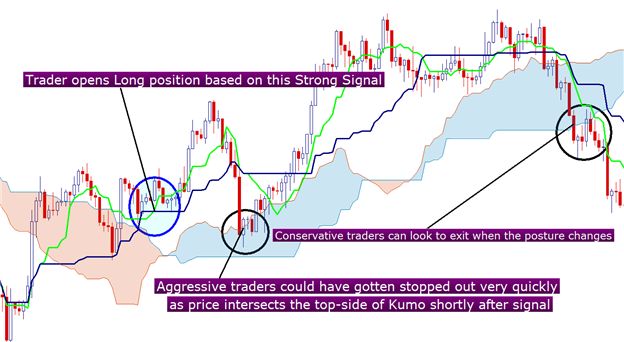
Conservative v/s Aggressive Risk Mgt. via Kumo: Produced with Marketscope/Trading Station
Notice from the above graphic, our conservative trader could have potentially stayed in the trade longer, potentially capturing additional pips that were not available to our aggressive trader. But also notice the additional strong signals that take place after the first long entry. Shortly after our aggressive trader gets stopped out, another buying opportunity presents itself with a strong crossover. Our aggressive traders that had gotten stopped out quickly could potentially re-enter.
Let’s take a look at the above chart in a slightly different way.

Conservative v/s Aggressive Risk Mgt. via Kumo: Produced with Marketscope/Trading Station
In this chart, the trader takes the second signal – and our aggressive traders see far different results than the earlier chart we analyzed.
In the earlier chart, we saw that aggressive traders were stopped out very quickly, potentially amounting to a loss on the trade. The conservative traders, however, were able to stay in the trade longer and generate more pips.
In this chart, we see the exact opposite. Once again, the aggressive trader is stopped out much more quickly – but this time price action continues to fall and actually breaks the bottom of Kumo, giving us bearish posture.
While price was falling, our conservative trader was giving up more of the gain that would have been generated by this strong crossover signal.
Because the pair continues on its downward trajectory and breaks the bottom side of Kumo, stopping out our conservative traders – they see far less favorable results than our aggressive traders; and quite a bit of a different scenario than the first chart we looked at.
Conservative v/s Aggressive
After examining the above charts, many traders may be wondering – should I use aggressive or conservative risk management with Ichimoku?
Unfortunately an answer to that question isn’t so clear cut.
The fact of the matter is that regardless of what trading system we are using, price is unpredictable, and nobody knows for certain where price will move in the future.
We looked at just two examples above; one that shows a situation in which a conservative risk profile works for the best, and another in which an aggressive profile worked the best.
But these instances aren’t necessarily governed by conservative v/s aggressive risk management; it has more to do with price. As we saw in the second example, price continued falling – causing our conservative traders to give up additional pips that our aggressive traders did not. However, had price not broken through the bottom side or Kumo, and instead, moved higher re-affirming the bullish posture we had previously seen (as we had seen in our first example) the conservative trader could have come out on top.
For traders that are new to Ichimoku, it is advisable to choose a risk profile that most closely resembles your overall investing or trading risk profile. That way, management of trades is more comfortable based on your individual risk tolerances, objectives, and goals.
Ichimoku Signals
The Ichimoku Kinko Hyo system includes five kinds of signal, of which this site highlights the most recent of each for each ticker.
The Ichimoku signals, indeed all Ichimoku elements, should never be taken in isolation, but considered in the context of the overall chart. Ichimoku Kinko Hyo is a visual technical analysis system and the charts are designed to be considered in their entirety, with regard given to the relationships between all of the elements, including the price. As such, Ichimoku is not suitable for automated or "single event" decision making.
Remember that Ichimoku Kinko Hyo is a technical trend trading charting system and trends can and do change, so your readings of the charts should be probabilistic, rather than predictive. As with most technical analysis methods, Ichimoku is likely to produce frequent conflicting signals in non-trending markets.
The five kinds of signal are described below. Most can be classified as strong, neutral, or weak by their proximate relationship to the Kumo (cloud), but each signal may be further strengthened, weakened, or nullified by the relationships between other elements. All signals must be considered in respect to the overall chart.
Tenkan Sen / Kijun Sen Cross
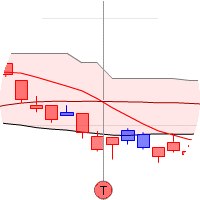
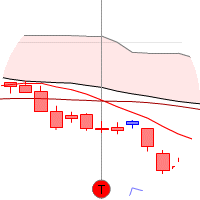
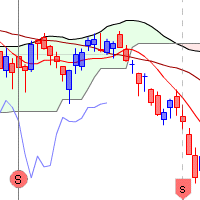
The Tenkan Sen / Kijun Sen Cross signal occurs when the Tenkan Sen (Turning line) crosses the Kijun Sen (Standard line).
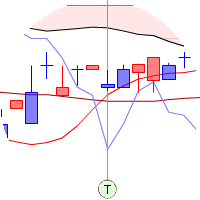
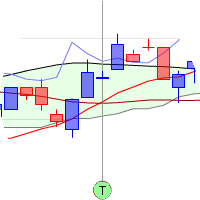
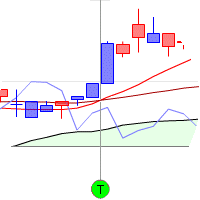
A bullish signal occurs when the Tenkan Sen crosses from below to above the Kijun Sen
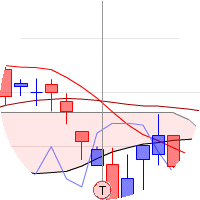
A bearish signal occurs when the Tenkan Sen crosses from above to below the Kijun Sen
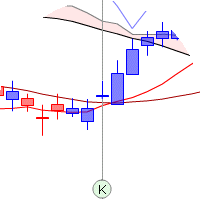
The Kijun Sen Cross signal occurs when the price crosses the Kijun Sen (Standard line).
A bullish signal occurs when the price crosses from below to above the Kijun Sen
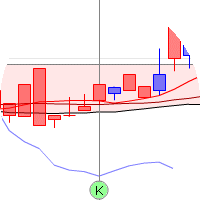
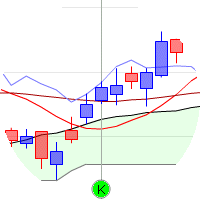
A bearish signal occurs when the price crosses from above to below the Kijun Sen
A weak bearish signal occurs when the cross is above the Kumo

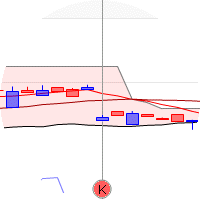
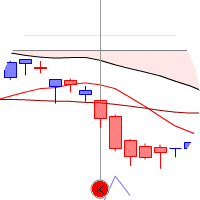
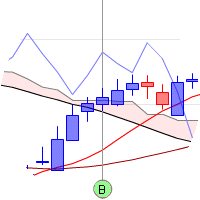
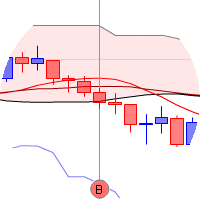
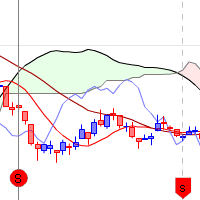
The Kumo Breakout signal occurs when the price leaves or crosses the Kumo (Cloud)
A bullish signal occurs when the price goes upwards through the top of the Kumo
Senkou Span Cross
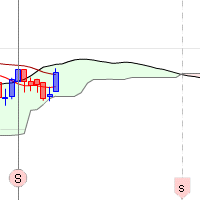
The Senkou Span Cross signal occurs when the Senkou Span A (1st leading line) crosses the Senkou Span B (2nd leading line).
As the Senkou Spans are projected forward, the cross that triggers this signal will be 26 days ahead of the price and, hence, the actual date that the signal occurs. The strength of the signal is determined by the relationship of the price on the date of the signal (not the trigger) to the Kumo (Cloud).
A bullish signal occurs when the Senkou Span A crosses from below to above the Senkou Span B
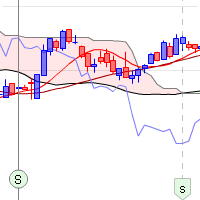
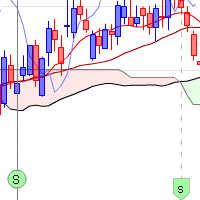
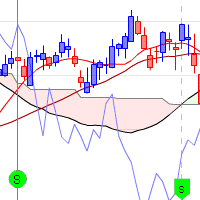
A bearish signal occurs when the Senkou Span A crosses from above to below the Senkou Span B
Chikou Span Cross
The Chikou Span Cross signal occurs when the Chikou Span (Lagging line) rises above or falls below the price.
Note that the Chikou Span must be rising when it crosses to above the price for a bull signal and falling when it crosses to below for a bear signal; just crossing the price alone is not sufficient to trigger the signal.
As the Chikou Span is the closing price shifted into the past, the cross that triggers this signal will be 26 days behind the price and, hence, the actual date that the signal occurs. The strength of the signal is determined by the relationship of the price on the date of the signal (not the trigger) to the Kumo (Cloud).
A bullish signal occurs when the Chikou Span rises from below to above the price
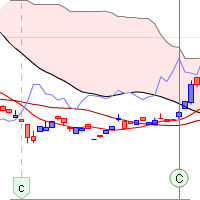
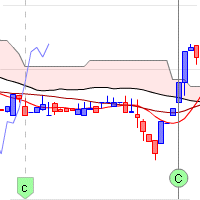
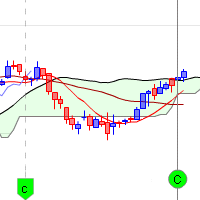
A bearish signal occurs when the Chikou Span falls from above to below the price
