How to Draw a Rose
One of my favorite subjects to capture in art is flowers. About six years ago, I became obsessed with drawing them. Before that, portraiture was always my calling, but suddenly everything changed. I thought it was just a phase, but I can’t get out of it. SO, I’m embracing it instead, and following what truly inspires me. Today I’ll show you how to draw a rose.
Flower drawing is also one of my most popular classes. People seem to share the same passion for them as I do. What many do not understand is that you can draw a rose or any flower just as beautifully in graphite as in color. In fact, I suggest starting out by drawing in graphite so you can learn important tricks. For example, beginning artists need to understand the necessary elements and details that must be captured, and graphite is easier to make adjustments with.
I’ve created this step by step drawing lesson for you in graphite, to teach you what to look for when drawing flowers. This will be done using my proven method, “The Hammond Blended Pencil Technique.”
How to Draw a Rose for Beginners

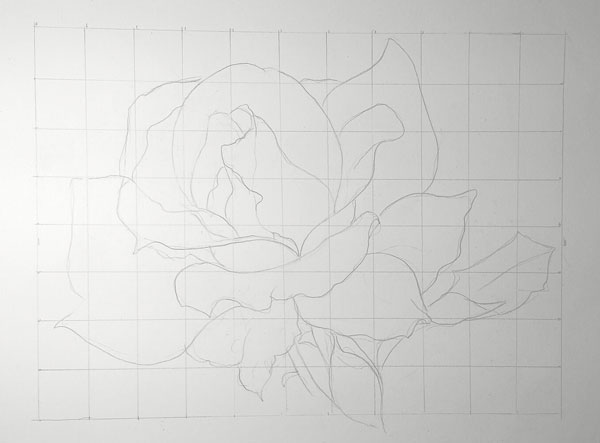
Step 1: This is a basic outline of a rose. I placed a one inch grid over it to help you create an accurate line drawing. This grid is 8×11. Draw a grid like this one very lightly on your paper with a mechanical pencil. (I use smooth bristol and 2B lead in my pencil.) Then, draw what you see within each square. When you’re sure you have a good drawing, carefully remove the grid from your paper with a kneaded eraser.
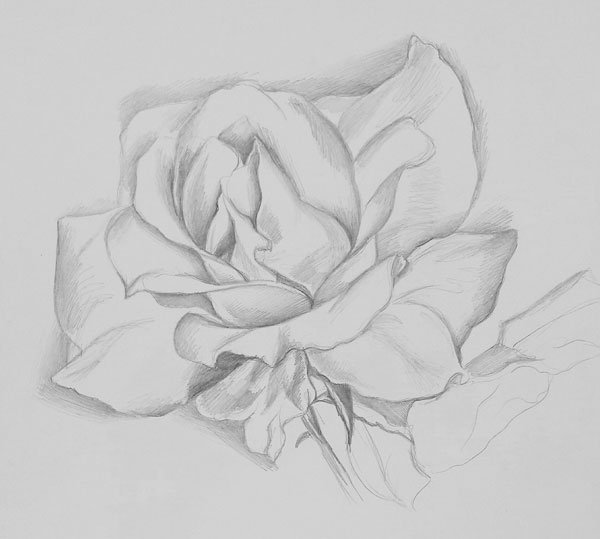
Step 2: Flowers are made up of many overlapping surfaces. When learning how to draw a rose, it’s important to accurately create the edges to reduce the appearance of outlining. In this example, I have careful analyzed the petals, and placed some dark tone to create the edges of each petal. This becomes a “tonal map” indicating light and dark areas. Each petal is different. Look where some petals are light, and cast a shadow below. Some are dark on the edge against the light background. By placing in the darker tones like this example, you start to develop the form.
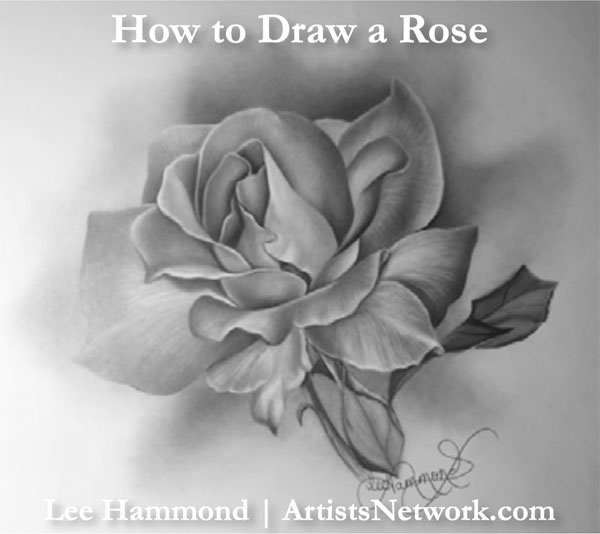
Step 3: After all of the edges have been identified, the blending is what makes the flower look real. I worked on one rose petal at a time, and blended from dark to light, like a value scale. I like to use stumps and tortillions to blend my graphite to a very smooth finish. Each rose petal is different. Some have bright highlights, and some have deep shadows. These patterns of light and dark are what make things look dimensional.
The out-of-focus background also adds dimension. You can see how I used darkness behind some of the petals to make the light edges stand out. This can be achieved by using a very dirty stump that already has a ton of graphite on it.

