My introduction to Slothicorn and some of my tutorial of my drawing and my past drawing. .
Hi im Abraham my freinds call me Abs for short, im 23 y/0 from phillipines im not professional artist not like them. . i dont take any kind of art course i just love to draw, i draw what see in my imagination and also i submit a lot of Art entry here at Steemit for the artcontest, i support a lot of art contest somtimes i do a of art tutorial here at steemit. .

I started to buy art materials just pencil and eraser only and i start to draw. this is my past drawing. .
(Some image of my drawing 2016).

hat of witch

this is my drawing of my BVB. black veil brides is one of the famouse band.. because of the lyrics is all about of the bully and depresion. .

(This is my art image past 2017)
if you see i started to use ballpen,pentel,graphite pencil.

also i start to make some of my 3D drawing. .

this my first darwing using colour ballpen..
 .
.
And also i try different techniques of art like scribbling,and pointillisim.
This scribbling art of Katana from suicide squad

scribbling of jollibee, Jollibee is the largest fast food chain in the Philippines, operating a nationwide network of over 750 stores. A dominant market leader in the Philippines, Jollibee enjoys the lion's share of the local market that is more than all the other multinational brands combined.

my first pointillisim art.

and this is my first try to make a pointillisim portarait..

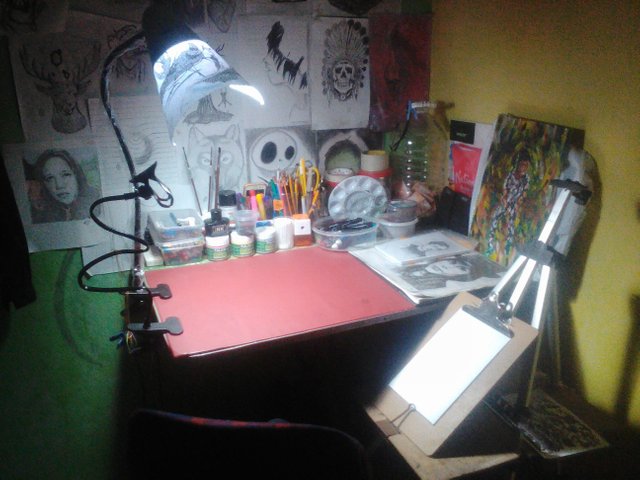
i started to buy diffirent art materials..

i gonna show you to how i make a pointillisim portraiture.step by step. . .
"How to pointilisim/stippling portrait or dots drawing"
*What is a pointillism--
A technique of impressionist portrait using tiny dots of pure colors, which become blended in the viewer's eye.
*Pointillism/Stippling--
Is an incredible drawing technique that allows you to create a very detailed portrait with only dots. Since you're using dots instead of lines,cross hatching or shading, you don't have to worry about making someone look overly wrinkled or drawing a line wrong. Pointillism or stippling is the simple act of dotting ink onto paper and in this lesson we're going to use it to make a beautiful portrait.
*Material that you need--
"vellum board or oradinary paper
"graphite pencil or ordinary pencil
"ruler
"eraser
"UNI-PIN fineline or ecco pigment pen faber castell (im using 0.1 and 0.05 for my tactic)
"CX colour ballpen

*Ready Your Reference--
Picking the right photo always makes this process easier so I'm going to show you how to ensure your photo is the best it can be for inking.

*Sketch It Out--
Sketch out the head, putting in all of the details for the eye, nose, mouth, hair line, etc.
-If you don't have much experience sketching portraits, a great way to get around this step is to print out the portrait or use GRID drawing apps (free to download on googleplay) you are drawing at the size you want the finished piece to be. Then tape your print out to a sunny window. Take your drawing paper and tape it on top of the print out. Next, trace the outline of the face plus the details of the eye, nose, mouth, hairline, etc. When you're done, untape your drawing and print out from the window. You've drawn a head!

-Now that we have the outline, it's time to turn it into an ink-by-number drawing. Just like how paint-by-number turned us all into Van Gogh's as children, this will make your stippling much easier. So look at your photograph and determine what areas are the blackest blacks. Draw the shape of that black area on your drawing. If you like, you can even number it #10 to correspond to your value scale. Then go value scale box by value scale box (or feature by feature if that's easier for your mind) and draw out the areas with their corresponding numbers

-Actually putting pen to paper on your first stippling portrait can be frightening.

-At this point you can decide whether you want a dark background or a light background behind your subject. If the edge of the subject's profile is darker, it works best to have a light or white background. Otherwise their features will merge with the background. If there is more light on the edge of their face, then a darker background will help push them forward at the viewer. For this portrait, I choose to leave the background white as the sweater was quite dark.
-Now that you have the profile dotted in, it's time to expand. Begin stippling in the areas that touch the profile line, working to blend in the outer line of ink you drew in the last step so that it doesn't look like an outline, then start to play the colour.


-Congratulations! You have your portrait all inked in! I looks a bit blocky though, doesn't it? Now it's time to go in and delicately dot in some transitions.

-Now it's time to erase all those pencil lines you drew earlier! This will give you a true look at the finished piece. Sometimes when you erase the pencil lines, you discover that a few areas get lighter so you'll want to go in and darken those spots with more dots.

-Im just tired so i need to rest shortly

-Wasn't it fun? Portraits make amazing gifts for friends and family, so why not give this style a try!


.
.
.
.
.
A huge thank you Mam @haide she's the one always help me and also she told me about the meaning of Slothicorn. . .
.
.
.
.
.
.

have a nice day steemians and SLOTHICORN. . .
You got the skills. Always a pleasure to see an artists work area. You do good work. Keep practicing and push yourself from the comfort zone to evolve your ability.
Oooh I loved the portrait and the shown process behind it <3
You've received an upvote from @slothicorn! Click Here to Learn More
(@ghulammujtaba)
Awesome stuff @abs-pointilisim