End-Grain Cutting board made from home, Great Christmas gift!
.png) I made a cutting board as a Christmas gift out of Maple, White Oak, Jatoba, and Purpleheart wood. The first thing I did was figure out the proper measurements that will give the cutting board a pattern when flipped. I used a special program that showed me a diagram of the finished product.
I made a cutting board as a Christmas gift out of Maple, White Oak, Jatoba, and Purpleheart wood. The first thing I did was figure out the proper measurements that will give the cutting board a pattern when flipped. I used a special program that showed me a diagram of the finished product.
After fiddling with the numbers, I ended up with a design I liked with these measurements.
.5 inches of Maple
.75 inches of White Oak
.9 inches of Purpleheart
.75 inches of White Oak
1.5 inches of Jatoba
2 inches of White Oak
.4 inches of Purpleheart
.75 inches of White Oak
.8 inches of Maple
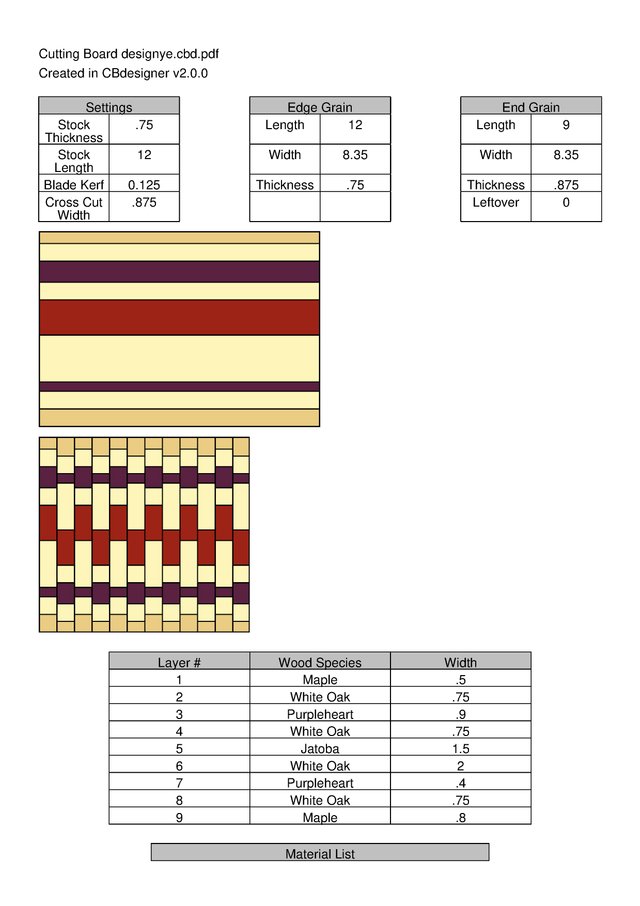

I used a chart from online that converted decimal inches into fraction inches, the type of measurement that my table saw uses. For example, .9 inches of Purpleheart is just about equivalent to 29/32 on the table saw.
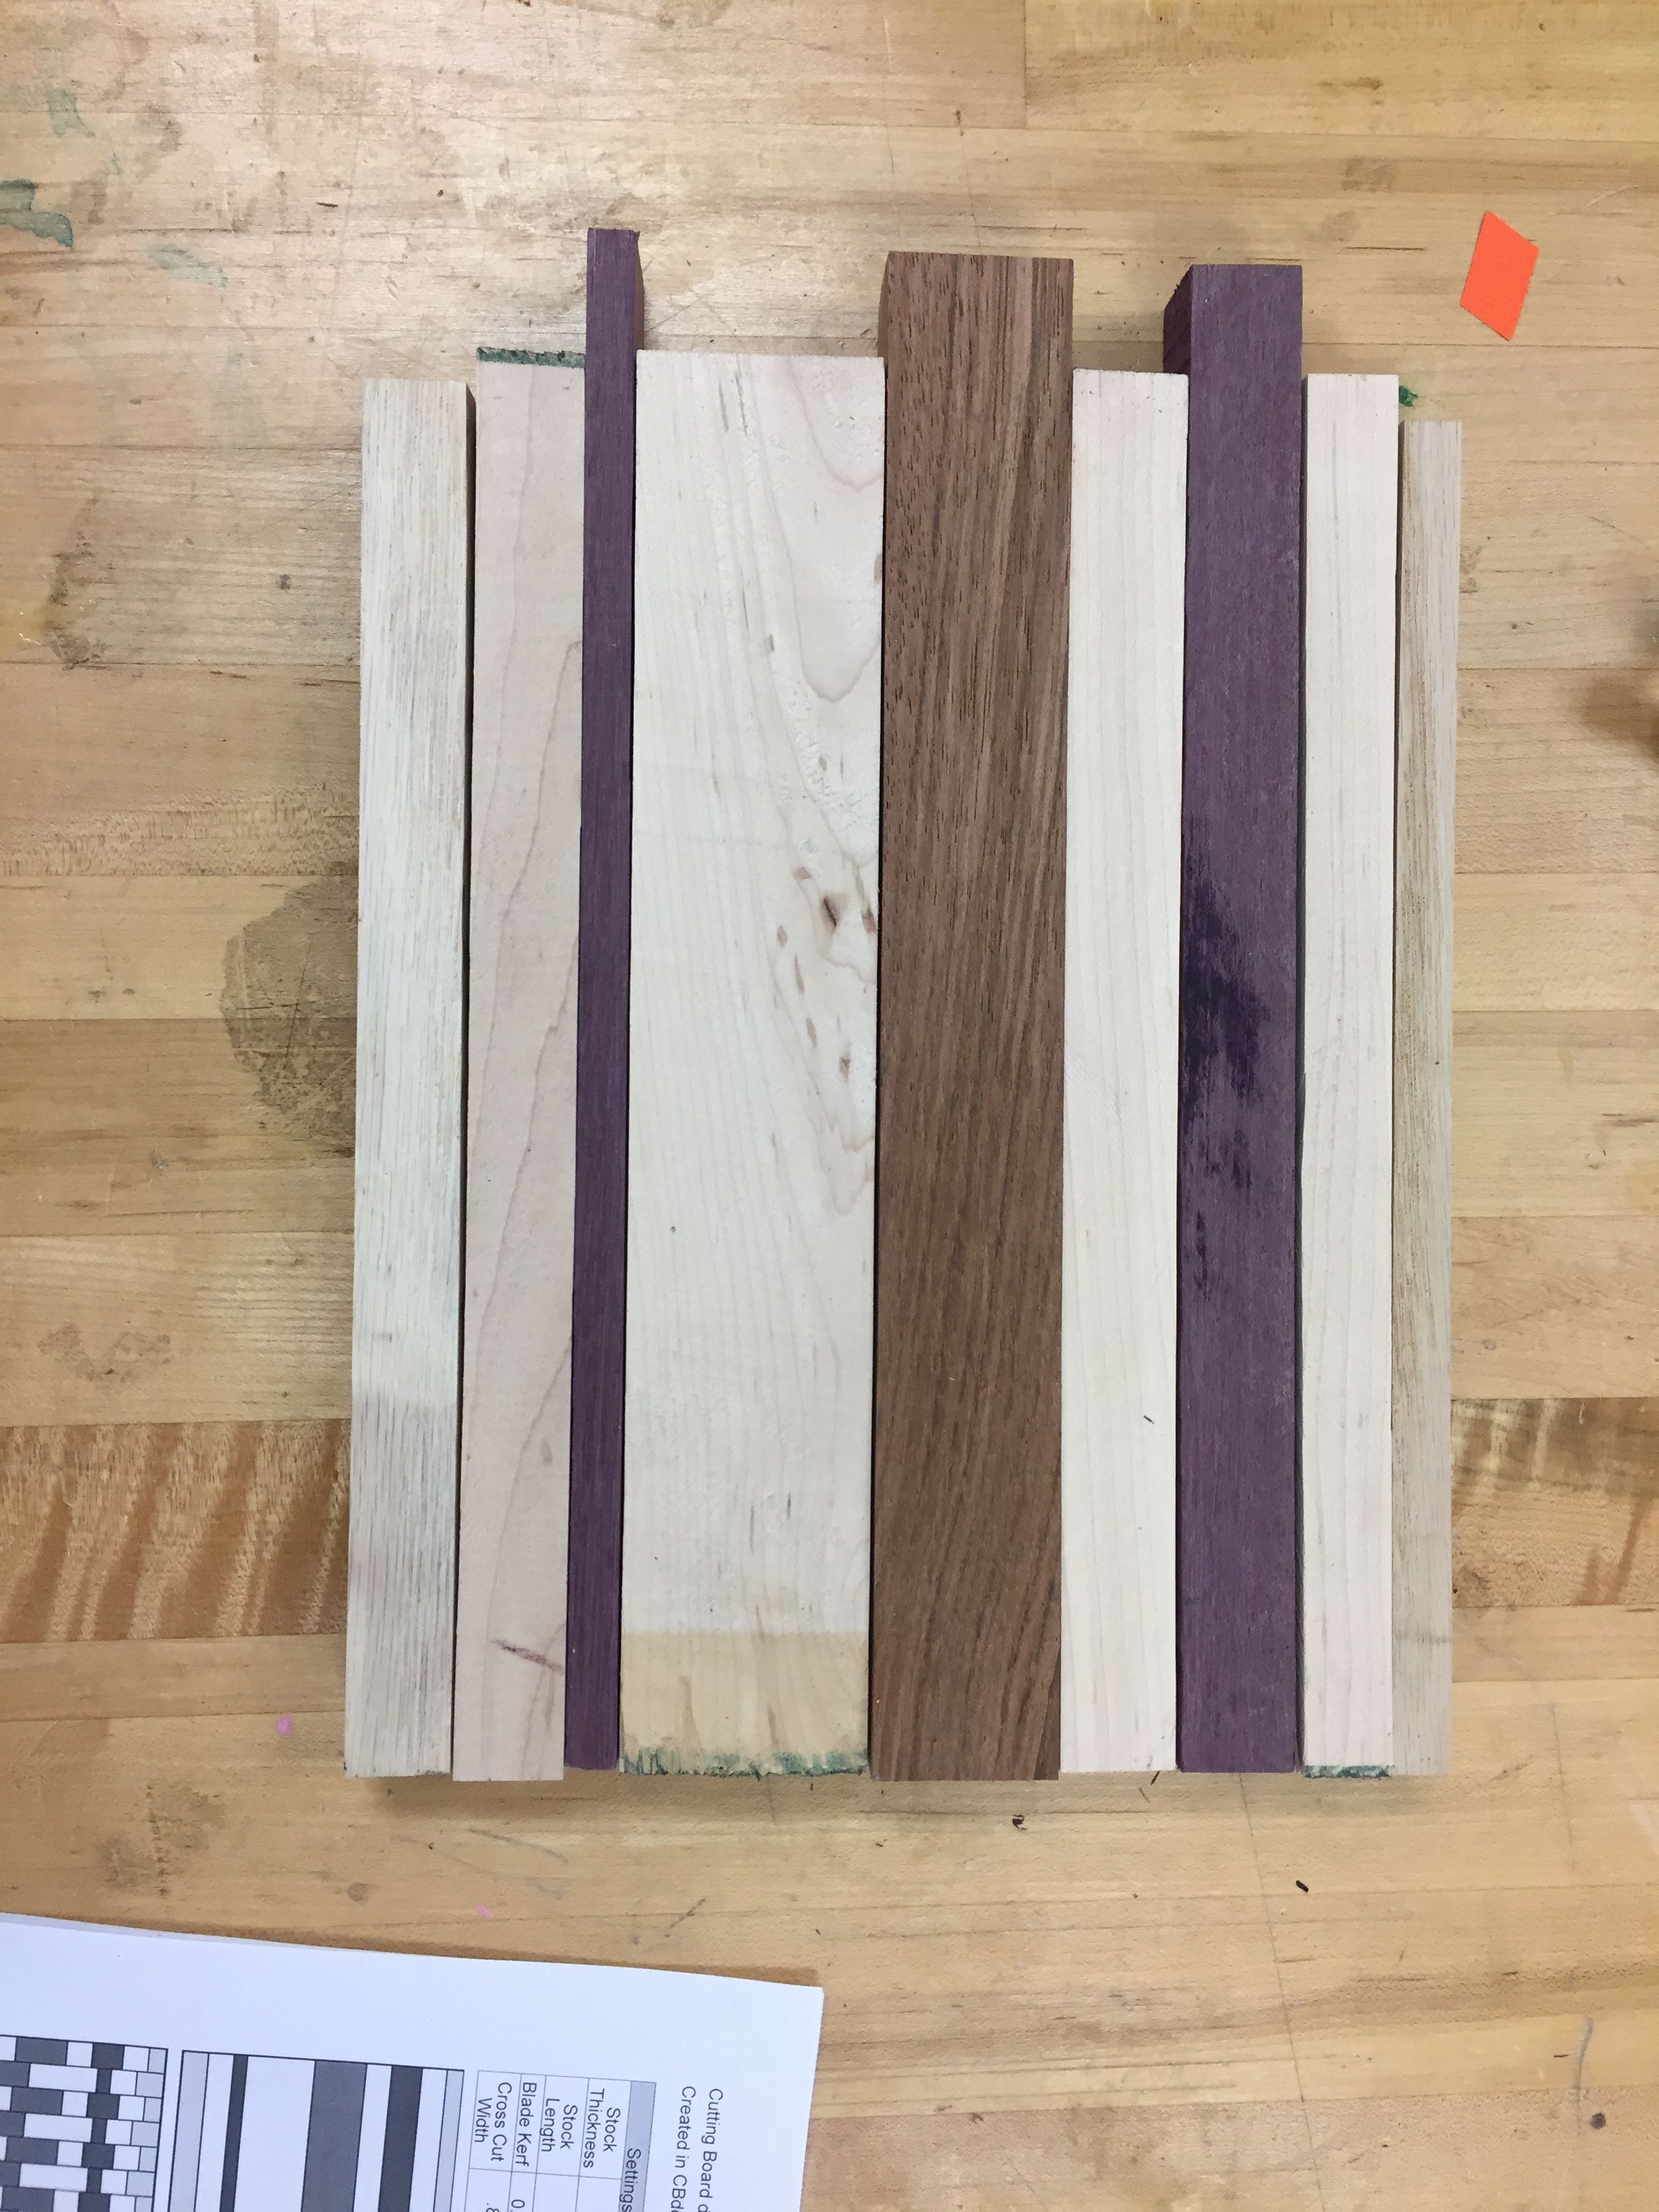
After cutting out all of the pieces, I dry fitted them onto my workbench and got the glue and clamps ready.
I found the biggest clamps around, and one small squeezie clamp. Using two "sacrificial" pieces of wood and a piece of paper, not a single drop of wood glue got onto the workbench, or my clamps. 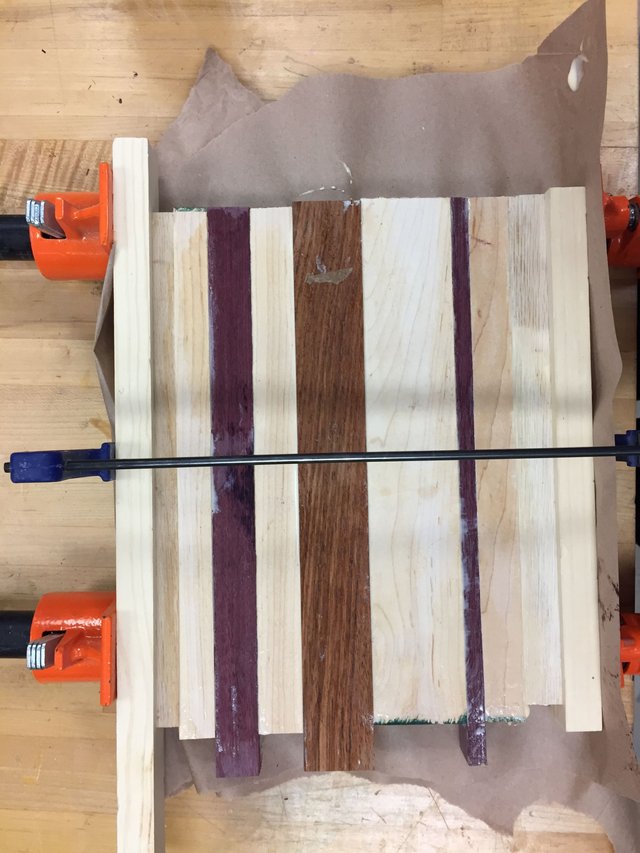
After the glue dried, I sent it through the planer until it was flat and free of glue on both sides.
I went back to the table saw and got ready to make the end grain cuts. If you go back to the picture of diagram, I made the cross cut width to be .875 inches, or 7/8 in fractional form. This means that I have to set the table saw to .875 inches to get the desired pattern. After doing that, I pushed the glued pieces of wood through the table saw, again and again until I couldn't anymore. There was enough wood for 11 pieces. By flipped every other slice, and pointing the end grain up, I got the design I was looking for. 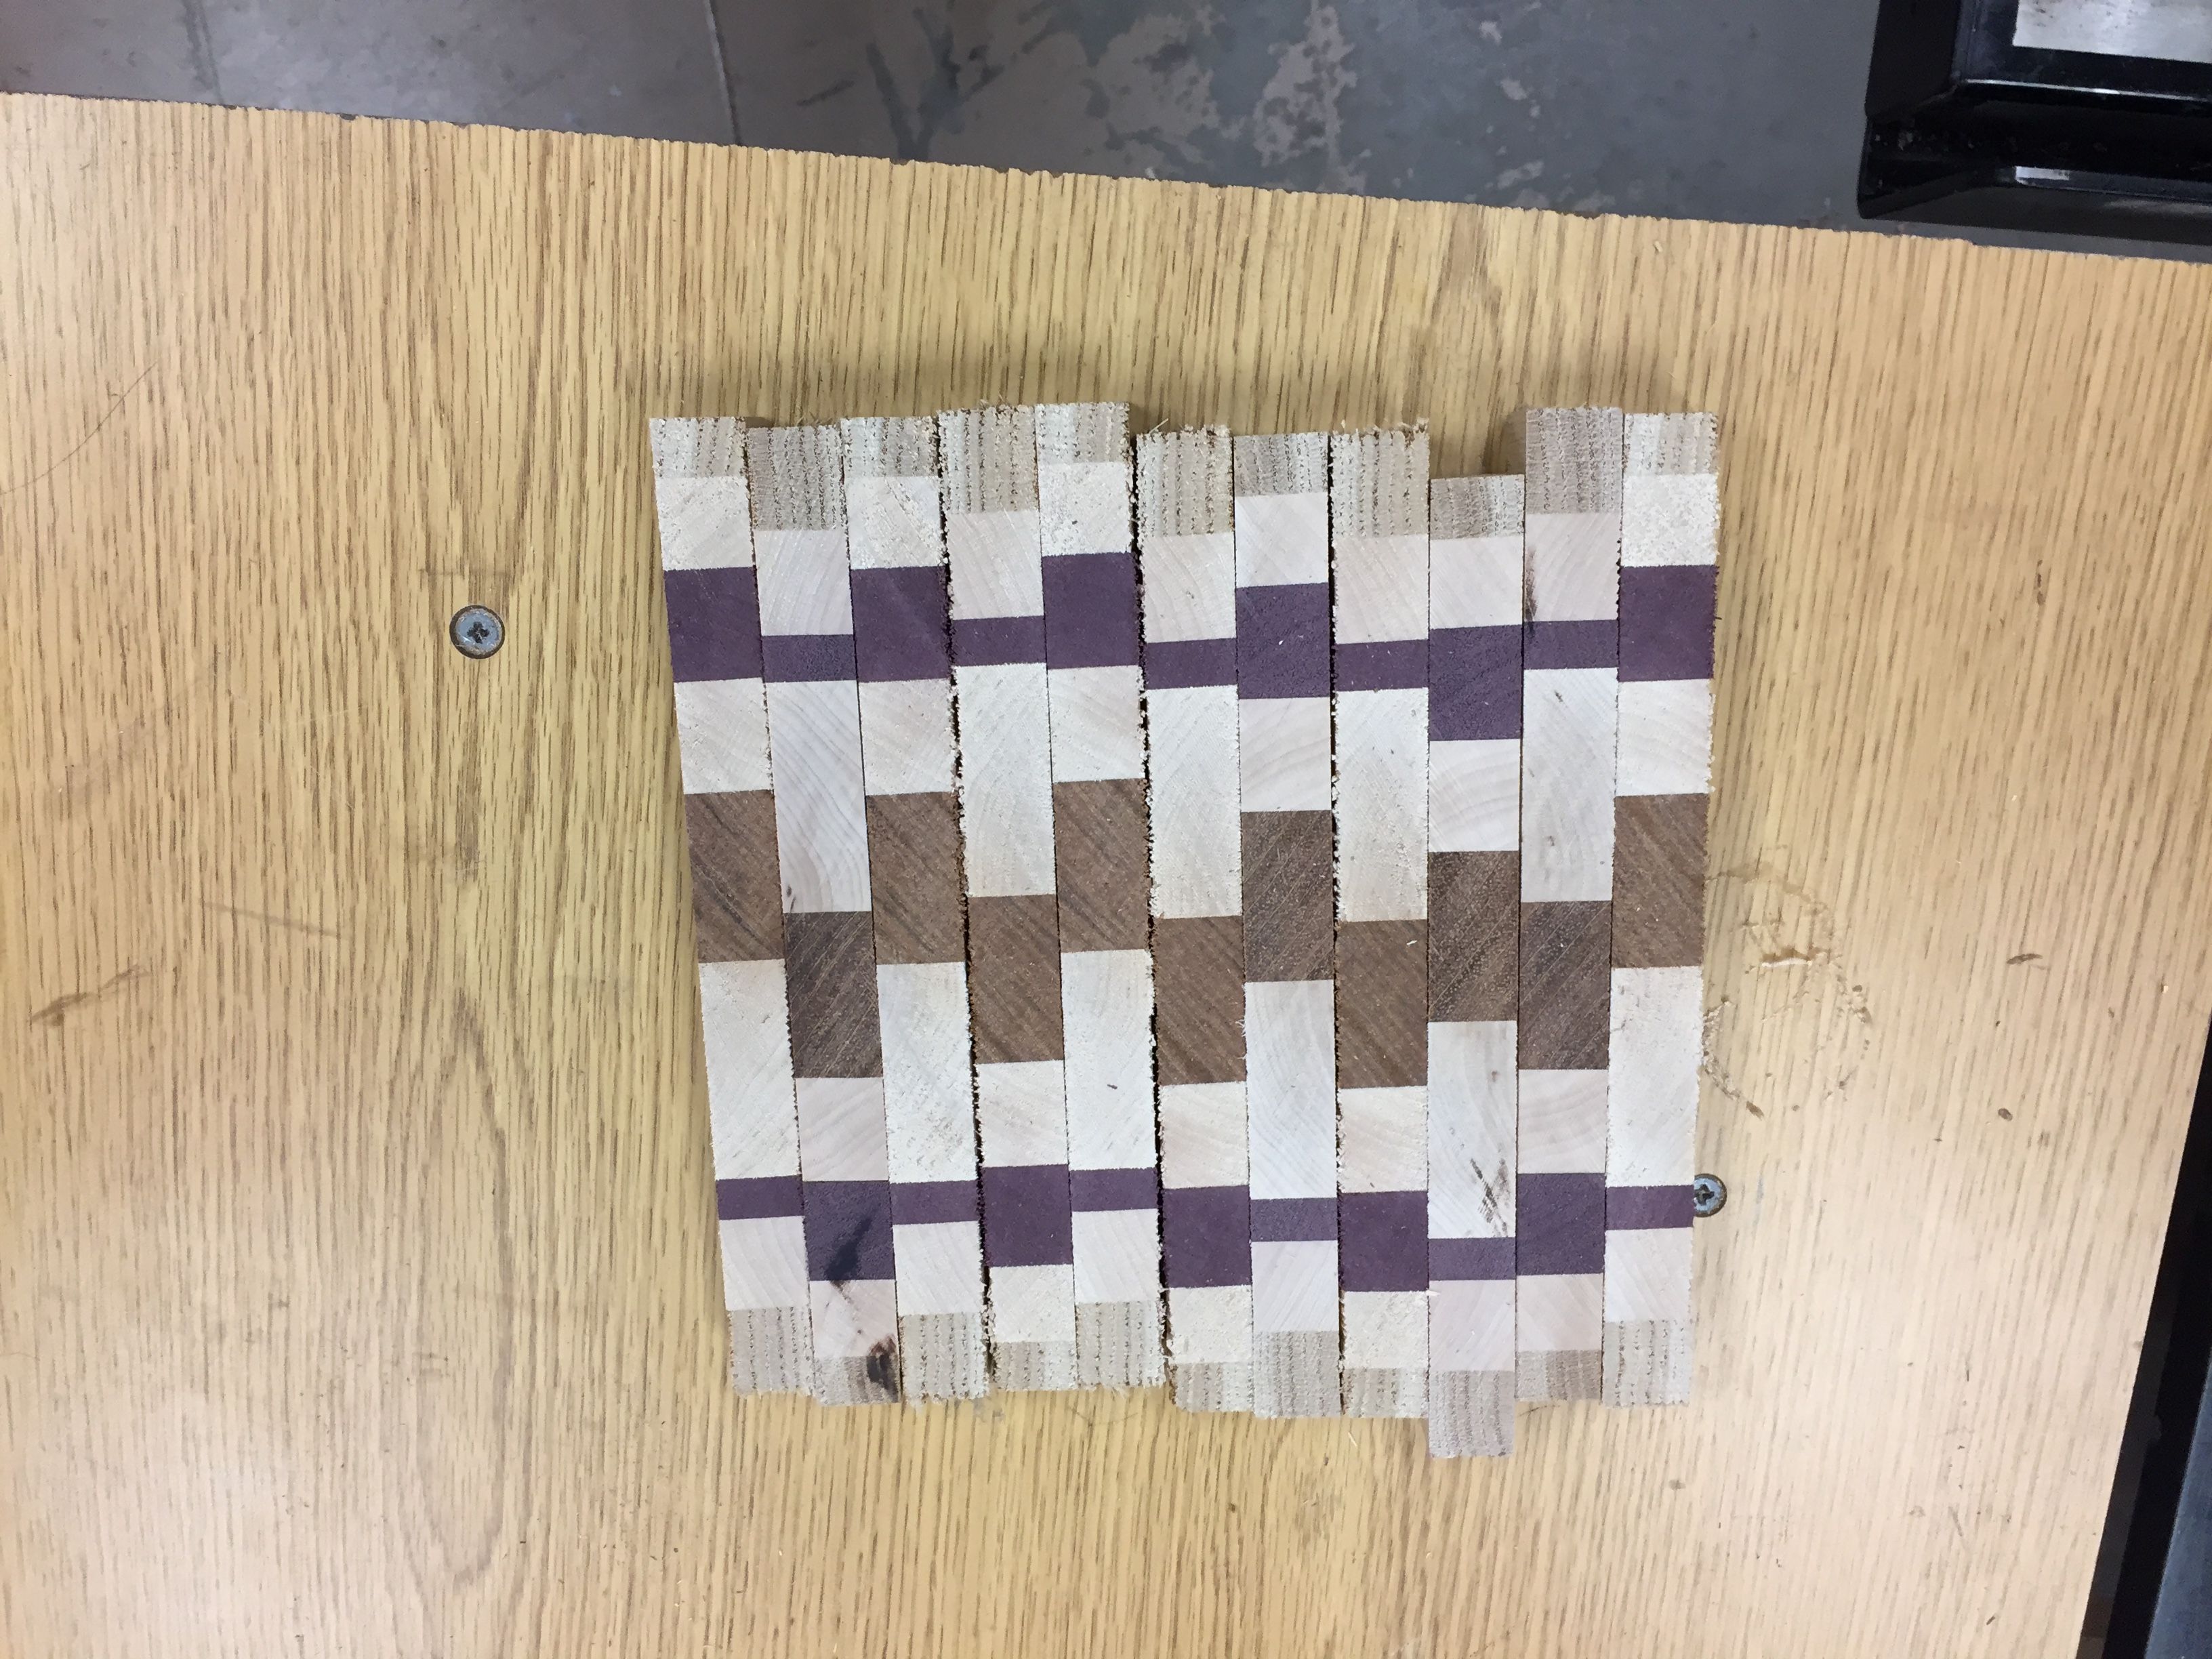
I glued together these pieces the same way I glued together the edge grain pieces. 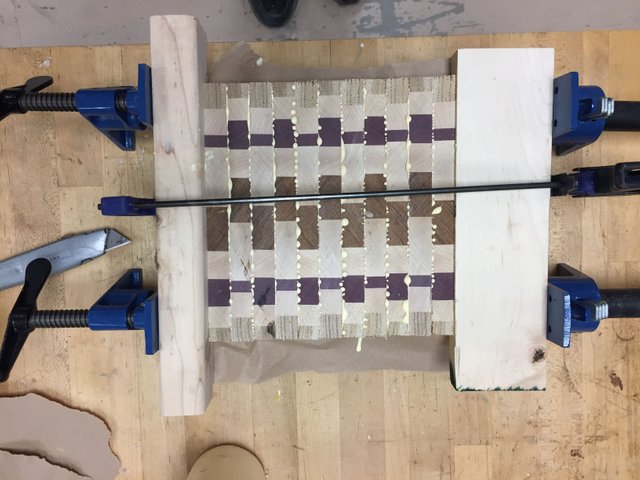
After this dried, it was covered in glue and paper, but I couldn't just put this through a planer. The planer would rip chunks off, splintering the wood everywhere. I used my friends drum sander to flatten each side until there was no glue or uneven spots. This took me 4 hours! Because it sands the material away rather than cutting it away, each time I lowered the height, the cutting board had to be passed through at least ten times before I lowered it again. After all this work, it was completely covered in tool marks, making it look like a grain of it's own. I moved back over to my workbench and took out the orbital sander and some 100, 180, and 220 grit sandpaper. I started with 100, and stood there for hours removing all the marks created by the drum sander. I made dips along each edge to create a bevel, since I don't own a routing table. I spent maybe 10-20 minutes on 180 and 220, just to make it a bit smoother. 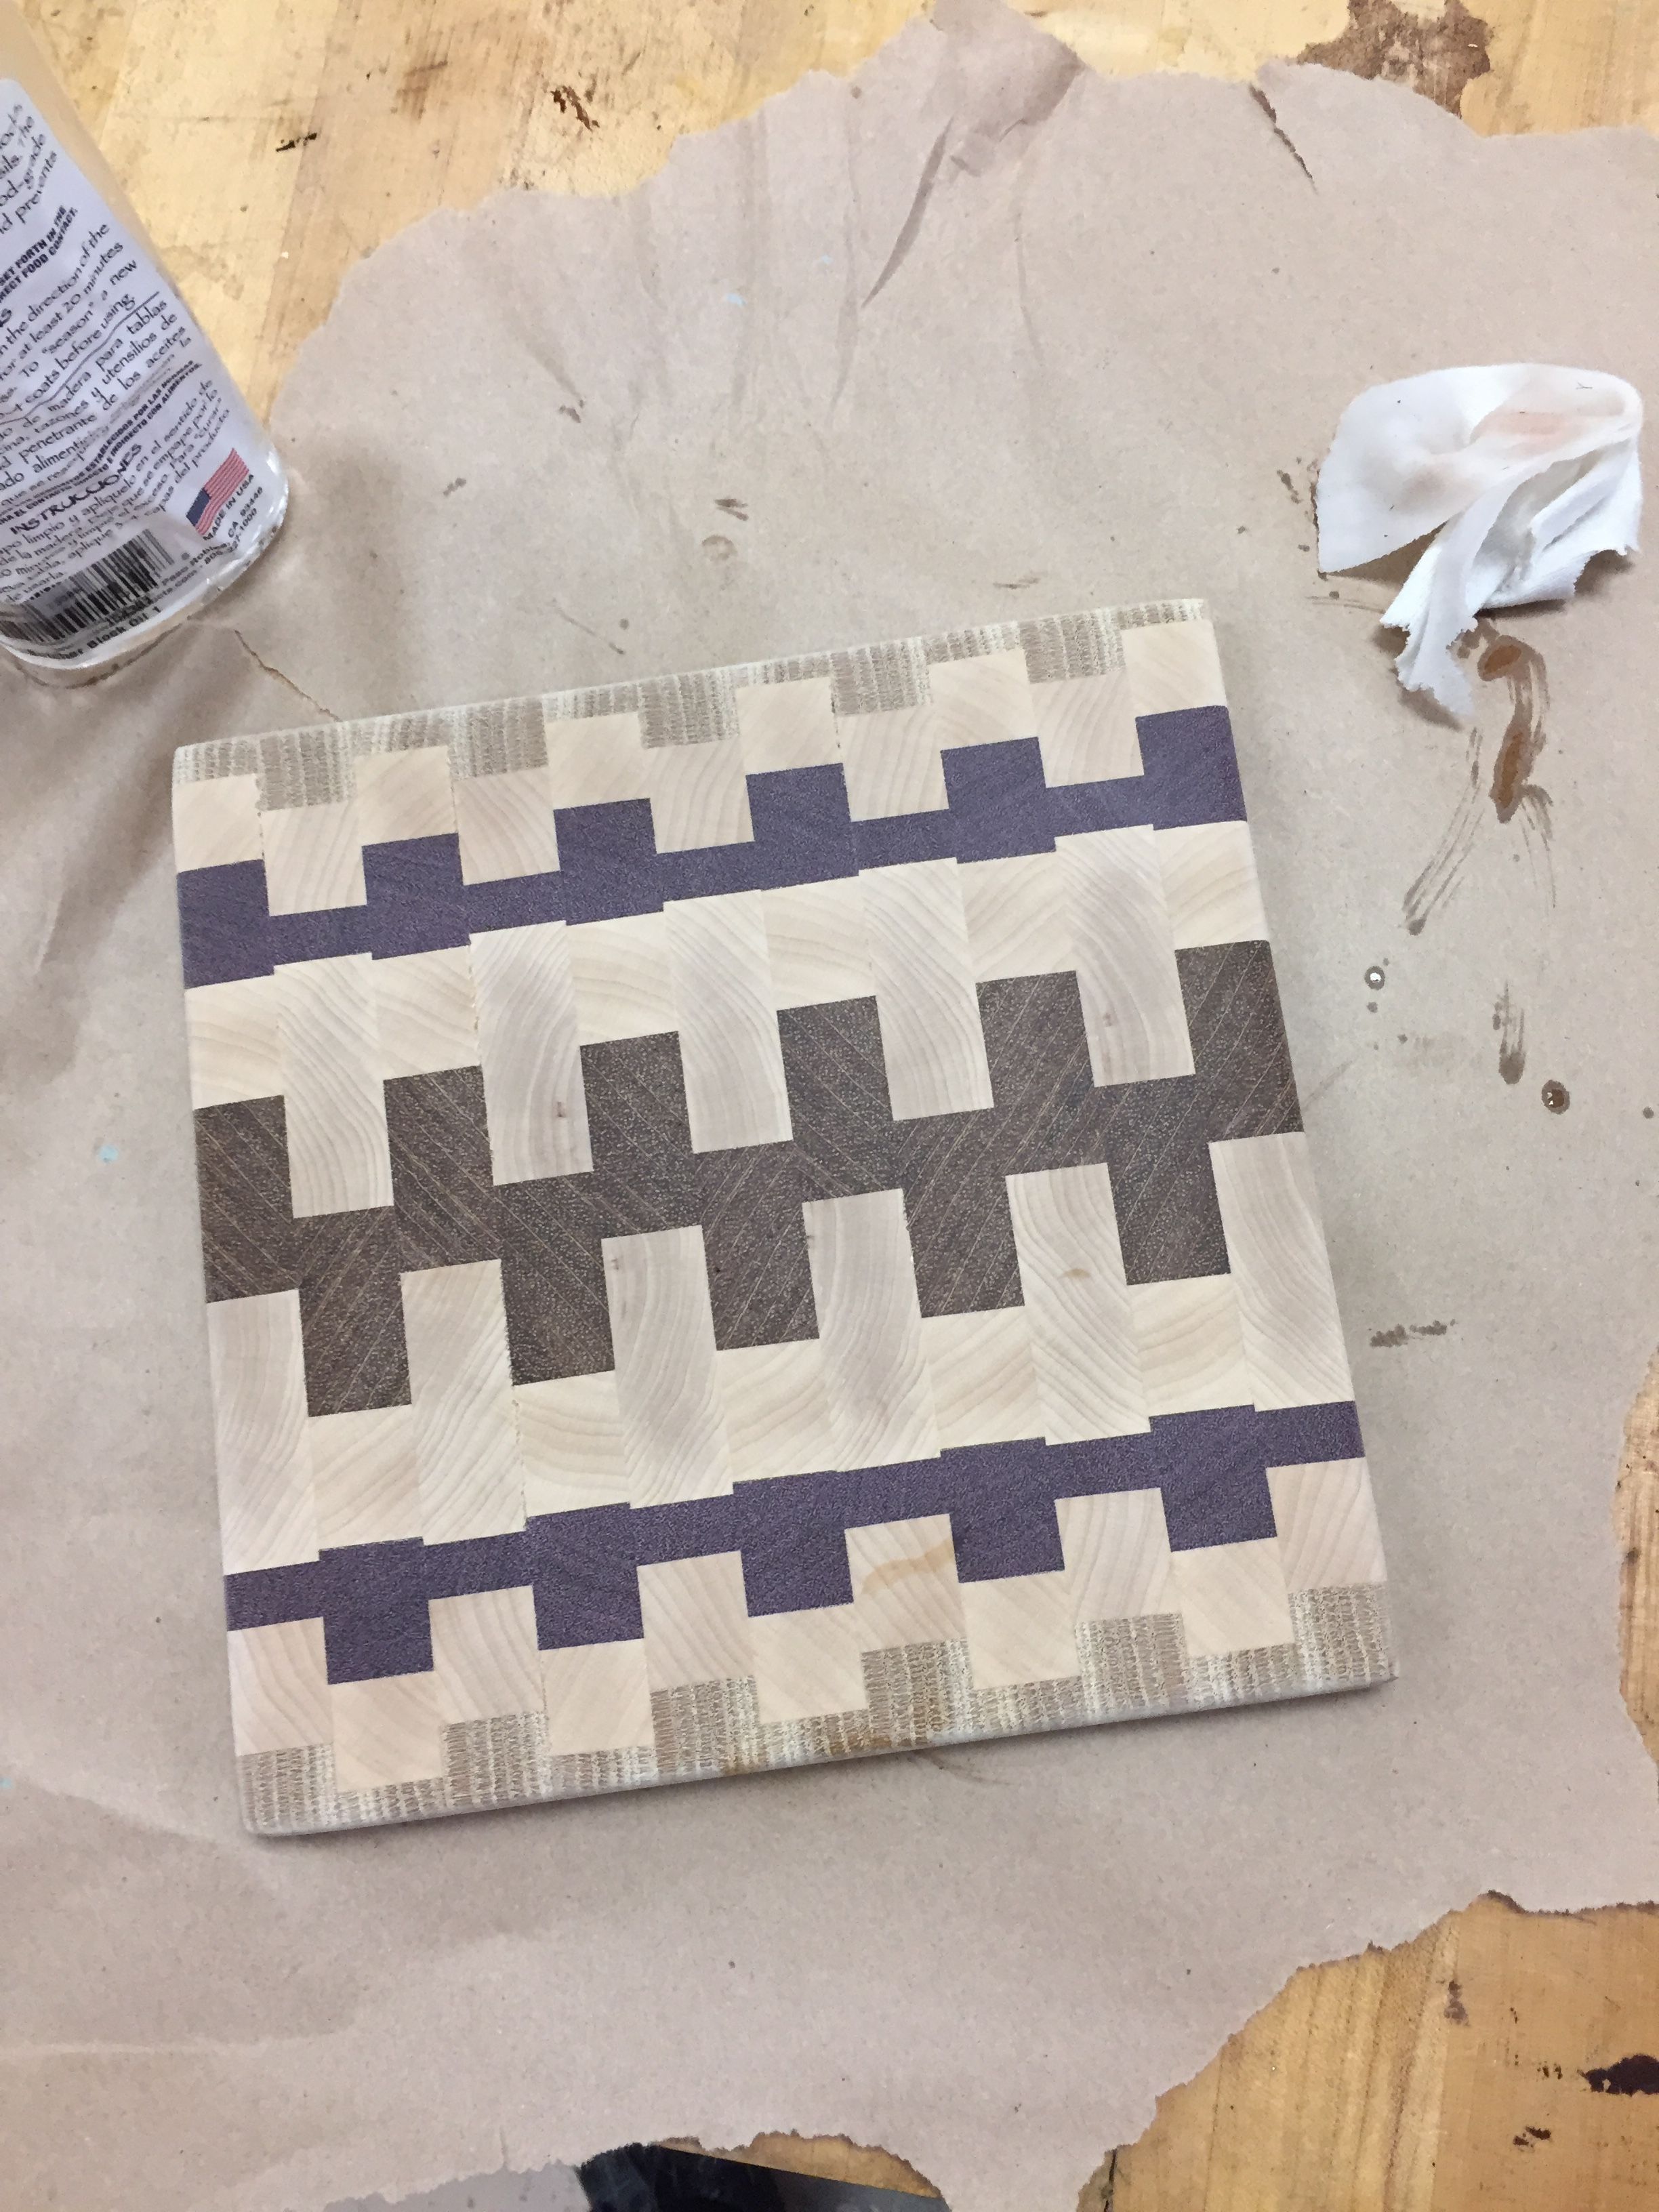
I pulled out some Cutting Board oil, but it's probably just normal mineral oil. I soaked the wood, waited 20 minutes, wiped it off, and repeated that until it was just right. 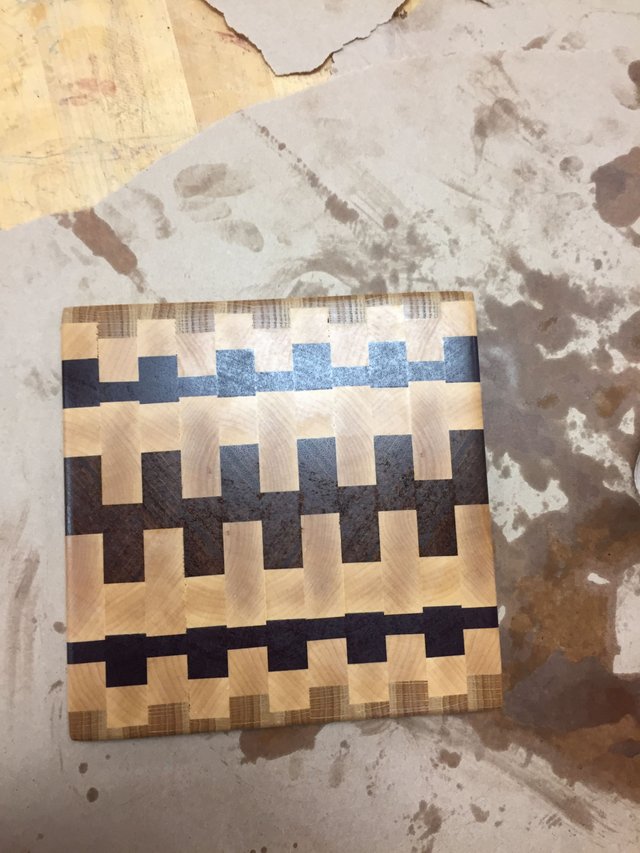
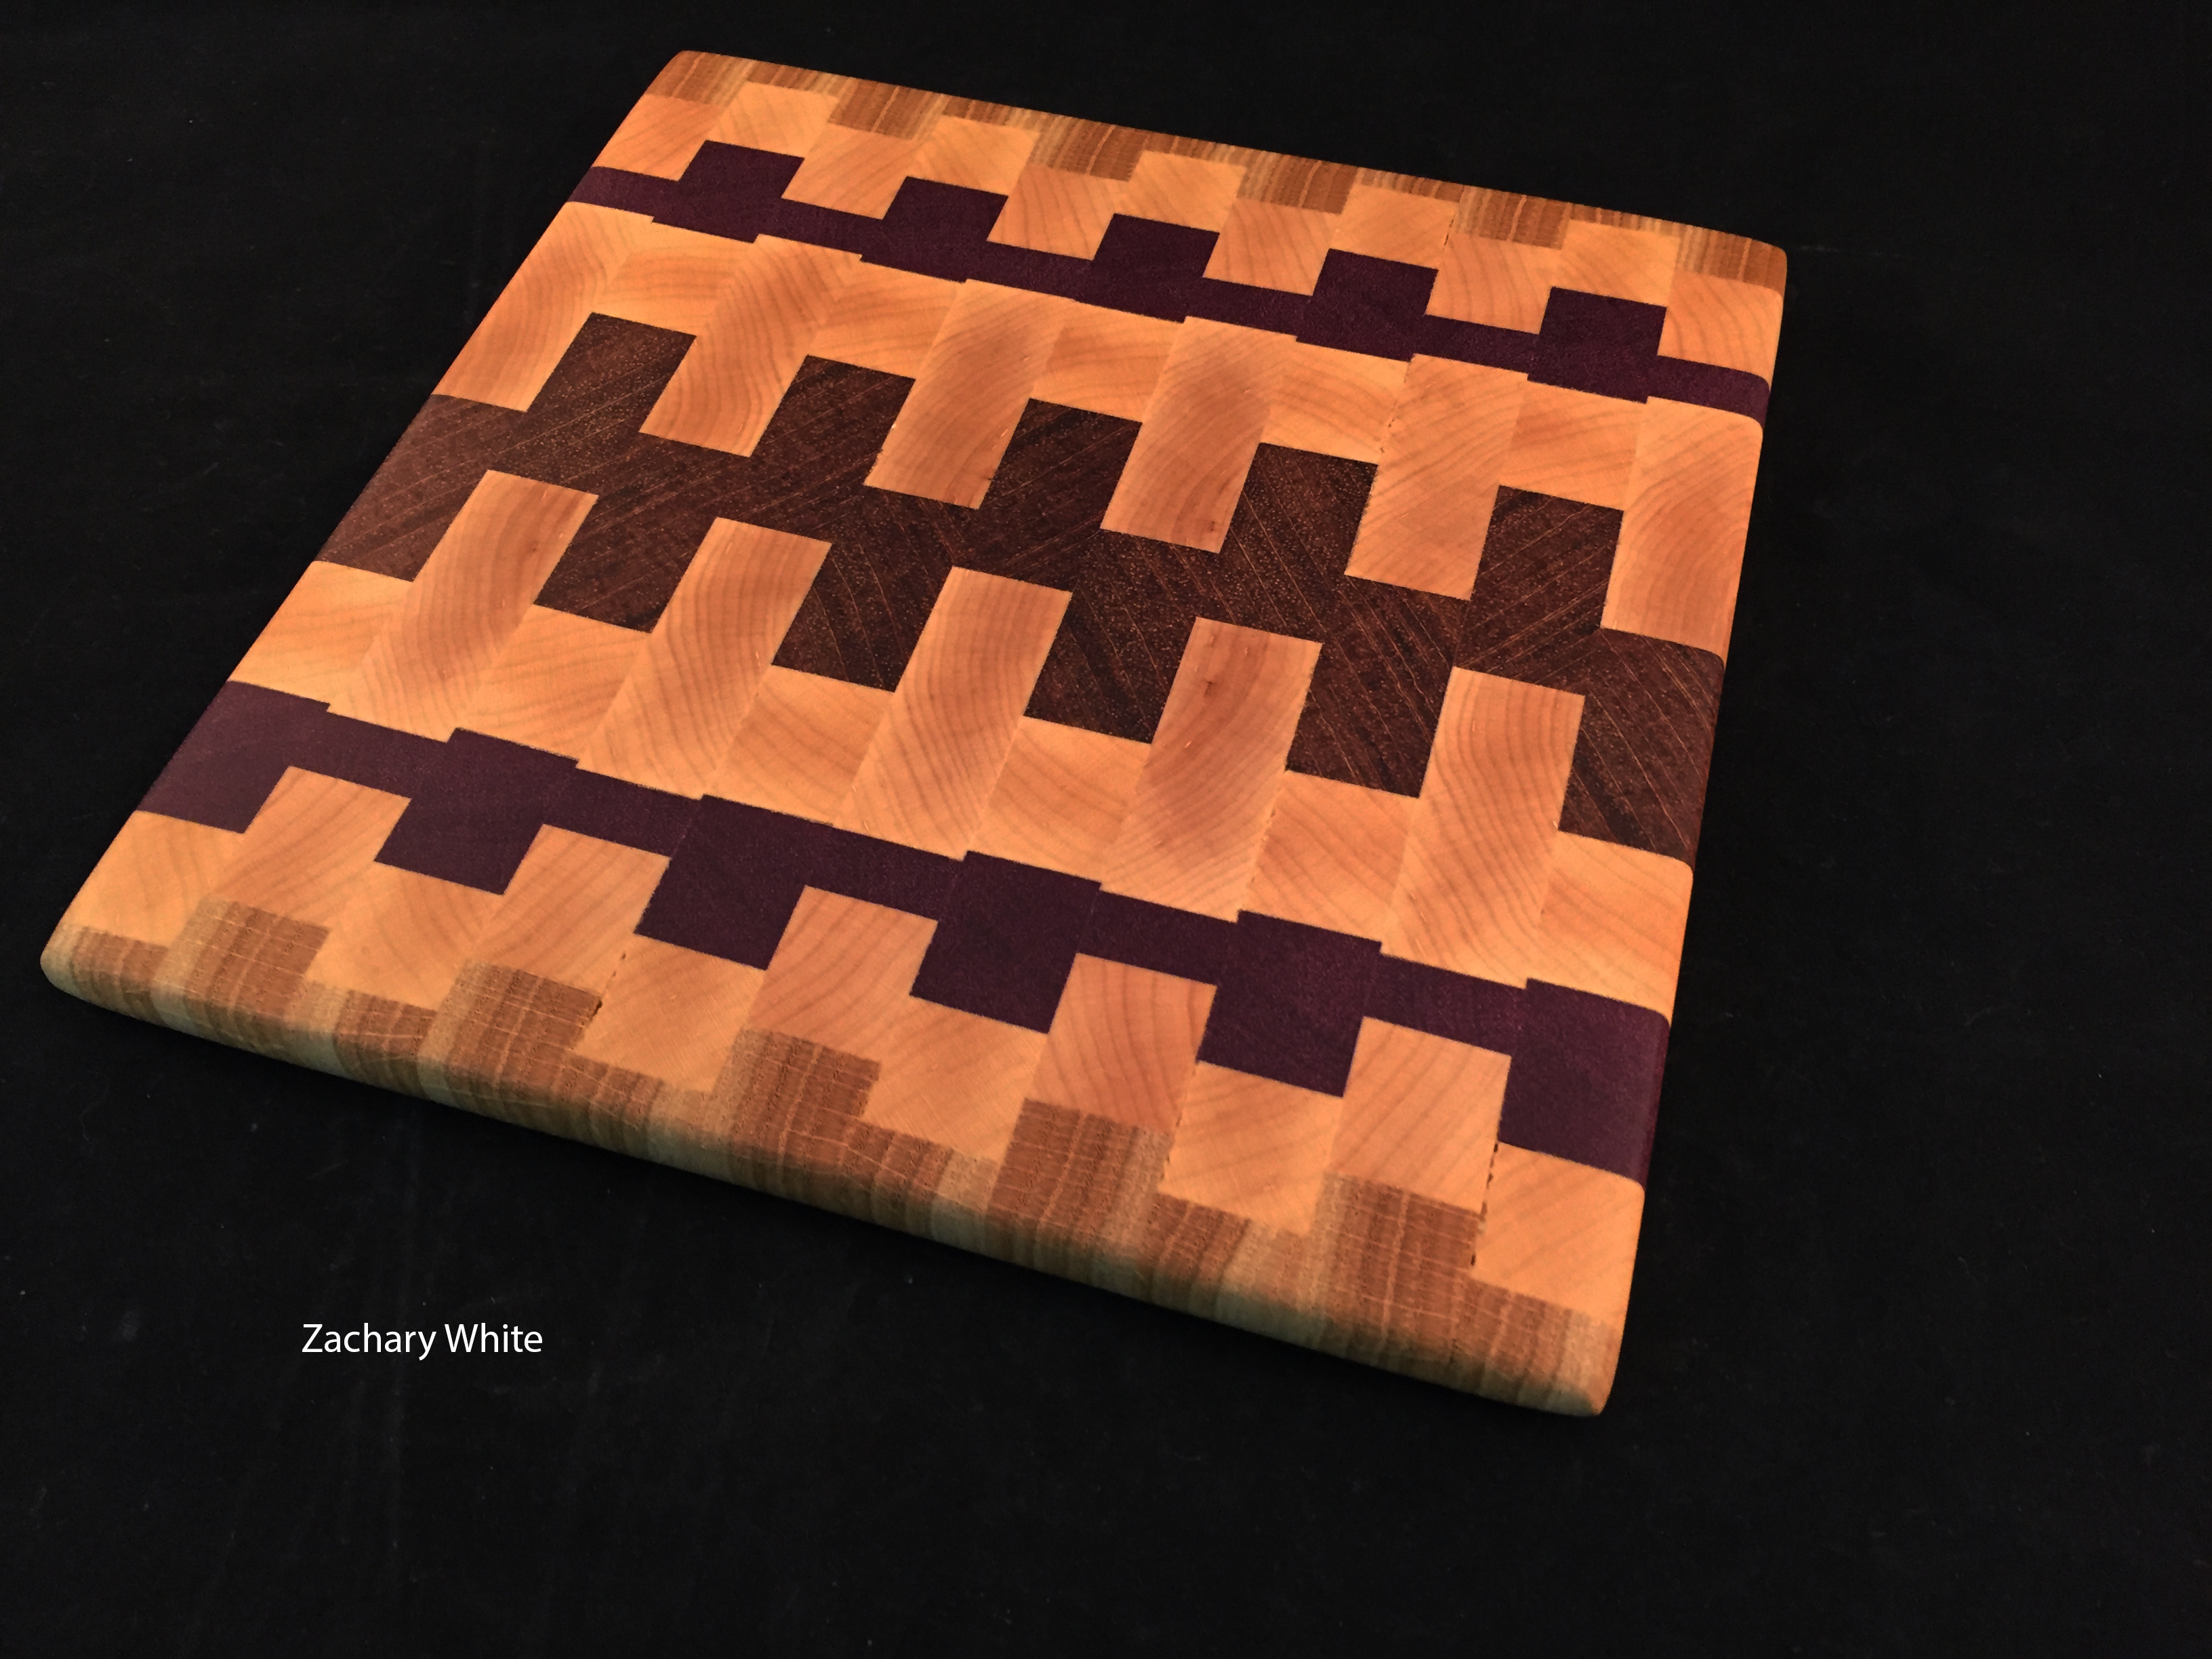
Here's the final product:
This was my first time making something like this, you can see some chips in the wood from planing that are apparent in the end grain. Try making one of your own for a Christmas gift!
This really looks amazing...unfortionatly i dont have the tools to make one of my own.
This wonderful post has received a @zpwhite523 12.28% upvote from @mrswhale. Discord Channel: https://discord.gg/XG4y3mg Be sure to vote for witnesses at https://steemit.com/~witnesses
!originalworks
The @OriginalWorks bot has determined this post by @zpwhite523 to be original material and upvoted it!
To call @OriginalWorks, simply reply to any post with @originalworks or !originalworks in your message!