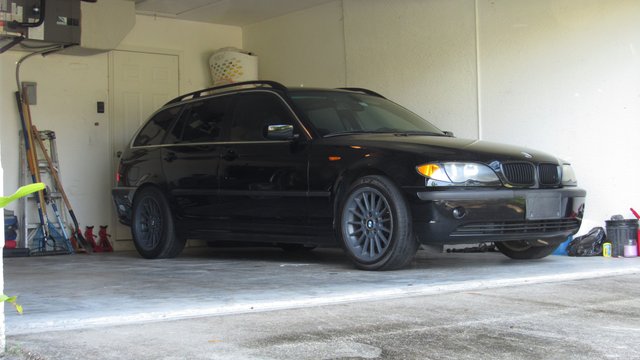
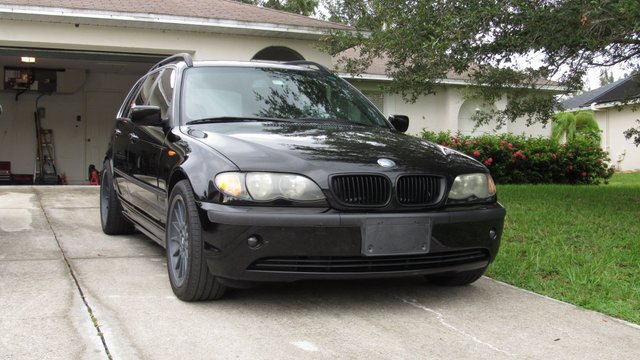
The E46 wagon front end refresh.
 So on the way to work Friday I hit one bump just right I guess. I knew right away the control arm bushings had totally given up. Now with my steering wheel shimmying and front end shooting off in whatever direction it pleased, I was on my way to harbour freight to collect the remaining tools needed to complete the job.

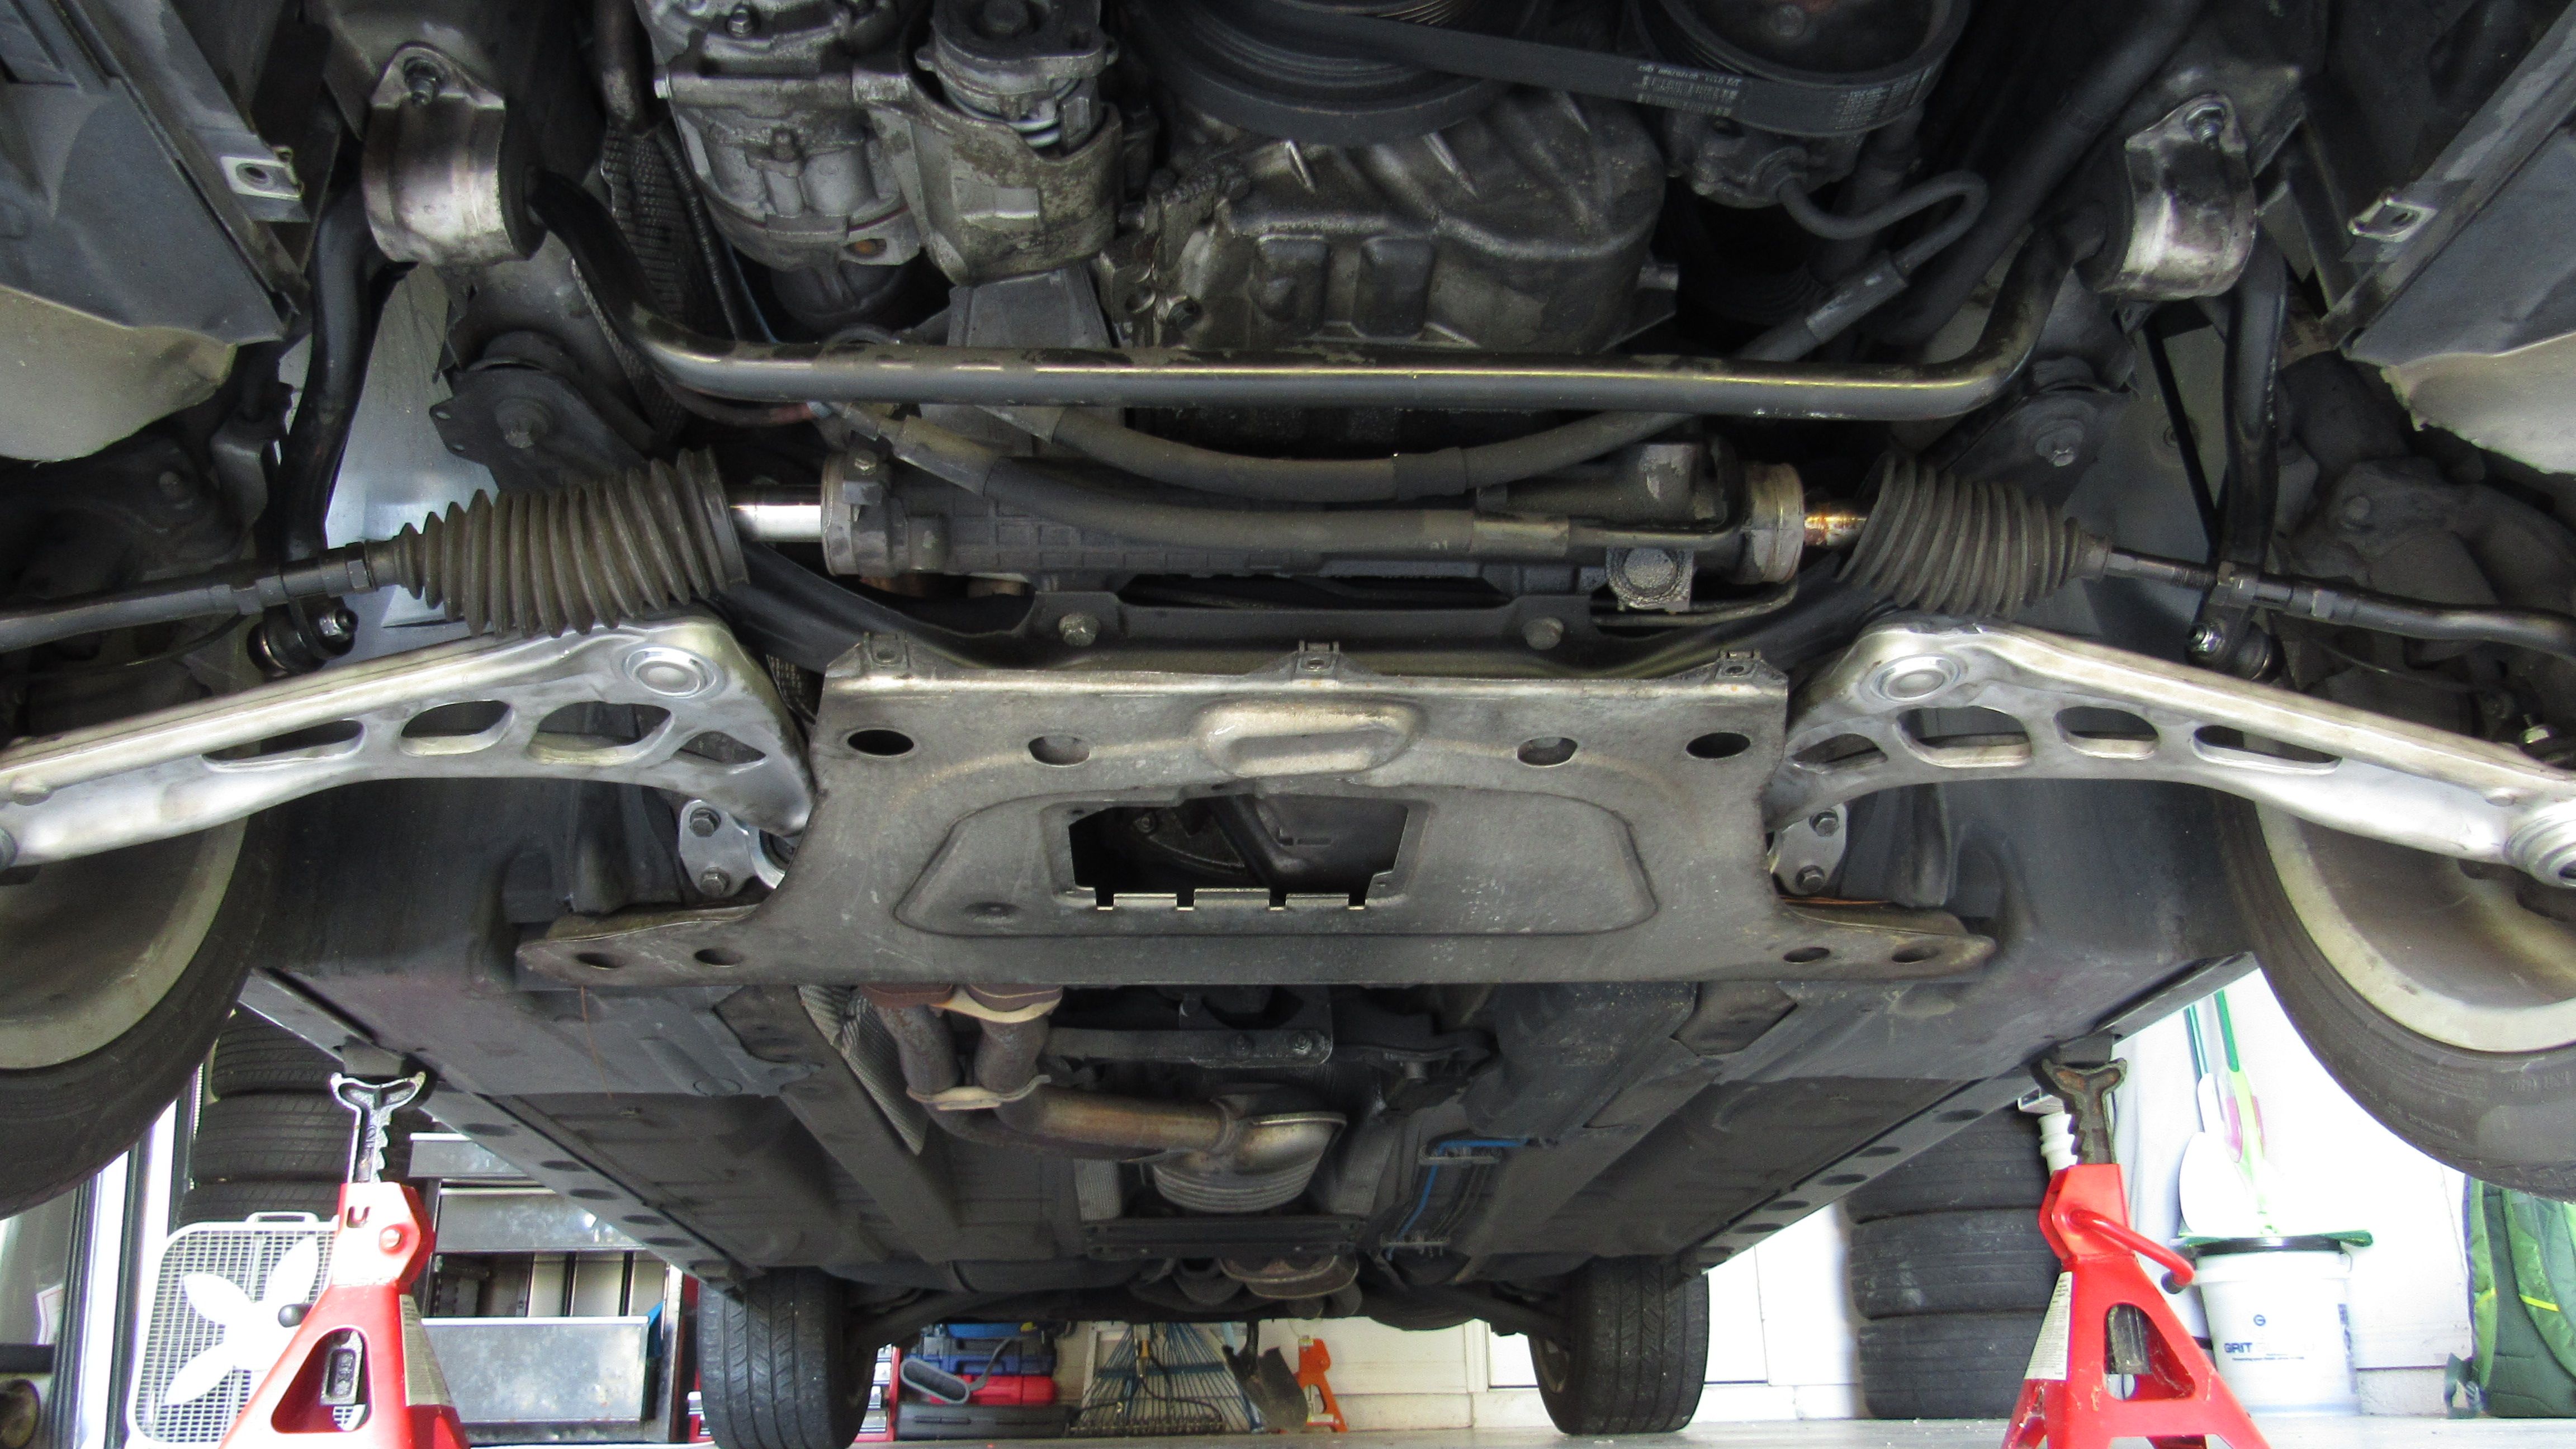
Tools acquired I jacked the car up and got to work. Up on stands wheels off plastic pan off and replacement parts organized.
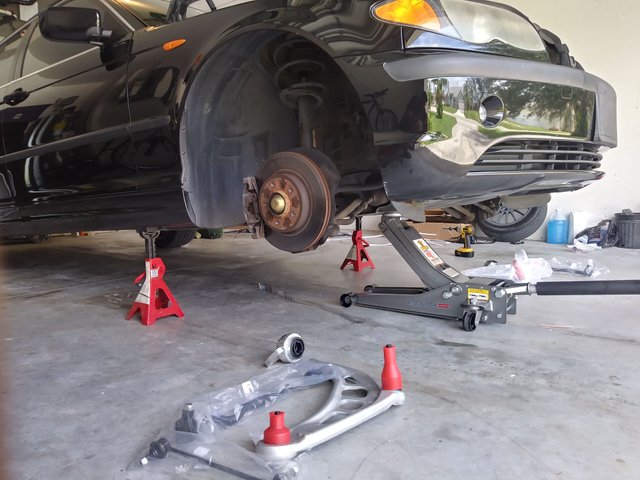
The job is fairly straight forward. Just a series of nuts and bolts. I've never done this before on an E46 but I have removed and swapped after market arms on an E36 so it's not far off. This car is all stock so there are a few more bits of plastic and the factory xbrace in the way which made it a little more difficult but nothing crazy. This job is still pretty easy. I'd recommend starting with the sway bar removal which I didnt do initially but in the end it ended up on the ground to be out of the way and had I done that from the beginning it would have just been easier. This actually creates a work flow from front to back which would have made my first side alot easier and making the logical next step the tierods.
A 2.5 lbs hammer knocked them loose no problem
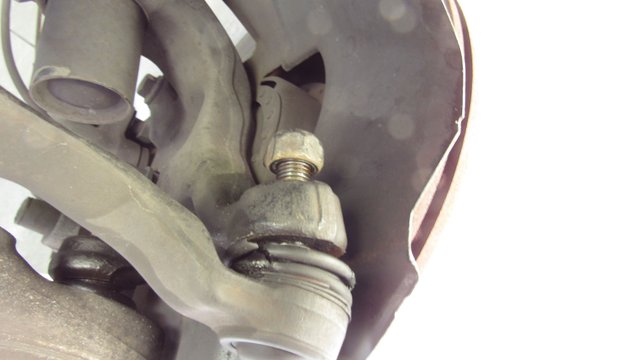
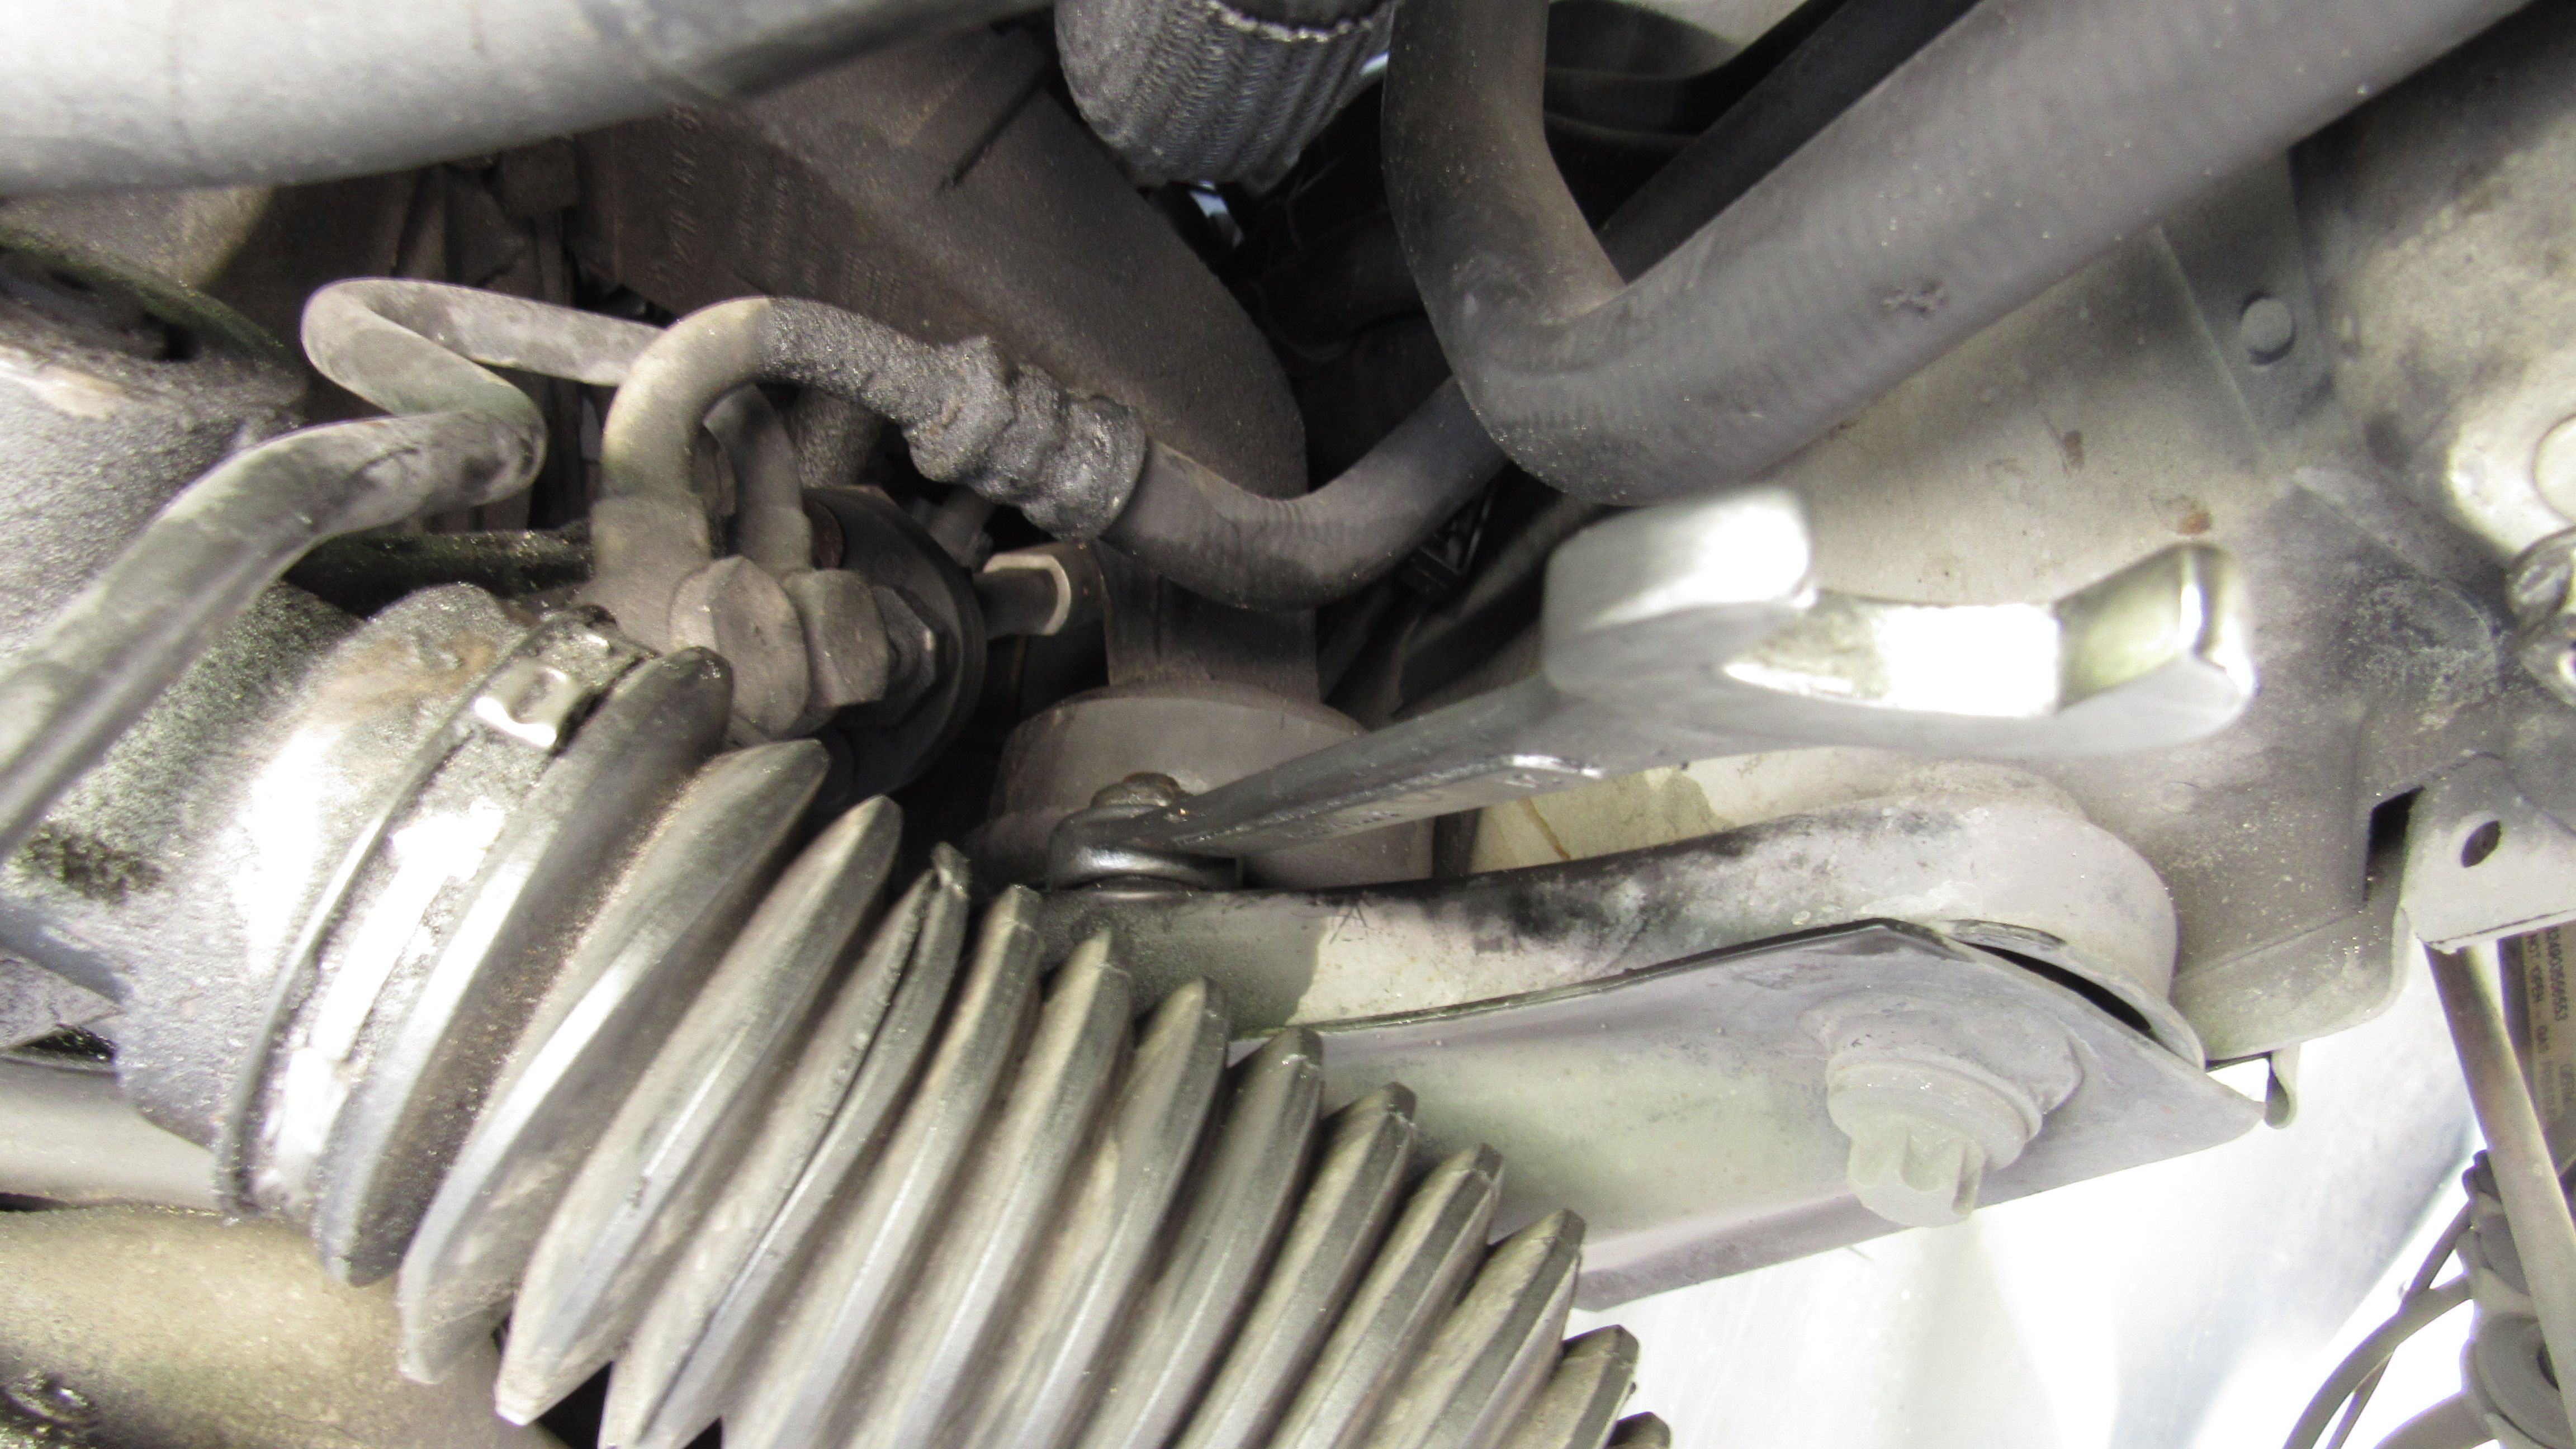
Not pictured is removal of the inner but it's as straight forward as can be. I removed the boot and put a larger crescent wrench on it and they came right off.
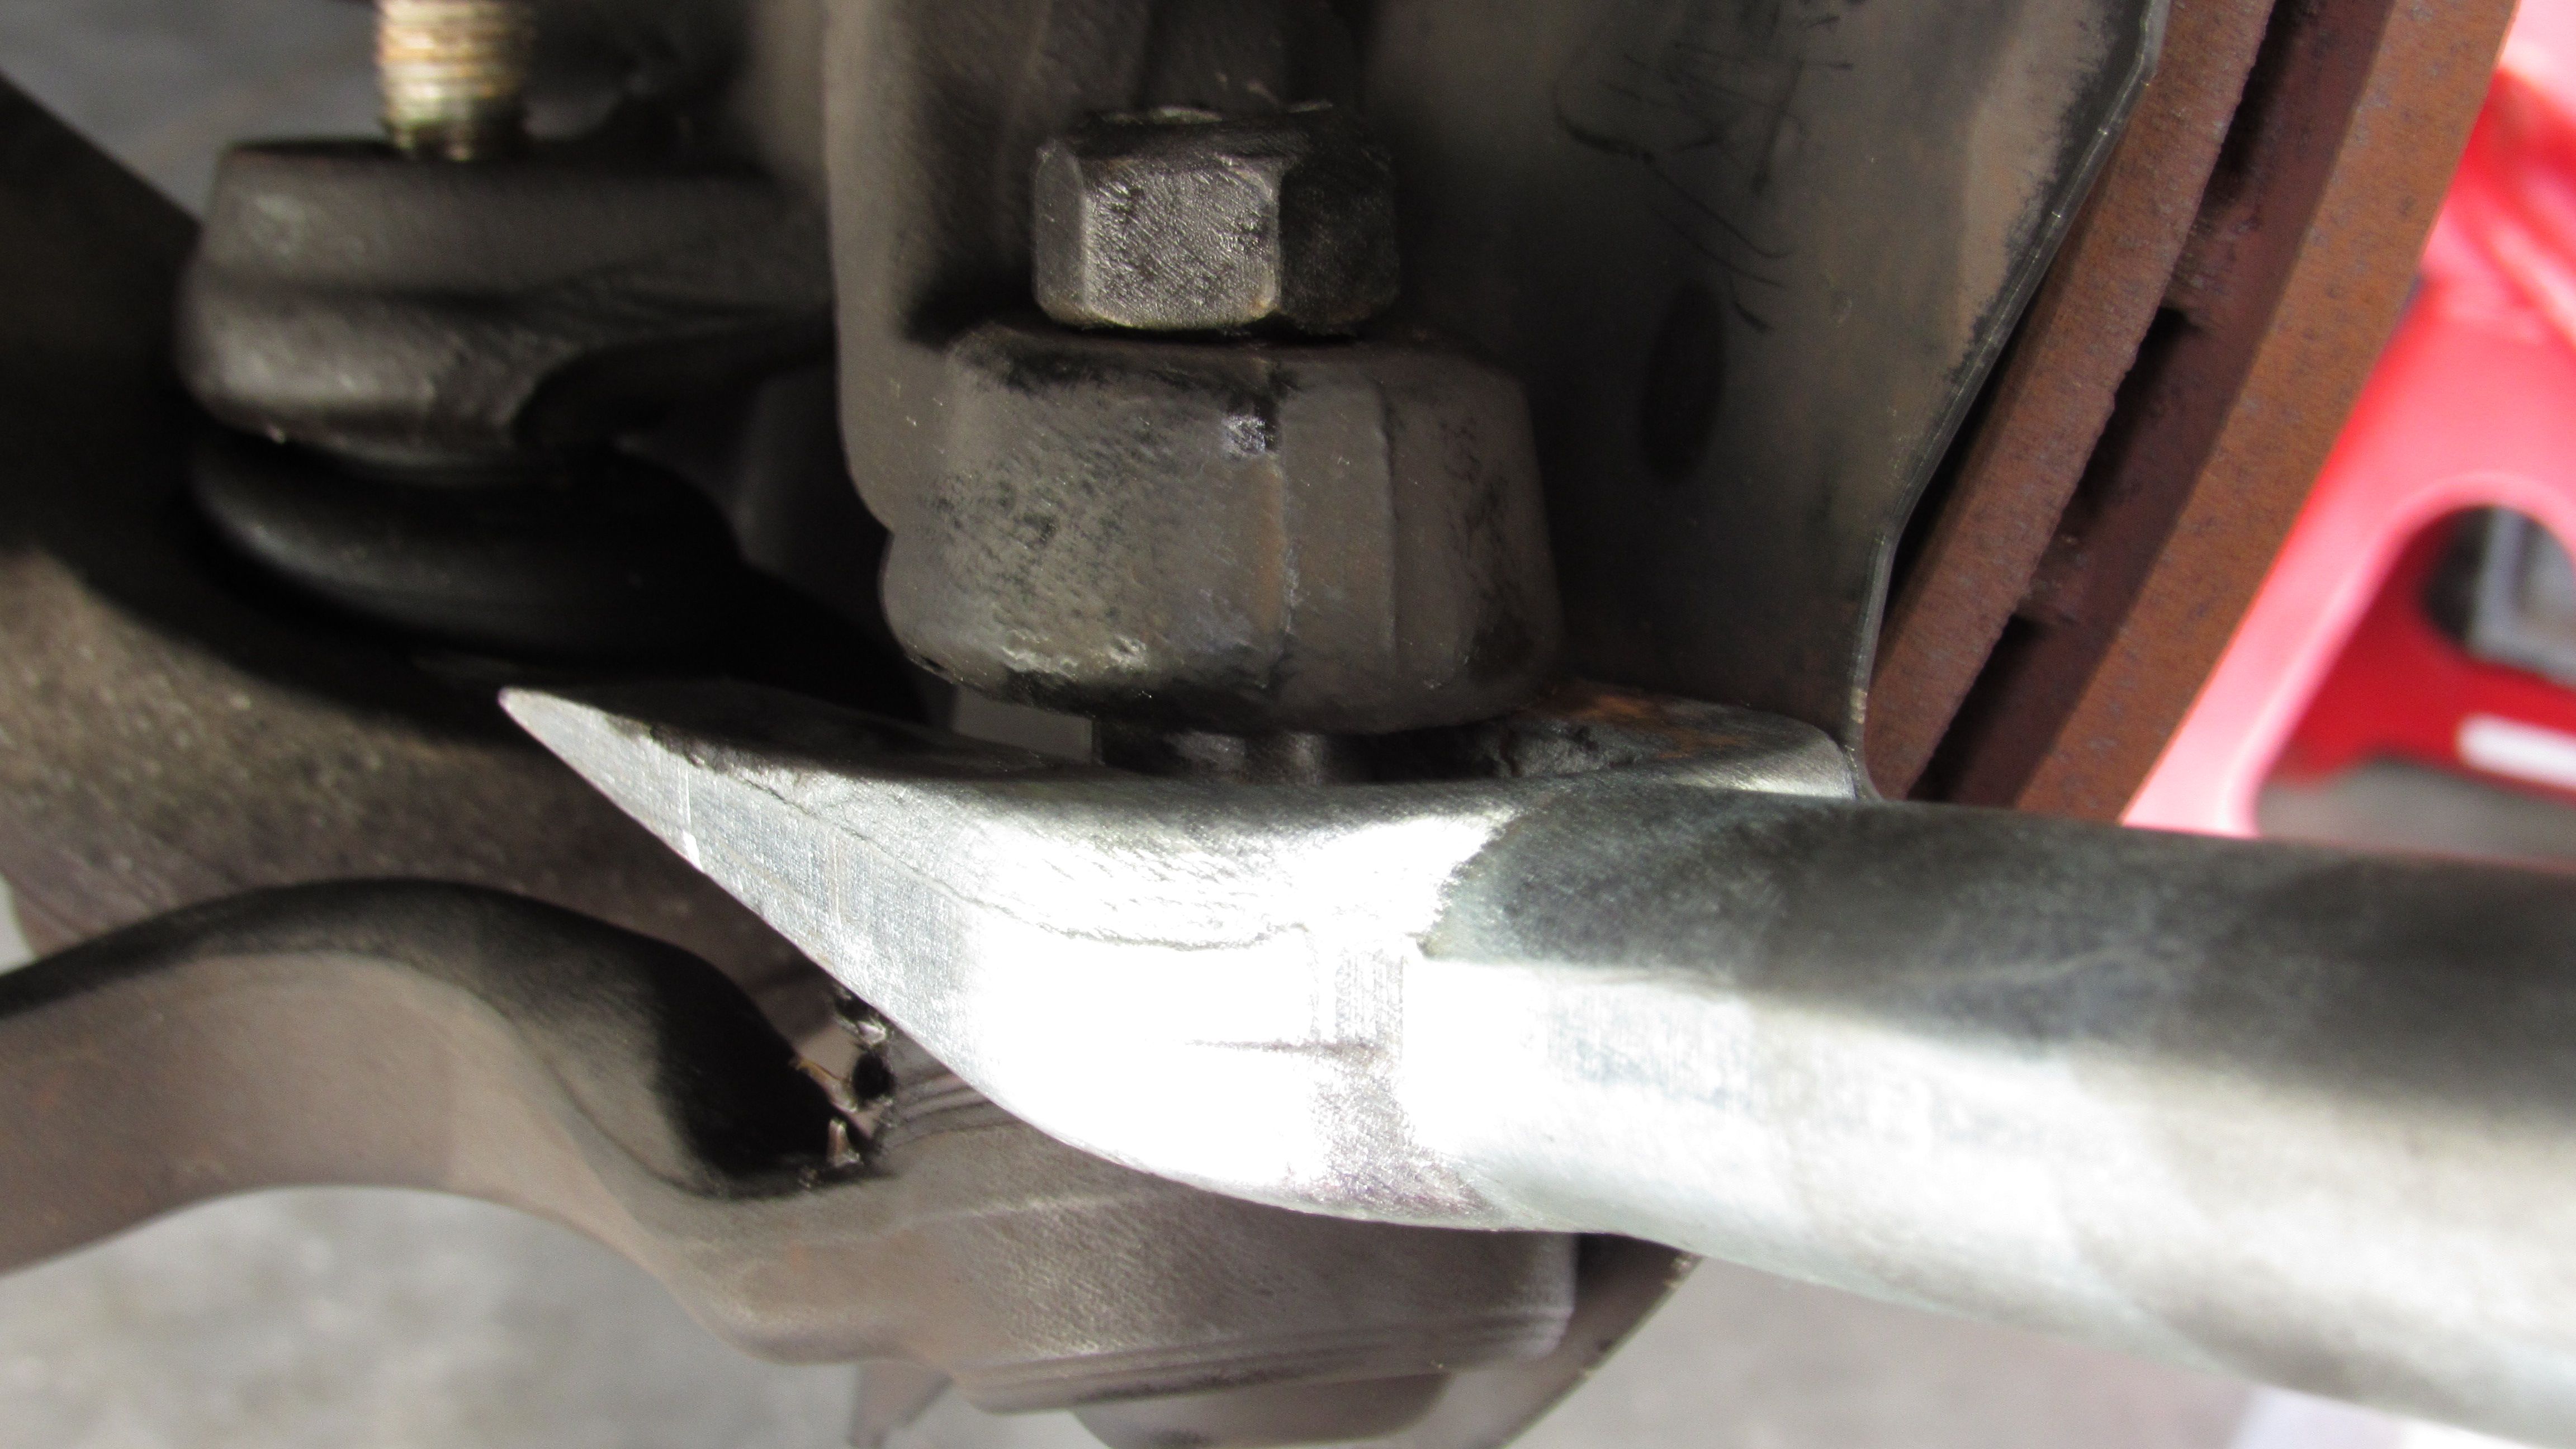
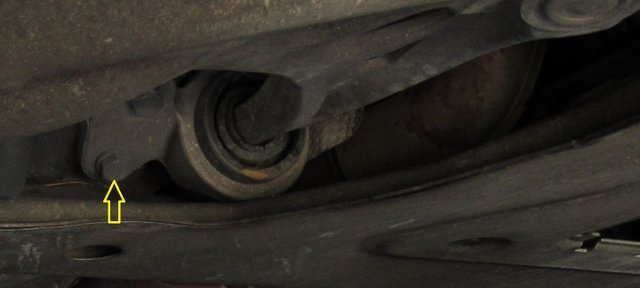
The control arms are the toughest part of this job but with some patience I did them without removing the x brace. I started with loosing the spindle ball joint and separating it with the pickle fork. Then moved to the control arm bushing which are two easy to get to 16mm bolts. Quick note on the bushings. If you do not remove the x brace the lower of the 2 bolts only comes loose when you finish removing the entire control arm and needs to be assembled the same way by placing the bolt in the bushing and wiggling the arm into place and properly starting that bolt first then lining up the center and spindle side afterwards.
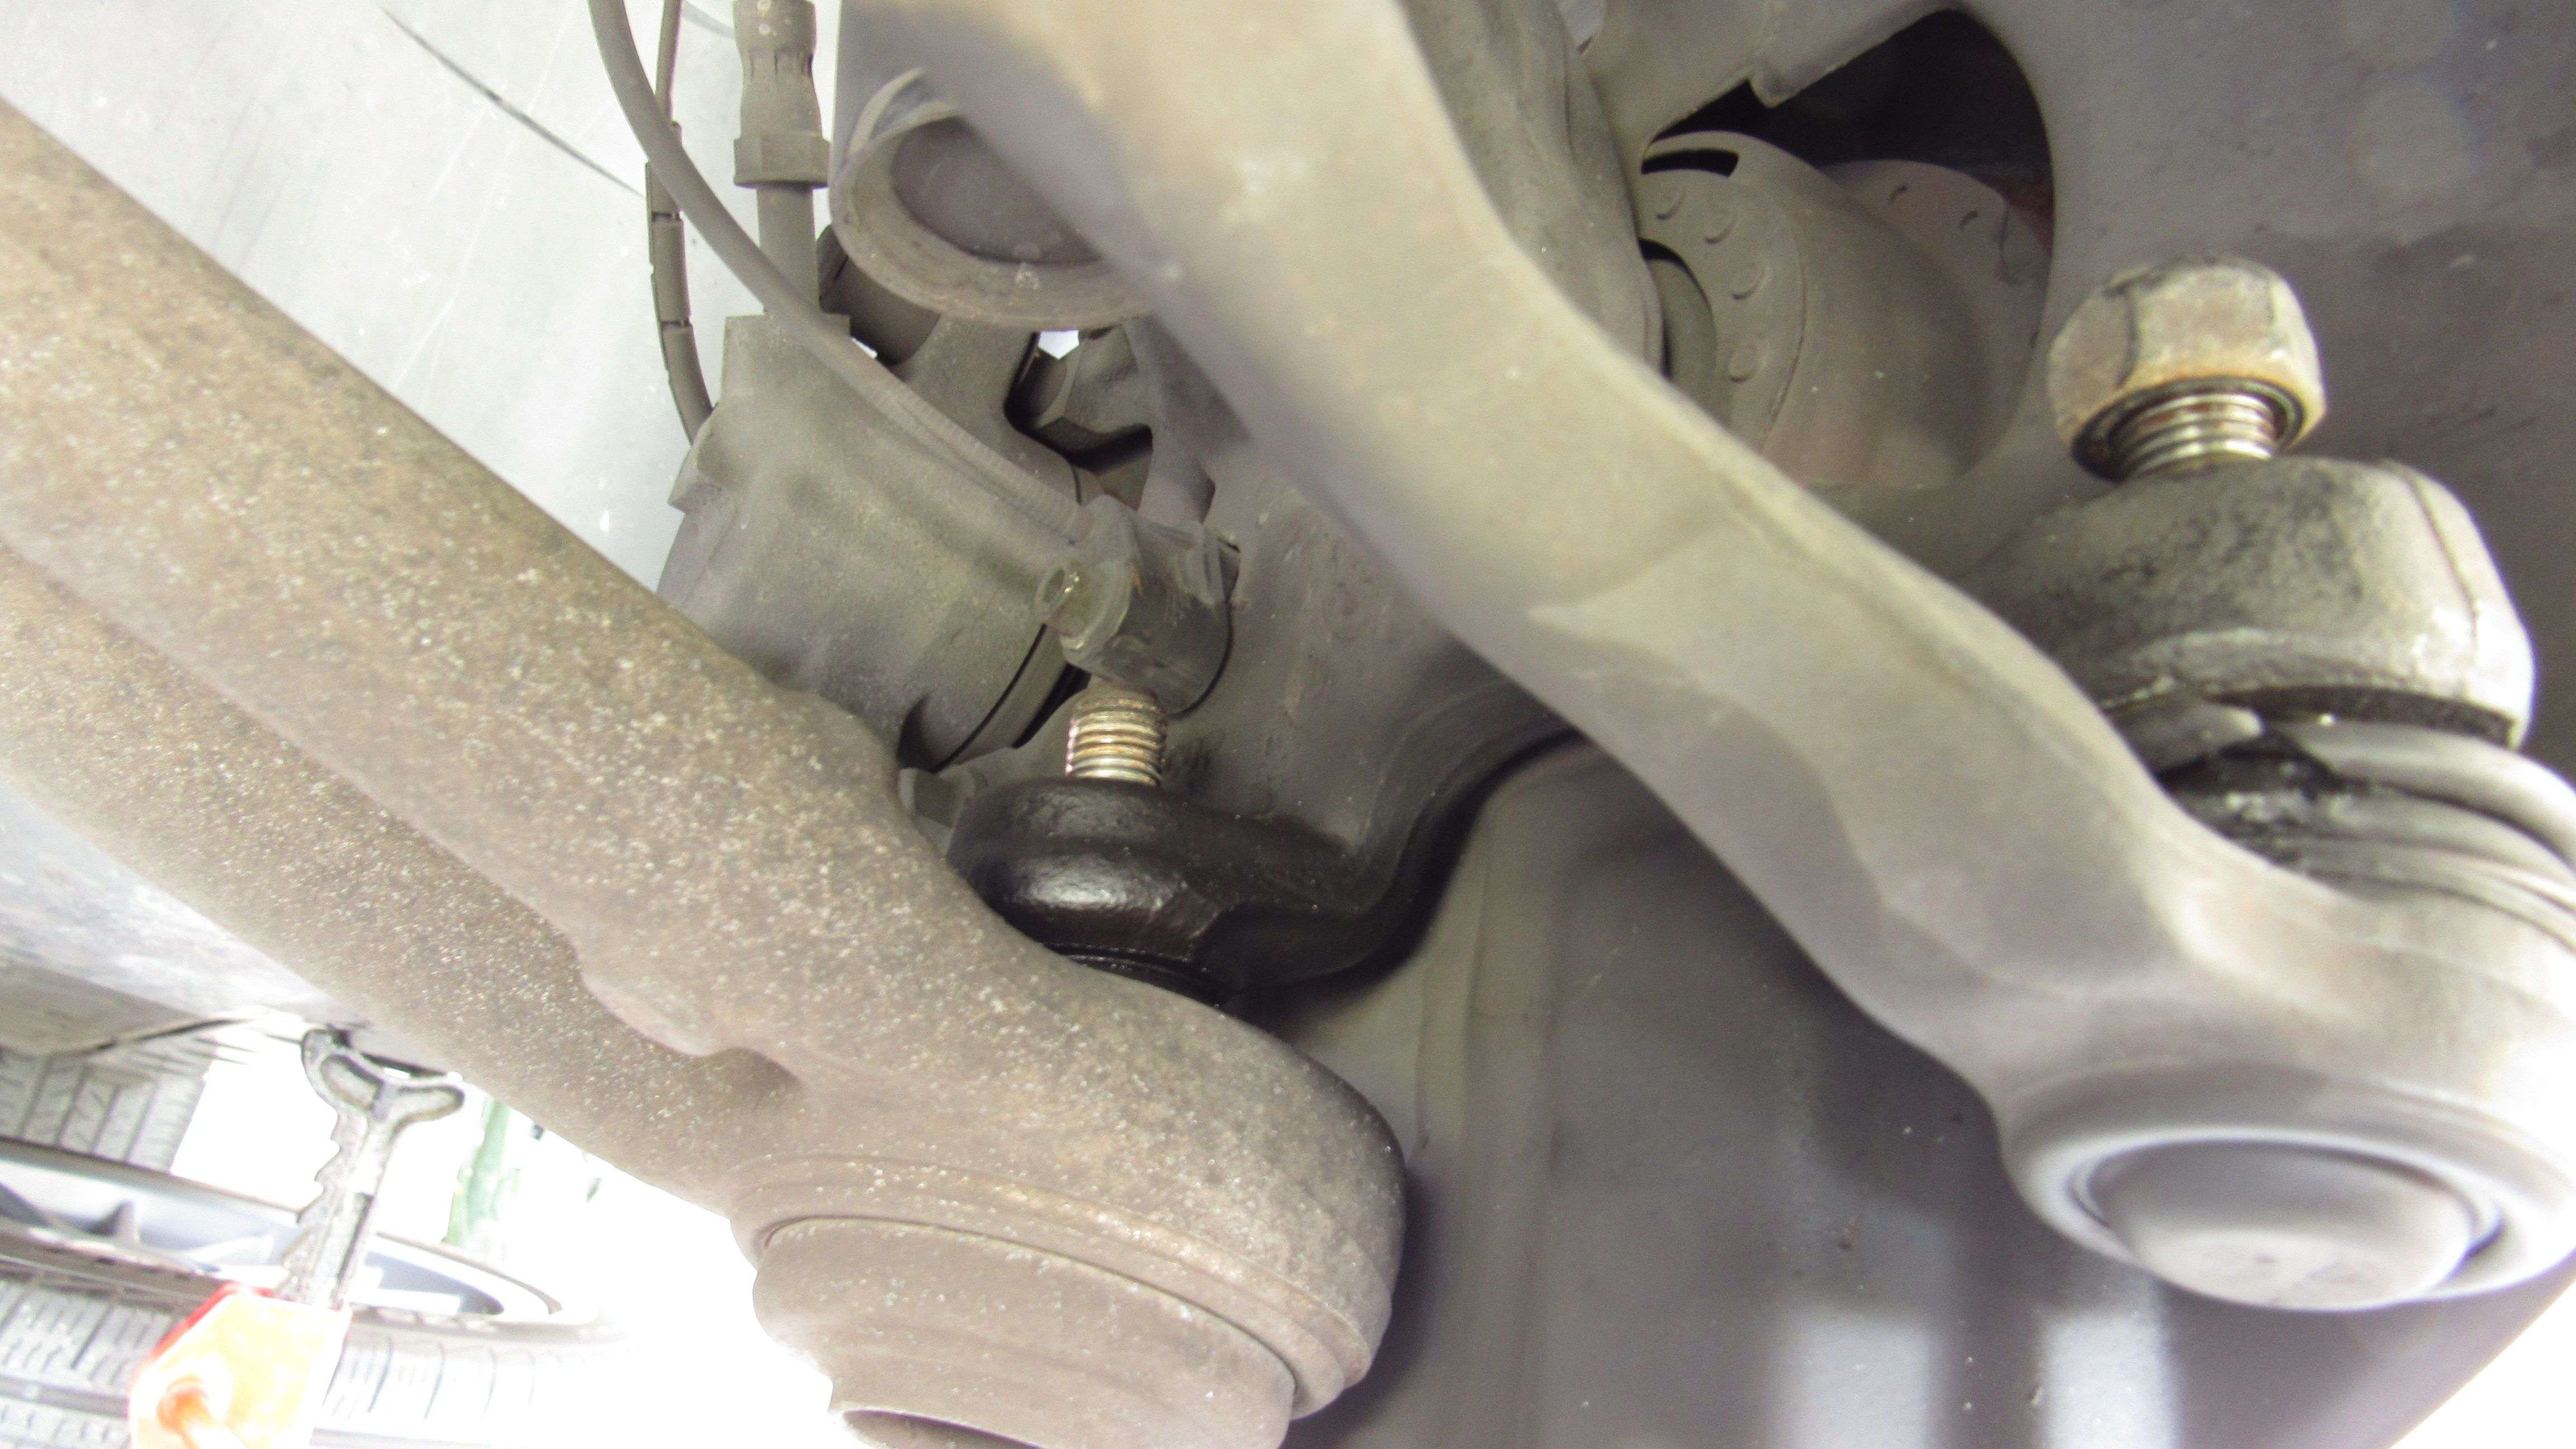
My center control arm bolt had been cross-threaded on making for a pretty difficult and slow going removal especially not having ratchet wrench's but it's done now.
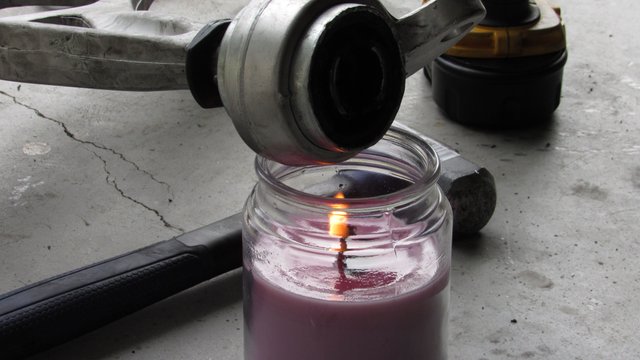
The control arm bushings need to be knocked on before attempting to install. Make sure to orient them correctly for each side with the alignment dowels in place before you hammer them on the control arms. The first one was cake the second one needed to be warmed up and since I had no torch I busted out one of my girlfriends lavender candles and made due with what I had. My work environment smelled great btw.
Then simply re-install in reverse order, make sure everything is nice and tight and it's time for an alignment. Baddabing-baddaboom.
I also for the heck of it tried out my wheel spacers for the front b/c my rear offsets are much larger so it's a more symmetrical look at all 4 corners.
I know I mentioned on my previous post that I would be doing the headlight restoration but this had become an issue and wasn't going to wait anymore. The front end is nice an snug now no more steering wheel shakes and rattling noises. My only gripe with it would be with the manufacturers changing a couple of bolt sizes for the new parts but luckily my minimal tool set covered it . Once the car is aligned I can focus on the rear bushings and then coilovers.
Thanks for checking this out and any upvotes this may get. I hope it helps or even inspires someone to maintain the cars you and the drivers around you have to trust to be in full working order. Any questions ask away.
Peace
That's one clean E46!
Thank you!! It's the nicest car I've ever owned. I always end up turning my daily into a racecar so I am desperately trying to avoid that with this one. lol