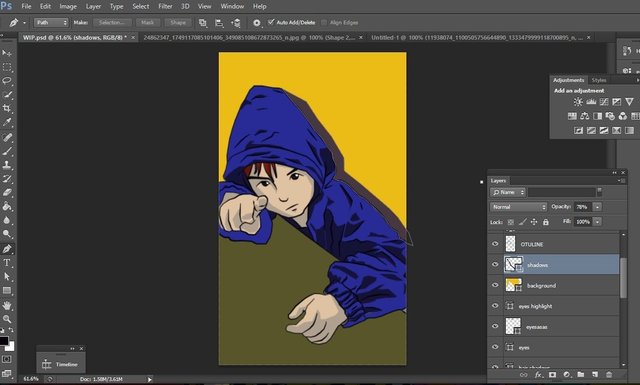
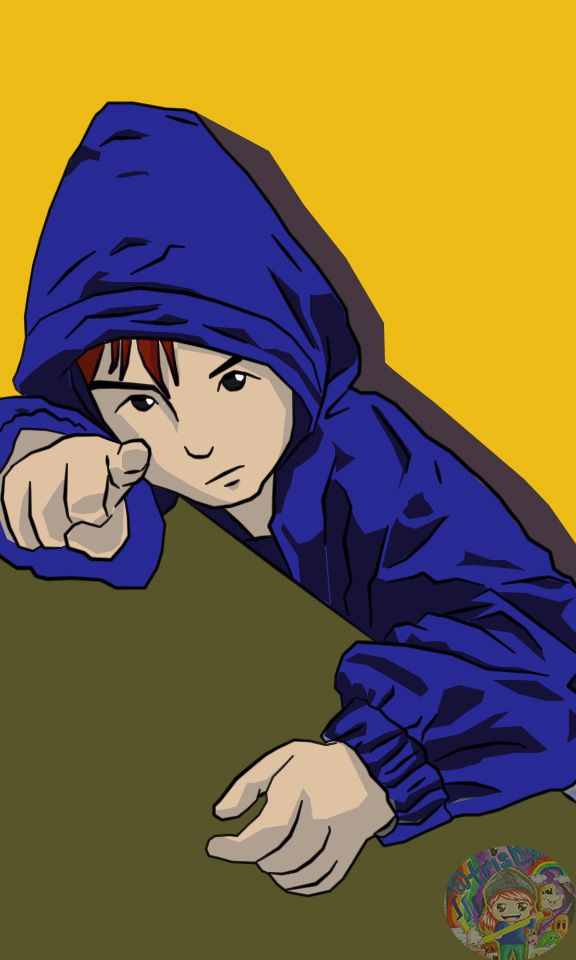
HOW TO CARTOONIZED A PORTRAIT TUTORIAL (VEXEL)

in #artguildph6 years ago (edited)

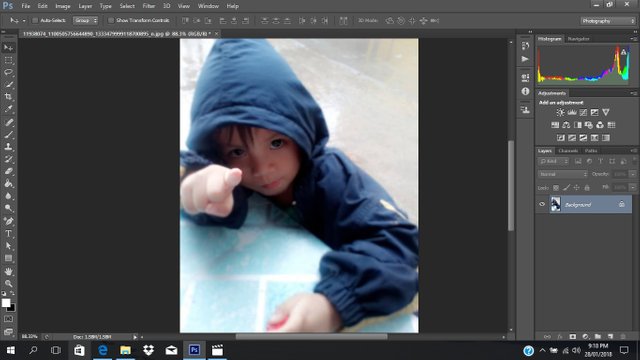
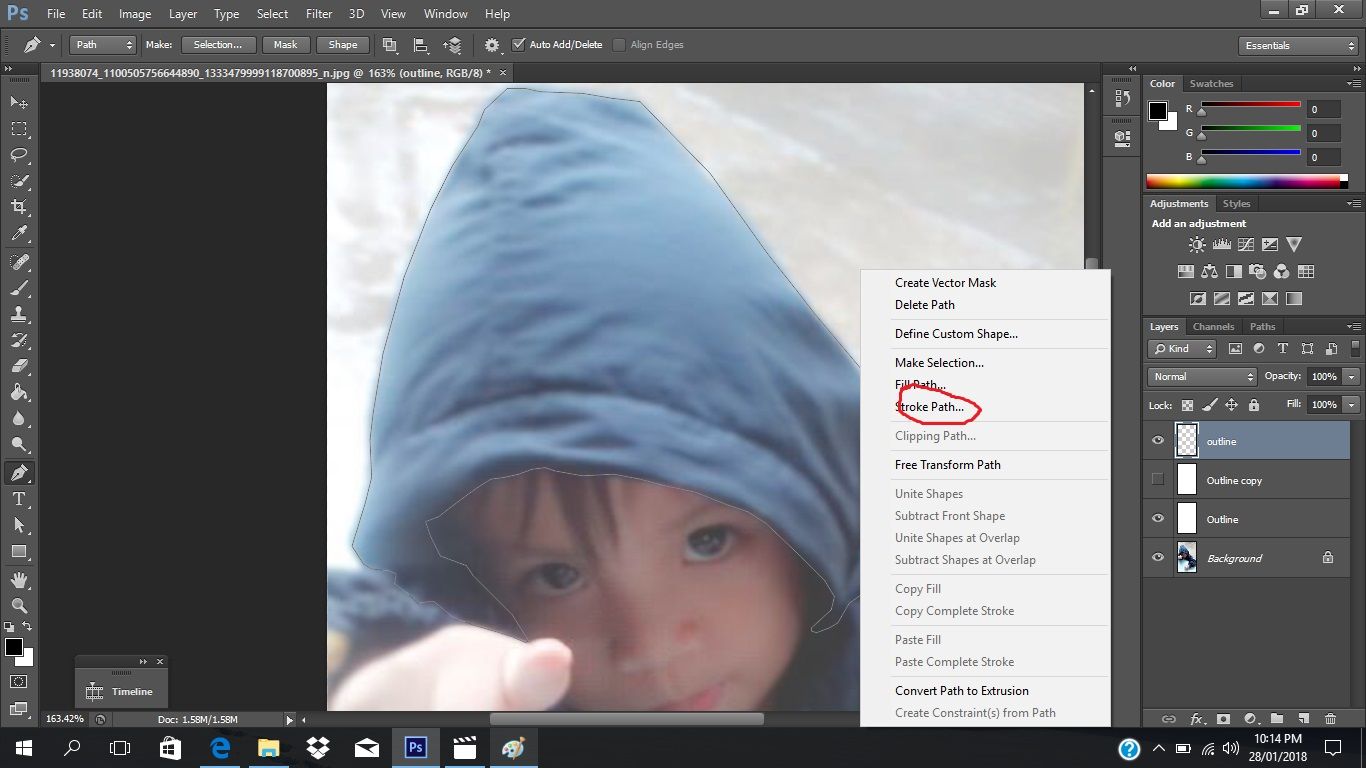
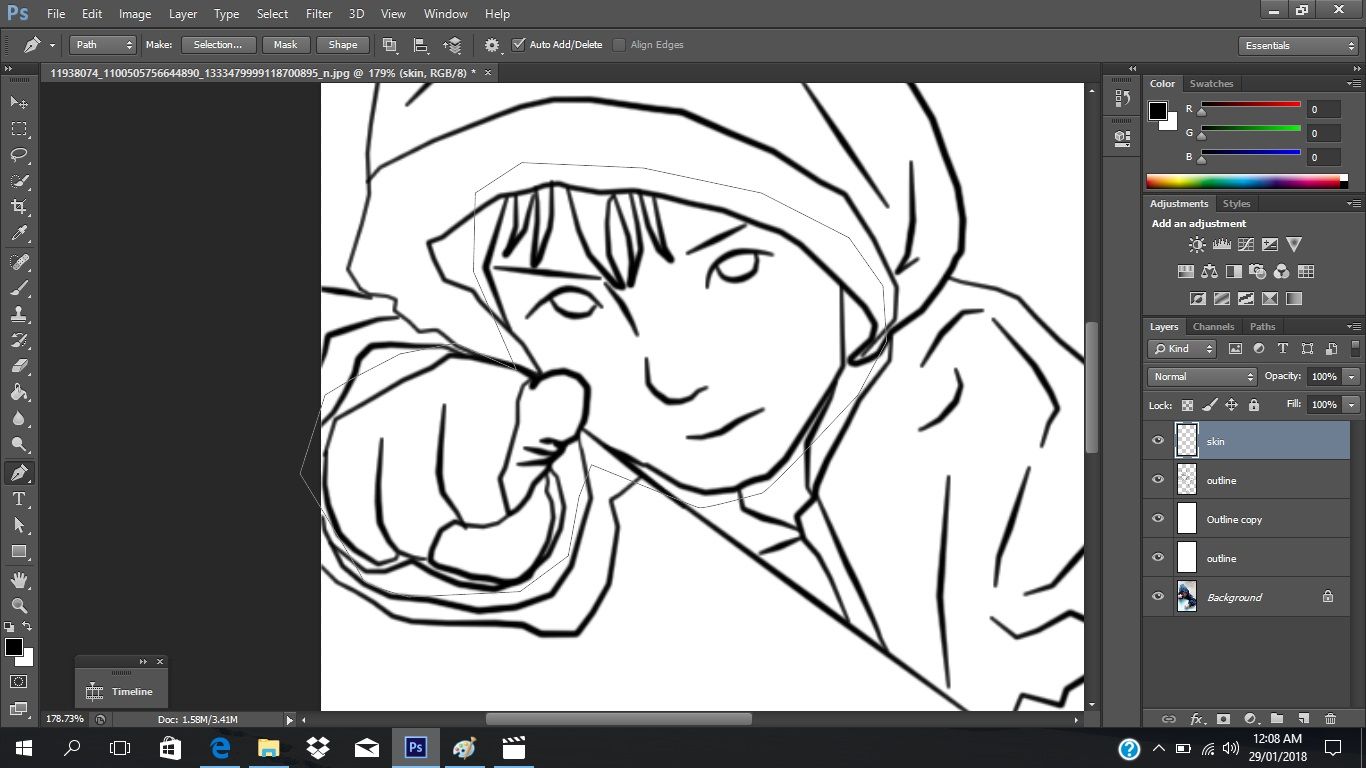
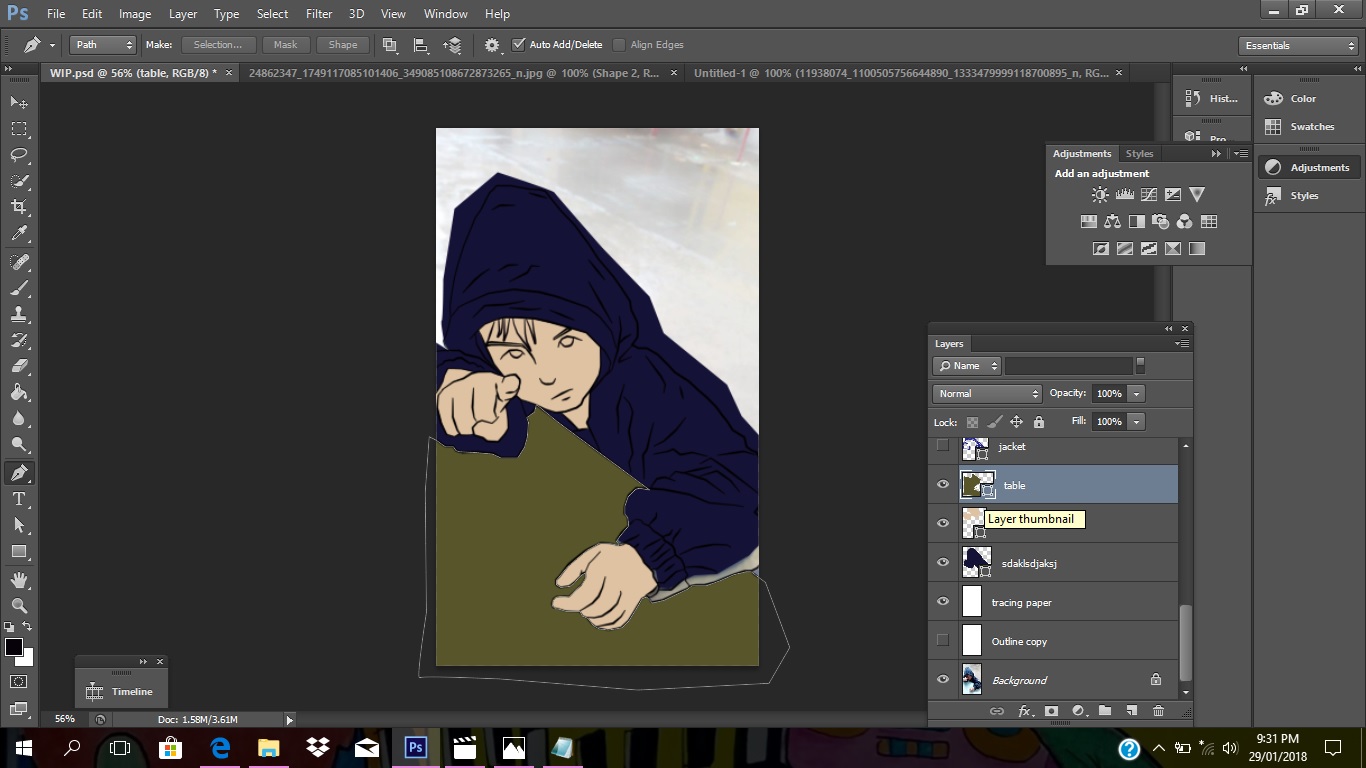
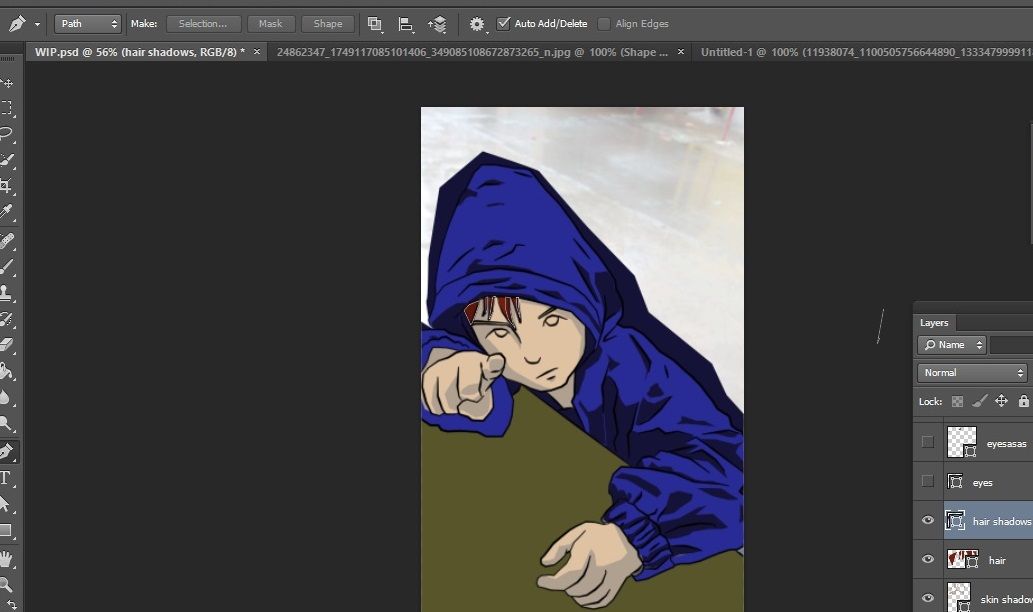
Today guys, I'm gonna show you guys how to make a cartoon portrait using adobe photoshop CS6.n I'm gonna be using my nephew's photo for this tutorial. He was about 2 years old when this was taken. And now he is already 5. Time really flies too fast so you have to treasure every small moments like this photo.


This style is an easy way to make your photo more cartoony or anime-ish. I'm gonna show you guys below the step by step process on how to make this.

thumbnail.jpg


So let's start.


Open the picture on photoshop

1.jpg


CLICK CTRL + SHFT + N to add a new layer. And then fill it color white.

2.jpg


Change the opacity to 50- 25%.

3.jpg


Click CTRL + J to duplicate the layer but this one is going to be 100% opacity

4.jpg


Add another layer. This is going to be the layer for the outline.

5.jpg


Click the brush tool and make the size 4 px and 100% hardness

6.jpg


Then click the brush properties and set the minimum diameter to 50% on shape dynamics. This setting will give you a great shape of line which will make more cartoonish.

9.jpg


Click to pen tool afterwards.

10.jpg


Start to trace out the shape of the subject using a the pen tool.

11.jpg


Then right click. Choose "stroke path"

13.jpg


then choose brush as a tool and check the simulate path. Make sure you are doing this on the outline layer

14.jpg


Keep in mind that this wont have to be looking like the real picture since you are going to do a cartoon style of it. so you don't haveto follow all the lines.

15.jpg


If you hide the original picture it will look this.

16.jpg


For the coloring. First I will start with skin. Make another layer for this. Then by using a pen tool trace out the parts where the skin color is going to be. It doesn't have to be perfect since it is going to be covered by other layers as well.

17.jpg


Click the color adjustments then solid colors.

18.jpg


Choose the color that will fit the skin.

19.jpg


So next is the jacket. I choose a darker shade of blue. I highly suggest to do first the layers that will be covered by the other layers.

20.jpg


Then the table.

21.jpg


After that I added another layer of a ligher blue on the jacket.

22.jpg


so as you can see them darker shade of blue became the shadows.

23.jpg


Now, the hair.

24.jpg


Next, the hair shadows

25.jpg


The eyes

26.jpg


27.jpg


28.jpg


And then I just added a simple background.

29.jpg


And just added on a shadow for the finish

30.jpg


And there you have it

finish.jpg


Hope you liked my tutorial. You you liked it please support my posts and follow if you'd like.


THANK YOU SO MUCH FOR READING AND SUPPORTING MY POST


And also, please do support @surpassinggoogle, he has been an amazing person. I support him as a witness. I voted for him at https://steemit.com/~witnesses.
It would be very much appreciated if you do the same by voting him at https://steemit.com/~witnesses and then type in "steemgigs" at the first search box.
If you want to give him witness voting decisions on your behalf, visit https://steemit.com/~witnesses again and type in "surpassinggoogle" in the second box as a proxy.


Photo_1515750401667.png

Sort:  

Neat trick! Might have to try it out sometime. Thank you for sharing your skills with us.

Thank you for the post. I will let my daughter look into this :) Easily to follow technique.

nice. I'll try this hopefully I do it right. quite excited. :D thanks for sharing.

Wow nc animation ,great learnings that ive got.
@nikko2192

Great post! Hoping to try it one day :)

Nice one. I might as well try this one of these days

This is nice. I've been using photoshop for quite a while now, but it was just mostly for banner layout. I'll give this a shot! Cool

Coin Marketplace

STEEM 0.20
TRX 0.13
JST 0.030
BTC 64689.90
ETH 3450.92
USDT 1.00
SBD 2.50