How brighten the image face step by step tuorial..
What Will I Learn?
to brighten faces of people in images
Requirements
photoshop installed in your pc.
Difficulty
difficulty level is basic anyone with the basic skills of photoshop can easily use
Pic Source Baby Girl
Description
Many people asked me how to adjust the tone of the human skin can be bright, but the background light and shade unchanged? A lot of people ask me how to adjust the color of the human face to brighten, but the background light and shade do not change? Well this example is to talk about three easy to use method. Of course, if needed, the three methods can be used on a single graph at the same time.
Well, this picture is clearly under-exposed, the little face of the mushroom sauce dark. But the composition ah mushroom sauce look ah good pinch. Fortunately, Mommy is raw format shoot, instantly adjust Lightroom no pressure.
Step 1:
Plus exposure. Appropriate to reduce the light (head flowers and overhead light has been a little overexposed, so add exposure at the same time, to reduce the light.) At the same time lighten the shadow, plus white level. Sharpness Vivid Saturation What's based on your preferences and the actual adjustment of the photo. My adjustment values are as follows, we adjust the time according to their own film to adjust the appropriate value.
Step 2:
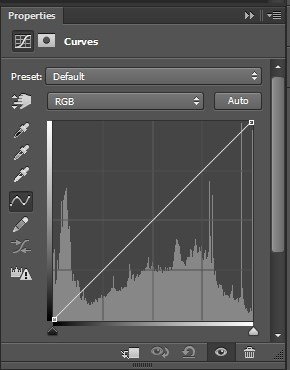
Curve the same consideration, reduce the light. Pressure dark tone. Because the last step of exposure has been to make the whole picture a lot brighter, so here need to press the dark color, the film can come out of the hierarchy, or it will feel gray.
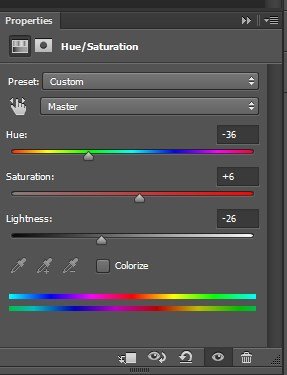
In addition, the color adjustment, brightening orange, this step is very useful for brightening the skin, because we Chinese yellowish skin, the background color is orange, orange brighten, the color will light up. Dark blue pressure is to make the hydrangeas background more concentrated, prominent figure. As for the other colors to see your picture needs to be adjusted . color separation. Based on the picture color is blue tone, make the following adjustments.
Step 3 :
In addition, or out of prominent characters, dark background to consider, made a vignette effect. Quantity -20.
This picture is basically a good tune.
Step 4 :
But there are still not satisfied with the details, such as: face children, nose due to the low light effect on the ground, a shadow, a small arm and a small hand because the sun is dark, not coordinated with the upper arm, the skirt is a little darker.It does not matter, drag it to Photoshop and then adjust. Next to say two ways to brighten the skin, one brush smear method, the same as we wipe the same foundation. Second, the curve layer plus eraser local brightening method.
When needed, these two methods can be used simultaneously . Brush smear method:
with the color picker in the upper arm relatively bright point of choice.
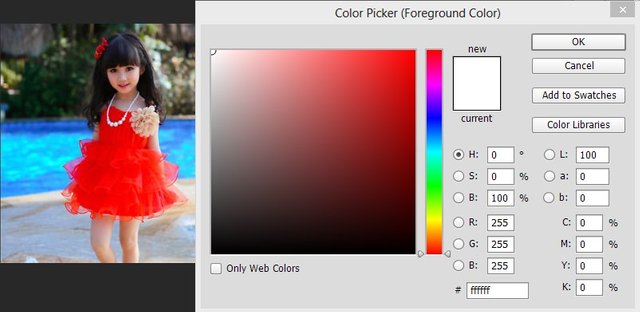
Choose the right color. Glancing the shadow on the face, the same way, the brighter face on the point of choice.the new blank layerAdjust the brush to the right size and transparency (I generally use the skin less than 10).
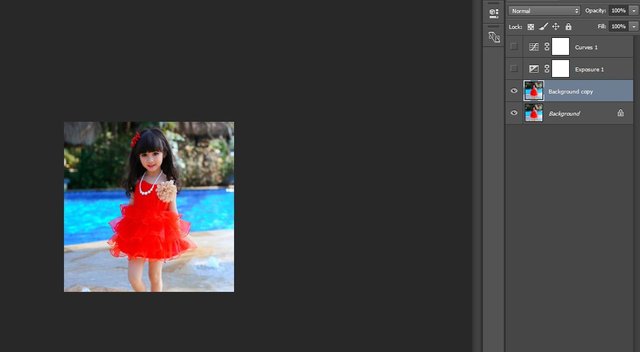
- with a brush in the newly created layer, face and small arms, small hands want to brighten the location of smear. Just like wiping foundation . Do not wipe too thick it is fake this is also a reason with wiping powder Curve layer + eraser local brightening method:
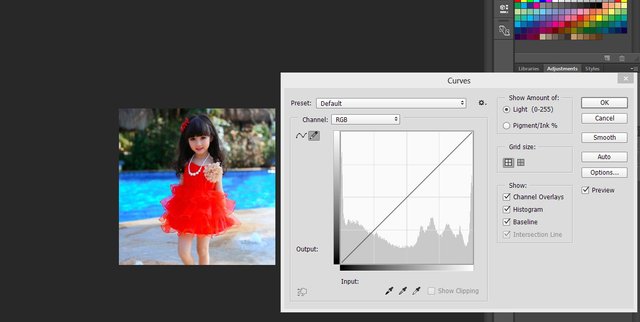
4 .The curve brightens the darkness properly eraser to slightly. The eraser adjusted to the right size, hardness of 0, 100% opacity, and then curve layer of the background part of the wipe out. This background is still dark, just the curve brighten the characters. Of course, you can also wipe out the hair flower hair part, the dark eyes are also wiped out, so that only a small face, arms, skirts were lifted.

If necessary, you can also lower the eraser's opacity, more detailed wipe out the desired level of light and shade.
just adjust it!
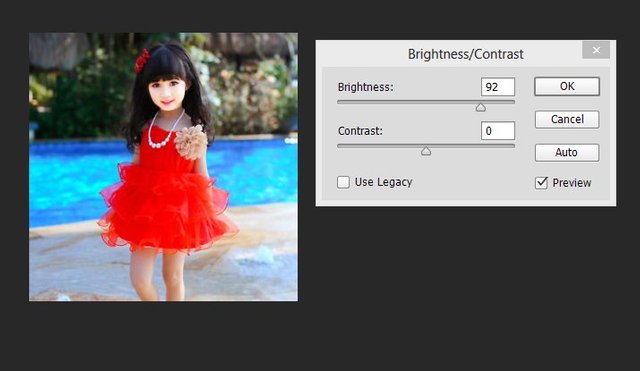
The first time to write more complicated tutorial (in fact, is also very simple), will be a bit late to see all understand. I hope everyone find it useful.
Posted on Utopian.io - Rewarding Open Source Contributors
Your contribution cannot be approved because it does not follow the Utopian Rules.
Hi, these are the reasons your contribution was rejected
I recommend you read the rules before contributing again in the future.
You can contact us on Discord.
[utopian-moderator]