Arduino 101: Using a Laser transmitter (KY-008)
What Will I Learn?
- You will learn how the laser transmitter works.
- You will learn how to use a laser transmitter and integrate it with the arduino uno board.
- You will learn how to program the arduino board to make use of the laser transmitter module.
Requirements
Hardware
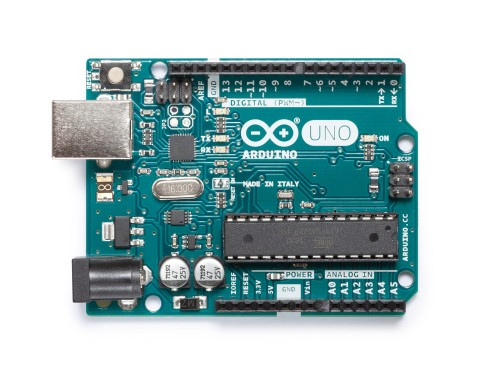
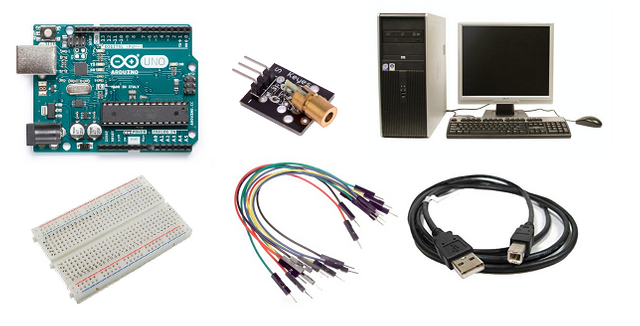
- Arduino Uno
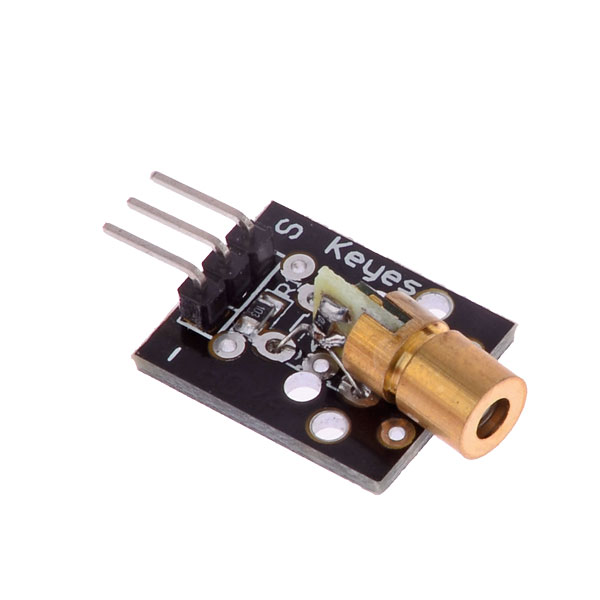
- KY-008 Laser transmitter module
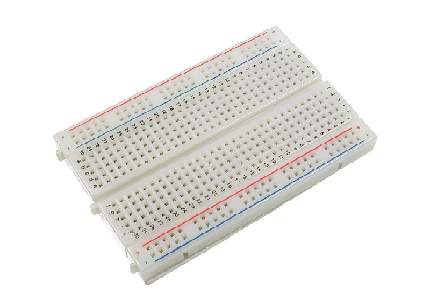
- Breadboard
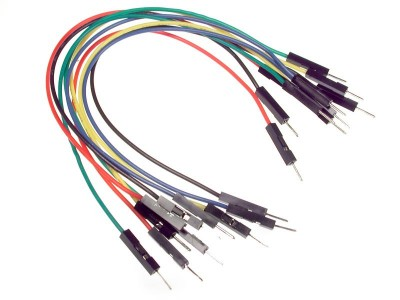
- Jumper wires
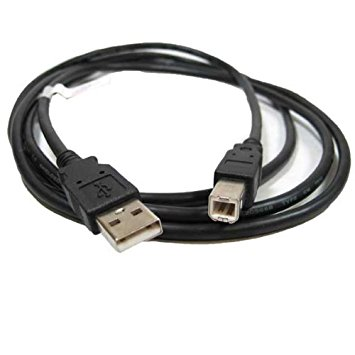
- USB cable type A to B
- Computer
Software
- Arduino software/Arduino IDE
Knowledge
- Basic electronics and programming knowledge
Difficulty
- Basic
Project description
This is a simple project that uses a KY-008 Laser transmitter module hooked to an arduino uno board. The laser module will be set to turn ON and OFF alternately. The aim for this project is to get to know the laser module and how to make it work by using the arduino board.
Component description
Arduino Uno - a type of arduino board that is used commonly by specialist and hobbyist because of its robust design. It is equipped with a microcontroller board that is based on ATMega328P with 14 advanced I/O pins (6 are PWM outputs), 6 analog inputs, 16 Mhz quartz crystal, a power jack, a USB port, an ICSP header and a reset button.Reference
KY-008 Laser Transmitter module - a device that emits a laser beam, with a wavelength of 650 nm(red) and operates at 5 volts. Its pins configuration are S (5V) and a GND (ground) the middle pin is not used. Reference
NOTE: It can damage the eyes, so don't ever point it directly at your eyes.
Tutorial Contents
Step 1: Gather the parts
- You can easily obtain the components in your nearby electronics shop as this components are fairly common or you can just order them online.
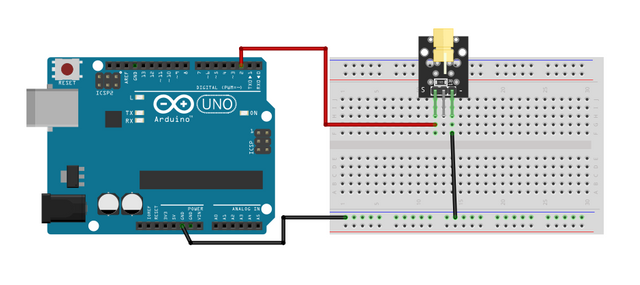
Step 2: Construct the circuit
- Connect the S pin of the laser transmitter module to pin number 2 of the arduino uno board.
- Connect the GND pin of the arduino uno board to the GND pin of the laser transmitter module.
Step 3: Programming
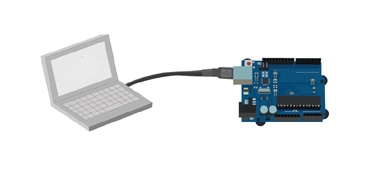
- Connect the arduino uno board to the computer using the USB type a to b cable.
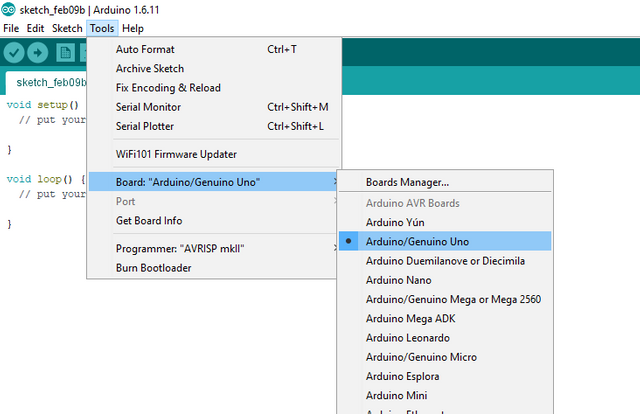
- Once the board is connected, open the Arduino IDE and go to Tools > Board: > then select Arduino/Genuino Uno.
- Copy the code below to your sketch in the arduino IDE.
const int lasertransmitter = 2;   //sets laser transmitter module @pin 2
void setup() {
  pinMode(lasertransmitter, OUTPUT);  // sets the laser module as the OUTPUT
}
void loop() {
  digitalWrite(lasertransmitter, HIGH); // turn the laser module ON
  delay(3000);    // delay of 3 seconds
  digitalWrite(lasertransmitter, LOW); // turns the laser module OFF
  delay(3000);    // delay of 3 secons
}
What this code does is very simple, first it defines the pin of the laser transmitter that is at pin 2. In the setup command, it sets the laser transmitter as the OUTPUT. In the loop command the laser transmitter is set as HIGH meaning this will produce the laser beam for 3 seconds, and after that the laser transmitter will be turned OFF for 3 seconds. The process will go on and on until the arduino uno is turned off.
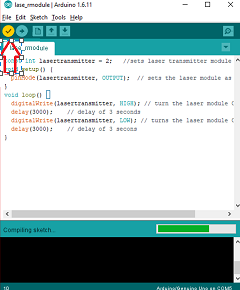
- After typing the code in your sketch, click the Verify button to save and compile the program. This will check any errors in the code.
- If no errors were found, click the Upload button to start programming the arduino uno board.
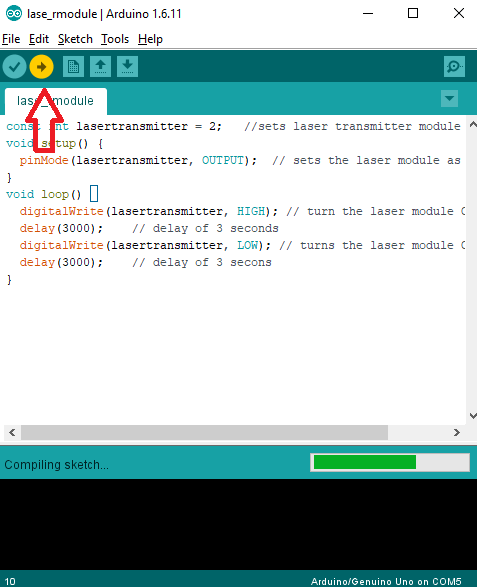
Step 4: Testing
- After the programming is finished, remove the arduino uno board from the computer and connect it with a battery pack.
- Now, once the arduino boots up, the laser should now be turned ON for 3 seconds. Note: Do not point the laser to your eye because it can blind you.
- After 3 seconds have passed, the laser should now be turned OFF for 3 seconds and it will keep doing it until the arduino uno board is turned off.
Curriculum
Check out my other Arduino tutorials here:
- Arduino 101: Using a KY-036 metal touch sensor
- Arduino 101: Using a Flame sensor module
- Arduino 101: Using a Capacitive Touch sensor to control an LED
- Arduino 101: Using a Reed switch
Posted on Utopian.io - Rewarding Open Source Contributors
Your contribution cannot be approved because it is not as informative as other contributions. See the Utopian Rules. Contributions need to be informative and descriptive in order to help readers and developers understand them.
You can contact us on Discord.
[utopian-moderator]
okay sir. I will just do better next time. ☹️