Arduino 101: Motion activated Servo motor with Arduino
What Will I Learn?
- You will learn how digital input and output works by using the PIR sensor as the input and the servo motor as the output.
- You will learn to program the arduino board by using the Arduino IDE.
- You will learn the basic function of a servo motor that is controlled by an arduino board.
Requirements
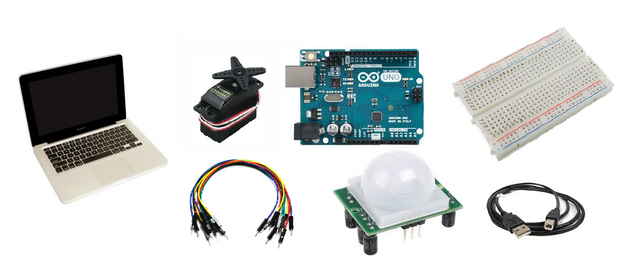
Hardware
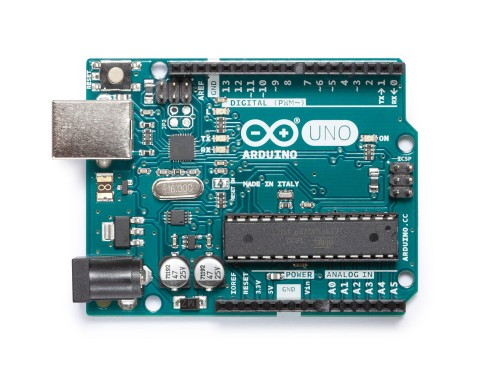
Arduino Uno
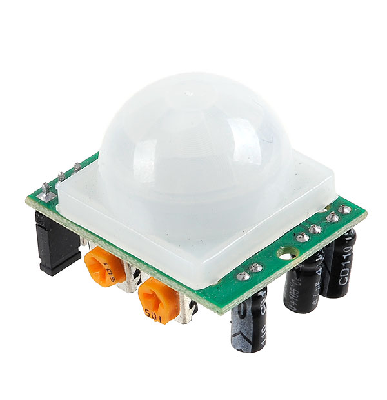
PIR(Passive Infrared) sensor
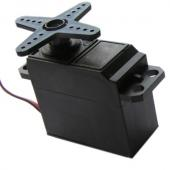
Servo Motor
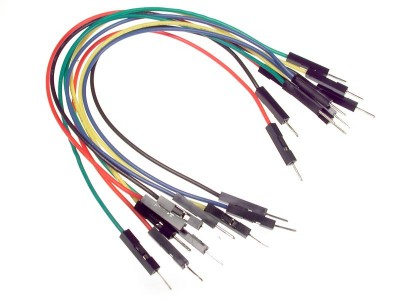
Jumper Wires
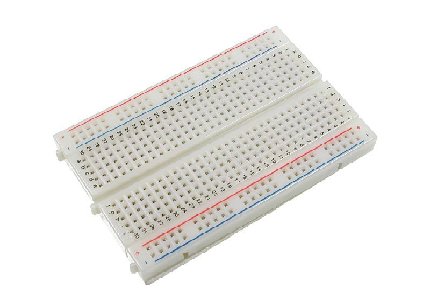
Bread board
Computer

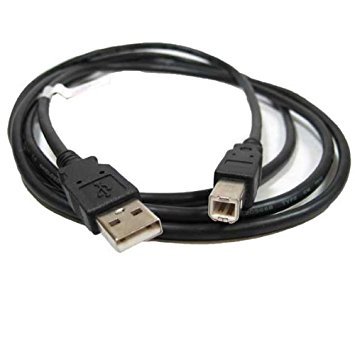
USB type A to B cable
Software
-Arduino Software/ Arduino IDE (Integrated Development Environment)

Knowledge
-Basic electronic and programming knowledge
Difficulty
- Basic
Project description
This project uses an Arduino Uno to control the whole circuitry. A PIR(Passive Infrared) sensor will be its input device and triggering device that will detect any movement from its field of view. Once movement has been detected it will immediately send the data to the Arduino board which will then activate the servo motor that is connected as the output.
Component Description
Arduino Uno - this is the type of arduino board that is common used by hobbyist because of its cheap and robust design. It is packed with a microcontroller board that is based on ATMega328P with 14 digital I/O pins (6 are PWM outputs), 6 analog inputs, 16 Mhz quartz crystal, a power jack, a USB port, an ICSP header and a reset button.
PIR (Passive Infrared) sensor - this are an electronic sensors that can detect infrared light which are invisible to the naked eye. It measures the infrared light that is radiating from every object within its field of view.
Servo Motor - This device is a rotary actuator/ linear actuator that is built for precise control of the angular or linear position, velocity and acceleration. It consists of a suitable motor that is coupled to a sensor for position feedback.
Tutorial Contents
Step 1: Gather your parts
- The parts used in this project are all common components that are easy to find in your local electronics shop.
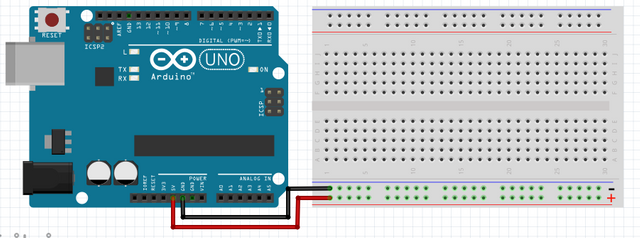
Step 2: Construct the circuit
Connect the Sources
- Assign which slot in the breadboard that you want to be the power source. In my case, I placed it at the bottom where the connection is horizontal. This is the ideal place for the sources because the connection here is continuous meaning the connections here are connected in one conductive plate.
- Assign where you want to place your ground. In my case, I placed it right above the power source.
- Note: Make sure that you do not place the same jumper wires in the same row to avoid short circuit. Also, I highly advise you to color code your wiring so that you will know what you are working with.
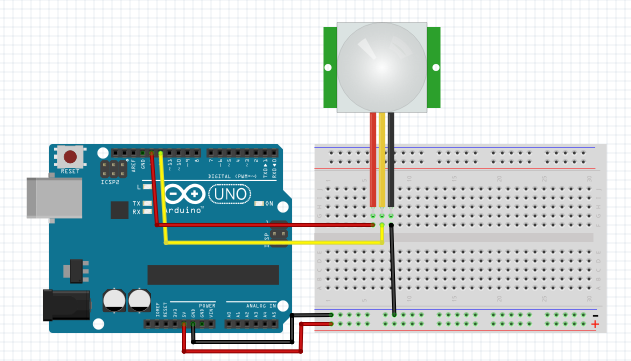
Connecting the sensor
- Connect the red wire(+) of the PIR sensor to the digital pin 13 of the arduino board , the PIR only needs 5 volts in order to work and that is just the exact amount of voltage that an arduino uno can provide.
- Connect the black wire(-) of the PIR sensor to the ground grid(-).
- Connect the yellow wire(data) of the PIR sensor to the digital pin 4 of the arduino.
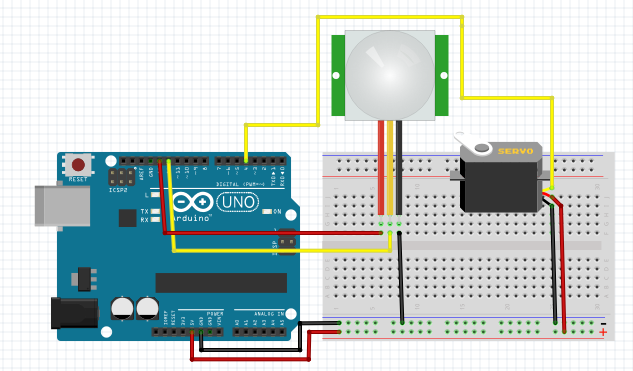
Connecting the Servo
- Connect the red wire(+) of the Servo motor to the voltage source(+).
- Connect the black wire(-) of the Servo motor to the ground(-).
- Connect the yellow wire(data) of the Servo motor to the digital pin 4 of the arduino.
Step 3. Programming
Now that we have completed our circuitry, let us now start with the programming.
- Open the Arduino Software / Arduino IDE.
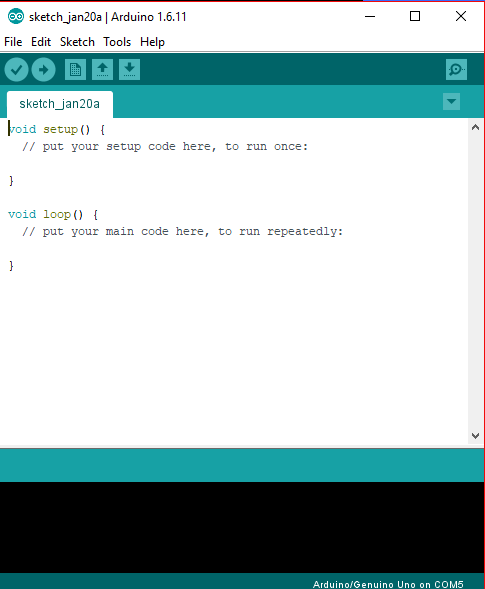
- Copy this code into your Arduino IDE.
#include <Servo.h>

Servo myservo; //creates a servo object

int pos = 0; //variable to store servo position

//amount of time we give the sensor to calibrate(10-60 secs according to the datasheet)

int calibrationTime = 30;

//the time when the sensor outputs a low impulse

long unsigned int lowIn;

//the amount of milliseconds the sensor has to be low

//before we assume all motion has stopped

long unsigned int pause = 5000;

boolean lockLow = true;

boolean takeLowTime;

int pir = 12; //digital pin connected to the PIR's output

int pirPos = 13; //connects to the PIR's 5V pin

void setup(){

myservo.attach(4); //attaches servo to pin 4

Serial.begin(9600); //begins serial communication

pinMode(pir, INPUT);

pinMode(pirPos, OUTPUT);

digitalWrite(pirPos, HIGH);

//time for calibration

Serial.println("calibrating sensor ");

for(int i = 0; i < calibrationTime; i++){

Serial.print(calibrationTime - i);

Serial.print("-");

delay(1000);

}

Serial.println();

Serial.println("done");

//this waits until the PIR's output is low before ending setup

while (digitalRead(pir) == HIGH) {

delay(500);

}

Serial.print("SENSOR ACTIVE");

}

void loop(){

if(digitalRead(pir) == HIGH){ //if the PIR output is HIGH, turn servo

/*turns servo from 0 to 180 degrees and back

it does this by increasing the variable "pos" by 1 every 5 milliseconds until it hits 180

and setting the servo's position in degrees to "pos" every 5 milliseconds

it then does it in reverse to have it go back

if you want to change the amount of degrees the servo turns, change the number 180 to the number of degrees you want it to turn

**/

for(pos = 0; pos < 180; pos += 1) //goes from 0 to 180 degrees

{ //in steps of one degree

myservo.write(pos); //tells servo to go to position in variable "pos"

delay(5); //waits for the servo to reach the position

}

for(pos = 180; pos>=1; pos-=1) //goes from 180 to 0 degrees

{

myservo.write(pos); //to make the servo go faster, decrease the time in delays for

delay(5); //to make it go slower, increase the number.

}

if(lockLow){

//makes sure we wait for a transition to LOW before further output is made

lockLow = false;

Serial.print("Motion detected!");

delay(50);

}

takeLowTime = true;

}

if(digitalRead(pir) == LOW){

if(takeLowTime){

lowIn = millis(); //this will save the time of the transition from HIGH to LOW

takeLowTime = false; //make sure this is only done at the start of a LOW phase

}

//if the sensor is low for more than the given pause,

//we can assume the motion has stopped

if(!lockLow && millis() - lowIn > pause){

//makes sure this block of code is only executed again after

//a new motion sequence has been detected

lockLow = true;

Serial.print("Motion ended!"); //output

delay(100);

}

}

}
What this code does is simple, first it will do an initialization where it will give time to the PIR to calibrate its sensor. The serial monitor will display its state as "calibrating sensor". Once the initialization is done, the PIR sensor is fully active and will watch the surrounding. When the PIR sensor detects a movement or a change in the radiation within its field of view, it will immediately send the data to the Arduino board changing its state from LOW to HIGH indicating that there is motion, the serial monitor will display "Motion detected!". The arduino uno will then command the servo motor to rotate one degree per step from 0 degrees to 180 degrees and after it reached the 180 degrees it will then sweep back from 180 to 0 degrees. When the motion has stopped for 5 seconds, the servo motor will stop moving and the serial monitor will display "Motion ended!". It will now start the loop again and observe any motion from the surrounding.
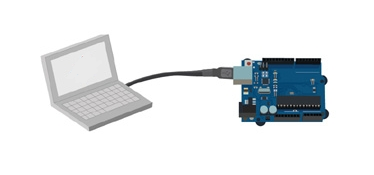
After typing the code into the Arduino IDE, connect the Arduino uno board into the computer by using the type a to b usb cable.
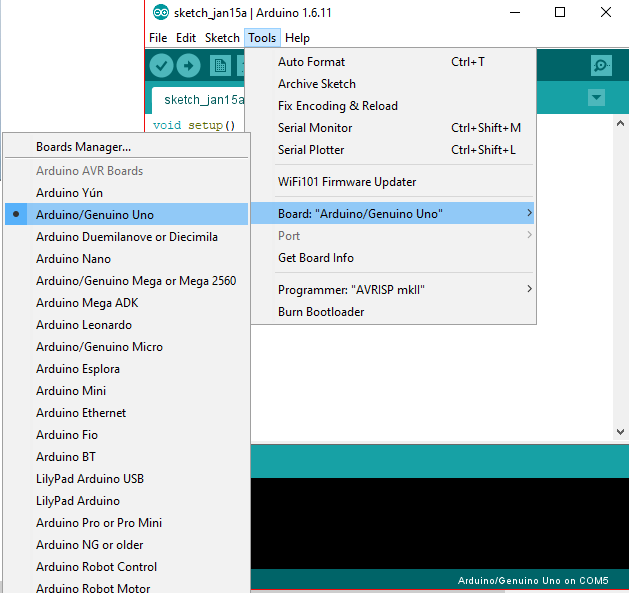
Once the arduino uno board has connected successfully to your computer, go to Tools > Board > Arduino/ Genuino Uno.
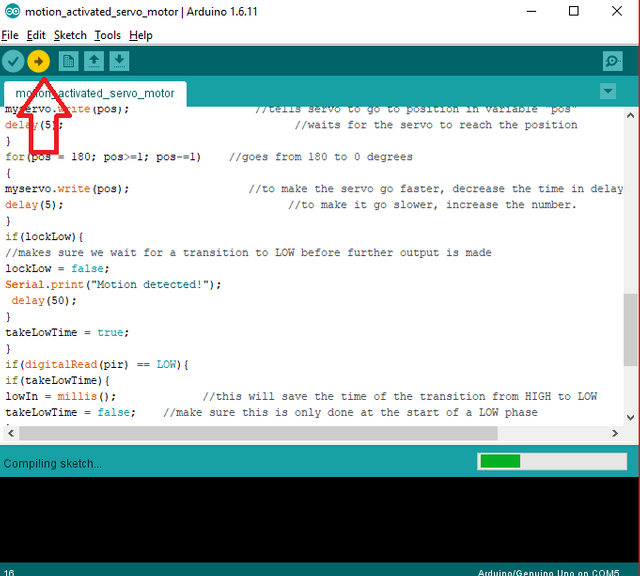
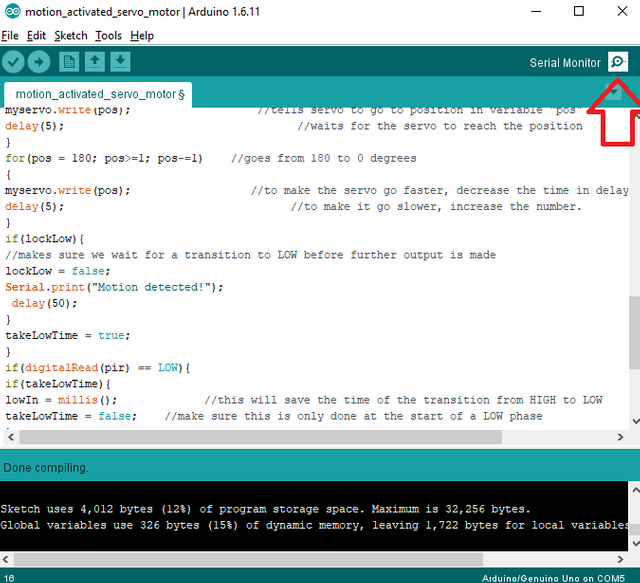
Click on Verify to compile the program and check if there is no error.

After compiling the program and no errors were found, click on upload to install the program into your arduino board.
Step 4: Testing
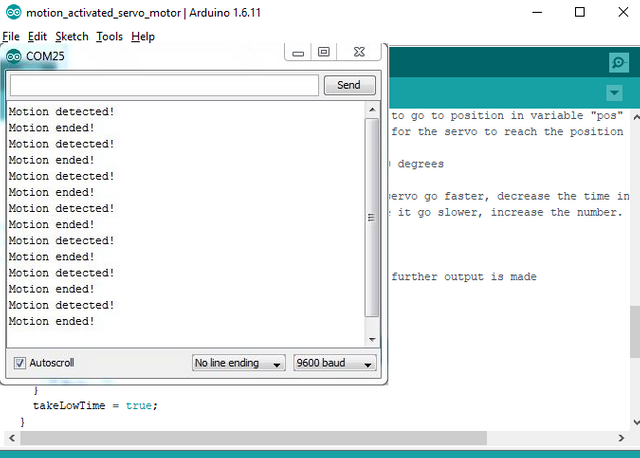
- After the program is installed into the arduino uno, it will immediately start to calibrate the sensor. Once the calibration is finished, the sensor is now active. Click on the serial monitor at the upper right corner of your arduino IDE to see its reading.
- Now hover your hand in front of the sensor. It should detect the movement from your hand and will display "Motion detected!" and the servo motor will start sweeping from 0 to 180 and back.
- Then remove your hand away from the second and wait for 5 seconds. It should display "Motion ended!" and the servo motor will stop moving.
Step 5: Tinkering
- Now that you know the basic set up on how to use the arduino, PIR and servo motor to detect movement from the surrounding, experiment with it and add more features to it for your projects.
Curriculum
Here are my previous tutorials on the Arduino that you may find interesting:
- Arduino 101: PIR based burglar alarm with Piezoelectric buzzer and Arduino
- Arduino 101: Tilt Sensor with Arduino
- Arduino Shields
- How to control servo motor using arduino
- Arduino for beginners
Posted on Utopian.io - Rewarding Open Source Contributors
Thank you for the contribution. It has been approved.
You can contact us on Discord.
[utopian-moderator]
Thank you @forkonti
great ! very informative ^_^
Thanks bro! :)
Hey @ted7 I am @utopian-io. I have just upvoted you!
Achievements
Suggestions
Get Noticed!
Community-Driven Witness!
I am the first and only Steem Community-Driven Witness. Participate on Discord. Lets GROW TOGETHER!
Up-vote this comment to grow my power and help Open Source contributions like this one. Want to chat? Join me on Discord https://discord.gg/Pc8HG9x