[SteeMagazin]^HTML tutorial for Steemit
In this tutorial I'm going to cover some basic HTML attributes. HTML is pretty simple code language so it shouldn't be any problems with understanding it's basics.
● div element (section)
● p element (paragraph)
● h element (heading)
Div element describes a 'section' in which you can add some h and p elements or some picture, links or any kind of information. By adding different attributes to the div element you can change background color of the whole div area, edit text properties inside a div area, add margin and borders or align text and images.
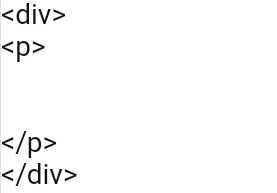
To begin a div section you write the code:

● every information you put between this two tags will be a part of this section.
● you can also have div section inside a div section
**P** element describes paragraph 'section' in which you usually put in some text. By adding different attributes to the p element you can change text color, size, font, background color and many more attributes.
To begin a p 'section' you write the code:
● p element can be a part of div 'section' or it can stand alone
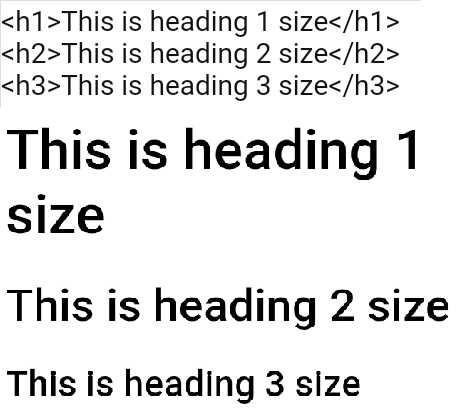
**H** element describes a heading 'section' which has mostly the same attributes as p element. By indicating a number after h you can manage the size of your heading.
Example:
Understanding HTML
Now that you've been introduced to our main elements it's time to get your elements some style. To add certain attributes to an element you add 'style=' feature to the element tag inside the parentheses. After you've done that it's time to open quotation marks and write attributes inside. Every attribute must be closed with **;** sign. Check out examples below.Example 1:
Changing text color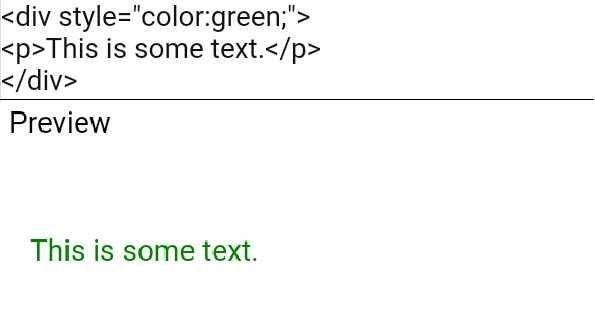
● color attribute will describe color of your text and color of every p and h element that you put inside div area
● you can add colors by their name (red, blue, purple, orange etc.) or you can visit https://www.w3schools.com/colors/color_picker.asp and pick some more advanced colors
Example 2:
Overwriting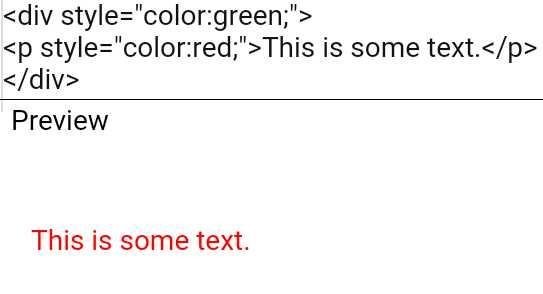
● you can see that if you add different color to your p element that's inside a div it will overwrite the color which was added in div element
Example 3:
Background color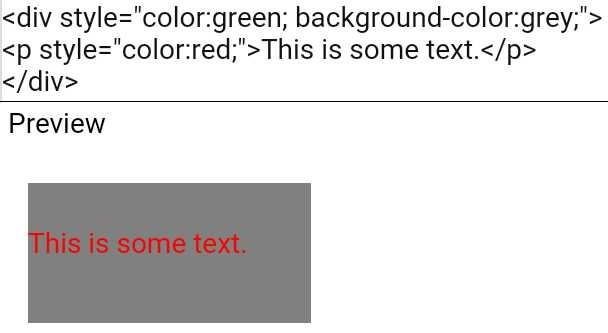
● you add background color to your elements with background-color attribute
Example 4:
Text align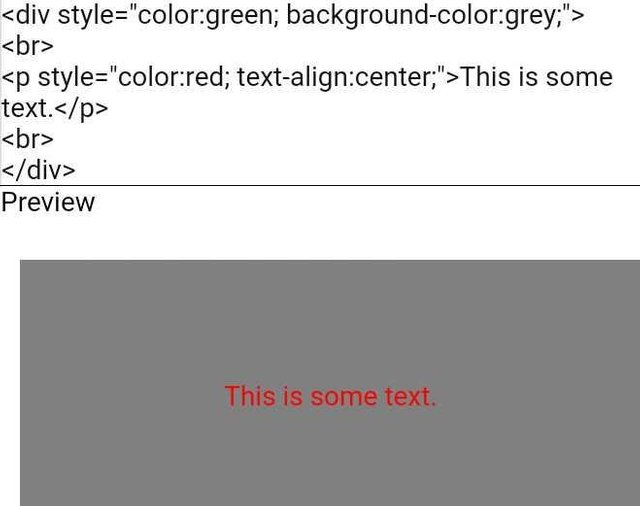
● to align text you use text-align attribute
● your text can be aligned: left, right, center, justify
● 'br' tag is used to add a new empty row to div 'sector'
Example 5:
Heading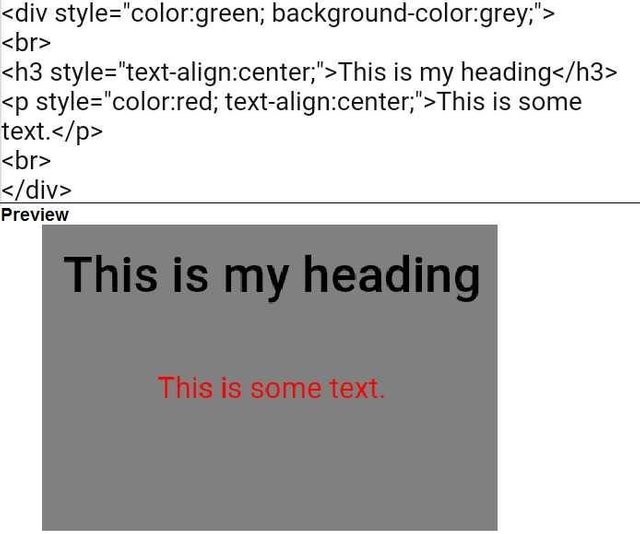
● you can manipulate your heading size with numbers from 1 to 6, number 1 is the largest while 6 is the smallest size
● to manipulate other heading attributes you can add 'style' feature in the same way as with div and p element
Example 6:
Adding images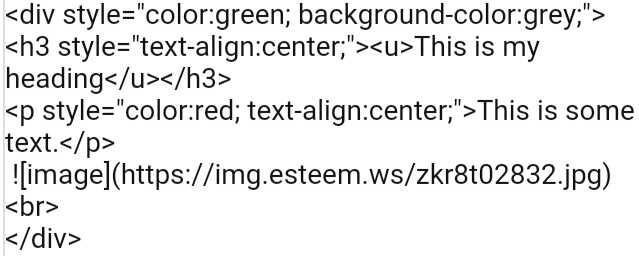 Preview
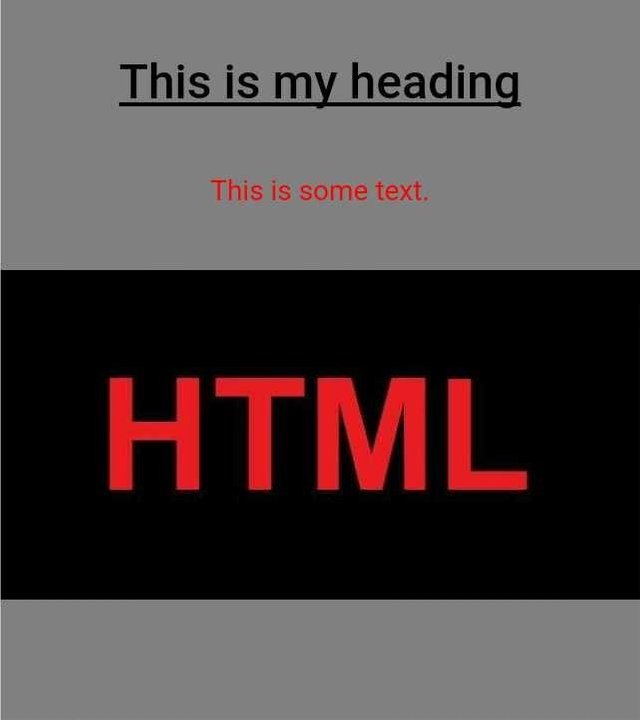
● now we've underlined our heading with 'u' tag and uploaded an image to the spot we picked
By now you probably understand how HTML code works. Here are some main attributes you can add to your div, p and h elements:
● color: (name of the color;/color code;) - use this attribute to change the color of your text
● background-color: (name of the color;/color code;) - use this attribute to change background color of wanted element (sector)
● font-family: (verdana;/calibri;/arial;...) - use this attribute to change your text font
● margin: (1/2/3/.../10px;) - use this attribute to add margin to your element,
● text-align: (left;/right;/center;/justify;) - use this attribute to align you text
● border: (solid;/dotted;/hidden;/...) - use this attribute to add borders to your p, h and div elements (sectors)
Example 1
If I want to make my p element green, centered, in arial font, with background color blue and with dotted border, I'm going to write the following code: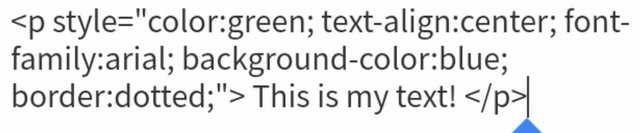
Don't forget about additional tags:
● 'br' tag - use this to add a row
● 'u' tag - use this to underline text
● 'i' tag - use this to make text italic
● 'b' tag - use this to make text bold
Example 2:
If i want to make this same text italic, bold and underlined with a new empty row behind the text: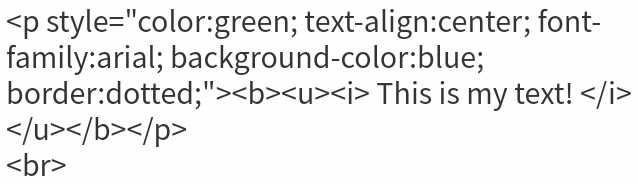
There are many more options when it comes to editing your text or look of your page with HTML code, far too many to put everything in one tutorial. If you want to know more about manipulating look of your Steemit articles be sure to follow us. I'm gonna show you more in a week!
Btw. I have already made one tutorial which is about resizing images on Steemit. If you're interested you can check out my post: https://steemit.com/steemit/@sulepower/resizing-images-using-html-code-51c454b9a20b4
Written by: @sulepower
HTML design: @sulepower
@steemagazin team: @atimk23, @tinmar, @kalu24, @sulepower, @strictlybusiness, @kekec
This is @steemagazin original content. All rights reserved.
Links: https://steemit.com/steemit/@sulepower/resizing-images-using-html-code-51c454b9a20b4
Author comment: We're sorry that we can't respond to your comments on our introduce post. Our RC max mana is just too low right now. We thank you for all of your support and we promise that we'll continue to make quality content. Please do not hesitate to upvote and resteem, some of our articles took a lot of time :)