Buckle on the belt Jack Daniel's Old No. 7. A master class on modeling and product creation.
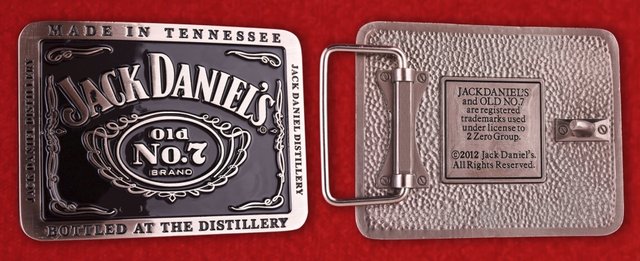
I received an order to make this buckle:
And I used MAYA and Zbrush to make this product in about an hour.
I am not going to describe every action I have taken. Since if you write completely for beginners, describing such a simple product, it will not be a weak book anymore. But in this article we will get acquainted with the process of creating a model on the computer and before the final work of metal.
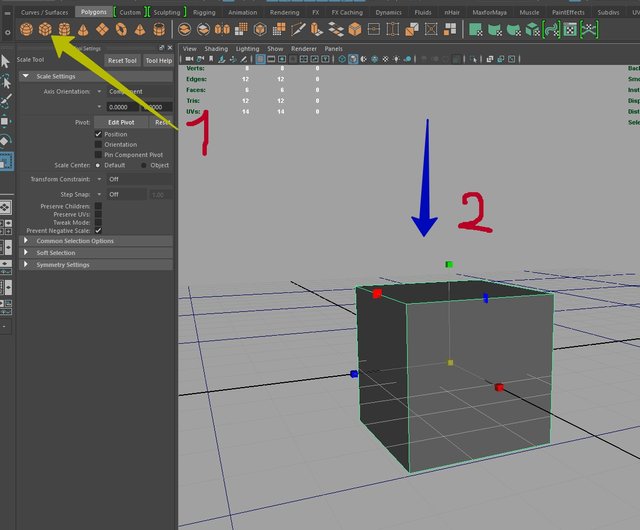
And the first thing I did was create a simple primitive cube:
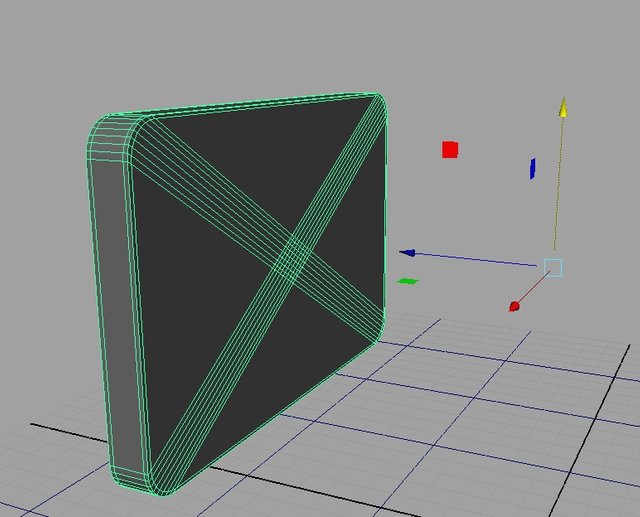
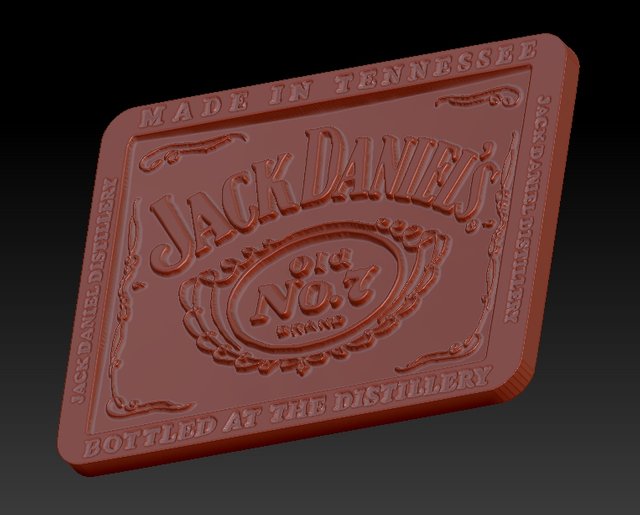
And he made from it such a preparation.
Then with the help of Google and photoshop created maps of heights. For which he squeezed out the following relief.
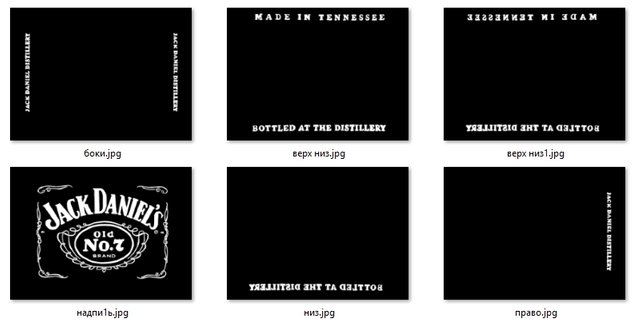
A map of heights, in simple words, is a black color of 0 height, and a white one is 1 step. There are also more complex heights maps. Where there are different tones of black and gray, and this is already smooth transitions, without sharp edges.
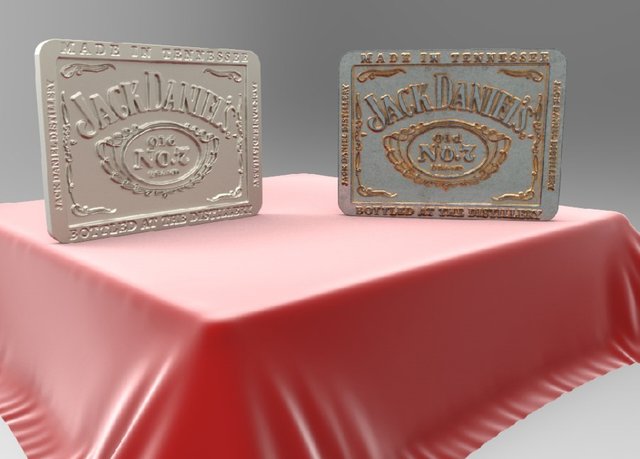
And as a result, on a test render (image processing, on a computer, namely refraction of light, assigned materials, color, cameras, etc.), I got this picture.
Next, you create a file specifically for the cnc machine.
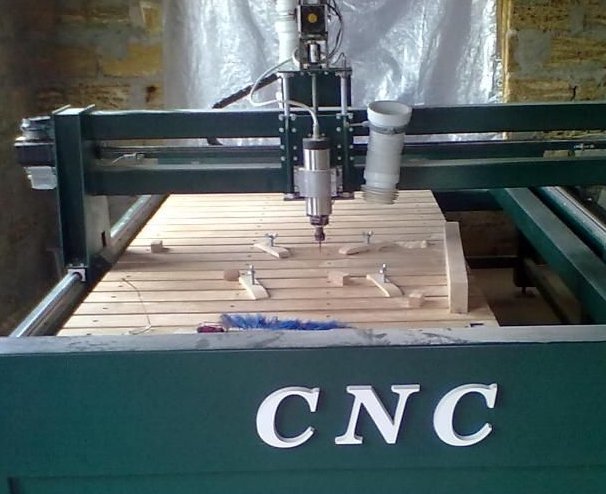
In which coordinates are indicated on which the head with the mill must cut the product. And in the end we get the product as on the first photo. Screws on the fastening on the buckle are put in hand. Unfortunately I do not have a photo. Since I'm just a 3d modeler with cnc machine.
Thank you for attention!
I wish you all good luck and good mood !!!