Reconstruction of my yurt Day 4 / Wiederaufbau meiner Jurte Tag 4
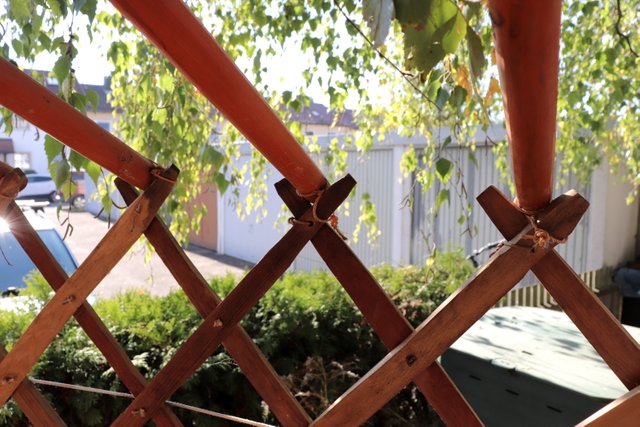
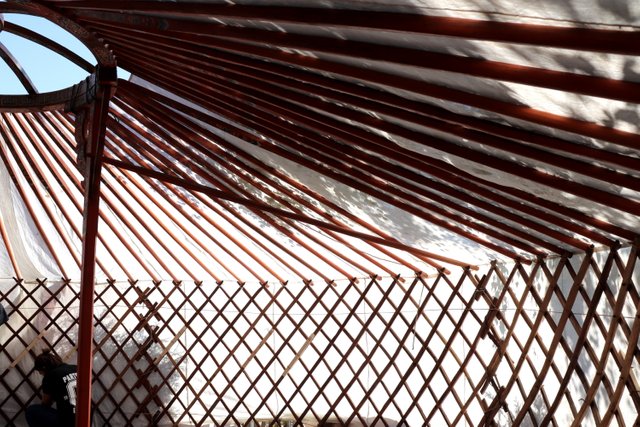
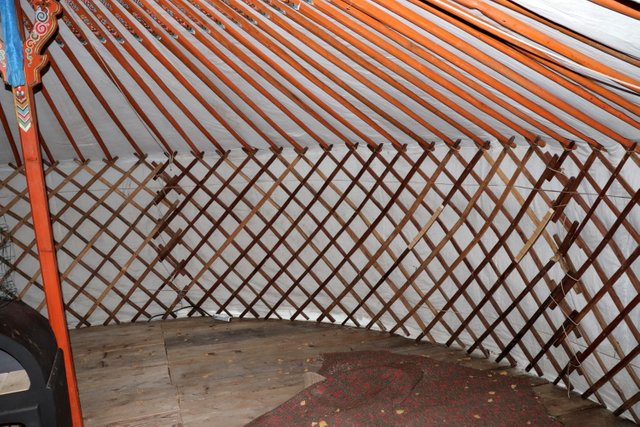
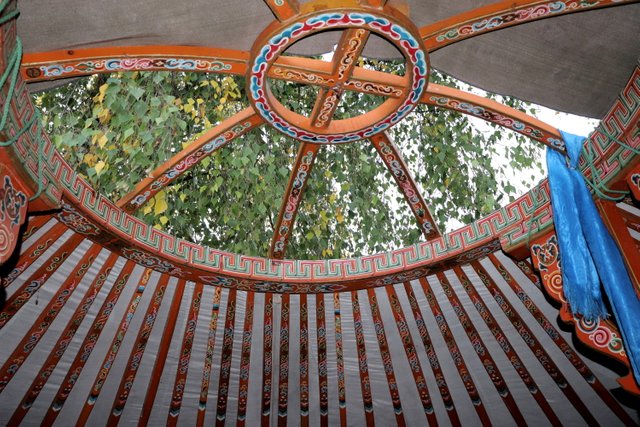
The reconstruction can begin! Thanks to the numerous helpers, the remaining repairs could be carried out together in a short time. The first step in rebuilding is to bring the folding grilles to the door height. Then the roof wreath is placed with the two mullions and hung with 4 ropes. The 81 rods for the roof are then plugged in. Again and again, individual rods fall down, but over time the circle gets its correct diameter and can be stretched with 2 ropes, which are hung in the door.
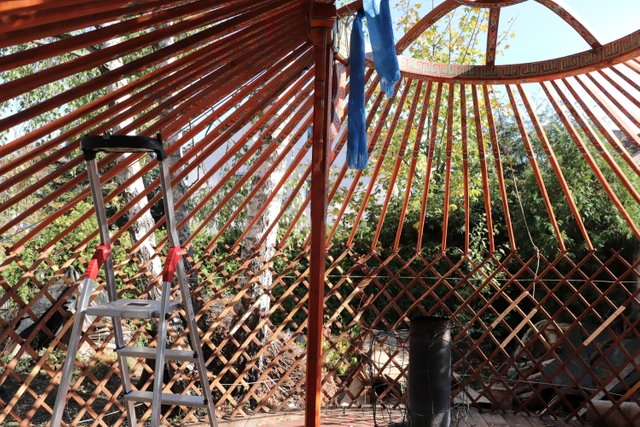
Der Wiederaufbau kann beginnen! Dank der zahlreichen Helfer konnten die restlichen Reperaturen in kurzer Zeit gemeinsam ausgeführt werden. Der erste Schritt beim Wiederaufbau besteht darin die Scherengitter auf die Türhöhe zu bringen. Dann wird der Dachkranz mit den beiden Mittelpfosten aufgestellt und mit 4 Seilen angehängt. Die 81 Stangen für das Dach werden dann eingesteckt. Dabei fallen immer wieder einzelne Stangen herunter, aber mit der Zeit bekommt der Kreis seinen richtigen Durchmesser und kann mit 2 Seilen, die in der Tür eingehängt sind gespannt werden.
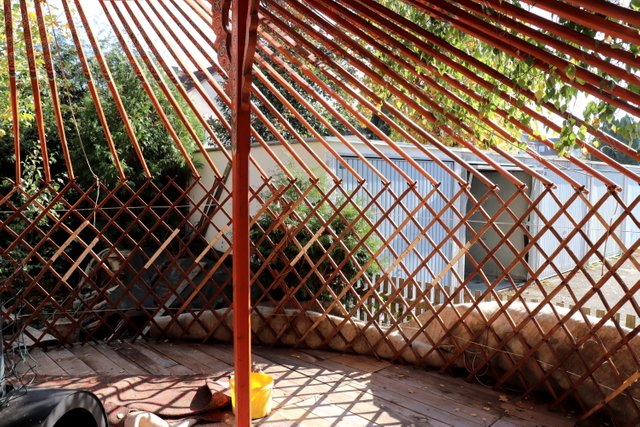
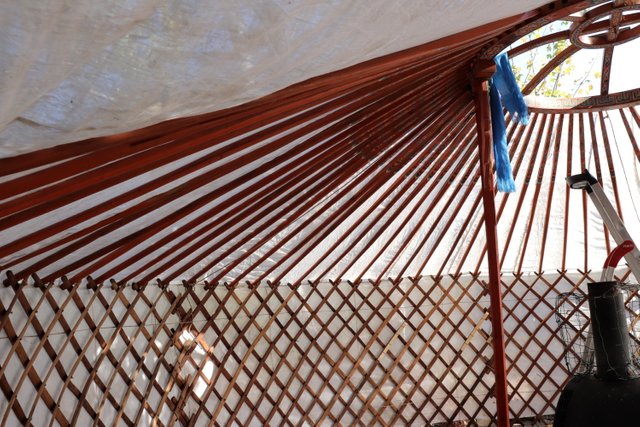
Done, all rods are hung and the two ropes stretched.
Geschafft, alle Stangen sind eingehängt und die beiden Seile gespannt.

Now the sky is laid on it. Washed and sewn together, this piece of fabric is again handsome and gives the yurt a fresh shine.
Jetzt wird der Himmel darauf gelegt. Gewaschen und zusammengenäht ist dieses Stück Stoff wieder ansehnlich und gibt der Jurte einen frischen Glanz.
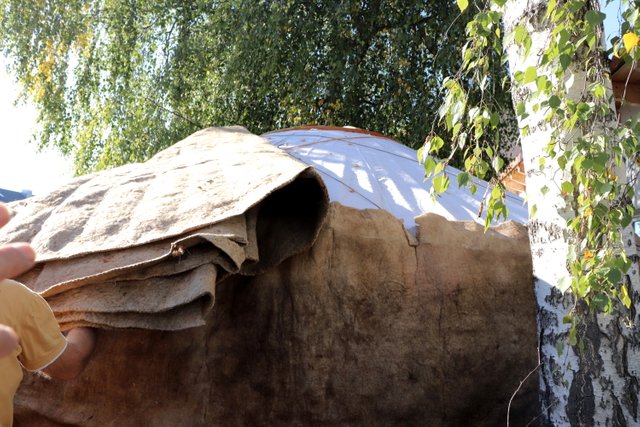
After a short break now the felts are on the line. First, the side parts, which are strained with ropes across the yurt, so that they do not slip off. Then the two roof parts, which are also braced with ropes across the yurt.
Nach einer kurzen Verschnaufpause sind nun die Filze an der Reihe. Zuerst die Seitenteile, die mit Seilen quer über die Jurte verspannt werden, so daß sie nicht abrutschen. Dann die beiden Dachteile, die ebenfalls mit Seilen quer über die Jurte verspannt werden.

Then the two-piece tarpaulin on it and also strained criss-crossed over the yurt.
Dann noch die zweiteilige Dachplane darauf und ebenfalls kreuz und quer über die Jurte verspannt.
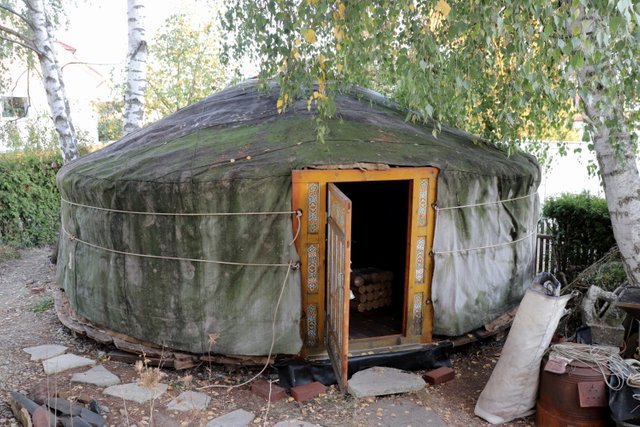
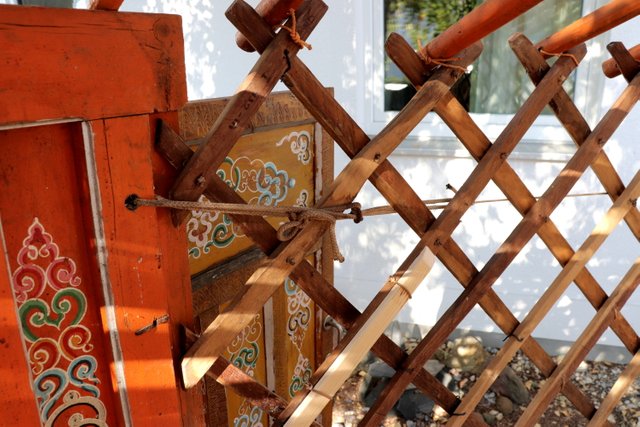
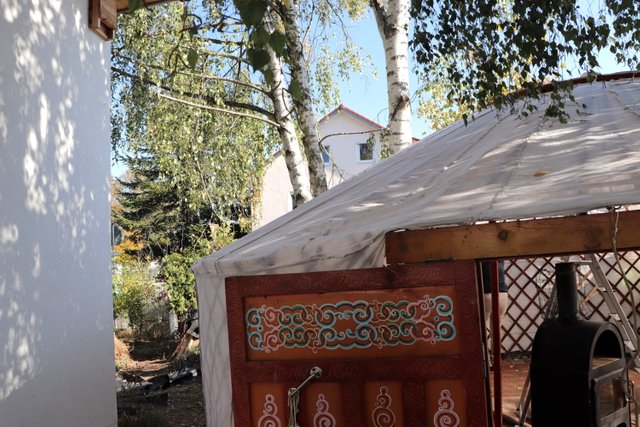
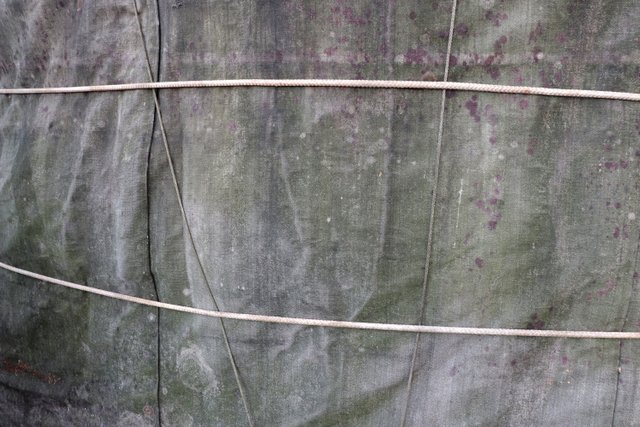
The conclusion is then the ropes are attached to the door and are tightened all around, so then all parts are fixed and should hold again for a few years.
Den Abschluß bilden dann die Seile die an der Tür befestigt sind und ringsum gespannt werden, damit sind dann alle Teile fixiert und sollten wieder ein paar Jahre halten.
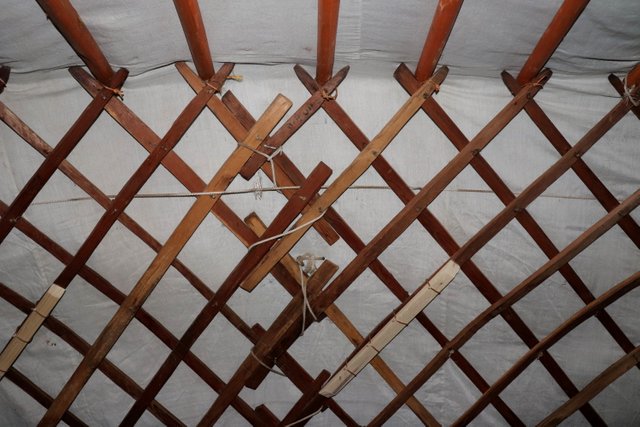
Finally, a few shots of the interior.
Zum Schluß noch ein paar Aufnahmen vom Innenraum.
Camera: Canon EOS 200D

See you next time! / Bis nächstes Mal!
Thank you for your attention! / Danke für Deine Aufmerksamkeit!
Original content by
 Schaman Gerbert
You got a 7.61% upvote from @booster courtesy of @schamangerbert!
NEW FEATURE:
You can earn a passive income from our service by delegating your stake in SteemPower to @booster. We'll be sharing 100% Liquid tokens automatically between all our delegators every time a wallet has accumulated 1K STEEM or SBD.
Quick Delegation: 1000| 2500 | 5000 | 10000 | 20000 | 50000
Excellent photos, I see that your yurt has gradually acquired its shape. Excellent work. Thank you @schamangerbert
Awesome jurt. Resteemed :-)
Vielen Dank!
Noe it can be used easily that yurt for living pupose and protecting from sunlight, rain, cold and snow fall. A lot of hard work to achieve that.
How did I miss this post?! The feed system does not work very well! I seemed to have missed several good posts!
Glad to see that you had helped withbyiur yurt!
Now yourr yurt looks very strong and handsome!
Spannend und interessant - dein Jurzenaufbau hat es in sich. Du machst das wohl öfter, denn es wirkt nicht nur super strukturiert und klar sondern auch in gewisser Weise leicht.( nicht "einfach ") ;-) Macht man das immer vor dem Winter?
Posted using Partiko Android
Wenn man weiß wie es geht ist es nicht sonderlich schwierig :)
In den 12 Jahren habe ich es schon ein paar Mal gemacht, wichtig ist trockenes Wetter damit nichts nass wird, denn wenn der Filz nass ist ist er sehr schwer und reisst.
Wow amazing work. Now you have an original Shaman house :D
A lot of work in it, but great result, love it!
This post has received a 9.68 % upvote from @boomerang.