Termite Half Fix DIY
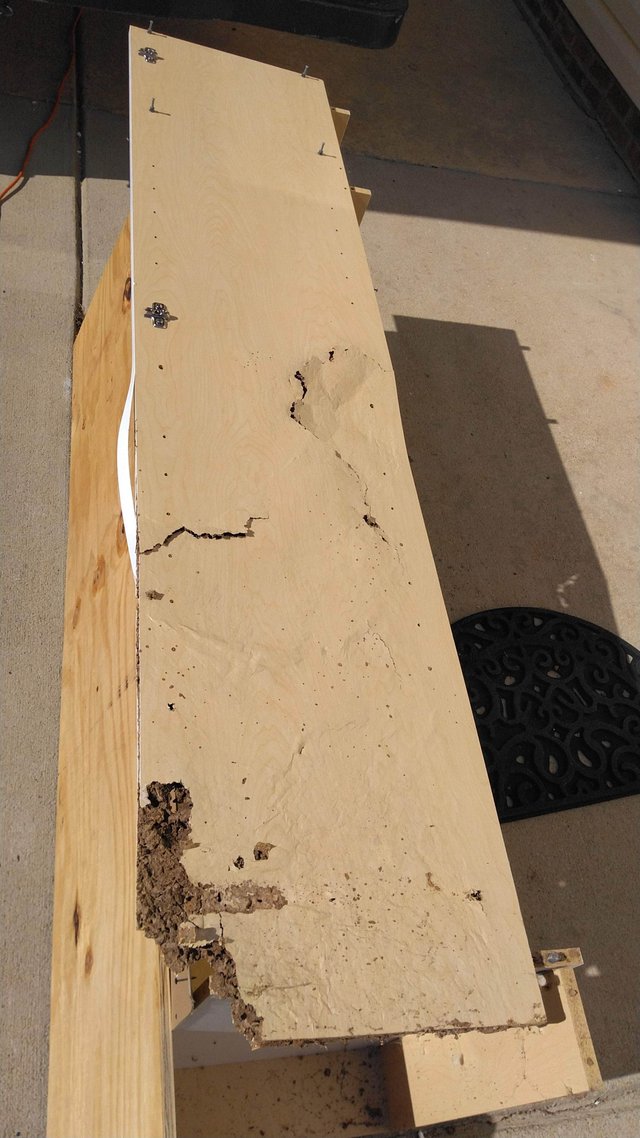
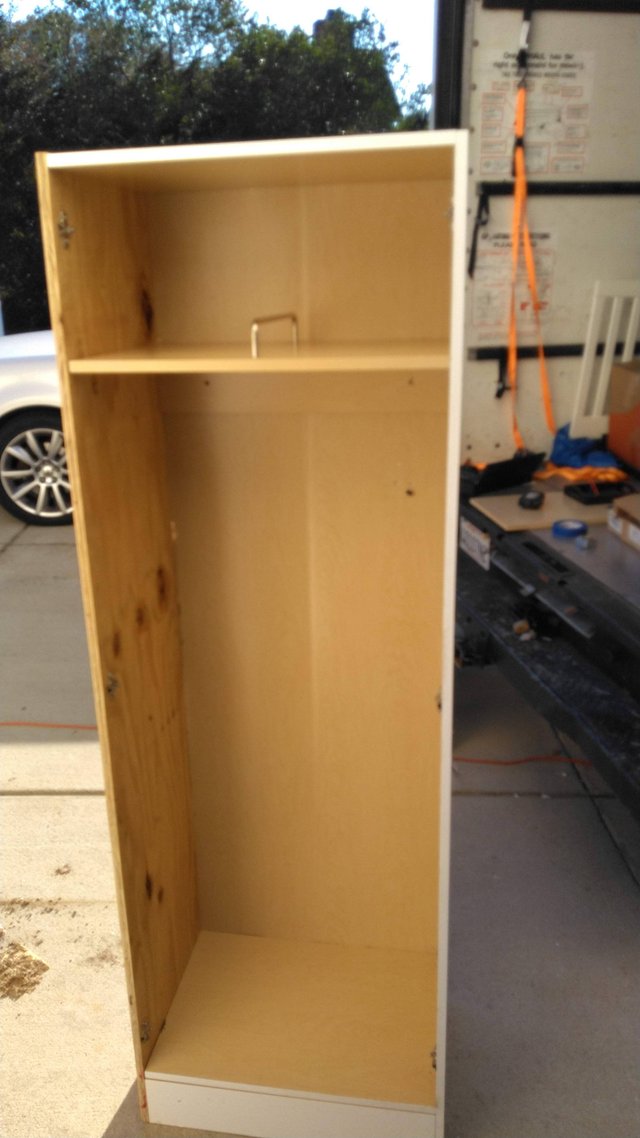
Time for another DIY project. I feel like my whole life is a DIY project these days having just prepped for sale one house and now moving into a new one that needs a bit of work. This was something we knew about since before we bought it, but it wasn't at the top of our to-do list. There was a termite infestation in the "office", which is basically a garage that's been converted with some flooring and a delete of the overhead door. We also wanted to wait until after termite treatment to do repairs so that we weren't just feeding the termites fresh wood treats by doing so. What you see here is the left hand side board of a tall cabinet. It was being used as a broom closet in a makeshift laundry room in this space. With these pieces of wood sitting on the floor next to the foundation, looking like a tasty treat for termites, and the rain leaking down from above through a rotted window sill, this became a perfect habitat for them to set up shop and make a home. We had to remove the cabinet for the termite guys to do their treatment and so this got moved up to the top of the list for repair since I wanted to put it back into place.
Now I'm not sure what I'm going to be doing with this former garage area yet, but I'm pretty sure this is going to be a garage for parking the car again in the next couple of years, and so I don't want to invest any money into replacing this cabinet when it's destined to be torn out soon. Since I already have a piece of plywood laying around that I used for setting up my work bench, I have the perfect half fix solution.
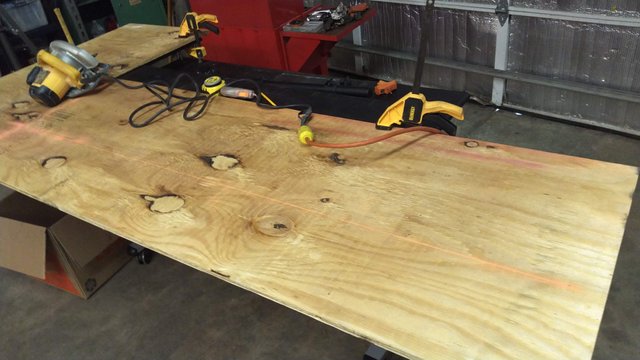
Here's that chunk of plywood with the layout lines on it and then the piece partially cut out. I sold my table saw before the move, so I had to make do with my circular saw here. I fully expected this to be a little be dimensionally inaccurate, but again, it was for a cabinet that will be removed soon anyway, so no big deal if it's not perfect.
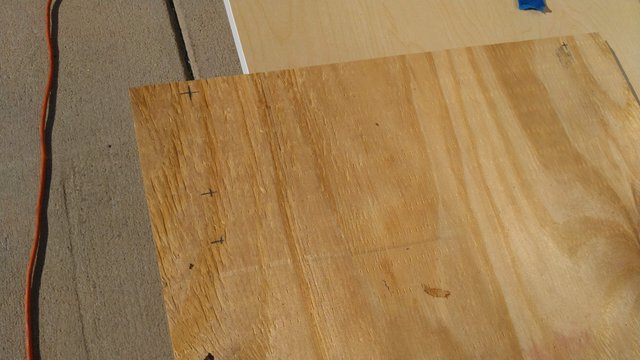
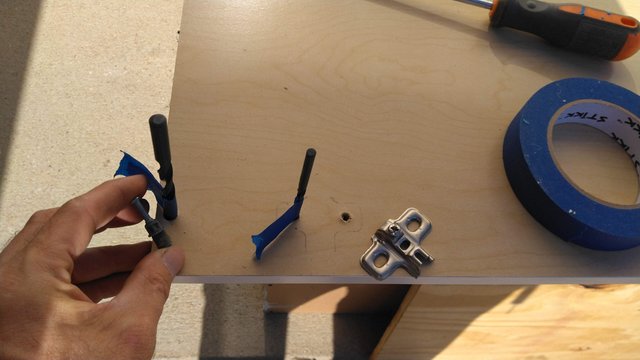
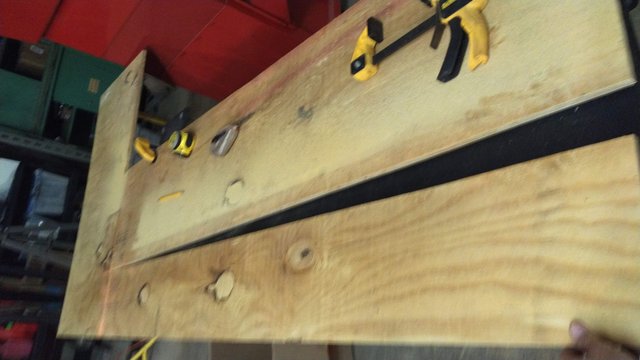
After cutting the piece out to match the one that's destroyed by termites, I got started measuring and transferring the hole locations to be drilled. Once I found the correct size drill bits to match the holes in the old piece, I used these little masking tape flags as depth gauges. Since I sold the drill press too, I did this with a hand drill. Like the cuts, they were a tiny bit off, which results in some spring and twist on a cabinet like this, but for the reasons stated already, no biggie. As long as it fits together and has enough strength to it, I'm good.
With the holes drilled, the hardware was all transferred over. Whenever I dispose of furniture that uses this style of construction (some assembly required after purchase), I save all the hardware and keep it in a container out in the shop. This came in handy here because a couple of the screws were missing for the door hinges and I was able to scrounge some that were a close match out of those reserves.
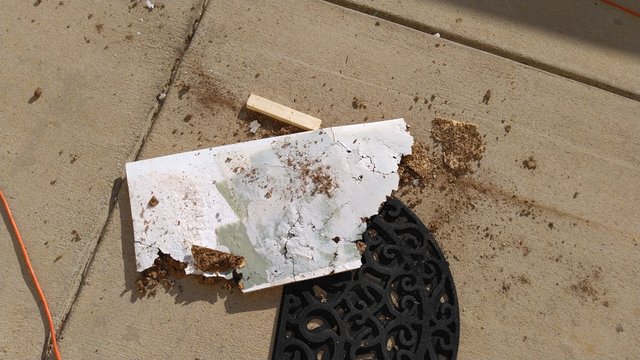
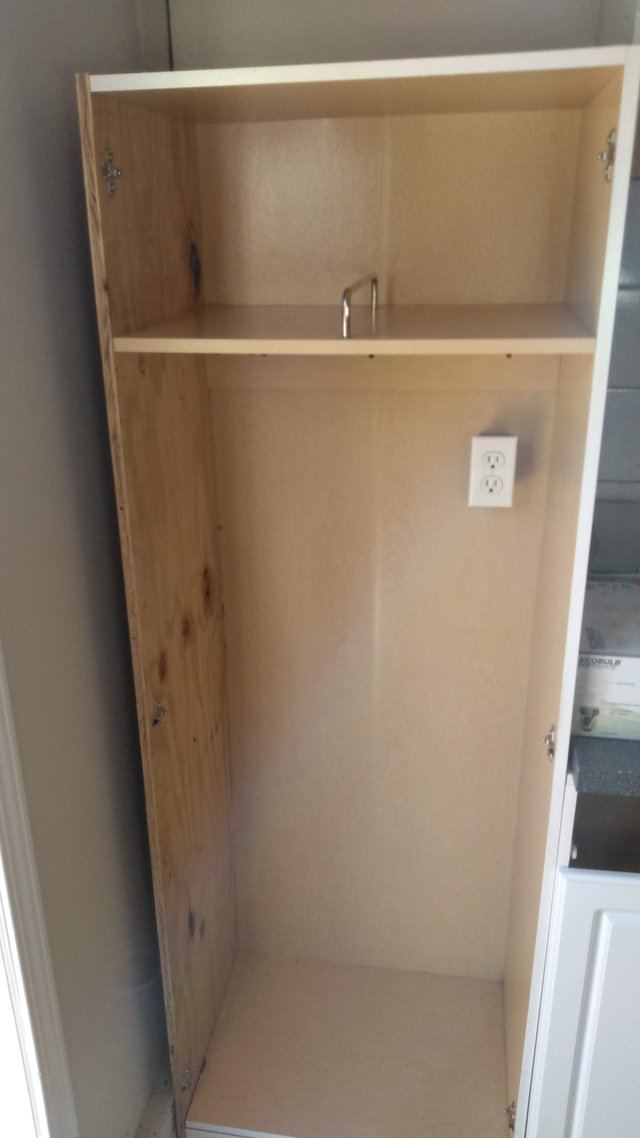
It's a good thing I got those measurements to transfer over to the new piece when I did, because when I went to lift this off the cabinet to test fit the new one, this happened. The whole bottom part of the board fell off revealing the mud-packed termite home. Pretty much the only thing left of the particle board was the white veneer that was precariously holding it together. Everything else was hollowed out about halfway up the piece and replaced with termite mud-huts. I found upon test-fitting that a couple of the measurements were a bit off, and I had even drilled a couple holes in a mirror image to the proper orientation, but after fixing those and a second try, I was able to get it to fit together with a bit of persuasion. Some of the anchors were so beat up from removing and hammering back into place that they were functioning more as a dowel than a fastener, so a couple of drywall screws in strategic locations tightened everything up.
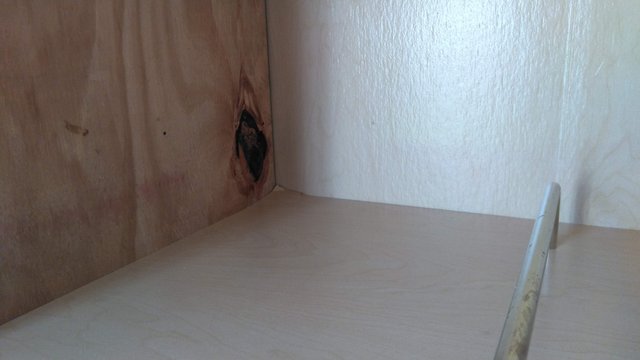
As predicted, a bit of tension caused a wee bit of damage here on the upper shelf, but I think it'll hold together just fine. When the factory builds these, they most likely use a CNC routing table or a jig of some kind to make precise hole locations. When you use a hand drill and a circular saw instead, you have to expect a bit of error. Overall though, it went together pretty well.
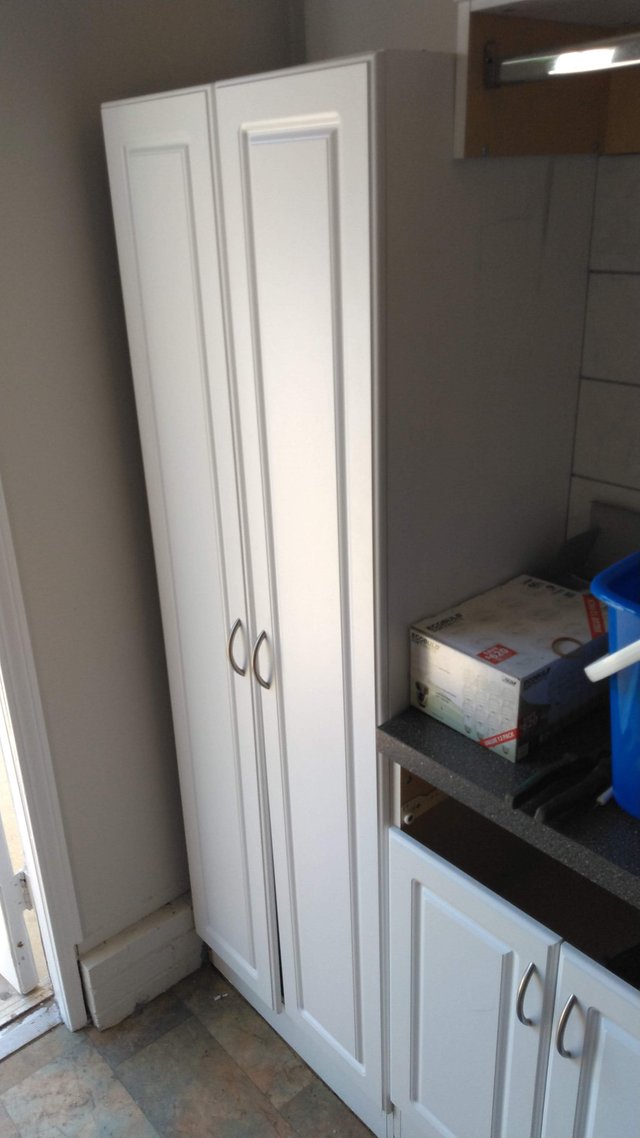
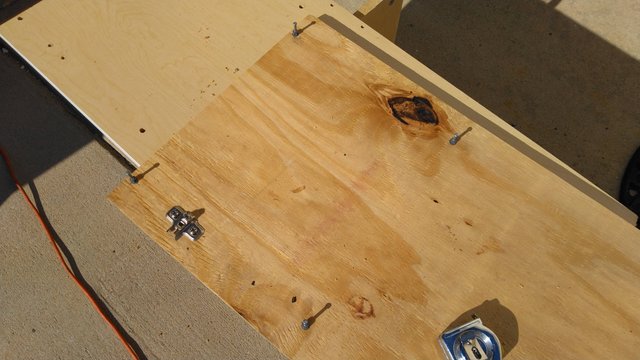
Here's the finished product screwed back into place and then with the doors installed. Also as predicted, the inaccuracies in my hand cuts and hand drilled holes made the hinge locations off by just enough to make the bottom of the left-hand door stick out a bit. Honestly though, I've put stuff like this together with the factory layout off by this much, so no big deal. With some adjustments to the hinges, you can barely tell there's anything off about it.
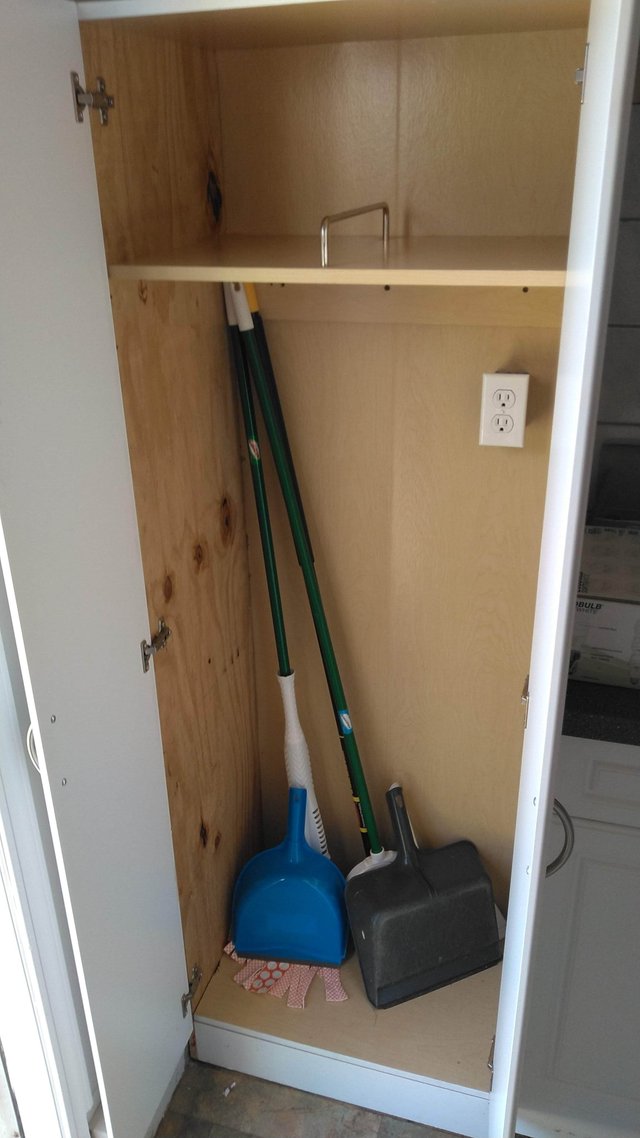
So there you have it, a semi-permanent fix for a termite-ravaged cheap cabinet. Thanks for reading, and until next time, Steem on!
Hi randr10,
Visit curiesteem.com or join the Curie Discord community to learn more.
@randr10, Hope that new Home 🏡 will going to bring more success to you and your family. I believe that a change can bring many changes with it.
One thing is for sure, when we plan to move in new home 🏡 it takes tremendous amount of work specially when we like to adjust our own stuff.
We want to agree or not, Termite became part of life and we will going to find them at home 🏡 time to time. They are unwelcomed friends.
Good to see your efforts and looks like you've put lot of time on these Plywood. Keep up with awesome content and stay blessed.
Posted using Partiko Android
Great job! In Venezuela or rather in my house we fight termites with Kerosene. I liked the shelf as it was finished. To have placed some hooks to hang small objects such as a garbage shovel, small brushes, etc. Thank you for sharing your knowledge. A big hello @randr10
Hello Hello!
Knowing me, I would go wrong on the first attempt hahahaha congratulations and thanks for sharing
Greetings from Venezuela
Congratulations @randr10! Your post was featured on our daily build newsletter! We set you as a %15 beneficiary of our newsletter rewards. You can see your post on our instagram Facebook and Twitter pages.
Keep sharing your awesome DIY and How-to tutorials together with the recommended tags #diy, #build-it, #how-to, #doityourself, #build as well as posting from our website