Making A Pom Pom
Sometime ago, I was browsing videos on YouTube on the different styles of knitting when I came upon a video on making a pom pom. Out of curiosity, I watched the video and saved it, intending to try and make a pom pom someday.
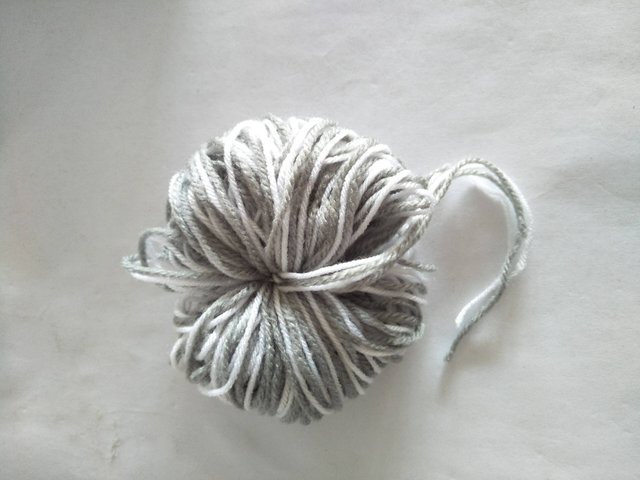
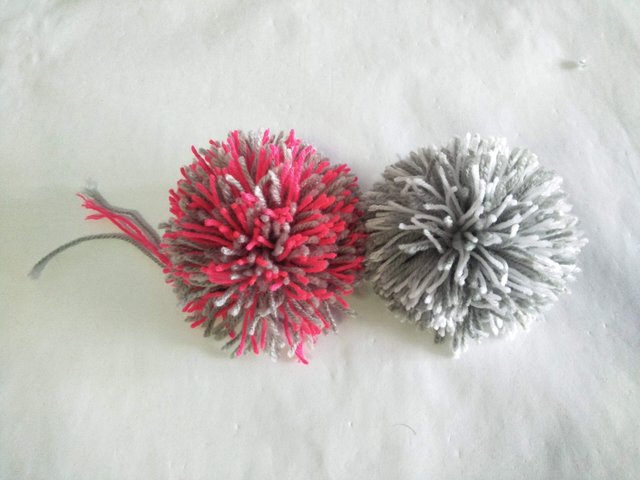
Two days ago was that someday. I watched the video again and followed the instructions in the video. Here are the results. Two of them.
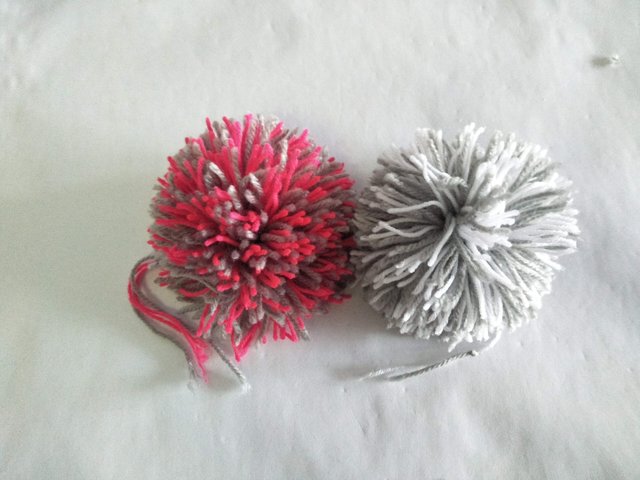
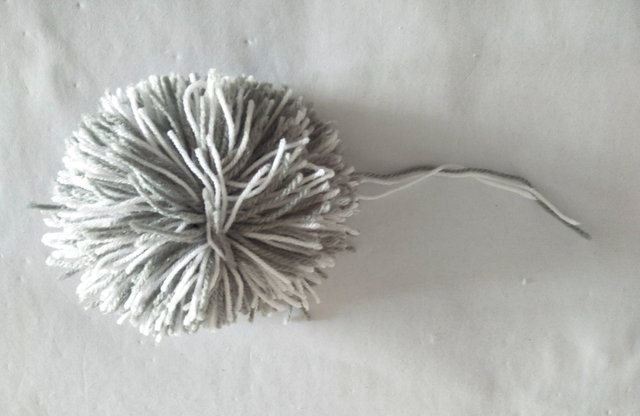
My first attempt at making pom poms. Not the best results, but the important thing was that I got the hang of it, and I know how to do it. After a few more tries, I am sure the results will be better.
Here’s how pom poms are made.
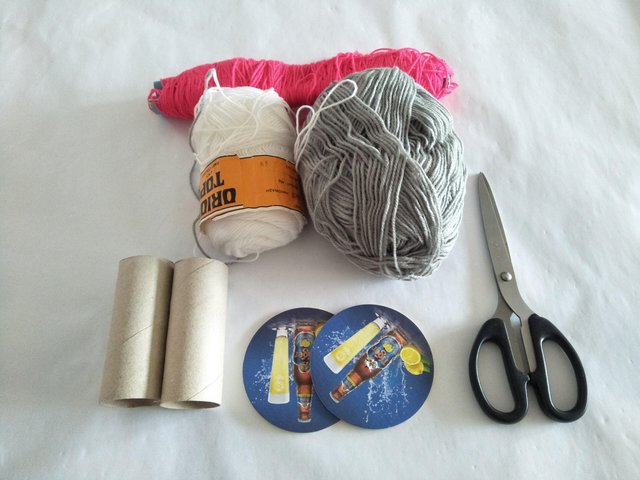
Before that, let’s see what are the tools needed for making pom poms. There are professional pom pom making tools. But I used improvised tools taught in the video. Anyway, here goes…
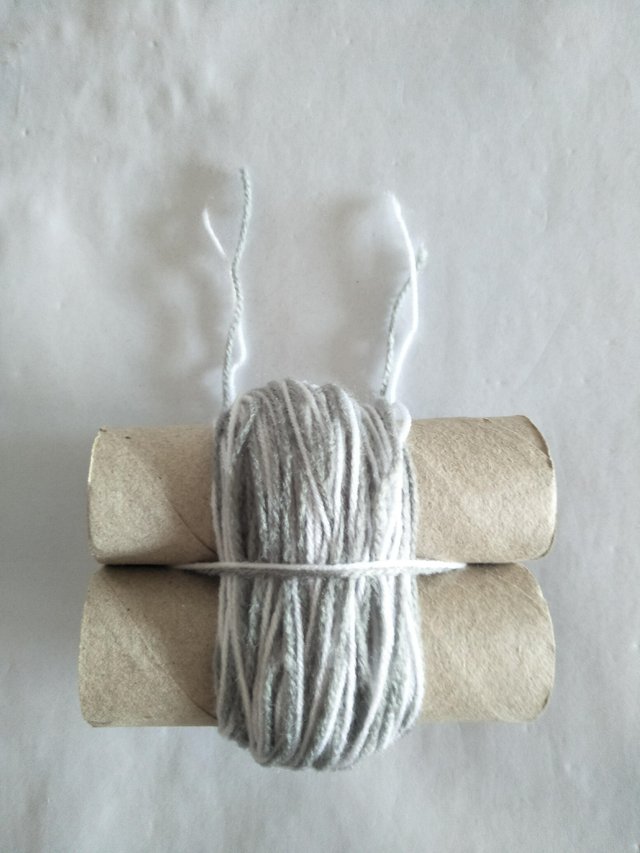
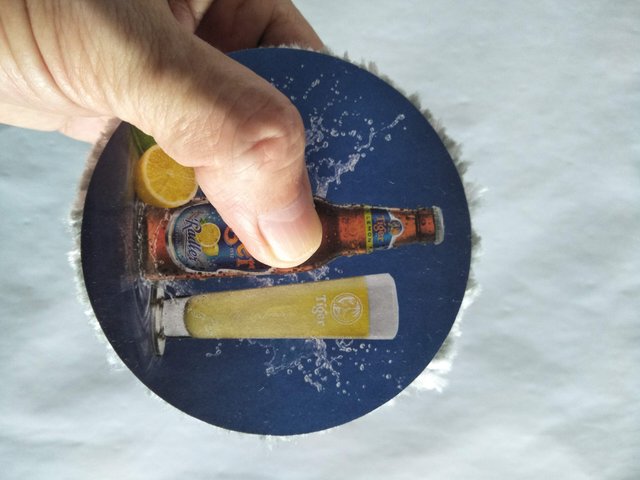
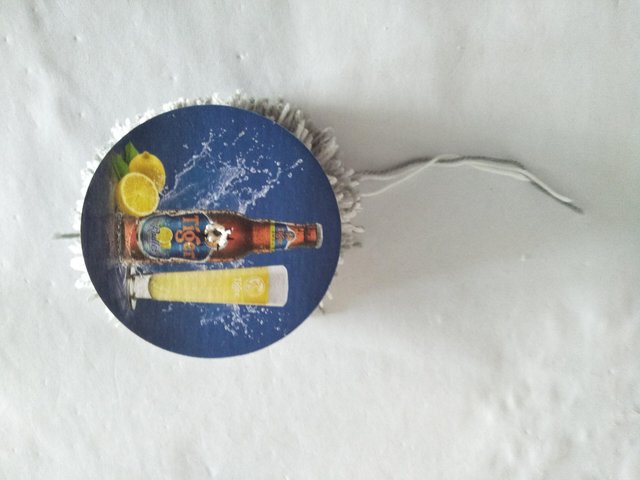
Besides the yarn, you need a pair of scissors, two cylindrical objects – I used two empty toilet paper rolls, two circle templates – I happened to have two beer coasters which fit the bill. You can use something similar, or you can make your own using cardboards. Make a hole in the center of one of the templates.
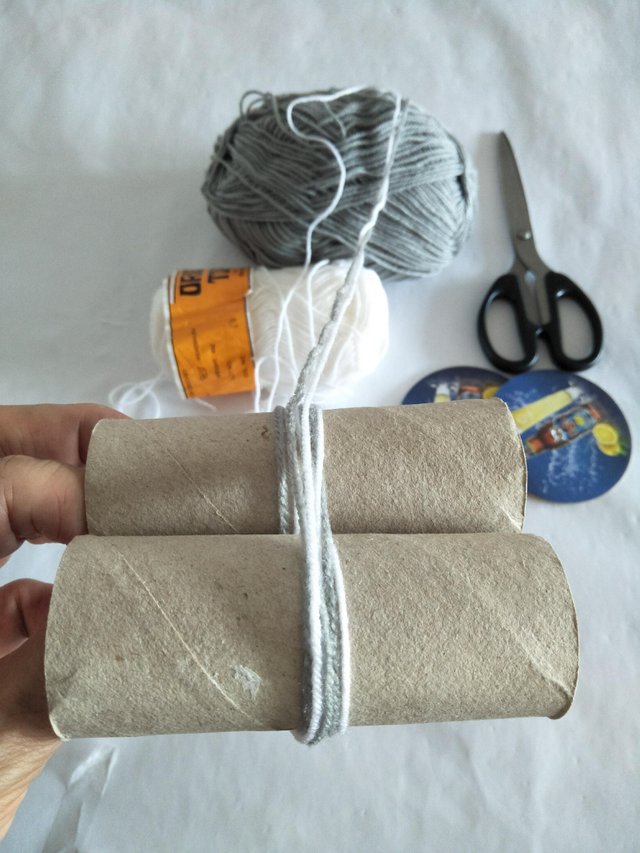
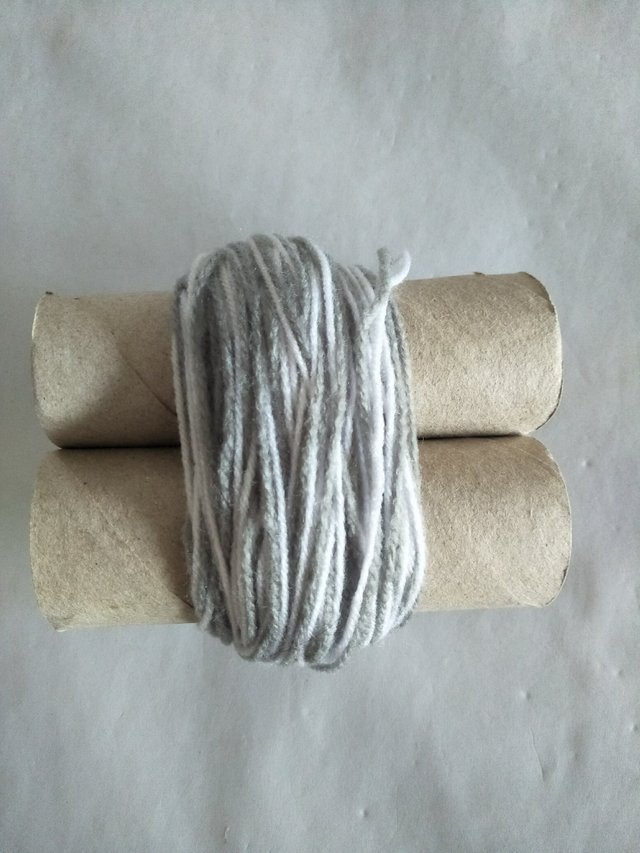
Following the instructions in the video, I used two strands of yarn. Tie them together and drop them between the two rolls. From there go round both the rolls – it said 60 times in the video, but my yarns are thinner, so I did 90 times instead.
After you have done that, cut two yarns about 12 inches long and slide them between the rolls on both ends of the yarn. Turn the whole thing over, and tie ‘double knots’.
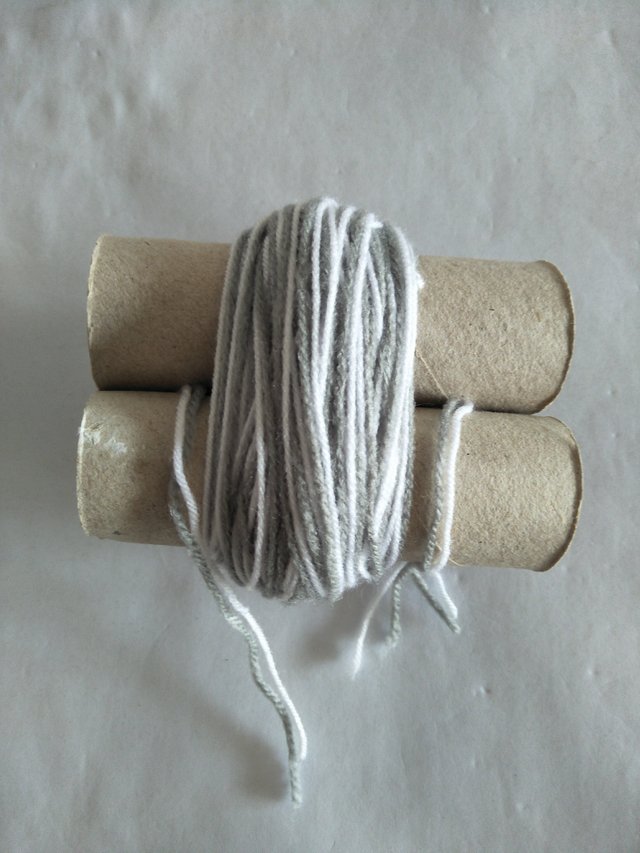
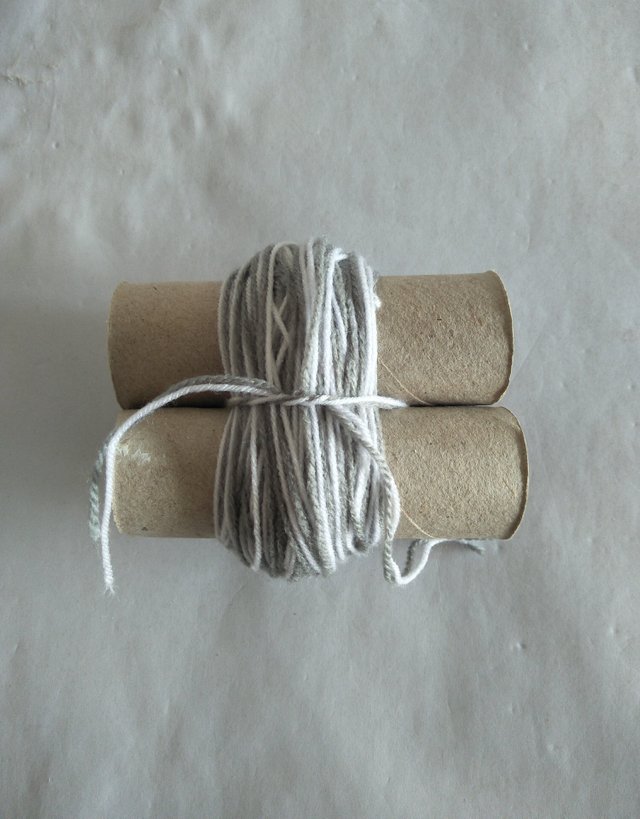
Slide the rolls out of the yarn and tie the yarn tight.
Then you cut the yarns in half – on the outside of both sides.
Run the string of the pom pom through the template with a hole.
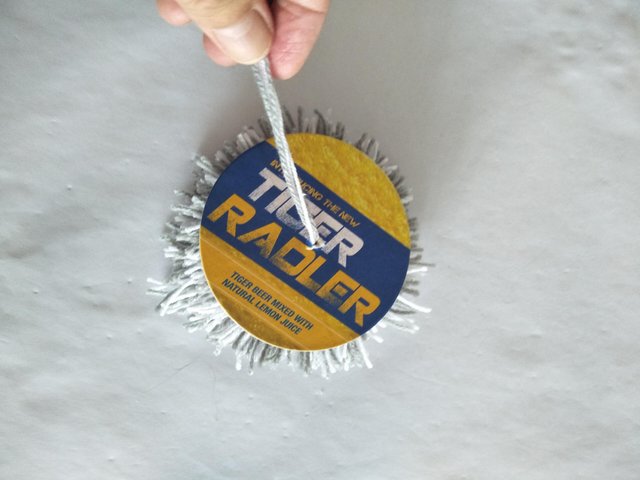
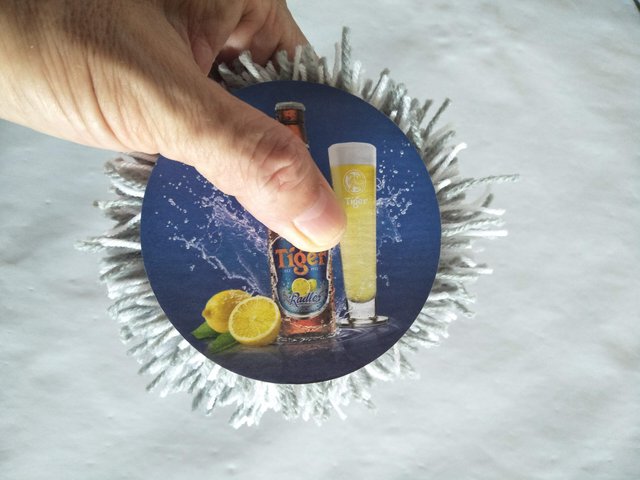
Put the other template on the side of the yarn, so that the yarn is sandwiched between two cardboards.
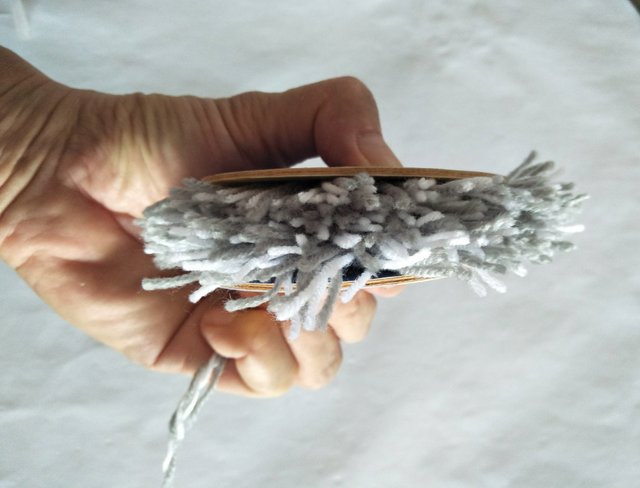
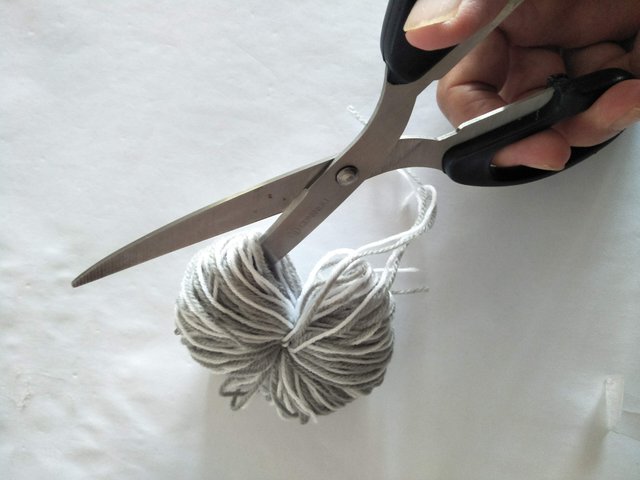
Snip off the protruding yarns.
Having done one side, put the pom pom on its side and again, sandwich them between two cardboards, and snip off the protruding yarn.
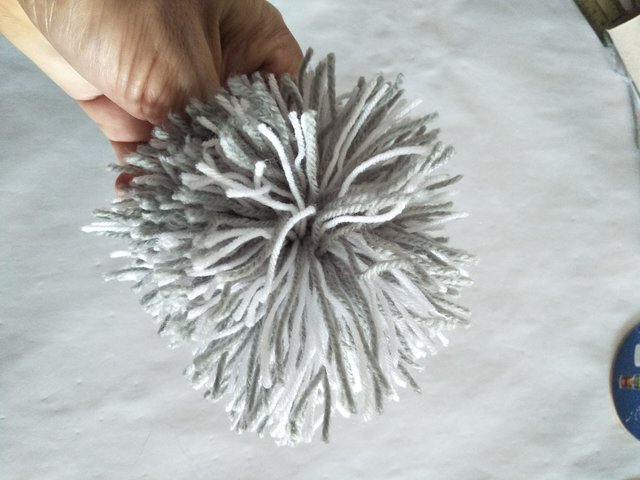
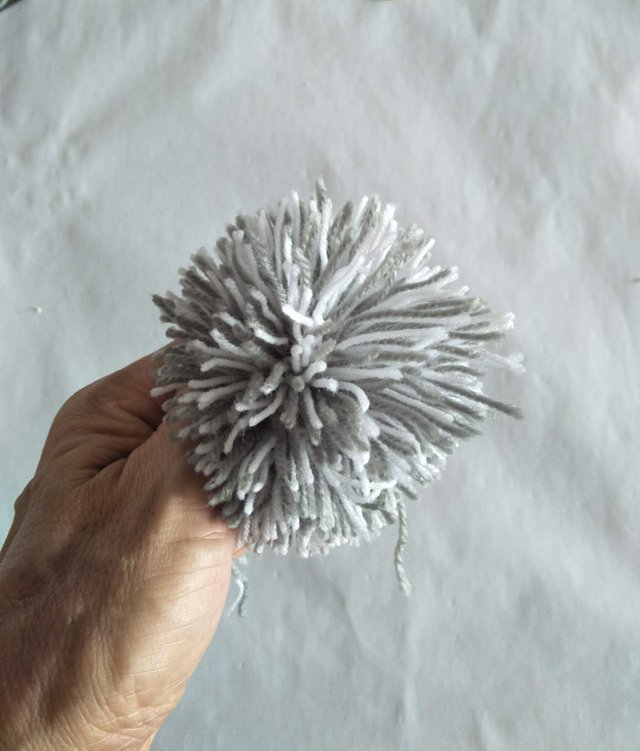
After that, it is finishing the final touches of snipping protruding yarns so that the pom pom looks neat.
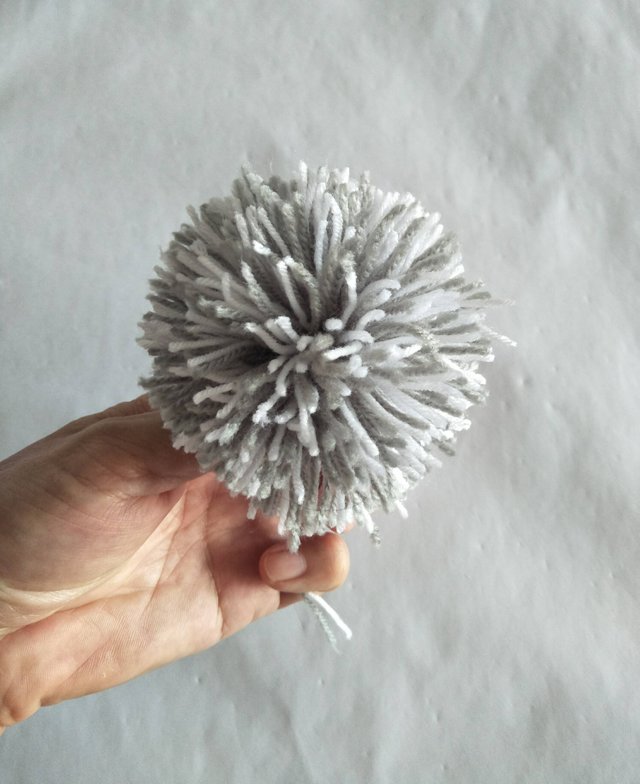
The trick to a nice pom pom is – the more yarn you use, the more stiff and fluffy it is.
The illustrations here might not be very clear to someone who is new to pom pom making. There are many videos on YouTube showing how to make pom poms. Check them out if you are interested.
If I do more posts on pom poms in future, I will elaborate what I might have missed out. Any questions you may have, feel free to ask. I will try my best to answer them.
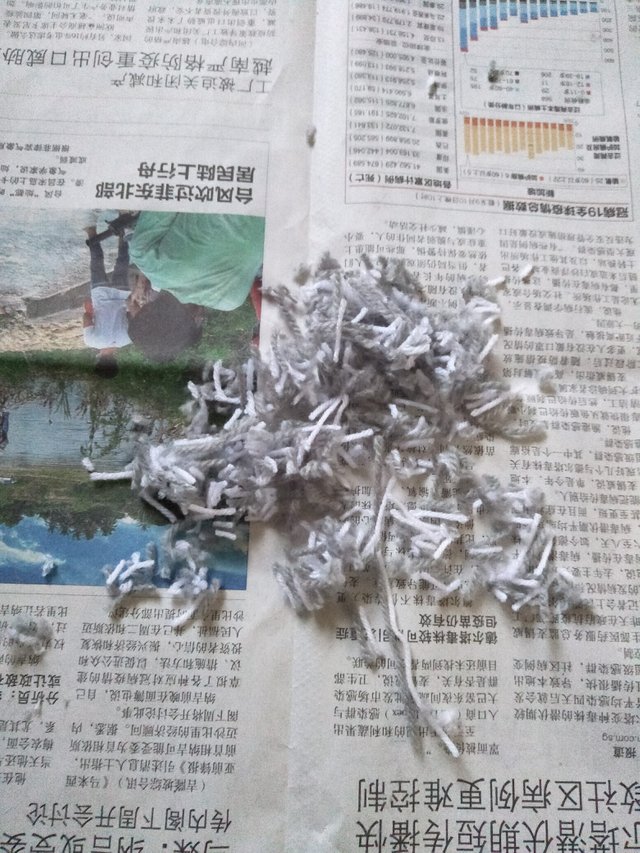
While trimming the edges of the pom pom, it might get messy. You might want to do that over a piece of newspaper. After you have finished, you can just wrap up the newspaper and dispose of the trimmings.
One thing I forgot to mention was, when trimming the edges, tucked the tails away so that you don't snip them off by accident.
%20-%20Copy.jpg) ~ >>>>>>>>>>>>>>>>>>>>
~ >>>>>>>>>>>>>>>>>>>> Thank you for stopping by. If you like the post, please give it a vote. Follow me if you find my posts interesting. Cheers!
This is a great work and very extraordinary.
Thank you for your kind words. 😊
Thank you for visiting, and the resteem too.
You're welcome
Wow, it's so easy to make, thanks for sharing.
Yes, it is not difficult at all. 😊 Thank you for visiting.
Your content is very creative and extraordinary but where we use this POM POM
Thank you for your comment.
Usually on the top of a beanie. Or as a decorative for anything you can think of. 😊
👍
Just awesome and lovely
Thank you.