How to Make Beautiful Egg Shell Mosaic (Step by Step Process)
So guys, save some egg shell from your kitchen:)
Materials
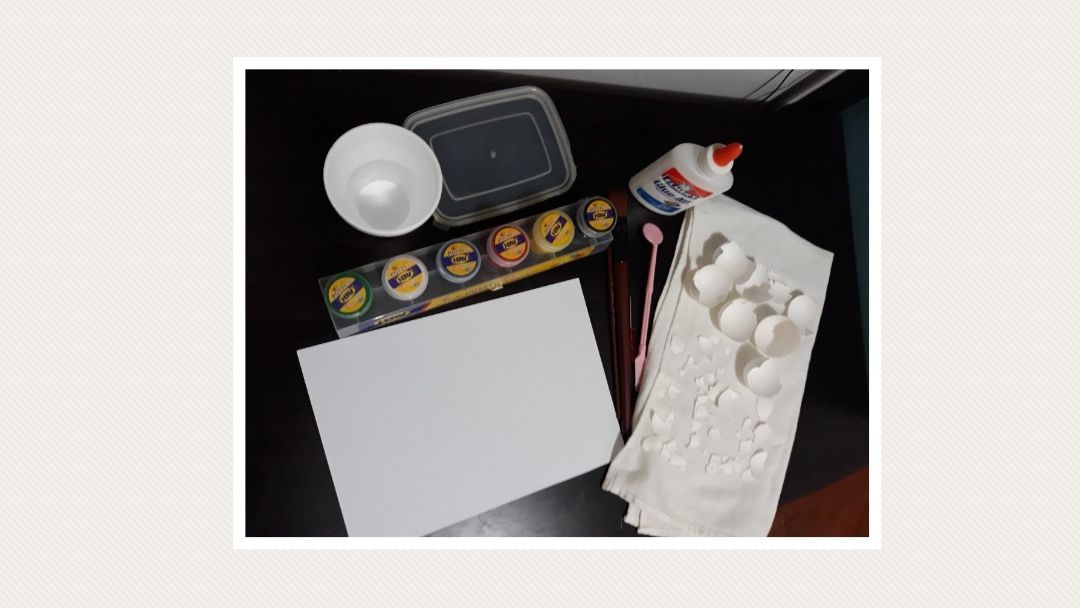
Egg shells, glue, thin card board, brush, poster paint, cup of water and pointed tool.
Work in Progress (WIP)
First,get your saved egg shell from your kitchen and rinse them.
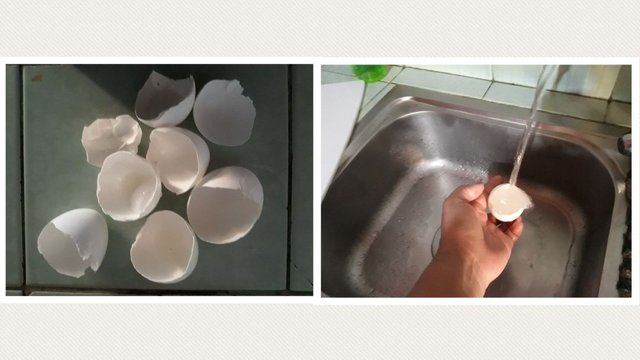
Probably, these egg shells came from 4 eggs.
Next, take off the membrane.
You can easily take off the membrane very easily and directly.Like this one..
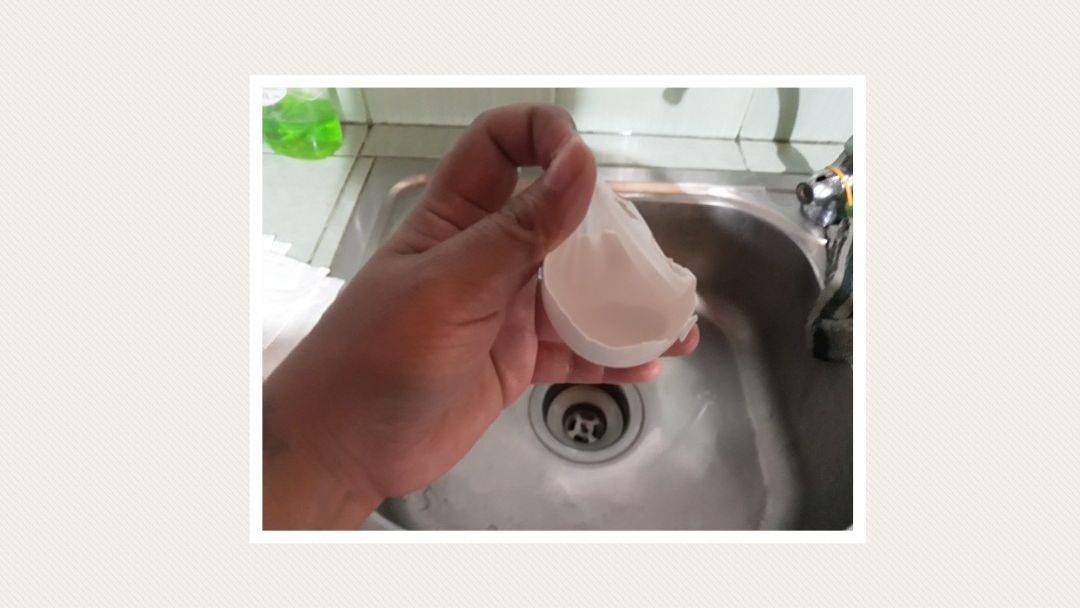
But if you can not, leave them to soak in water overnight to filled with moister so it can be easily pulled out.
Probably, the shell break into smaller pieces while you are cleanibg it but dont worry, you can keep those pieces as well because we are going to use all of them...:)
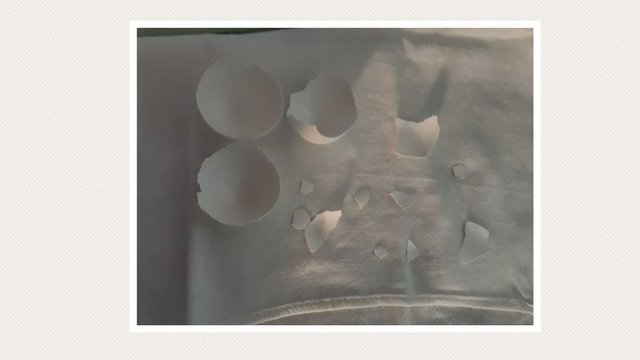
In the middle of process cleaning the egg shells
Continue what you are doing untill you finish to clean all the egg shells.
After cleaning, leave them to dry on a kitchen towel or paper and once they are dry, we can start the mosaic.
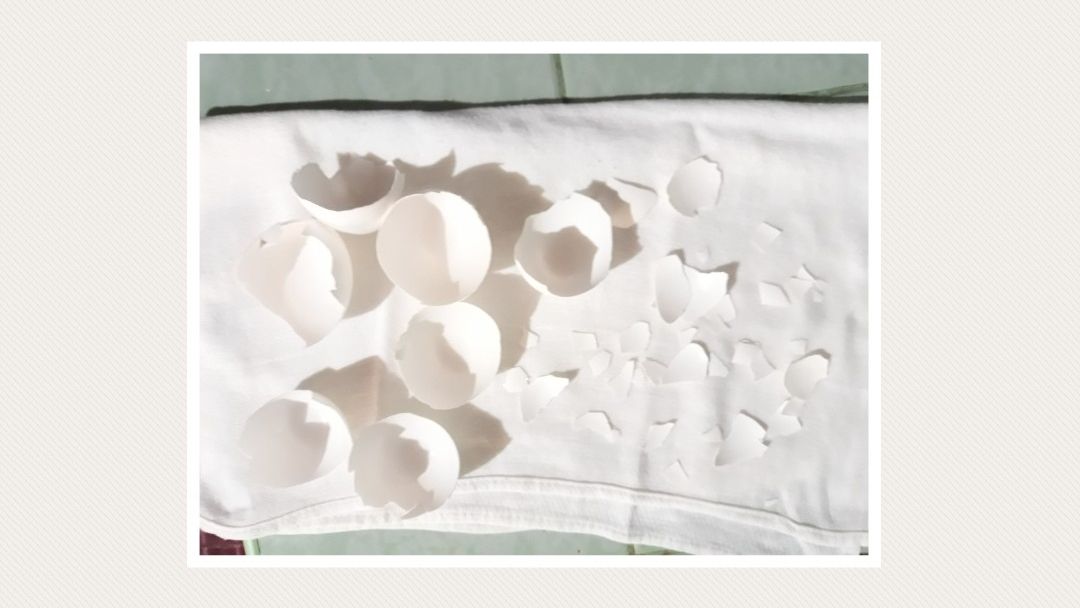
Done cleaning the egg shells... :)
While waiting for our egg shells to dry, actually we can start now to work on our base.
I'm going to use a thin cardboard and I'm going to paint it black.
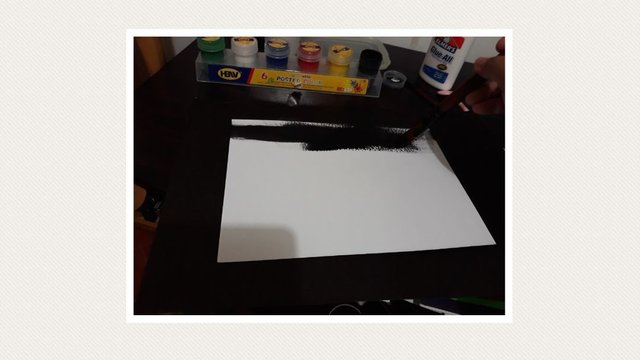
I'm using the black poster paint. Black gives a nice deep surface and later on it will nicely bring on the mosaic pattern
After applying,leave it on until it dries...
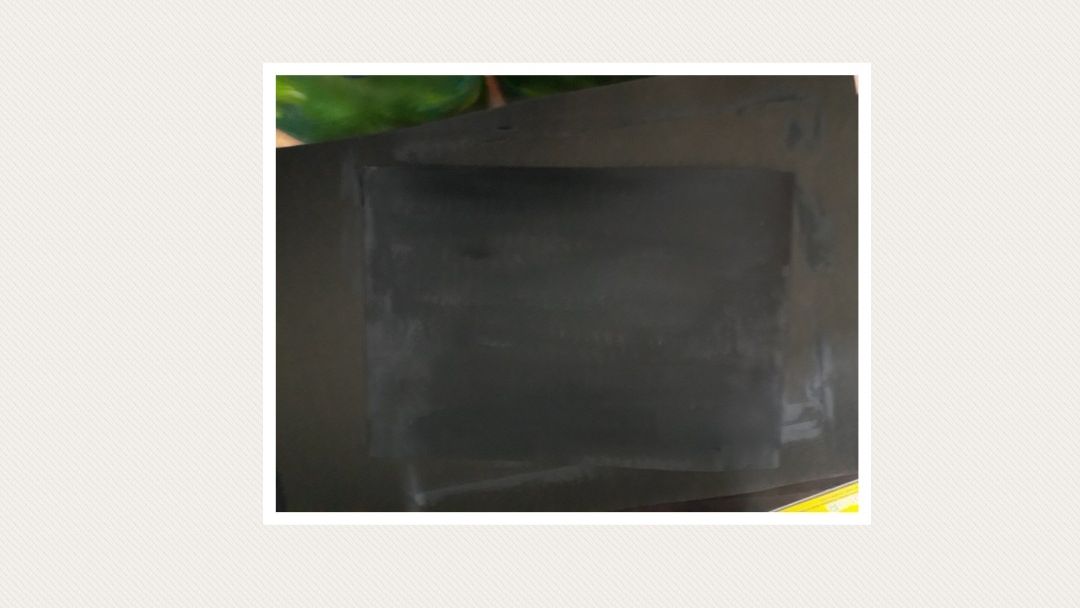
Done working on our base..;)
Once our base and egg shell are dry, let's proceed to the procedures to make a beautiful egg shell mosaic.
Procedures
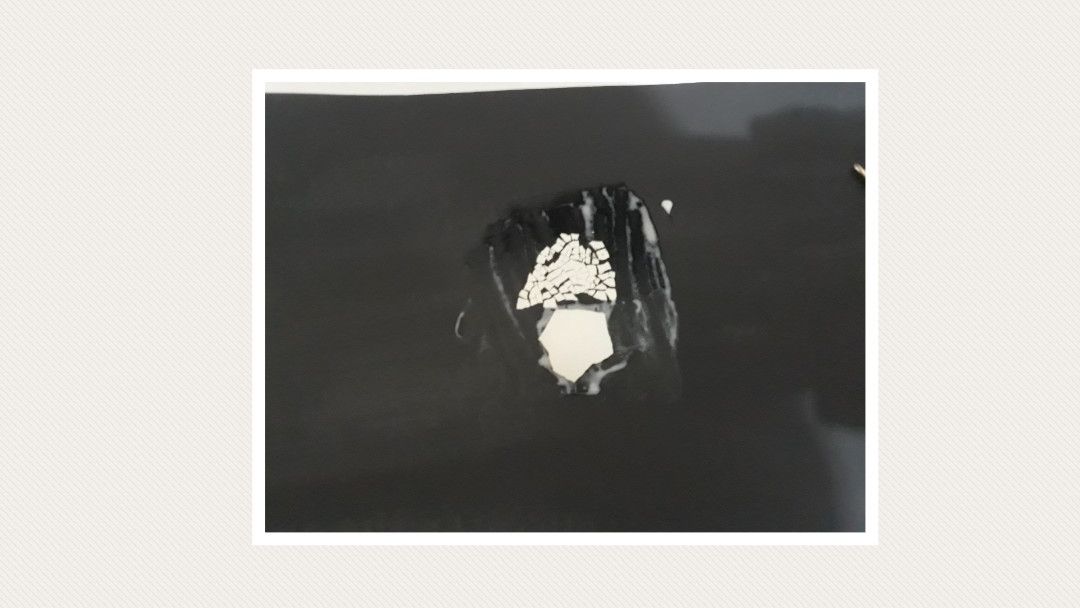
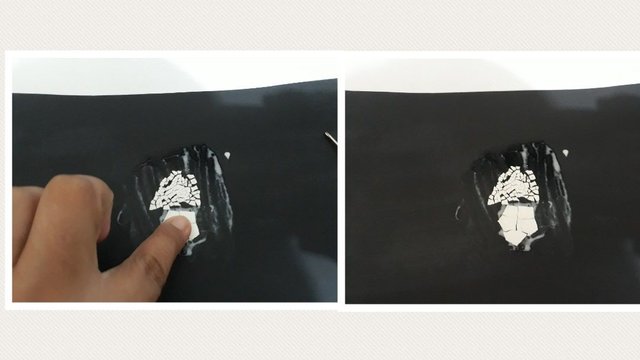
- Apply some glue in the base.
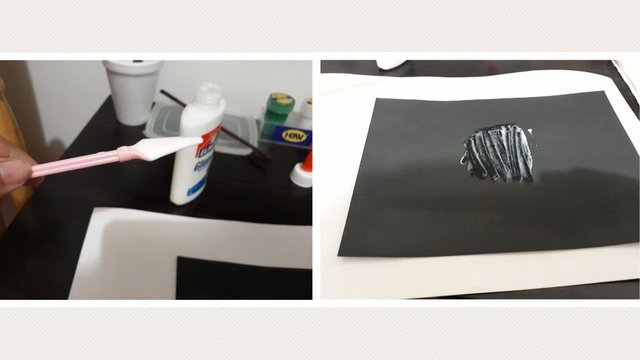
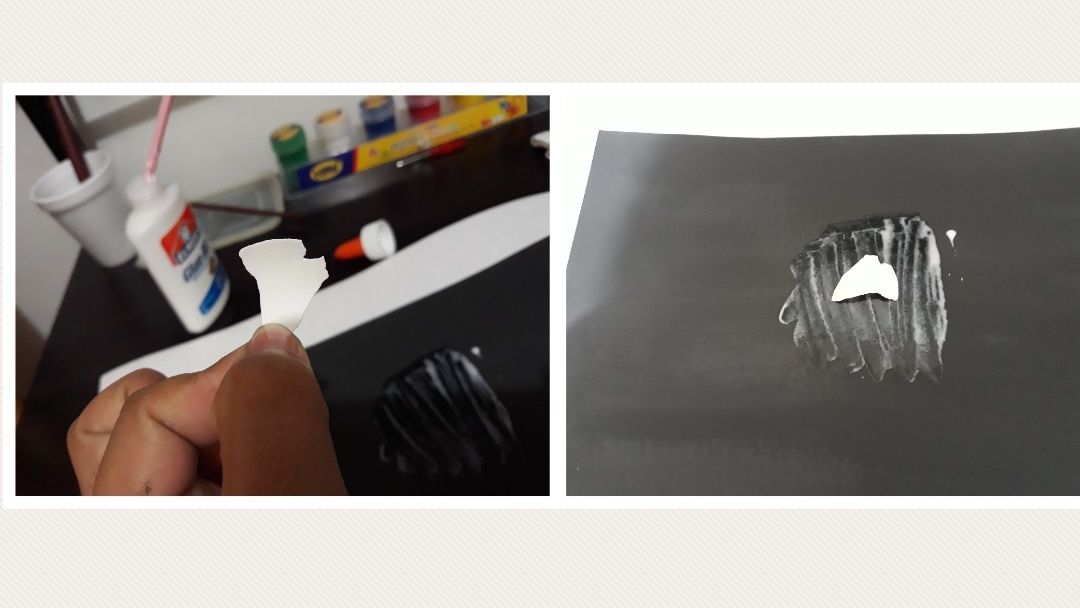
- Get a small piece of egg shell and put it on glue surface.
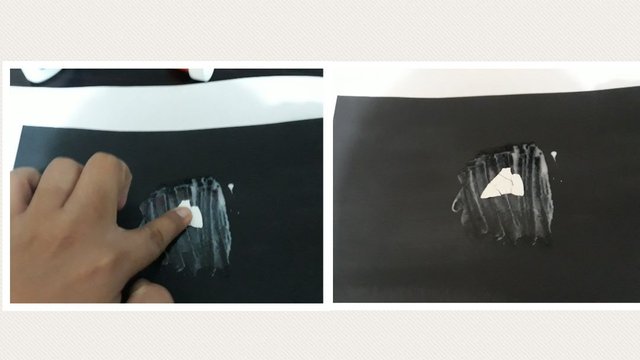
- Crush it against the surface with your finger.
- Then,with the help of a pointed tool,push the small pieces away from each other.
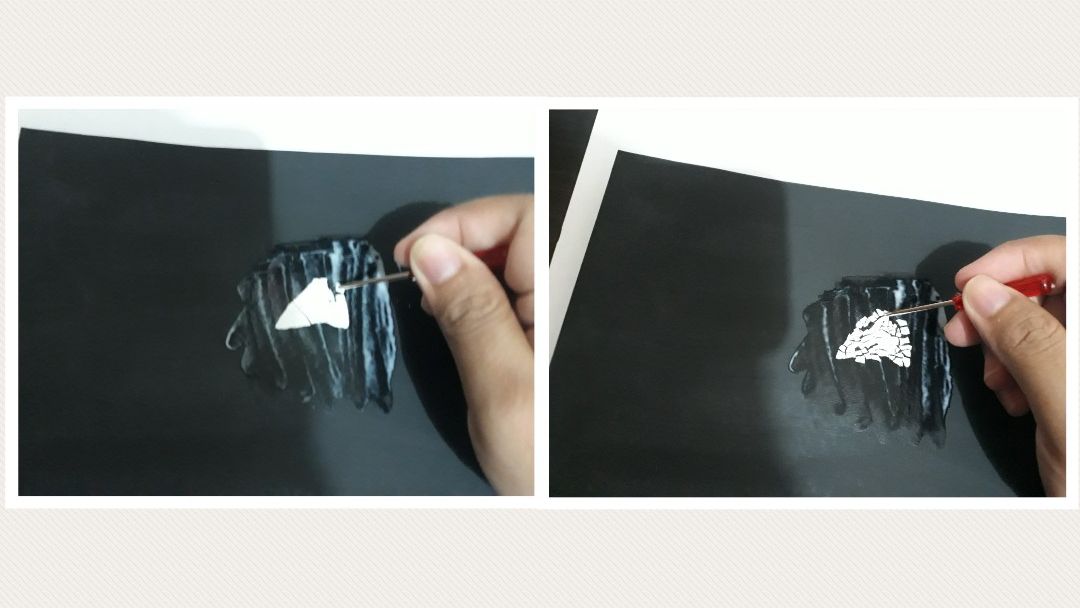
You can choose how far you want the small pieces to be far from each other but for me, I like when the black surface is really visible.
Take note!
You have to work quickly, otherwise the glue gets dry and yoy can not move the pieces around anymore.
Repeat these procedures until the whole surface is covered in egg shells.
Applying some glue..
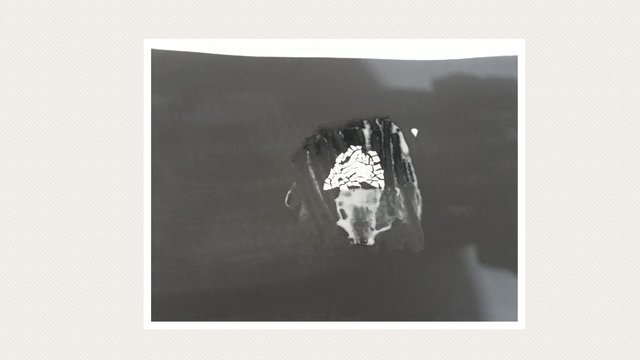
It's better to use some fresh glue every time you put down a new piece of egg shell.
And pushing away small pieces with each other..
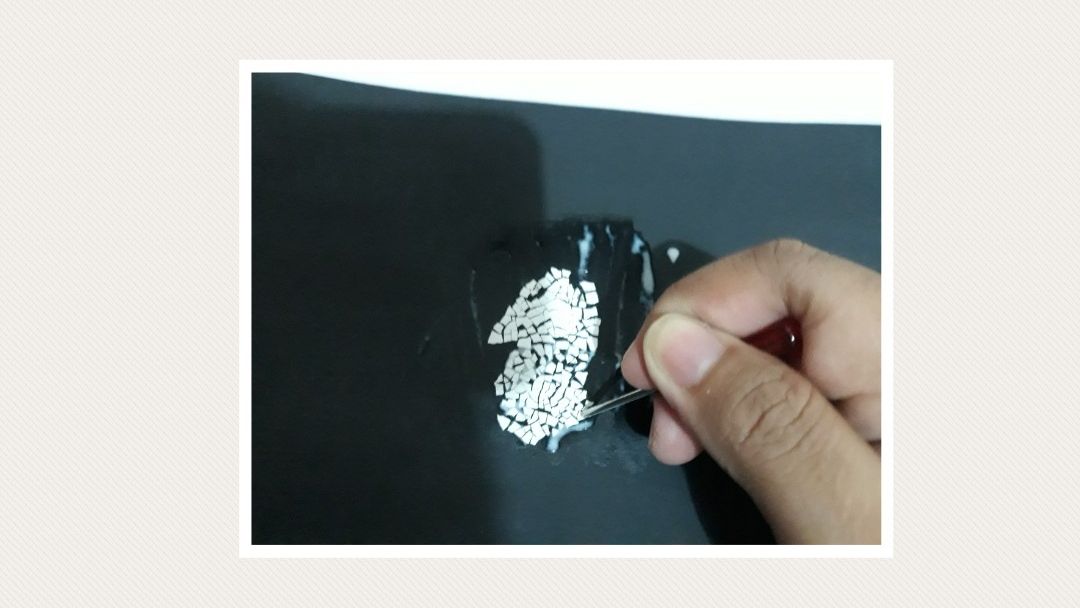
Repeating again the procedures...
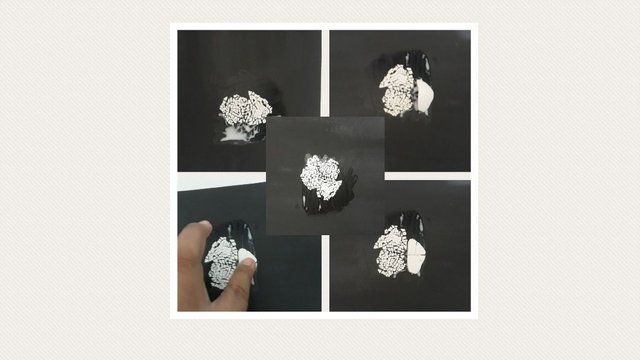
After a couple of hours, I came up with these...
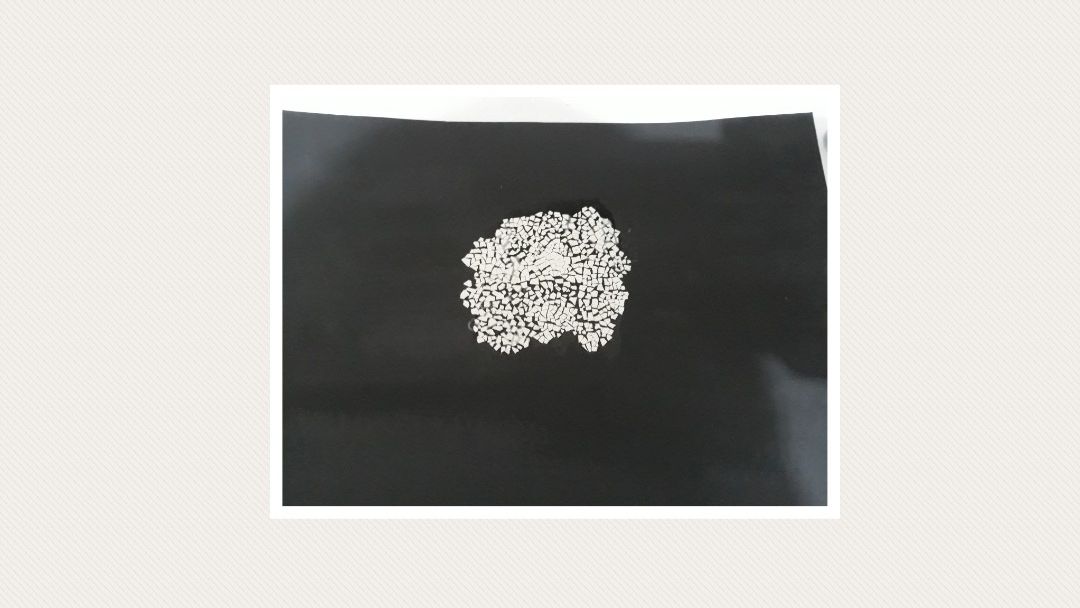
Filling...
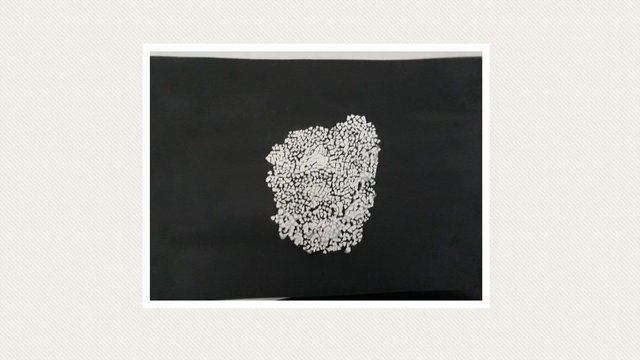
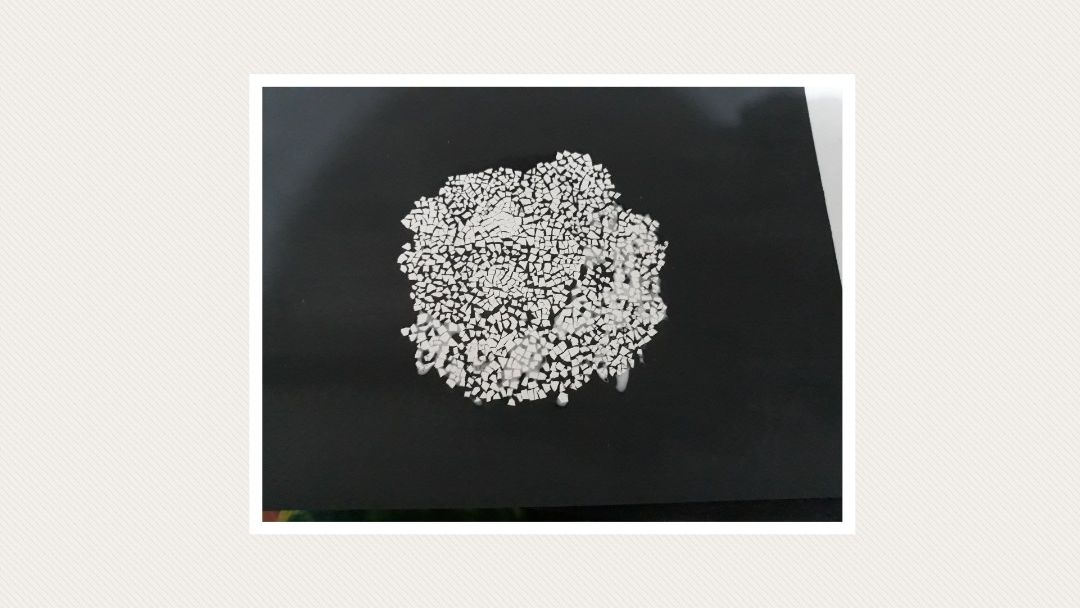
Still filling...
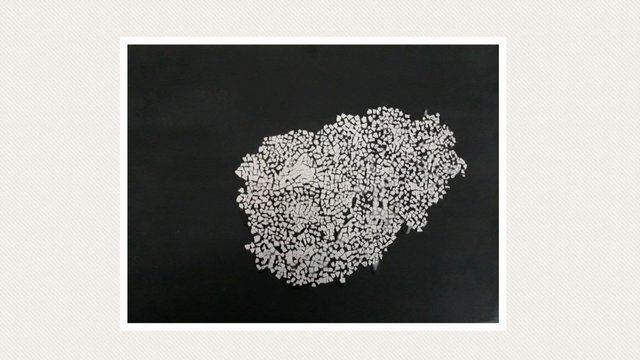
ouch..my nape hurts...huhu
It takes a lot of time, effort and patience doing this mosaic so I suggest before doing this, you have to save more and more to your self...hehehe :)
I guess, I will stop there and have some few minutes of rest for my nape really hurts.
After resting...I started it again and after a couple of hours, I came up to these...
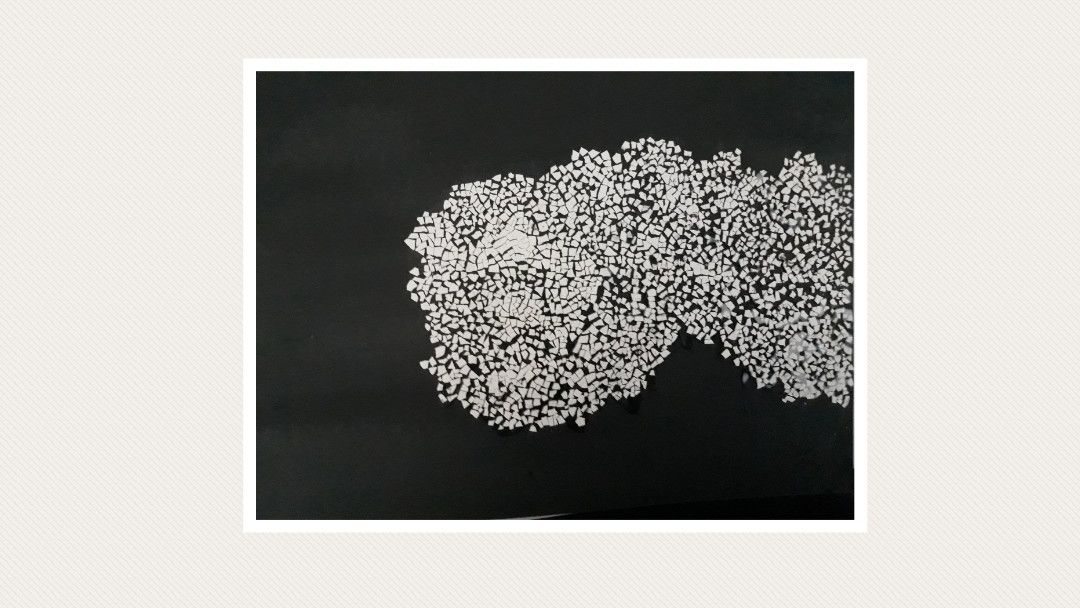
Filling again..
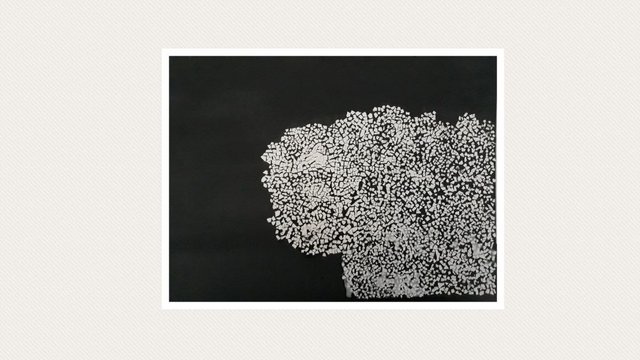
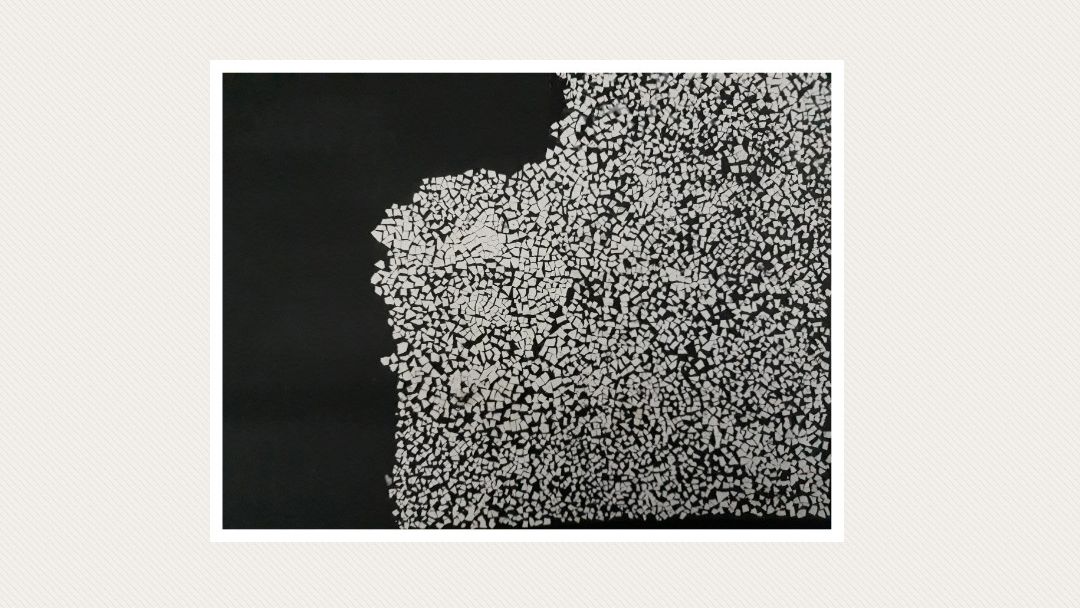
Still filling...
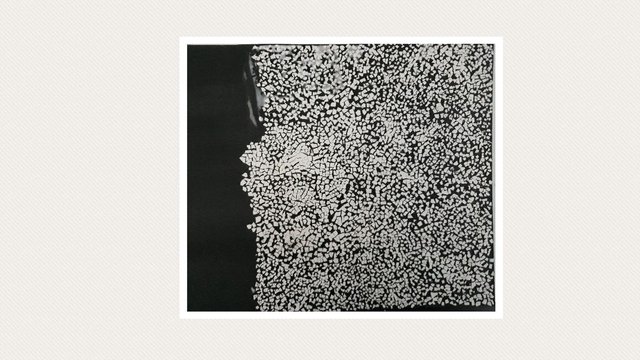
Woah!Finally I can see the end....worth fulfilling! :)
Just a little bit more....
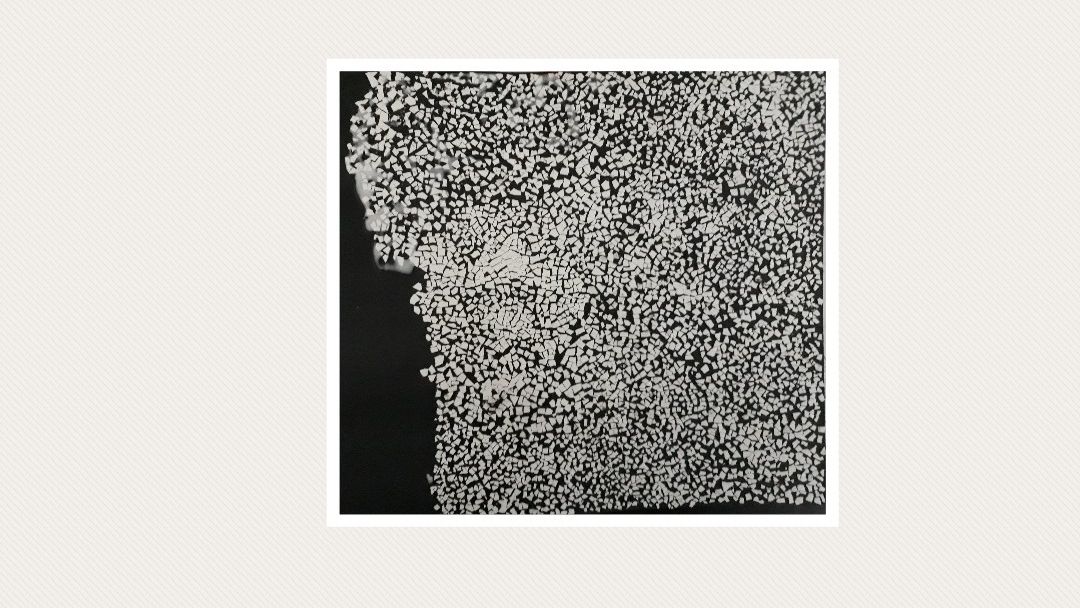
Filling...
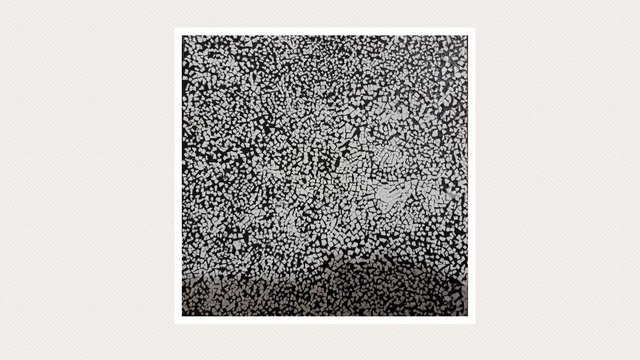
YES!!! Finally, I'm done filling whole surface of the base... :)
Since, were done with the base..let's draw the subject using a pattern...
Simply print out or draw a butterflty or any shape you want and cut it out...
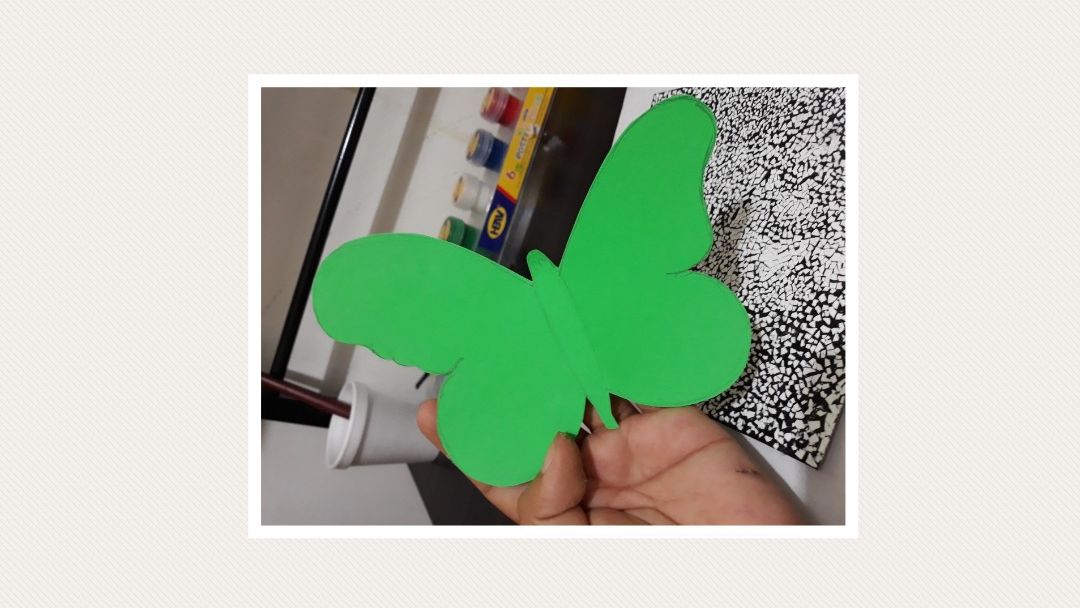
Here's my butterfly pattern I draw and cut before I start doing the mosaic..
If you dont feel confident enough to draw it without help, this is a good way to make your life easier..hehehe
Next is, draw the contour of your pattern all around..
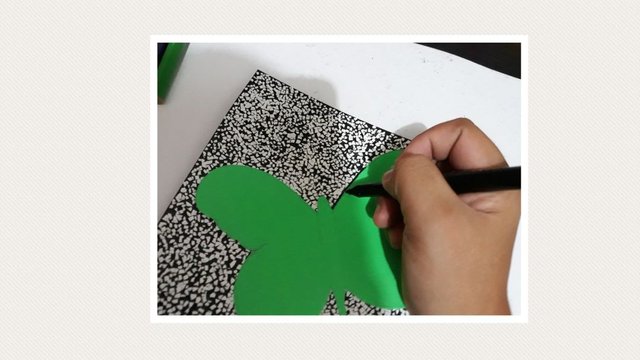
while tracing..
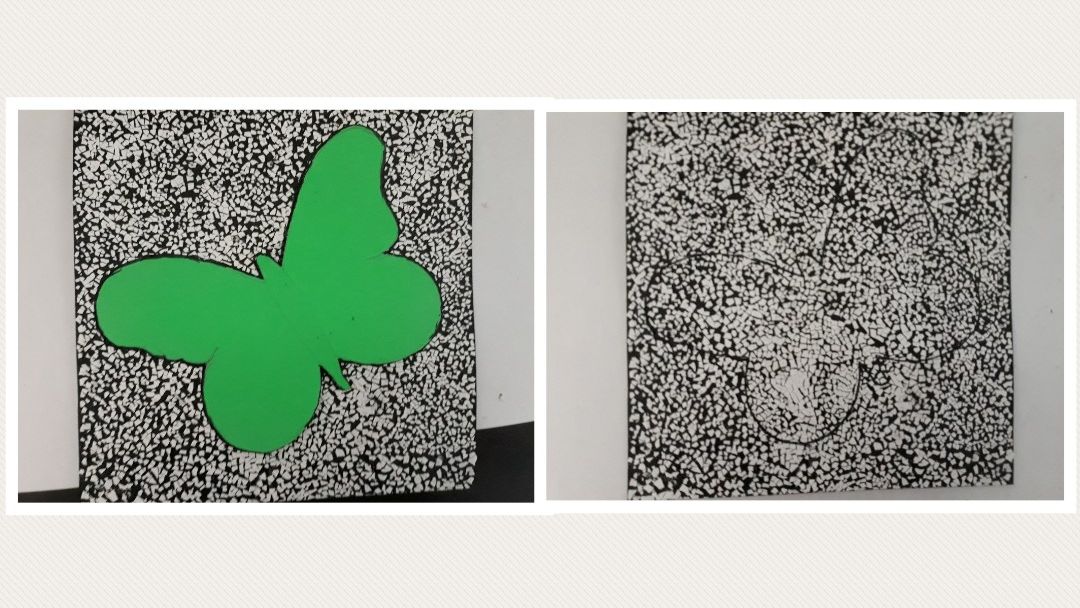
And were done tracing...
As you can see, the subject is not that visible so trace it once again using black pen.
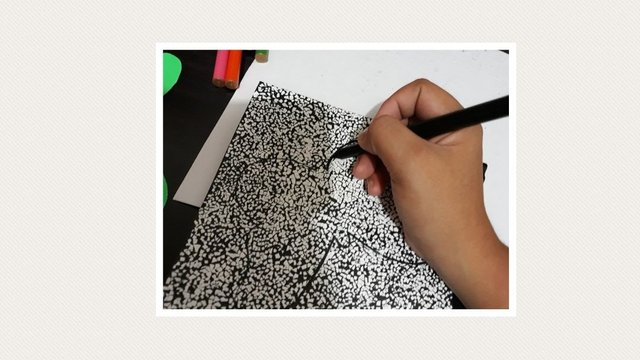
Tracing again..
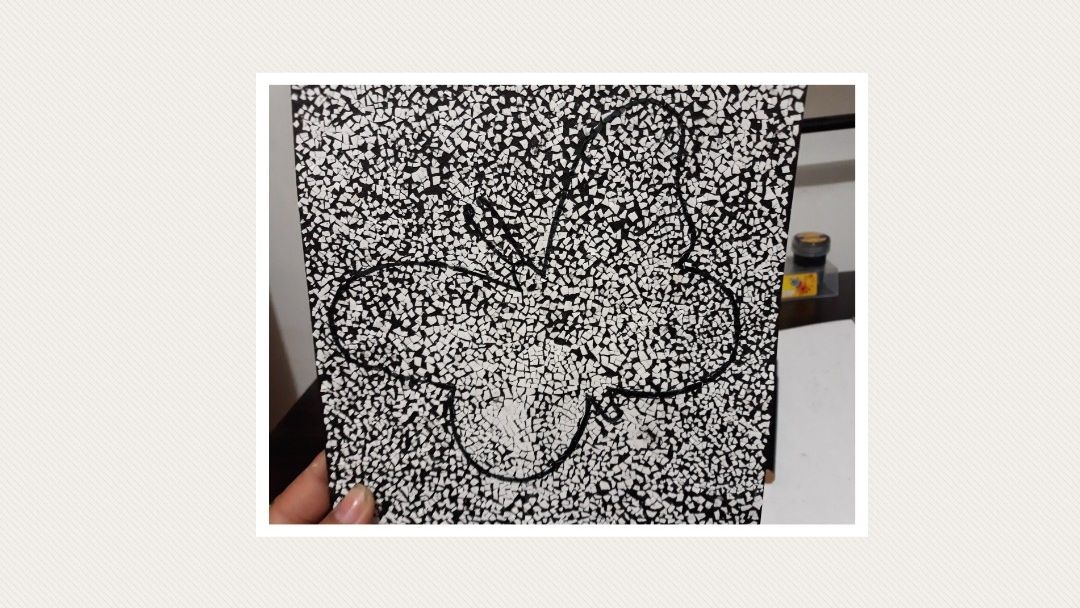
And were done!The subject is now much clearer.
Next is coloring the subject.. I will use poster paint to color the subject...
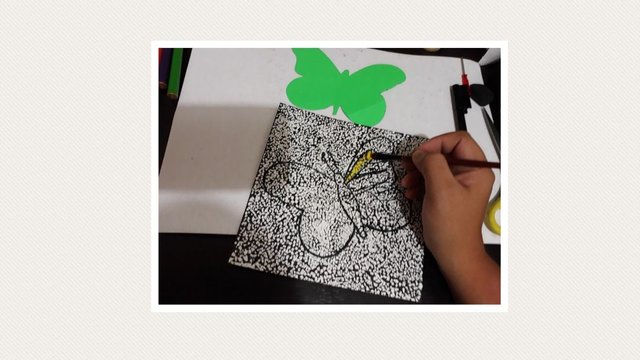
while coloring...
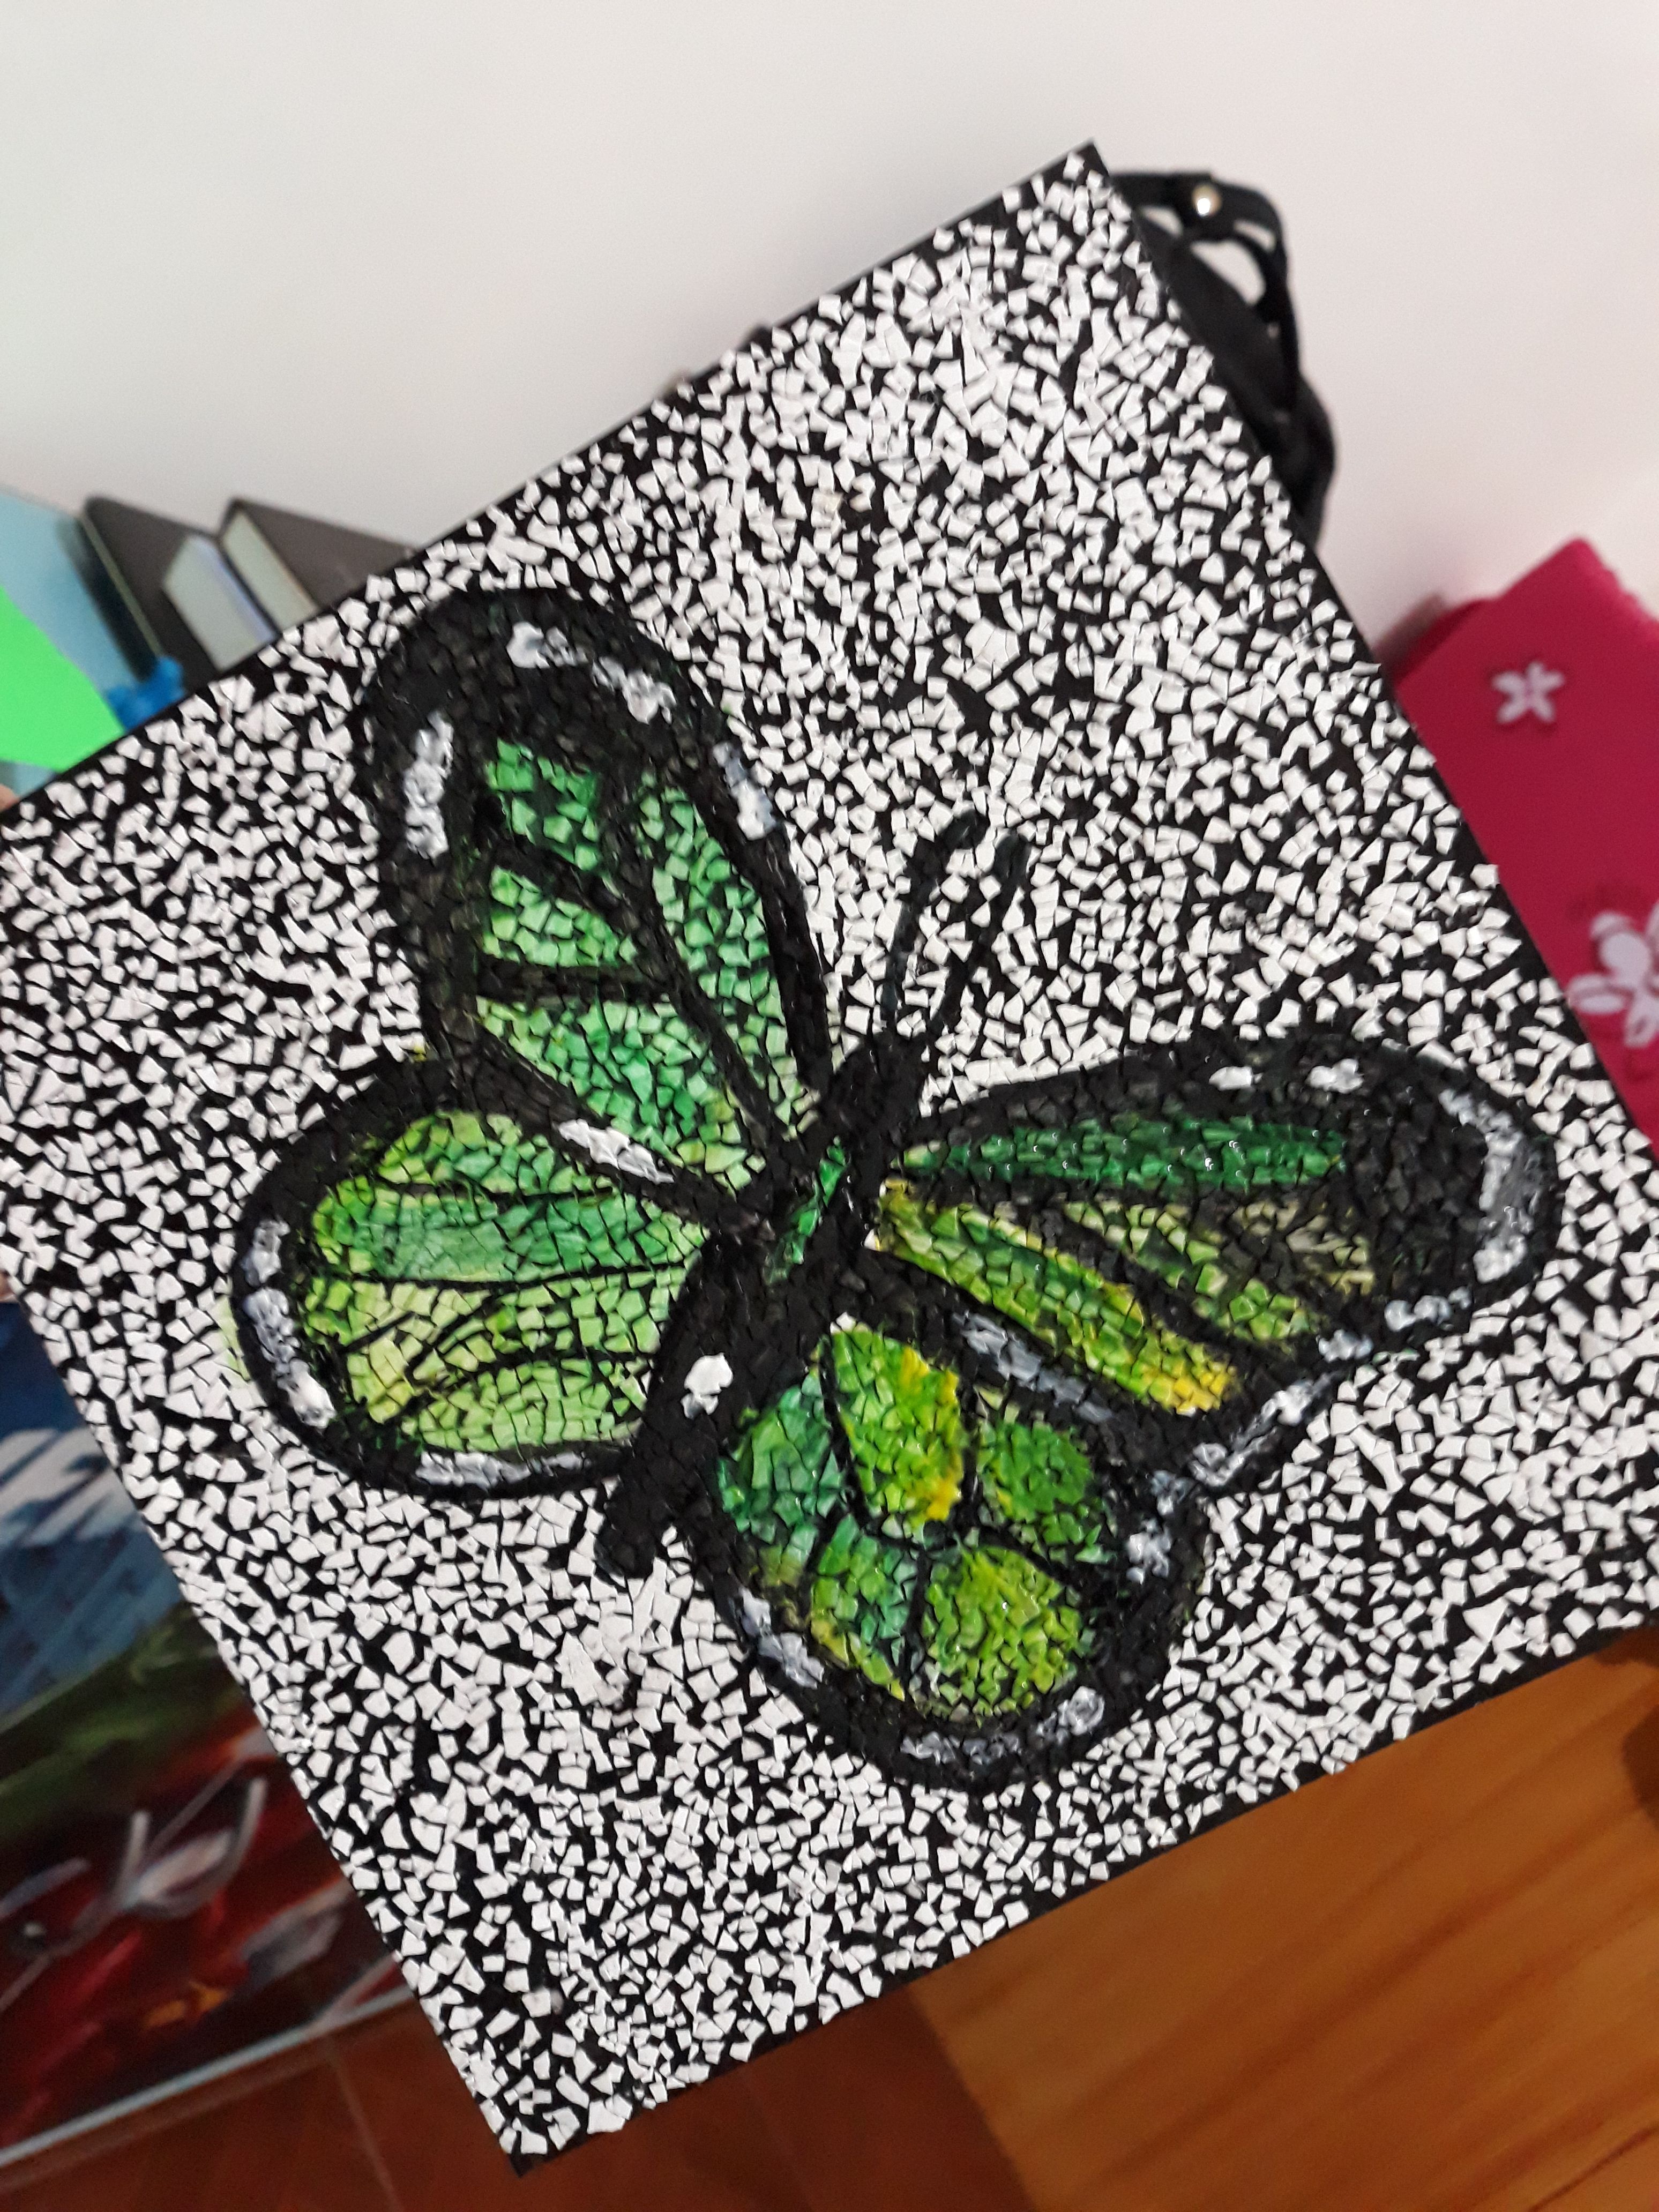
And we are finally done for our mosaic! I dont detailed anymore this process beacuse I guess my blog is getting longer and longer...hahaha
It doesn't have to be precise the subject. What makes it really pretty in the end is the mosaic effect.
As final touch, I added a yellow color to the background..
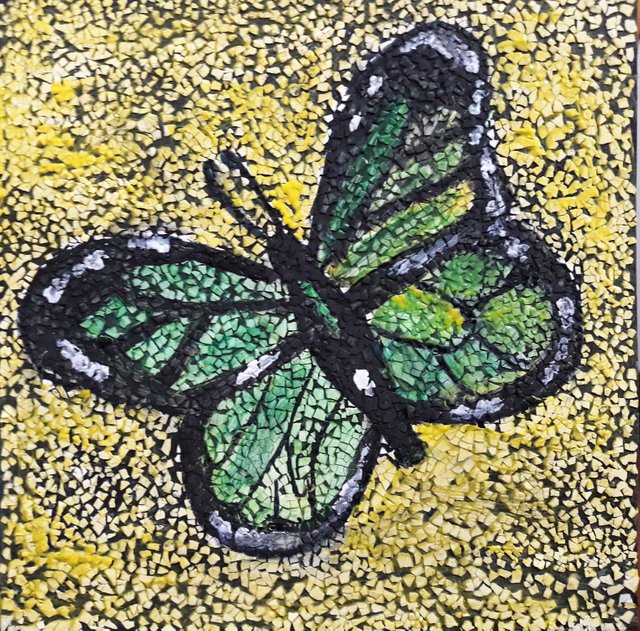
with yellow background

natural background
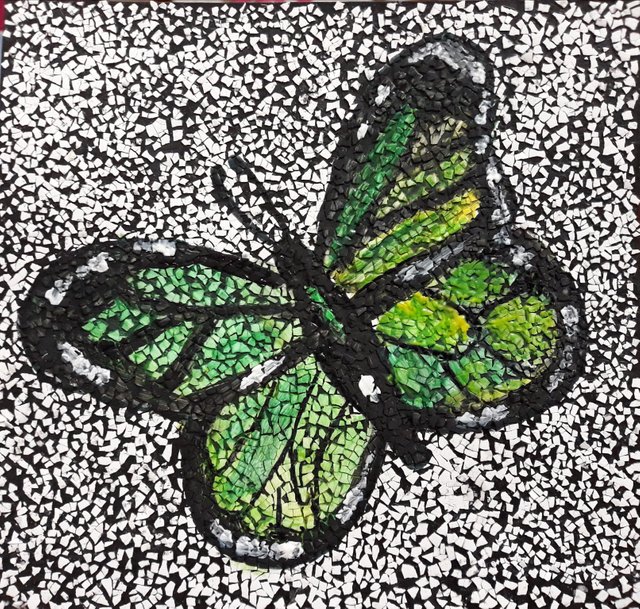
If I have to choose between the two which is better, I prefer to choose the one who have a natural background. As I've said earlier, the black surface gives a nice deep surface and nicely bring on the mosaic pattern.
Let's have a take a look once again...:)
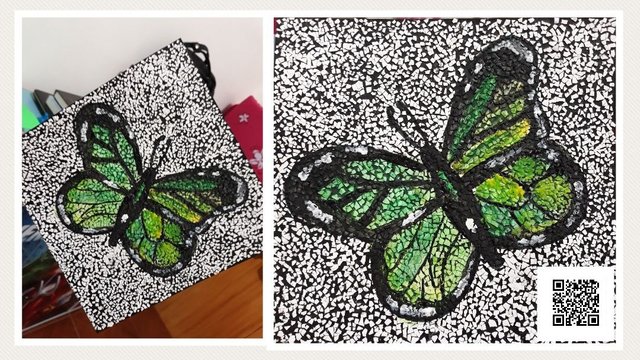
That's it!
That's all for today and I do hope I inspire you to do some mosaic in the near future..
If you haven't vote yet your witness, please support @surpassinggoogle for he has been a good person.
To vote him, simply visit https://steemit.com/~witnesses and type in "steemgigs" into the first search box for witnesses.
If you want @surpassinggoogle to make witness voting decisions on your behalf, simply visit https://steemit.com/~witnesses and type in "surpassinggoogle" in the second box for proxy.
Other witnesses have been good.. @cloh76.witness, @precise, @blocktrades, @curie
Thank you for passingby!
Follow me...
@phantum04

"This work is licensed under a Creative Commons Attribution 4.0 International License."

That idea was so bright! Thanks for sharing @phantum04 😊👍 I'll catch your next artwork!
Oh thank you @xero7...It's nice to hear that I have an audience now...hehehe :)
I'll follow you. Follow me too 😊
Hi @phantum04 lovely
Hello @mcgrafite..Thank you for appreciating!
👍
very creative and nice artwork @phantum04.
Hehe..thank you @dianafigura..Like yours... :)
nice art of butterfly ^^
Thank you @angelard!
Hello friend, excellent post,
Thanks for sharing and hopefully you will be more successful for your work.
You can check my article https://stееmit.com/@mmaidulislam/4rjyq4-beautiful-photography-of-flower and give me your feedback!
I will follow you.
Great idea for a preschool or kindergarten class to try if some of the prep is done ahead of time... it seems there's a lot of room for creativity and "happy accidents"! : )
I think so..hehe :)
Hello! I find your post valuable for the art community! Thanks for the great post! ARTzone is now following you! ALWAYs follow @artzone and the artzone tag, and support our artists!
Thank you @artzone for the upvote...Followed you and always following #artzone tag..:)
nice. my daughter loved this project.
Thank...this is my favorite project back in high school..:)
Wow! Very lovely and agree with the natural background. Really does add that extra depth to the piece and really brings out that vivid green
Yes!absolutely....
What a wonderful idea! I featured this article in my Free Art Tuesday and Some Crafty Curation post. Also, check your wallet for a little tip. I’ll definitely be trying a mosaic of my own! Have a wonderful day!
Really?thank you...it's my pleasure to be featured...I'll check that later...:)
Done checking..thank you @powellx5 for the reward...:)
You’re welcome. Super cool project!