Water sensor and Servo -arduino
This instructable demonstrates how water sensing wind shield wipers work. Using a simple water sensor and servo motor you can replicant this using your own components, this water sensor or sensing windshield wipers this device used in the detection of the water level, You will see the indication LED turn ON when the sensor detects water.
these is a basic arduino project hope this help.
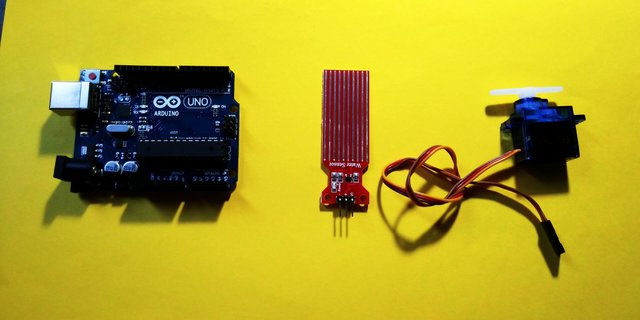
COMPONENTS
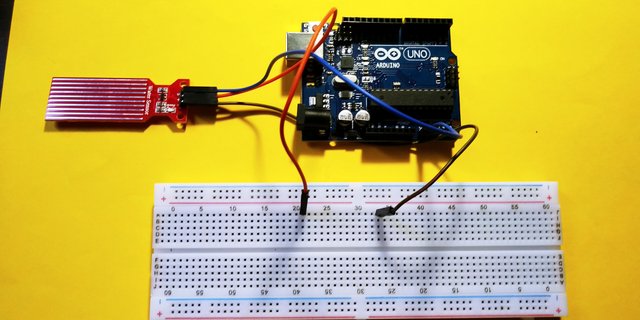
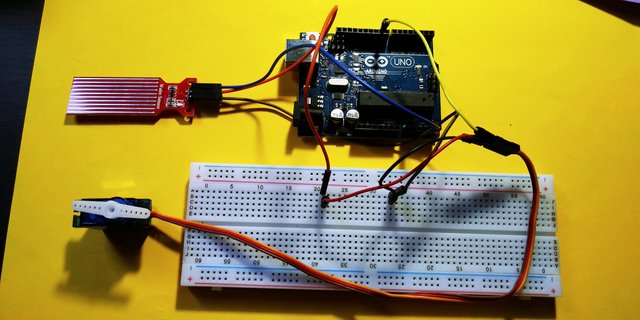
CIRCUIT DIAGRAM

Theres no water sensor parts on fritzing, the water sensor has 3 pins the + VCC to 5V on arduino the - for the GND and the sensor S for the analog pin 0 on the arduino board.
The connectinon of servo on the board, connect the black/ brown wire of the servo to the GND pin, connect the RED wire to the 5V pin and the orange wire to the 9 on the digital pin.
SOFTWARE
Before we work on our sketch, make sure to download the Arduino IDE for your specific operating system. I’ll leave a link to where you can download this software: https://www.arduino.cc/en/Main/Software

Arduino Sketch code for water sensor and servo motor.

COPY SOURCE CODE HERE:
#include <Servo.h>
Servo myservo;
const int waterSens = A0;
int pos = 0;
void setup() {
  Serial.begin(9600);
  myservo.attach(9);
}
void loop() {
  int sensorValue = analogRead(waterSens);
  sensorValue = map(sensorValue, 0, 1023, 0, 180);
     if (sensorValue >= 50) {
        for (pos = 0; pos <= 180; pos += 1) {
    myservo.write(pos);
    delay(15);
  }
  for (pos = 180; pos >= 0; pos -= 1) {
    myservo.write(pos);
    delay(15);
  }
     }
else{
    myservo.write(0);
}
  Serial.println(sensorValue);
  delay(20);
}
SOURCE CODE EXPLANATION
#include <Servo.h>include servo library
servo myservo; define servo as servo
const int waterSens = A0;set water sensor to A0
int pos = 0;define servo position
myservo.attach(9);attach servo to pin 9
int sensorValue = analogRead(waterSens); read the water sensor value
sensorValue = map(sensorValue, 0, 1023, 0, 180); if (sensorValue >= 50)
for (pos = 0; pos <= 180; pos += 1) goes from 0 degrees to 180 degrees in steps of 1 degree
myservo.write(pos); tell servo to go to position in variable 'pos'
delay(15); waits 15ms for the servo to reach the position
for (pos = 180; pos >= 0; pos -= 1) goes from 180 degrees to 0 degrees
myservo.write(pos); tell servo to go to position in variable 'pos'
delay(15); waits 15ms for the servo to reach the position
Verify/ compile then UPLOAD it to the board. there should light on the water sensor power.
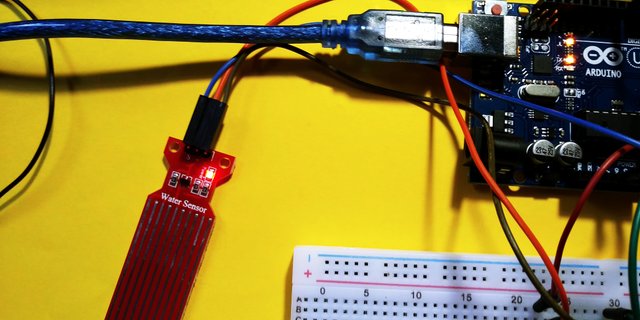
Time to test if its going to work, and here it is. when putting the water sensor to the water the servo roatate from zero to 180 degrees base on the sketch, Connecting a water sensor to an Arduino is a great way to detect a leak, spill, flood, rain, in this project i use to add servo motor, when the sensor module detects water/ or any liquid it sends signal to the board and the servo turns on and move to the position stated on the arduino sketch code.

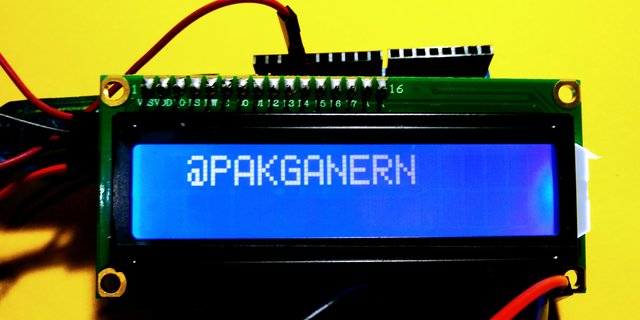
Thats it! I hope that this little arduino project would help, thank you for stopping by, please follow me @pakganern
Posted on Utopian.io - Rewarding Open Source Contributors
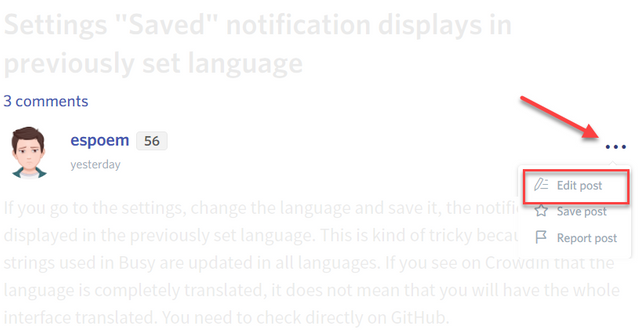
Your contribution cannot be approved yet. See the Utopian Rules. Please edit your contribution to reapply for approval.
You may edit your post here, as shown below:
You can contact us on Discord.
[utopian-moderator]
how about this sir?
Thank you for the contribution. It has been approved.
You can contact us on Discord.
[utopian-moderator]
Hey @pakganern I am @utopian-io. I have just upvoted you!
Achievements
Suggestions
Get Noticed!
Community-Driven Witness!
I am the first and only Steem Community-Driven Witness. Participate on Discord. Lets GROW TOGETHER!
Up-vote this comment to grow my power and help Open Source contributions like this one. Want to chat? Join me on Discord https://discord.gg/Pc8HG9x