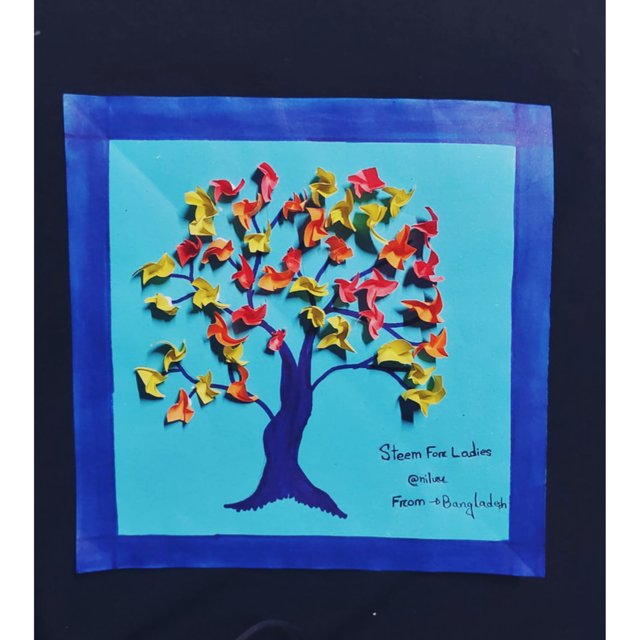
Good evening everyone my @SteemForLadies friends. Hope you are all very well. I am also good with your prayers. Actually cold cold this moment is very nice and very comfortable. This season the cold is not too much and not too little. It's pretty much tolerable in every way so it feels great to me. Hope you are enjoying this season very much.So friends I am here with you today with a new post. I share different types of things, sometimes I share art, craft. Today I will share with you a paper wallet.
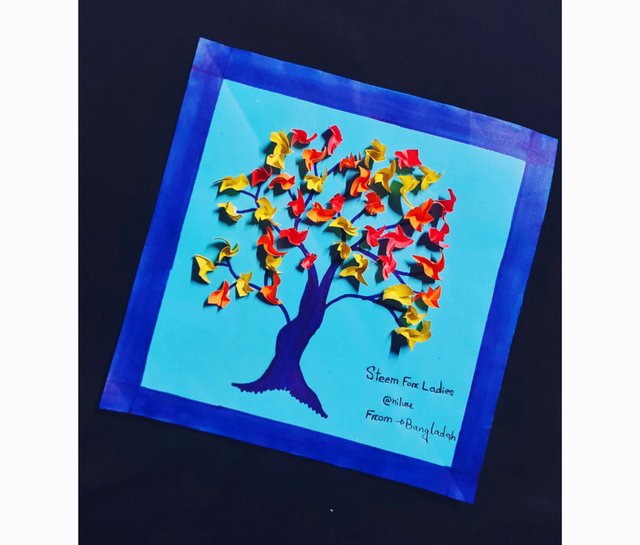
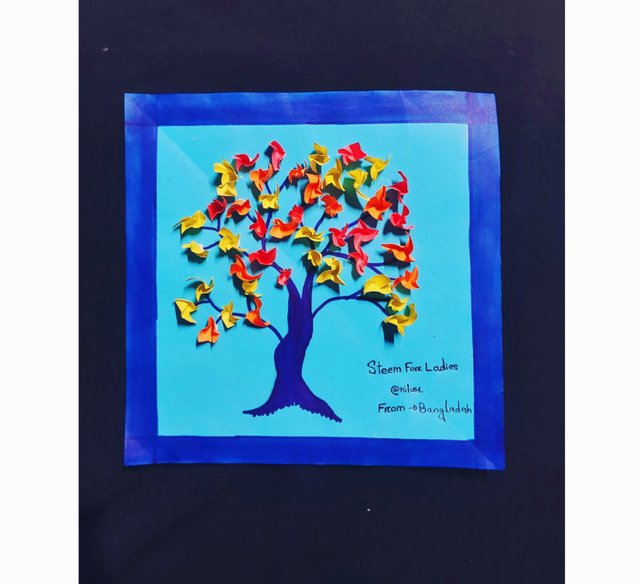
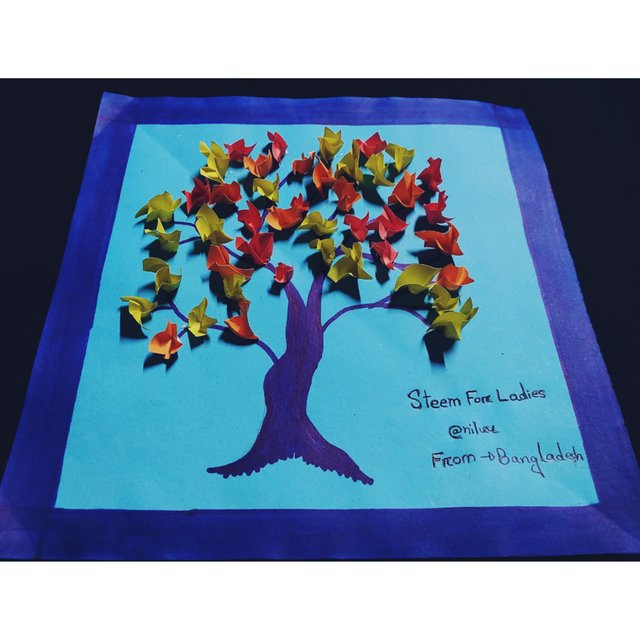
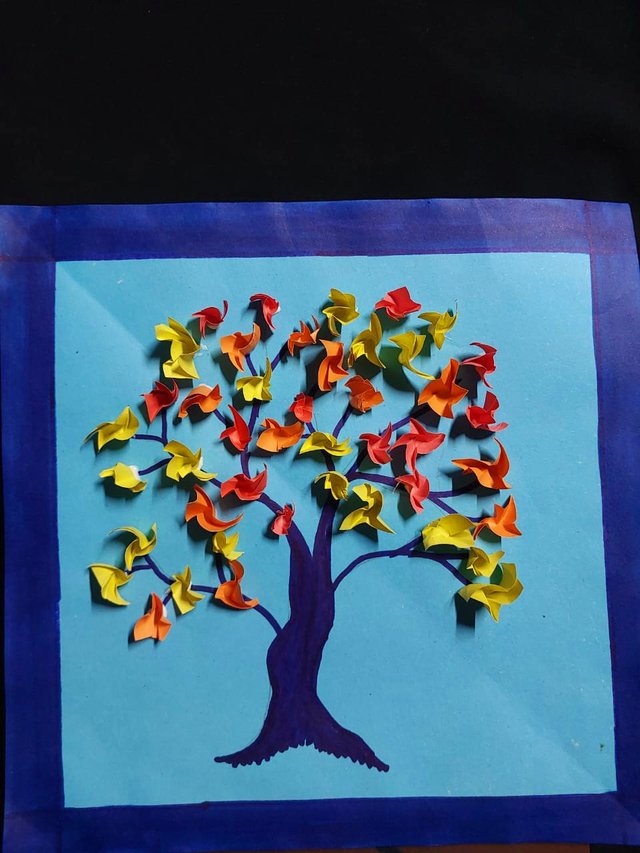
I love to decorate my house by making various things made of paper. Because decorating the house with these things seems to increase the beauty of the house twice. I made the wallmat that I made today and kept it in a corner of my room. It looks very nice.
I hope you like my paper wallet. I am sharing it with you step by step so that you can try it if you want. Please let me know how it went in your comments! This wallmat is made of my paper. Thanks guys.
- Colored paper
- Marker pen
- Glue
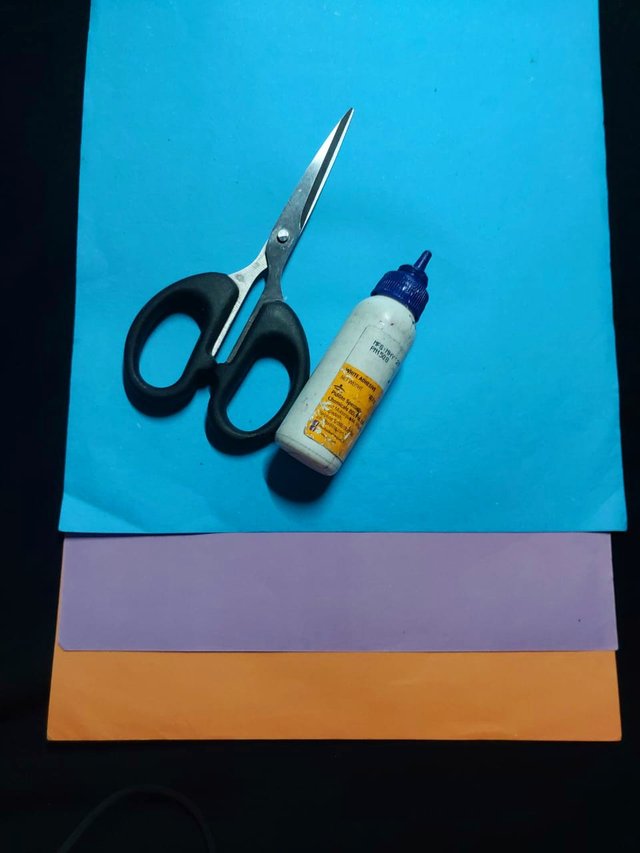
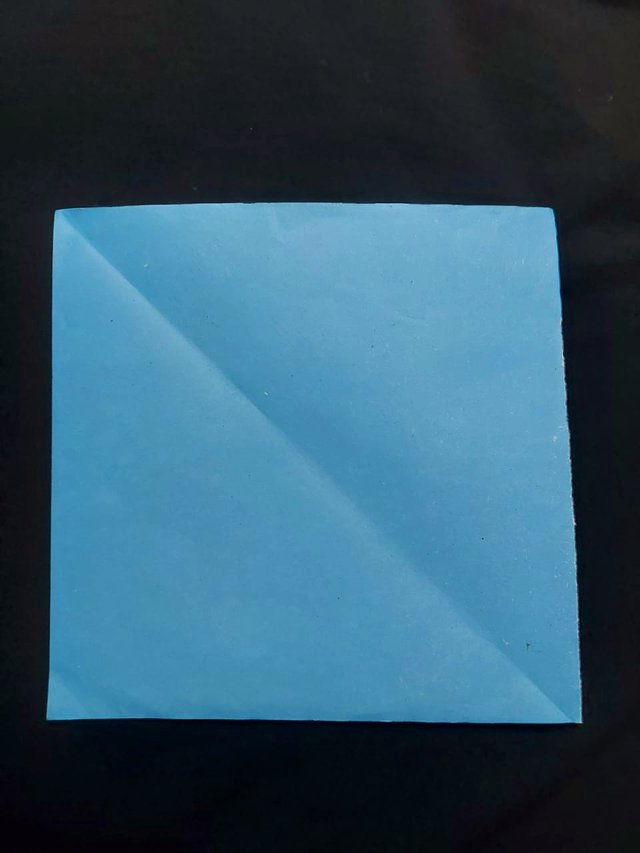
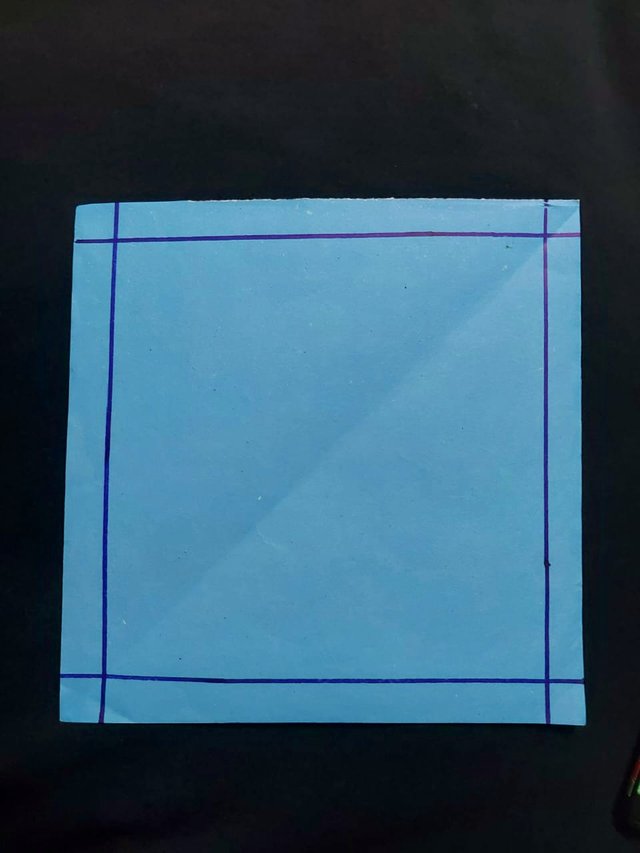
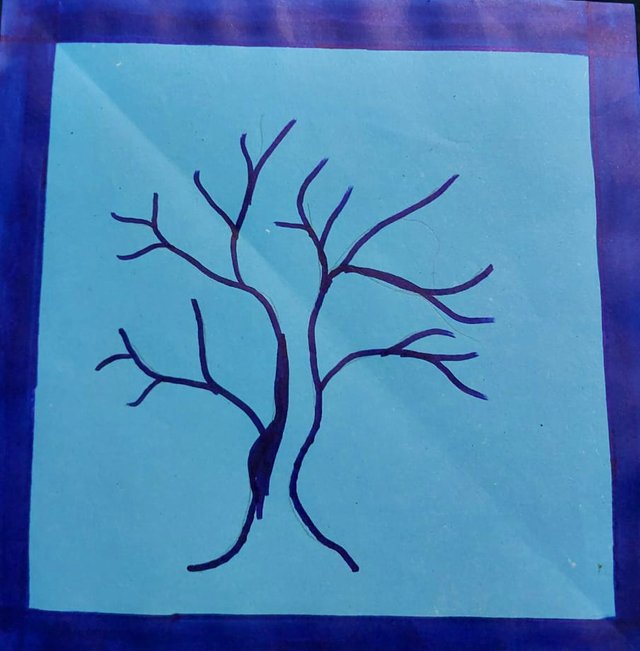
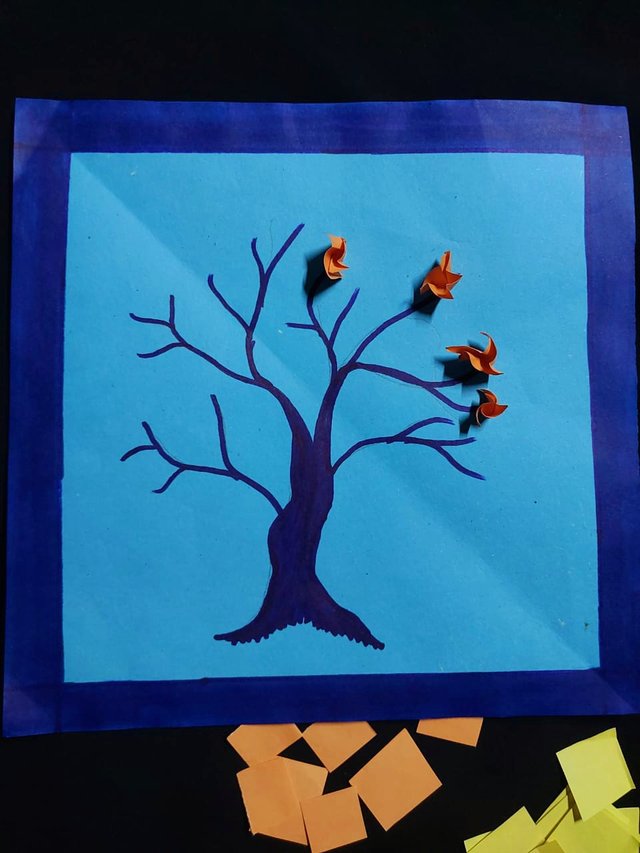
- First I will take a square piece of paper and draw four marks evenly around the paper.
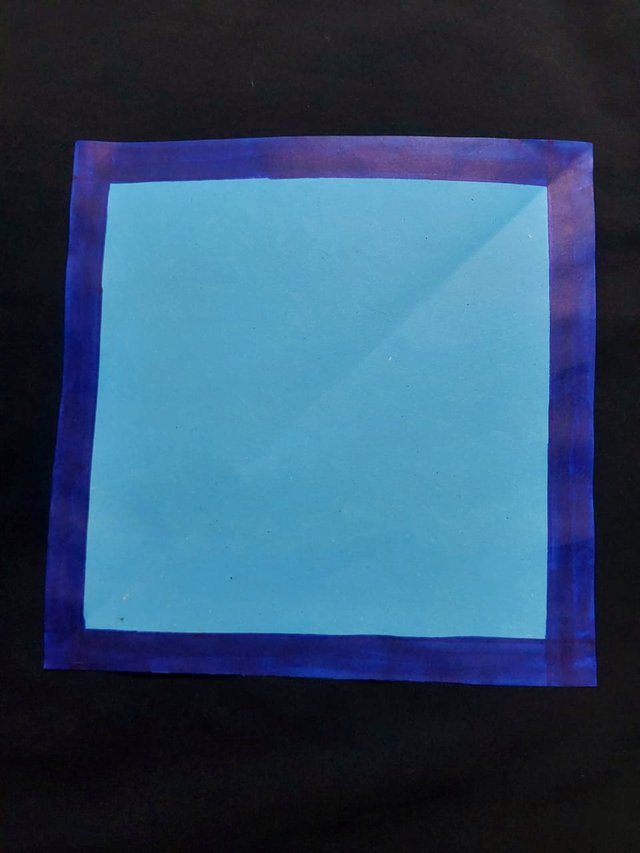
- Next I will blue around the stain with blue paint.
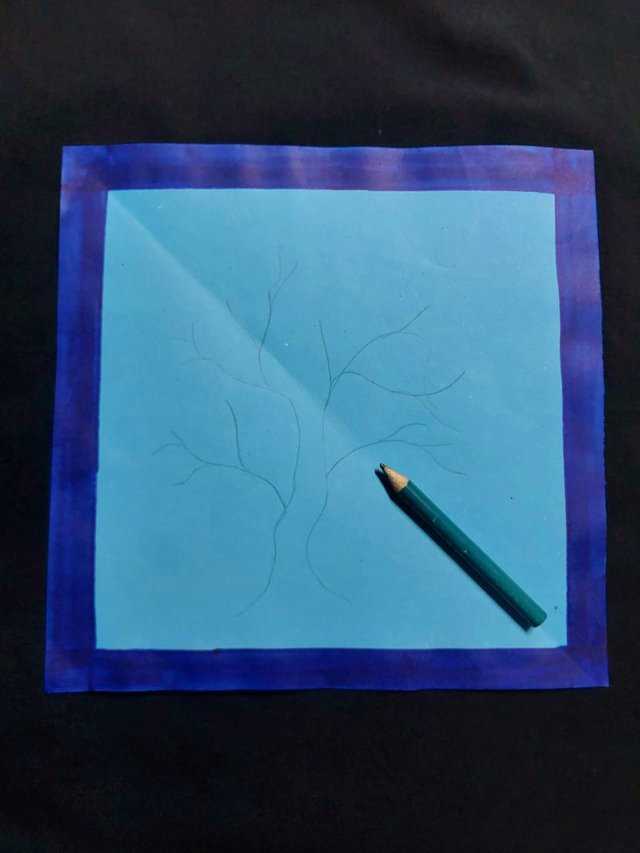
- Next I will draw a work and nearby shield with pencil on the inside. Then I will draw with a marker on the spots in pencil.
- Then I will black the entire plant with a marker.
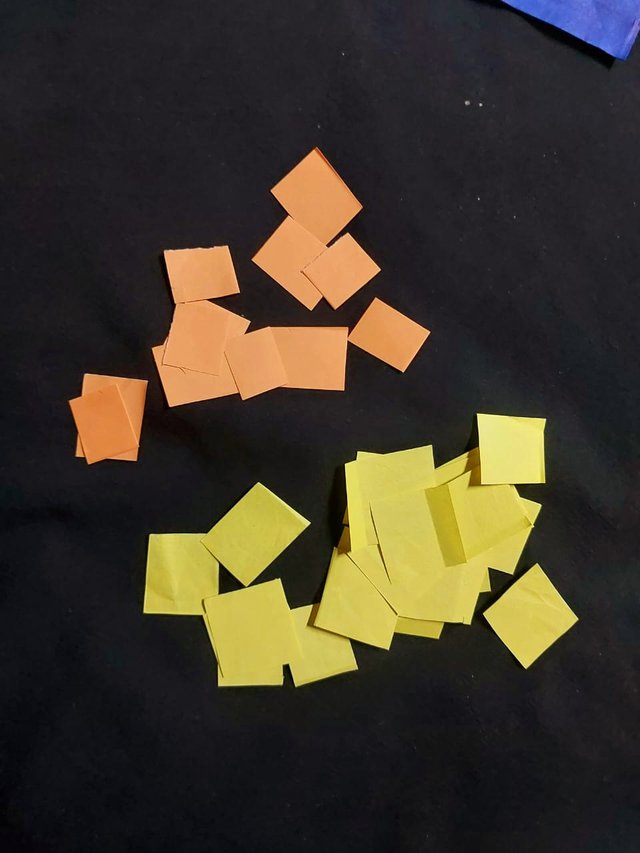
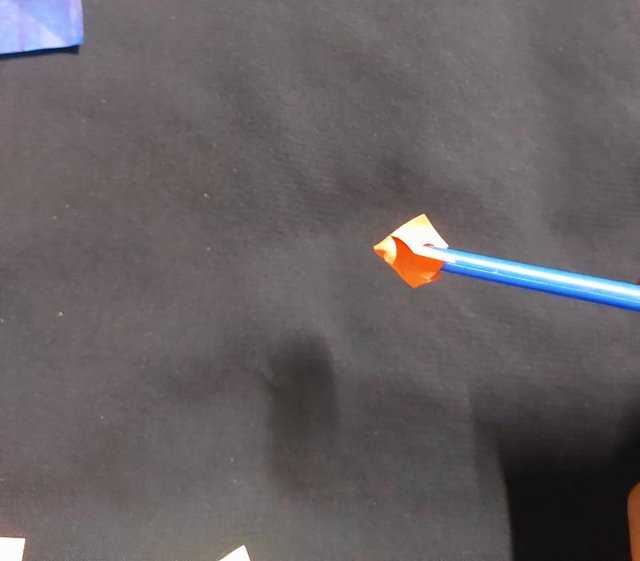
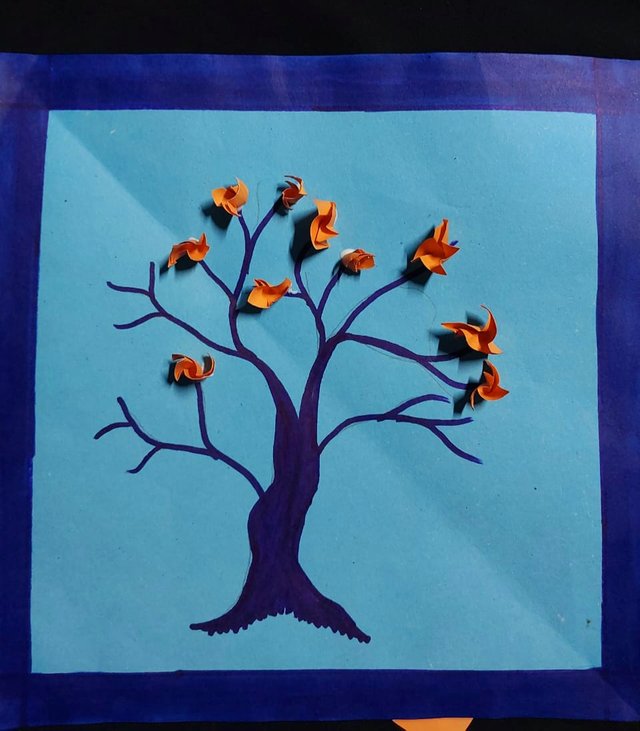
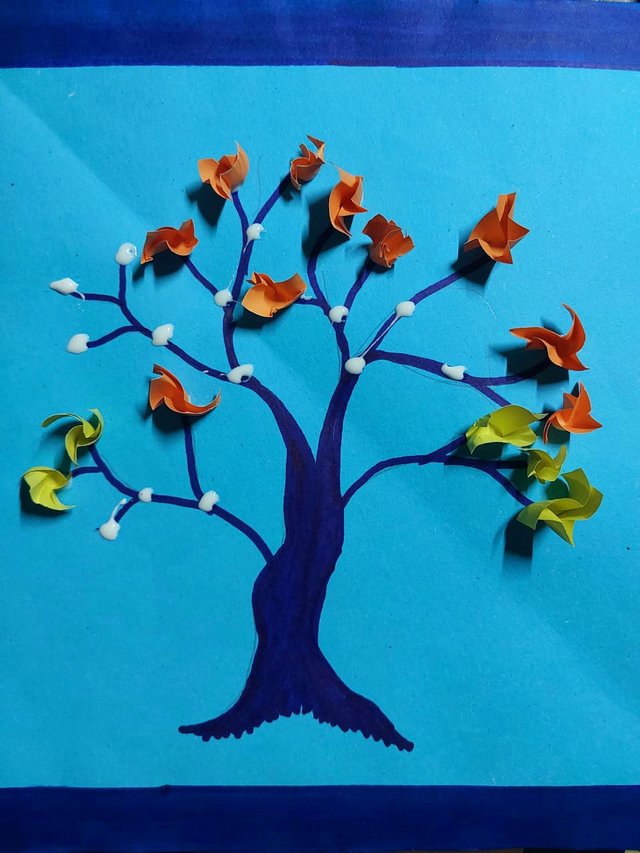
- Then I will cut the paper of several colors into small pieces like this. And I will make a design by pressing with pencil.
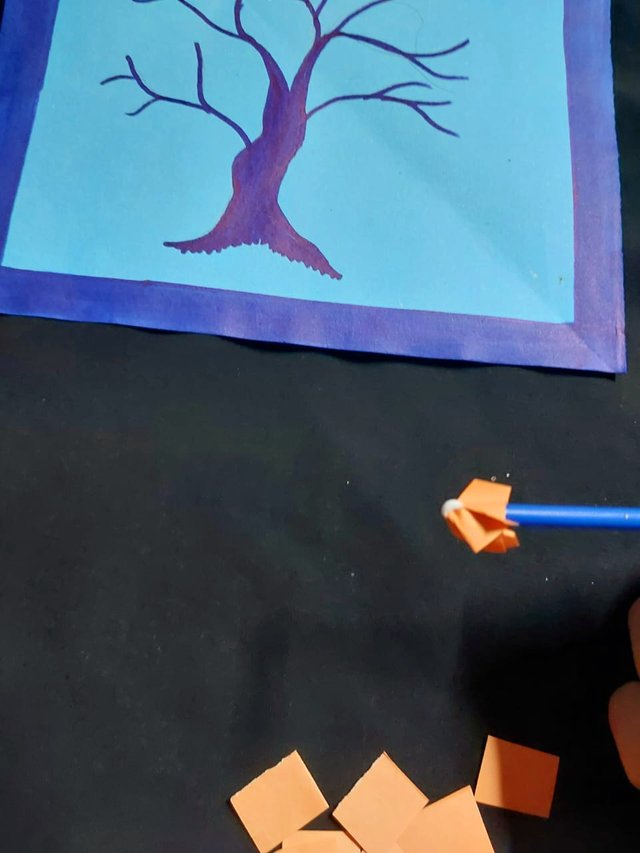
- I will then glue the paper into the twisted design and attach it to the tree shield.
- Next I will glue the other colored paper flowers together in the same way.
- In this way I will glue all the paper flowers to the tree shield.
- Finally I will write my name.
| Hope everyone likes this diy post (Wallmat) I made. Be sure to comment how you like it. If you make a mistake, you will be sorry. |
|---|
| I left here today, Allah Hafez |
|---|


Upvoted. Thank You for sending some of your rewards to @null. It will make Steem stronger.
Hi @niluu,
Sharing the step-by-step process makes the DIY wall art look easy to do. Engaging in such arts and crafts brings great relaxation to the mind, and the outcome looks great!
Thank you for participating…..
Vote @pennsif.witness for growth across the Steemit platform through robust communication at all levels and targeted high-yield developments with the resources available. Vote here
Team Newcomer- Curation Guidelines For January 2024 Curated by - <@ashkhan>