How to Handle Images in Steemit
Adding pictures to posts is easy, just drag and drop. What if you want to be a little more creative?
First let's start with the normal picture that you drag and drop into the post. The format for that comes into the editing window like this:
The [Default Text] is simply there in case your image can't be found. It can be any text you want to tell you what picture is missing so you can fix the problem or it can be blank looking like [].
When you upload an image into Steemit it goes to steemitimages.com and the address looks something like:
By default the images is sized to cover most, if not all, of the width of the post. You can add some whitespace around your image by reducing the size. To do this, revise the address of the post to:
where /width x height/ controls the number of pixels the image covers. For example /0x0/ will return the image in the default size, /600x0/ will decrease the width of the image to 600 pixels and adjust the height to maintain the aspect ratio of the image, and /0x600/ similarly sizes the image to a height of 600 pixels and adjust the width for the aspect ratio.
Now you have your image that is resized to give some white space, but it's left-justified and it needs to be centered. To do this just add <center> before the image and </center> after it to look like:
You can even wrap text around your image or give it a caption if you want. This example shows you how to pull an image to half of the post on the right side.
<div class = "pull-right">

<center>Your Caption Text</center>
</div>
For some reason it's important to have the blank line after the <div class....> declaration or the system seems to get messed up. But at the end of a paragraph simply put these statements in and the image will be resized and pulled to the right hand side of the post. Similarly, if you want the image on the left side change the "pull-right" to "pull-left".
After these lines, simply start typing as normal and the text will wrap around the right justified image on the left side of the post.
But now the image is too small to see all the detail. Let's make a link to let people pull up the full size image. Links take the form of
For the [Something to Click] just make that the image itself and the (Where to go) is the image address and your 'code' above looks like
<div class = "pull-right">
[](Address of the image)
<center>Your Caption Text</center>
</div>
In practice it looks something like this.
The text will continue to wrap around the picture until it gets to the bottom and then will move back to being the full width of the post.
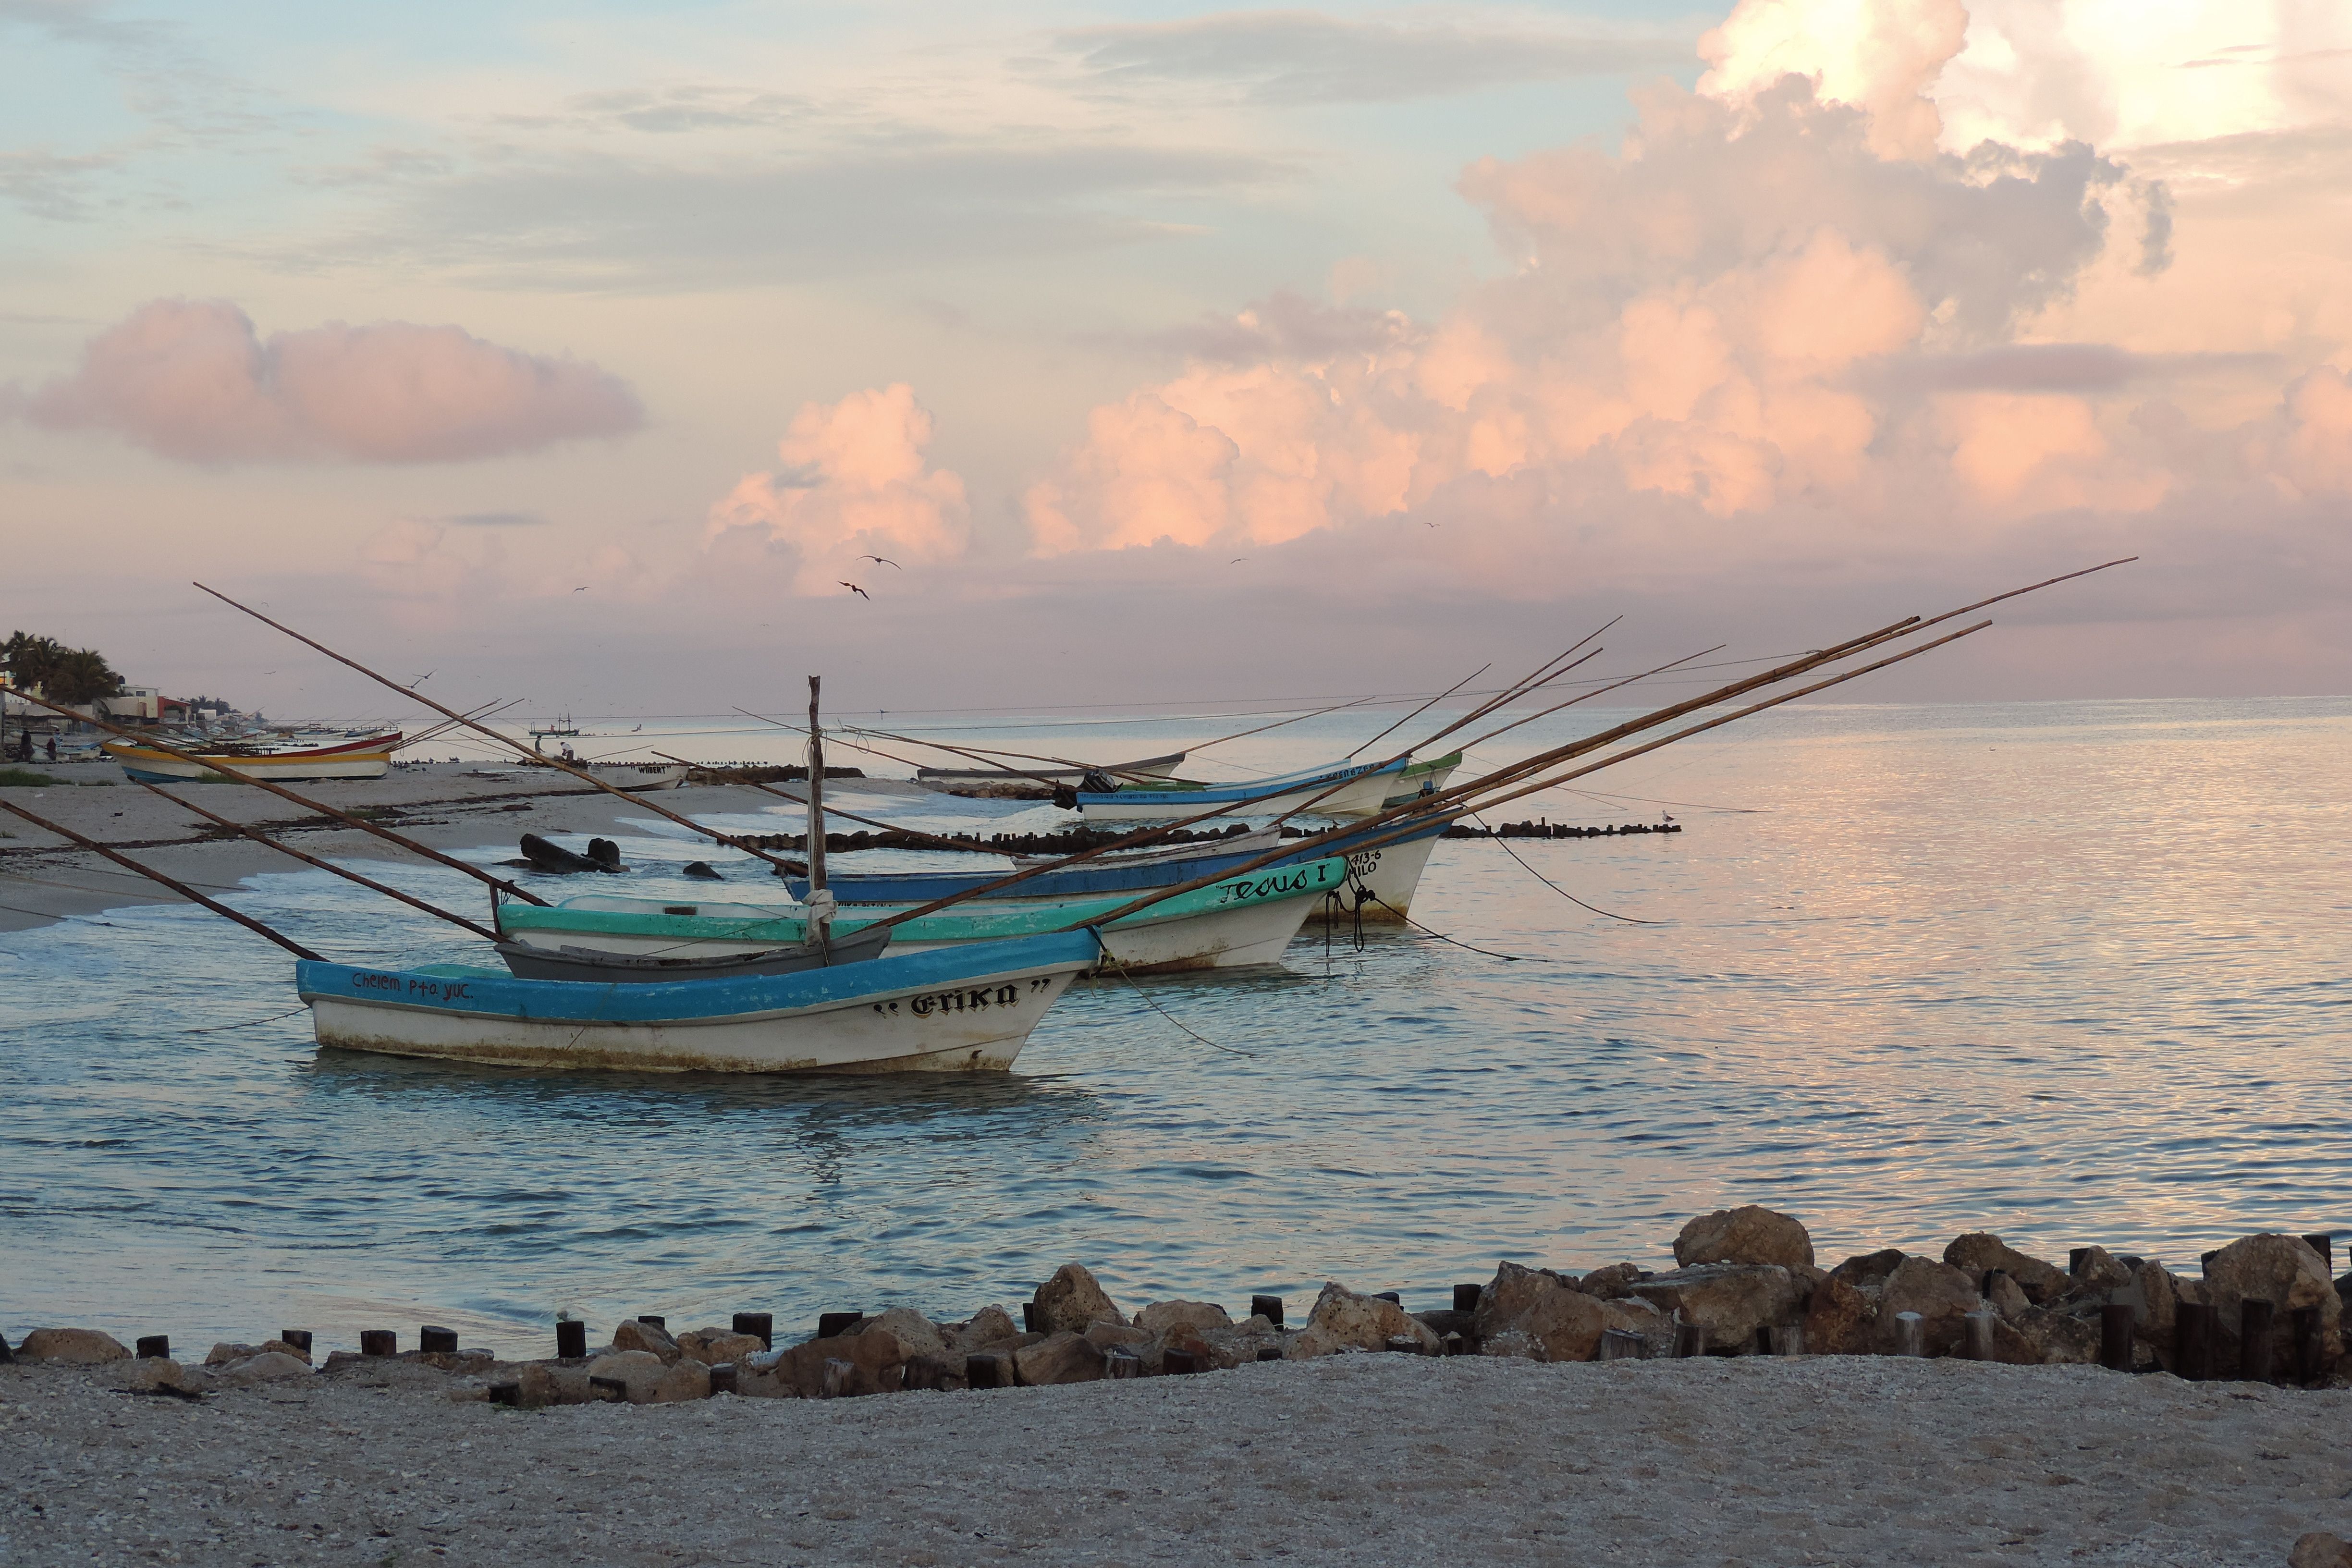
Here's a link to one of my post Morning Beach Walk in Chelem where some of these techniques are used.
Now all I have to do is keep typing until I get enough text to wrap around the bottom of the picture and the caption so that you can see that it really will go back to being the full width of the post. Finally got there, I knew it would work.
Hope this helps and if you have any questions, don't hesitate to ask.
Congratulations! This post has been upvoted from the communal account, @minnowsupport, by MikeH from the Minnow Support Project. It's a witness project run by aggroed, ausbitbank, teamsteem, theprophet0, someguy123, neoxian, followbtcnews, and netuoso. The goal is to help Steemit grow by supporting Minnows. Please find us at the Peace, Abundance, and Liberty Network (PALnet) Discord Channel. It's a completely public and open space to all members of the Steemit community who voluntarily choose to be there.
If you would like to delegate to the Minnow Support Project you can do so by clicking on the following links: 50SP, 100SP, 250SP, 500SP, 1000SP, 5000SP.
Be sure to leave at least 50SP undelegated on your account.