Making an Electric Teardrop Ukulele
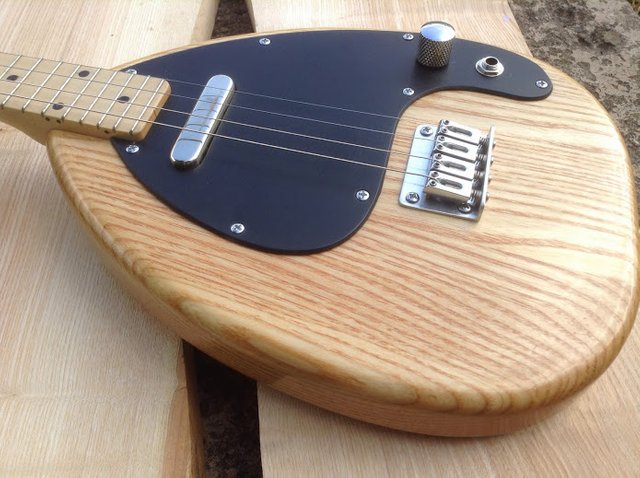
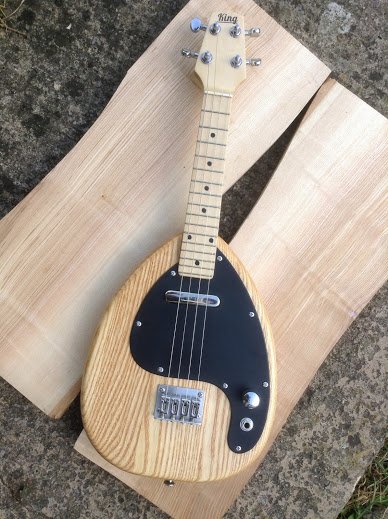
I originally designed this Electric Ukulele back in 1985, made a prototype for my GCSE woodwork exam then but never got it into production, In 2004 i found the original school plans and a batch was made of these which were sold on ebay
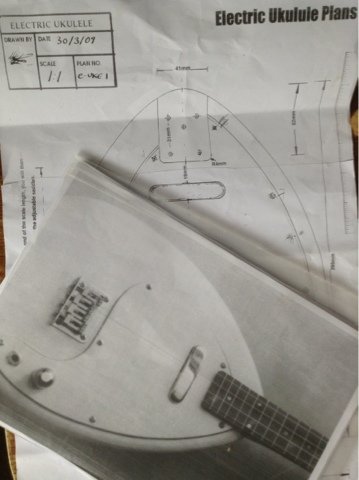
Third-generation model was worked on in 2012 and new plans made available to purchase from my website download site which included designs for Tenor, Concert and soprano sized neck and information on the hardware parts and fittings.
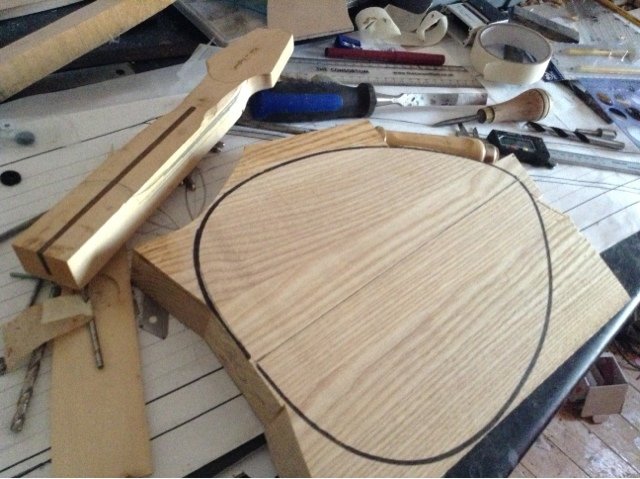
For the body of this instrument, I used several pieces of ash wood glued up to make up the 23cm by 30cm by 4cm thick.
You can buy lightweight swamp ash from electric guitar/luthier supplies, or select home grown ash wood. Other timbers for natural body that look great are cherry, walnut. For painted bodies Alder is the traditional material.
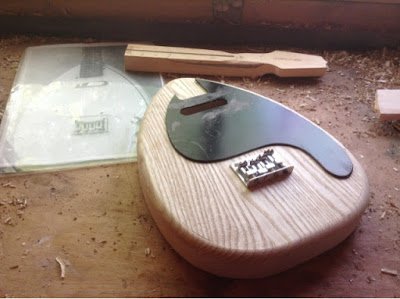
Mark out the shape using a template traces from the plans and then I band-sawed the shape out and used the disc sander to smooth any irregularities
The edge is rounded with a router and templates are used to do the pickup and control cavity. Note that I used a Forster bit and a drill press to remove the waste.
The neck on this example was made of a single piece of maple with a walnut strip inlaid, No truss rod is needed on a neck this short, I would add a strip of carbon rod on the Tenor model though.
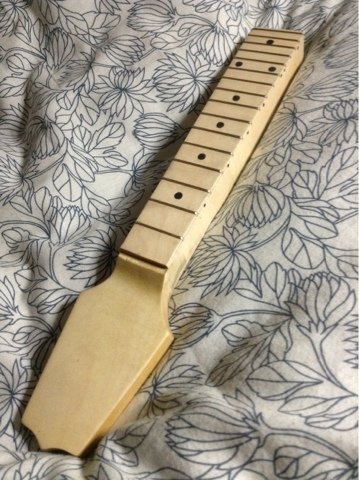
My advice for a first instrument would be to buy a mandolin or uke fingerboard to fret as maple is challenging for the beginner being softer than the rosewood or ebony and harder to seat the frets evenly.
These are the neck options for this teardrop body:
Soprano neck: 13.7/8" standard soprano, compact, great for chords. can be strung as a Mandolin also
Concert neck 15" scale , more space for fingers
Tenor neck: 17" scale, feels like an electric guitar, easy to bend, thinner strings
Slotted rosewood fingerboards are available from Stewmac for soprano Ukulele(sold as Mandolin fretboard)
Tenor Ukulele fretboards are available ready slotted from Allen Luthiery supplies
Choose to make the neck to fit the playing style or the scale length you are familiar with.
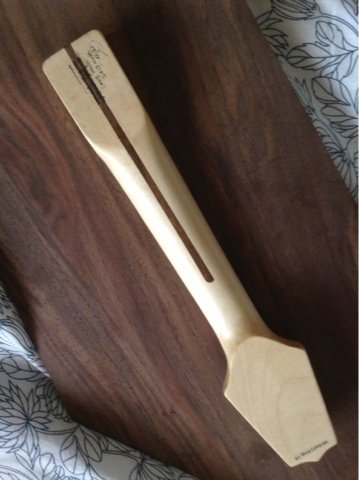
When making out the neck always mark on the Centre line and always work to it.
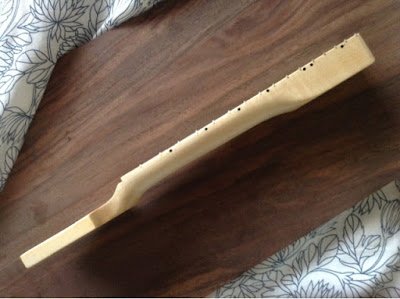
I made my own black dots using spare pick-guard material but you can buy position markers. The side dots are sold in a long length that you install and cut off as you go, don't try to cut them off before. I used epoxy to glue the dots in place, then sanded and sealed the fingerboard with shellac.
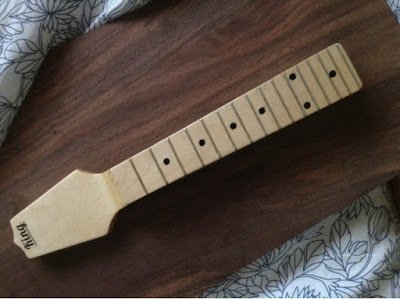
For frets I use low profile mandolin fretwire from stew mac in the USA. if you mark the frets on yourself using my measurements always measure from the nut for each fret first. And double and triple check. I used an adjustable sliding bevel to mark my frets and as a guide for the fret slotting saw (again from stew mac)
Once the fret slots are sawn a triangle file is used to file the edges of the slot to aid future removal(future re-fret luthiers will thank you) and the frets pressed or hammered home, hammering from the centre outwards is best, some people drop a little glue into the slot to fill any gaps(no nails acrylic glue or Titebond) trim and sand the edge of the frets to the neck and the Shape the neck itself. The pictures here give a guide, I do it by touch these days. There are videos on fret levelling and polishing, Crimson Guitars have a great tutorial section for free and sell the tools to do the job too!
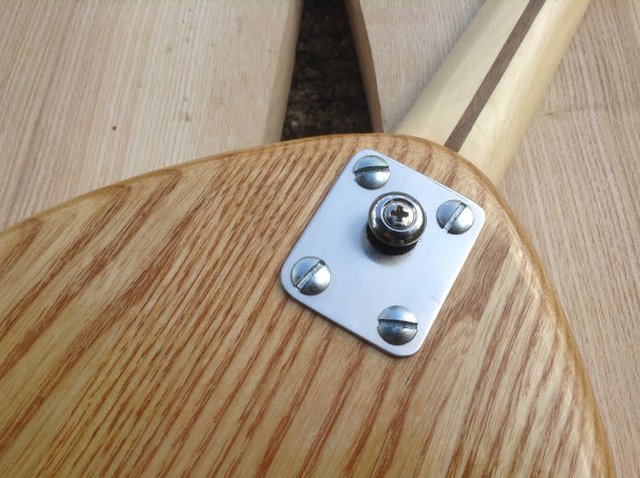
With the neck shaped a simple router jig is used to rout out the neck pocket. It's basically a board made from mdf or perspex that acts as a guide for the bearing guided cutter. The cutters used are listed in the pdf manual with the plans. Always rout to fractionally just before the line so you have a few tenths of a mm of adjustment to sand or scrape off.
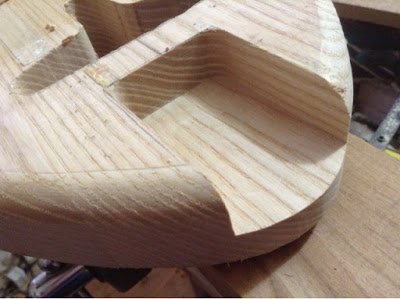
The fit should be enough to hold the neck in place even without the screws but loose enough for easy dissembling.
Nitrocellulose is the traditional medium with modern electric guitars having polyester or acrylic finishes.
To avoid the need for a spraying booth and dangerous fumes I opted for a natural oil varnish tru-oil instead. Tru-oil is a linseed based varnish used for gun stocks, very easy to apply. You can also consider Danish oil which is a rung oil based varnish used on modern furniture.
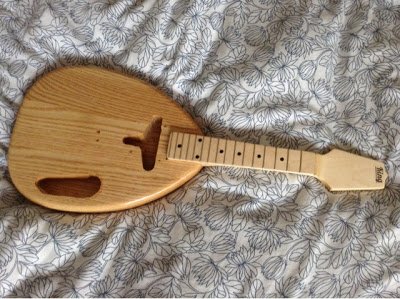
Begin by sanding the neck and body. The maple neck you need to work through the grades from 120, 180, 240, 360, 400, 600, that should be enough. The ash body once you get to 360 grit you can apply a grain filler, I used Rustin's oak grain filler. This is applied with a cloth and left a day to dry. You then sand with 360-400 grit to remove any excess filler. you then oil varnish following the instructions.
The maple neck needs no filler. If you want to apply a decal though its best done at this stage before varnishing.
There is a great tutorial online for decals here:
leave the parts to dry fully before moving to the assembly stage.
Hardware:
I have made a video showing how to make a bridge plate from scratch,
You can nowadays also purchase 2 string bridges to this design from ebay.
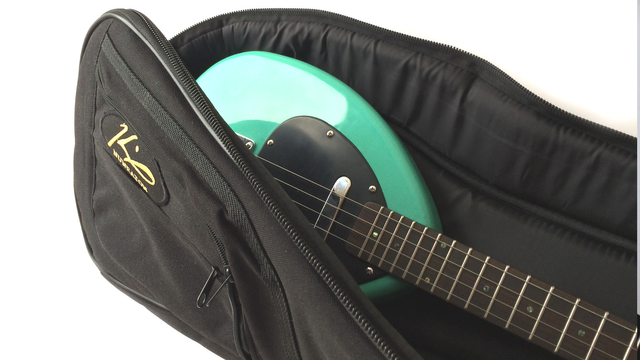
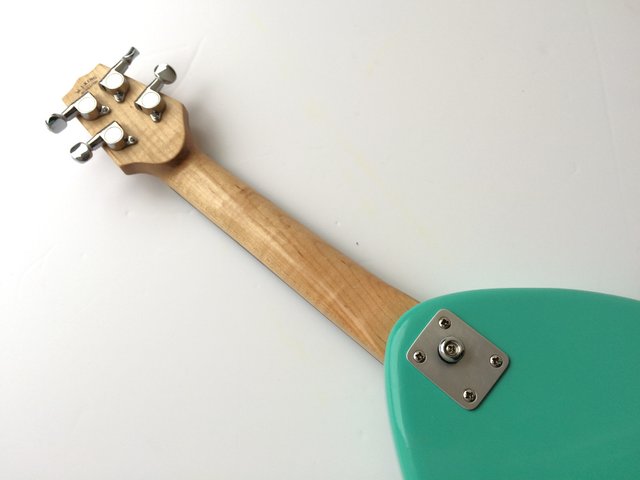
More information to be found on my website, instruments are available to commission from https://www.etsy.com/lyreshop